Summary
IoT Bridge for Azure (IBAZ) is an application that connects to an MQTT Server and consumes MQTT Sparkplug messages from Edge devices.
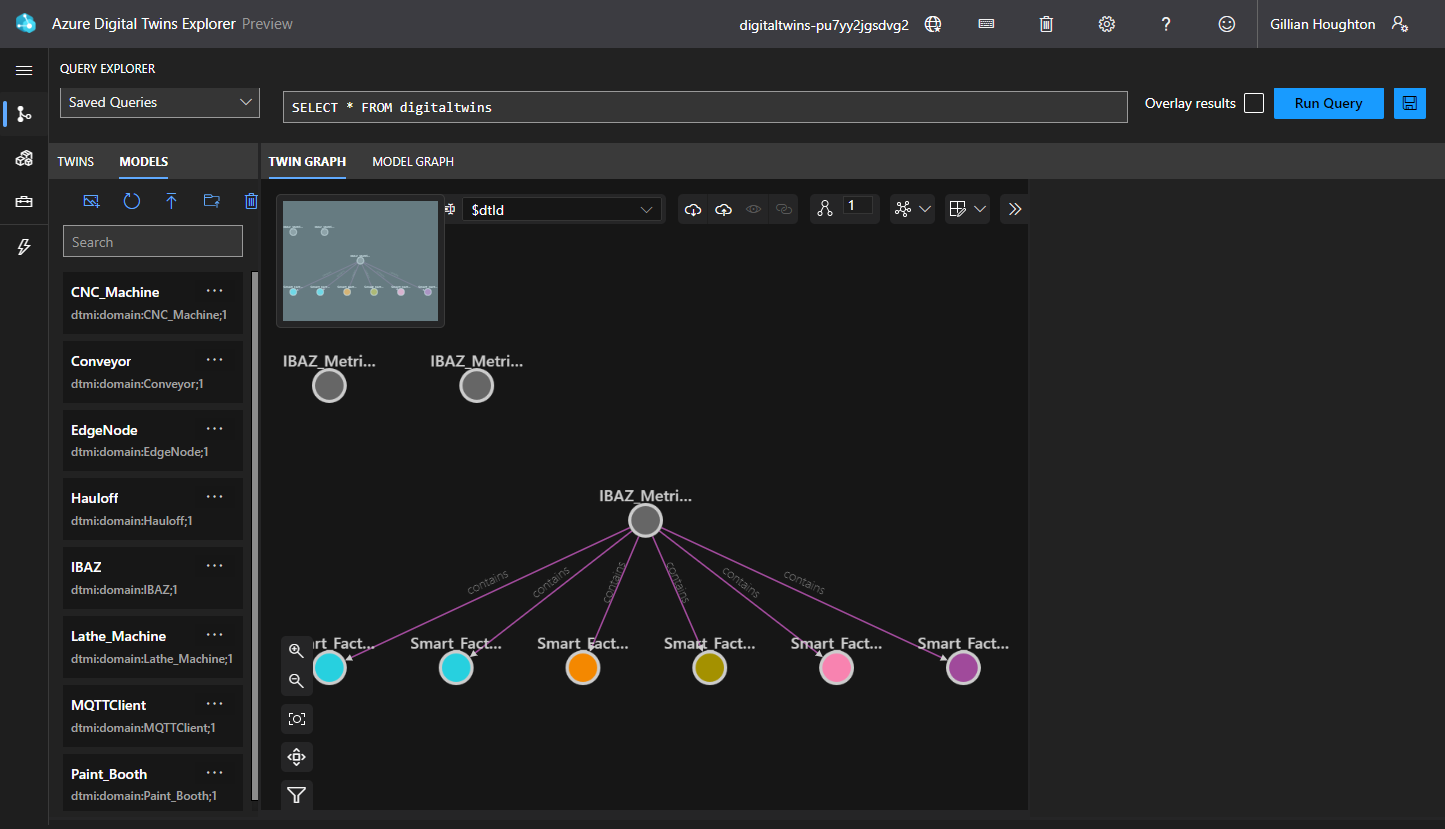
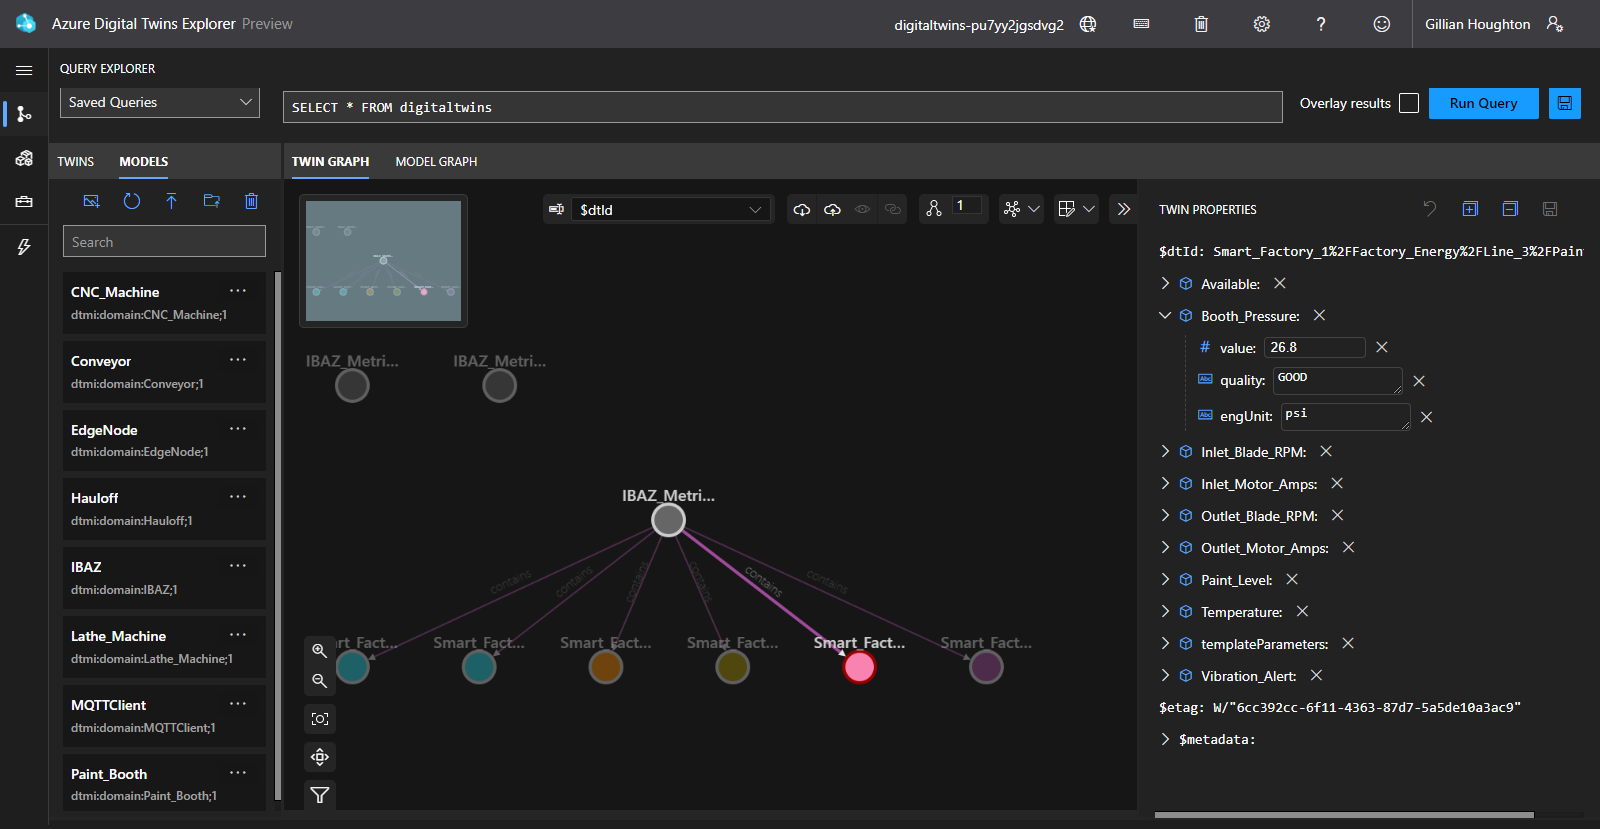
These messages must be formatted as Sparkplug Templates which are defined in the Sparkplug Specification. The Templates are used to create the Models in Azure Digital Twins automatically with no additional coding or configuration. Then multiple instances of these Templates generate the Assets and start to populate with real time data sent on change only, thus significantly reducing the amount of data being sent to the cloud.
For further details on Azure Digital Twins terminology, refer to the Azure Digital Twins documentation. For further details on Eclipse Sparkplug, refer to the Eclipse Sparkplug resources.
This quickstart document covers how IoT Bridge can be used to consume MQTT Sparkplug data and create and update Azure Digital Twins Asset Models and Assets. This will show how to configure IoT Bridge as well as show how to use Inductive Automation's Ignition platform along with Cirrus Link's MQTT modules to publish device data to an MQTT Server. This data will ultimately be consumed by IoT Bridge to create and update the Azure Digital Twins components.
More information on Inductive Automation's Ignition platform can be found here. Additional information on Cirrus Link's MQTT Transmission module can be found here.
Step 1: IBAZ Installation
- Complete the IBAZ Installation process
- This will install the Virtual machine, Disk, Network interface and Public IP address resources
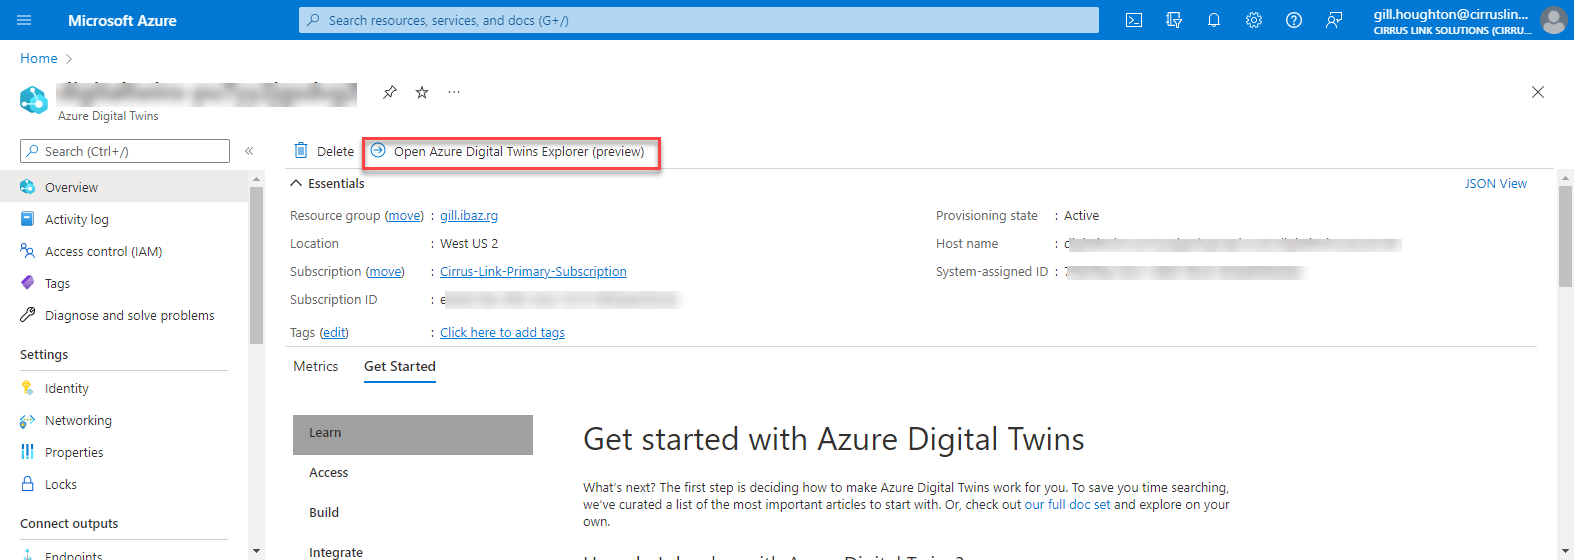
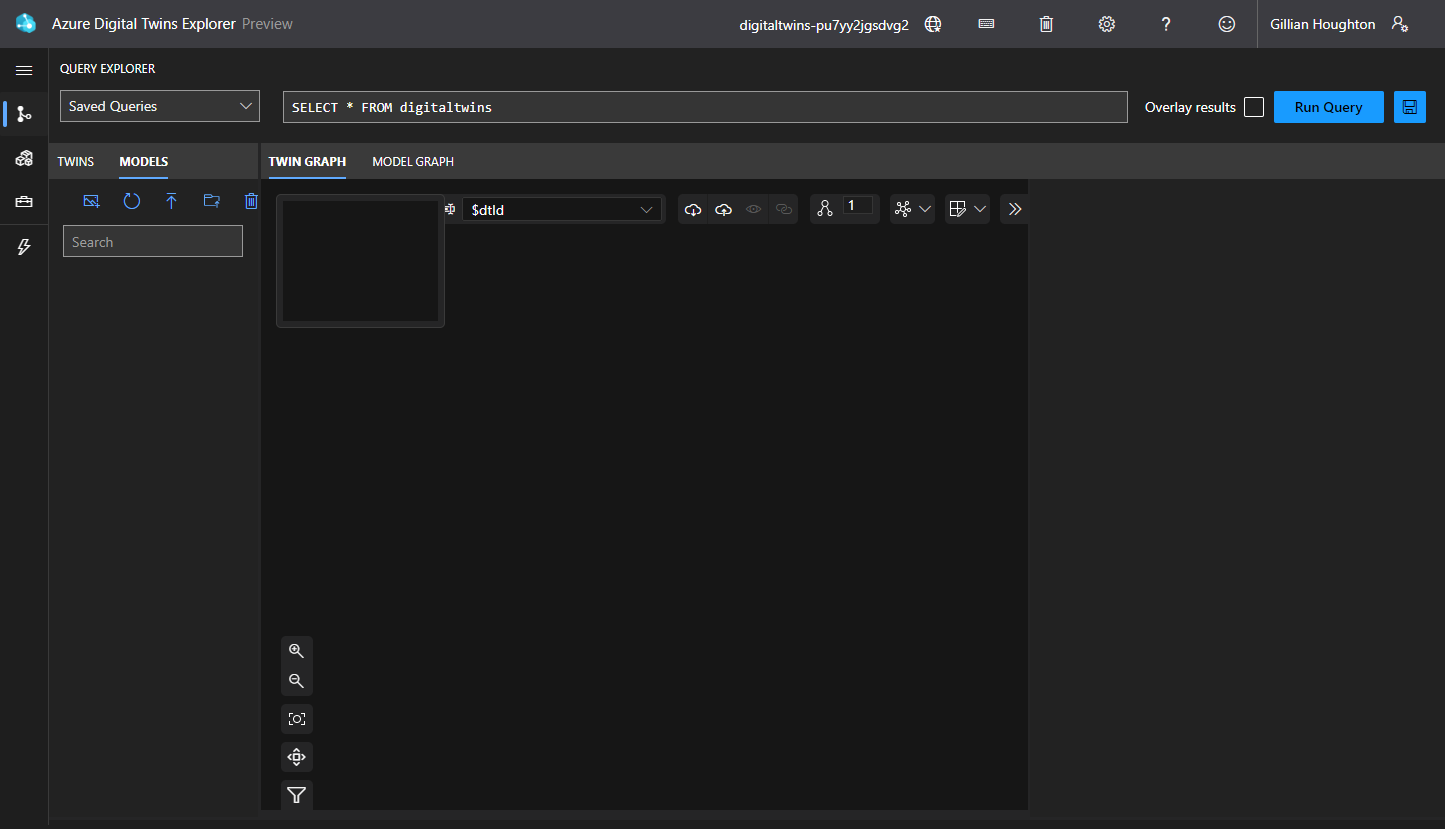
Step 2: Create an Azure Digital Twins instance
Step 4: Create an event Hubs Namespace
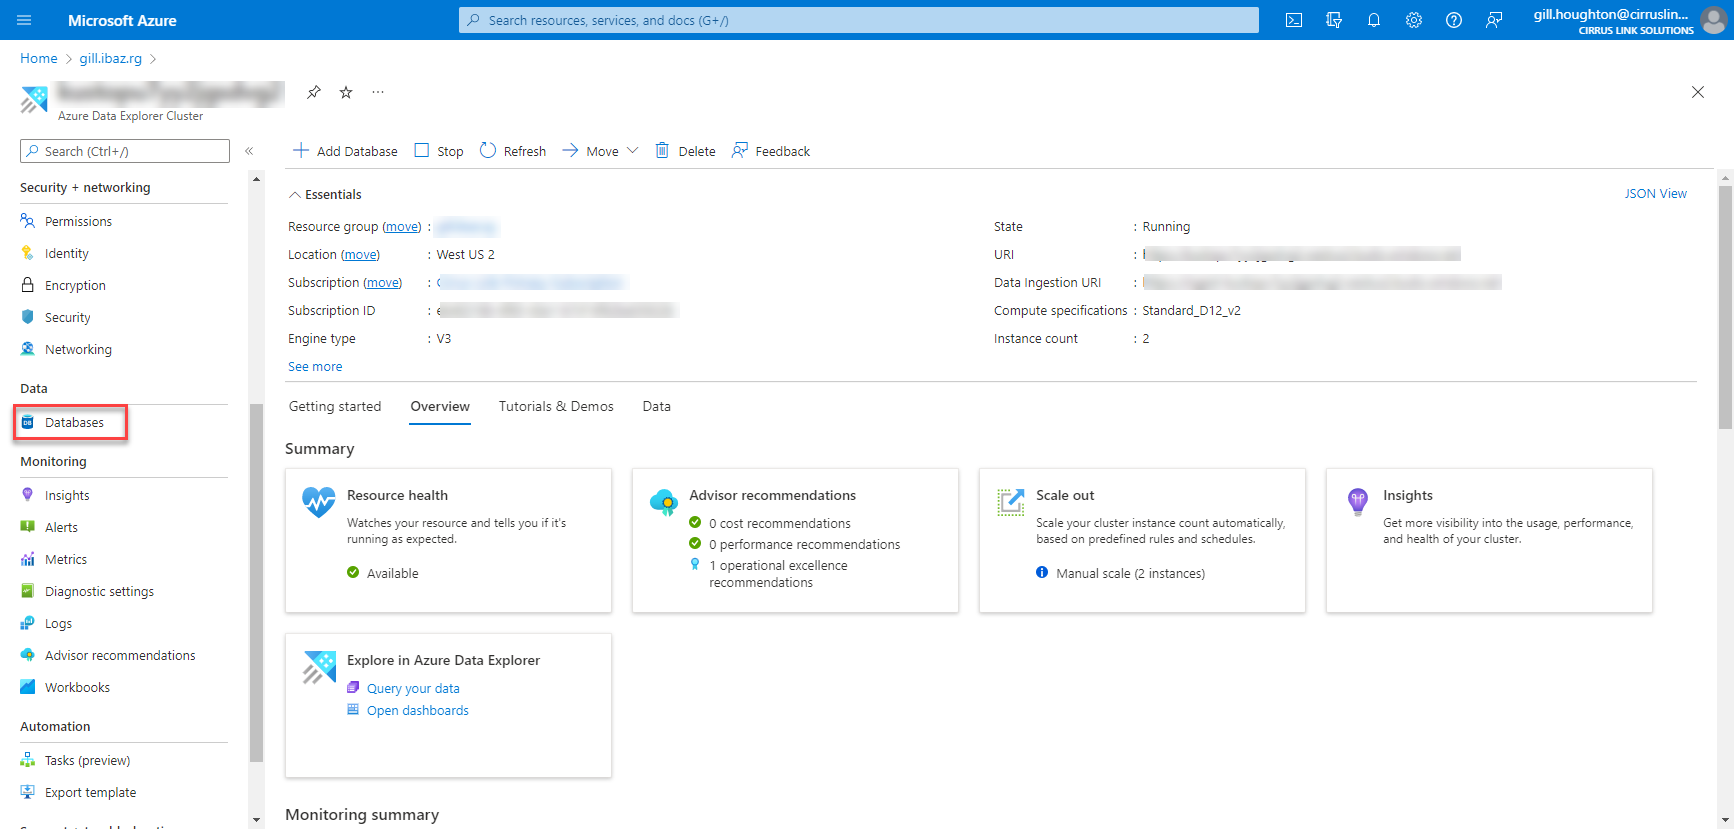
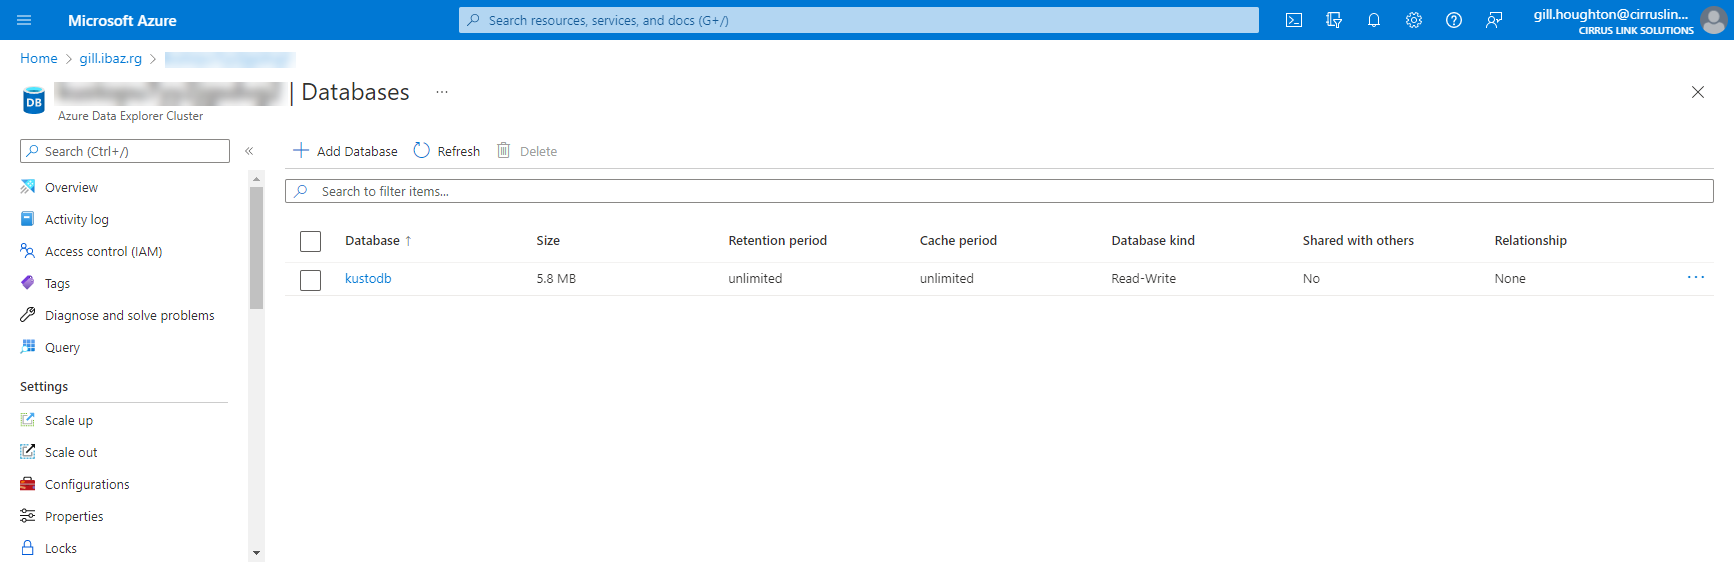
Step 5: Create an Azure Data Explorer Cluster
- Configure the database permissions to add your Azure Digital Twins Instance with a Database Admin role
- Add additional Viewer role(s) to be able to query data
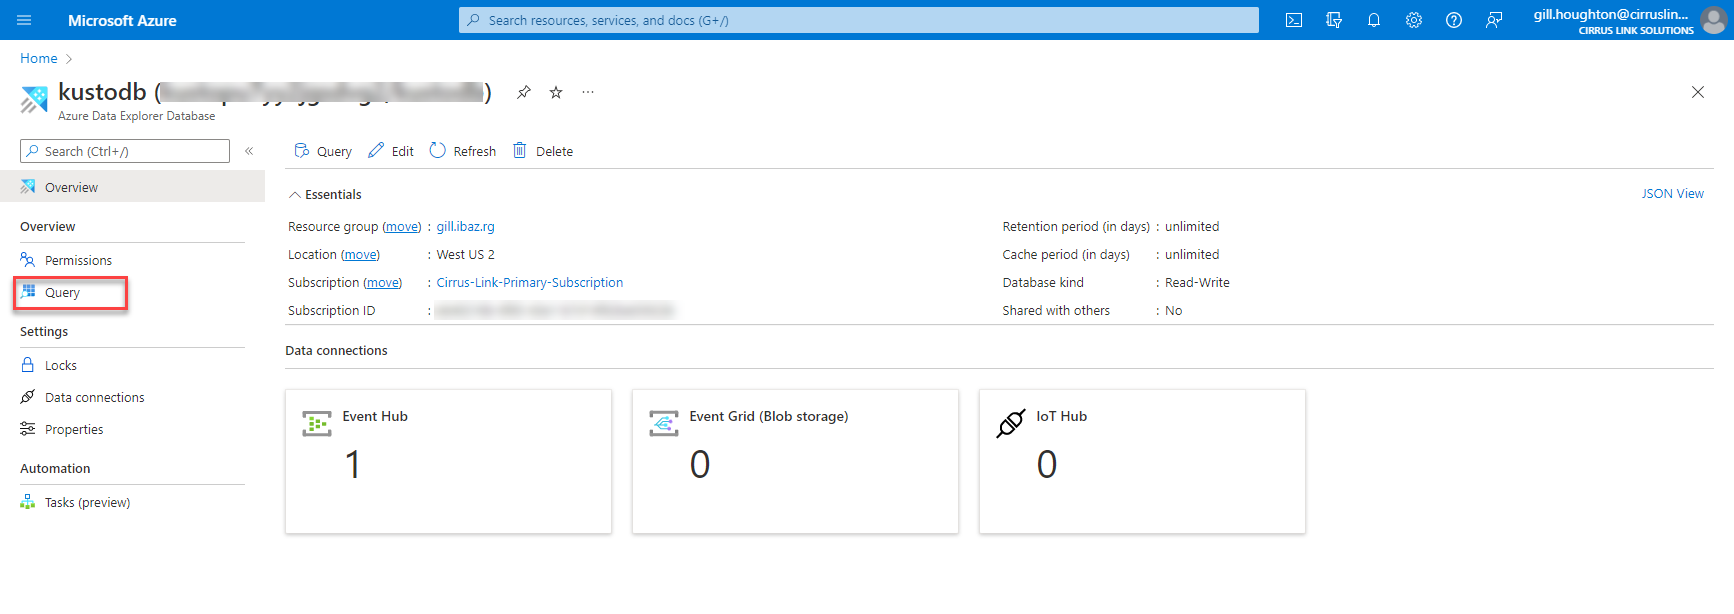
Step 7: Configure the Azure Digital Twins instance data history connection
Step 8: Create an Azure Active Directory App Registration
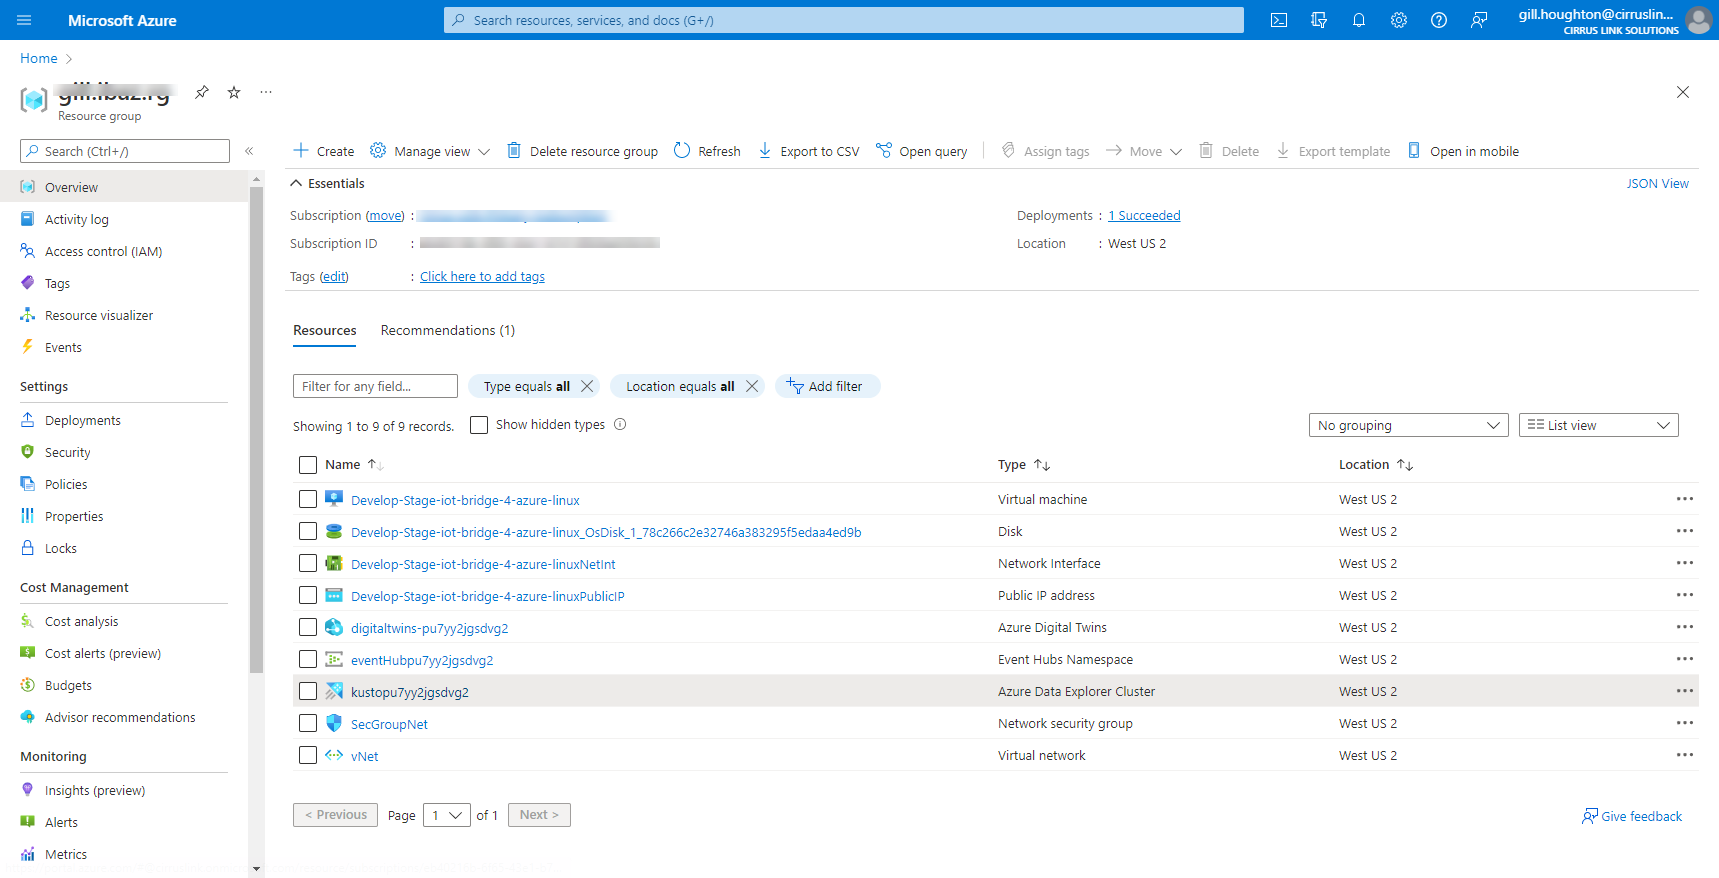
In our example below we have all the resources in the same Resource group:
Step 9: Install Ignition and MQTT Modules
For this setup, we'll install Inductive Automation's Ignition platform along with the MQTT Distributor (MQTT Server) and MQTT Transmission (Edge device) modules from Cirrus Link.
Installation of Ignition is very straightforward following the instructions in the Installing and Upgrading Ignition guide.
With Ignition installed, the Cirrus Link modules must be installed as a plugin to Ignition. Follow the instructions in our Module Installation guide.
Step 10: IBAZ Configuration
Update your configuration properties in the IBAZ configuration file located on the VM at /opt/ibaz/conf/ibaz.properties. Instructions for accessing the VM can be found here.
Follow our IBAZ configuration guide for details.
Now the IBAZ service can be restarted to pick up the new configuration. Do so by running the following command.
sudo systemctl restart ibaz |
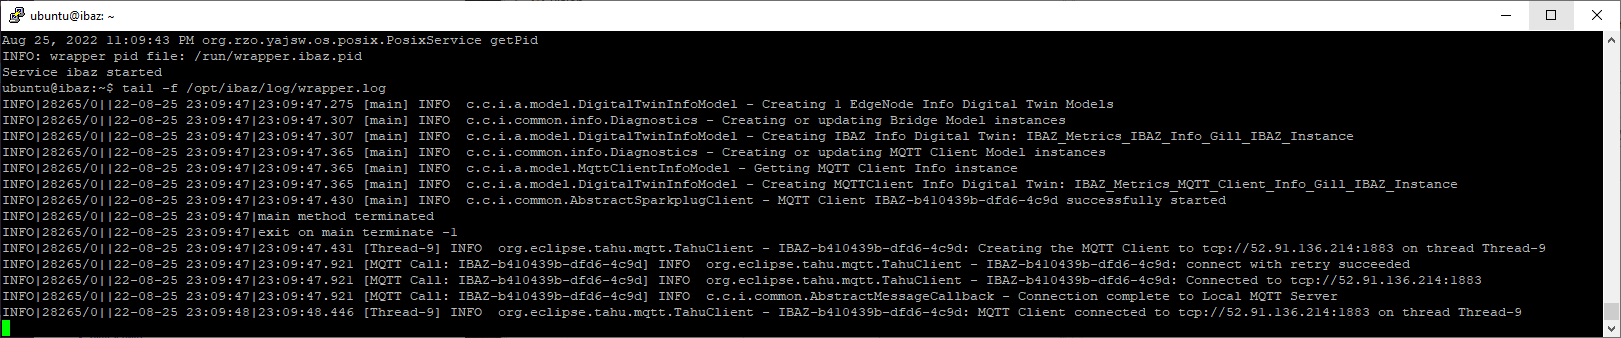
At this point, IBAZ should connect to MQTT Distributor and be ready to receive MQTT Sparkplug messages. Verify by running the following command.
tail -f /opt/ibaz/log/wrapper.log
|
After doing so, you should see something similar to what is shown below.
Note the last line is 'MQTT Client connected to ...'. and this indicates that we have successfully configured IBAZ and properly provisioned MQTT Distributor.
Now we can configure our Ignition MQTT Transmission module to connect to the MQTT Distributor server in order to publish data into Azure. We will also import some UDT Definitions and UDT Instances that will be mapped to Azure Models and Digital Twins.
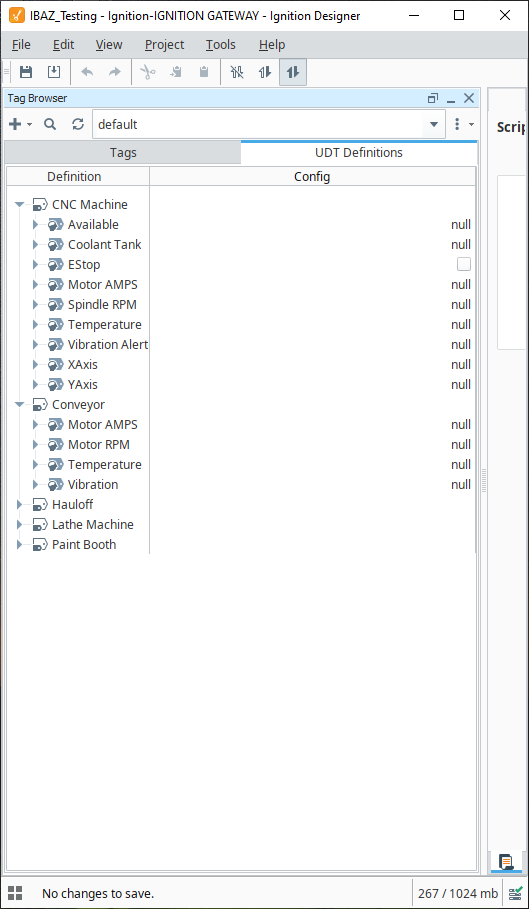
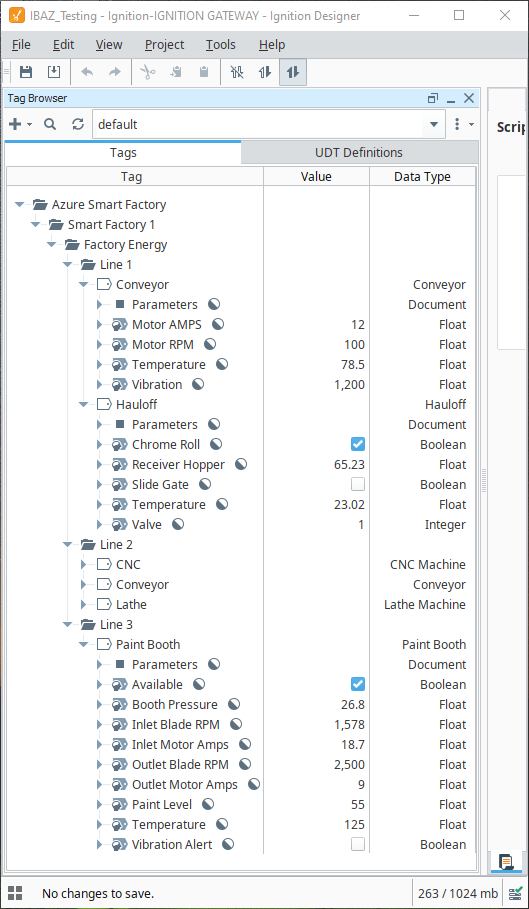
For this quick start, we have created a number of sample UDTs and associated tags that can be easily imported. Using the Ignition Designer, import these UDTs and tags into the default Tag Browser.
IBAZ_quickstart_UDTs.json
IBAZ_quickstart_tags.json
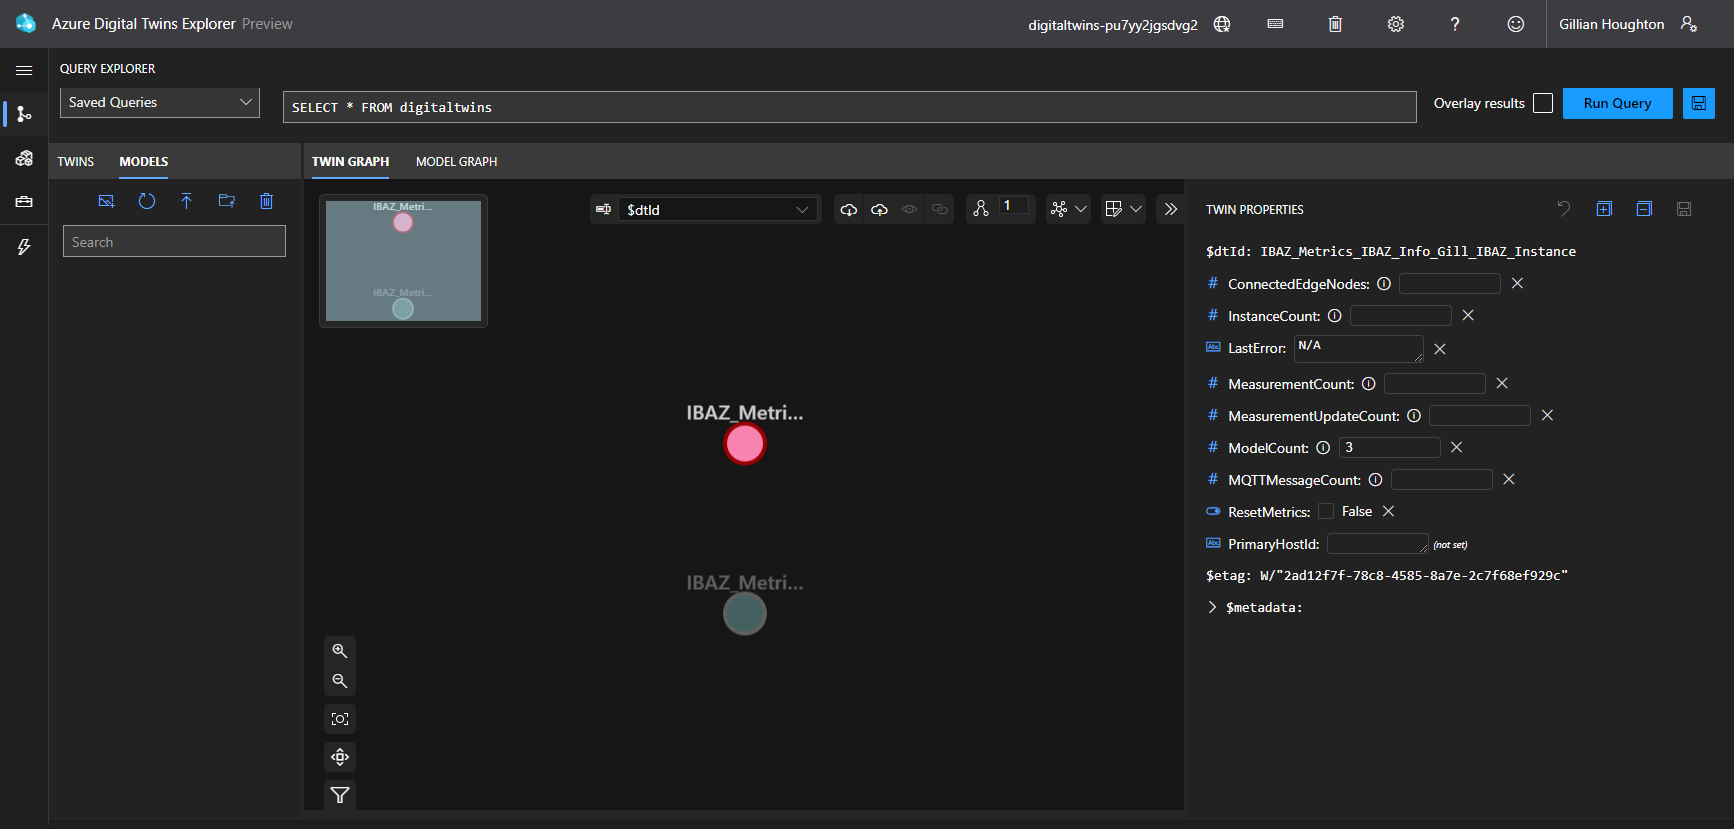
Once imported, you can browse into each tag to see the structure of the UDT and UDT Instances.