![]()
Contents
Cirrus Link Resources
Cirrus Link Website![]()
Contact Us (Sales/Support)![]()
Forum![]()
Cirrus Link Modules Docs for Ignition 7.9.x![]()
Inductive Resources
Ignition User Manual![]()
Knowledge Base Articles![]()
Inductive University![]()
Forum![]()
![]()
Cirrus Link Website![]()
Contact Us (Sales/Support)![]()
Forum![]()
Cirrus Link Modules Docs for Ignition 7.9.x![]()
Ignition User Manual![]()
Knowledge Base Articles![]()
Inductive University![]()
Forum![]()
This is only supported in the current NIGHTLY version of Azure Injector (as of Feb 26, 2021). This will be made standard in the 4.0.7 release of Azure Injector.
This tutorial will provide step-by-step instructions for the following:
Upon completion of this module you will have an Ignition Gateway connected and publishing live Tag data to an Azure IoT Hub and being routed and stored to an Azure Storage Container
Parts of the environment created and configured in the Quick Start are used in this tutorial. So, make sure you have completed this before proceeding.
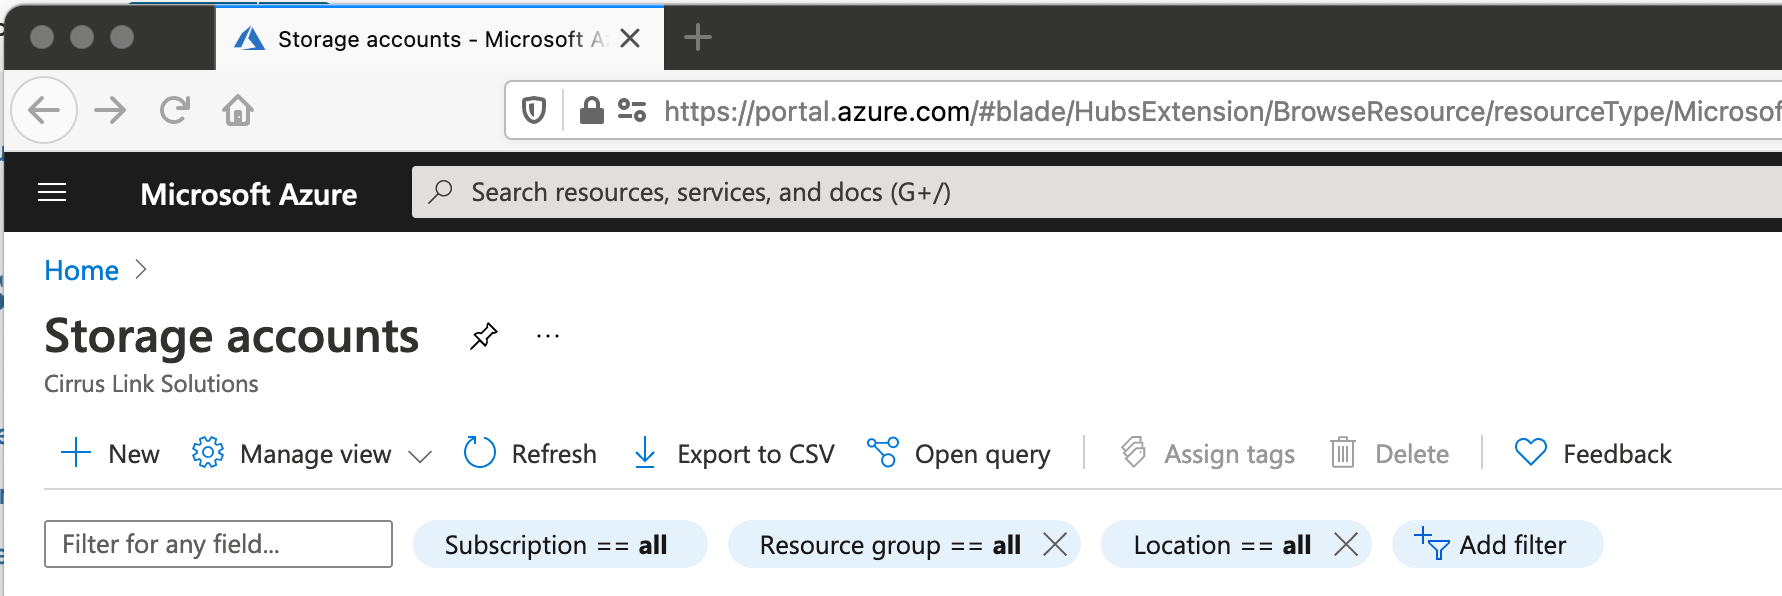
In Azure, browse to 'Storage Accounts'. You should see something similar to what is shown below:
Click 'New' in the upper left corner. This will open the following window:
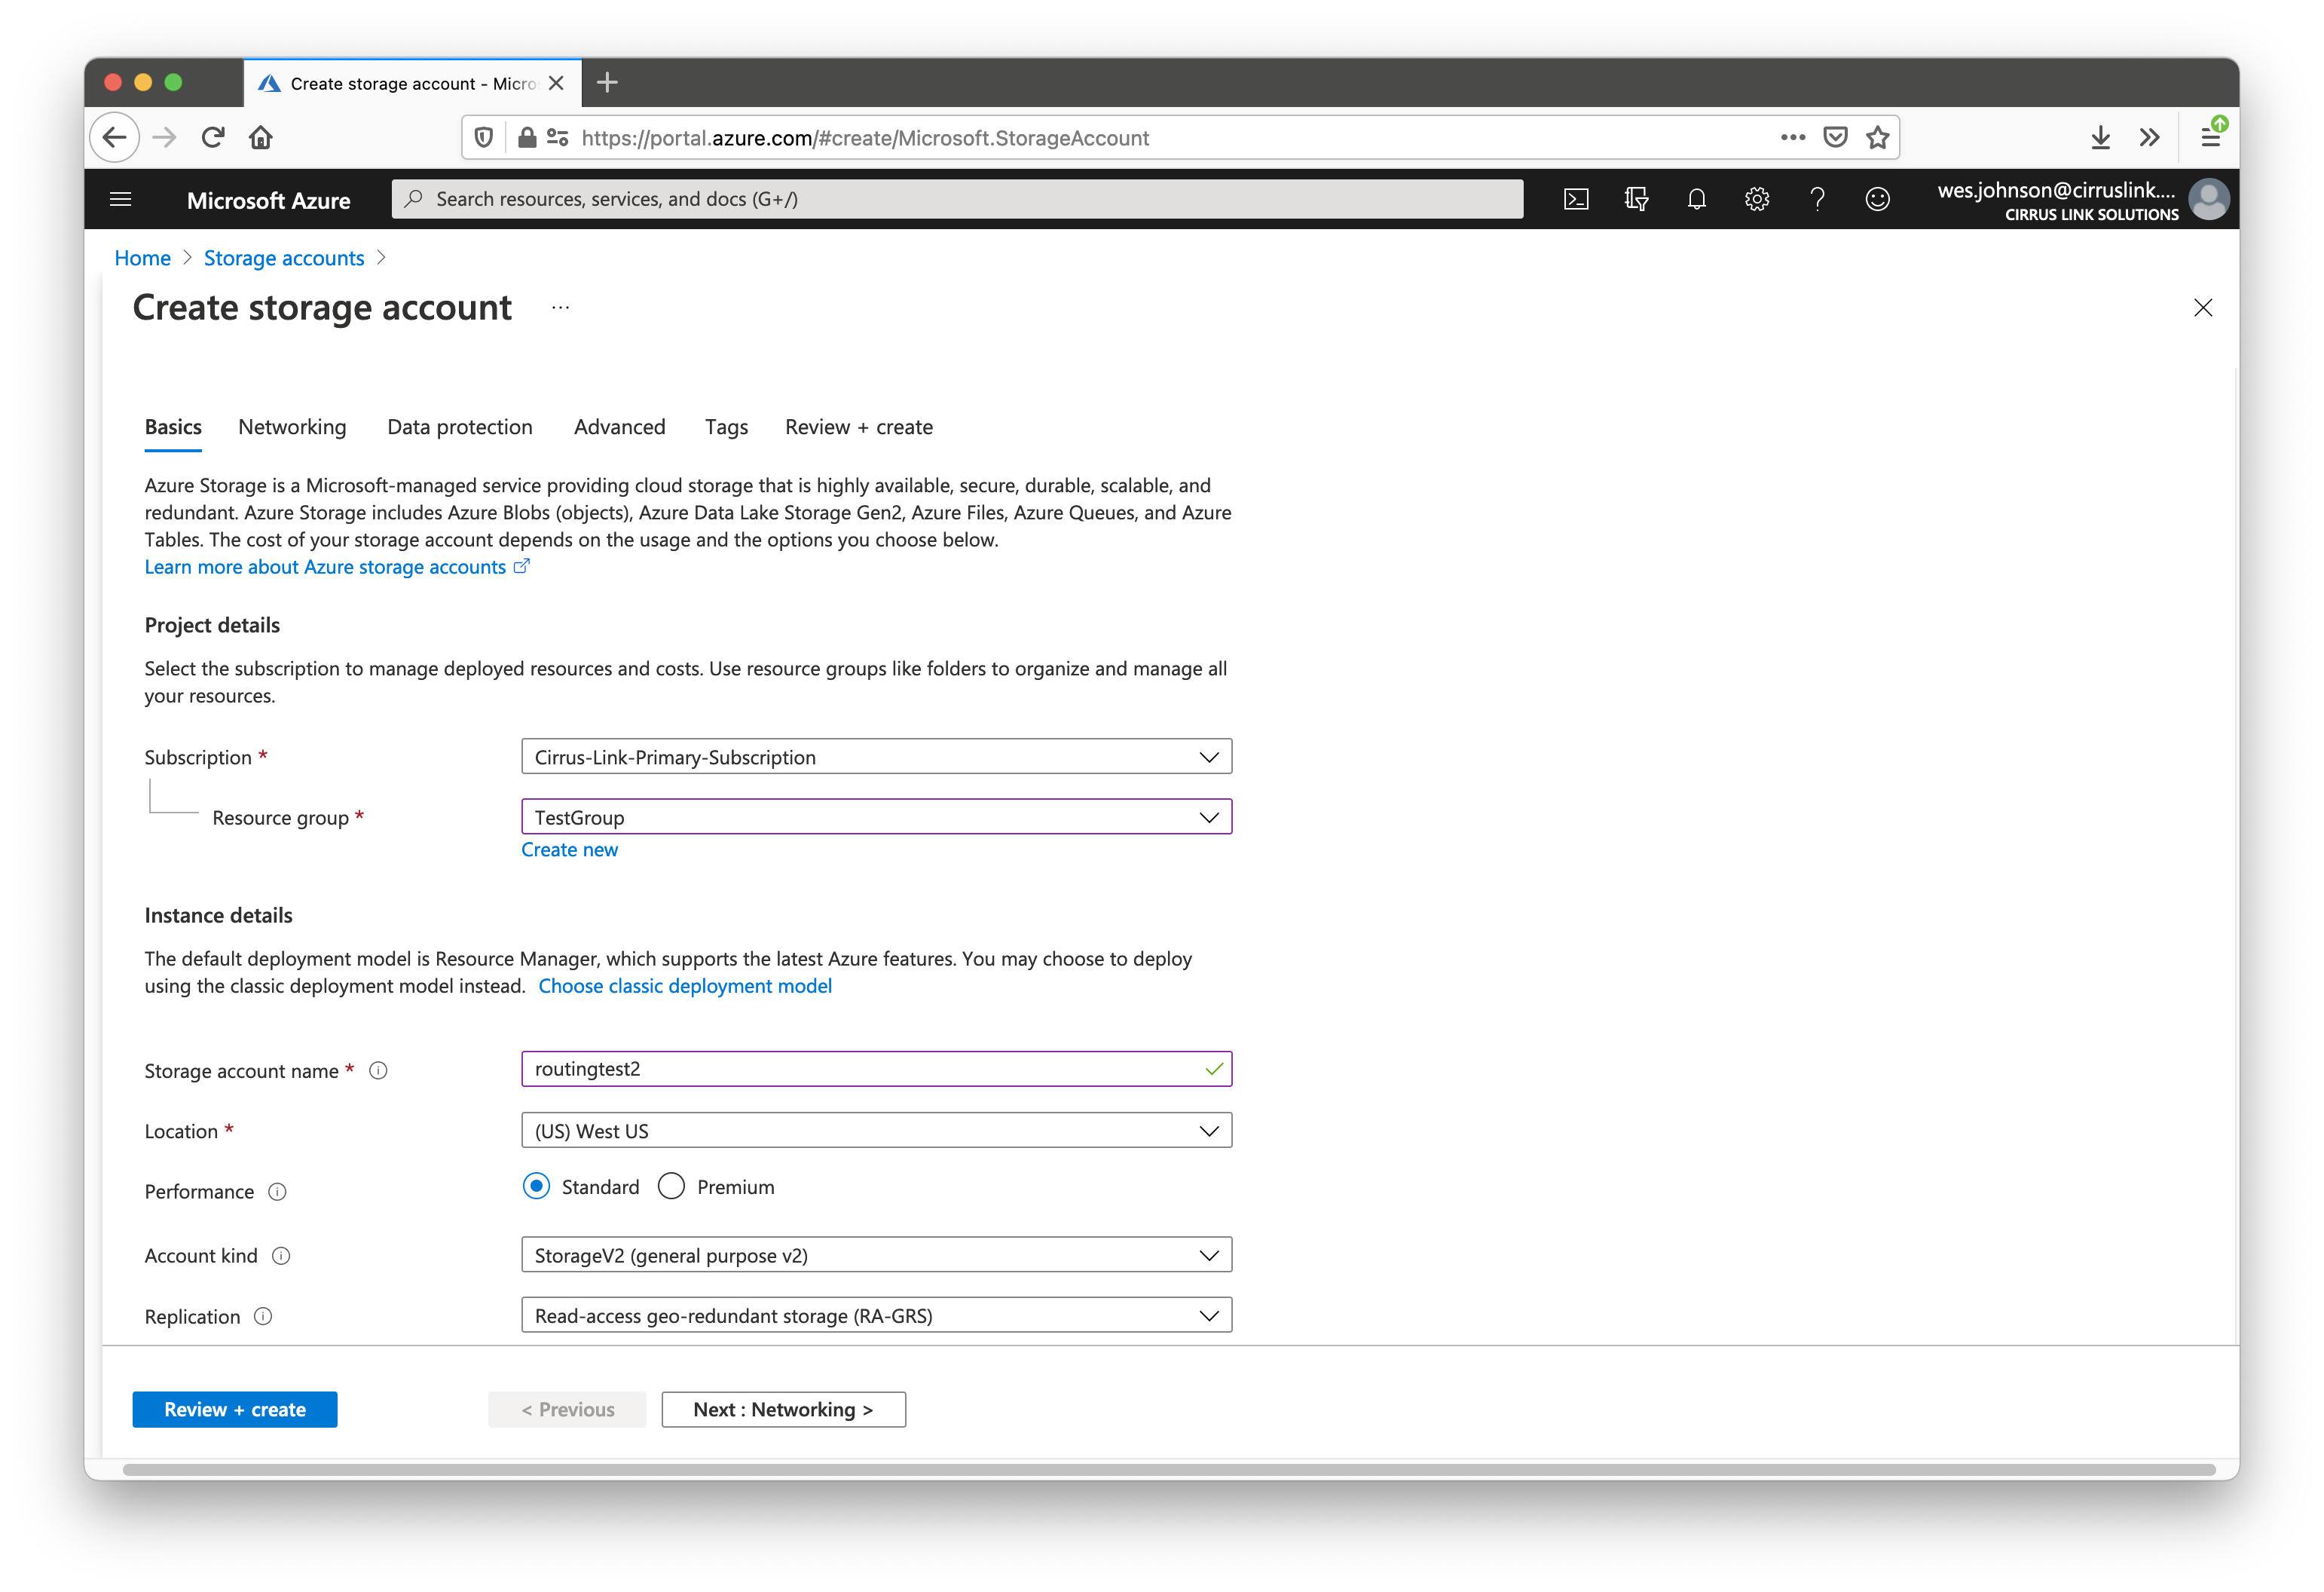
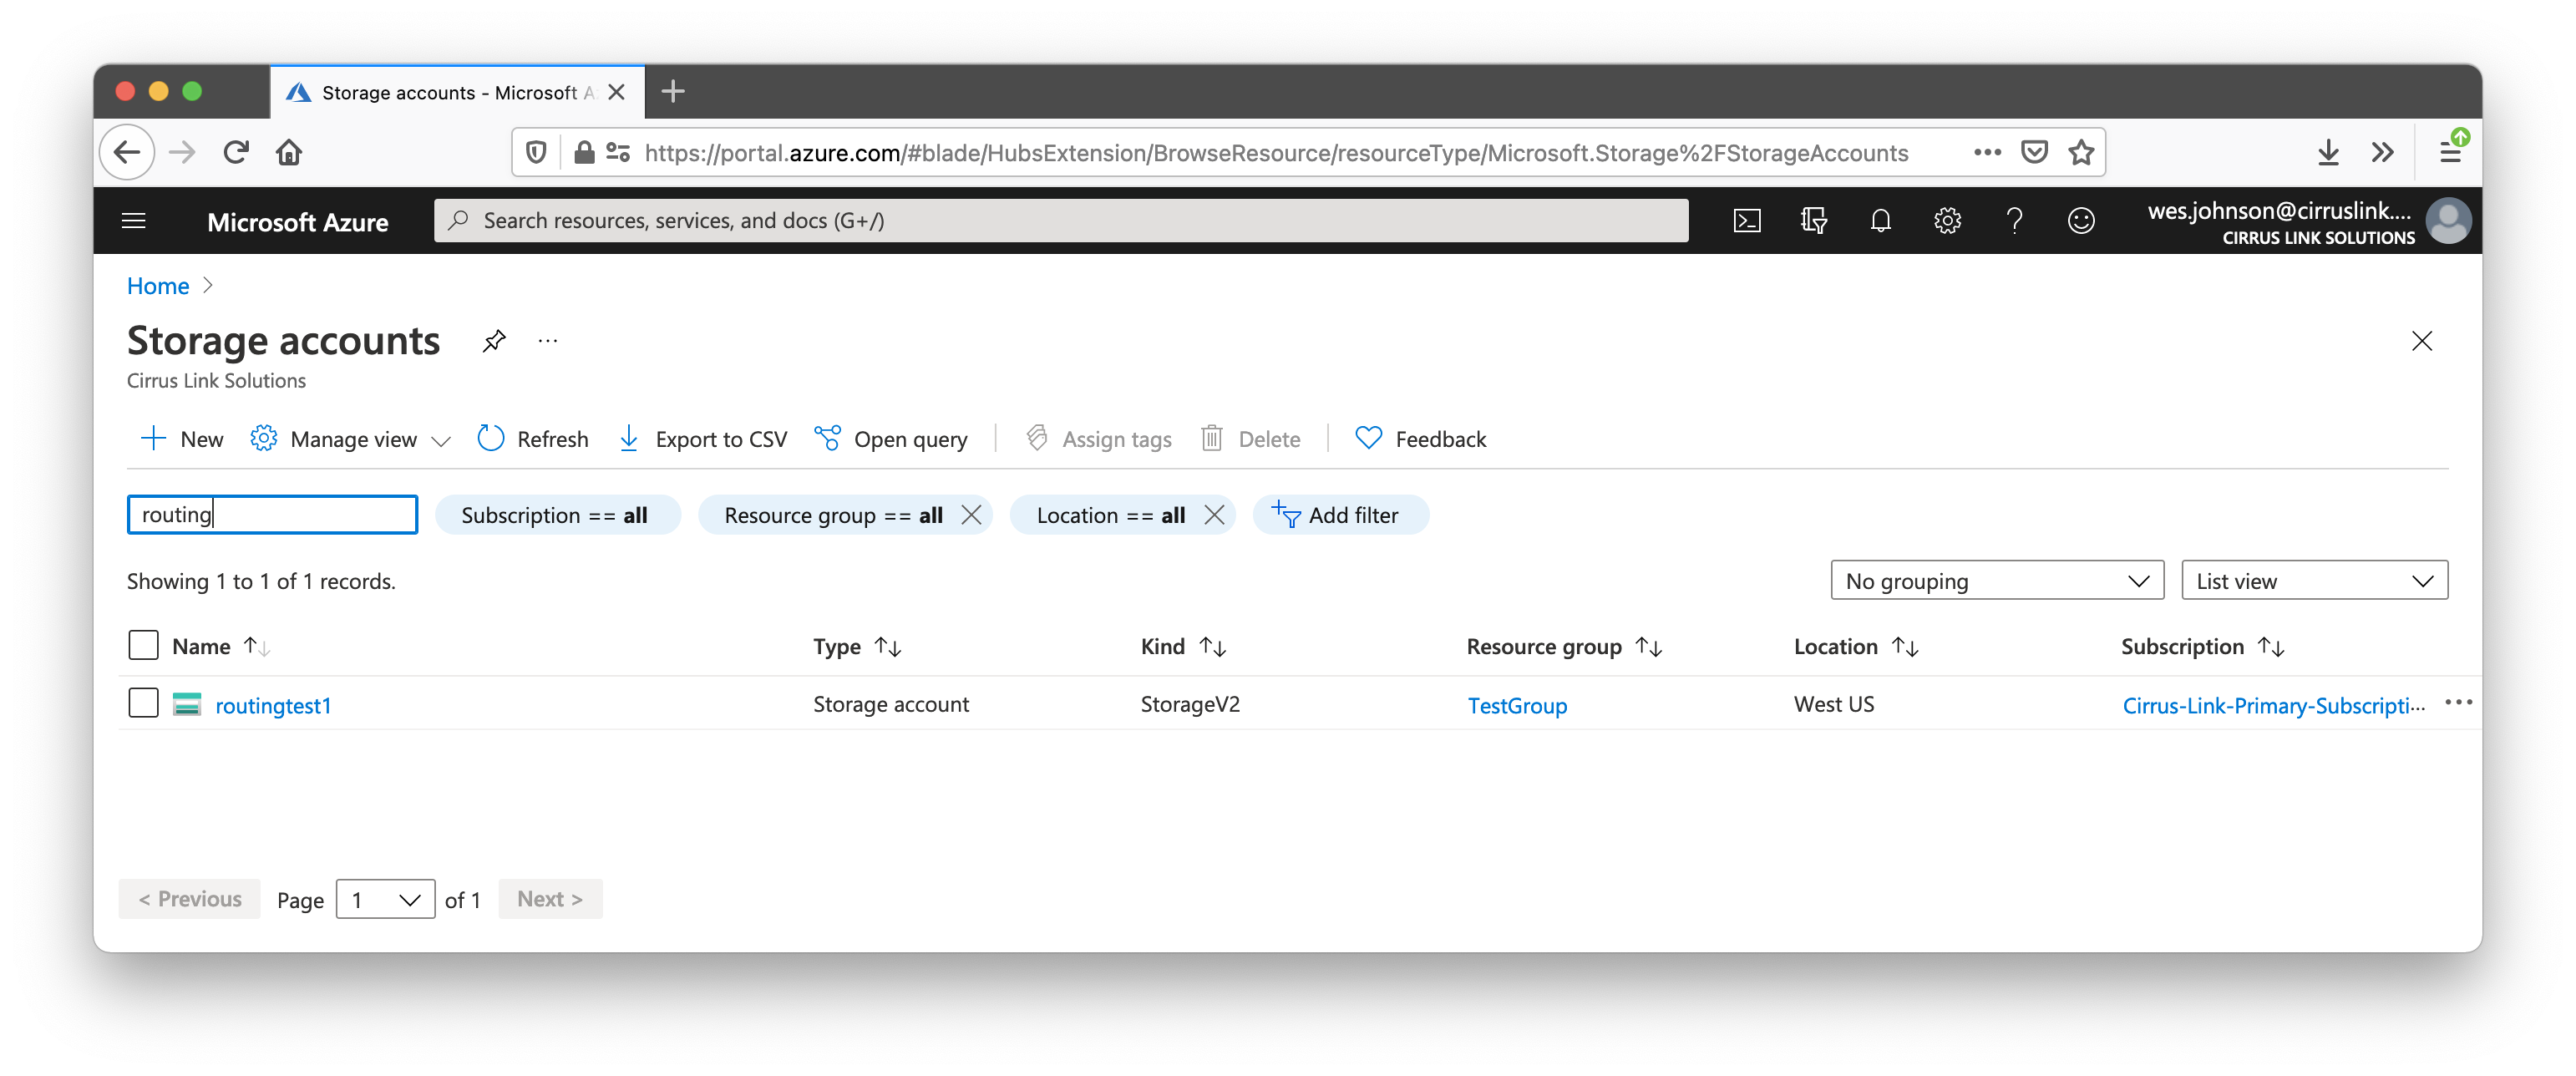
Specify the Subscription, Resource Group, Storage account name, and Location as shown above. Leave the other fields default. Now click 'Review + Create' near the bottom of the screen. All of the other tab fields (under Networking, Data Protection, Advanced, and Tags) can be left default for the purposes of this example. However, if this is intended to run in production make sure to visit these tabs and set up the Storage Account appropriately for your use case and security needs. After creating the Storage account, you should see it on the main Storage Accounts page as shown below:
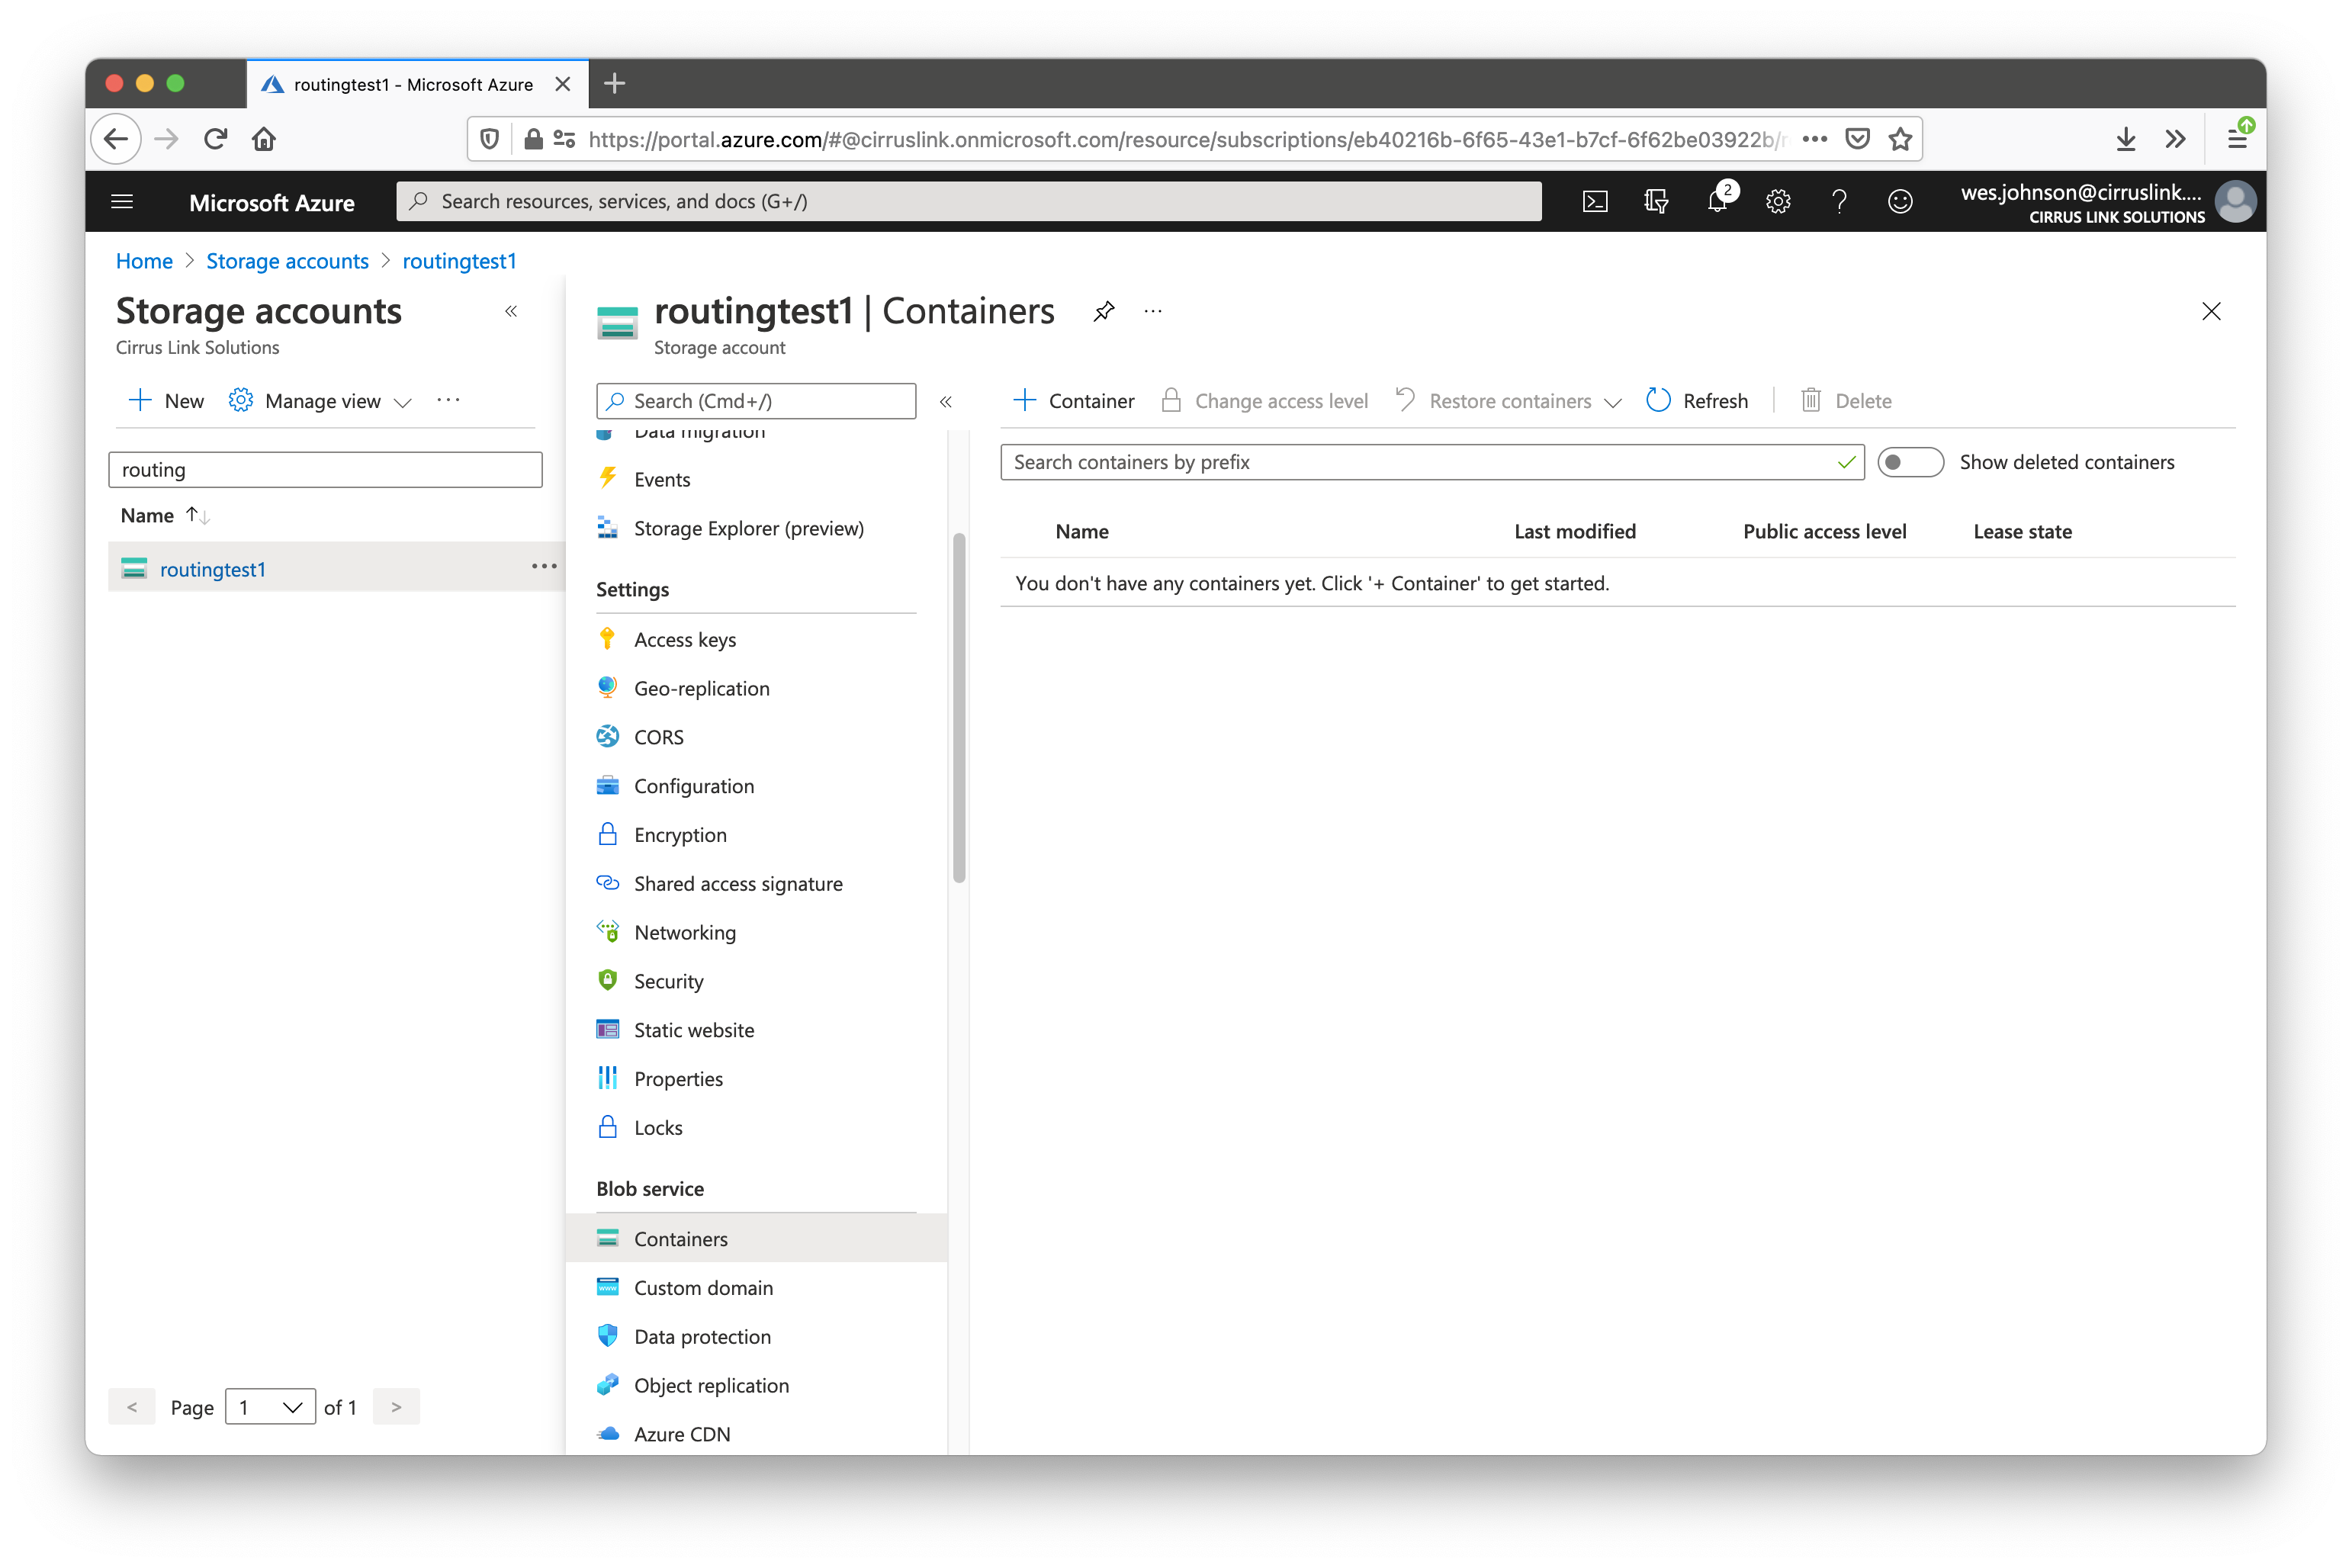
Now select the Storage Account and and scroll down to 'Containers' in the navigation pane for the Storage Account. This is under the 'Blob Service' section as shown below.
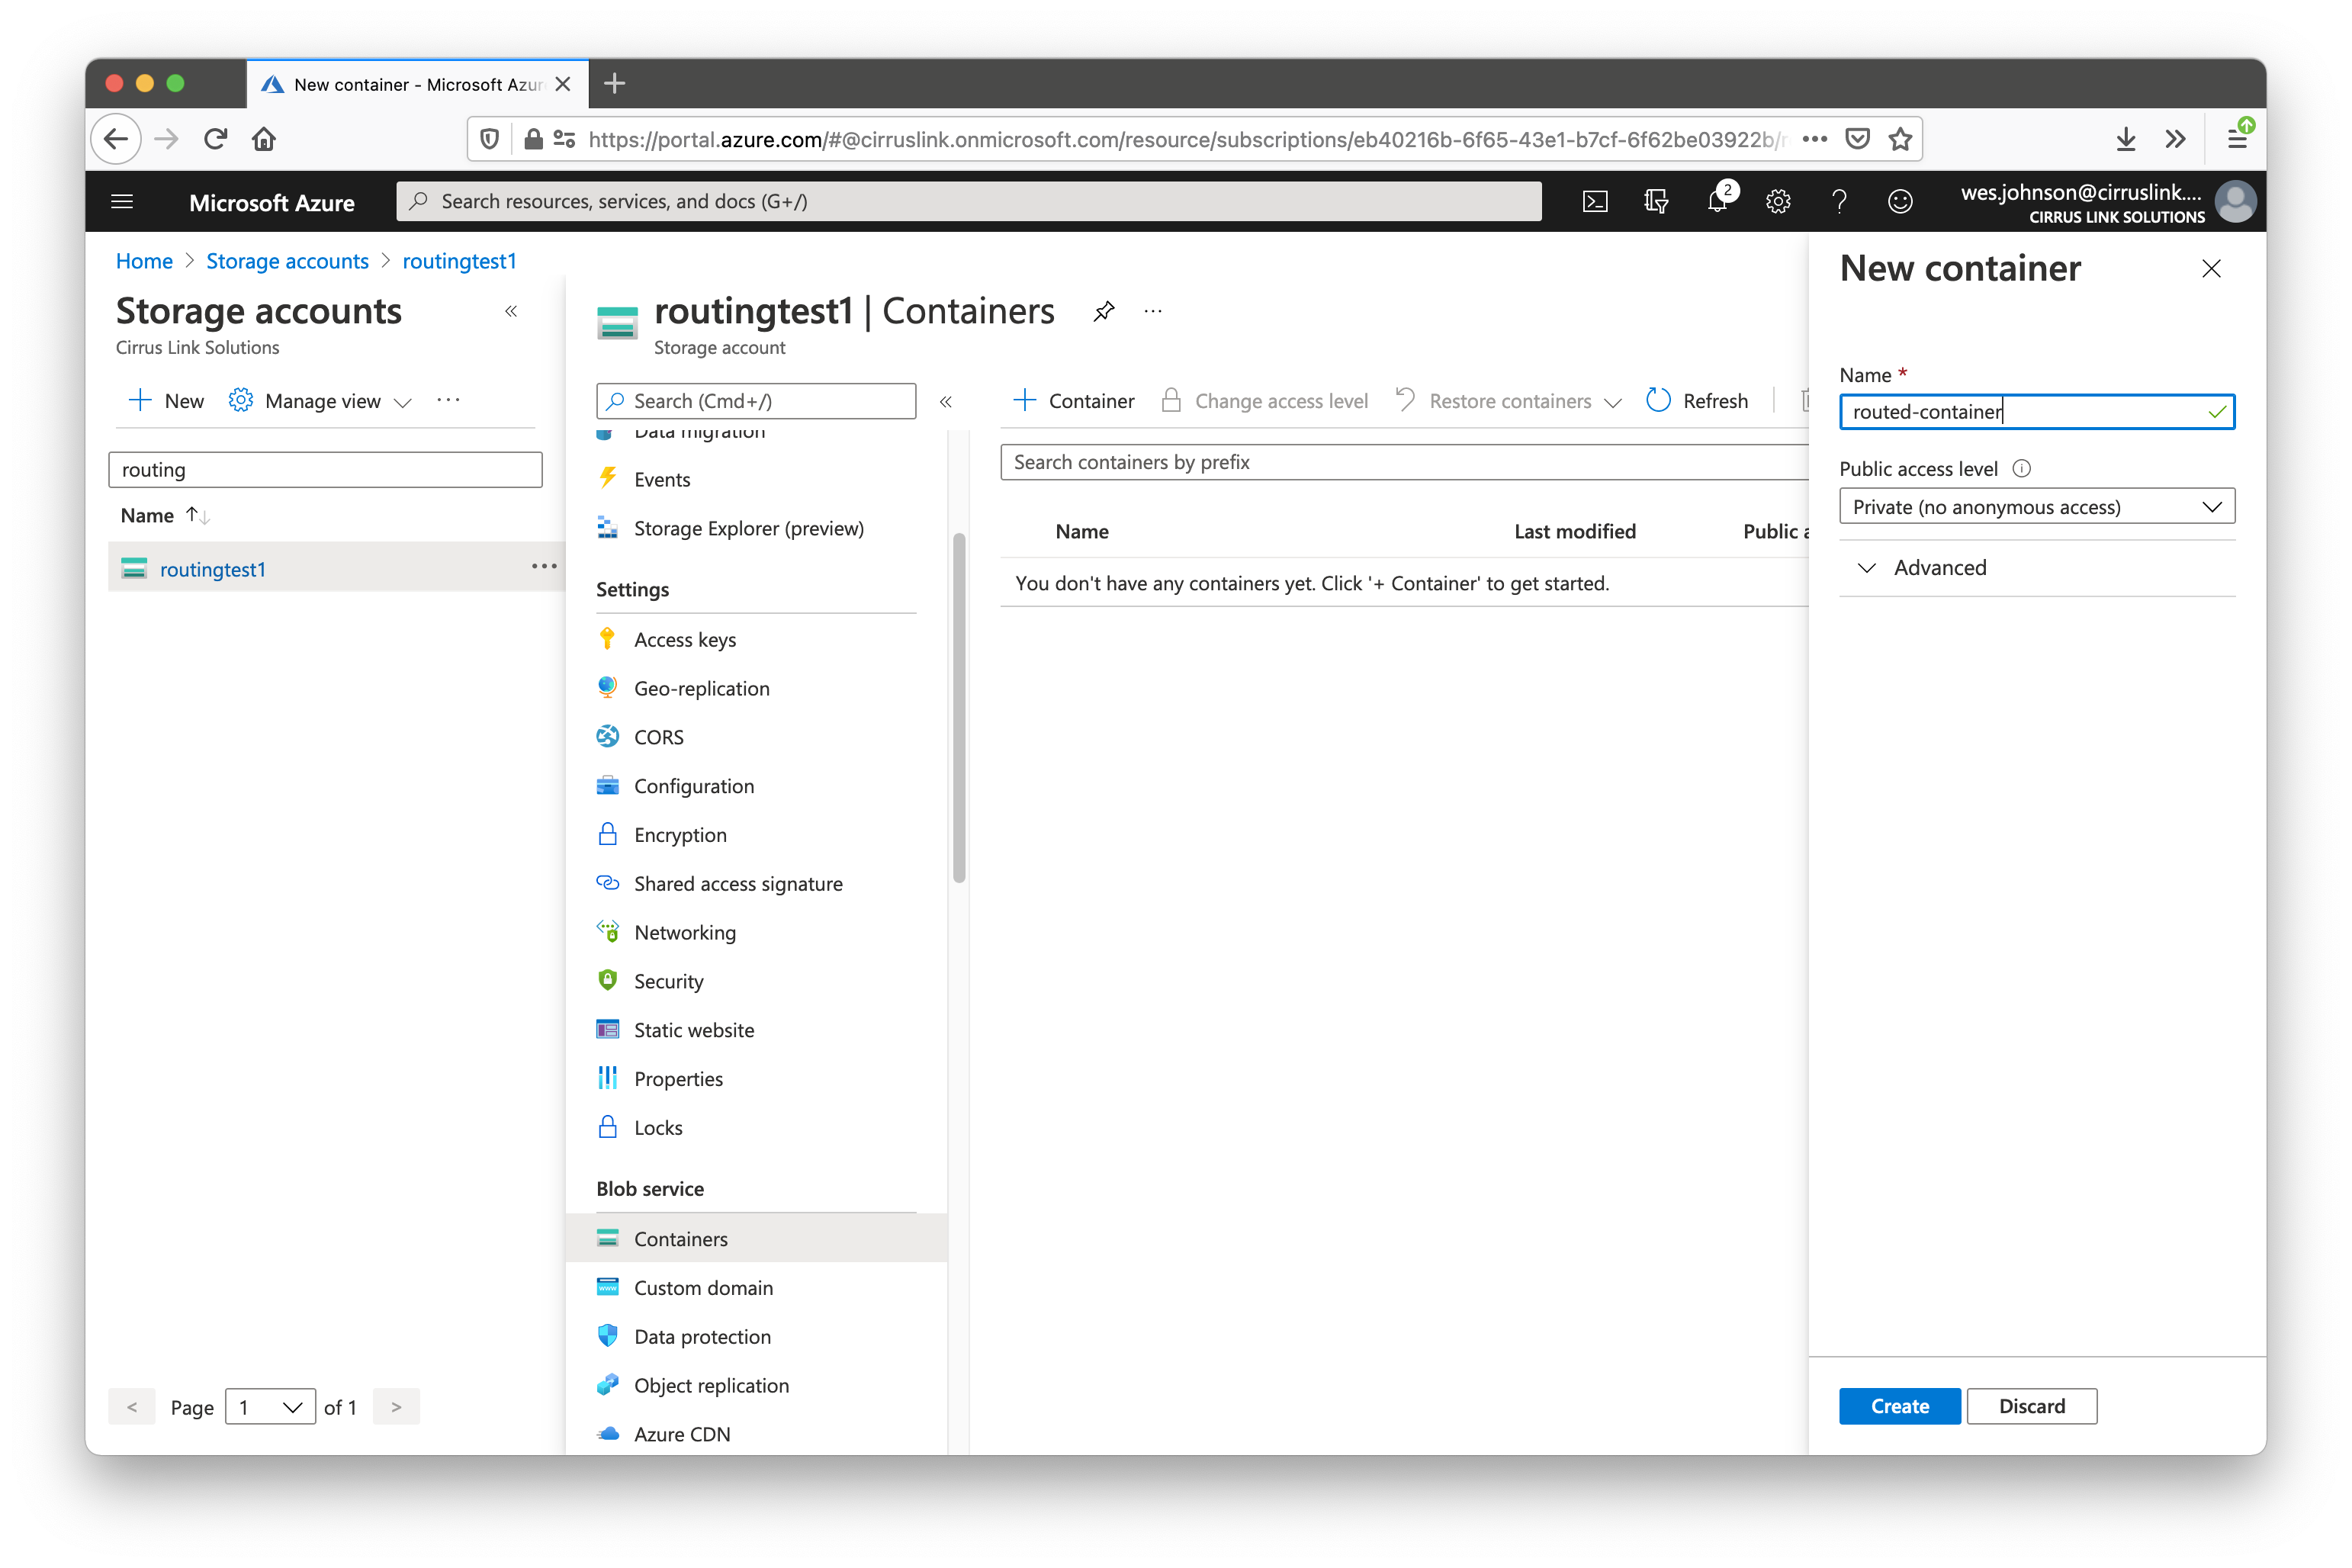
Click the '+ Container' button near the top of the main panel. This will open a new panel on the right. Give the new container a name as shown below and click 'Create' in the lower right of the page.
You should now see the new container as shown below.
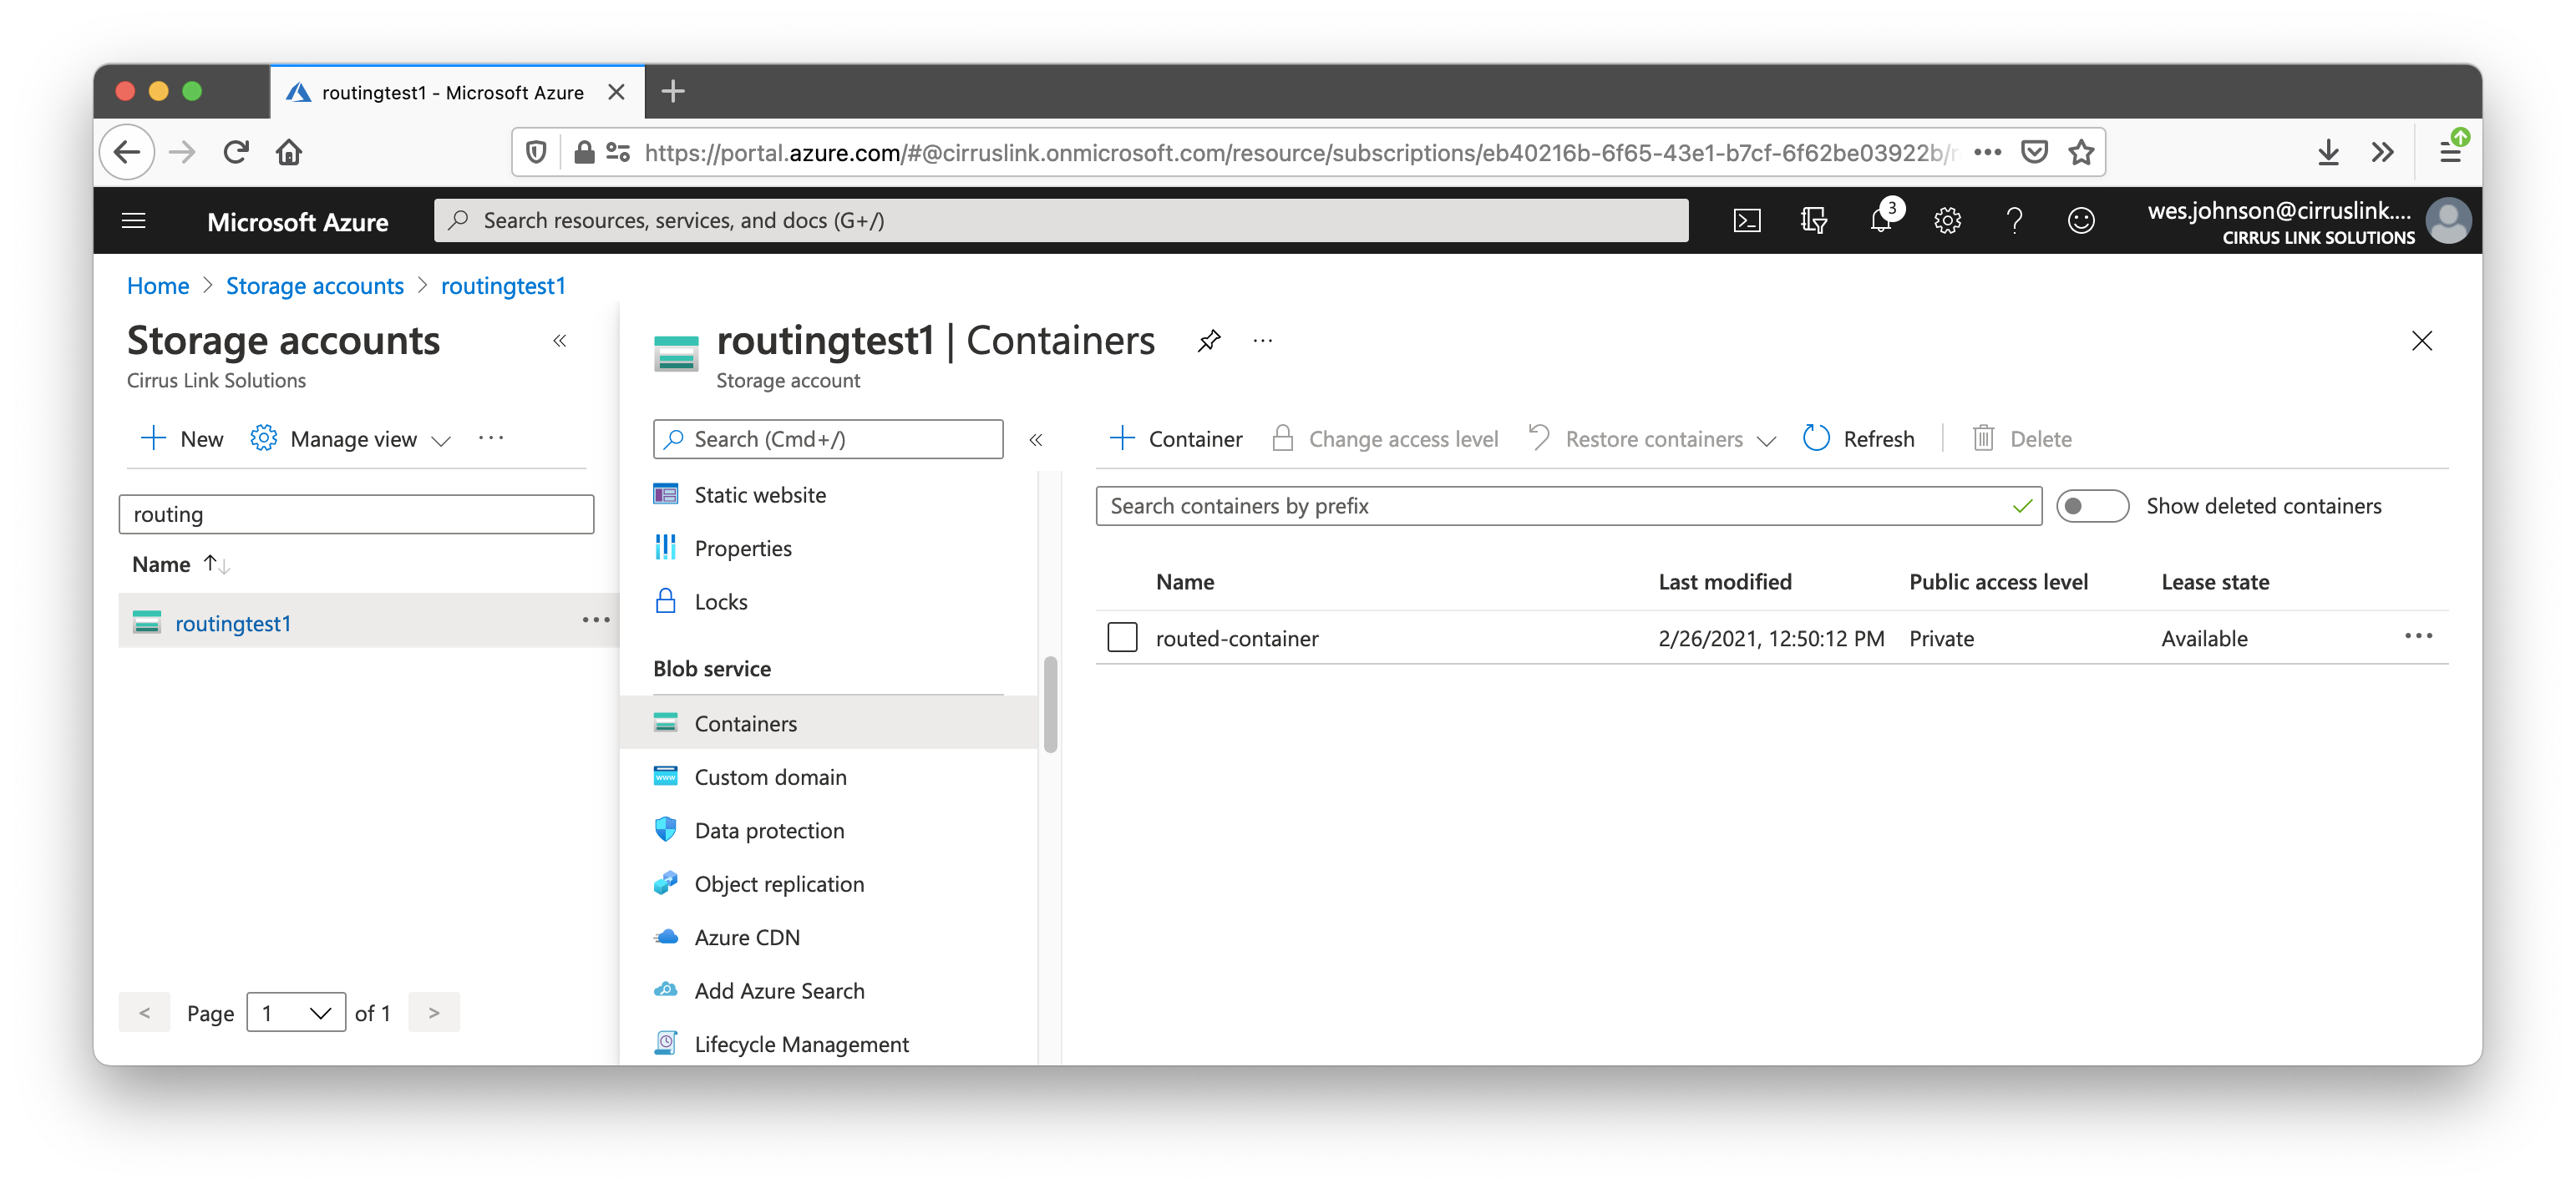
At this point the Storage Account and Container are ready to receive routed messages from Azure IoT Hub.
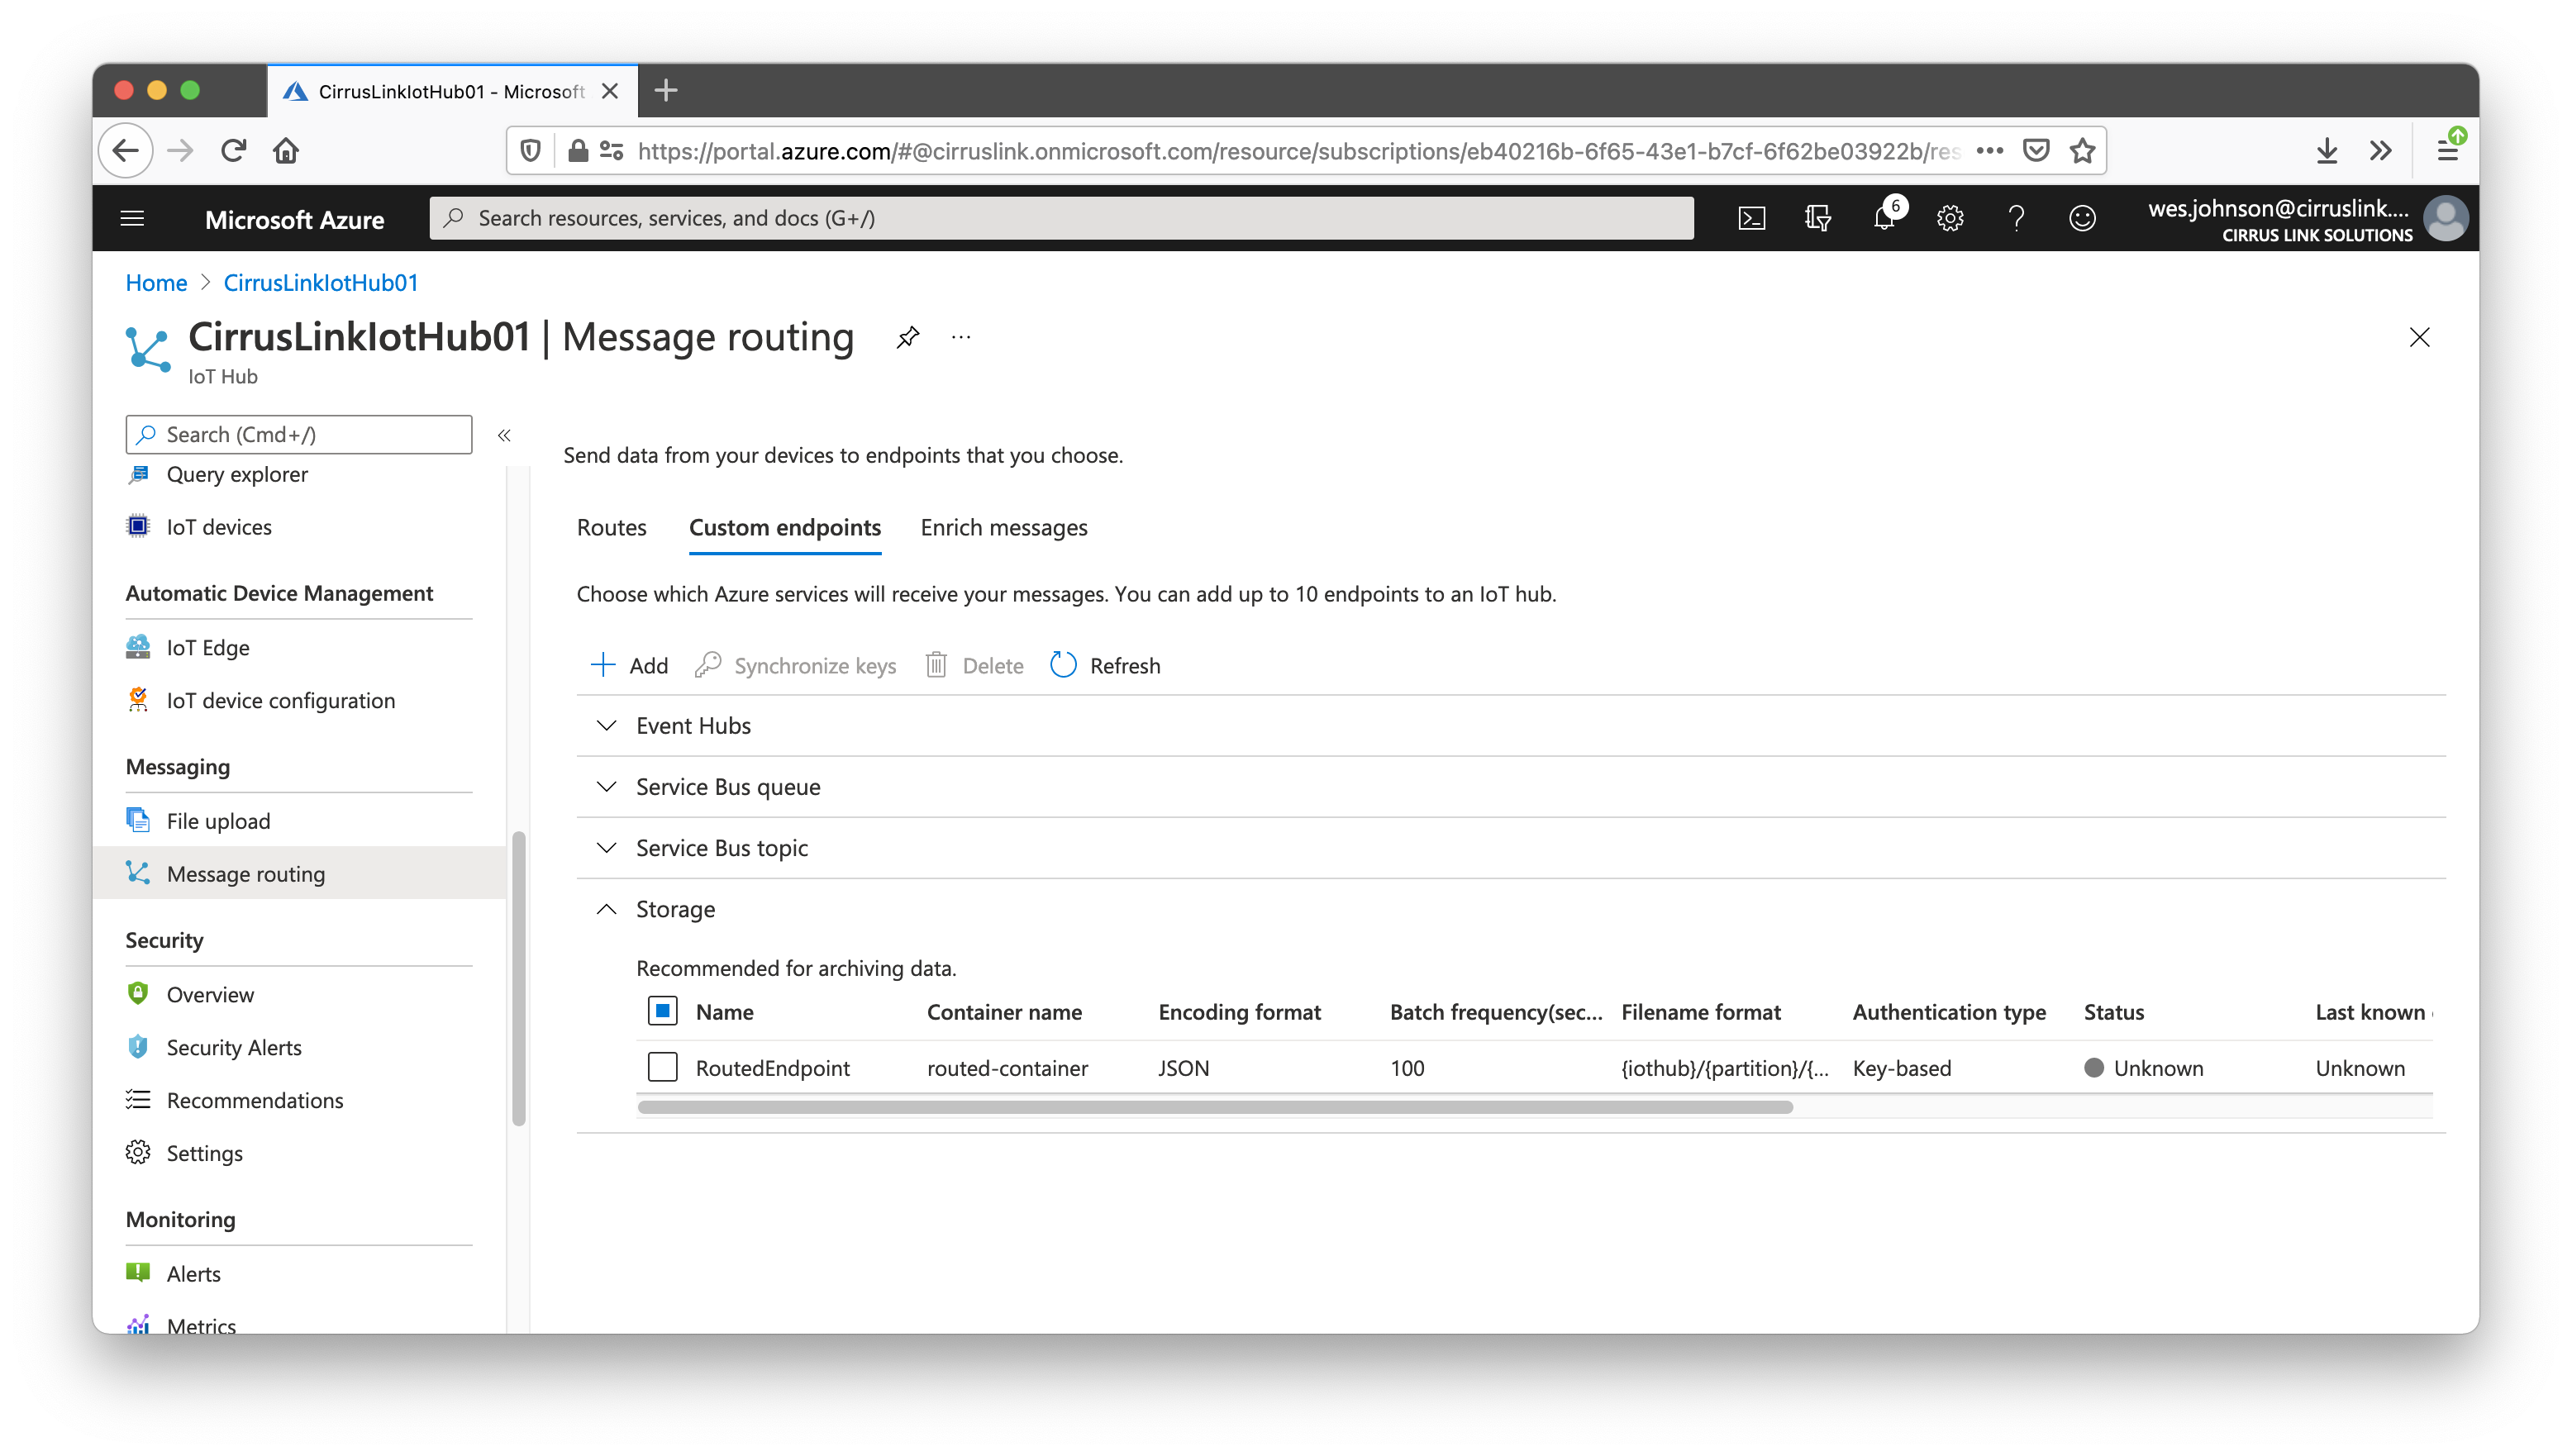
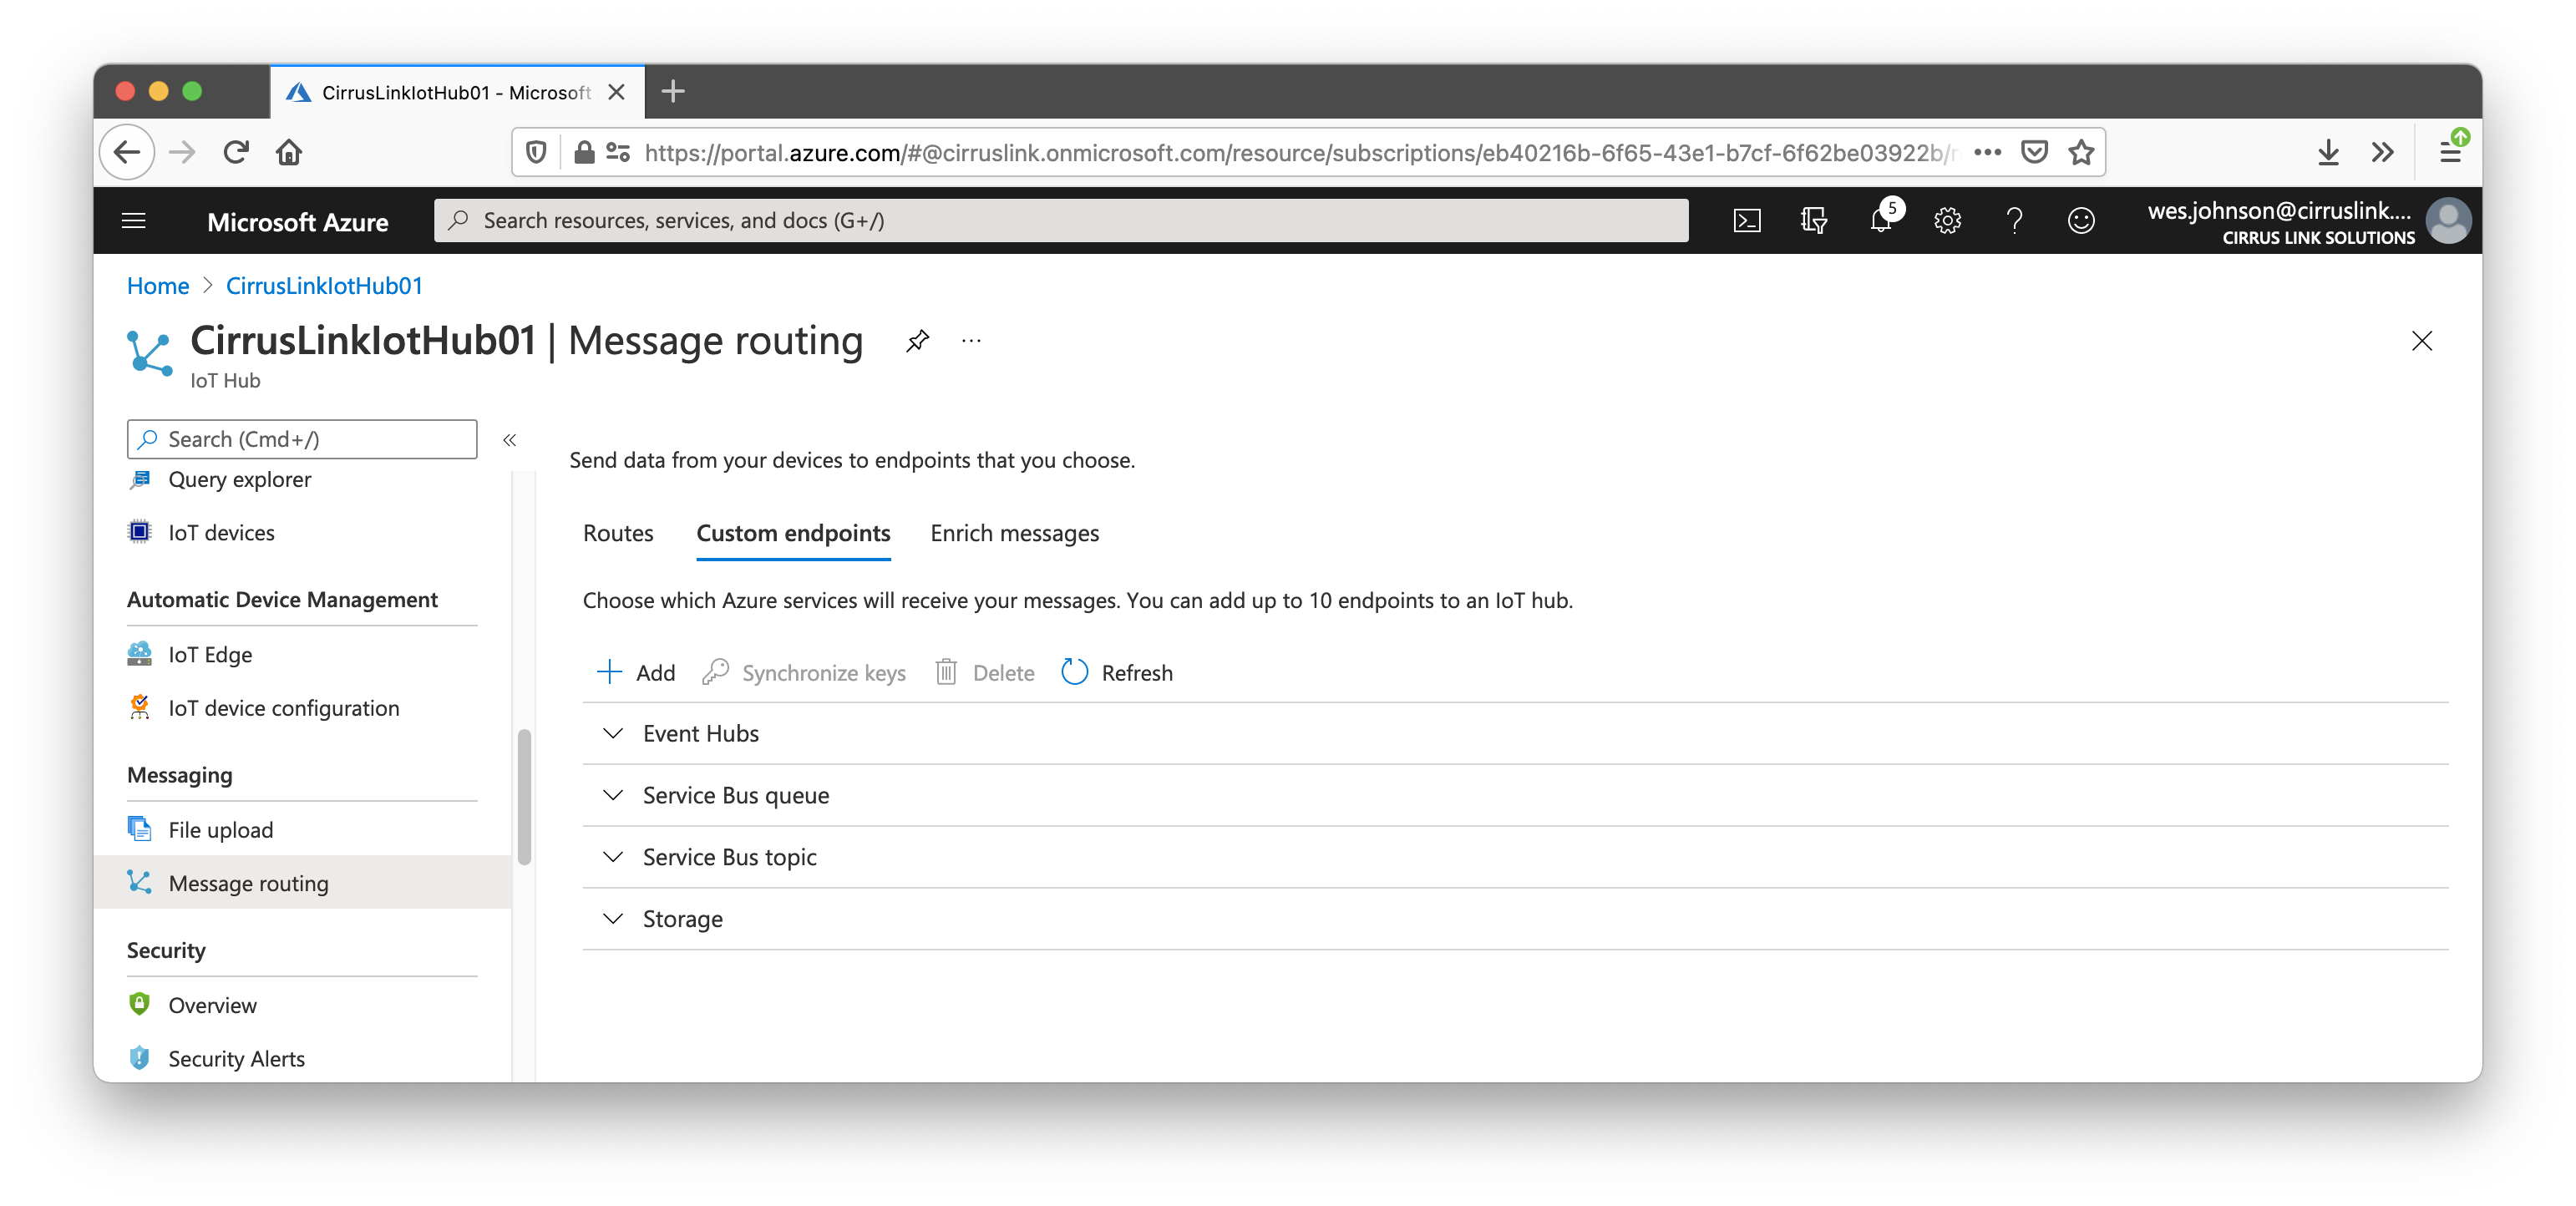
In the Azure portal, browse to the IoT Hub that was provisioned as part of the prerequisites of this tutorial. Using the left navigation pane, scroll down to 'Message routing' under the 'Messaging' heading as shown below.
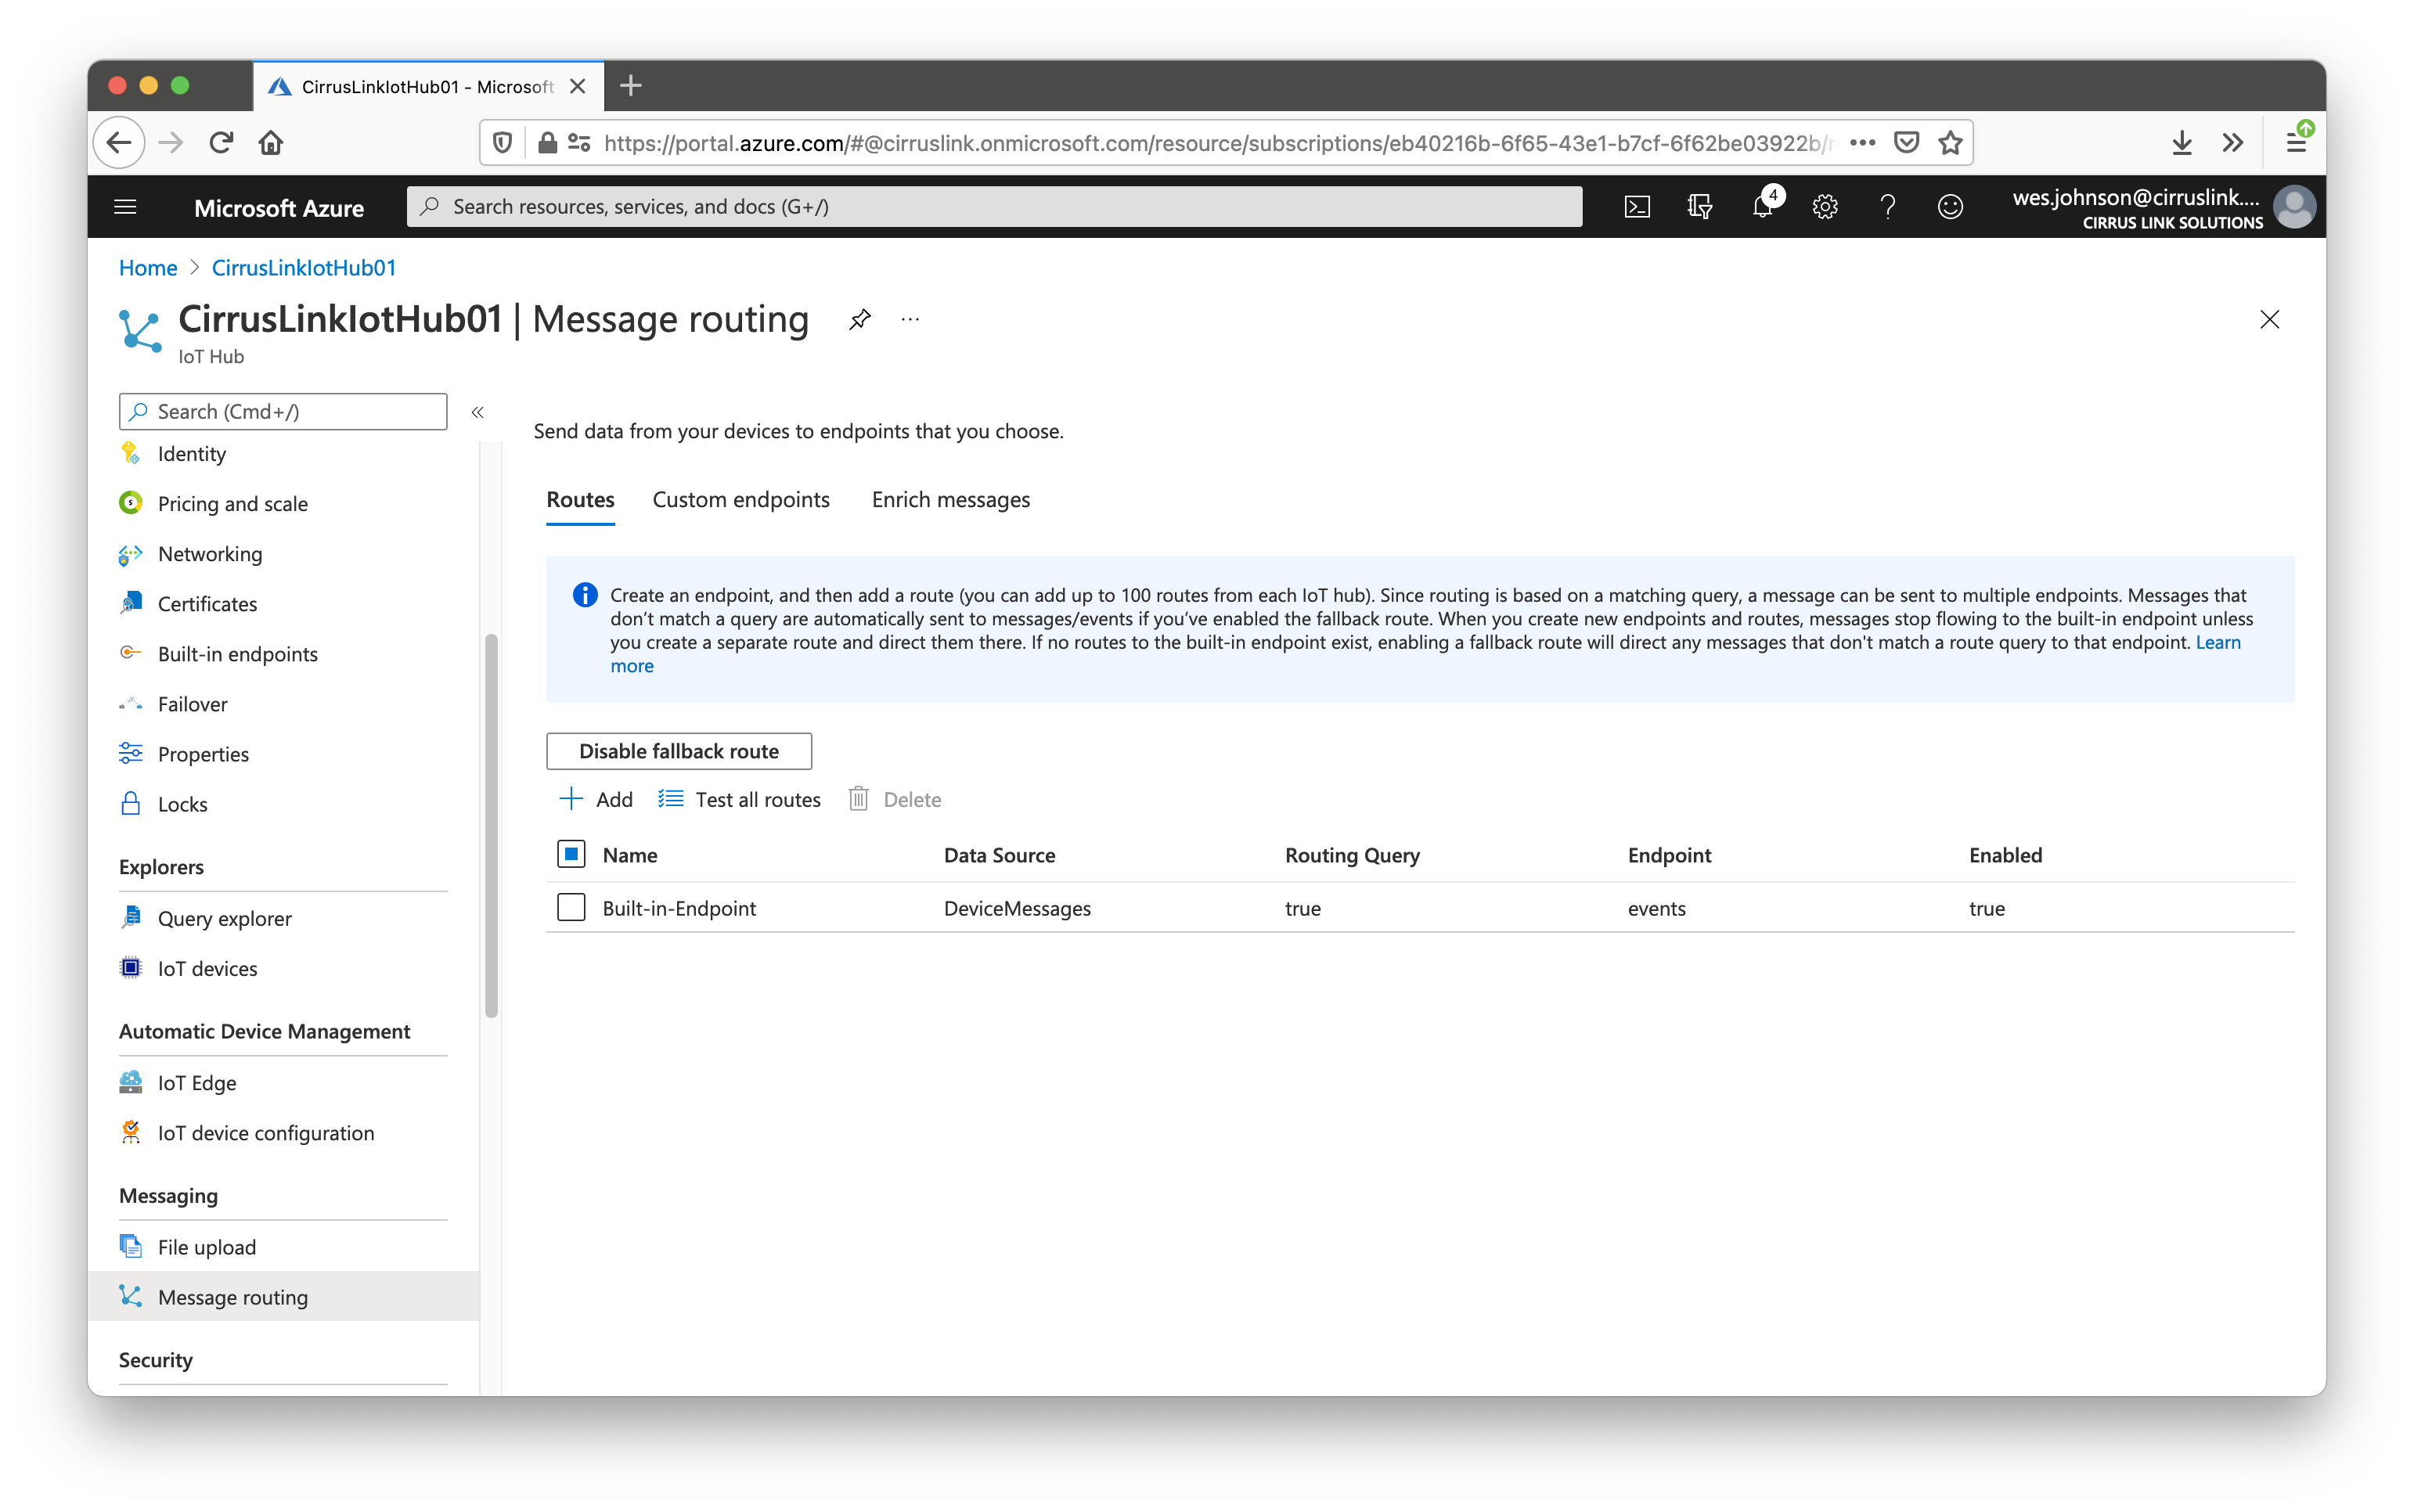
In the main panel you will see tabs including 'Routes', 'Custom Endpoints', and 'Enrich messages'. Select 'Custom endpoints' as shown below:
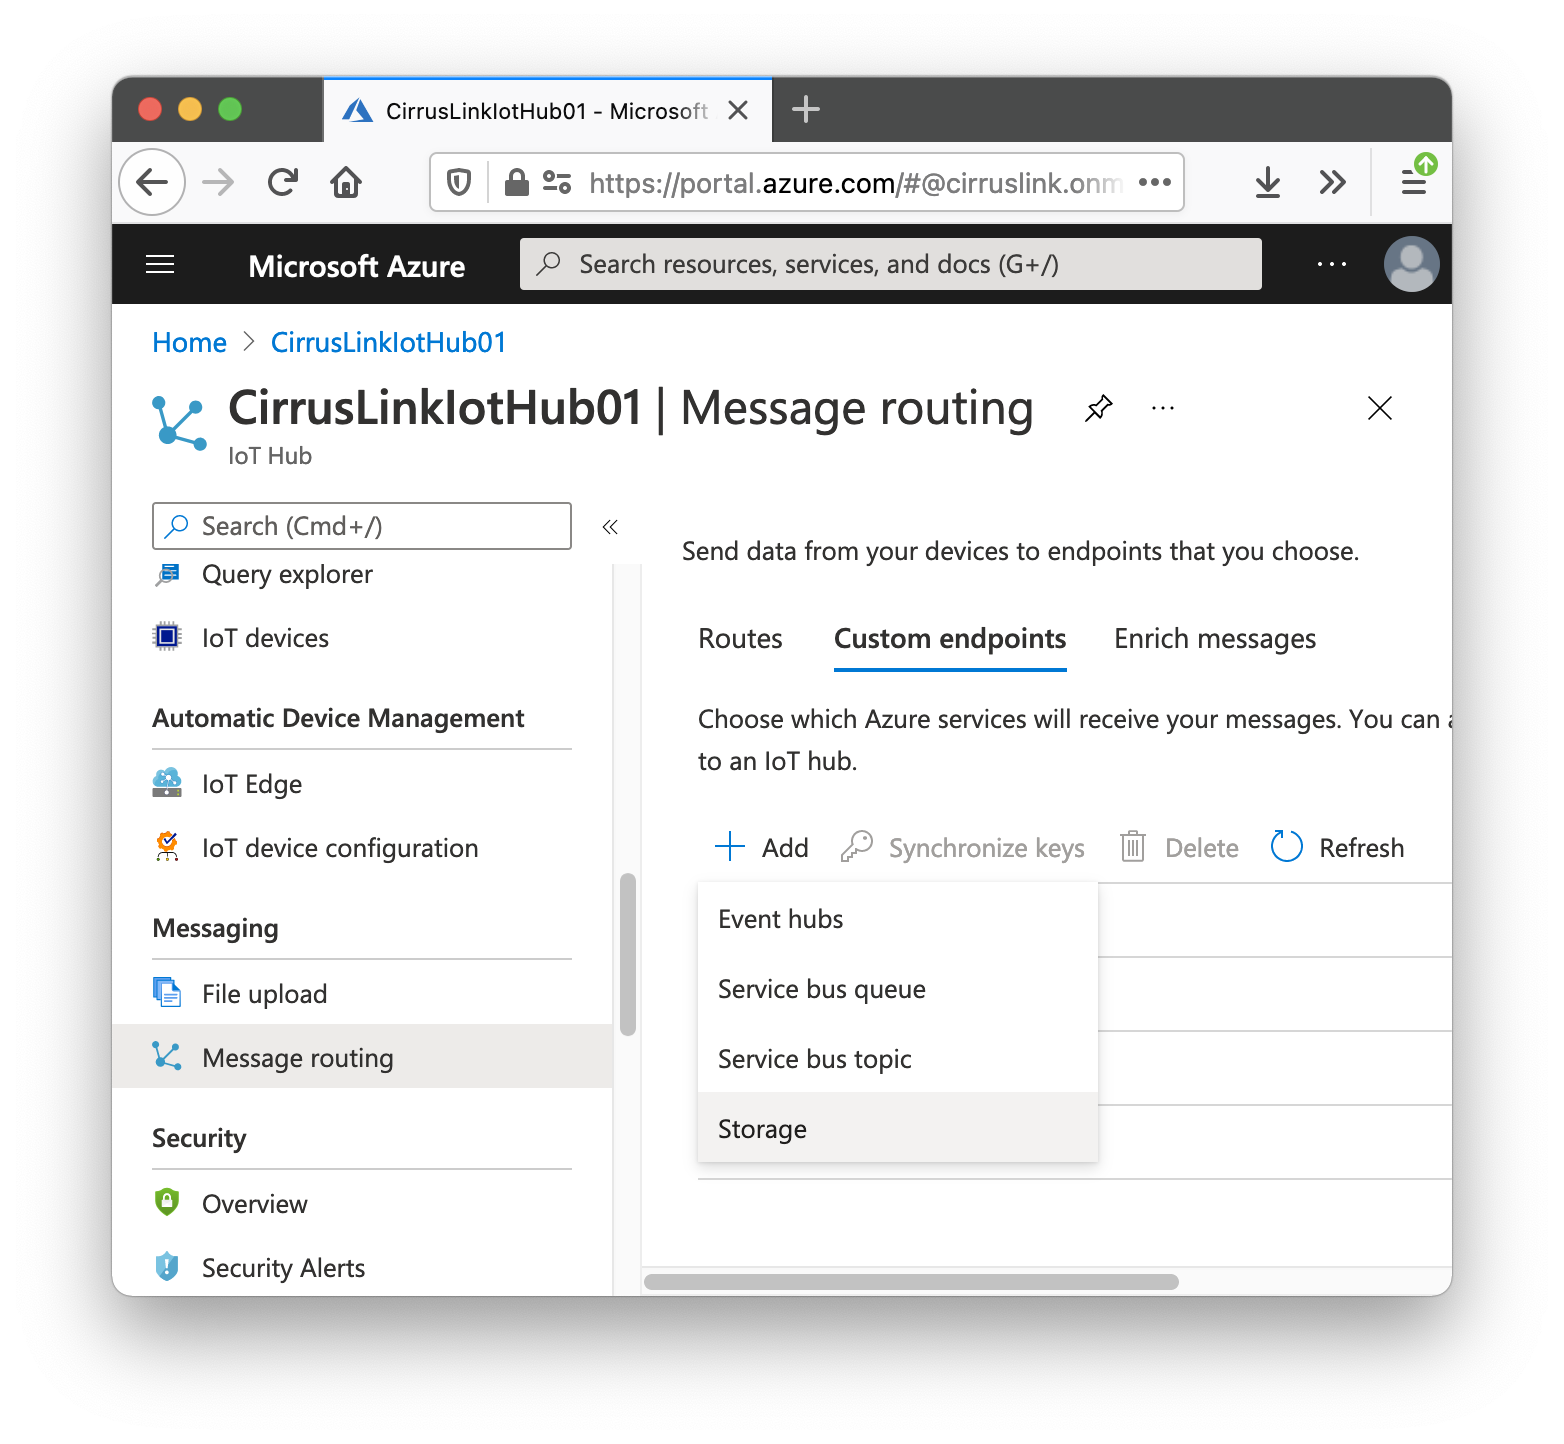
Now click the '+ Add' button to add a new Custom Endpoint. This will open a drop down menu. Select 'Storage' as the endpoint type as shown below.
This will open the window below:
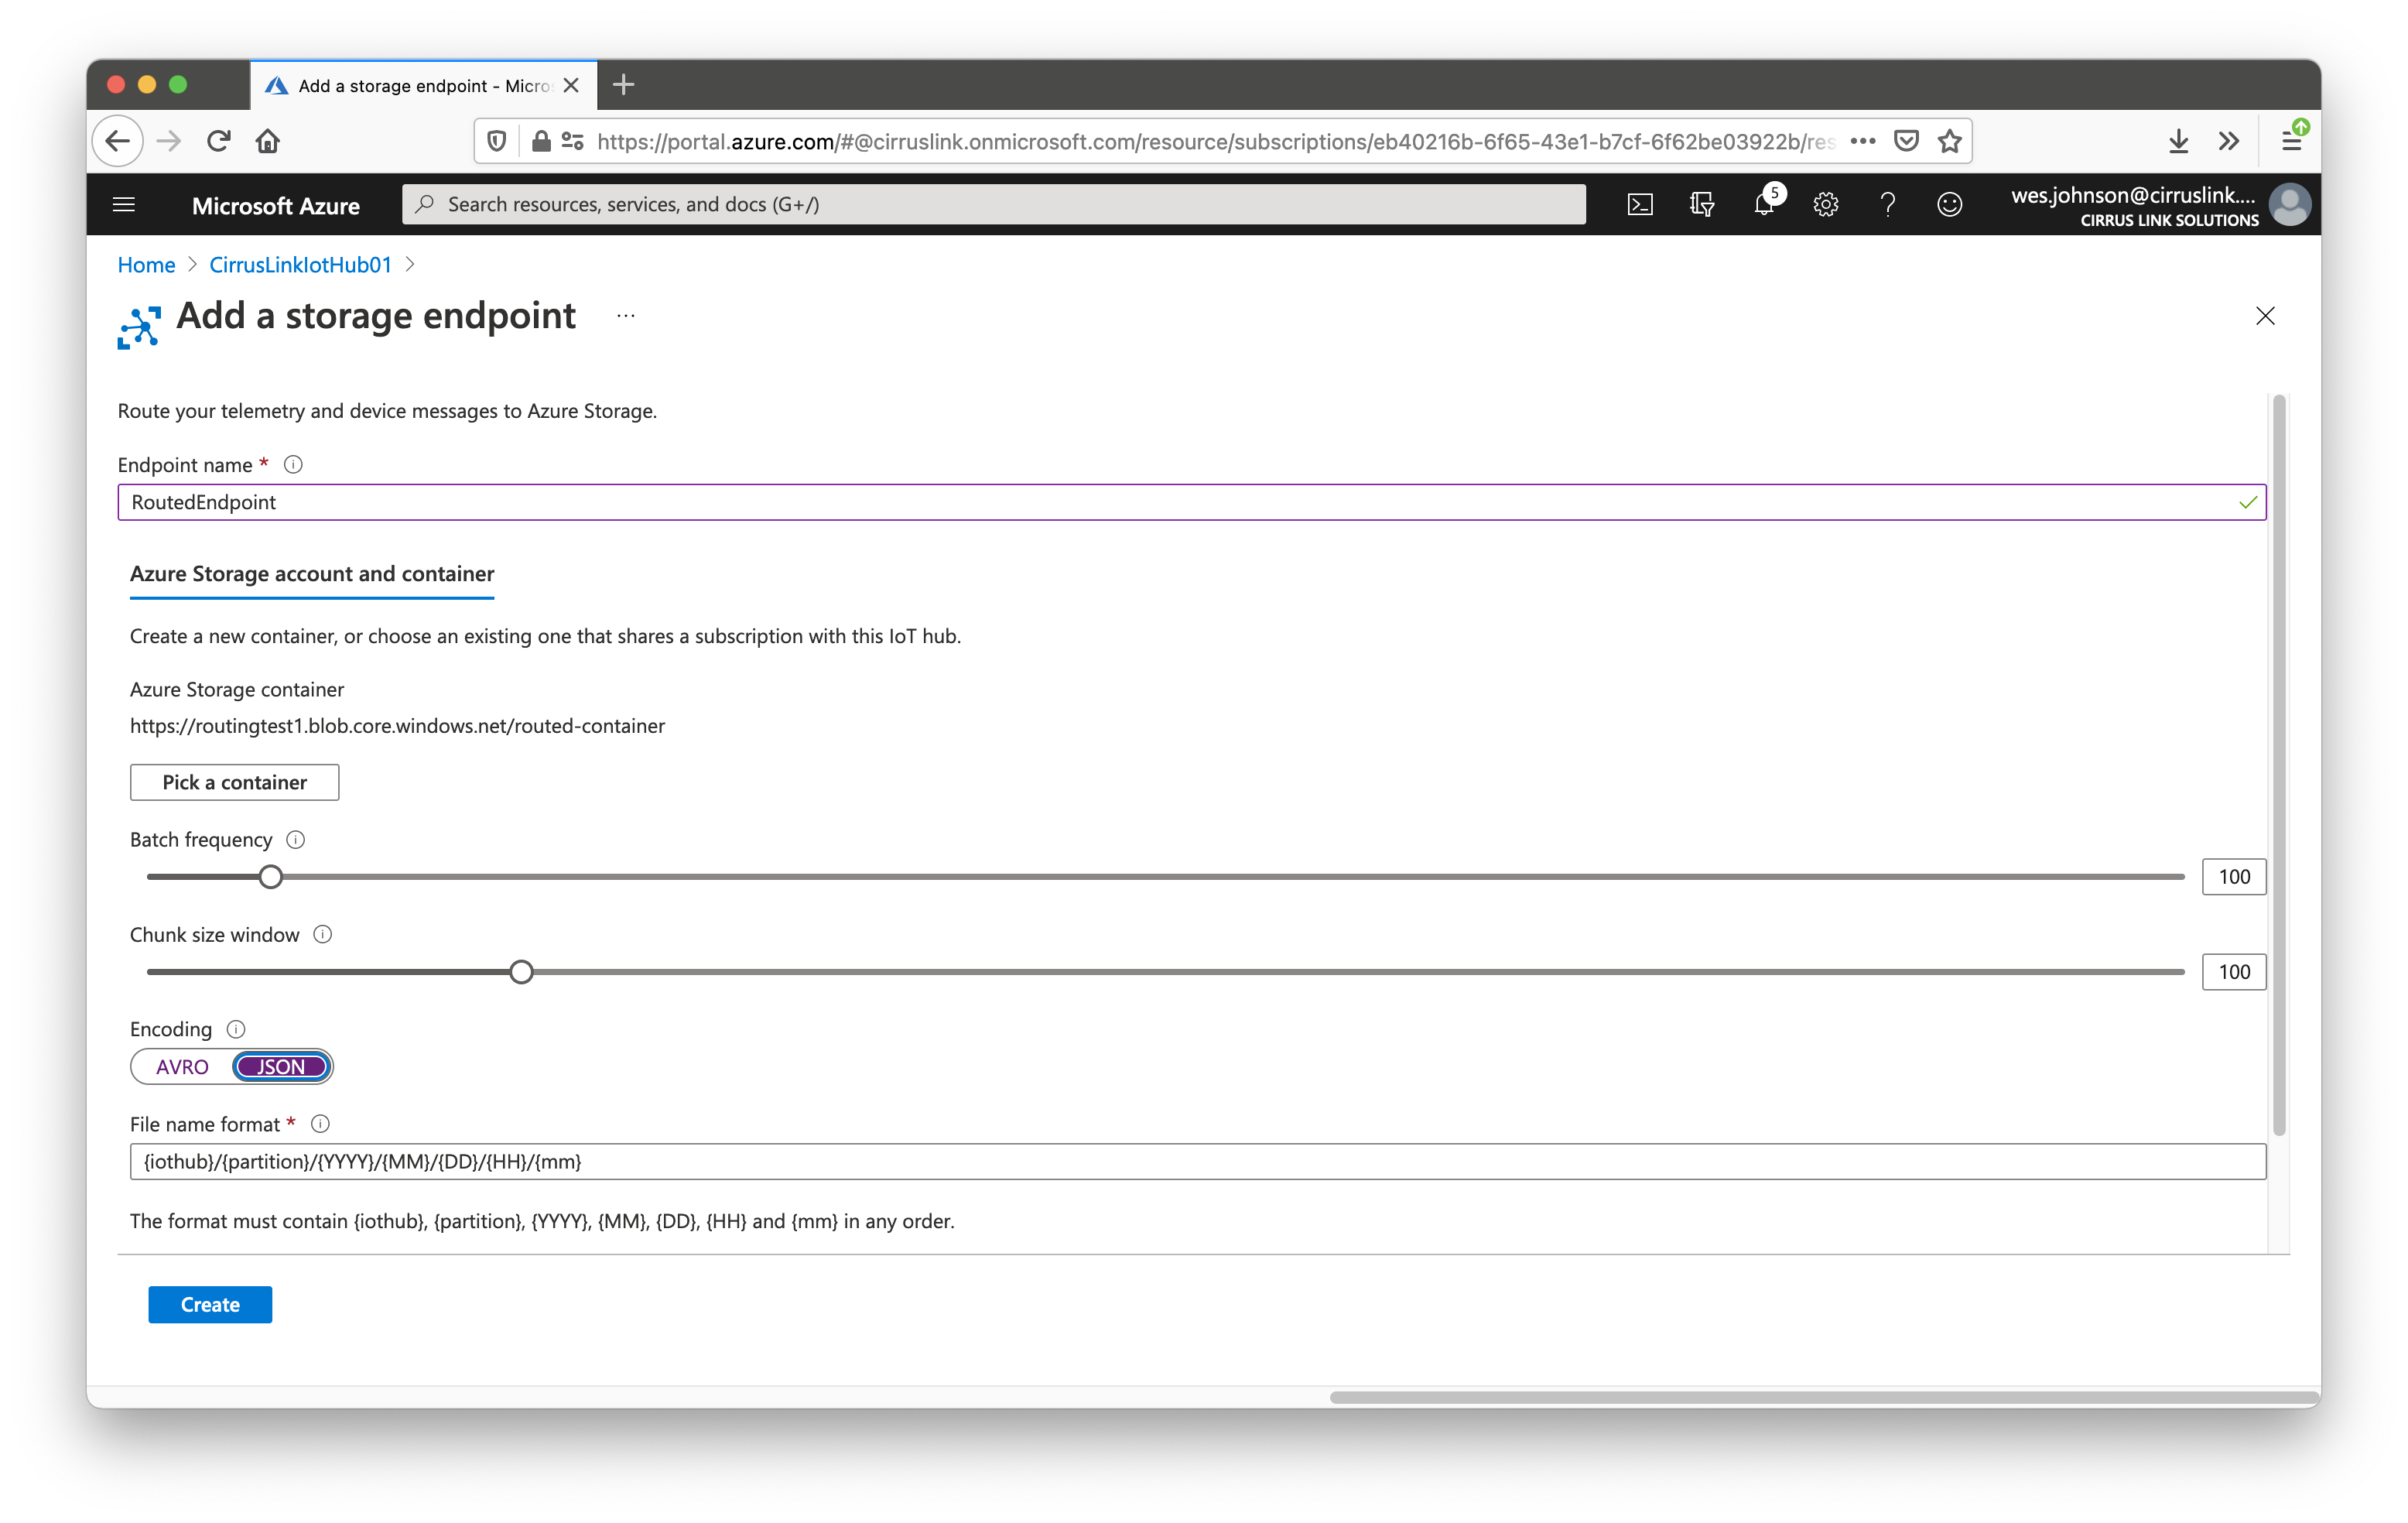
Now give it a name and also select the Storage Container that was created during Step 2 of this tutorial. Also, make sure to set the 'Encoding' type to JSON as shown above. Finally click 'Create'. When the endpoint creation completes, you should see the created endpoint as shown below.