Prerequisites
Summary
The tutorial will provide step by step instructions for the following:
- Configuring Azure IoT Hub to allow client connections to a deployed IoT Edge Hub
- Connecting Azure Injector to the IoT Edge Hub
- Publishing data from Azure Injector to Azure IoT Edge Hub and viewing the data
Tutorial
There are two primary ways to connect to an Azure Edge Hub via MQTT from an MQTT client. These are 'module' or 'device' connections. A module connection typically involves an application deployed as a docker container that runs in Azure Edge. This is the preferred way of connecting the Azure Injector module to Azure Edge Hub. This tutorial will use this method for connecting to Azure IoT Edge.
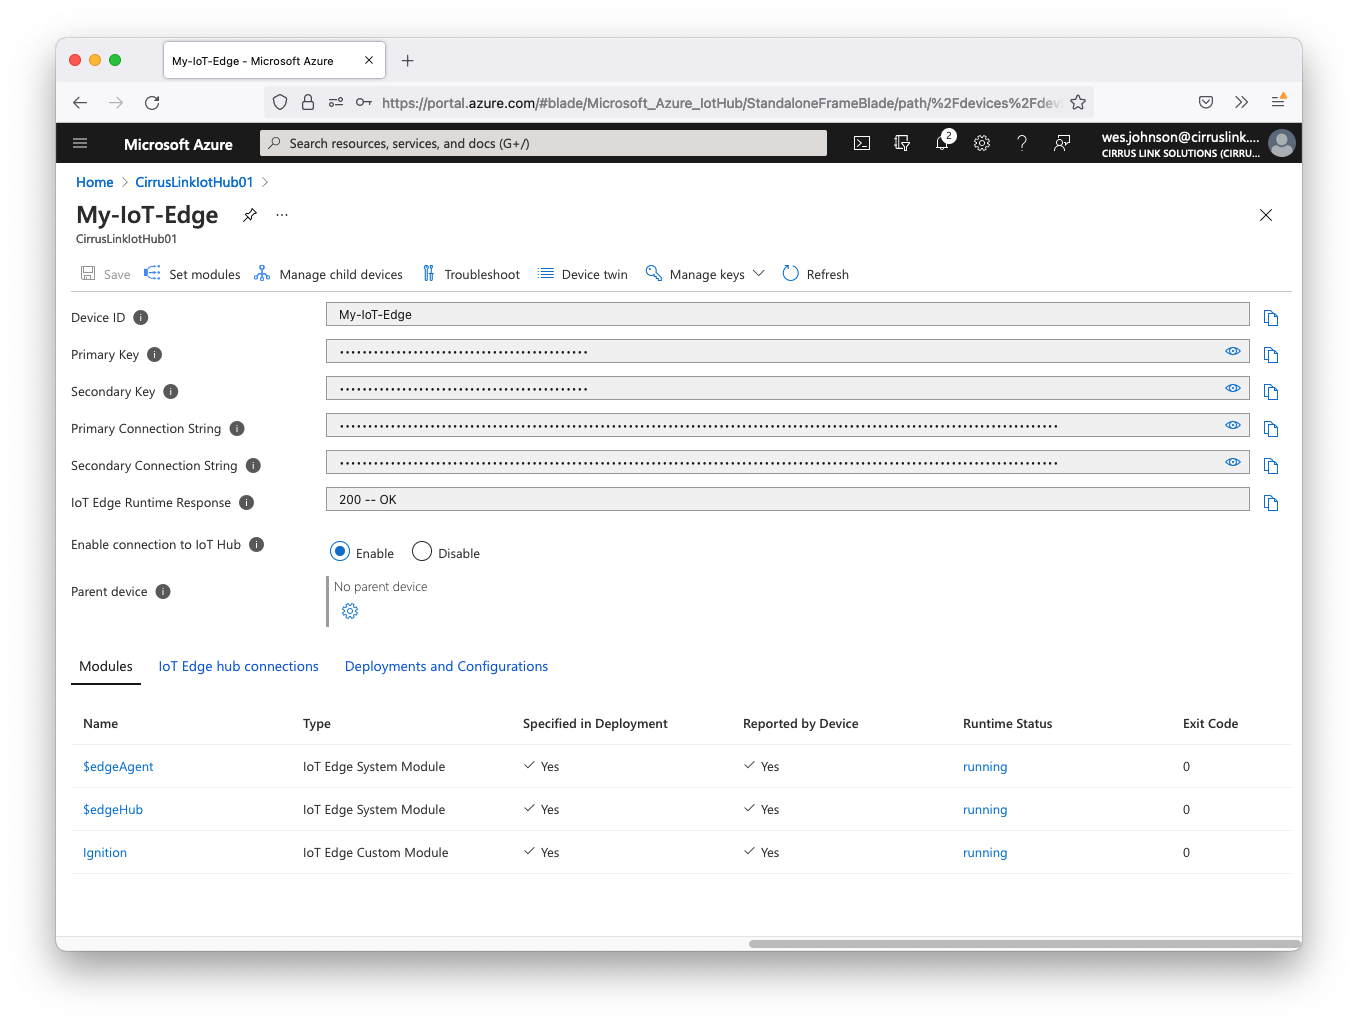
After completing the prerequisites, you should have an IoT Edge Device as shown below. In this example, it has a name of 'My-IoT-Edge' and is listed under the IoT Edge devices.
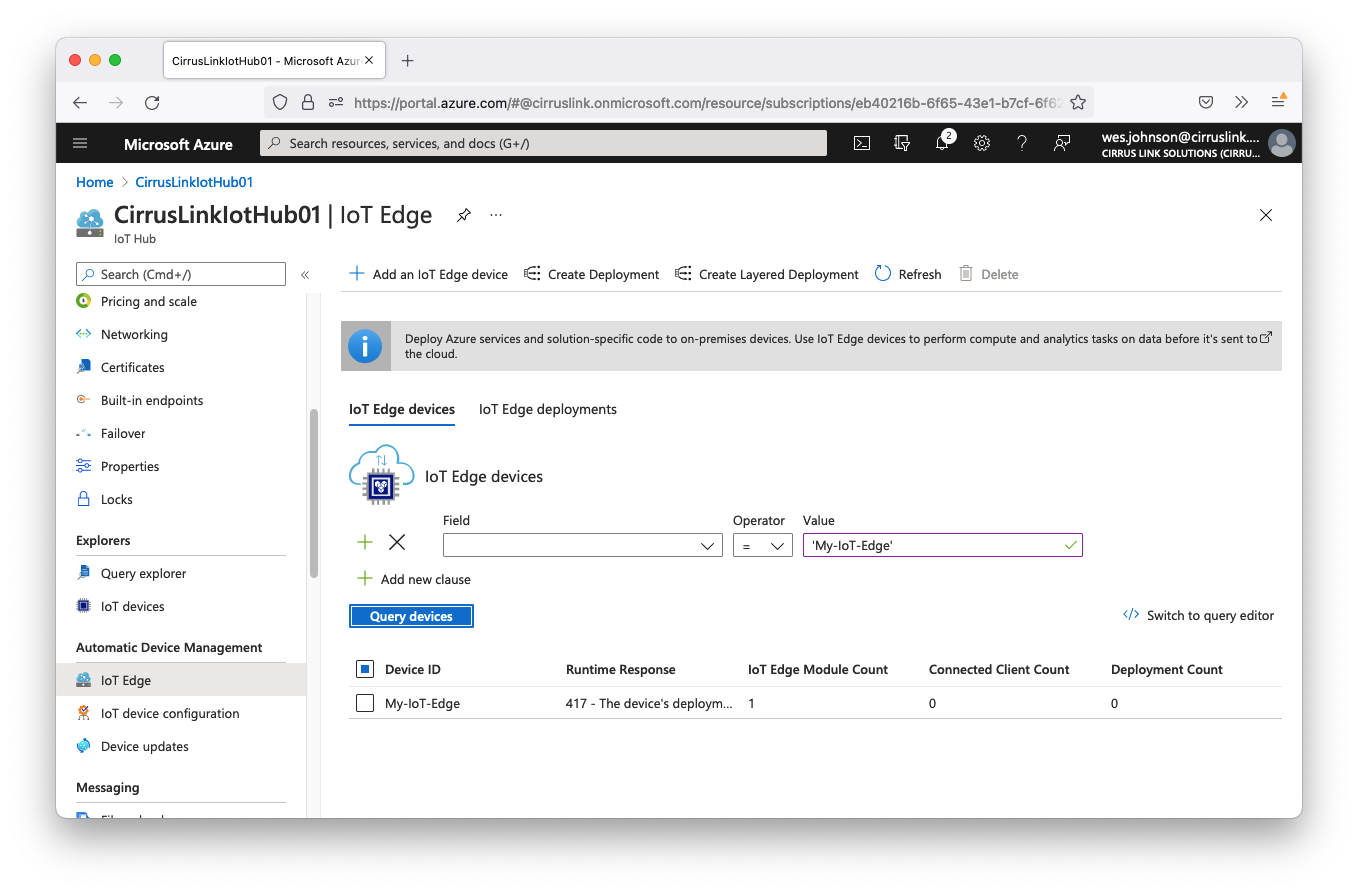
Note this shows an error that the '417 - The device's deployment configuration is not set'. This can be fixed by creating a deployment configuration for this Azure Edge Device. Begin by clicking the Device in the Azure Portal. After doing so, you should see something similar to what is shown below.
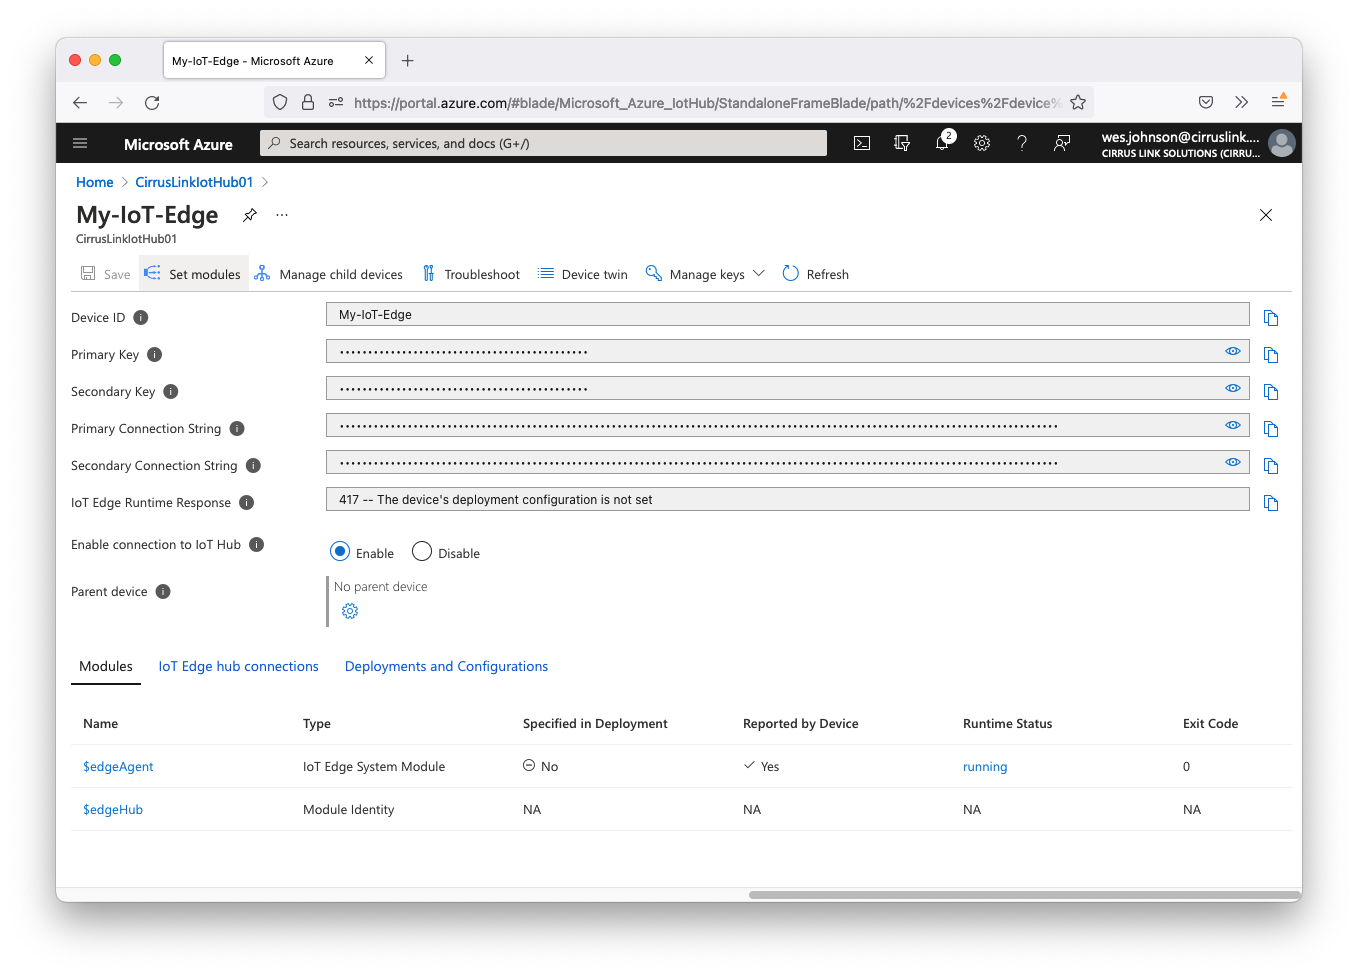
Now click 'Set modules' in the upper left corner. That will open the following page.
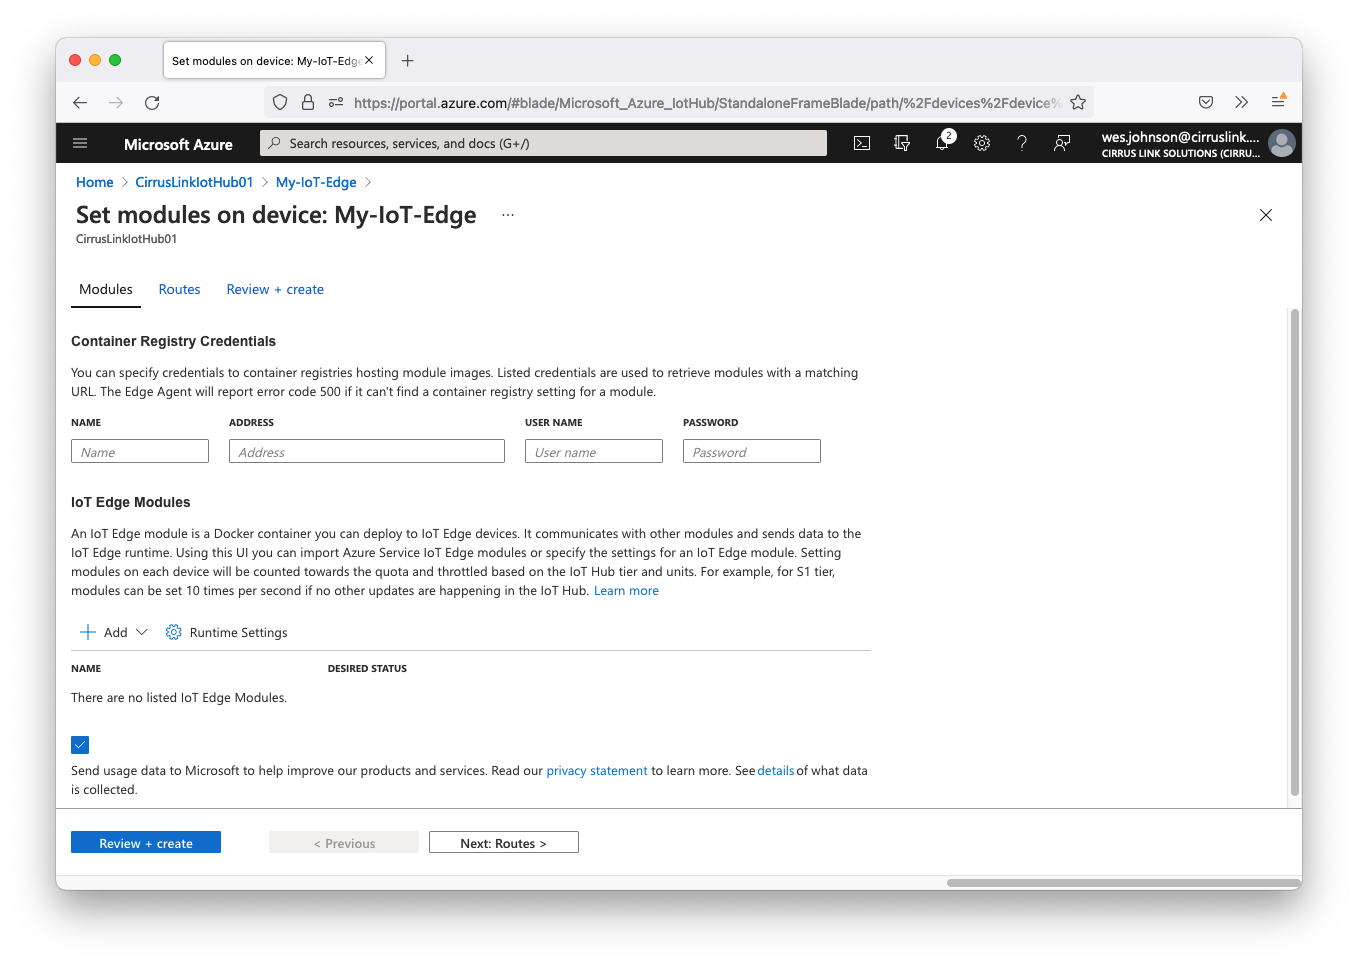
Add a new 'Container Registry Credentials' with the following parameters.
- Name: DockerHub
- Address: https://registry.hub.docker.com/
- User Name: username
- Note the Ignition image is public and doesn't require a username and password to access. However, this field must be non-empty and can be set to any non-empty value.
- Password: password
- Note the Ignition image is public and doesn't require a username and password to access. However, this field must be non-empty and can be set to any non-empty value.
Now click the '+ Add' drop down under 'IoT Edge Modules' and select 'IoT Edge Module' as shown below.
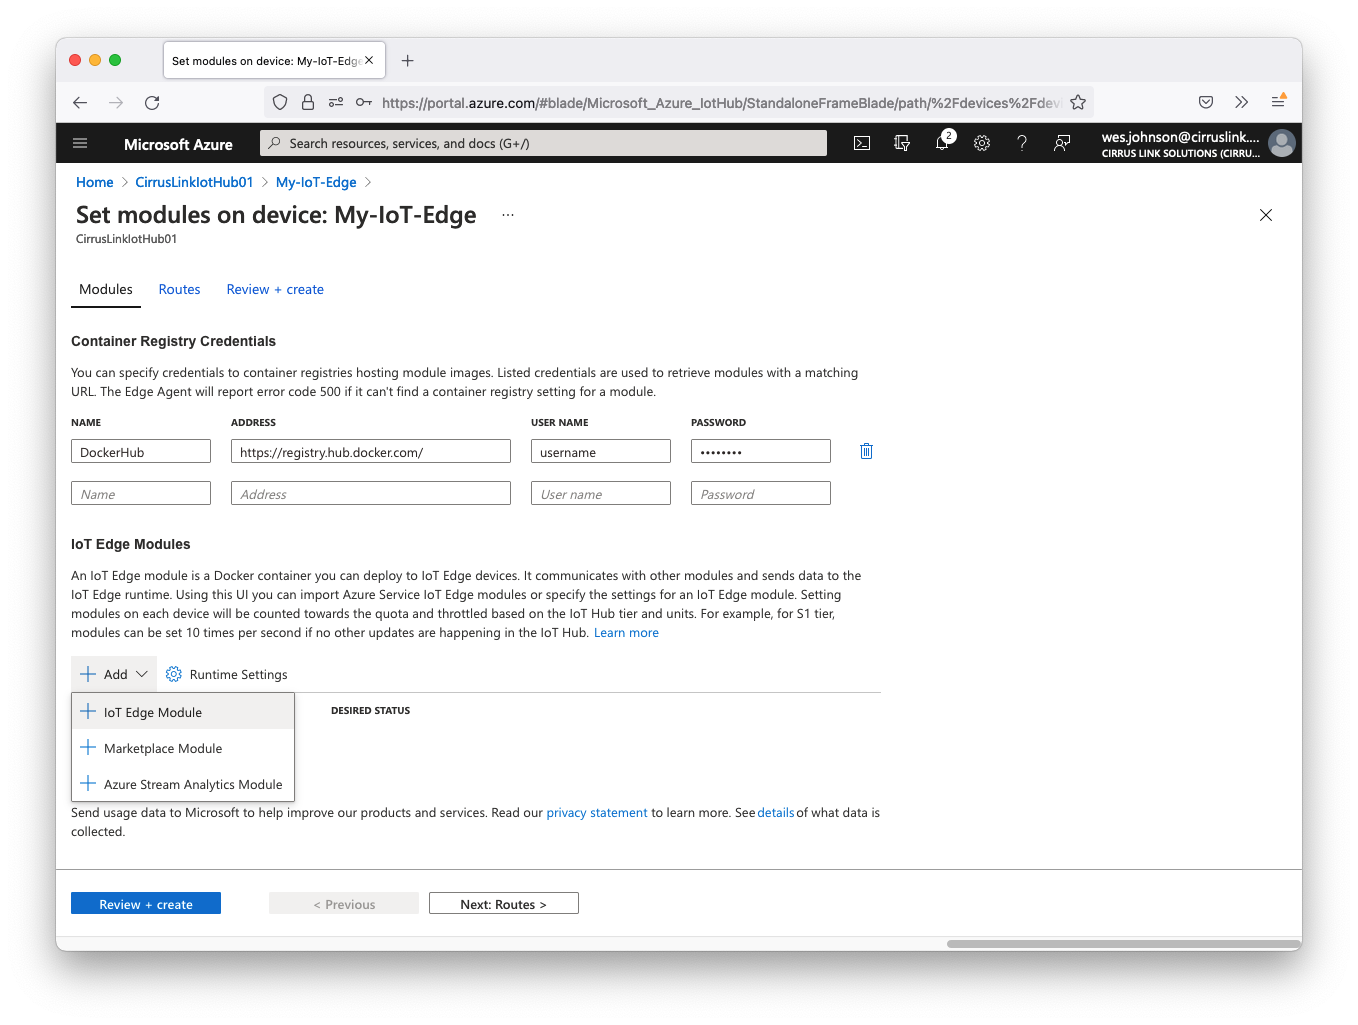
This will open the following page.
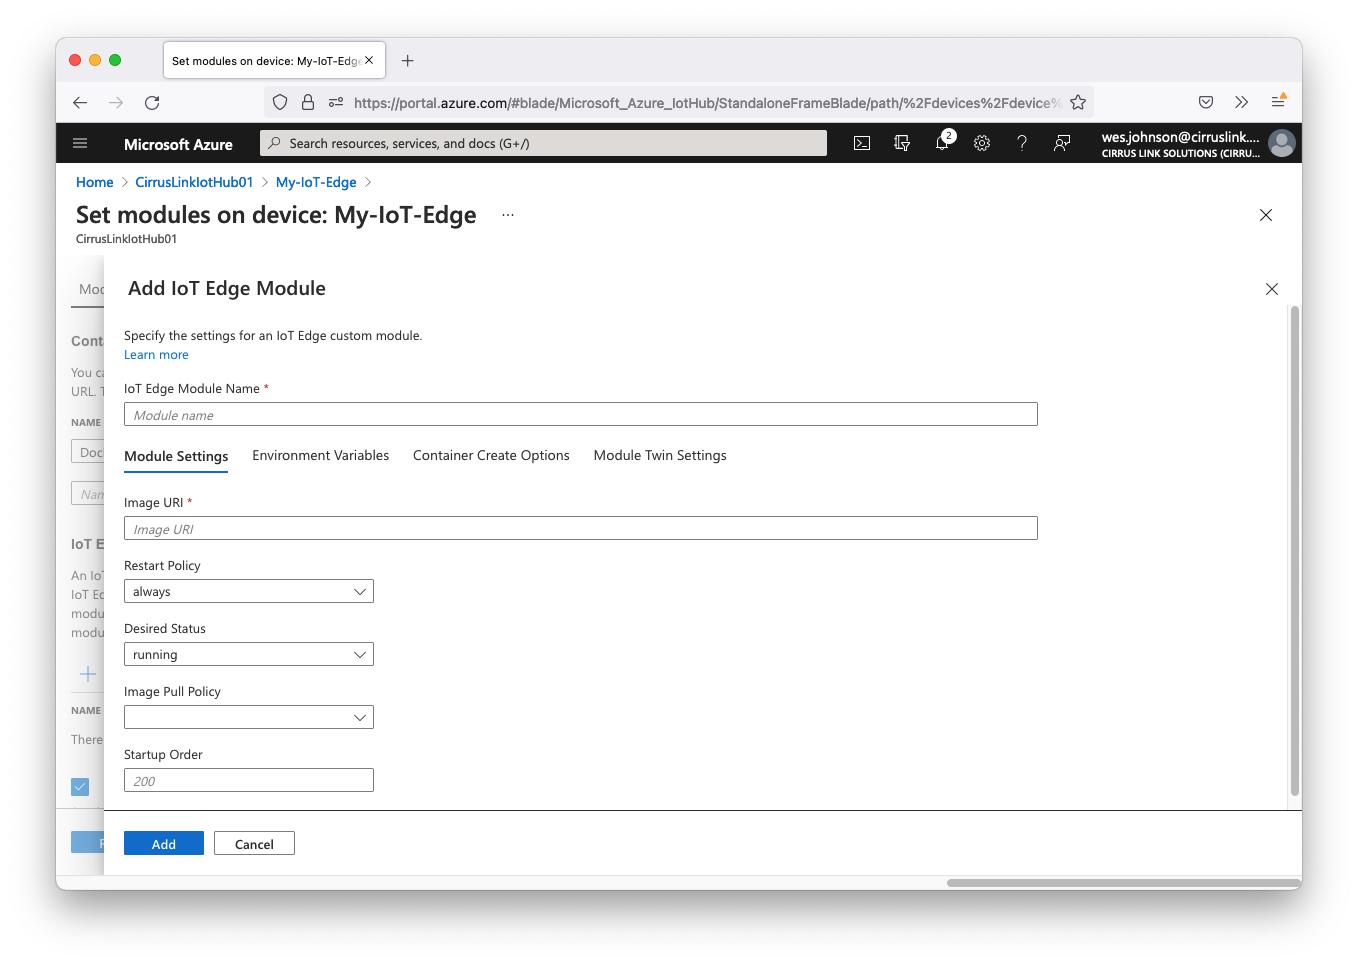
Finally, click 'Add'. After doing so you should see the following.

Now click 'Review + create' in the lower left corner. This will bring up the following page.
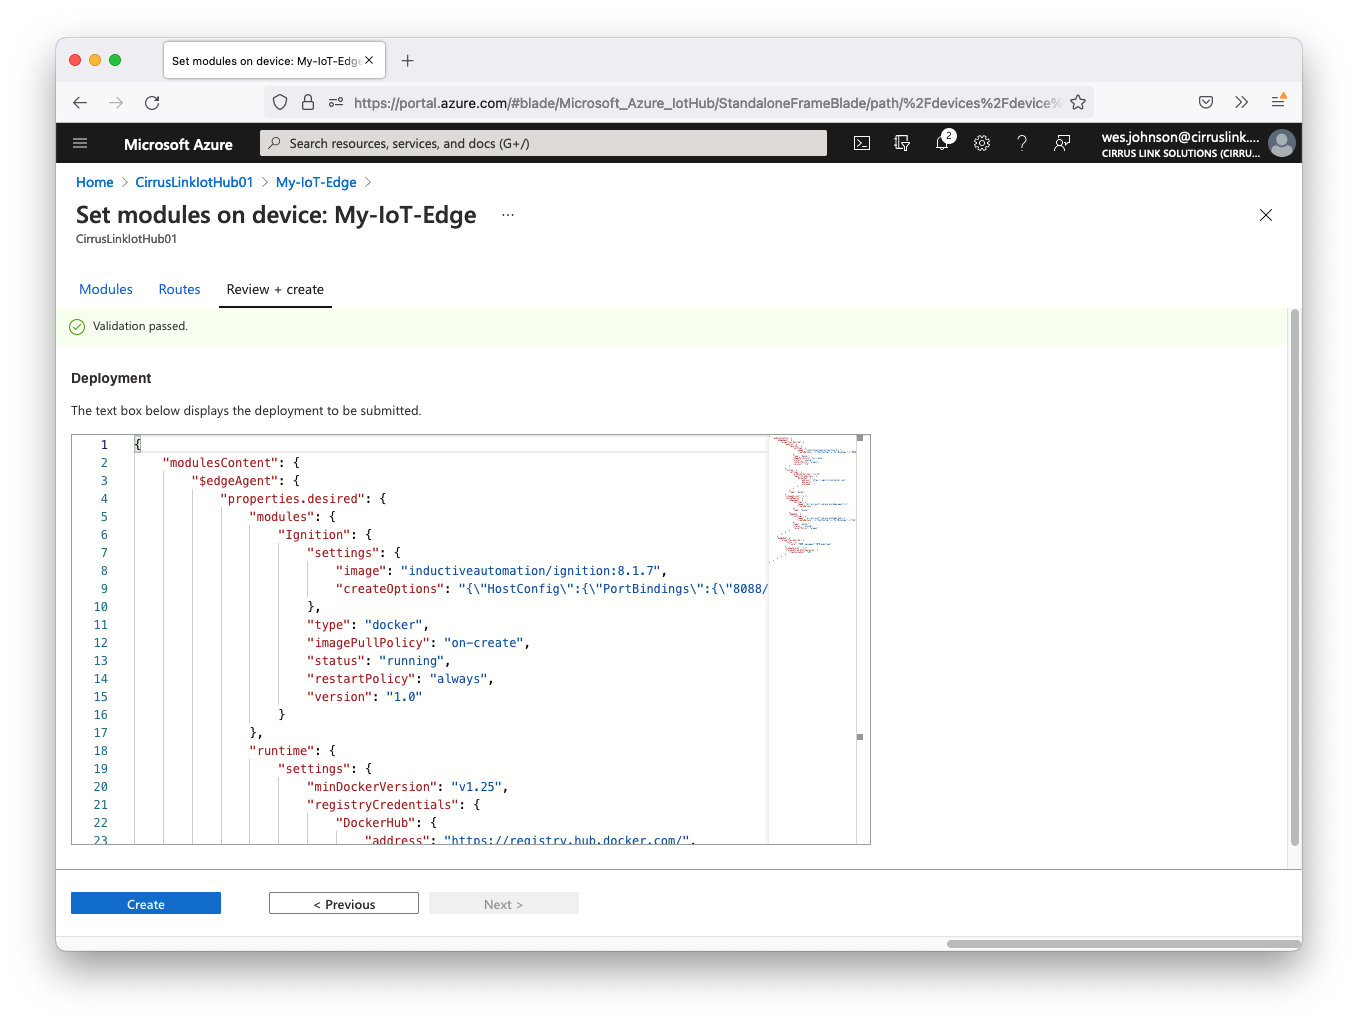
Finally, click 'Create' in the lower left corner. This will deploy the Ignition module to Azure Edge. It takes a few minutes. You can use the 'Refresh' button on the Device page to check the status of the deployment. Once Ignition has successfully deployed, you should see the following. Specifically note that $edgeHub and 'Ignition' now show a 'Runtime Status' of running.
At this point, Ignition is running as a Docker container in Azure Edge. You should be able to browse to http://[ip_address_of_azure_edge]:8088. Replace [ip_address_of_azure_edge] with the IP address of your Azure Edge system. You should see something similar to the following.
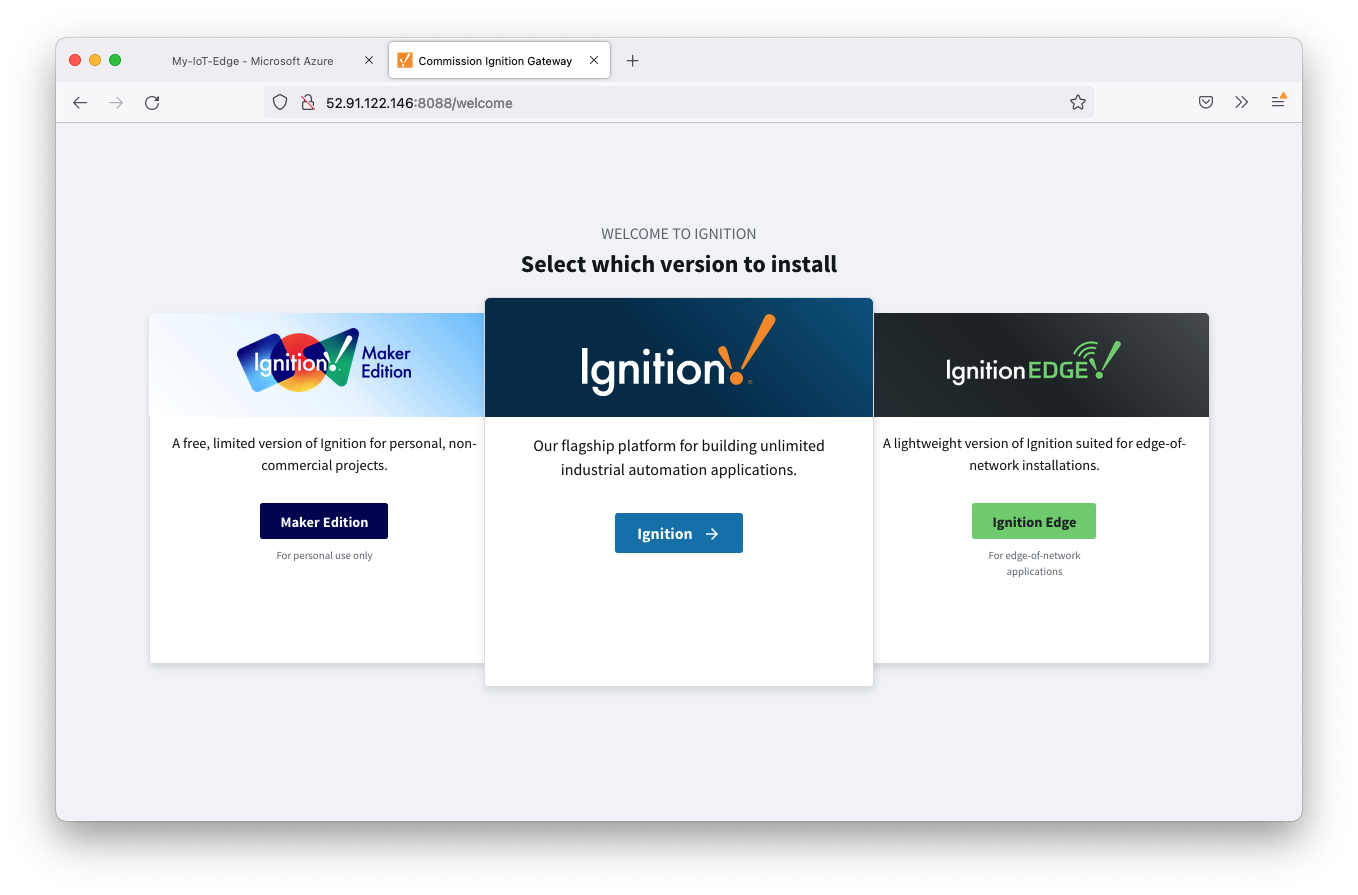
Select 'Ignition' or 'Ignition Edge' depending on your preference. We'll use Ignition for this tutorial. After selecting an Ignition type, you should see the following.

Accept the Inductive Automation Software License Agreement if you read and agree with the terms and conditions and click 'Next'. This will open the following page.

Now specify the username and password to use for your Ignition system. Save these for later as they will be required any time you log into the Ignition Web UI. Now click 'Finish Setup' which will open the following page.

Click 'Start Gateway'. This will take a few minutes to start the Ignition Gateway. When it is complete, you will see the following page.