![]()
The following guide will walk through the process of upgrading from a Chariot MQTT Server version 2.0.0 to version 2.1.0.
Prerequisites
- Have an existing Chariot MQTT Server version 2.0.0
- Have a new installed Chariot MQTT Server version 2.1.0
- Installed, but not running
- Not configured
- Not licensed
Upgrading Chariot MQTT Server
The following upgrade instructions assumes the user has superuser/admin privileges and can execute scripts at the command line in the directories where these servers are installed. The upgrade process itself consists of two main steps:
- Run the export script on the old install to create an upgrade file
- Run the import script on the new install to import the upgrade file
The scripts come packaged with the Chariot MQTT Server version 2.1.0 and can be found in the install directory.
Upgrading on Linux
The following instructions can be used with upgrading the Chariot MQTT Server on Linux.
- Copy the
upgradeExport.shfile from the v2.1.0 install directory to the base directory where v2.0.0 was installed - Run the
upgradeExport.shscript to create the upgrade file containing the data from the old installation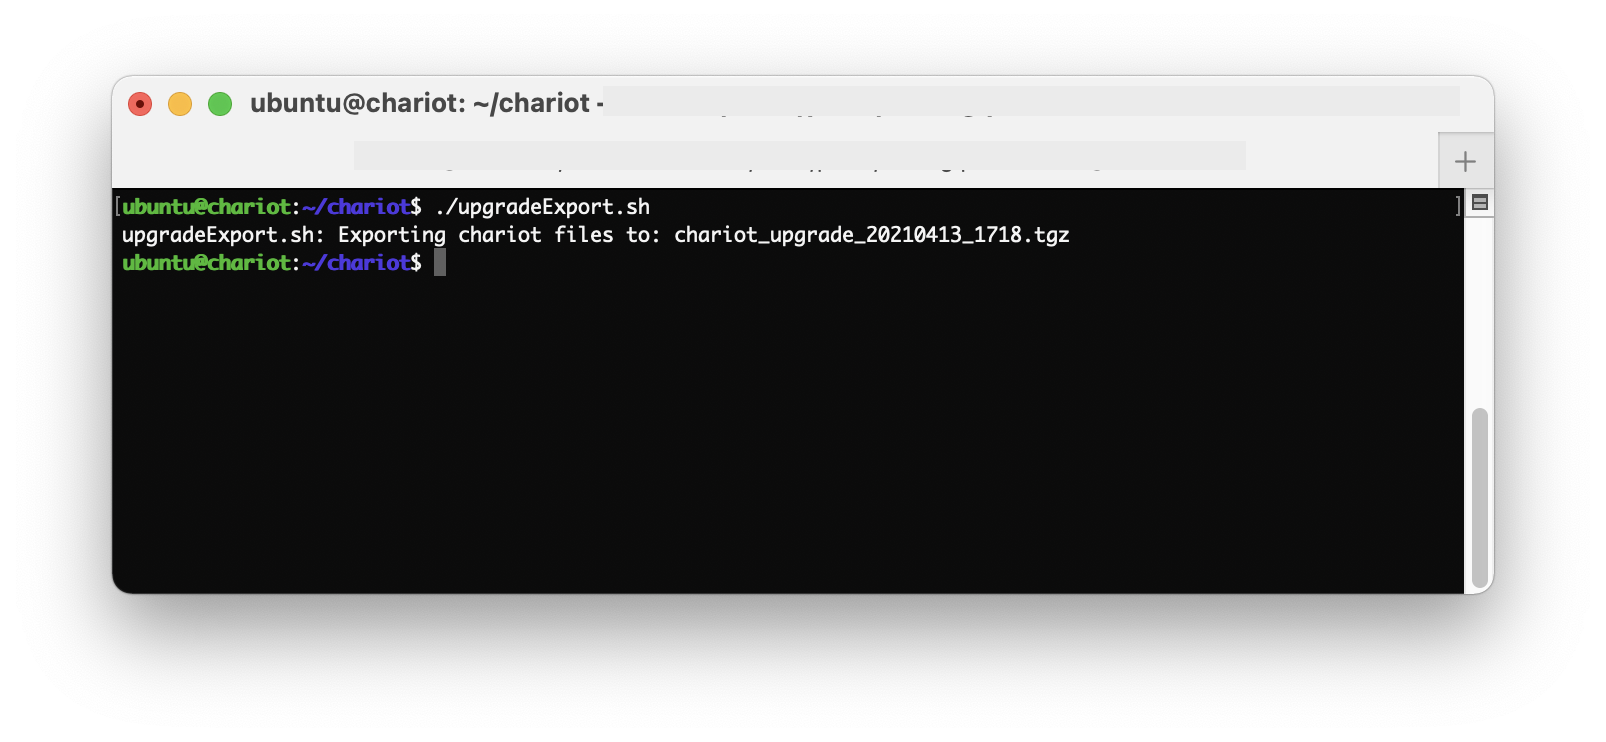
- Copy the exported file from v2.0.0 install directory to the base directory where v2.1.0 is installed
- Run the upgradeImport.sh script to import the file into the new installation
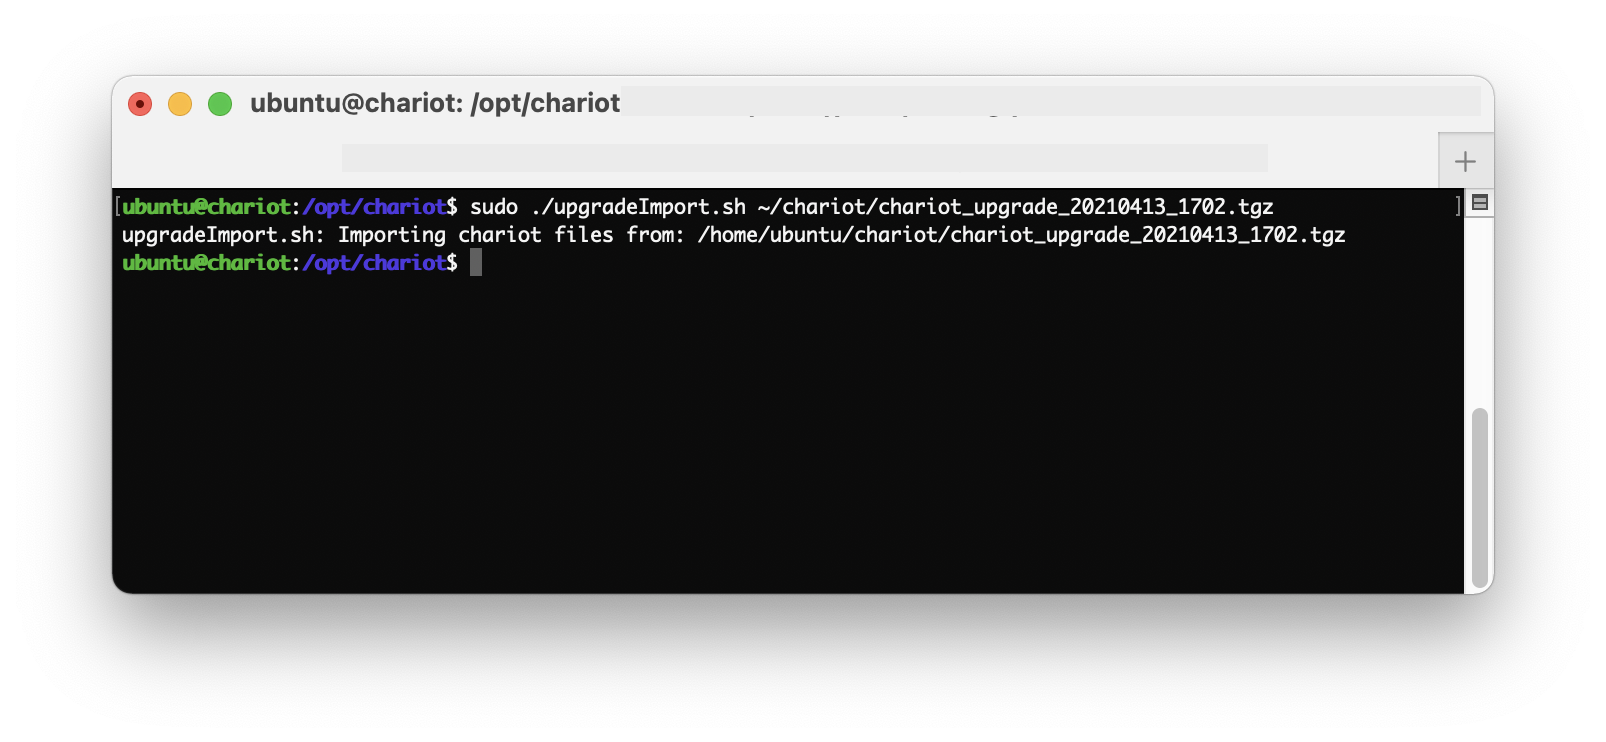
- Start the new v2.1.0 Chariot MQTT Server.
The new Chariot MQTT Server should be loaded with the Users, Roles, MQTT Credentials, and System & Server configurations from the old installation. However, the new Chariot MQTT Server will still need to be licensed and any SSL certificates/keys will need to be uploaded again.
Note: Remember to first deactivate the Chariot License on the old server before installing and activating on the new server.
Upgrading on Windows
The following instructions can be used with upgrading the Chariot MQTT Server on Windows.
- Stop old v2.0.0 Chariot MQTT Server.
- Copy the
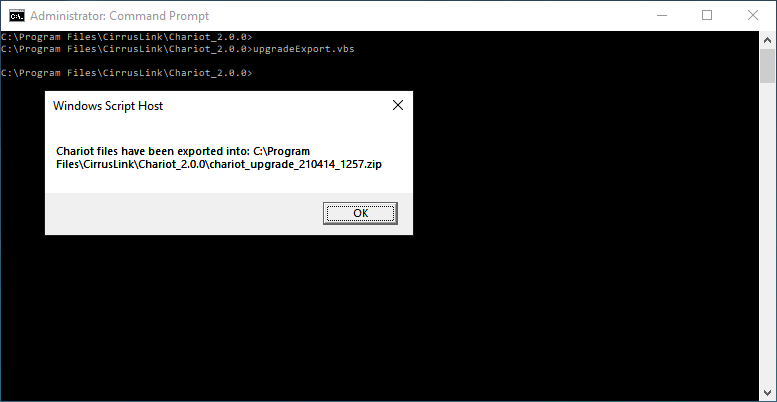
upgradeExport.vbsfile from the v2.1.0 install directory to the base directory where v2.0.0 was installed. - Run the
upgradeExport.vbsscript to create the upgrade file containing the data from the old installation.
 TODO
TODO
4. Change to the v2.1.0 install directory and run the upgradeImport.vbs script.
5. If the upgradeImport.vbs script is invoked without specifying a full path to the ZIP upgrade archive, the 'Chose File to Upload' window will appear as shown below:
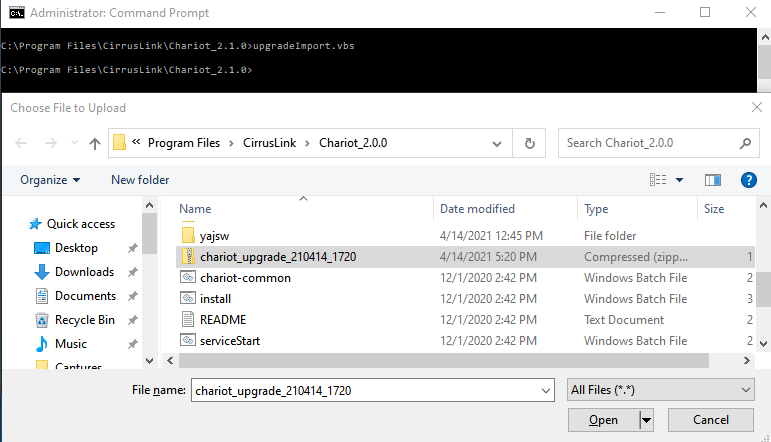
6. Navigate to the Chariot 2.0.0 directory and select the 'chariot_upgrade' ZIP archive created earlier.
7. Click the 'Open' button to import from selected ZIP archive.
8. Make sure Chariot files are imported as shown below:
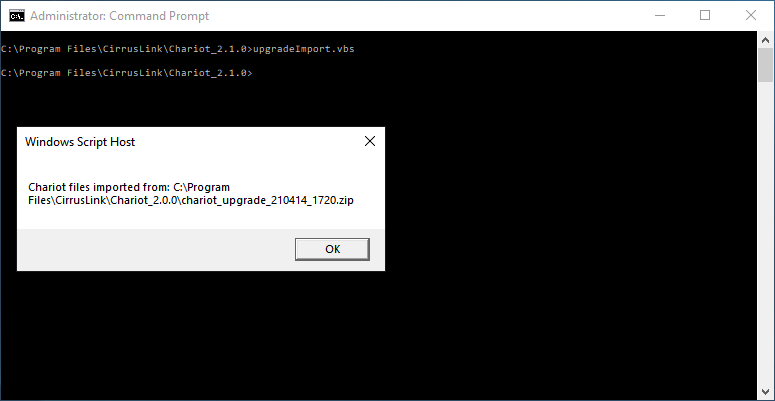
8. Start the new v2.1.0 Chariot MQTT Server.
The new Chariot MQTT Server should be loaded with the Users, Roles, MQTT Credentials, and System & Server configurations from the old installation. However, the new Chariot MQTT Server will still need to be licensed and any SSL certificates/keys will need to be uploaded again.
Note: Remember to first deactivate the Chariot License on the old server before installing and activating on the new server.
Overview
Content Tools