![]()
This document describes the configuration options in the Chariot MQTT Server UI.
The Chariot MQTT Server Web UI provides multiple configuration tabs on the left navigation panel.
Users
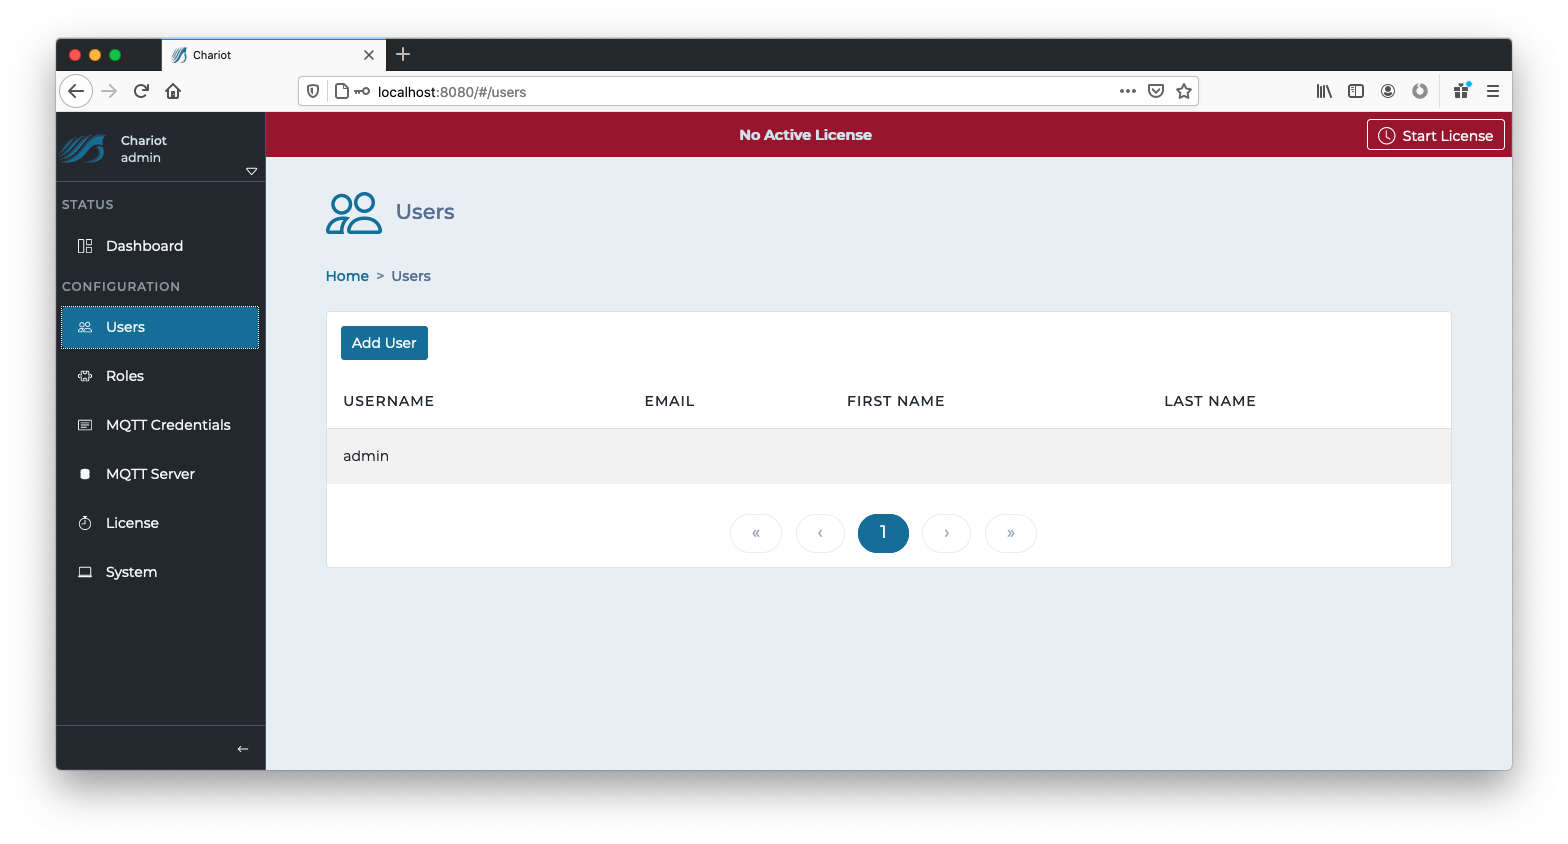
The Users page allows for the creating, updating, and deleting of Chariot Users. A Chariot User may log into the Chariot Web UI and perform different actions based the the Roles assigned to that User. The main Chariot Users page shows a table of existing Chariot Users. Users can be added by clicking the "Add User" button, or they can be edited by clicking on the individual User in the table.
Add User
Clicking the "Add User" button will display a form for creating a new Chariot User.
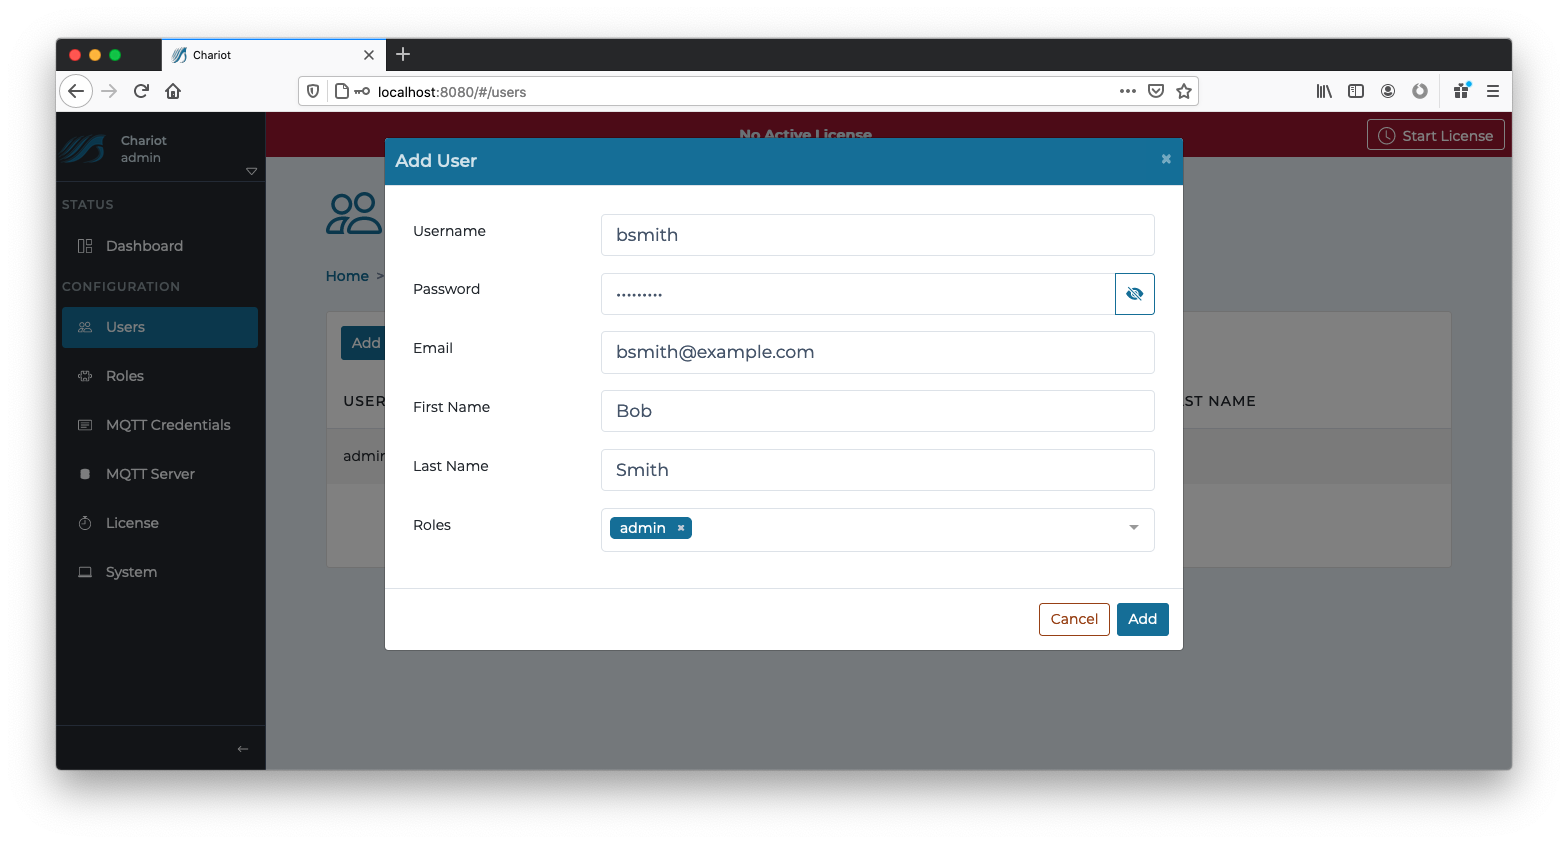
The form contains the following fields:
- Username
- A unique username for the Chariot User (required).
- Password
- A secure password for the Chariot User that will be used to log into the Chariot Web UI (required).
- Email
- An email address associated with the Chariot User (optional).
- First Name
- A first name associated with the Chariot User (optional).
- Last Name
- A last name associated with the Chariot User (optional).
- Roles
- A list of Chariot Roles associated with the Chariot User.
The "Add" button in the bottom right of the form can be clicked to create the User.
Edit User
Clicking on an individual Chariot User in the table will display a form for editing the Chariot User.
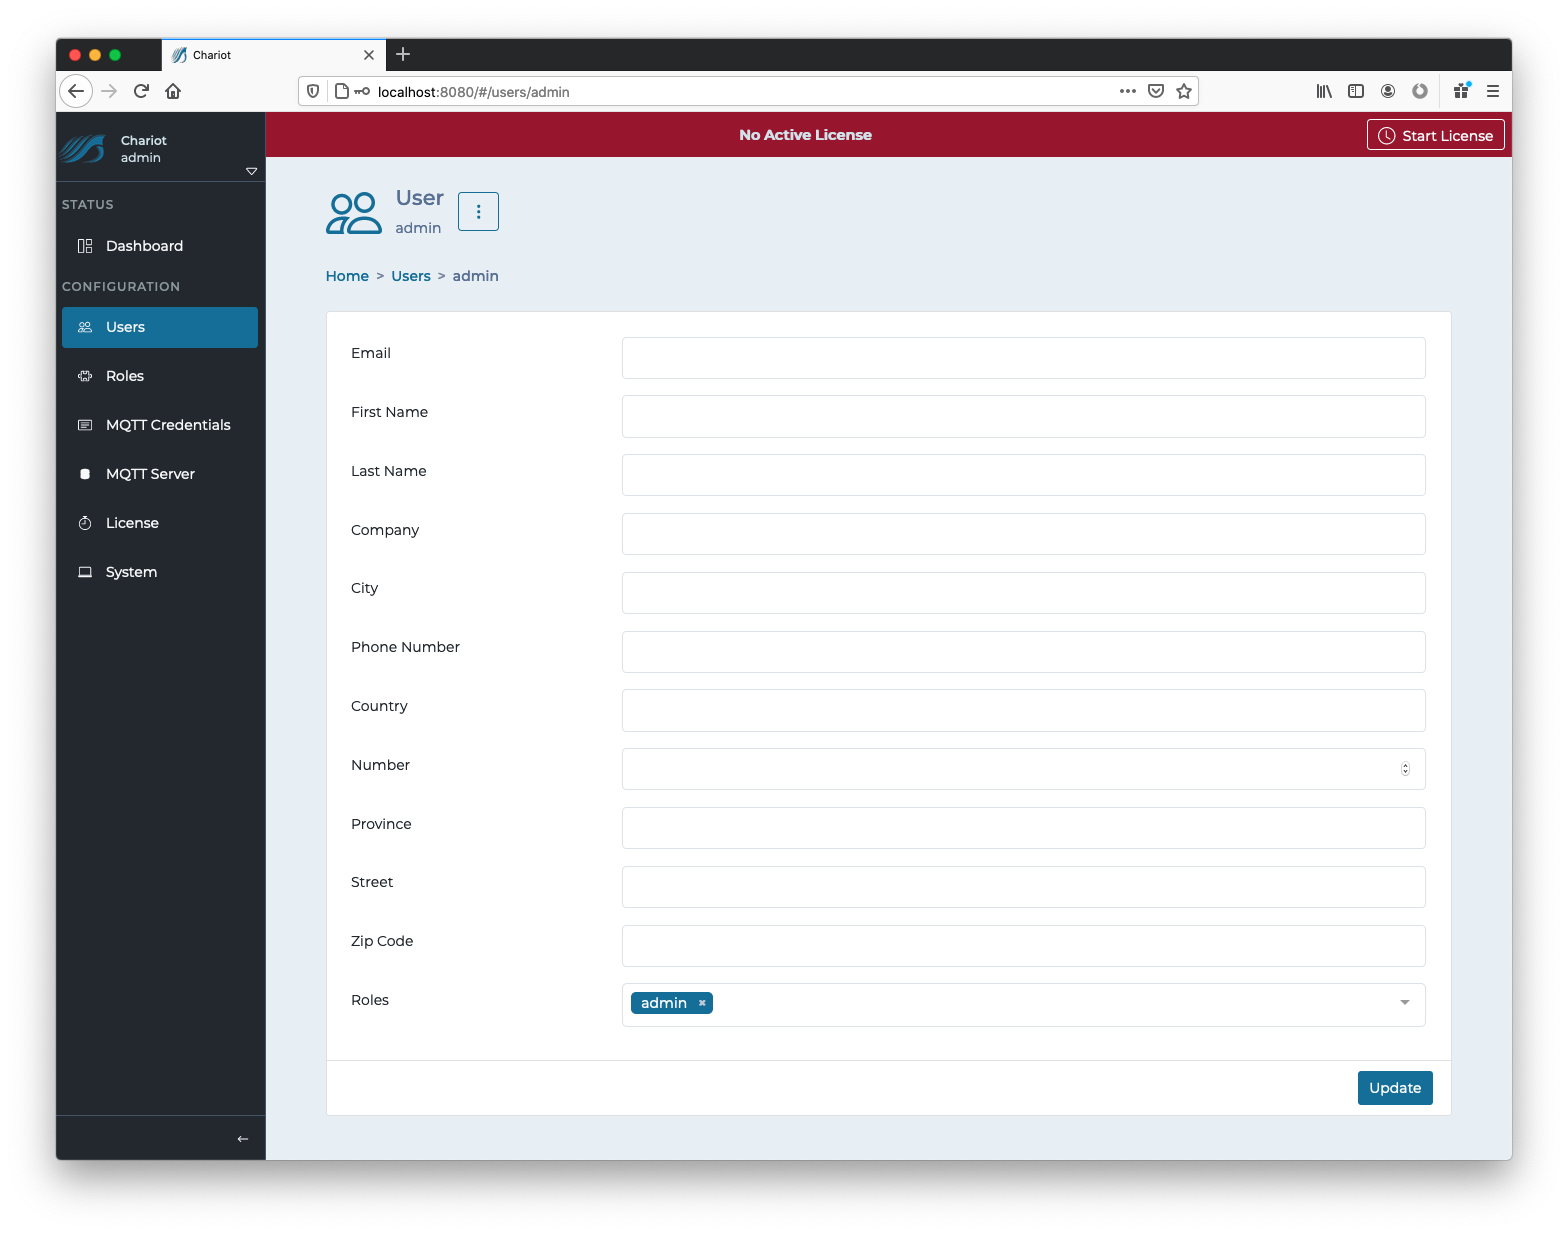
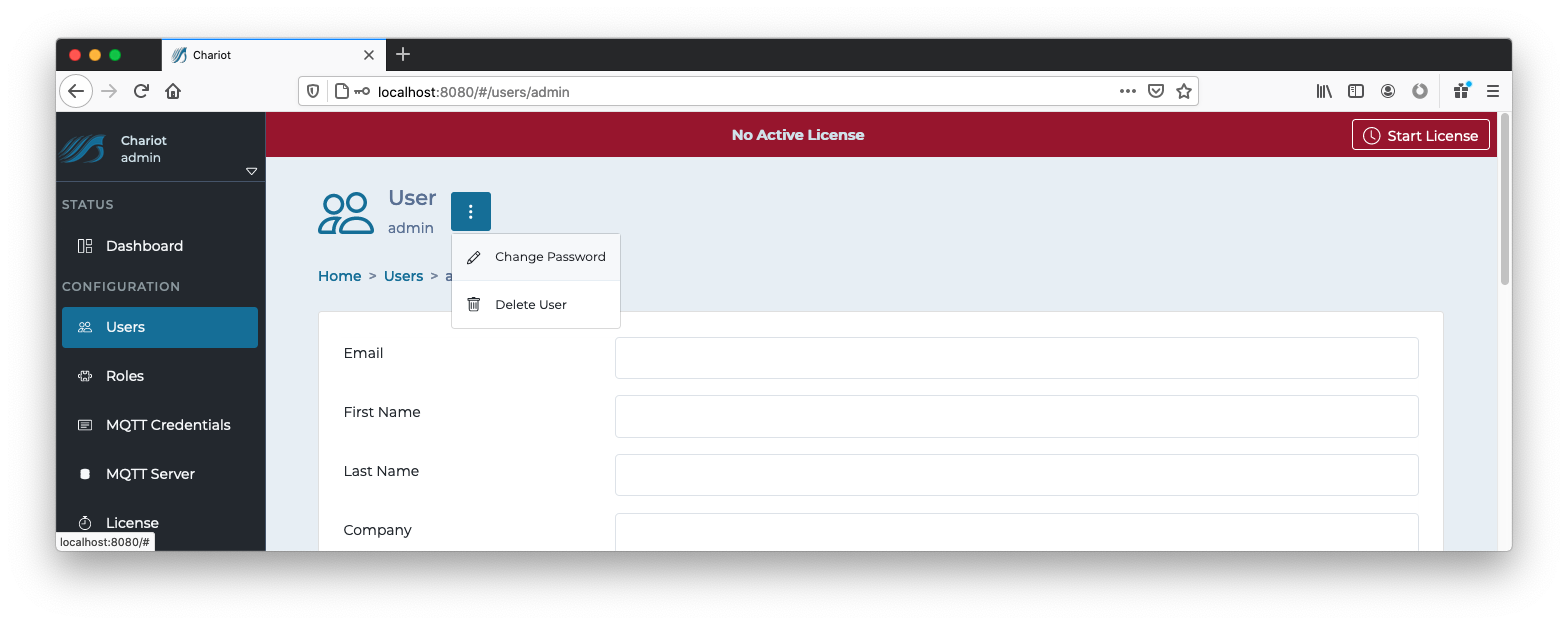
The update form contains additional fields that can be used to provide more information about the Chariot User. Additionally, a dropdown list to the right of the Chariot User's username can be clicked to provide options for deleting the user, or changing the Chariot User's password.
The "Update" button in the bottom right can be clicked to update the Chariot User once all changes have been made.
Roles
The Roles page allows for the creating, updating, and deleting of Chariot Roles. A Chariot Role is a collection of permissions that authorized viewing, editing, and/or controlling the Chariot MQTT Server. The main Chariot Roles page shows a table of existing Chariot Roles. Roles can be added by clicking the "Add Role" button, or they can be edited by clicking on the individual Role in the table.
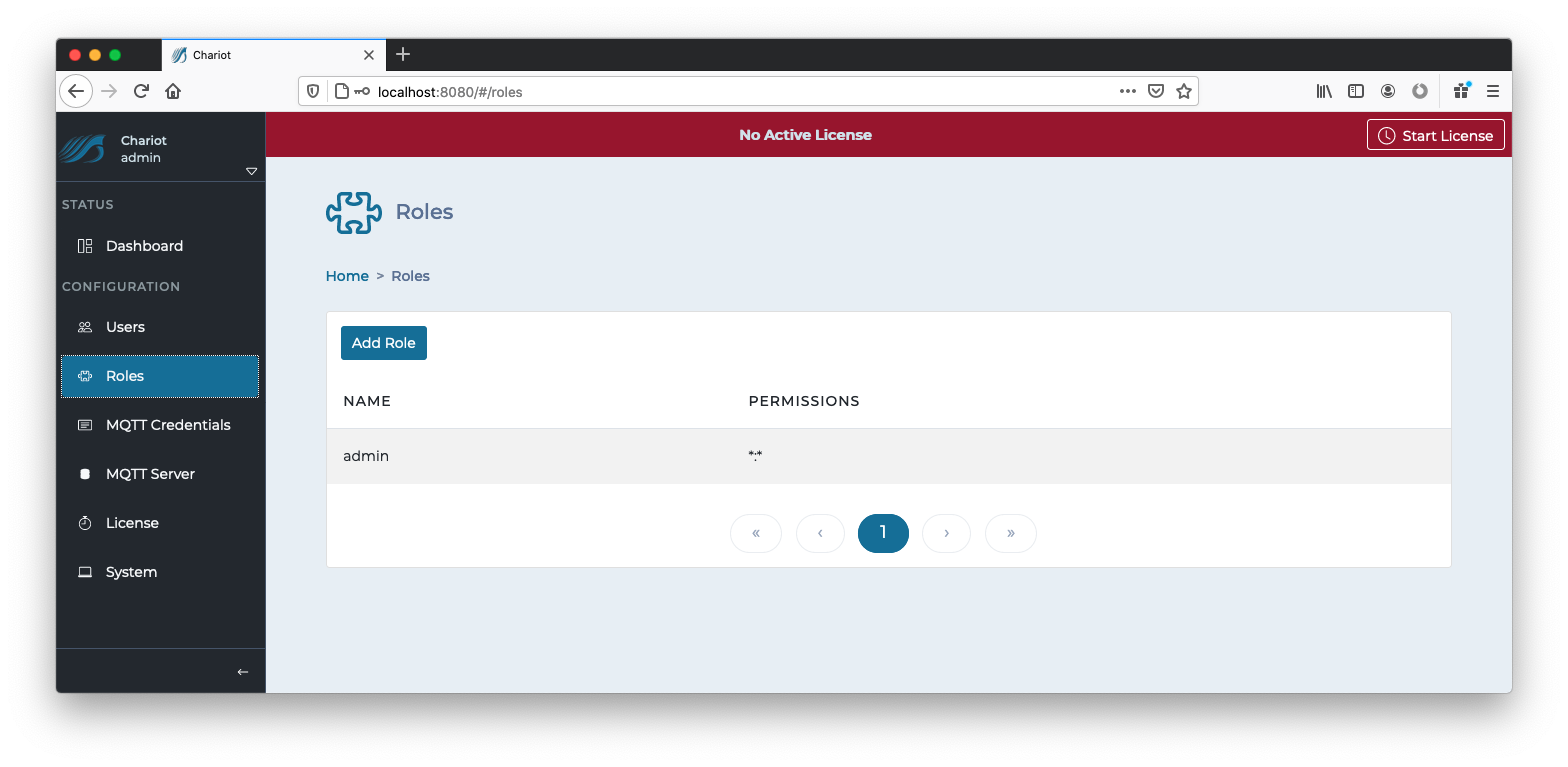
Add Role
Clicking the "Add Role" button will display a form for creating a new Chariot Role.
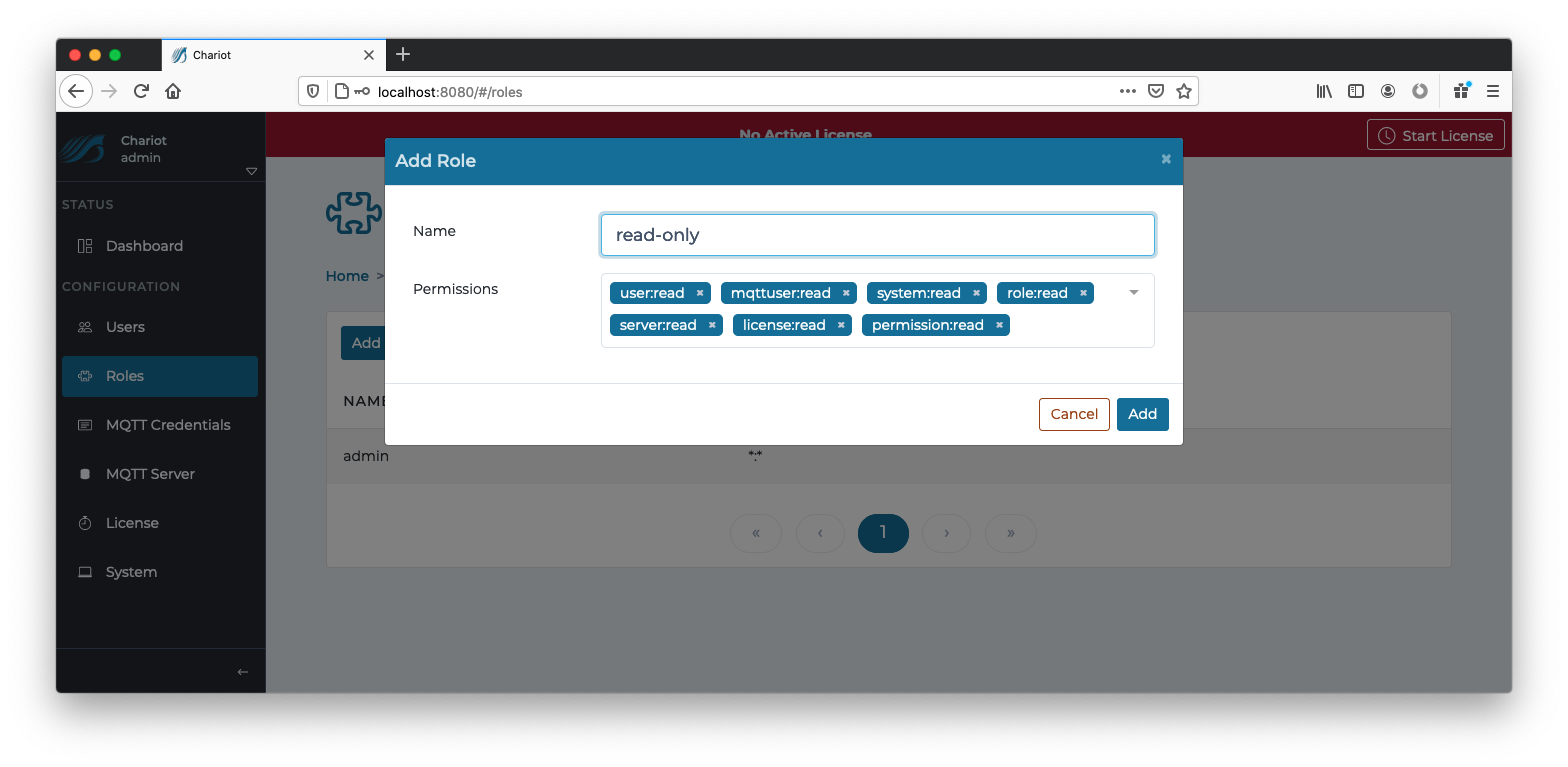
The form contains the following fields:
- Name
- A unique name for the Chariot Role.
- Permissions
- A list of permissions for the Chariot Role.
The "Add" button in the bottom right of the form can be clicked to create the Role.
Edit Role
Clicking on an individual Chariot Role in the table will display a form for editing the Chariot Role.
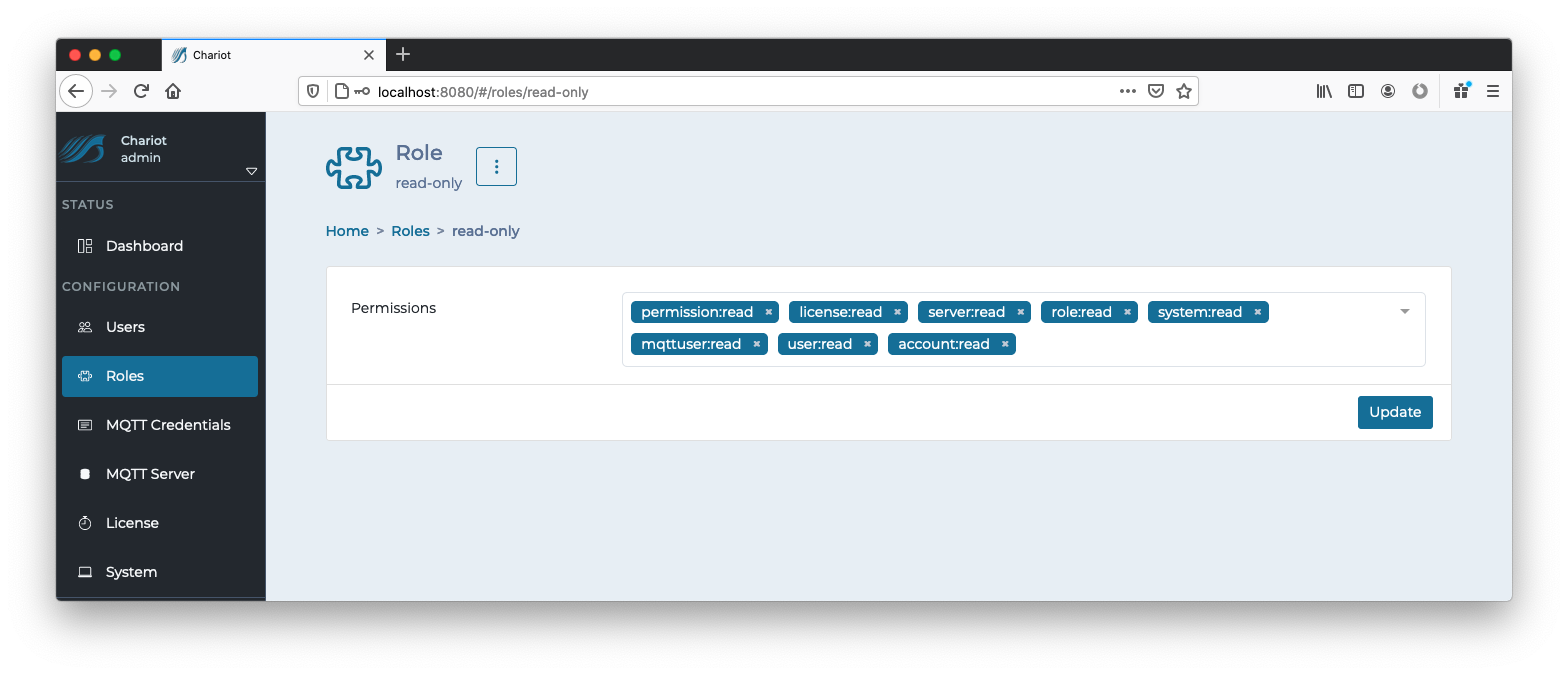
The "Update" button in the bottom right can be clicked to update the Chariot Role once all changes have been made.
MQTT Credentials
MQTT Credentials are the credentials that clients will use to authenticate when establishing an MQTT connection to the Chariot MQTT Server. MQTT Credentials also contain the access control lists (ACLs) that control which MQTT topics a client can publish and/or subscribe on. Credentials can be added by clicking the "Add Credential" button, or they can be edited by clicking on the individual Credential in the table.
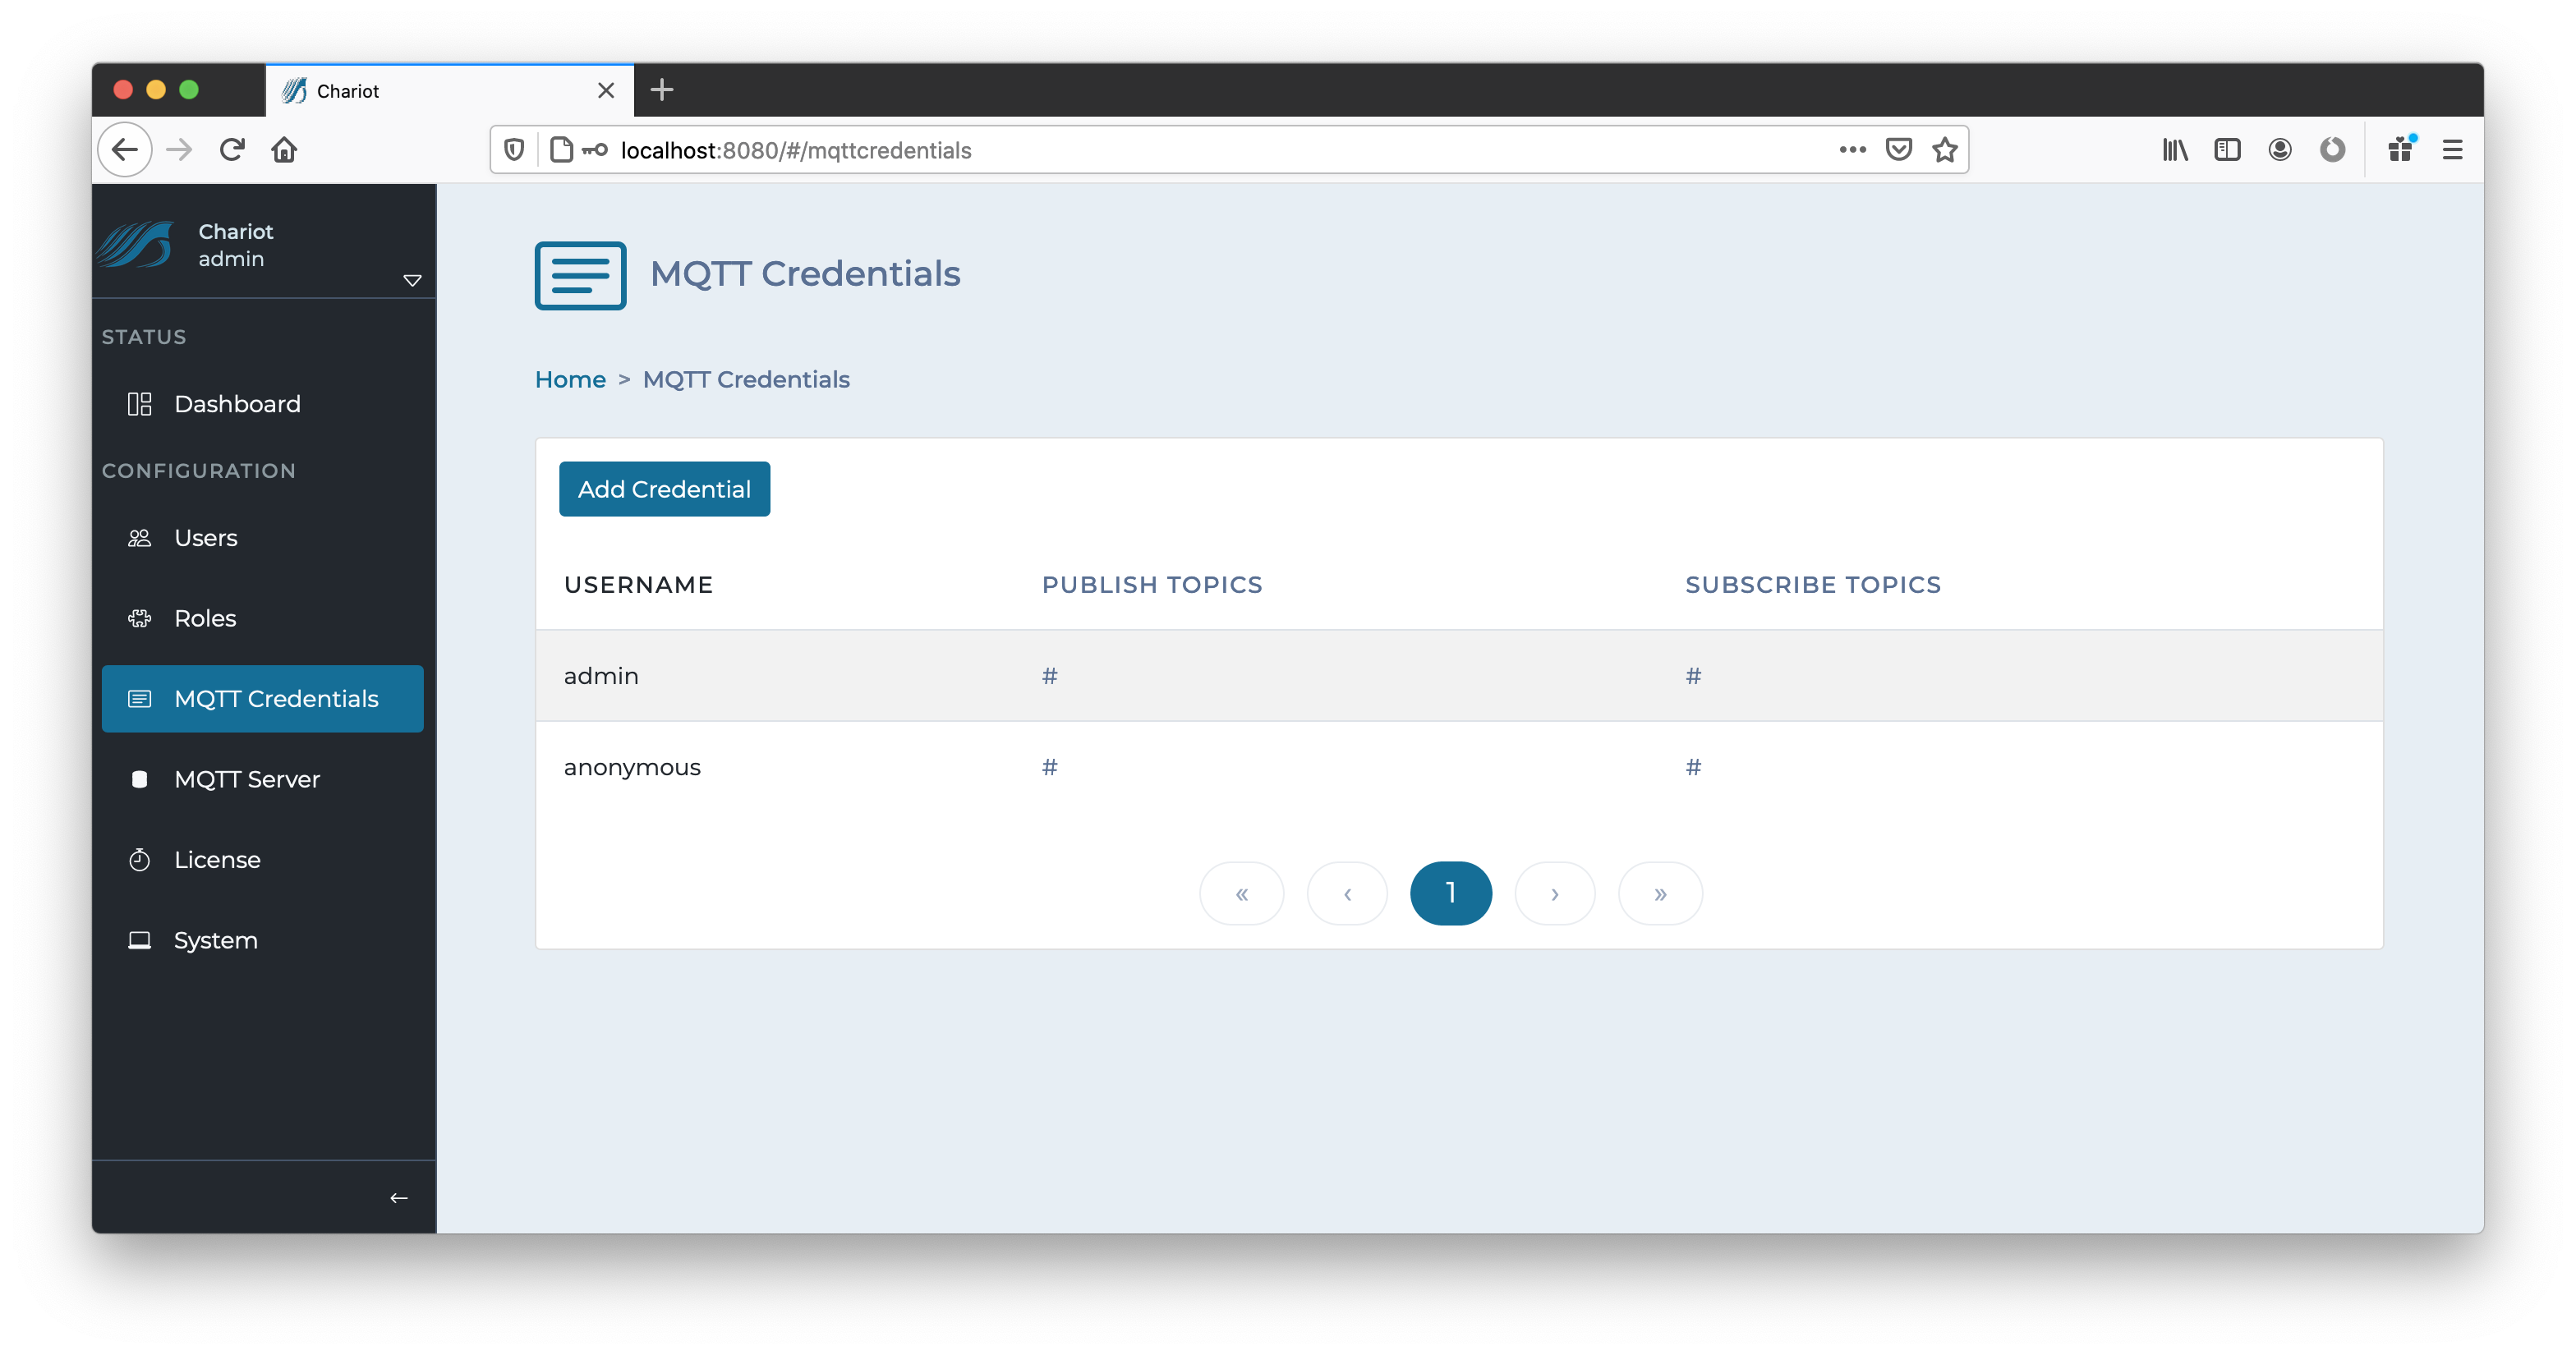
Add Credential
Clicking the "Add Credential" button will display a form for creating a new MQTT Credential.
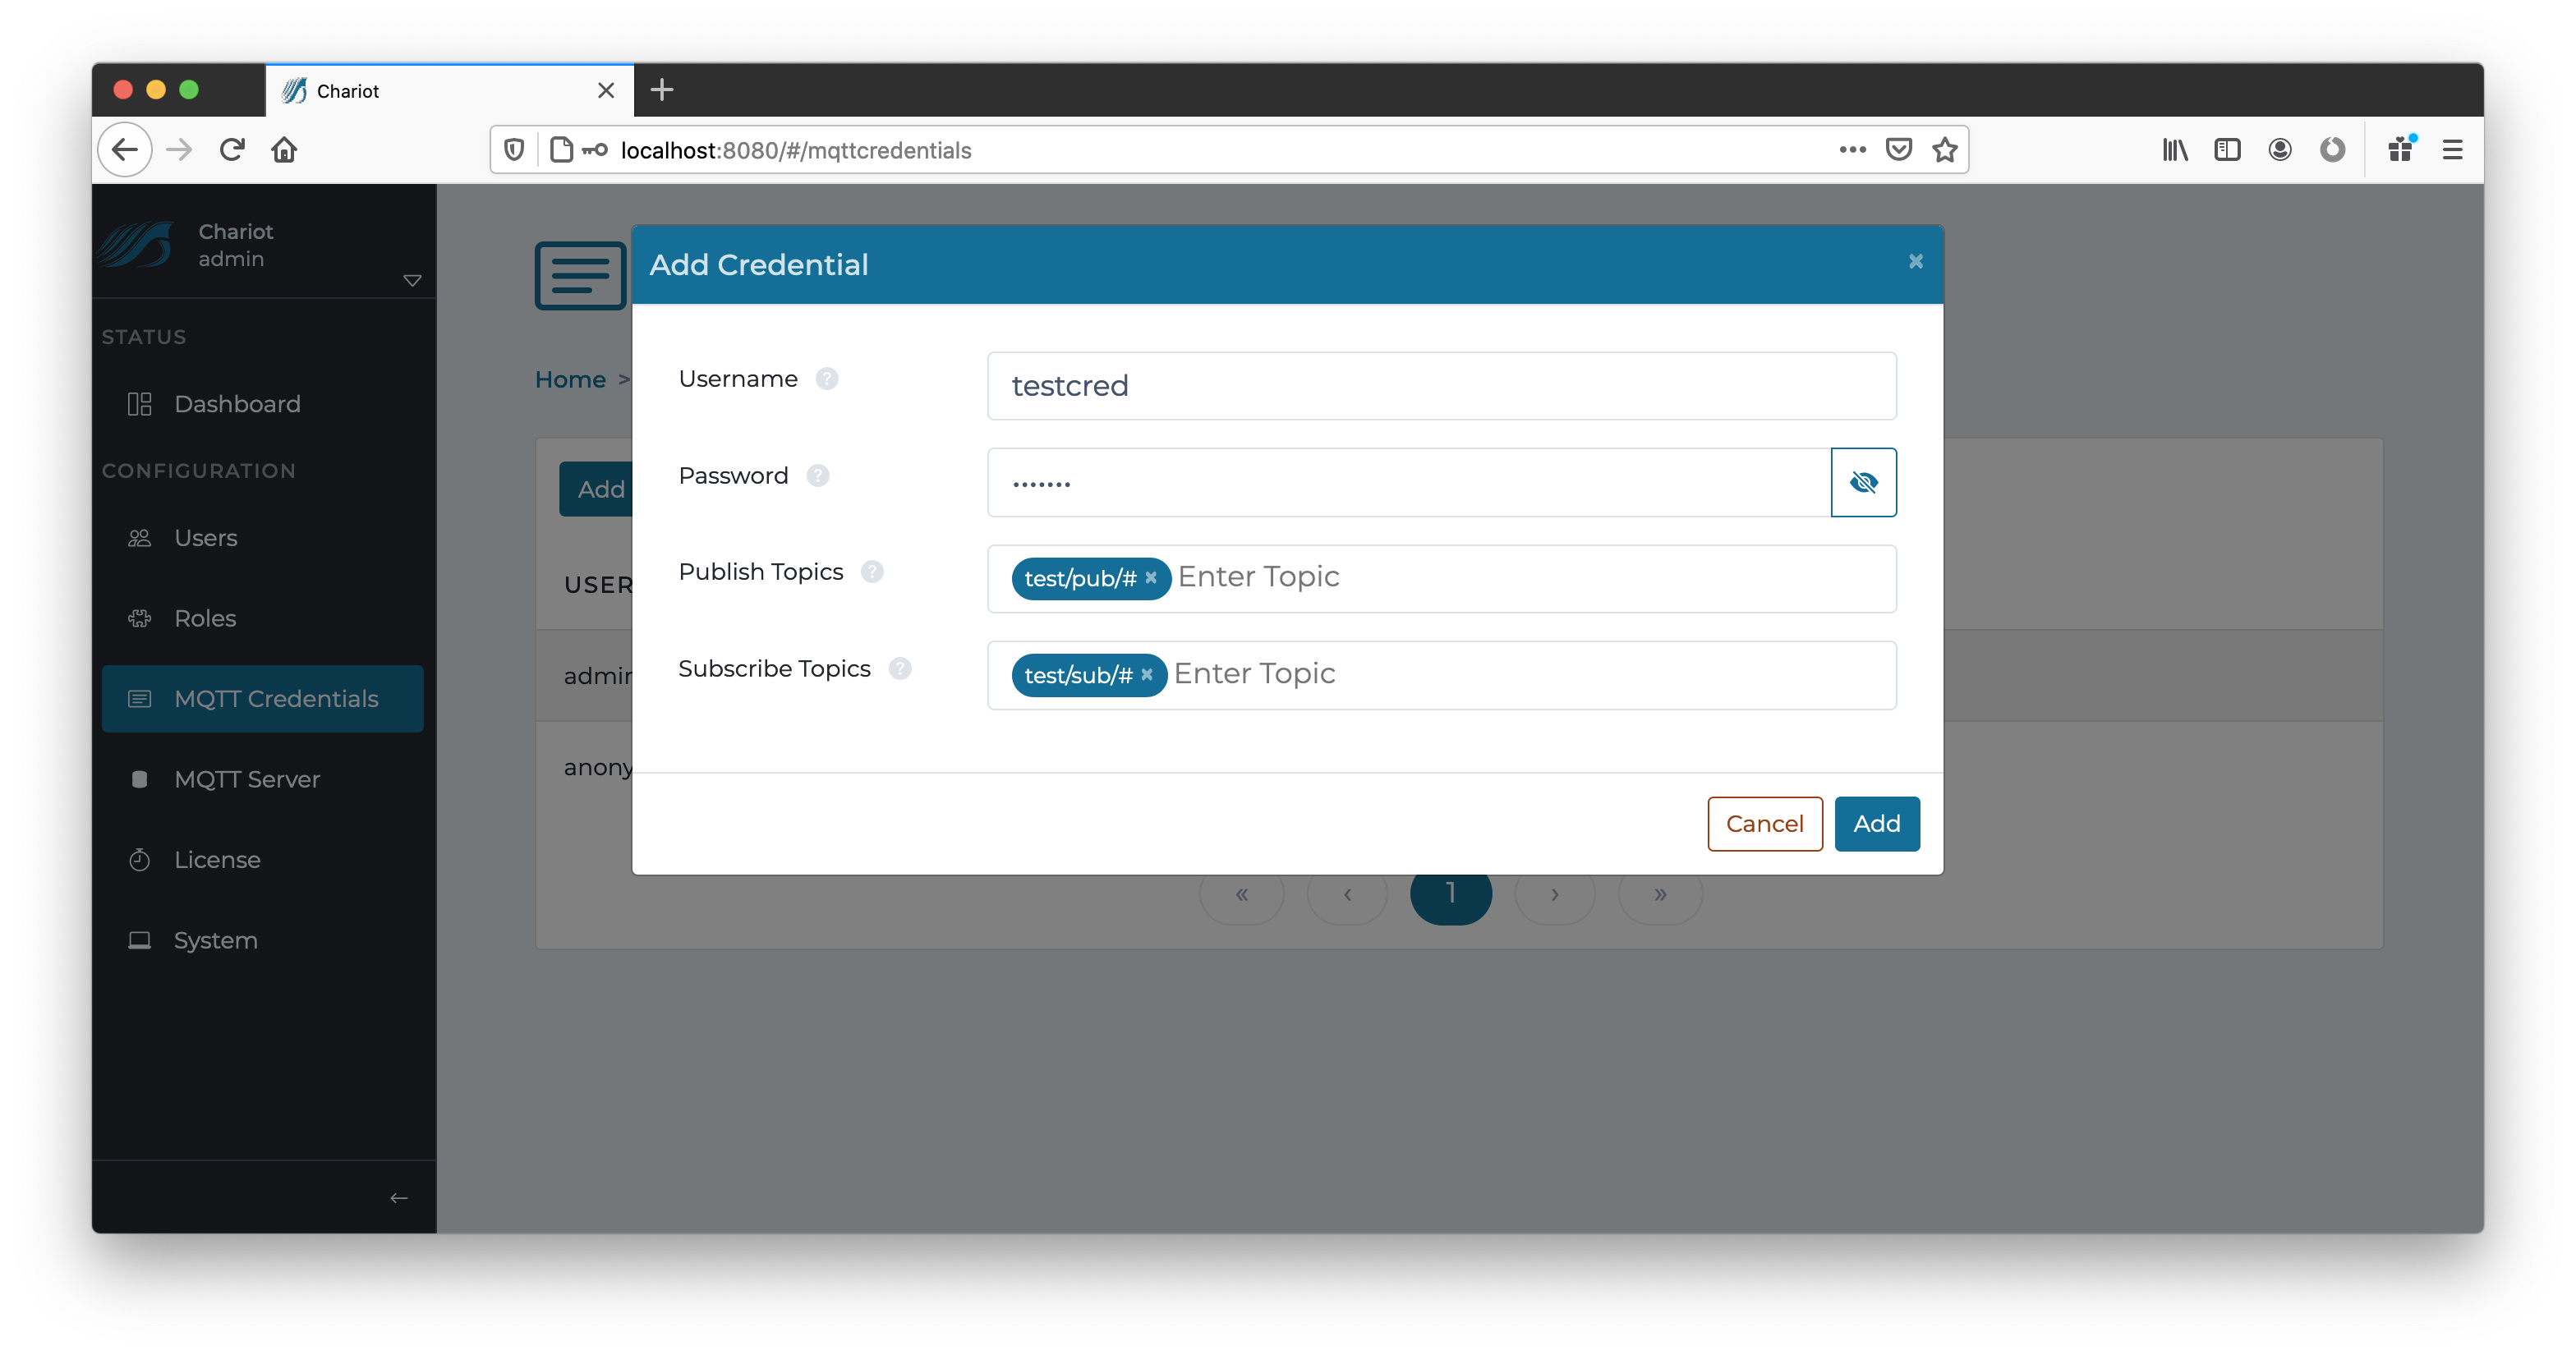 The form contains the following fields:
- Username
- A unique username that an MQTT client will use when connecting.
- Password
- A secure password that an MQTT client will use when connecting.
- Publish Topics
- A list of MQTT topic filters that the client is allowed to publish on (wildcards may be used).
- Subscribe Topics
- A list of MQTT topic filters that the client is allowed to subscribe on (wildcards may be used).
The "Add" button in the bottom right of the form can be clicked to create the Credential.
Edit Credential
Clicking on an individual MQTT Credential in the table will display a form for editing the Credential.
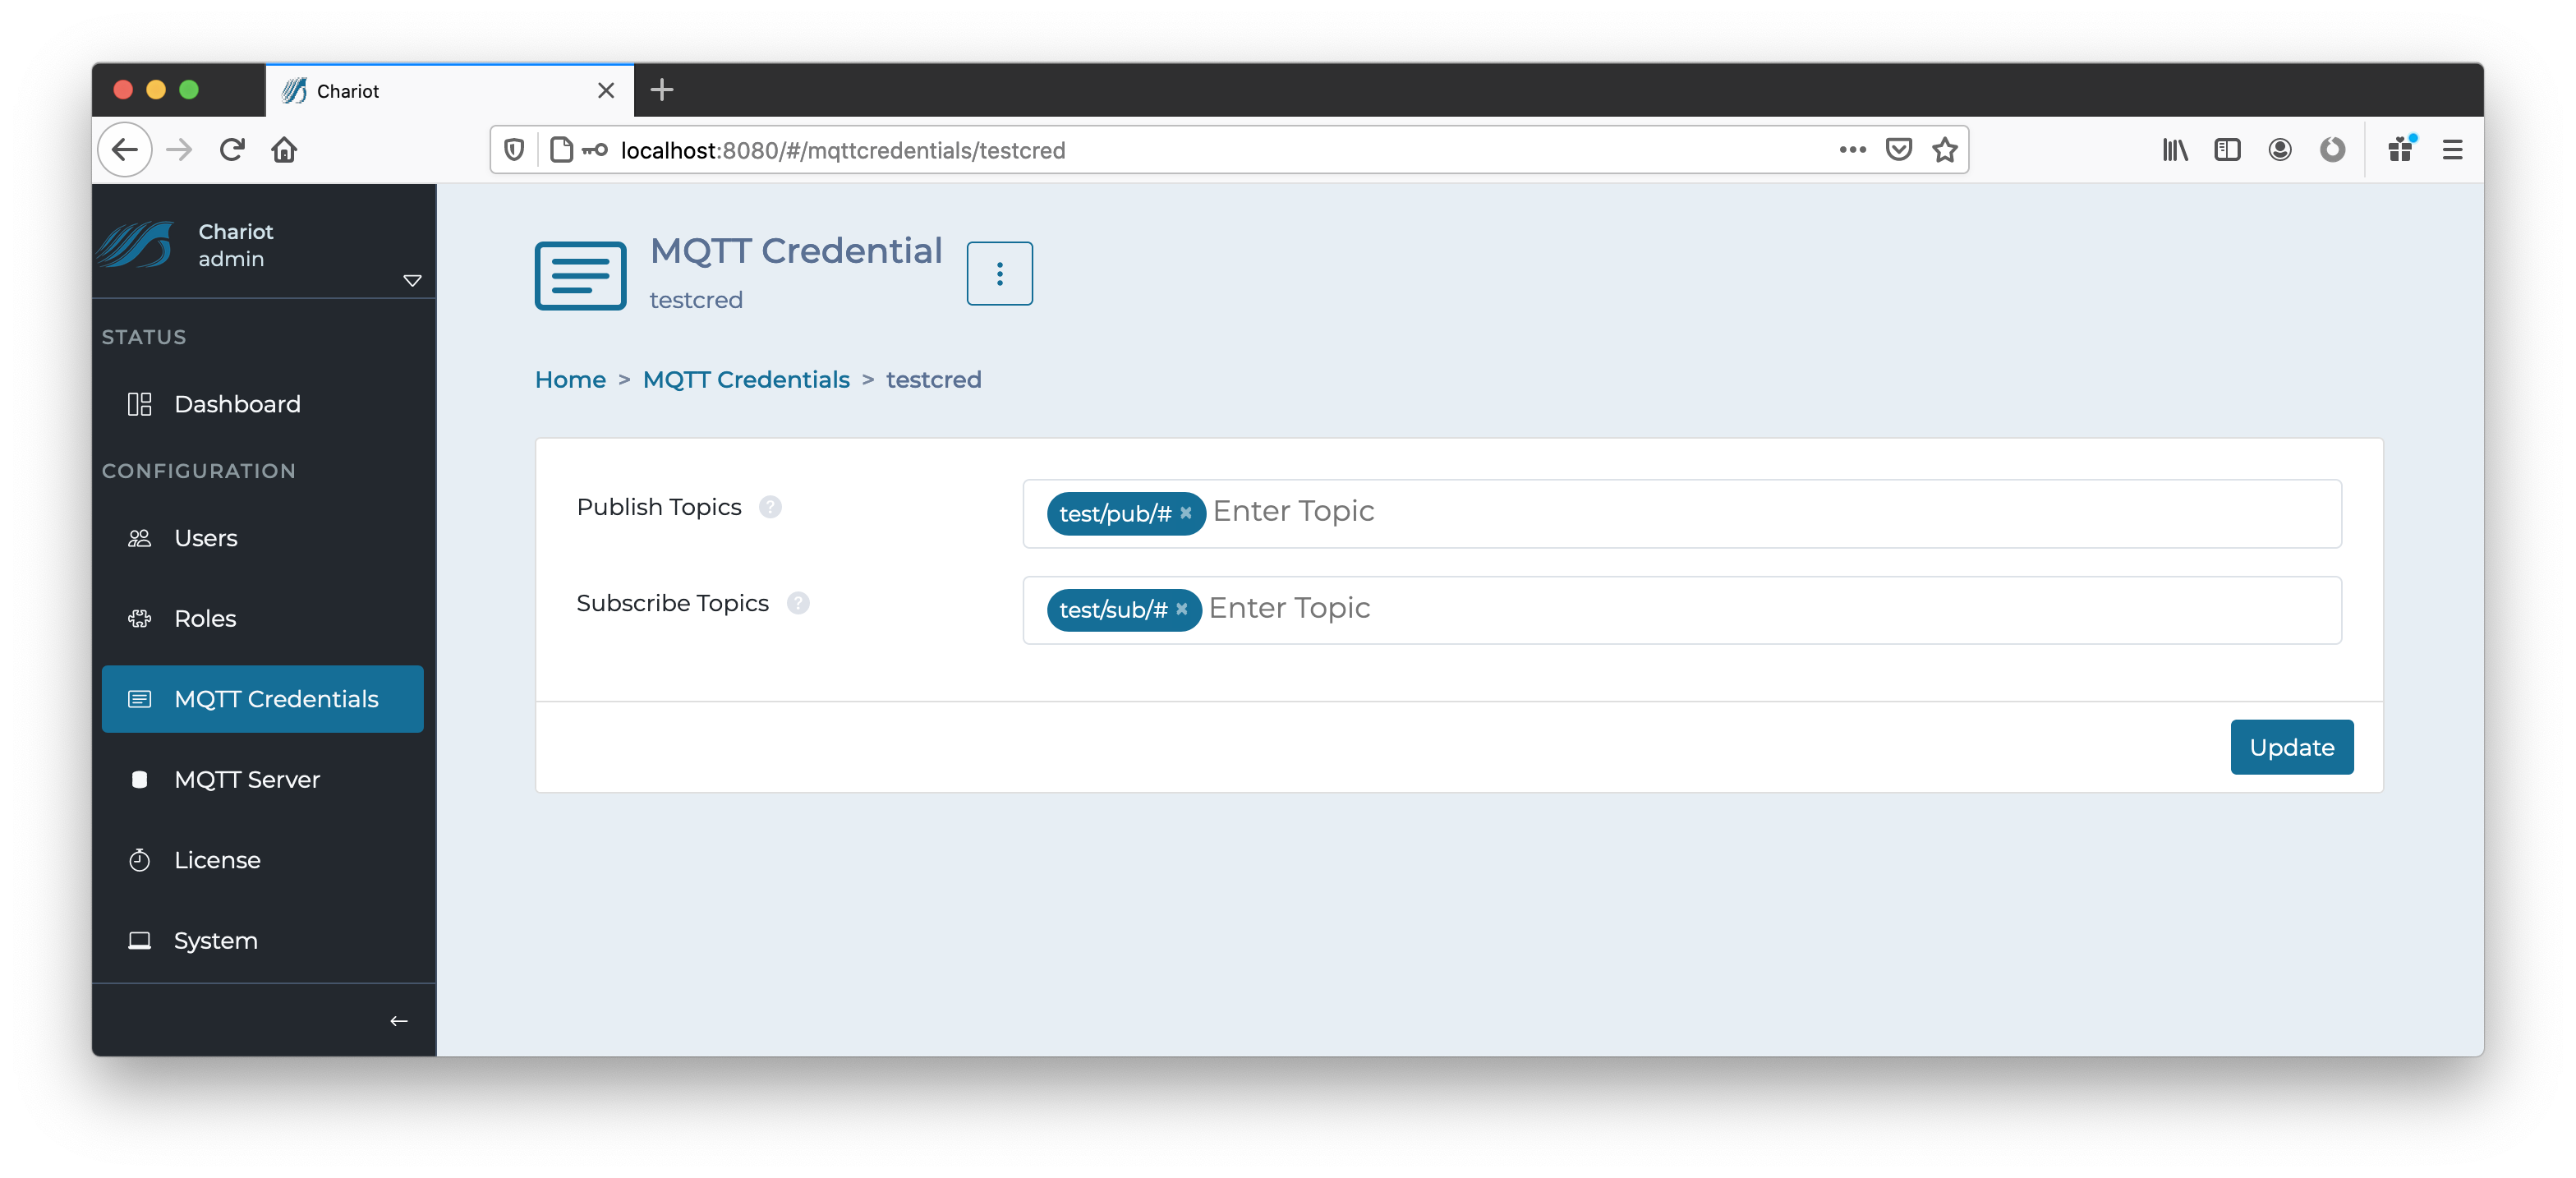 The "Update" button in the bottom right can be clicked to update the Credential once all changes have been made.
MQTT Server
The MQTT Server page contains a form used to configure the MQTT Server.
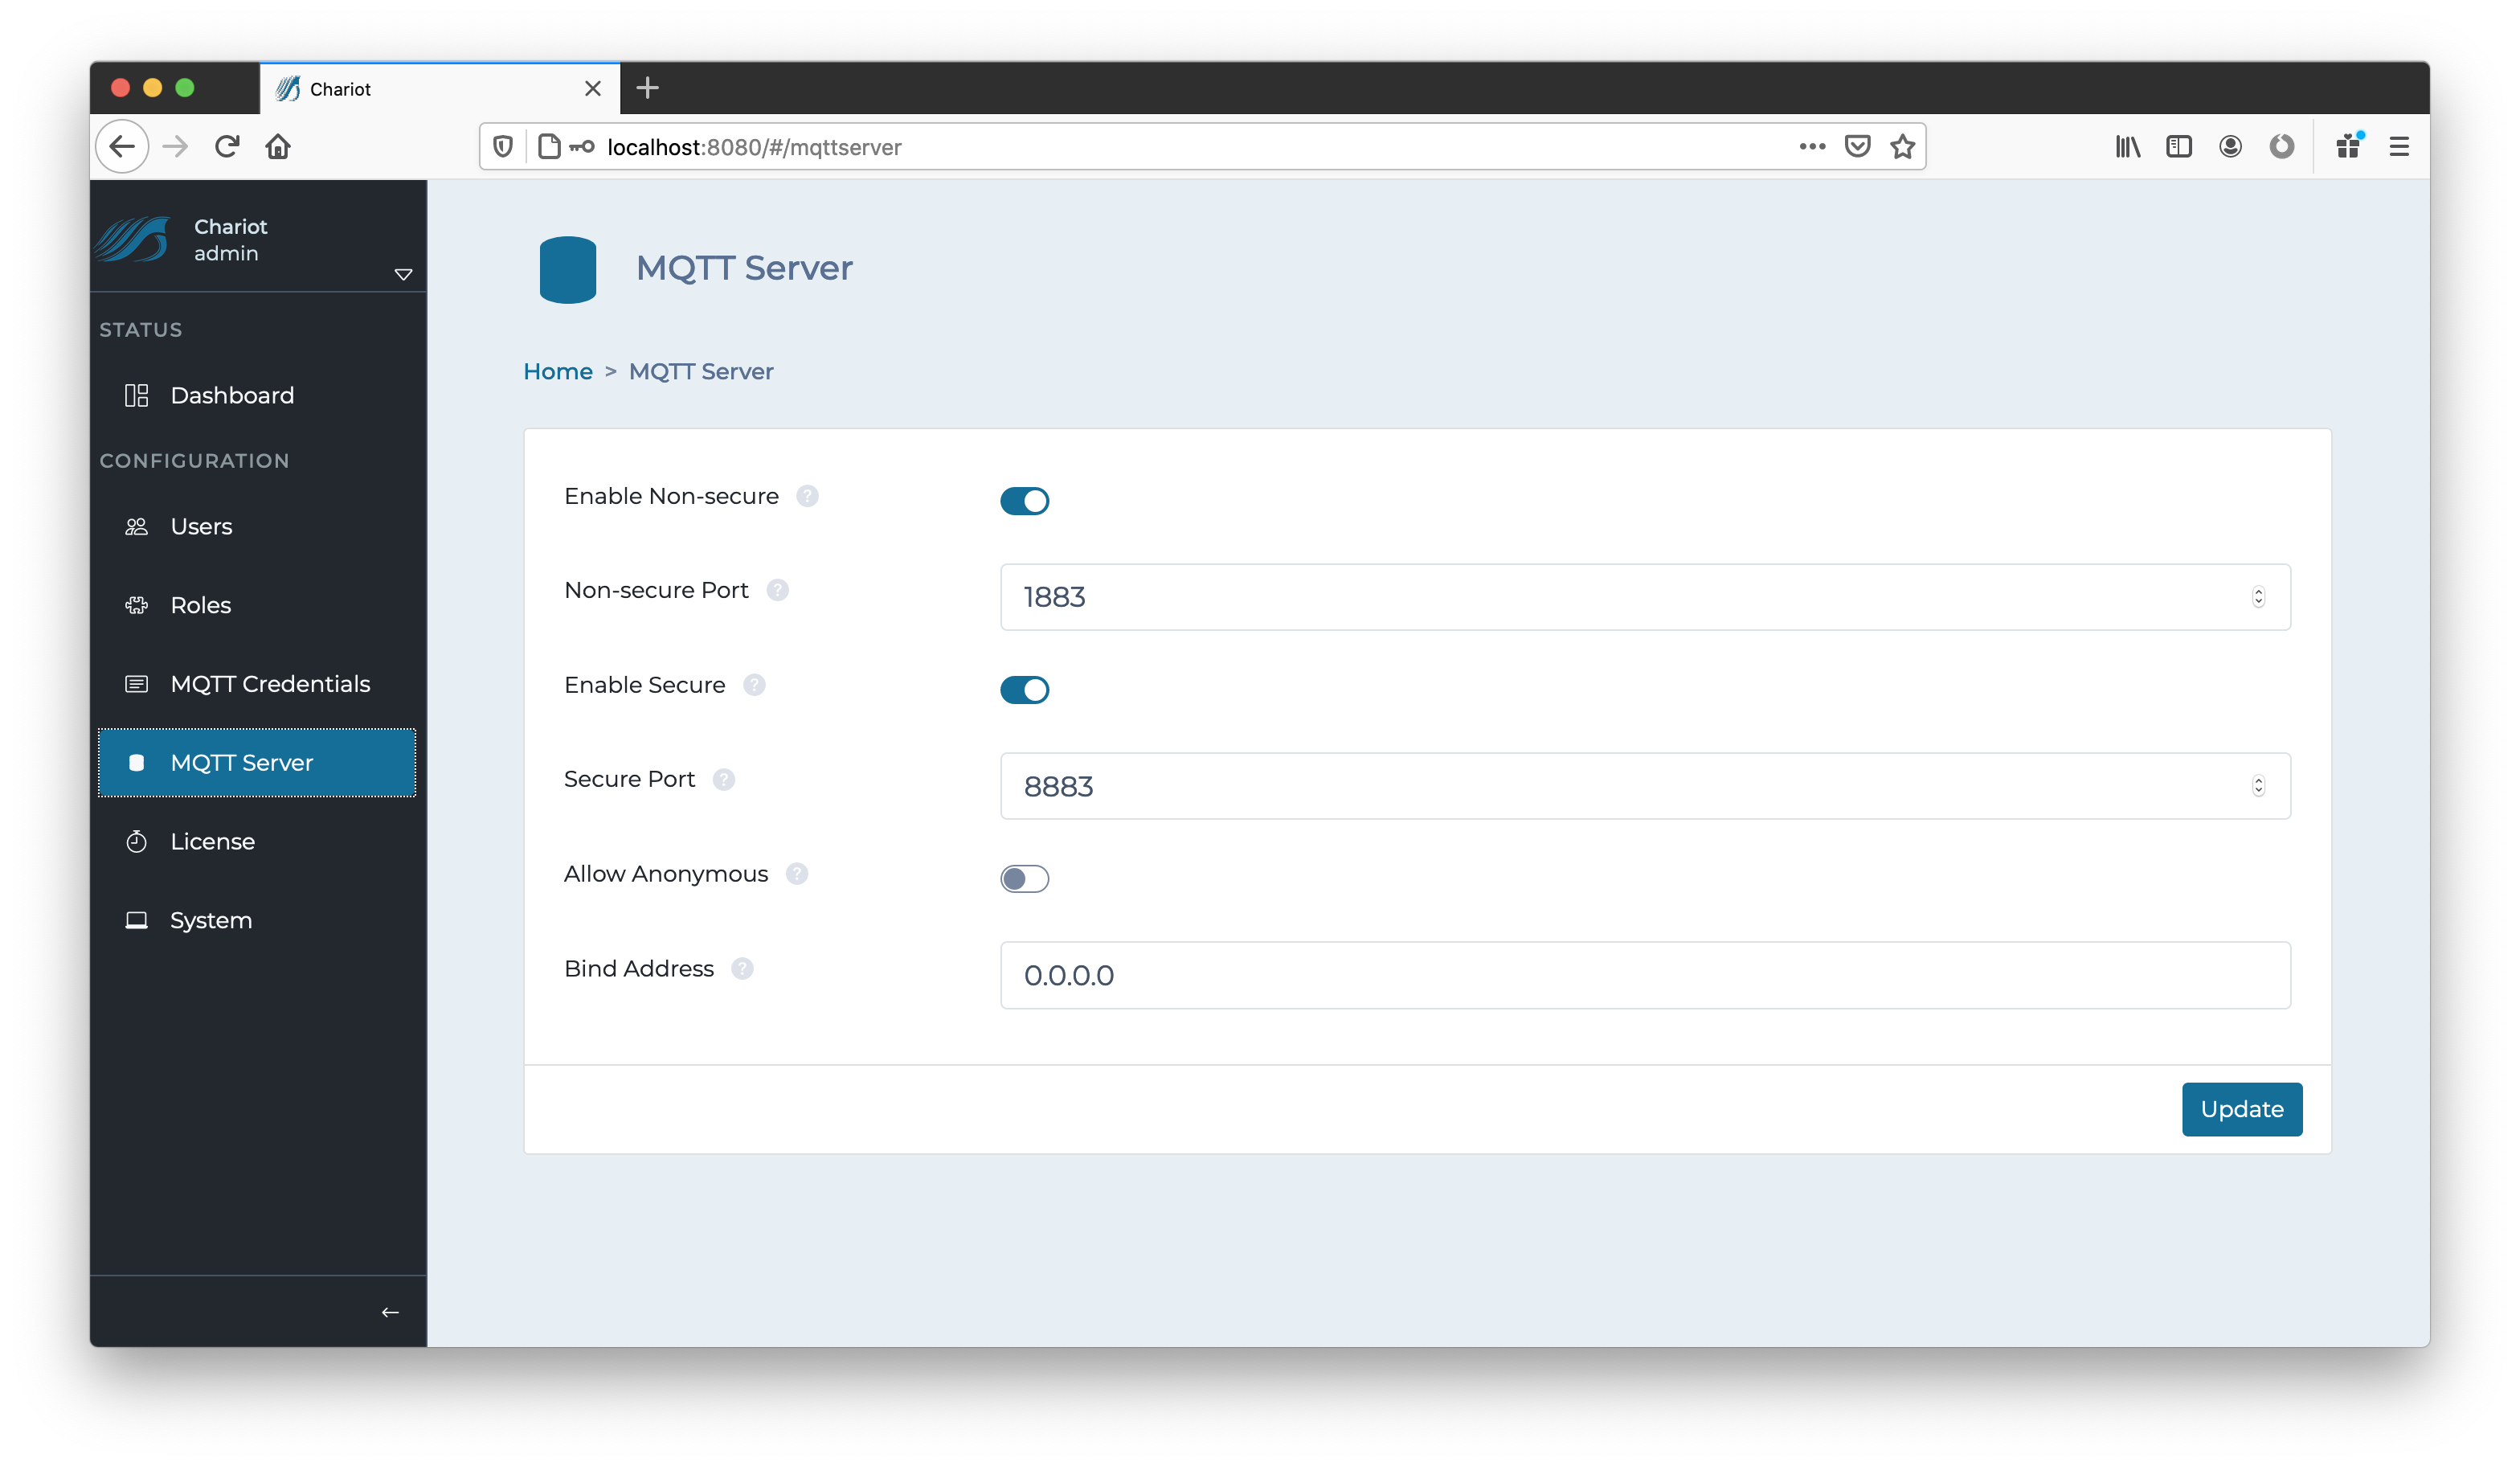
The form contains the following fields:
- Enable Non-secure
- Whether to enable non-secure client connections over plain TCP.
- Non-secure Port
- The port that the MQTT Server will listen on for non-secure connections.
- Enable Secure
- Whether to enable Secure client connections over SSL/TLS.
- Secure Port
- The port that the MQTT Server will listen on for secure connections.
- Allow Anonymous
- Whether to allow anonymous connections (no username and password).
- Bind Address
- The address that the MQTT Server will listen on for MQTT connections.
The "Update" button in the bottom right can be clicked to update the MQTT Server configuration once all changes have been made. An update will restart the MQTT server.
License
The License page allows for adding, activating, and/or deactivating a Chariot License. A detailed tutorial for licensing Chariot can be found here Licensing Procedure.
Upload License
A Chariot License is represented by a text file which contains a license key. The file can either be dragged/dropped into the "Upload License" form, or the license text can be pasted directly into the form.
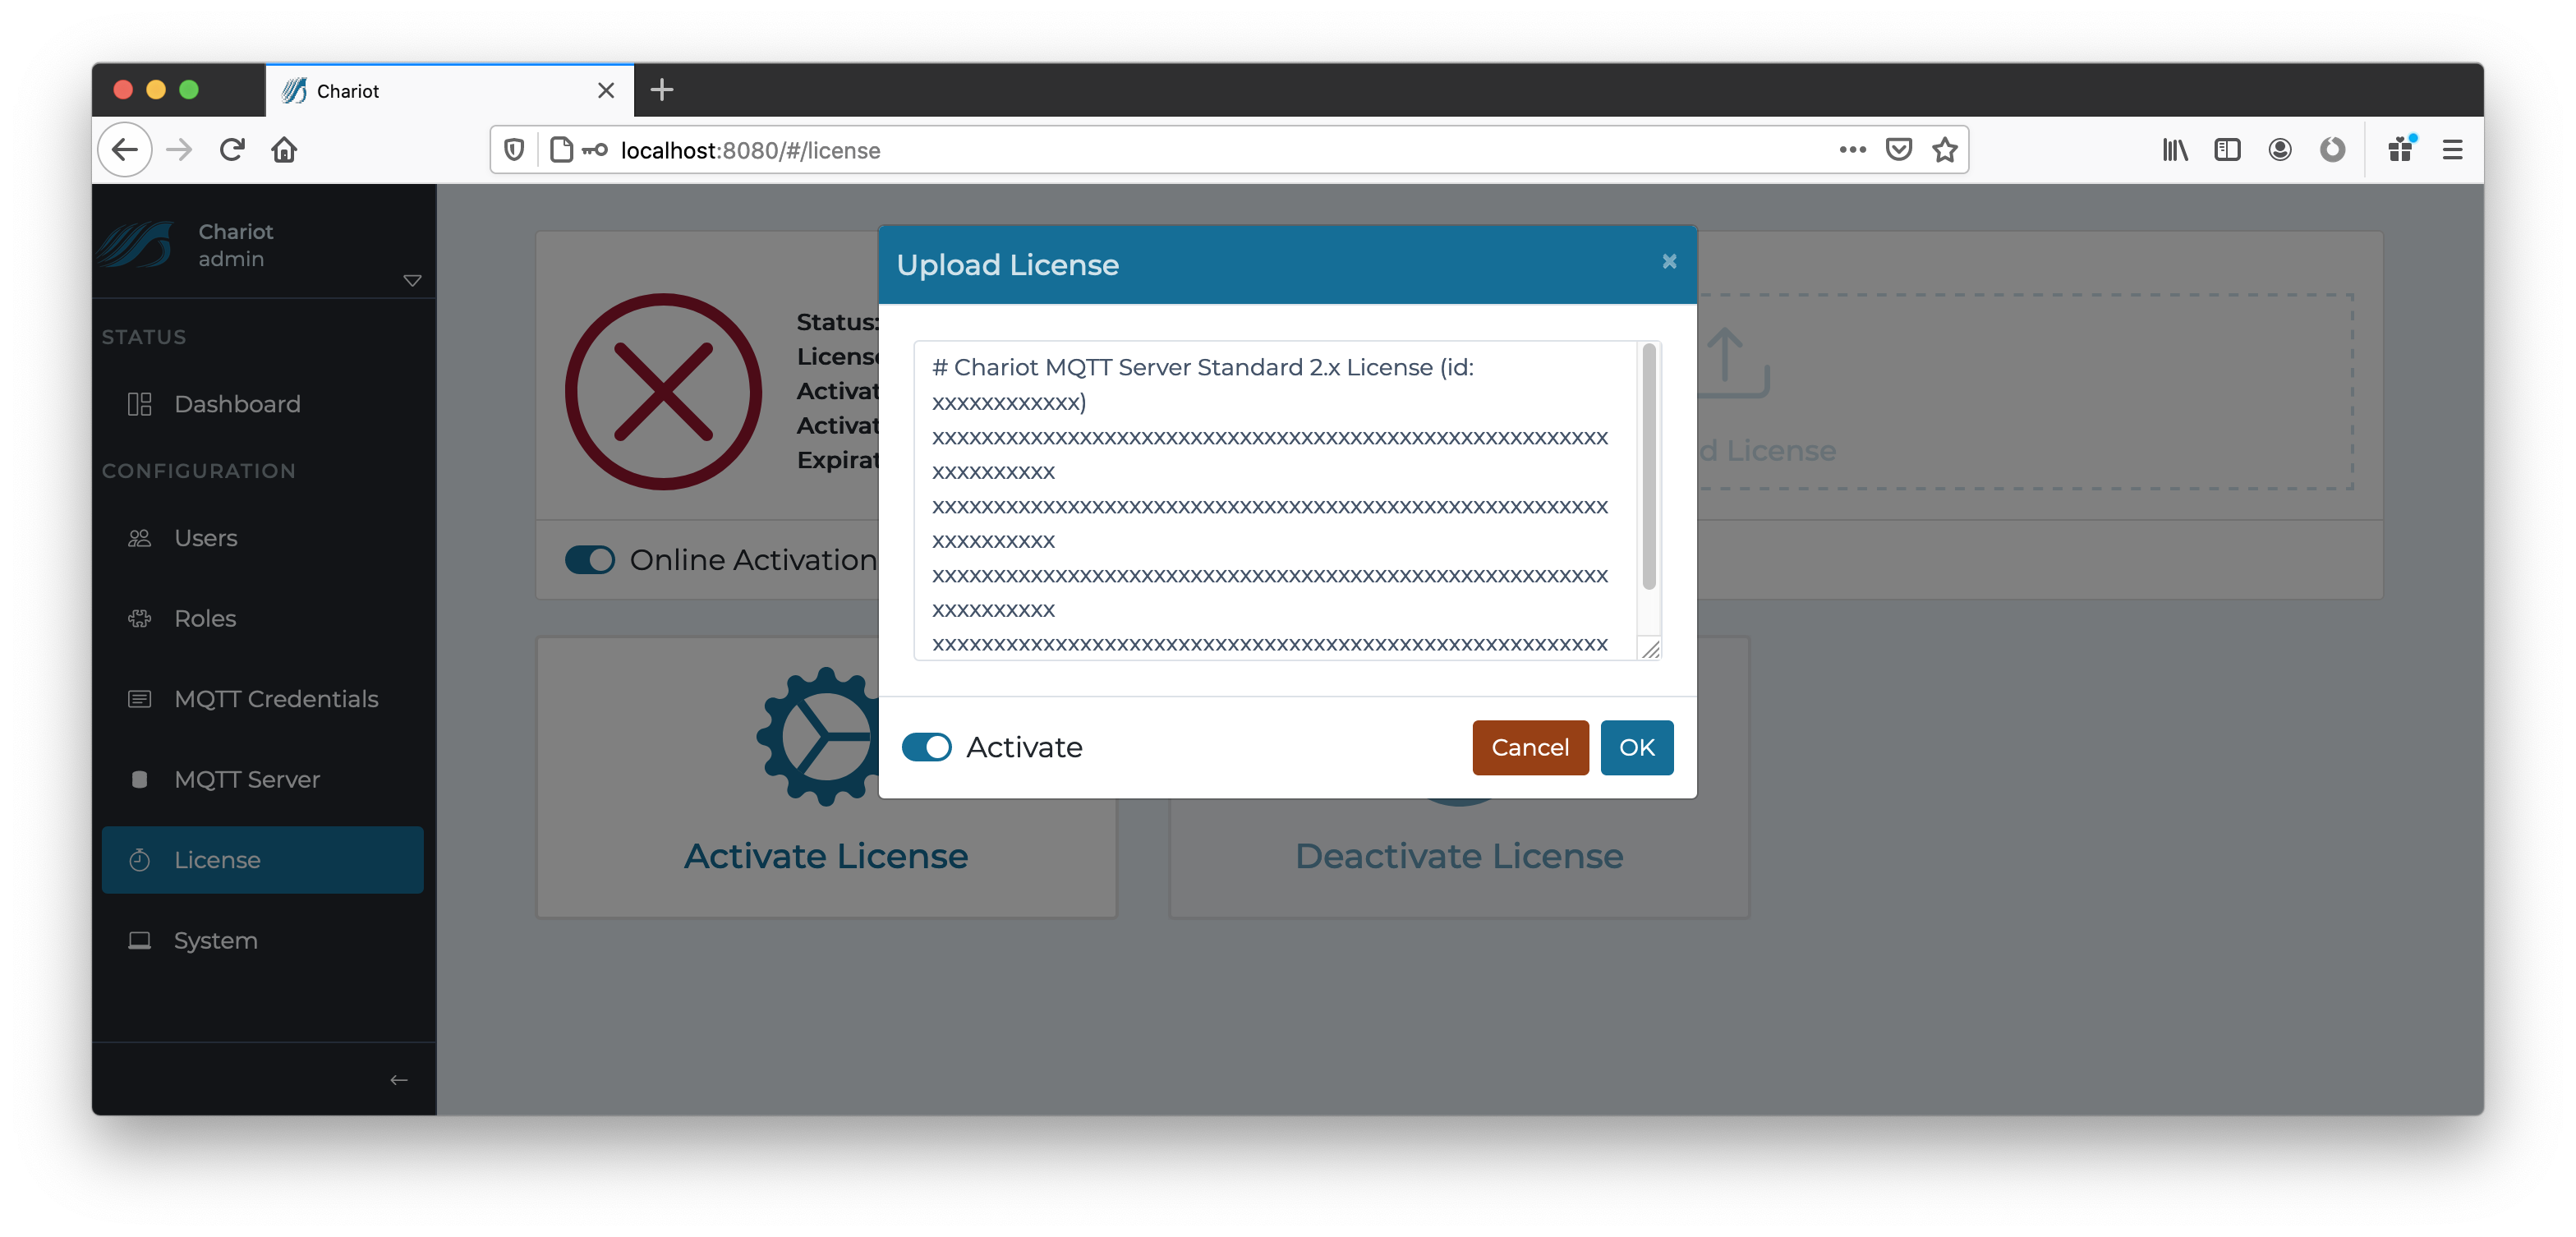 The Activate toggle (in the Upload License form) can be used to auto-activate the license immediately after it is uploaded. This is a convenience to prevent the need to click Activate License after uploading a license.
Online Activation
Online Activation allows the Chariot MQTT Server to remotely connect to the Chariot Licensing server for activation and deactivation of Chariot Licenses. When the "Online Activation" is selected, the License page appears with the following options:
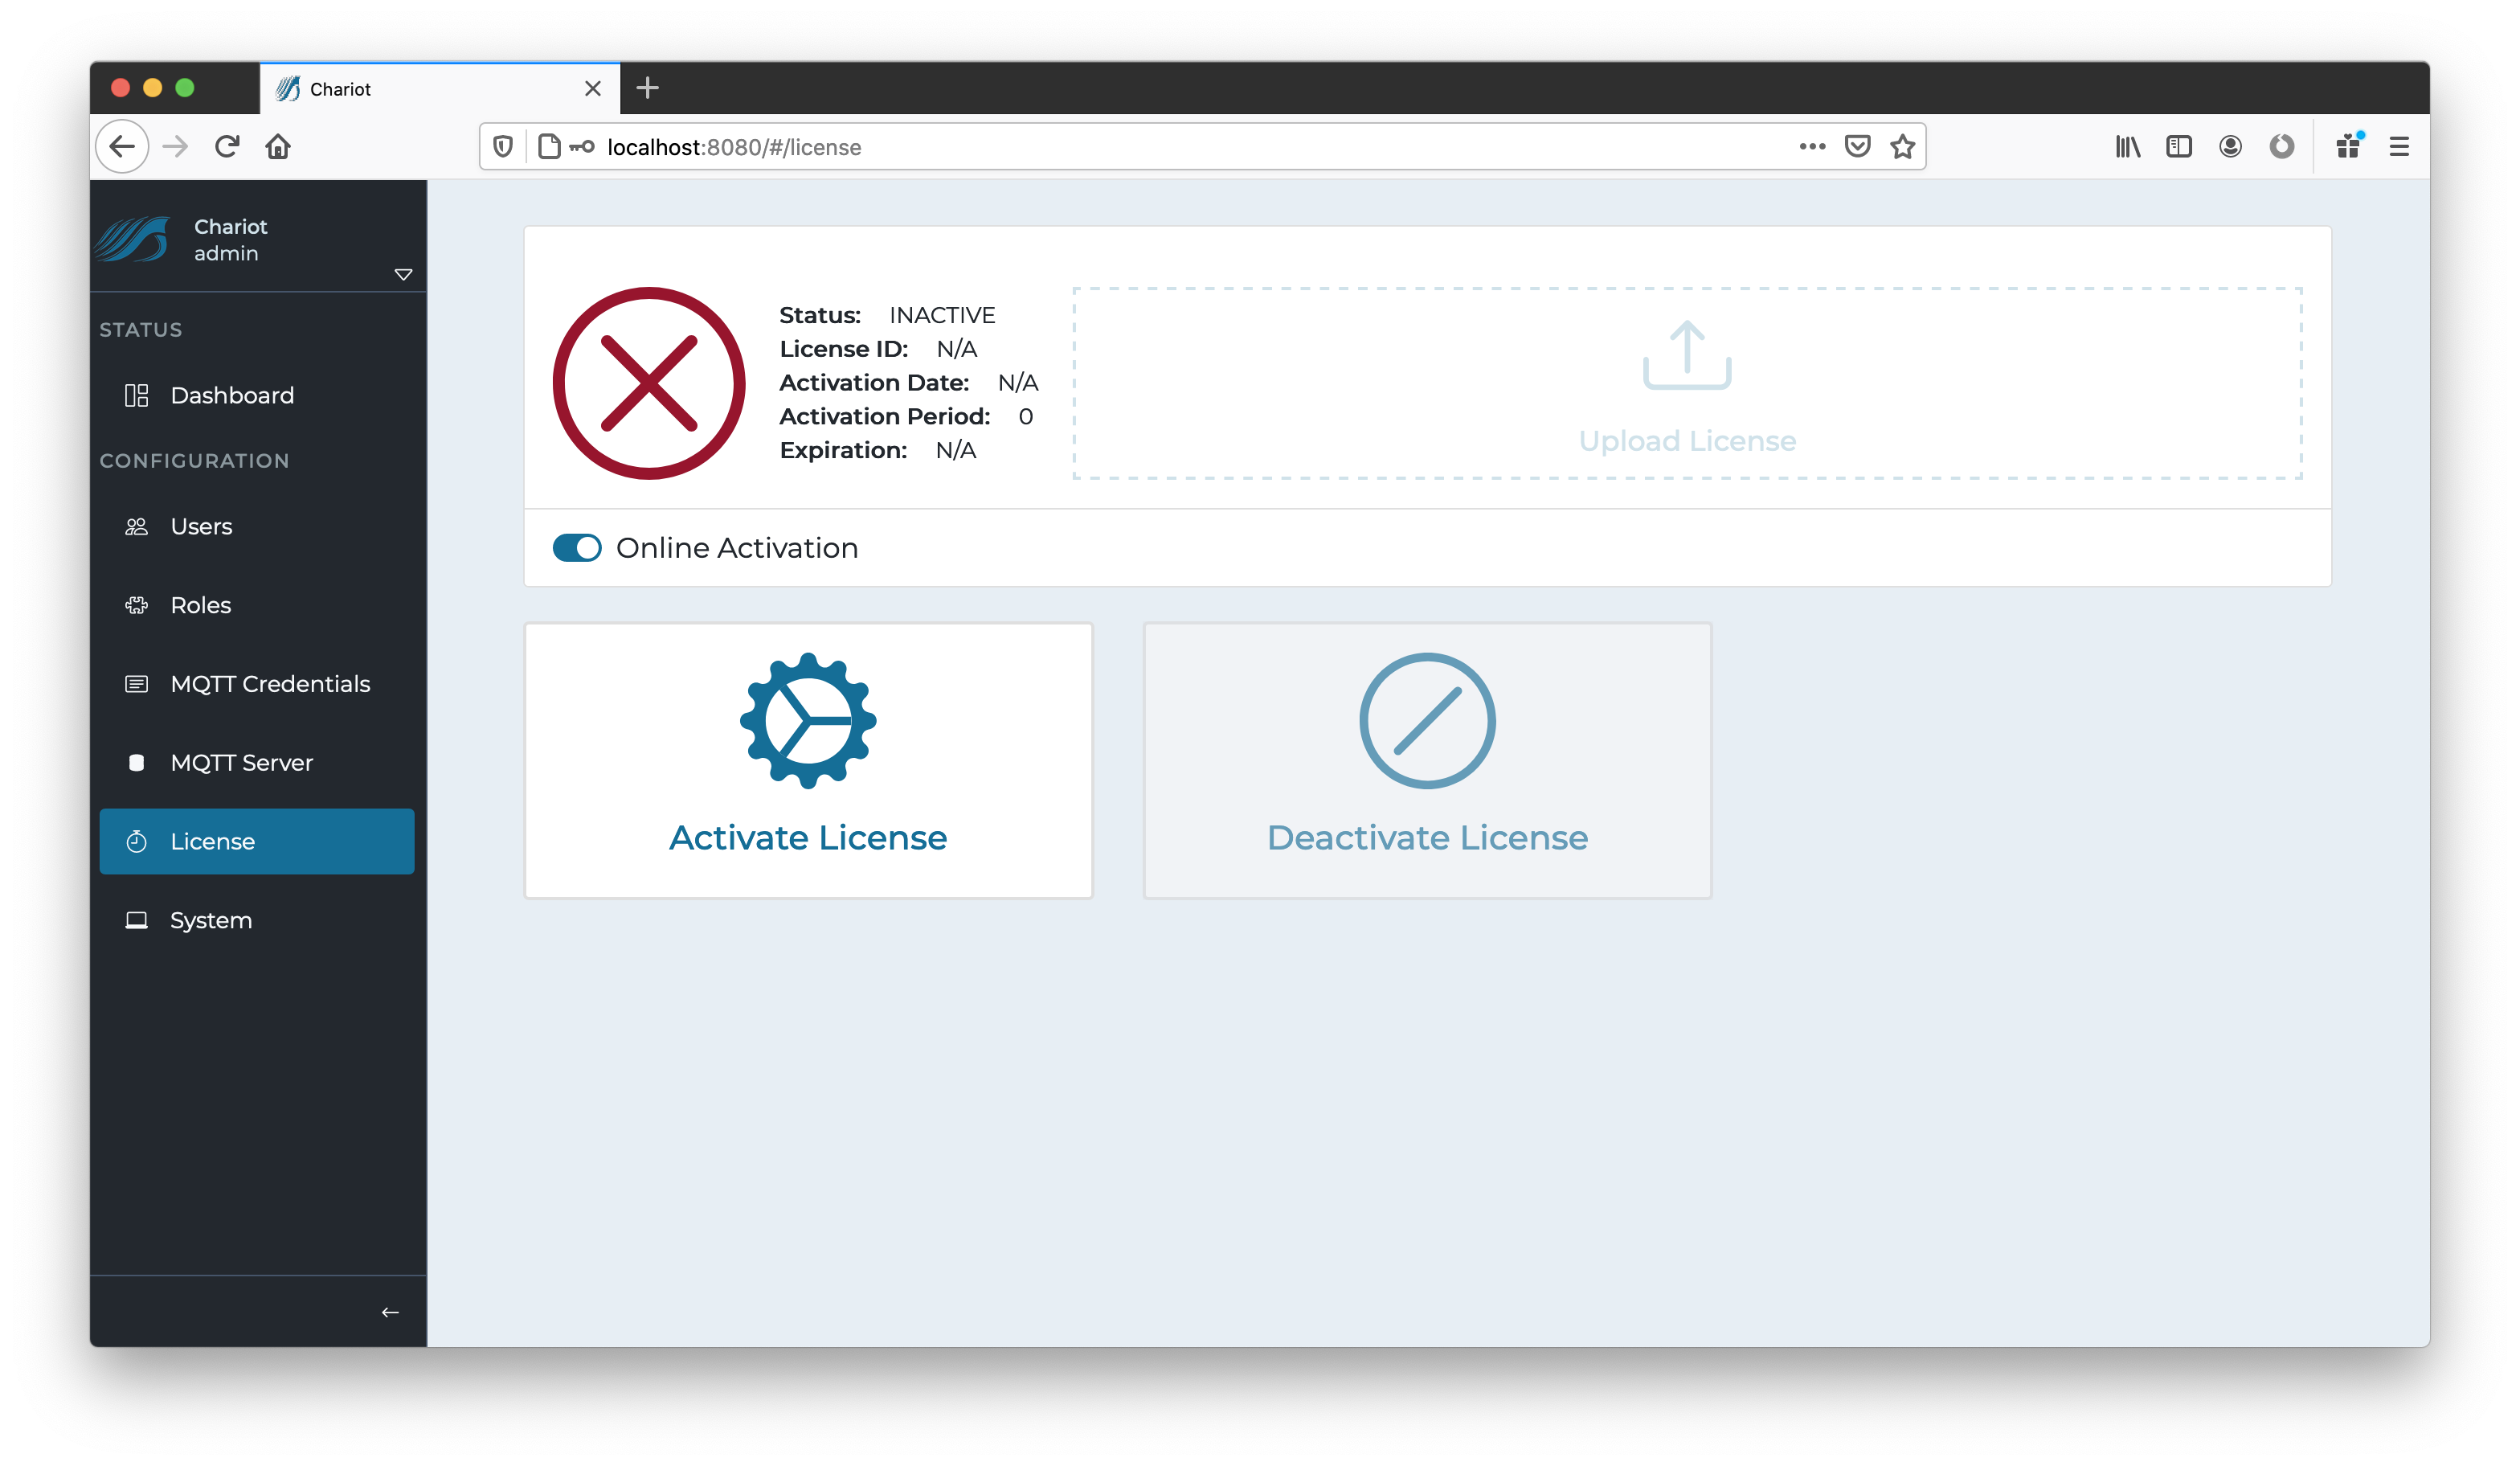
- Activate License
- Activates an uploaded Chariot License by remotely accessing the Chariot Licensing Server.
- Deactivate License
- Deactivates an uploaded & active Chariot License by remotely accessing the Chariot Licensing Server.
Offline Activation
Offline Activation requires the user to generate an activation request and provide it to Cirrus Link Solutions in order to obtain an Activation Code. The Activation Code can then be uploaded into the Chariot MQTT Server to activate the previously uploaded Chariot License. When the "Offline Activation" option is selected, the License page appears with the following options:
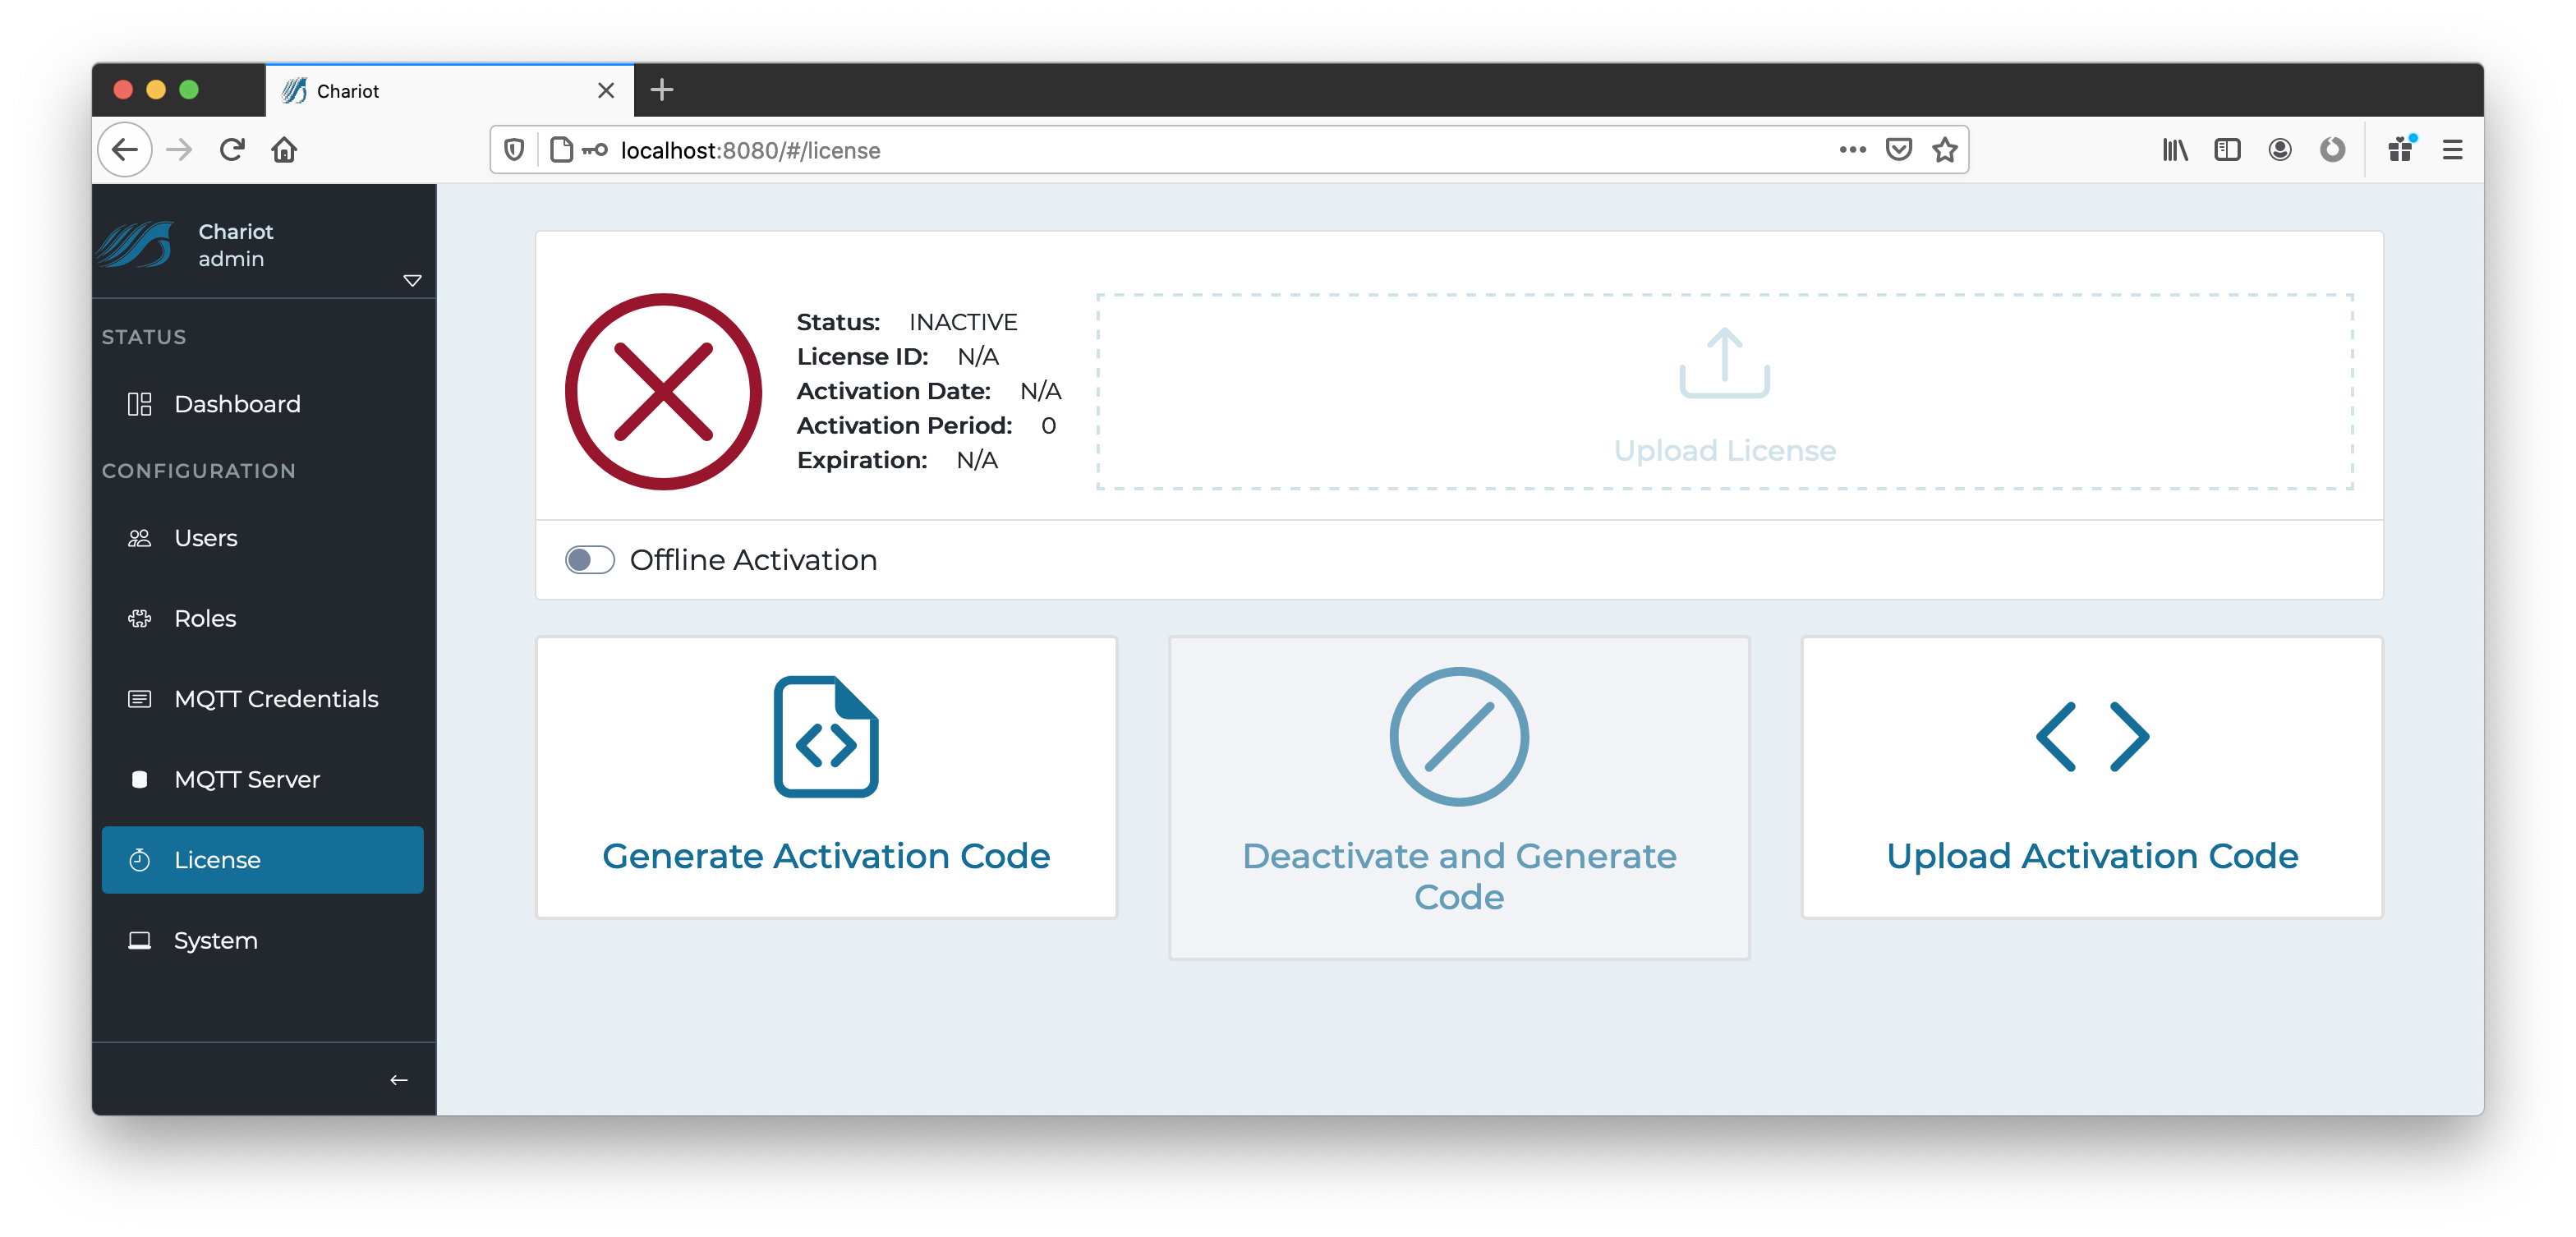
- Generate Activation Code
- Generates an Activation Request Code.
- Deactivate and Generate Code
- Deactivates an active Chariot License and generates a Deactivation Request Code.
- Upload Activation Code
- Uploads an Activation Code that was obtained using the Generate Activation Code.
System
The System page allows for the configuration of the Chariot MQTT Server's system settings as well as enabling secure (SSL/TLS) connections and uploading certificates. A detailed tutorial for setting up SSL/TLS can be found here: Securing Chariot MQTT Server.
Configuration
The System page uses the following form to configure the system settings:
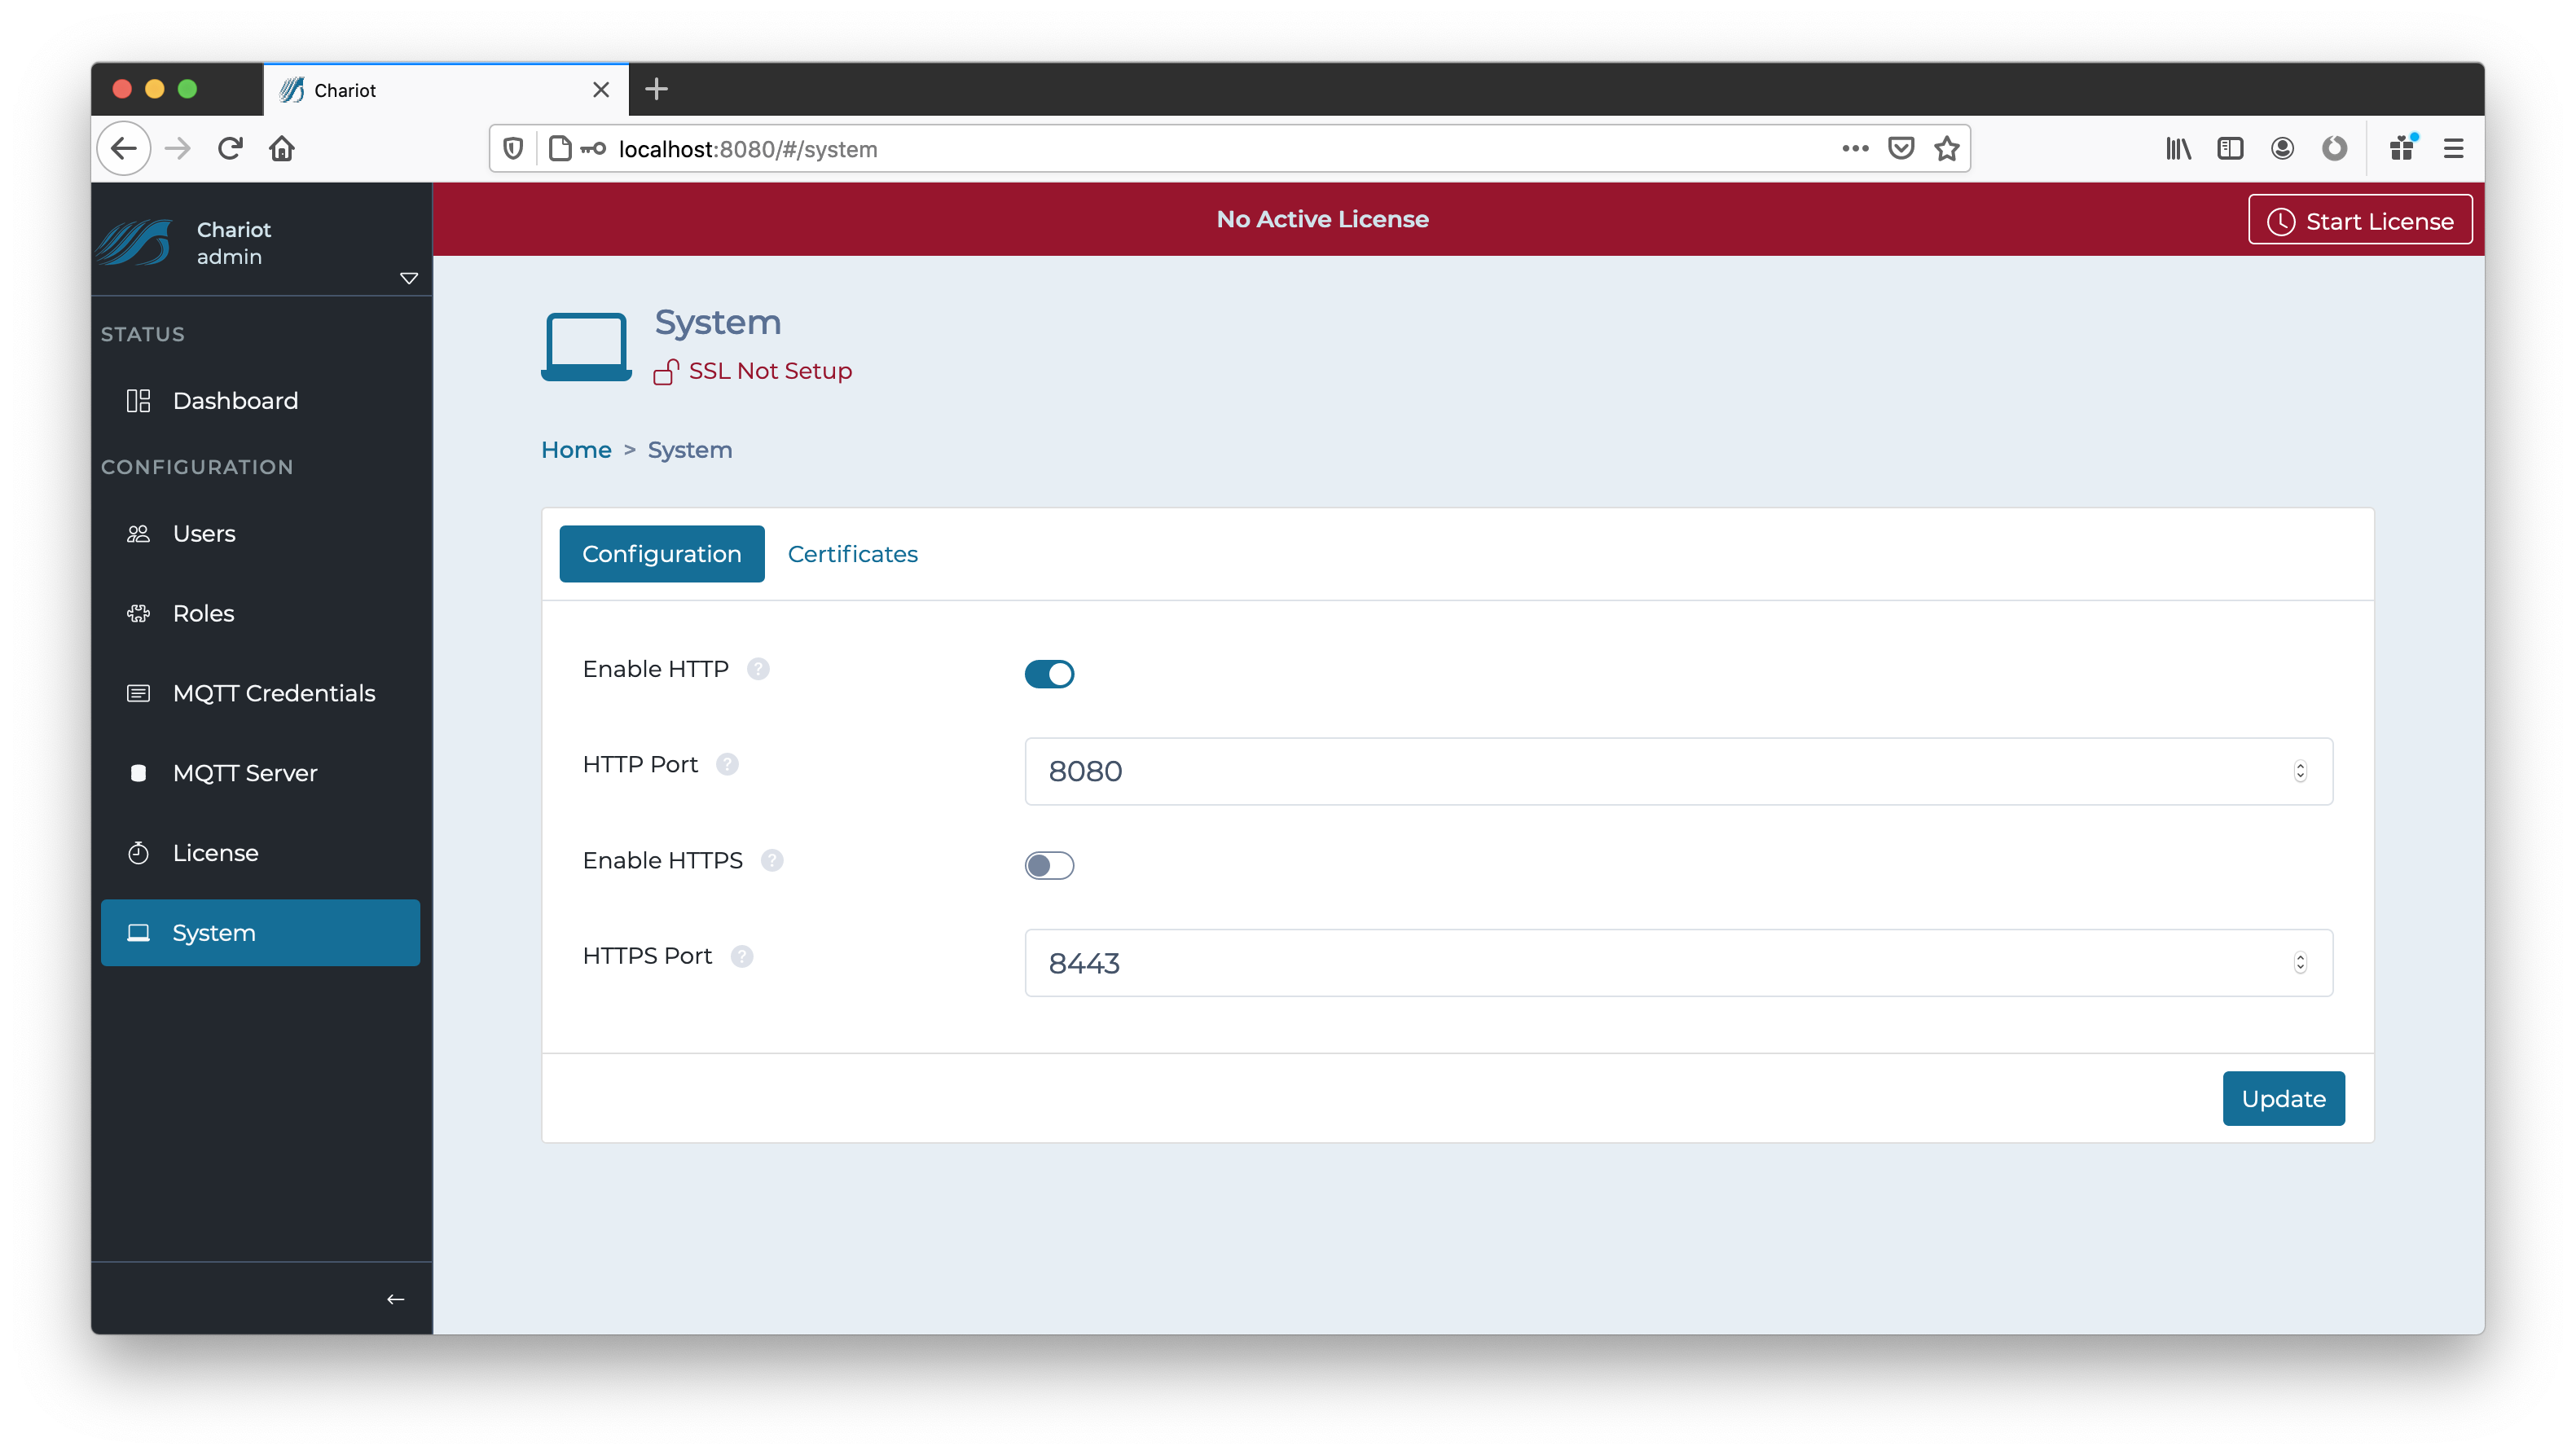
The form contains the following fields:
- Enable HTTP
- Whether to enable non-secure HTTP connections to the Chariot Web UI.
- HTTP Port
- The port that the Chariot MQTT Server will use for HTTP.
- Enable HTTPS
- Whether to enable Secure HTTPS connections to the Chariot Web UI.
- HTTPS Port
- The port that the Chariot MQTT Server will use for HTTPS.
Certificates
The certificates tab provides the means to upload the necessary certificates and keys for setting up SSL/TLS.
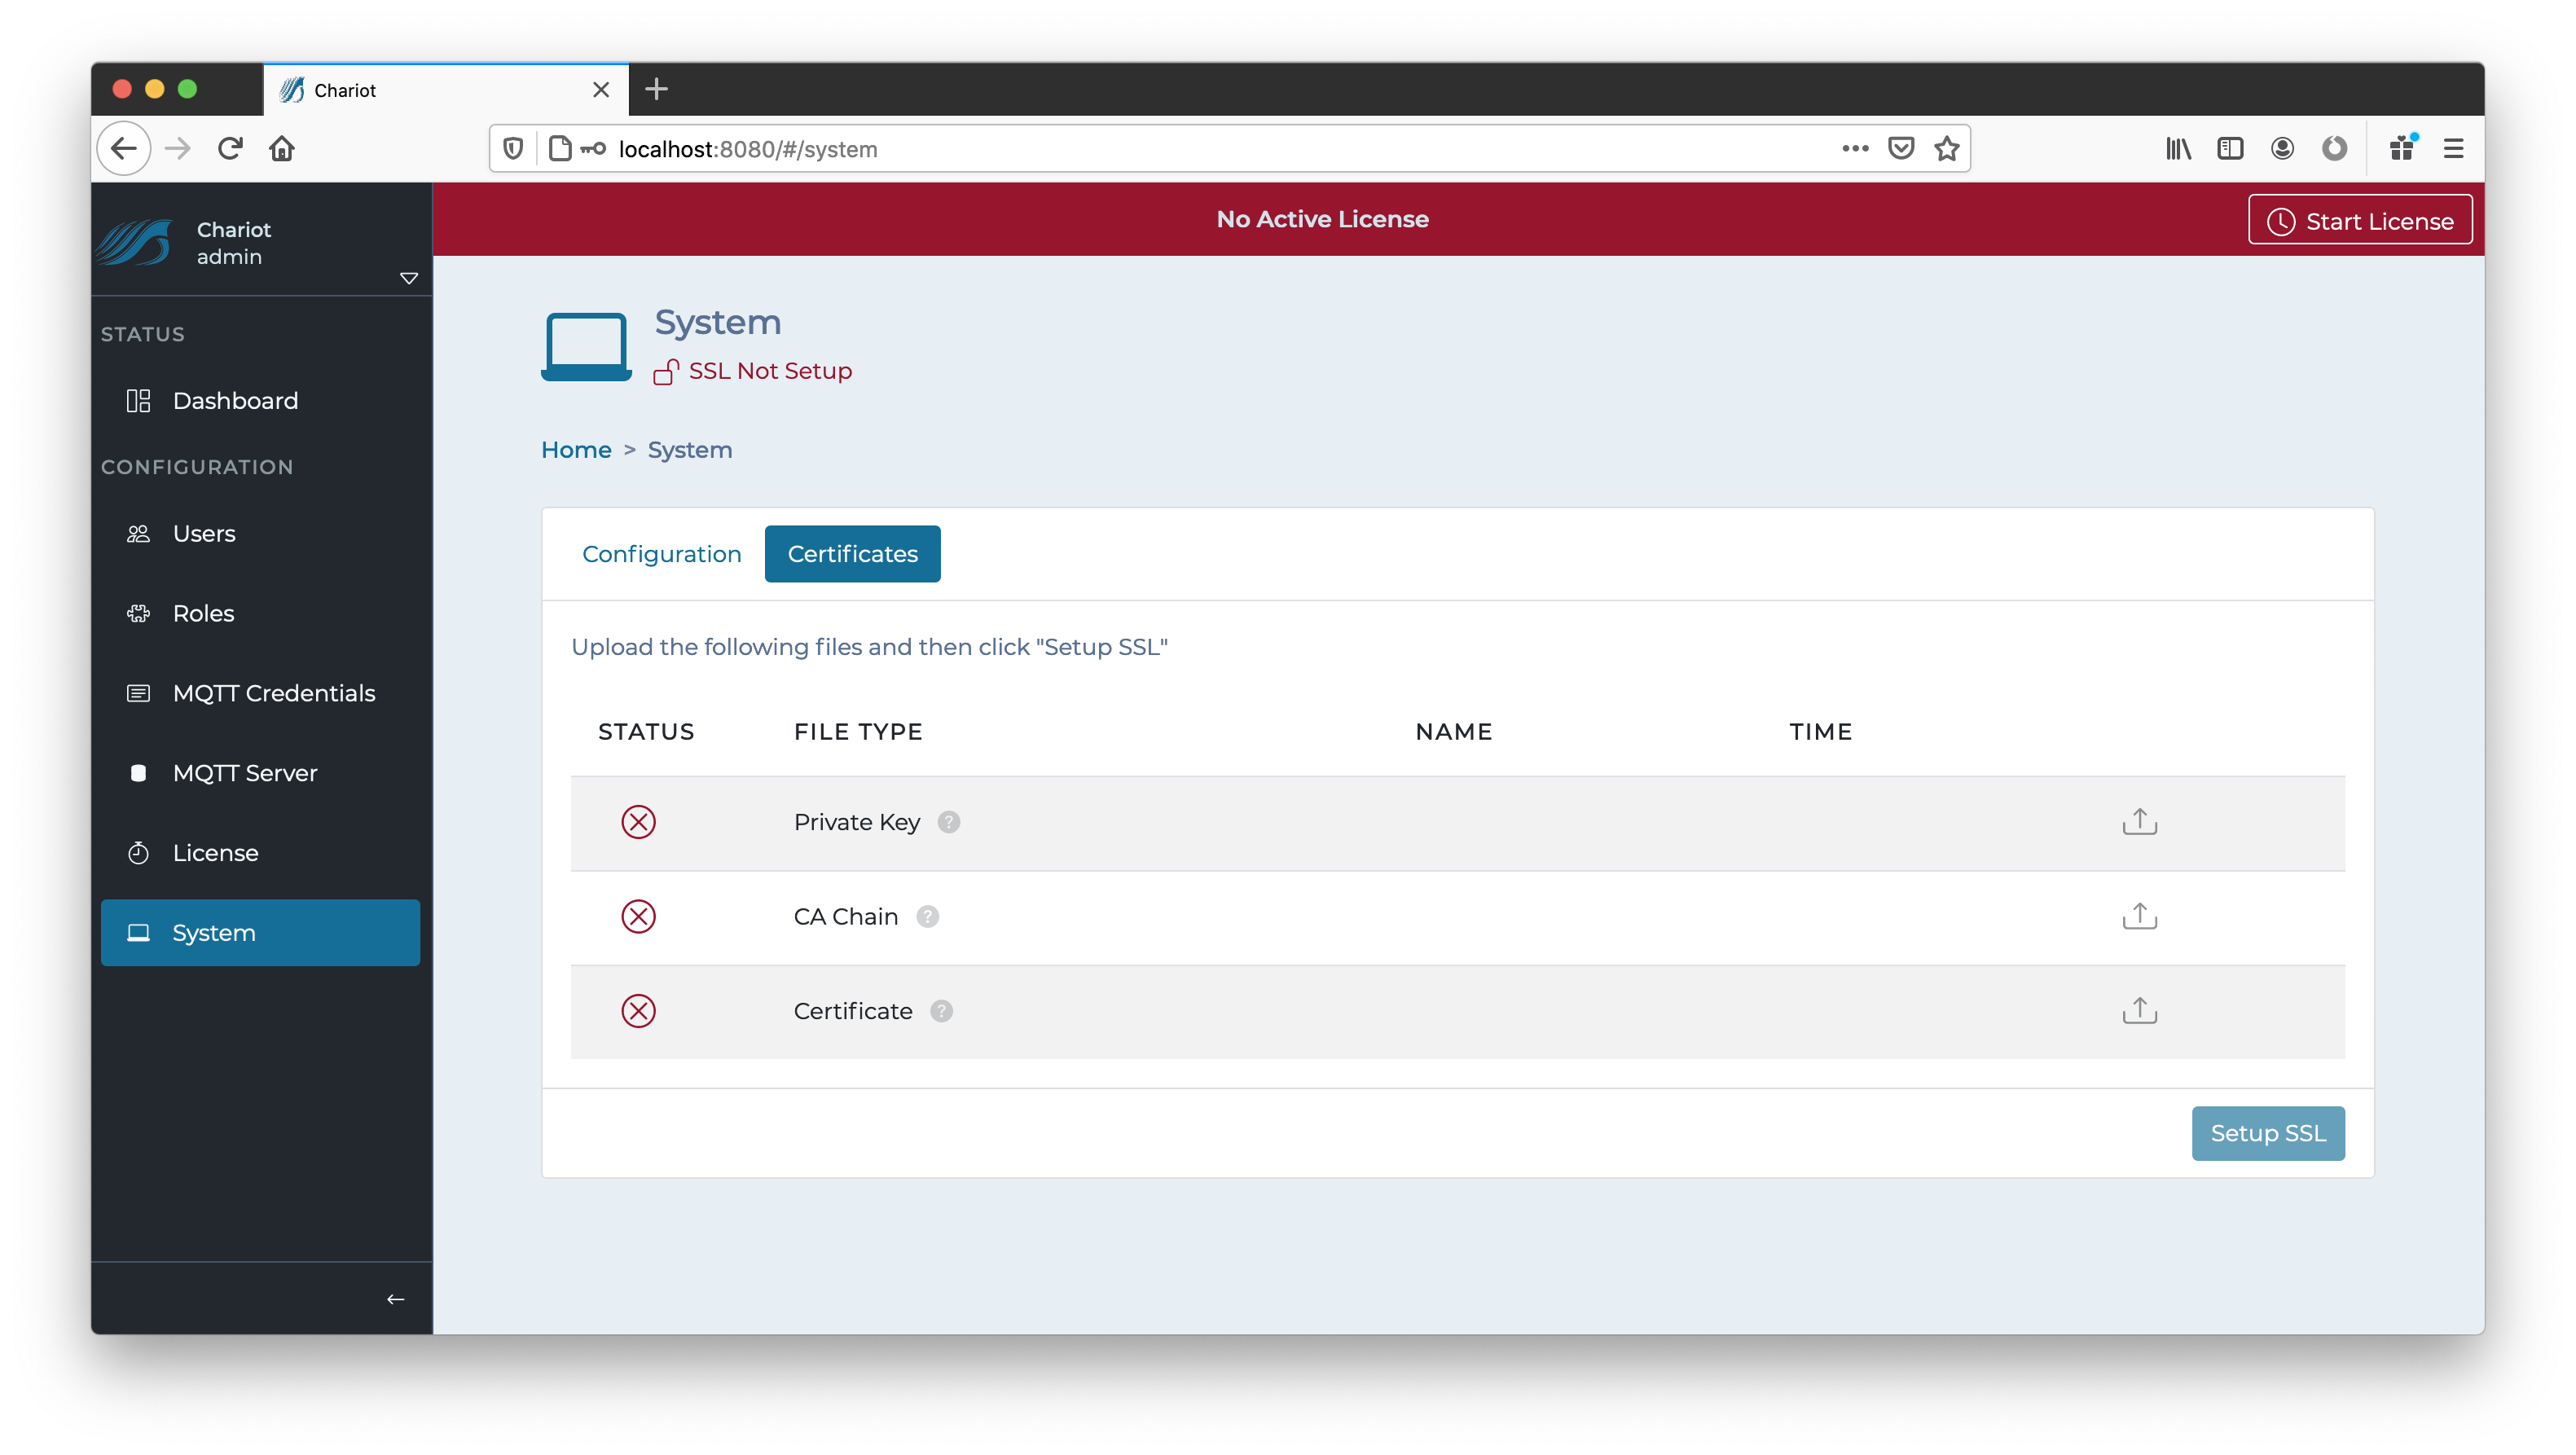
The Certificates tab contains the following fields:
- Private Key
- An RSA private key in PEM format that was used to generate the certificate signing request for the server Certificate.
- CA Chain
- An X.509 public root CA (Certificate Authority) certificate and any/all public intermediate CA certificates between the root and the CA that issued the certificate in PEM format. If there are no intermediate CAs, then the chain is made up of only the public root CA certificate.
- Certificate
- An X.509 server certificate in PEM format.
Once the three files are uploaded, the "Setup SSL" button can be clicked to finish the setup.
If successful, the certificate information will now be displayed on the Certificates tab:
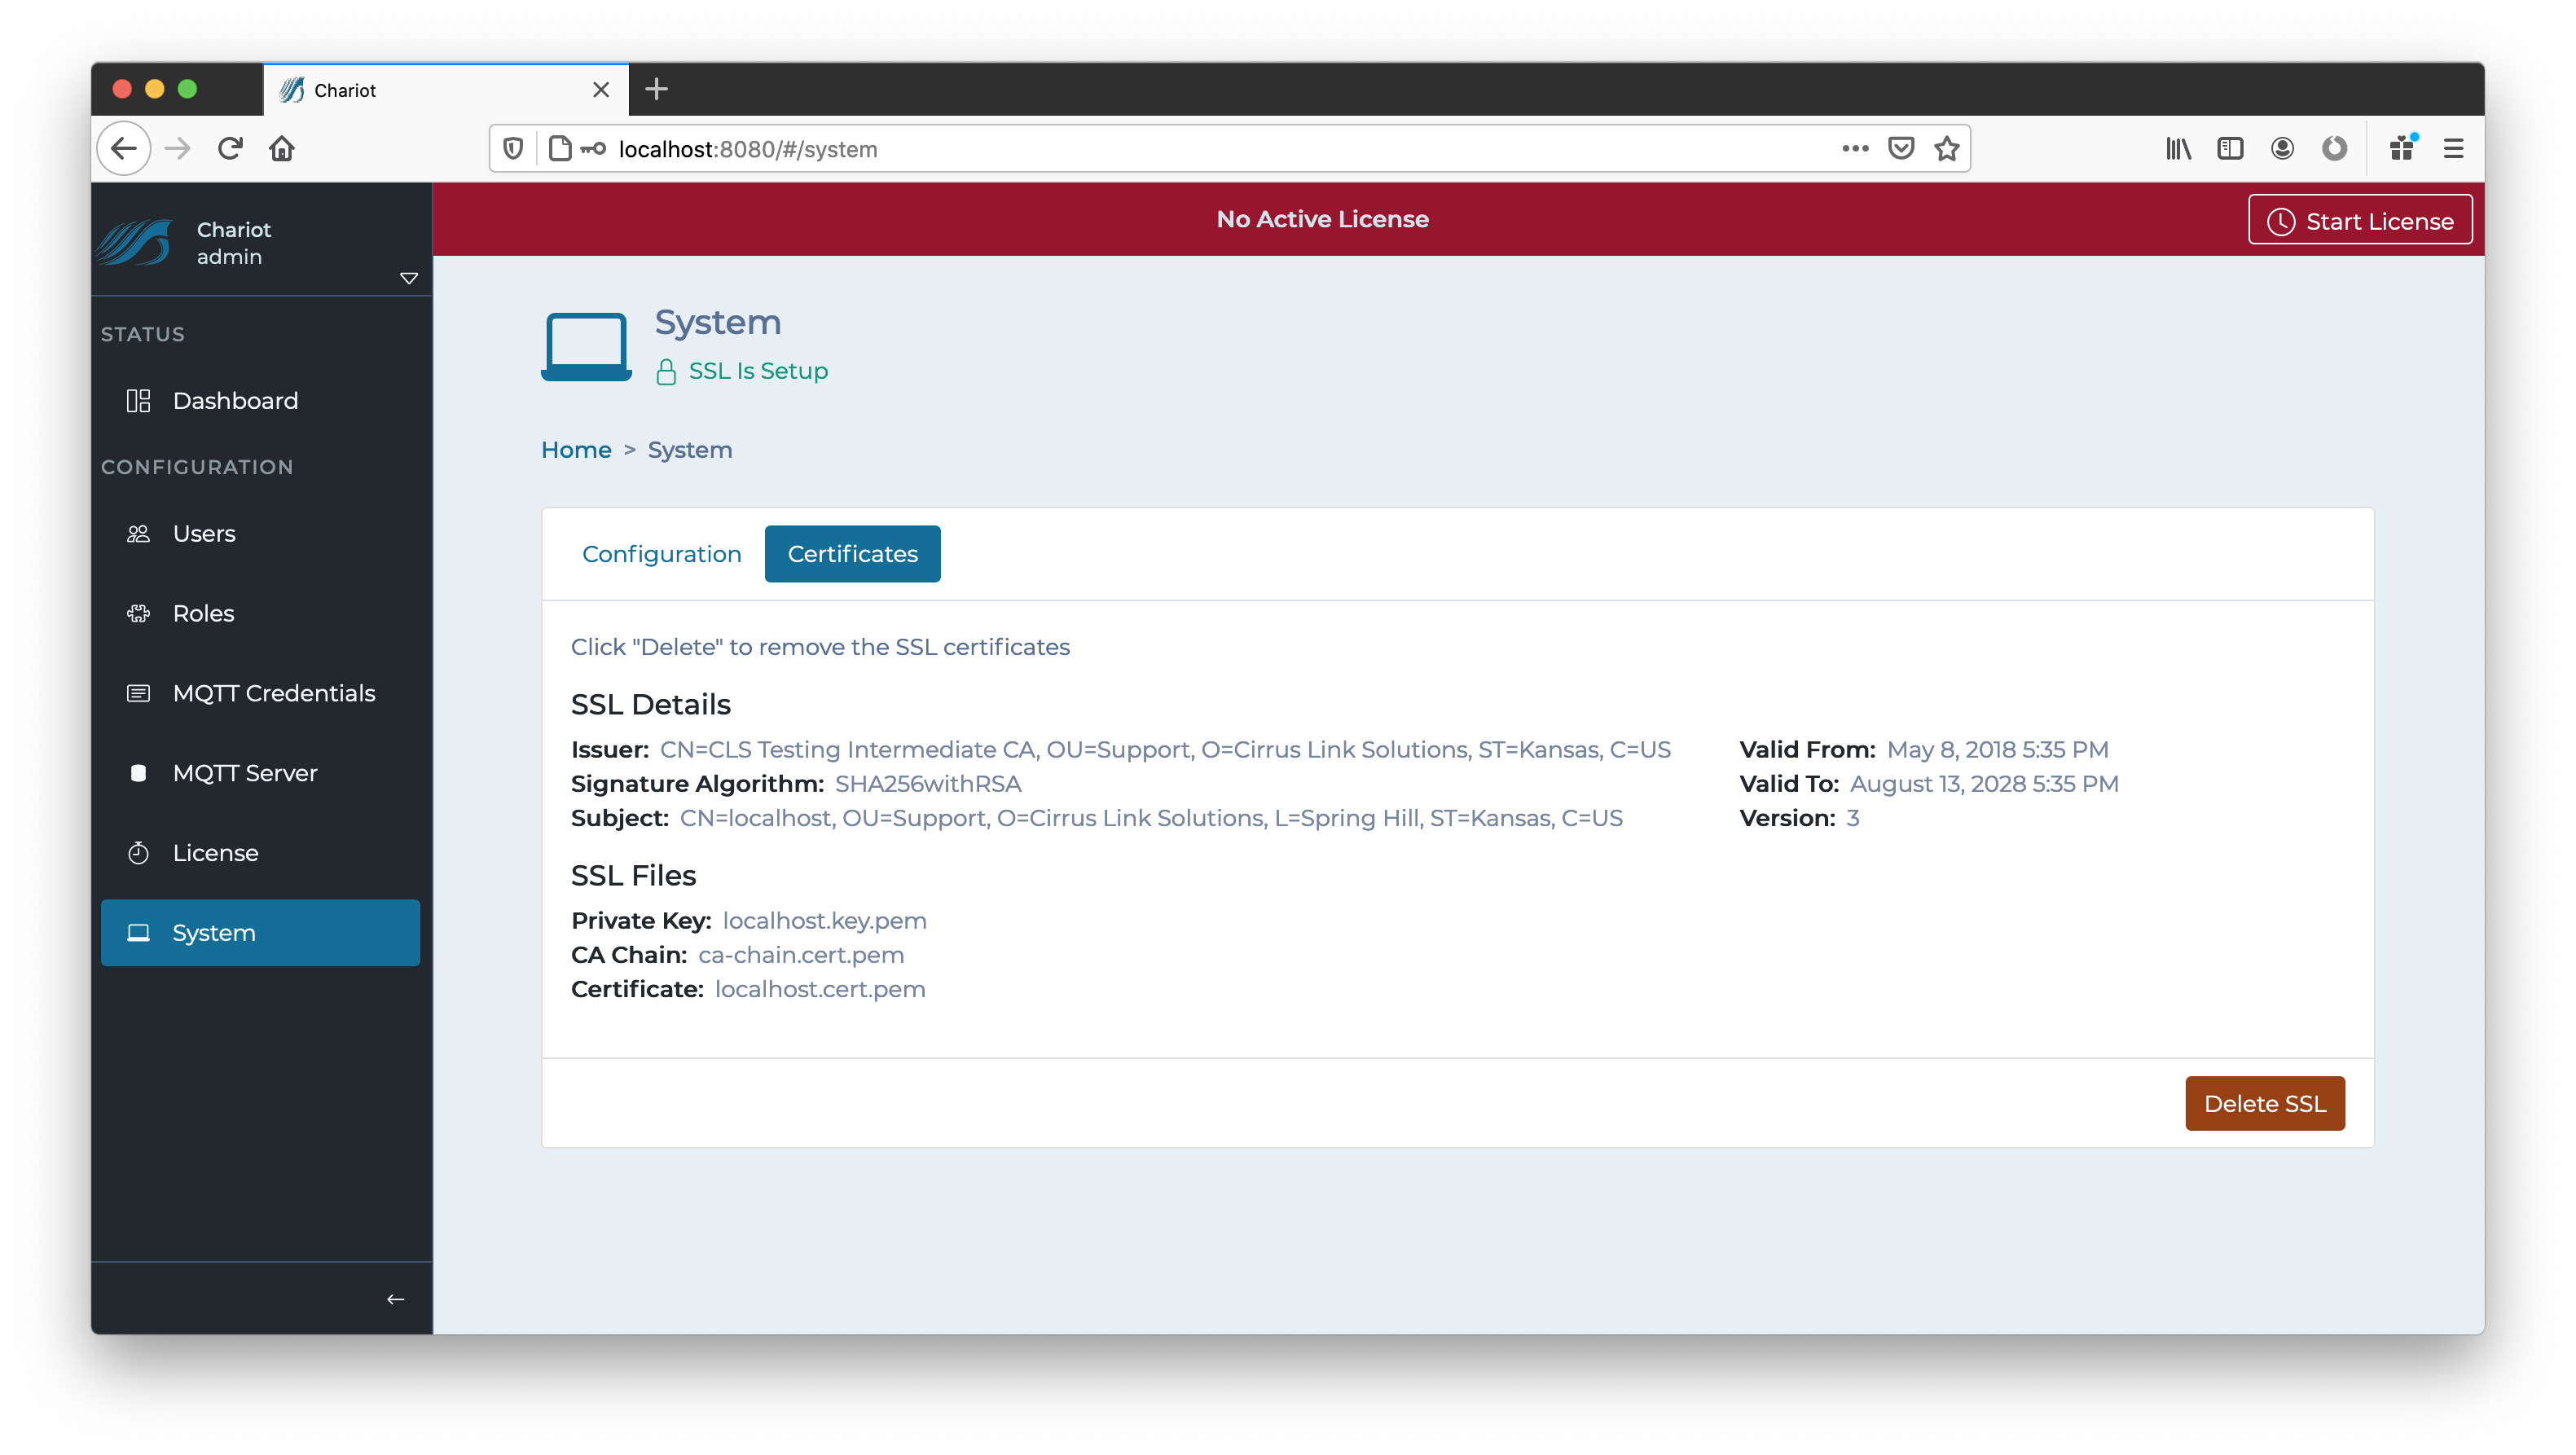 The "Delete SSL" button can be used to remove the certificate and key from the Chariot MQTT Server and revert to a "SSL Not Setup" state.
Overview
Content Tools