![]()
Contents
Cirrus Link Resources
Cirrus Link Website![]()
Contact Us (Sales/Support)![]()
Forum![]()
Cirrus Link Modules Docs for Ignition 7.9.x![]()
Inductive Resources
Ignition User Manual![]()
Knowledge Base Articles![]()
Inductive University![]()
Forum![]()
![]()
Cirrus Link Website![]()
Contact Us (Sales/Support)![]()
Forum![]()
Cirrus Link Modules Docs for Ignition 7.9.x![]()
Ignition User Manual![]()
Knowledge Base Articles![]()
Inductive University![]()
Forum![]()
...
Chariot MQTT Server can be installed from the AWS Marketplace.
| Note |
|---|
| If you choose not to use Chariot MQTT Server, any Sparkplug compliant MQTT Server will work. |
| Warning |
|---|
| AWS IoT Core has a message size limit of 128KB and will disconnect the client if it receives a message that exceeds this limit. If you have a large number of UDT definitions/instances and/or have very large UDTs, you will very likely hit this limit when sending your UDTs to AWS IoT Core. Review this document for ways to reduce the message size. |
...
Now launch the Ignition Designer using the Designer Launcher to connect to your Ignition instance.
| Tip |
|---|
| Review Ignition Designer Launcher for assistance if needed |
Once it is launched, navigate to the 'default' tag provider in the Tag Browser. In the image below the tag tree has been expanded to show automatically created example tags.
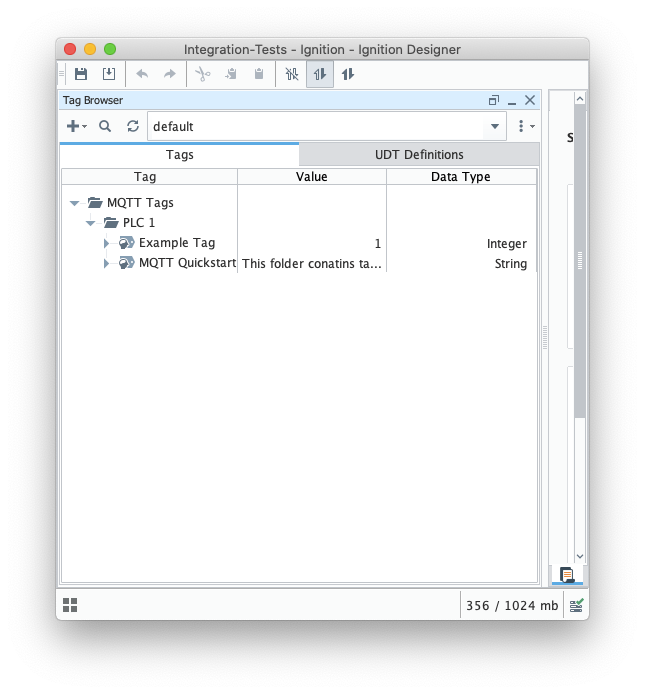
Begin by deleting these two tags (Example Tag and MQTT Quickstart). Then import these tags IBSNOW_Quickstart_tags.json to create a UDT Definition and instance.
| Tip |
|---|
| Review the Ignition Exporting and Importing Tags document if needed |
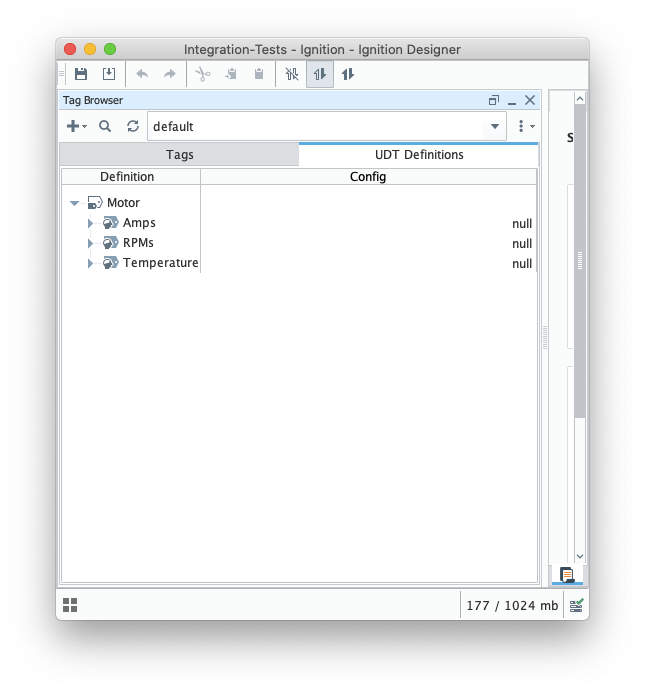
You can view the imported UDT Definition and instance in the tag browser:

At this point, our tags are configured. A UDT definition will map to a model in Snowflake and UDT instances in Ignition will map to Snowflake. But, before this will happen we need to point MQTT Transmission to the Chariot MQTT Server. To do so, browse back to the Ignition Gateway Web UI and select MQTT Transmission → Settings from the left navigation panel as shown below.
...
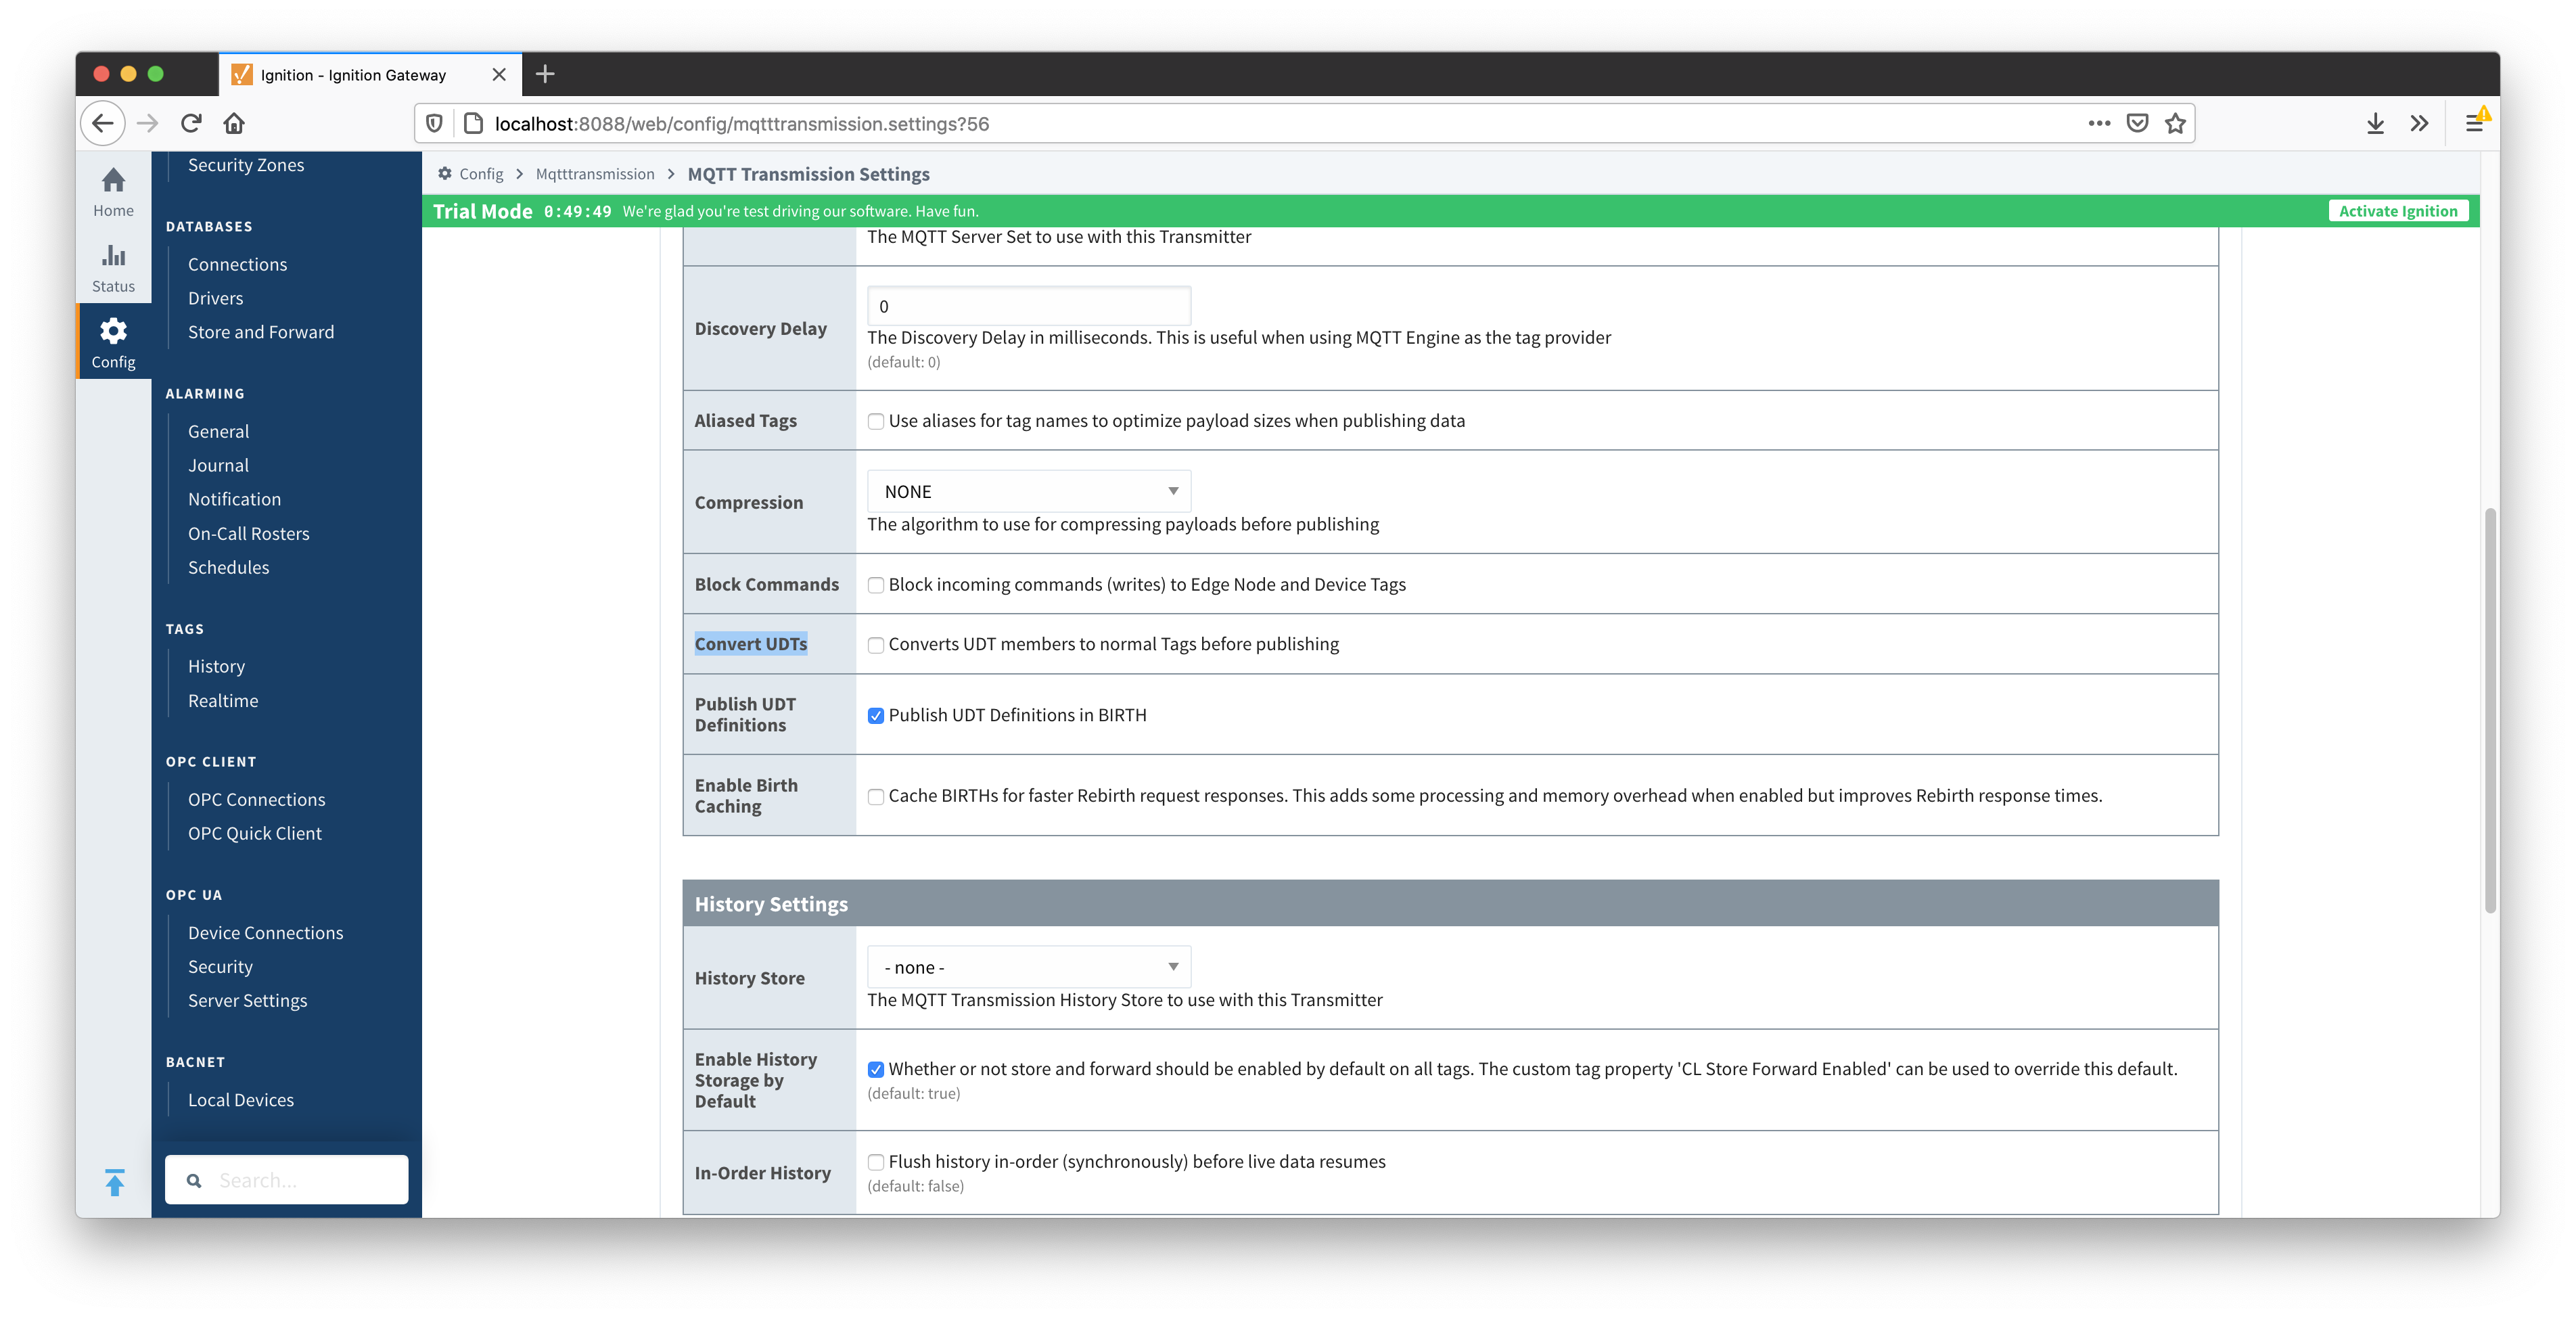
Now click the 'edit' button to the right of the 'Example Transmitter'. Scroll down to the 'Convert UDTs' option and uncheck it as shown below. This will also un-grey the 'Publish UDT Defintions' option. Leave it selected as shown below.
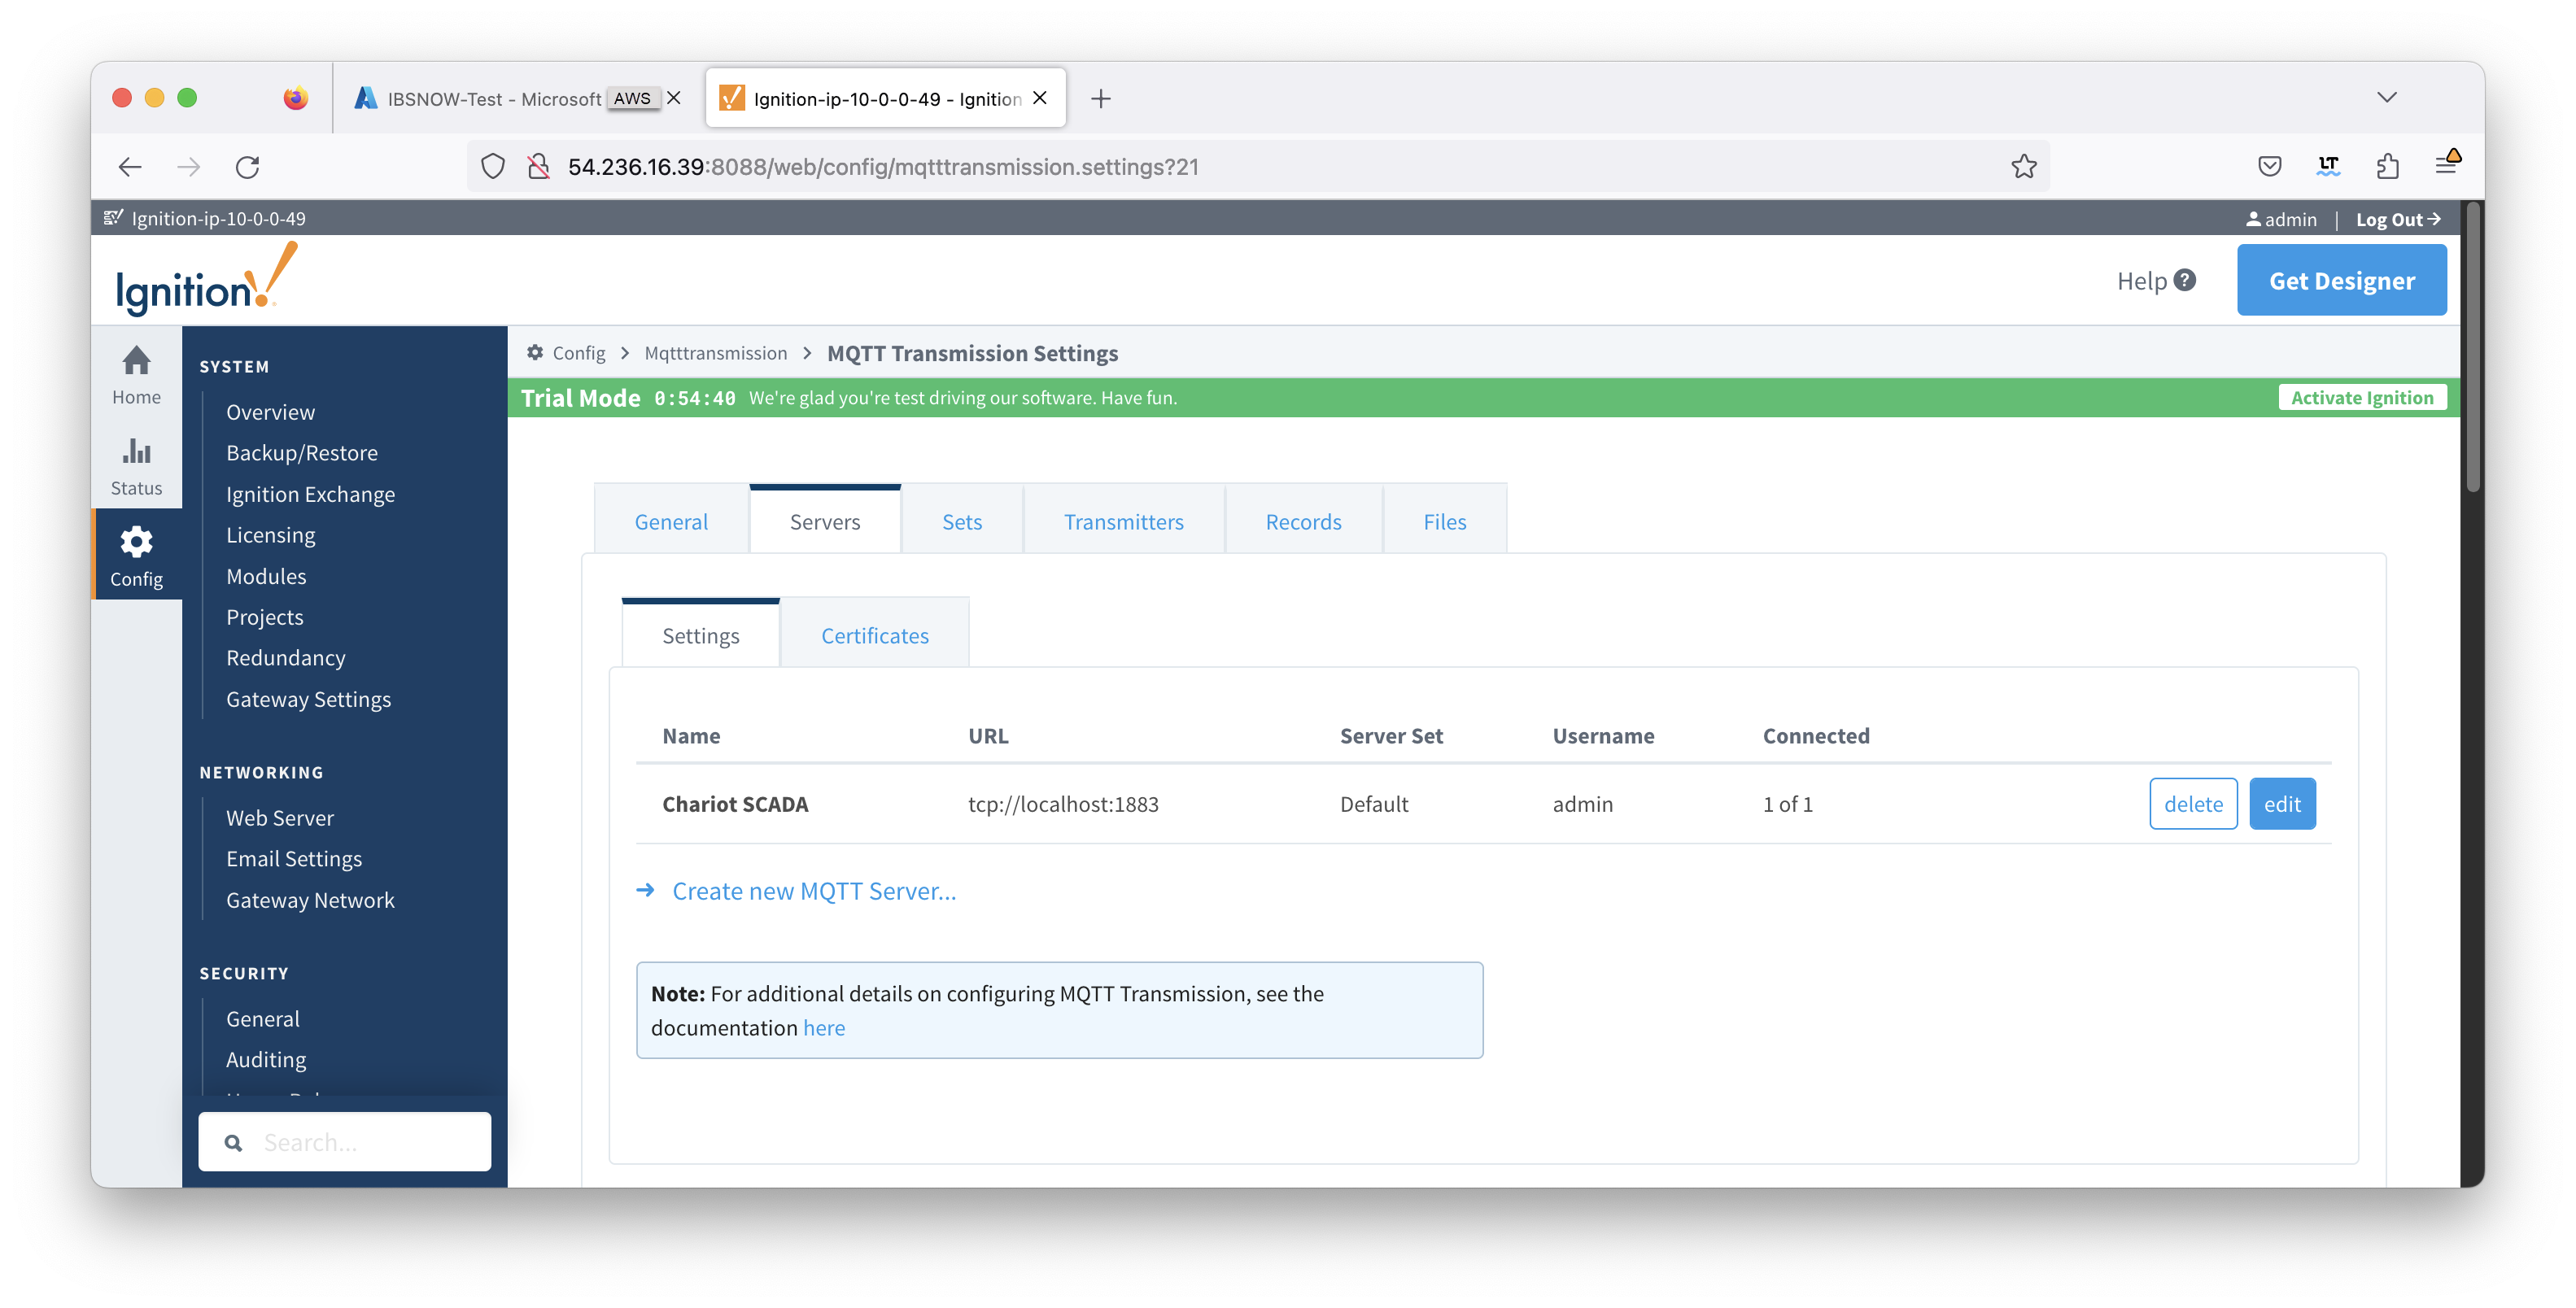
Now switch to the 'Servers' and 'Settings' tab. Delete the existing 'Chariot SCADA' pre-seeded MQTT Server Definition. Then create a new one with the following configuration.
When complete, you should see something similar to the following. However, the 'Connected' state should show '1 of 1' if everything was configured properly.
At this point, data should be flowing into Snowflake. By tailing the log in IBSNOW you should see something similar to what is shown below. This shows IBSNOW receiving the messages published from Ignition/MQTT Transmission. When IBSNOW receives the Sparkplug MQTT messages, it creates and updates asset models and assets in Snowflake. The log below is also a useful debugging tool if things don't appear to work as they should.
...