Prerequisites
Before being able to install and set up IoT Bridge you must have an Amazon Web Services (AWS) account. If you do not already have one you can create one here.
Summary
This process covers installing the IoT Bridge for Snowflake AMI into an AWS account as an EC2 instance. For reference, the IoT Bridge for Snowflake Cloud Formation Template (CFT) used to build the AWS infrastructure is here - ibsnow.yaml. Note, this yaml file does not need to be used for anything (and cannot because the AMI references do not exist). It is here purely for reference to show exactly what is done during the cloud formation deployment.
This document describes the process of installing IoT Bridge for Snowflake using the cloud formation template, which automates most of these steps. However, it is also possible to install IoT Bridge for Snowflake by deploying onto an AWS EC2 instance into an existing AWS environment rather than using this document to set everything up from scratch. If going this route, you will need to manually set up the necessary AWS components and configure them correctly. This is what the CFT does and what would need to be set up manually if deploying IoT Bridge for Snowflake directly on an AWS EC2 instance.
- Create an AWS EC2 Keypair to be used for SSH access to the EC2 instance
- Set up an AWS Virtual Private Cloud (VPC) for the EC2 instance
- Set up a network interface for the EC2 instance
- Set up a EC2 Security Group with the following rules and bind it to the EC2 instance deployed with IoT Bridge for Snowflake: https://docs.aws.amazon.com/AWSEC2/latest/UserGuide/creating-security-group.html
- Inbound SSH Connection (port 22)
- For IoT Bridge for Snowflake configuration and debugging
- Outbound MQTT Connection (port 1883 or port 8883 depending on MQTT configuration)
- Outbound Snowflake Connection (port 443)
- Deploy an EC2 instance using the IoT Bridge for Snowflake AMI using the components created above.
Again, this installation document uses Cloud Formation which handles most of the steps above automatically. So, this information above is here for reference if one is deploying the IoT Bridge for Snowflake EC2 instance into a customized AWS environment.
IoT Bridge Installation
Before deploying IoT Bridge you must create create an AWS EC2 key pair which will ultimately allow you to SSH into the EC2 instance that gets created as part of the process. Information on how to create the key pair can be found here. The key pair must be created in the AWS Region that you intend to deploy IoT Bridge into.
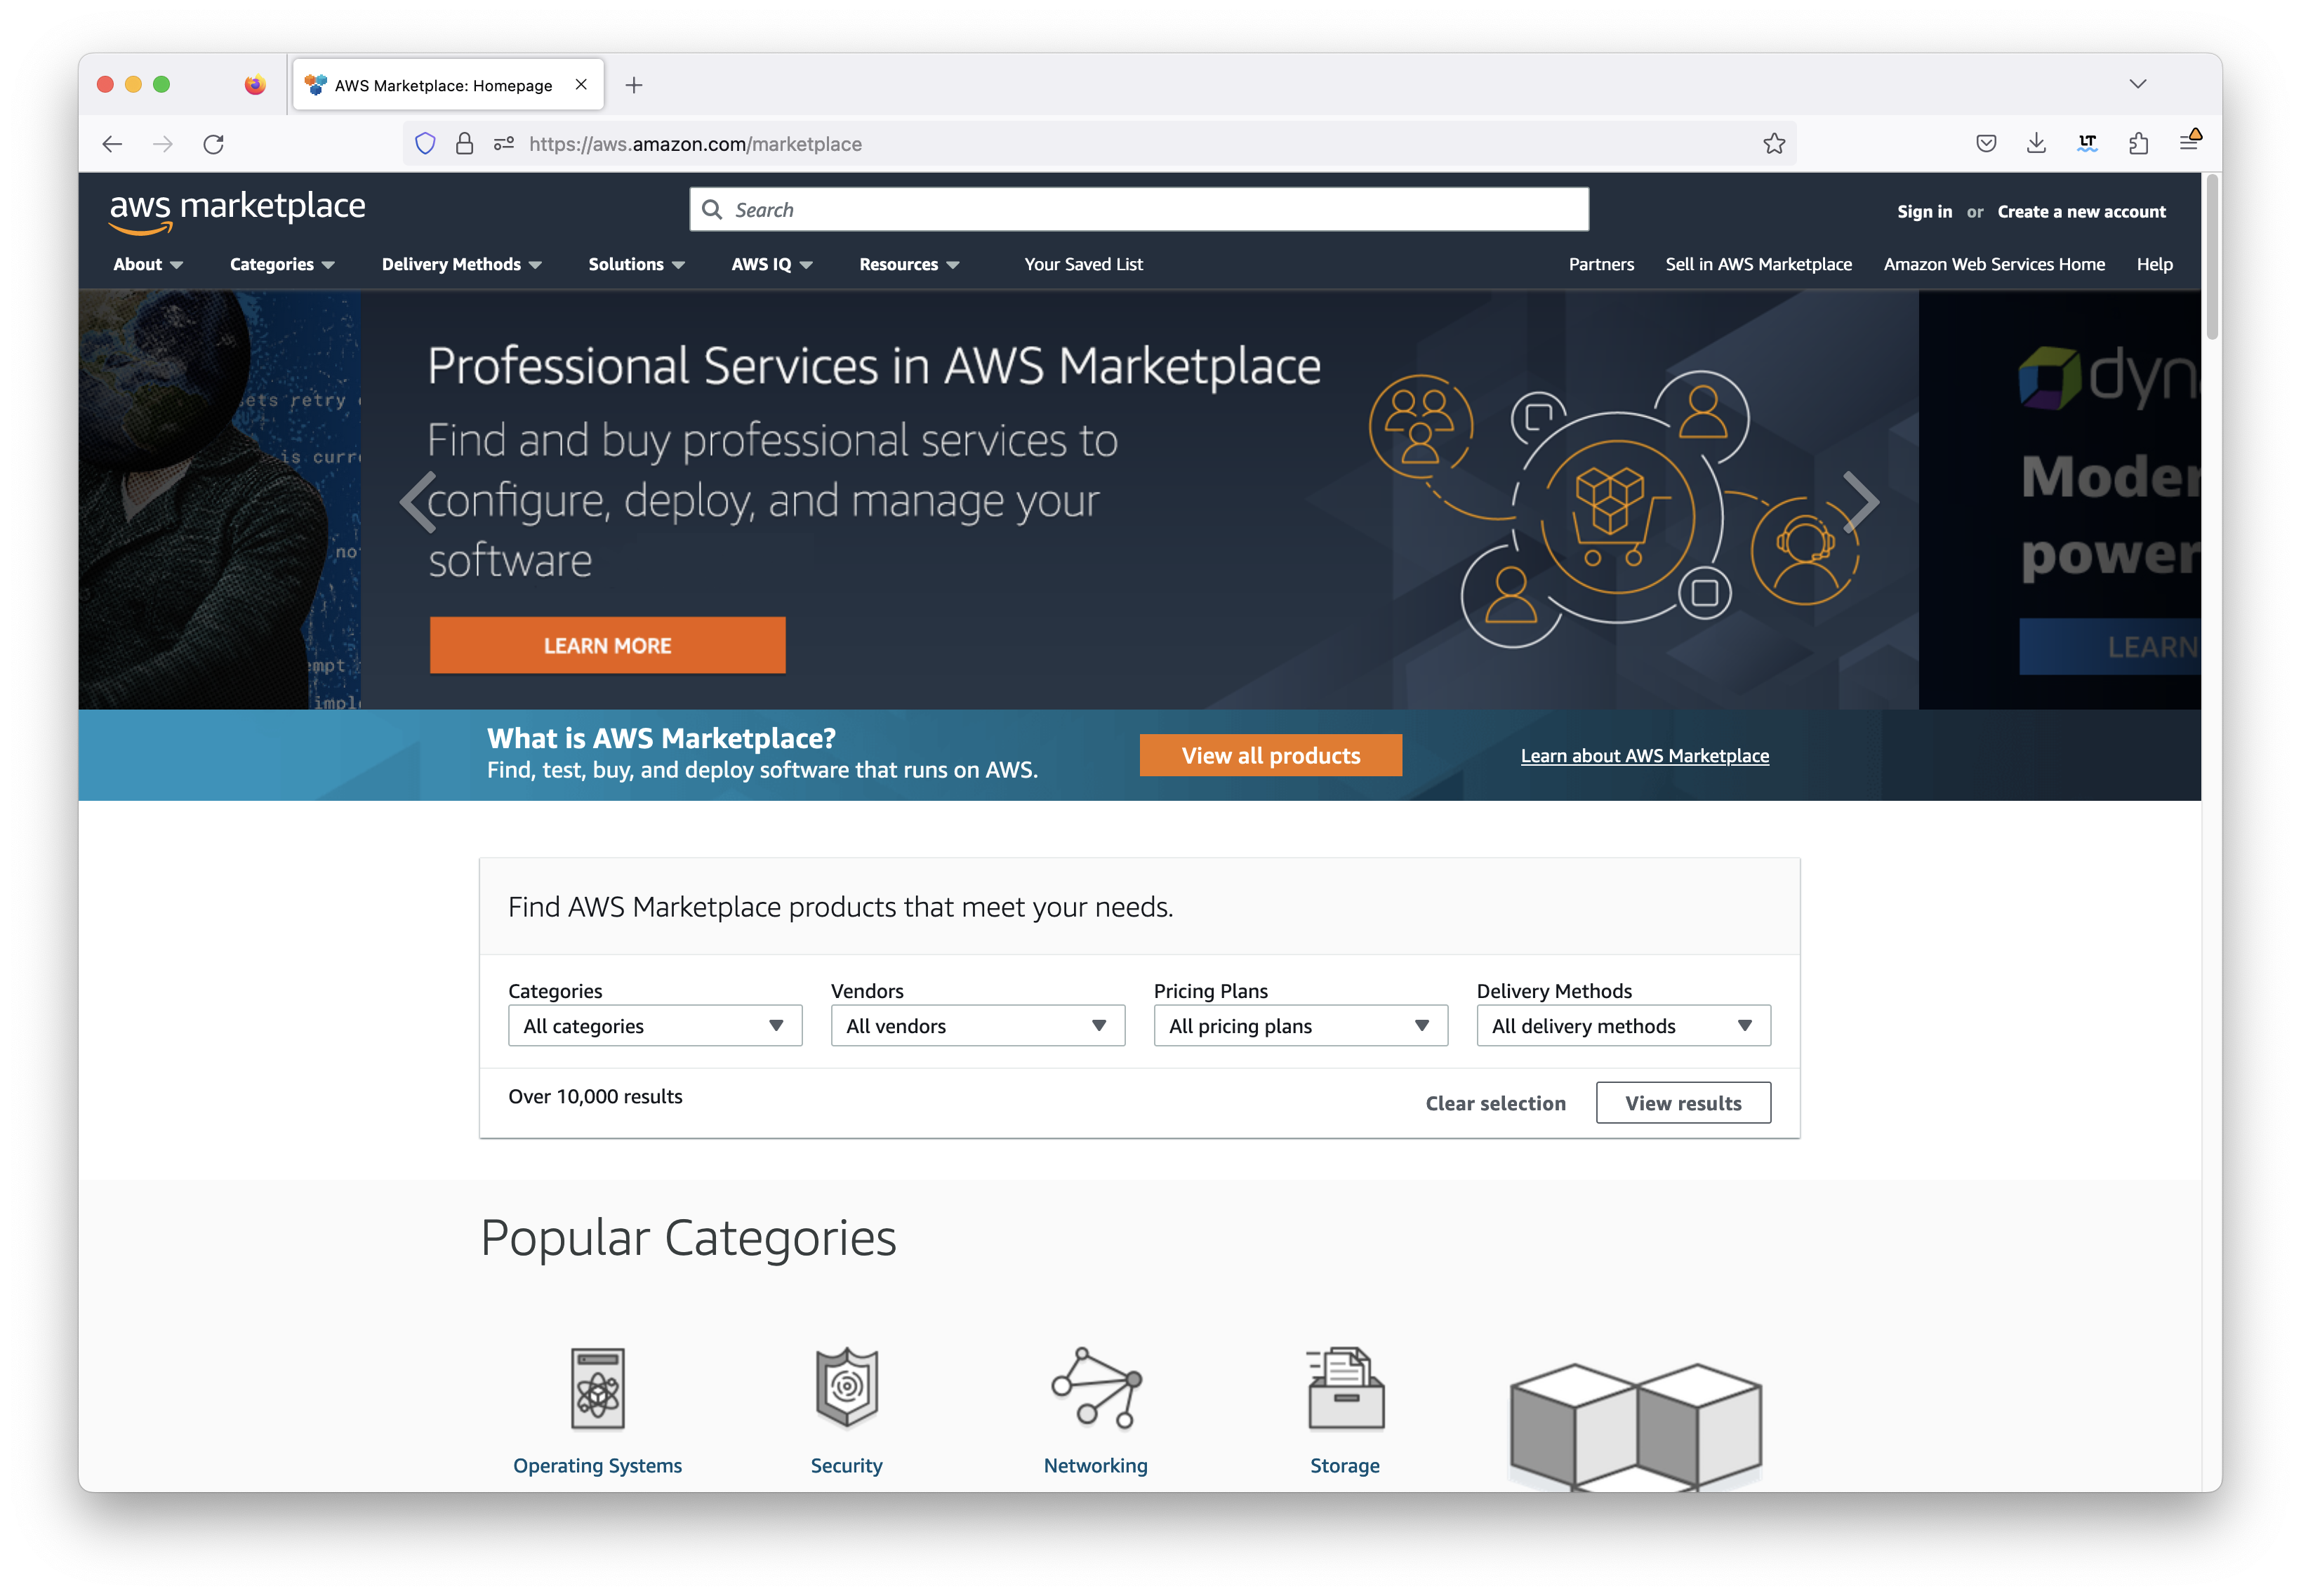
IoT Bridge is installed using the AWS Marketplace 1-click procedure. Begin by browsing to this site: https://aws.amazon.com/marketplace. Log in using your AWS account credentials. After doing so, you will see something similar to what is shown below.
In the search bar, type in 'IoT Bridge for Snowflake' and hit enter. This should show the following.

Then click on IoT Bridge by Cirrus Link. After doing so, you should see the following.

Click the yellow 'Continue to Subscribe' button near the top of the screen. This will bring up the following page:
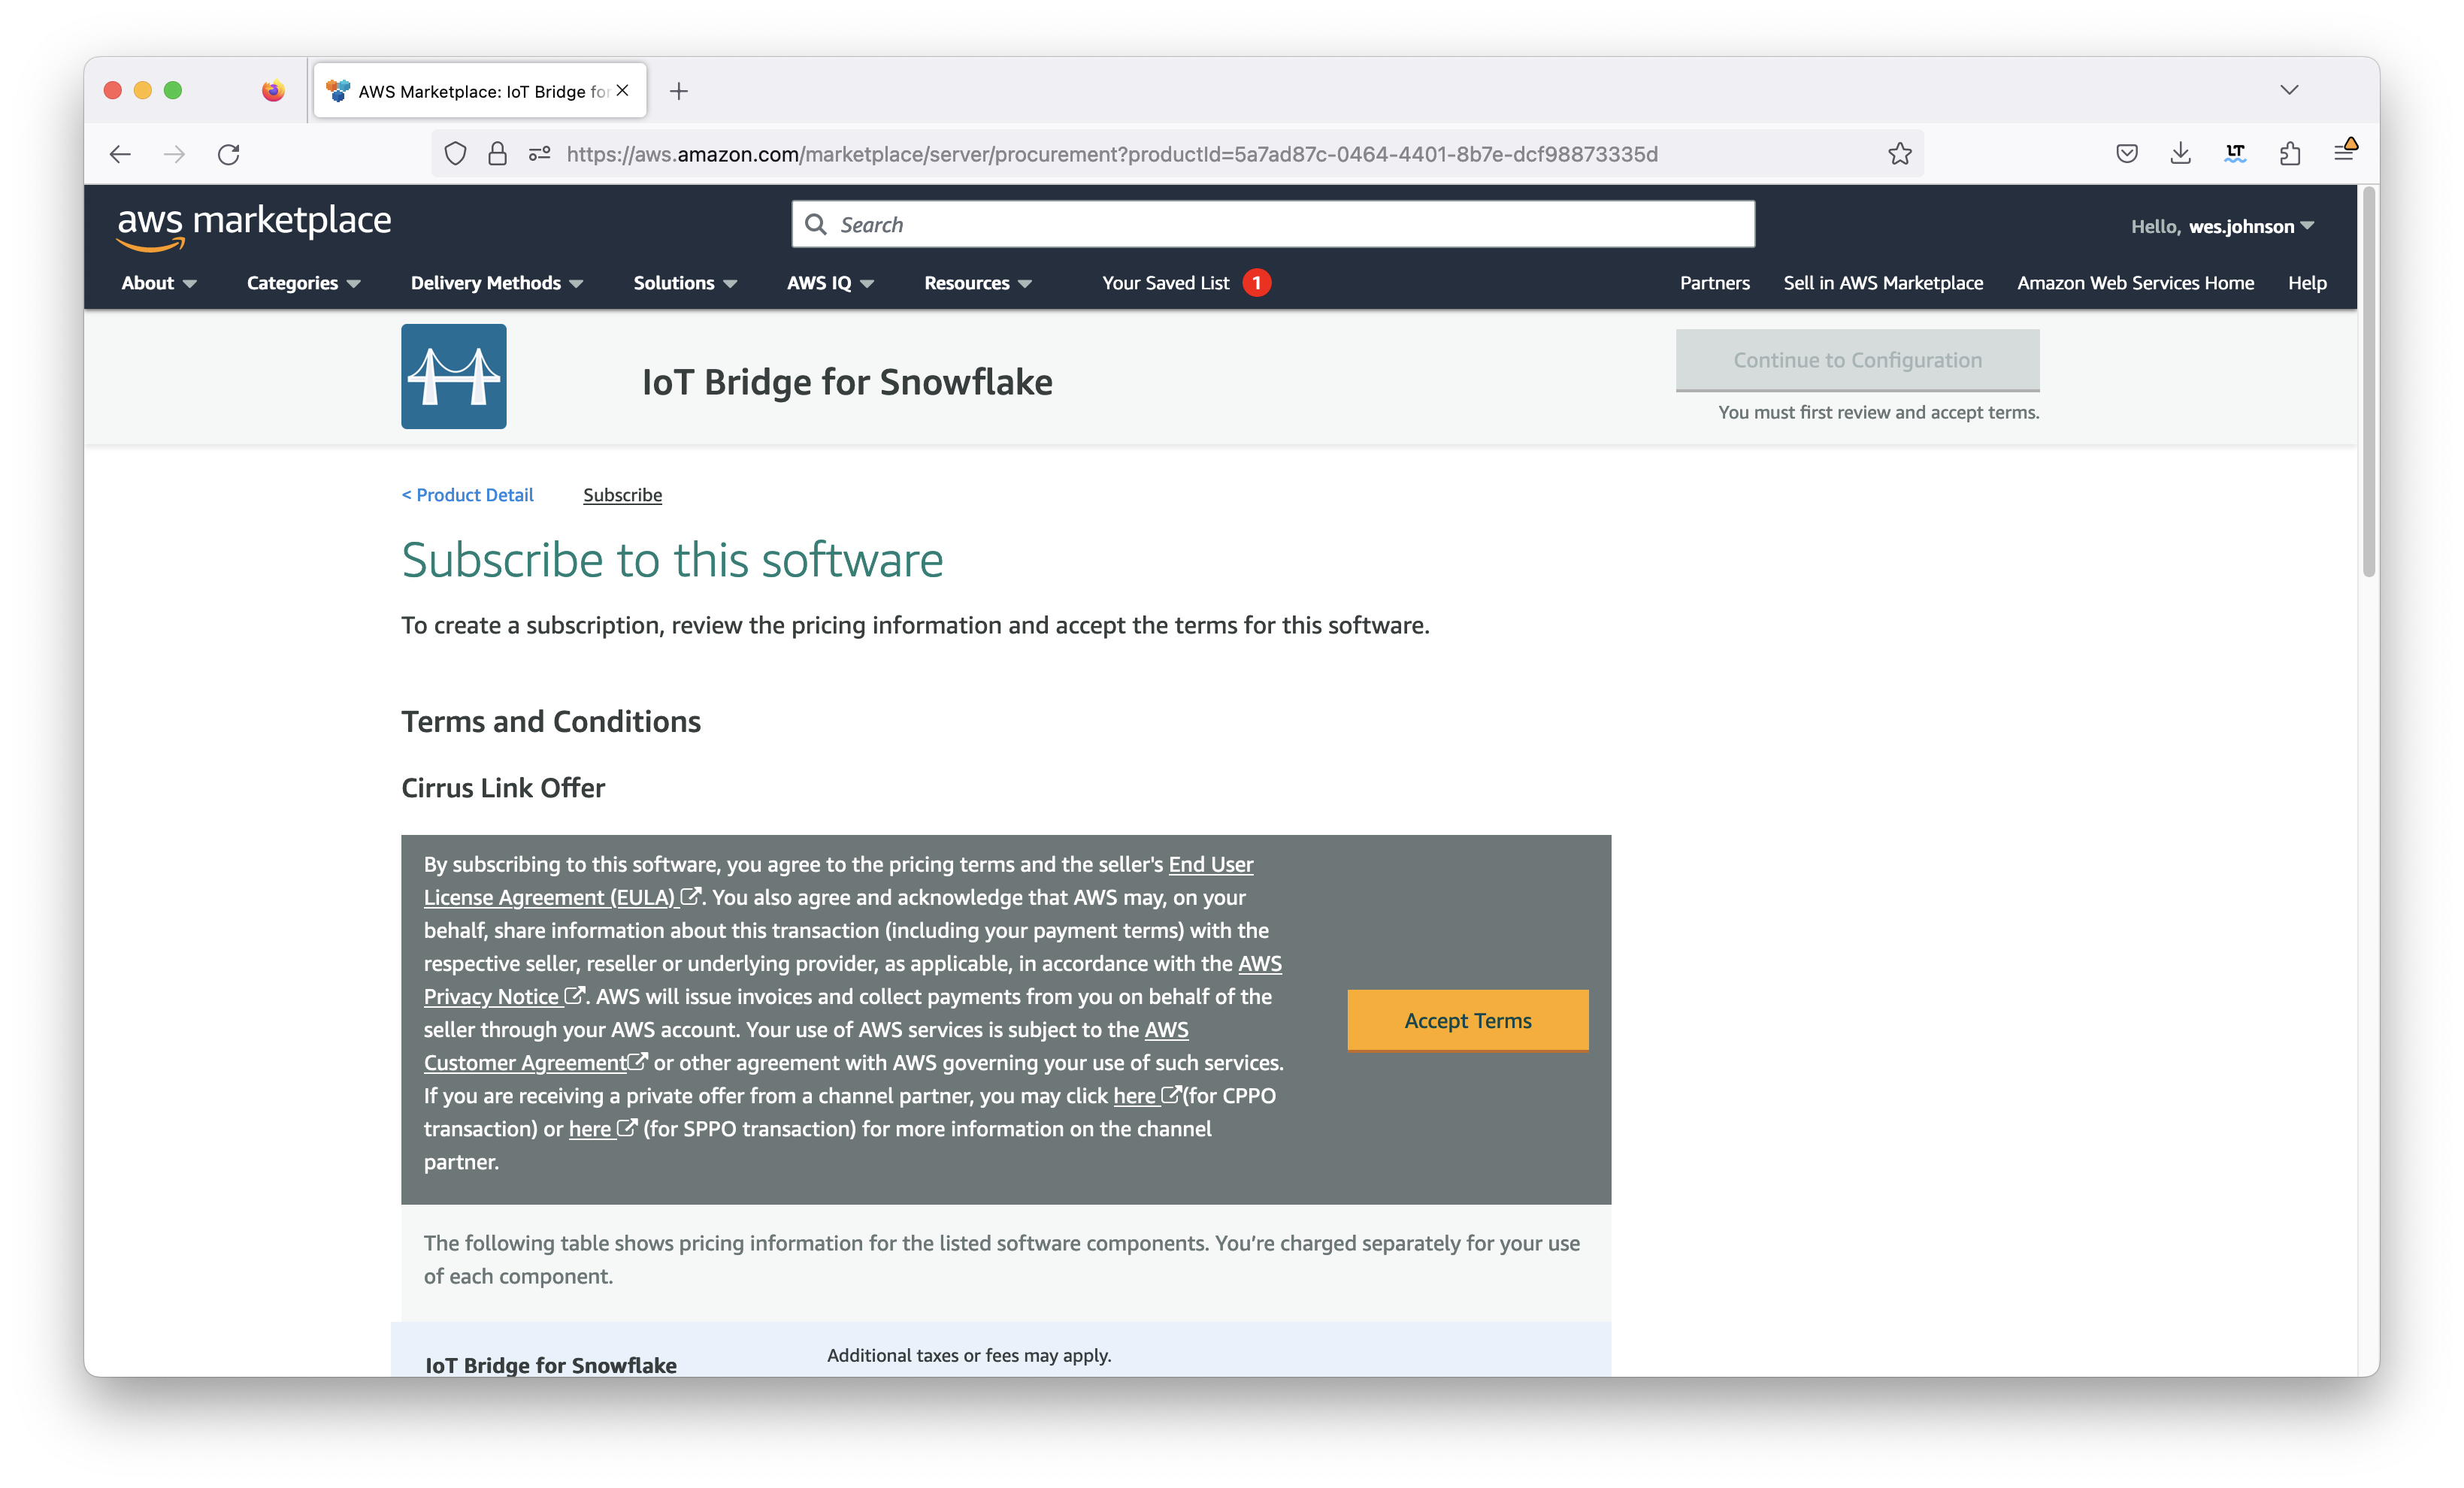
Now click the orange 'Accept Terms' button if you agree to the terms. This will bring up the following screen.
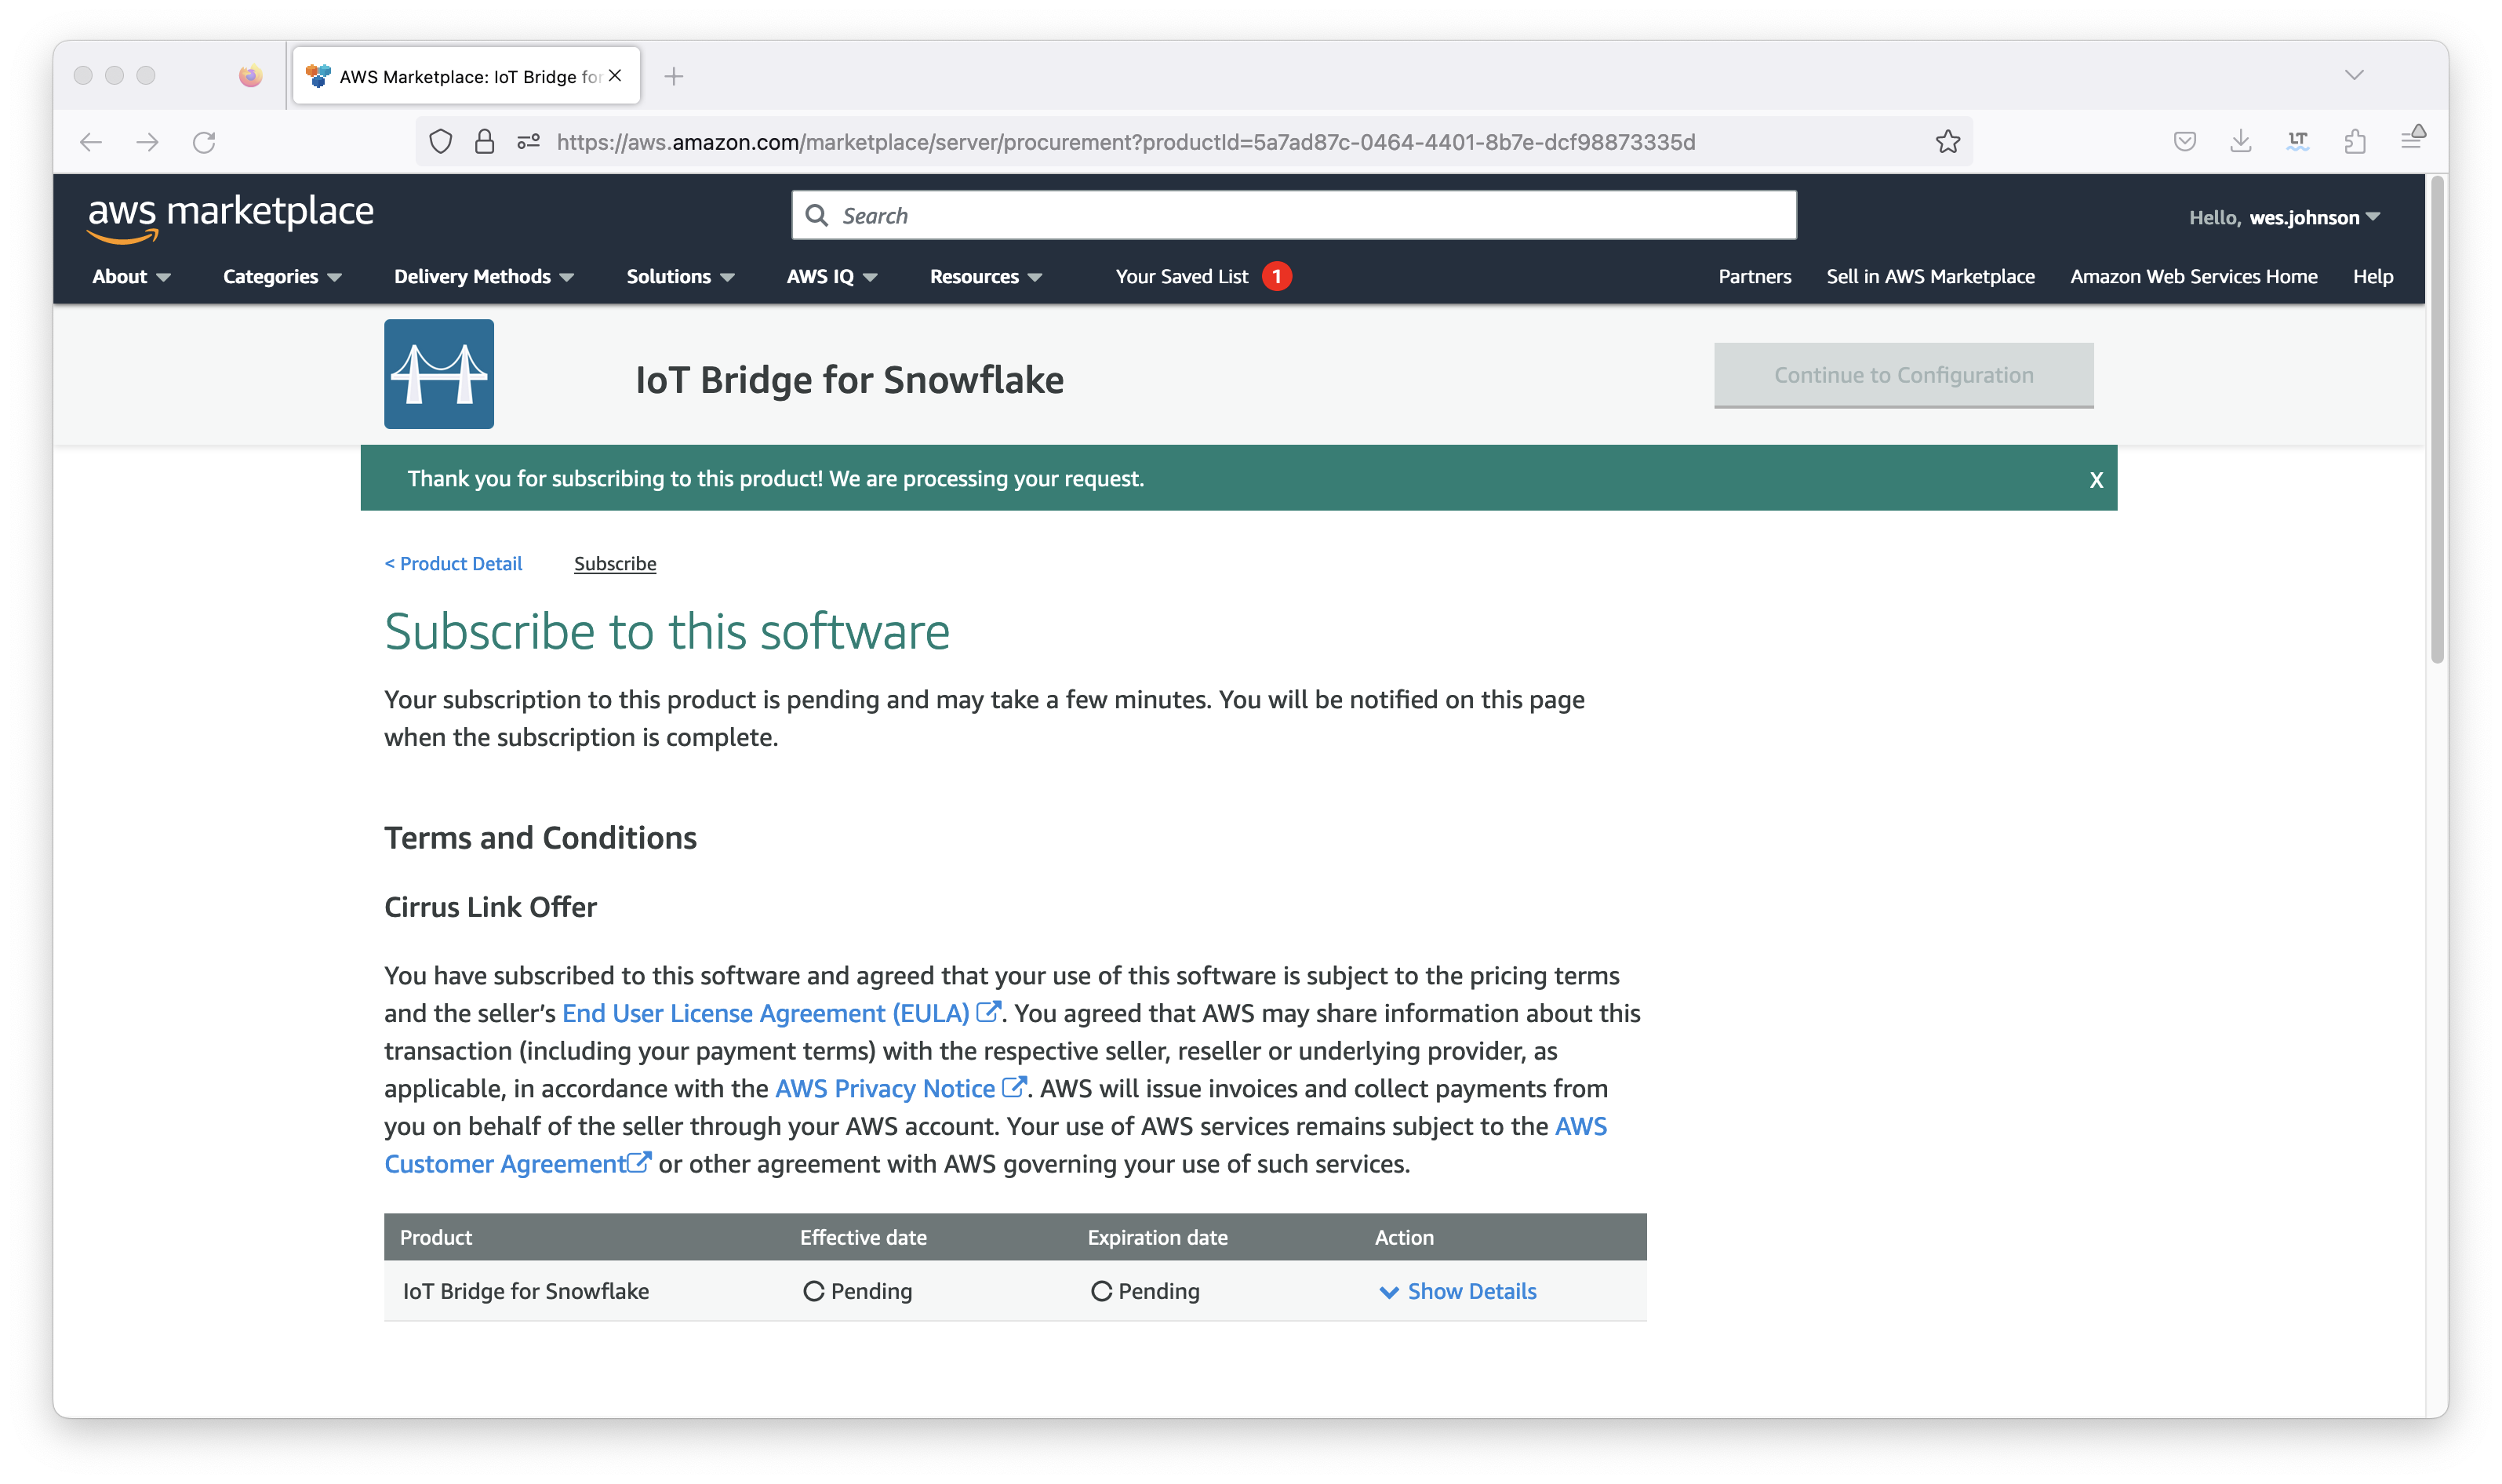
It will take some time and within a few minutes the effective date and expiration date should get set. Once this is done, click the orange 'Continue to Configuration' button in the upper right section of the screen. This will bring you to the following screen.
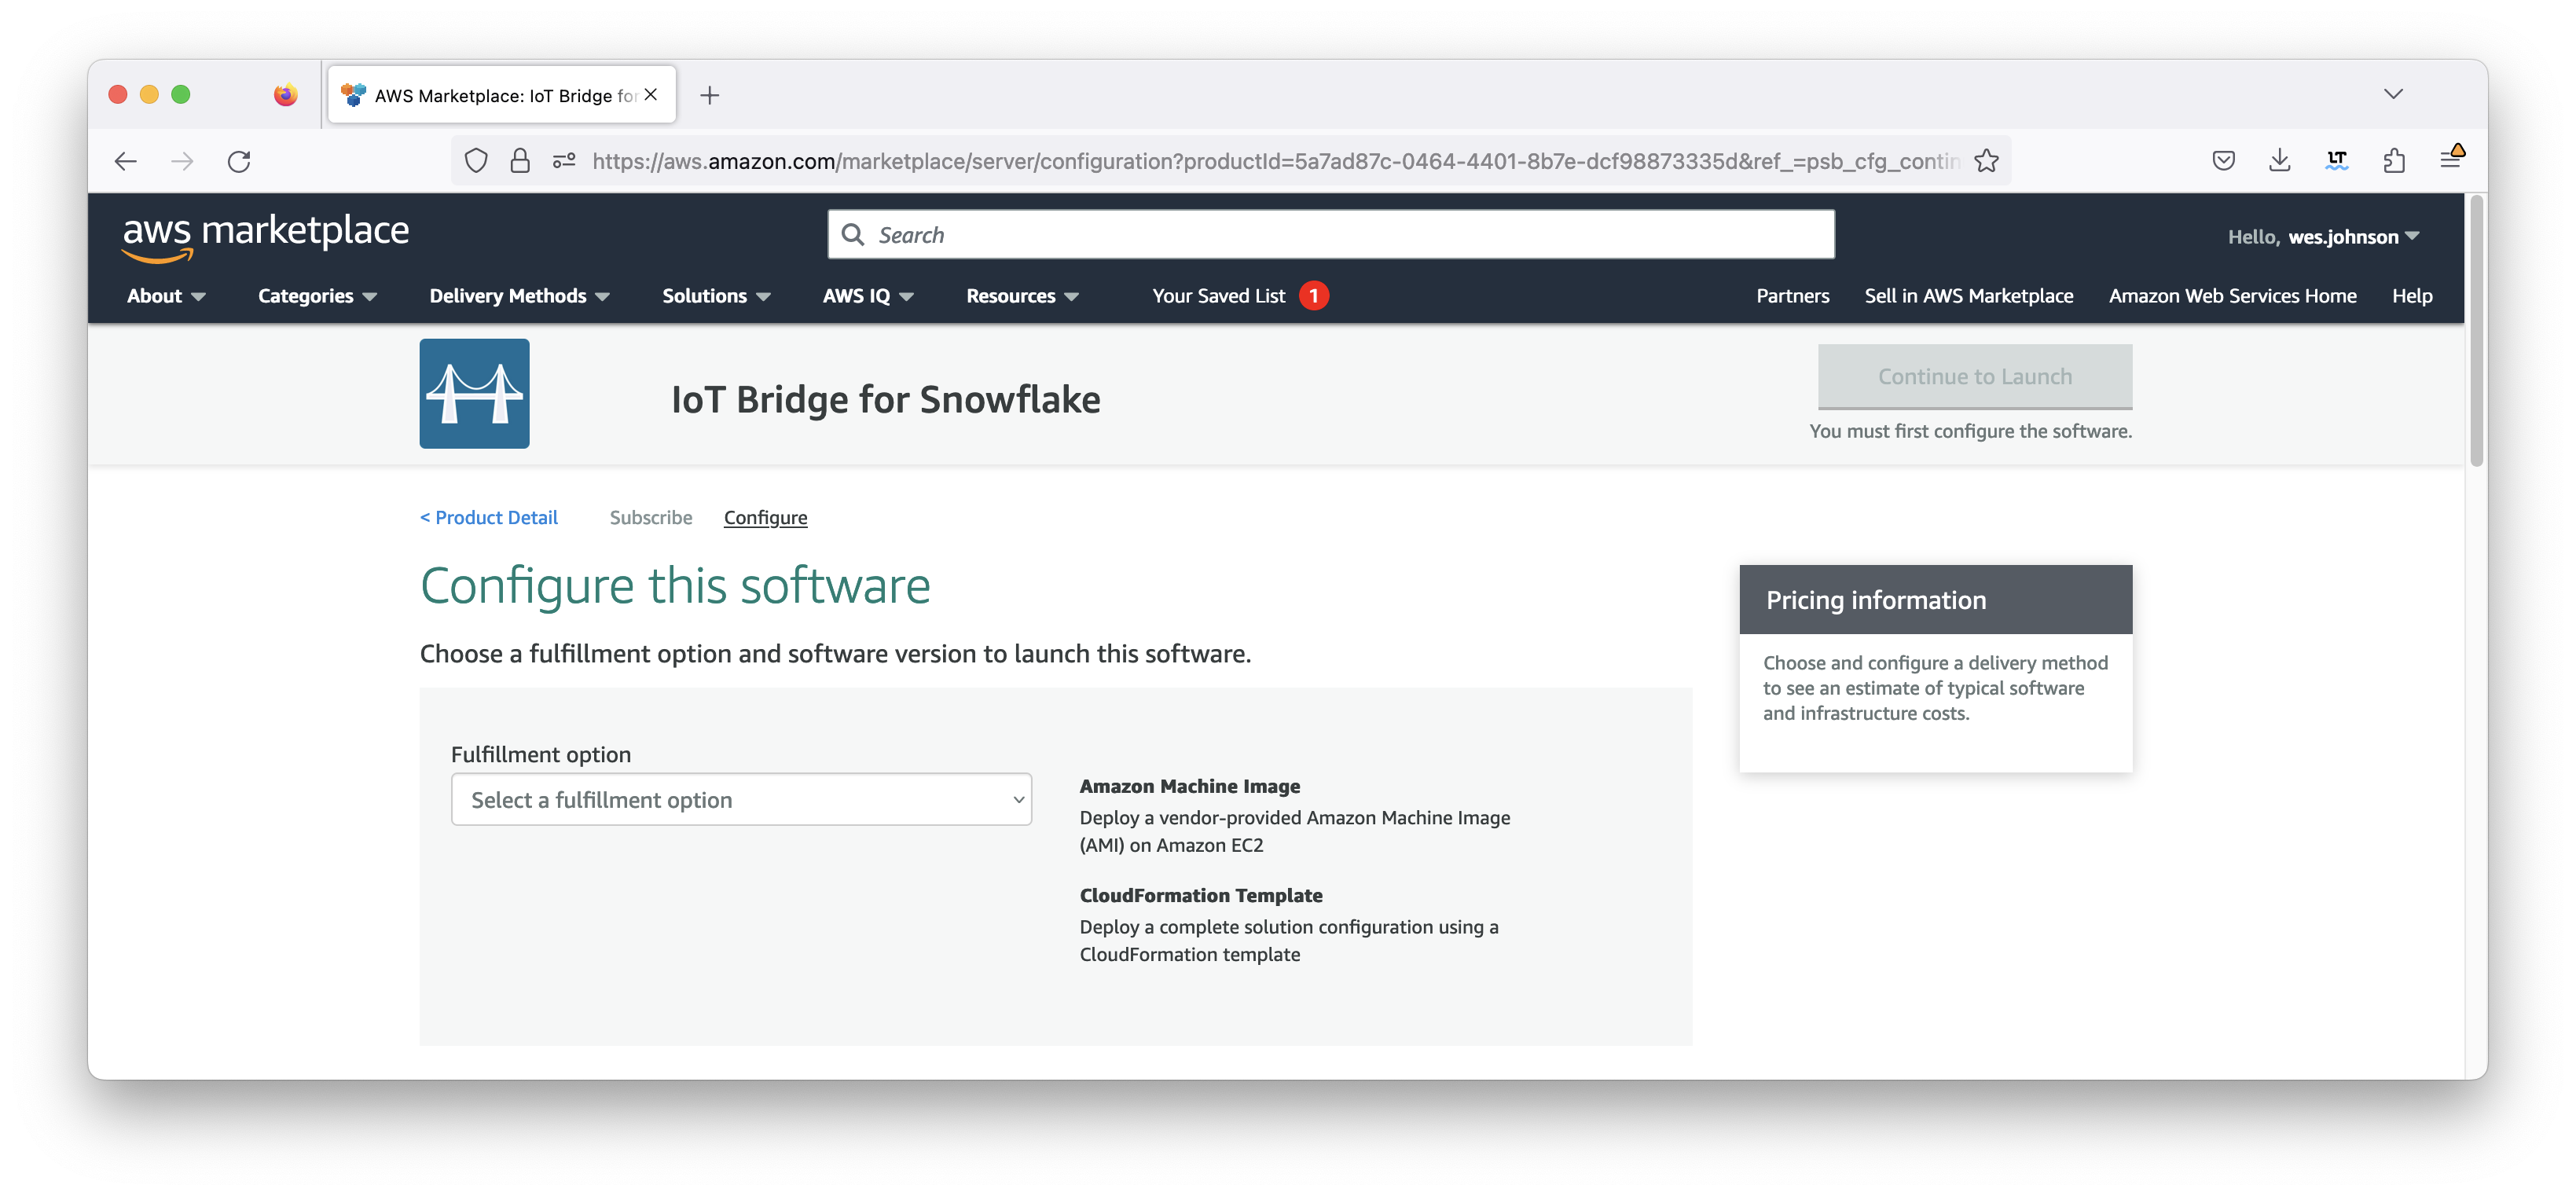
In the 'Fulfillment option' field, select 'CloudFormation Template' as shown below. This will set up the defaults including the 'Cirrus Link IoT Bridge for AWS Snowflake Template' field, the version, and the region. Select your preference for the region also as shown below. Note your region should usually match the region Snowflake runs in.

Now click the orange 'Continue to Launch' button in the upper right corner. This will bring up the following screen.

Finally, click the orange 'Launch' button shown in the screenshot above. This will bring up the CloudFormation stack creation page shown below. Note the template associated with the IoT Bridge is automatically populated for you. This is also shown below.
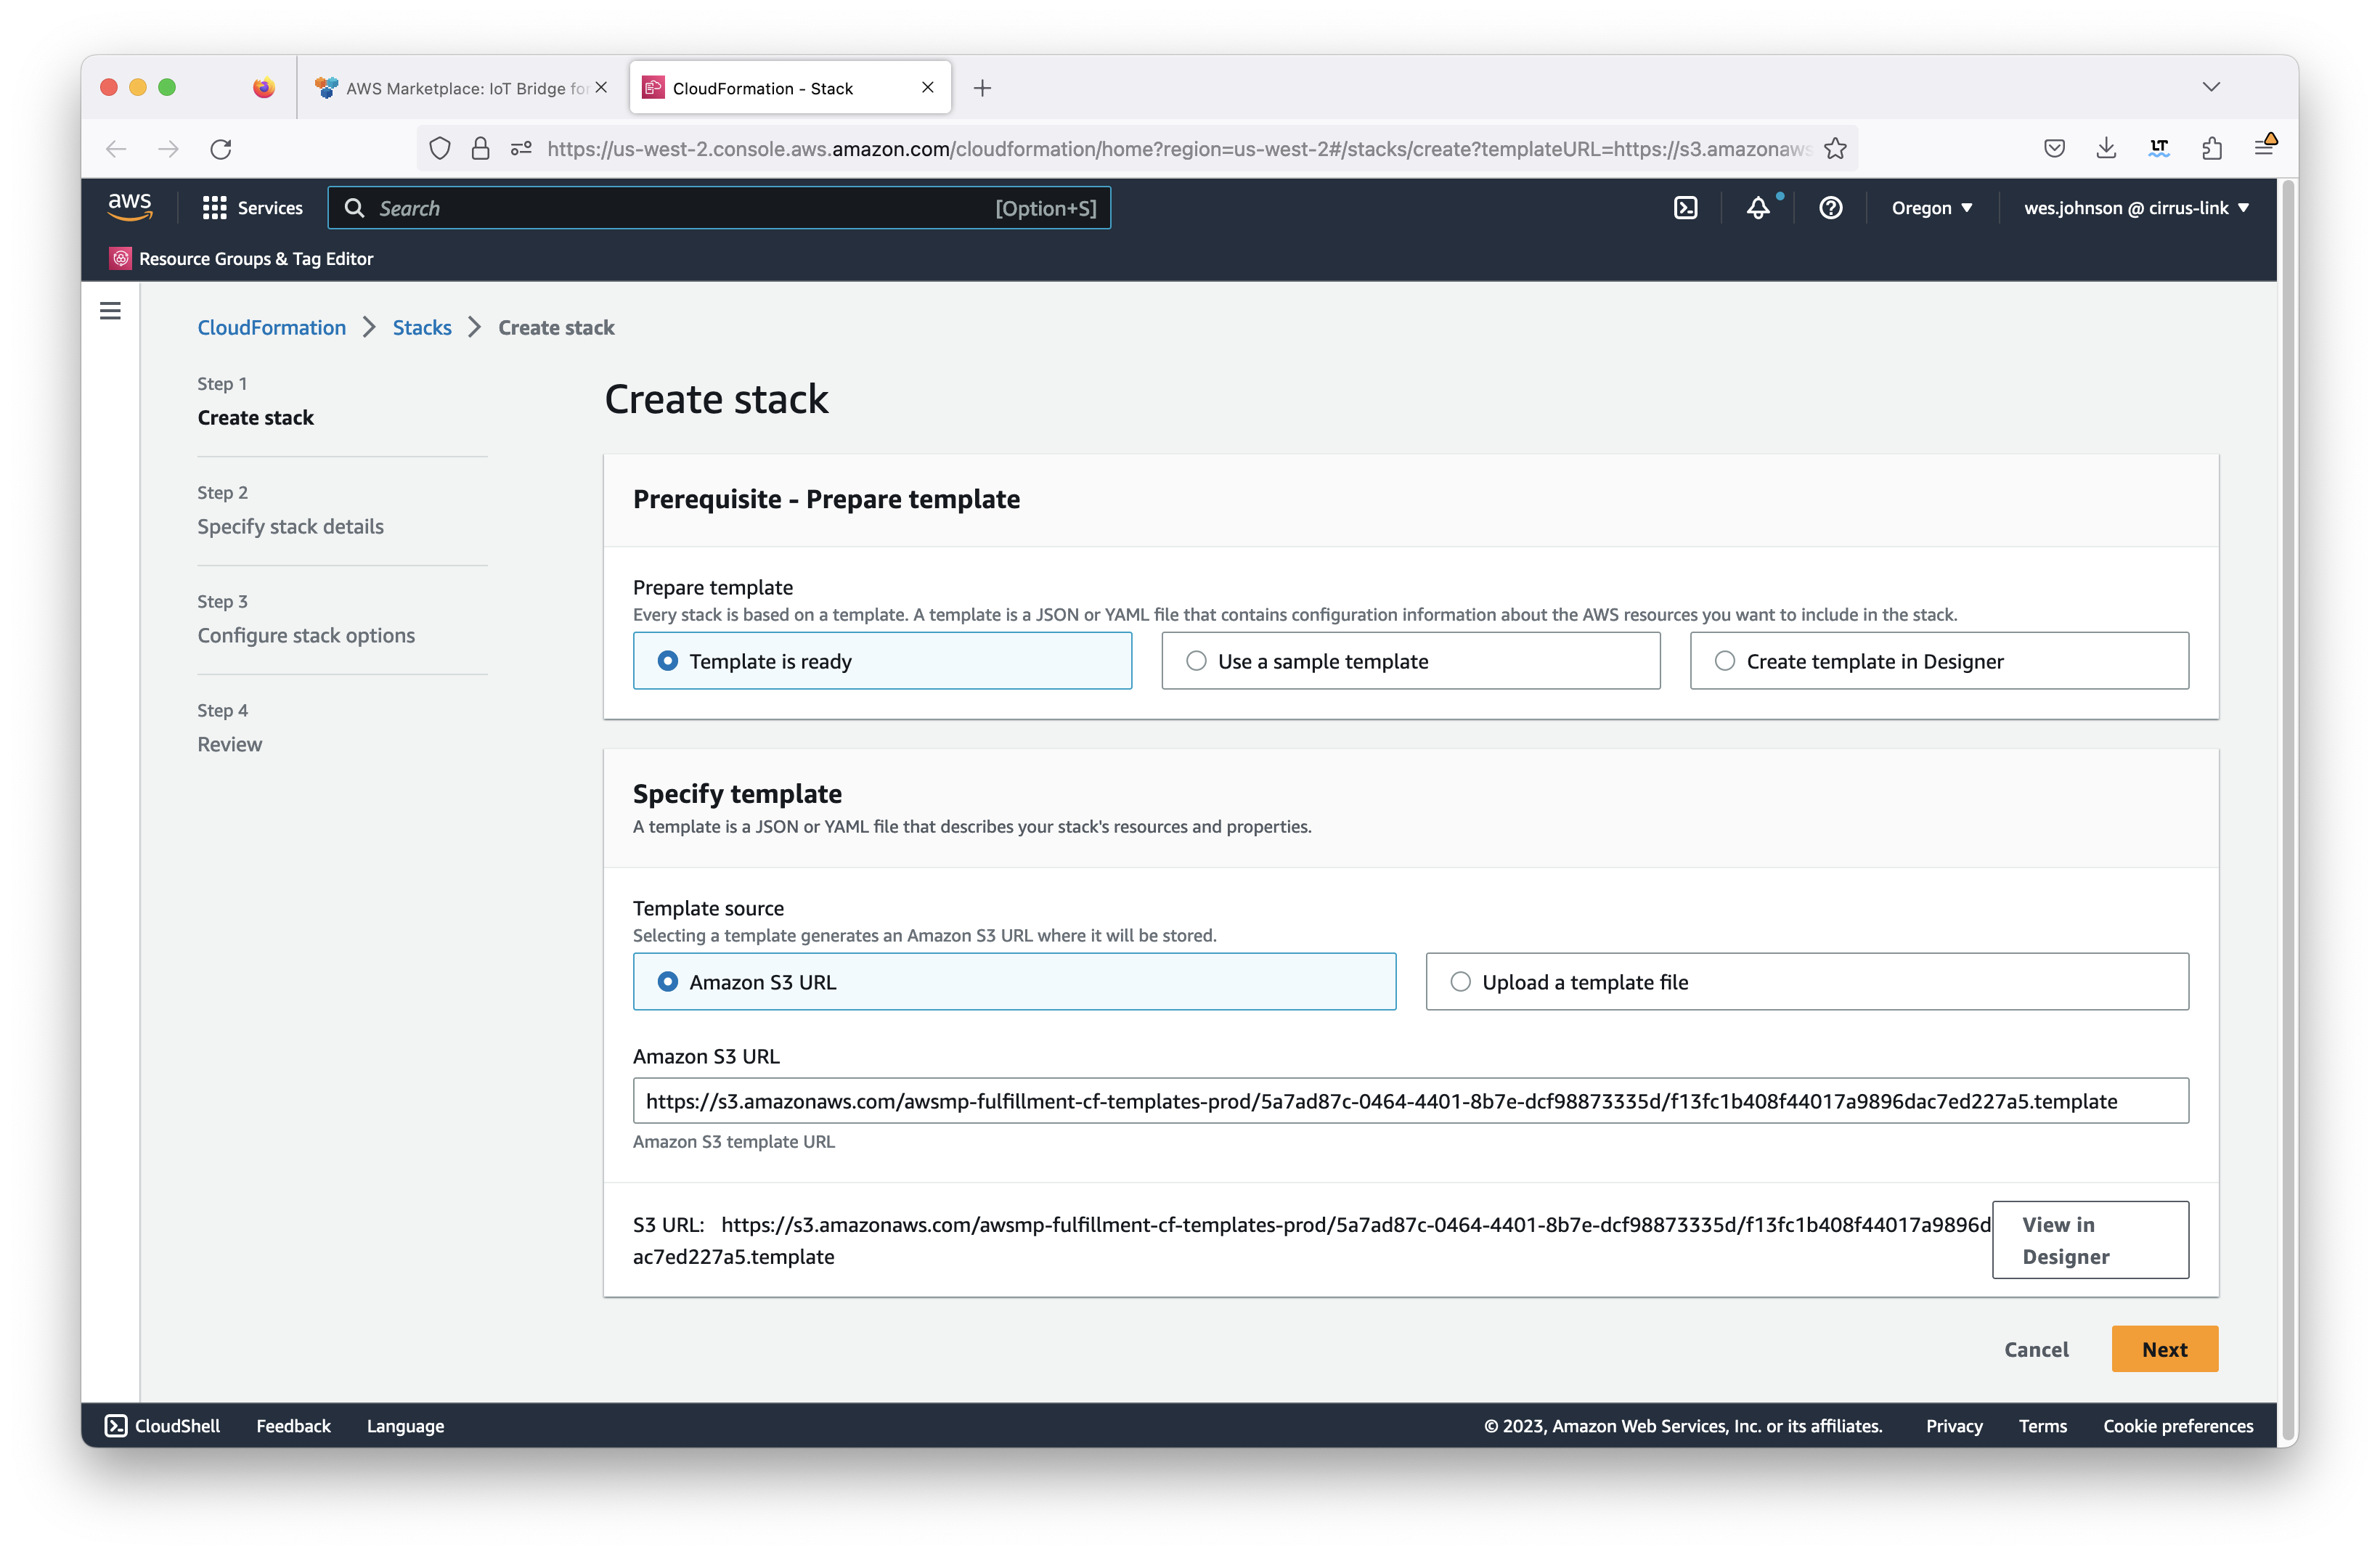
Click 'Next' in the lower right in the screen capture above. This will bring up the stack configuration page shown below.

Set the following properties for the stack:
- Stack Name
- This is a friendly name that will allow you to easily identify the stack in your AWS account
- Instance Type
- The instance size to use for the deployment. Note the size will affect the costs associated with your deployment.
- KeyName
- This is the EC2 keypair that you created at the beginning of this process. If you missed it, instructions to create it are here.
- SSH Location
- This is the the IP address or addresses that will be whitelisted to allow SSH access to the EC2 instance. The example '0.0.0.0/0' will allow SSH access from anywhere. This is not recommended for production environments but will allow access from anywhere initially. This can be changed later as well. A more secure option would be to use your IP address. For example, '47.123.53.23/32' would be used if your IP address is '47.123.53.23'.
After setting the properties, click the 'Next' button in the lower right of the Window. This will bring up the following screen.
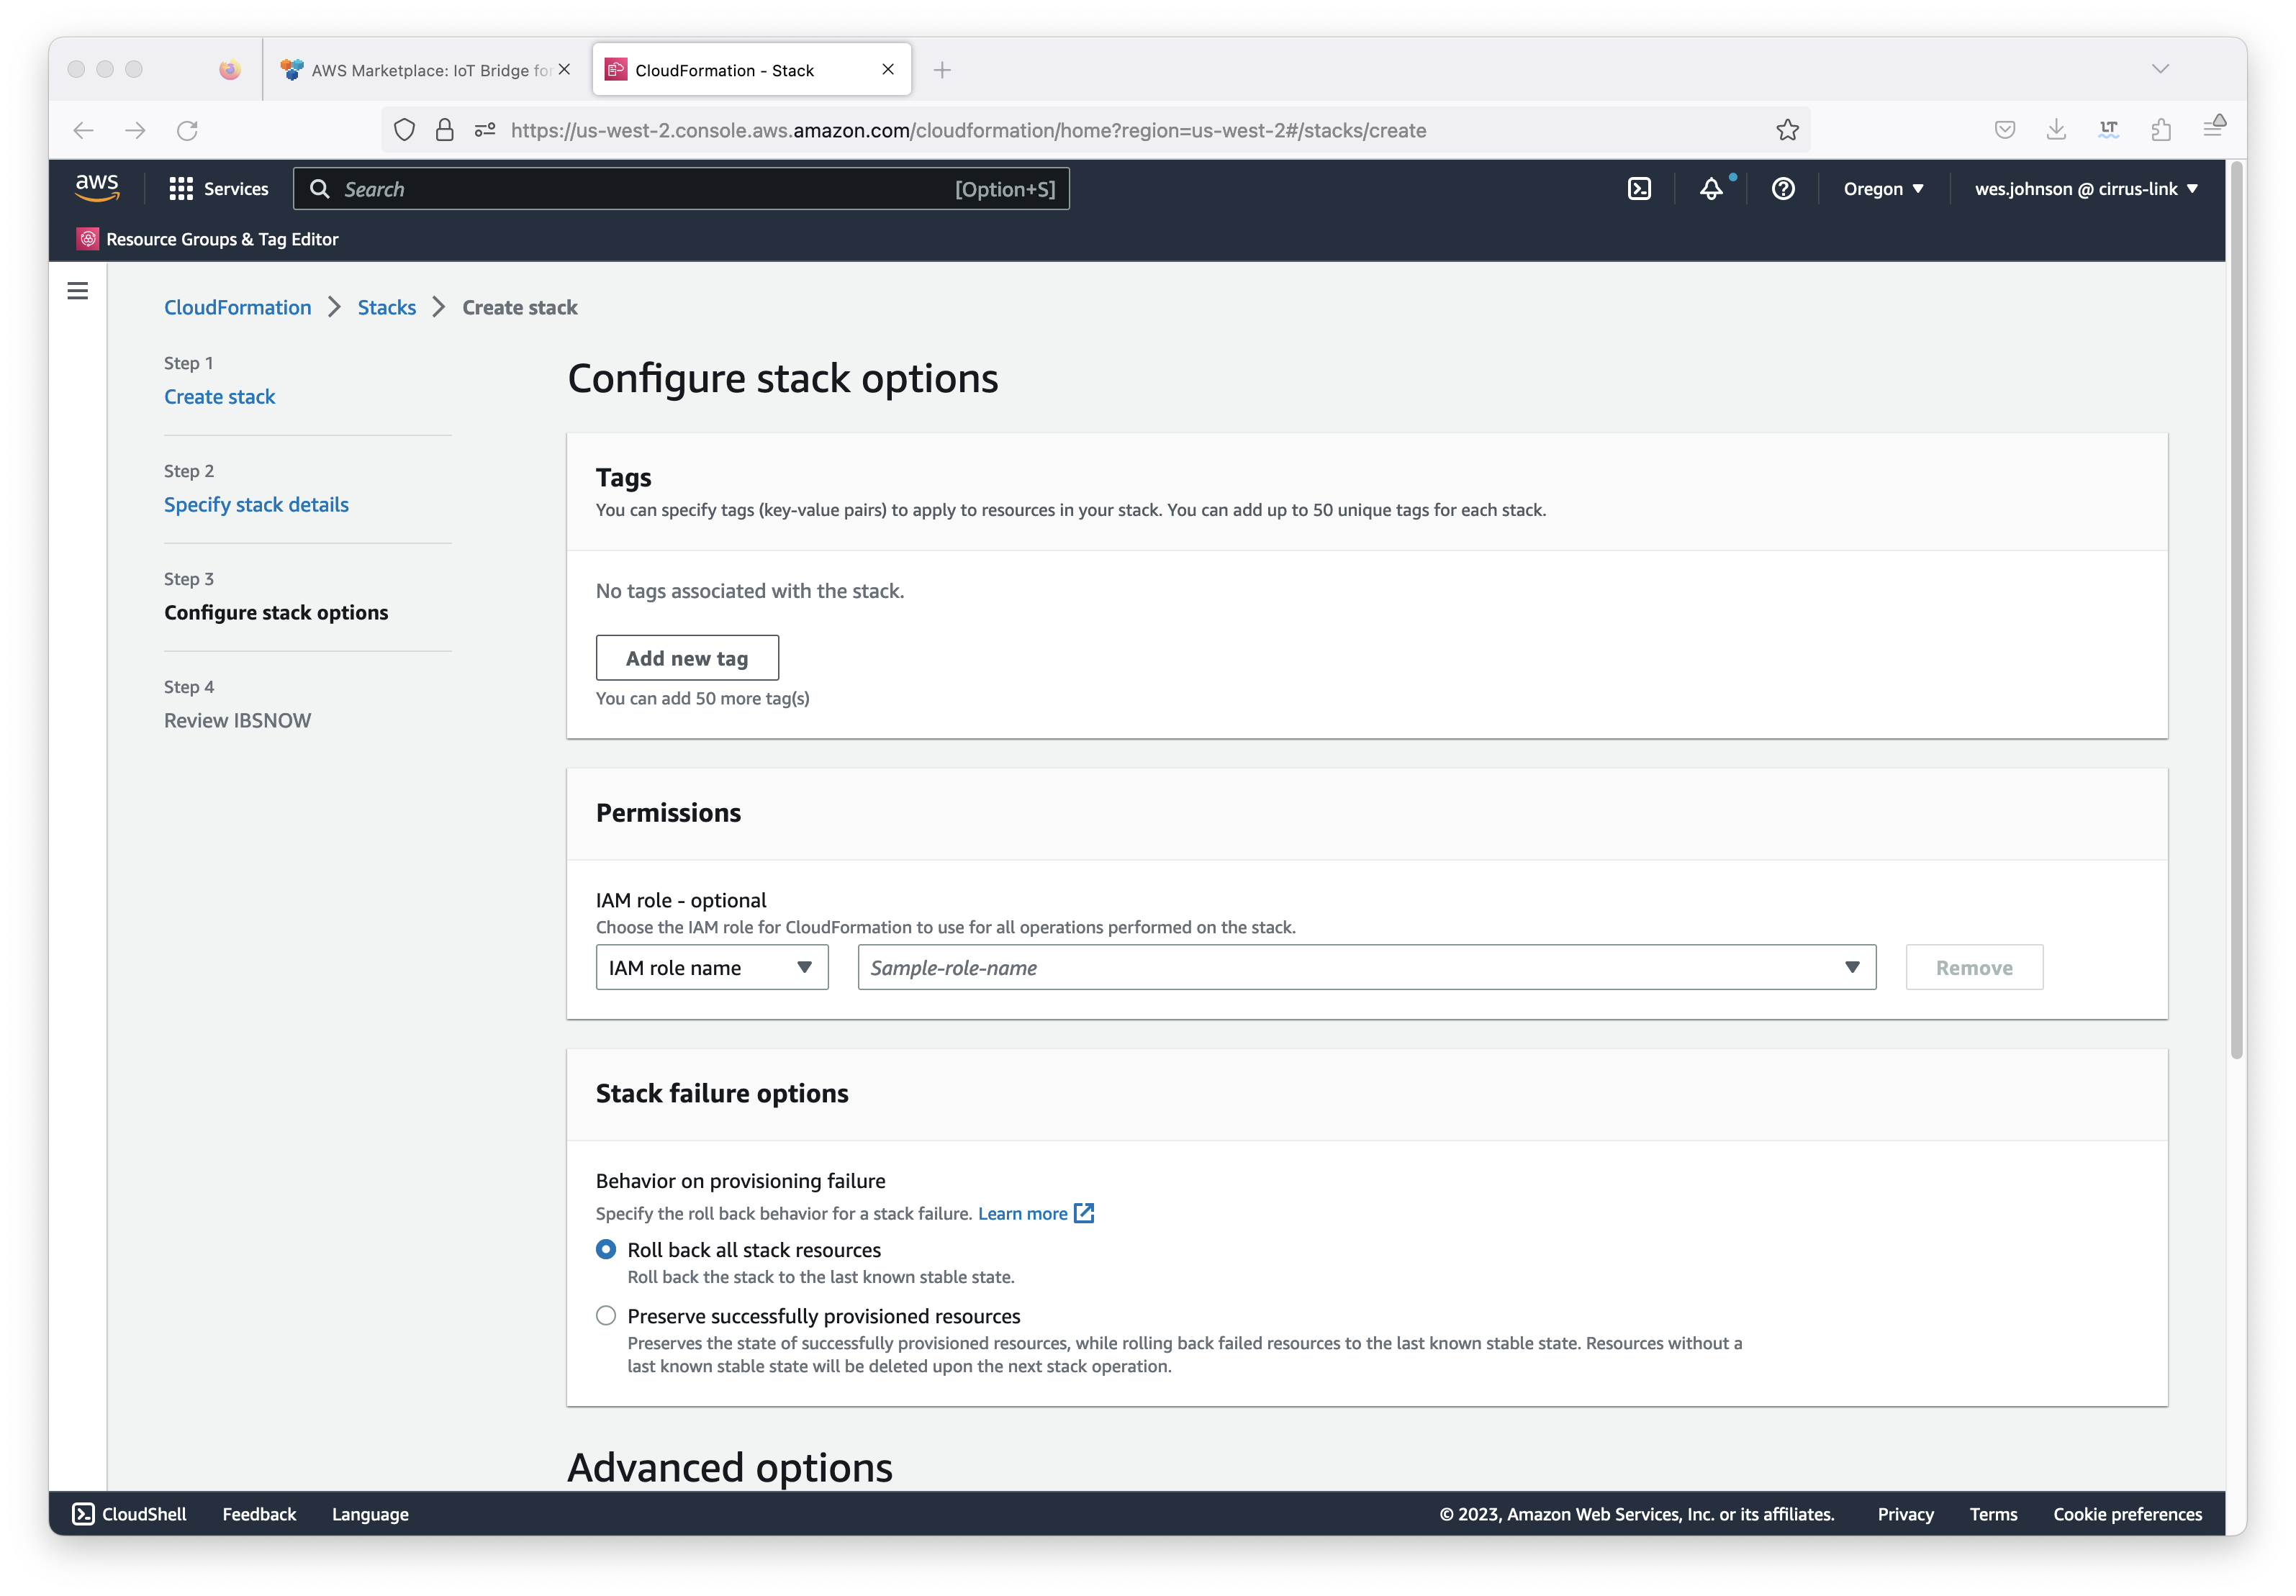
Configure anything else that may be required here. Generally, nothing must be set here given that the user you are logged in as has the permissions to create everything that will created as part of the Cloud Formation deployment. Also, the 'Roll back all stack resources' should be selected in case there is a failure in deployment. This will ensure no resources get created and left in place should any portion of the stack creation fail. After setting any additional configuration here, click the 'Next' button in the lower right corner. This will bring up the review screen as shown below.
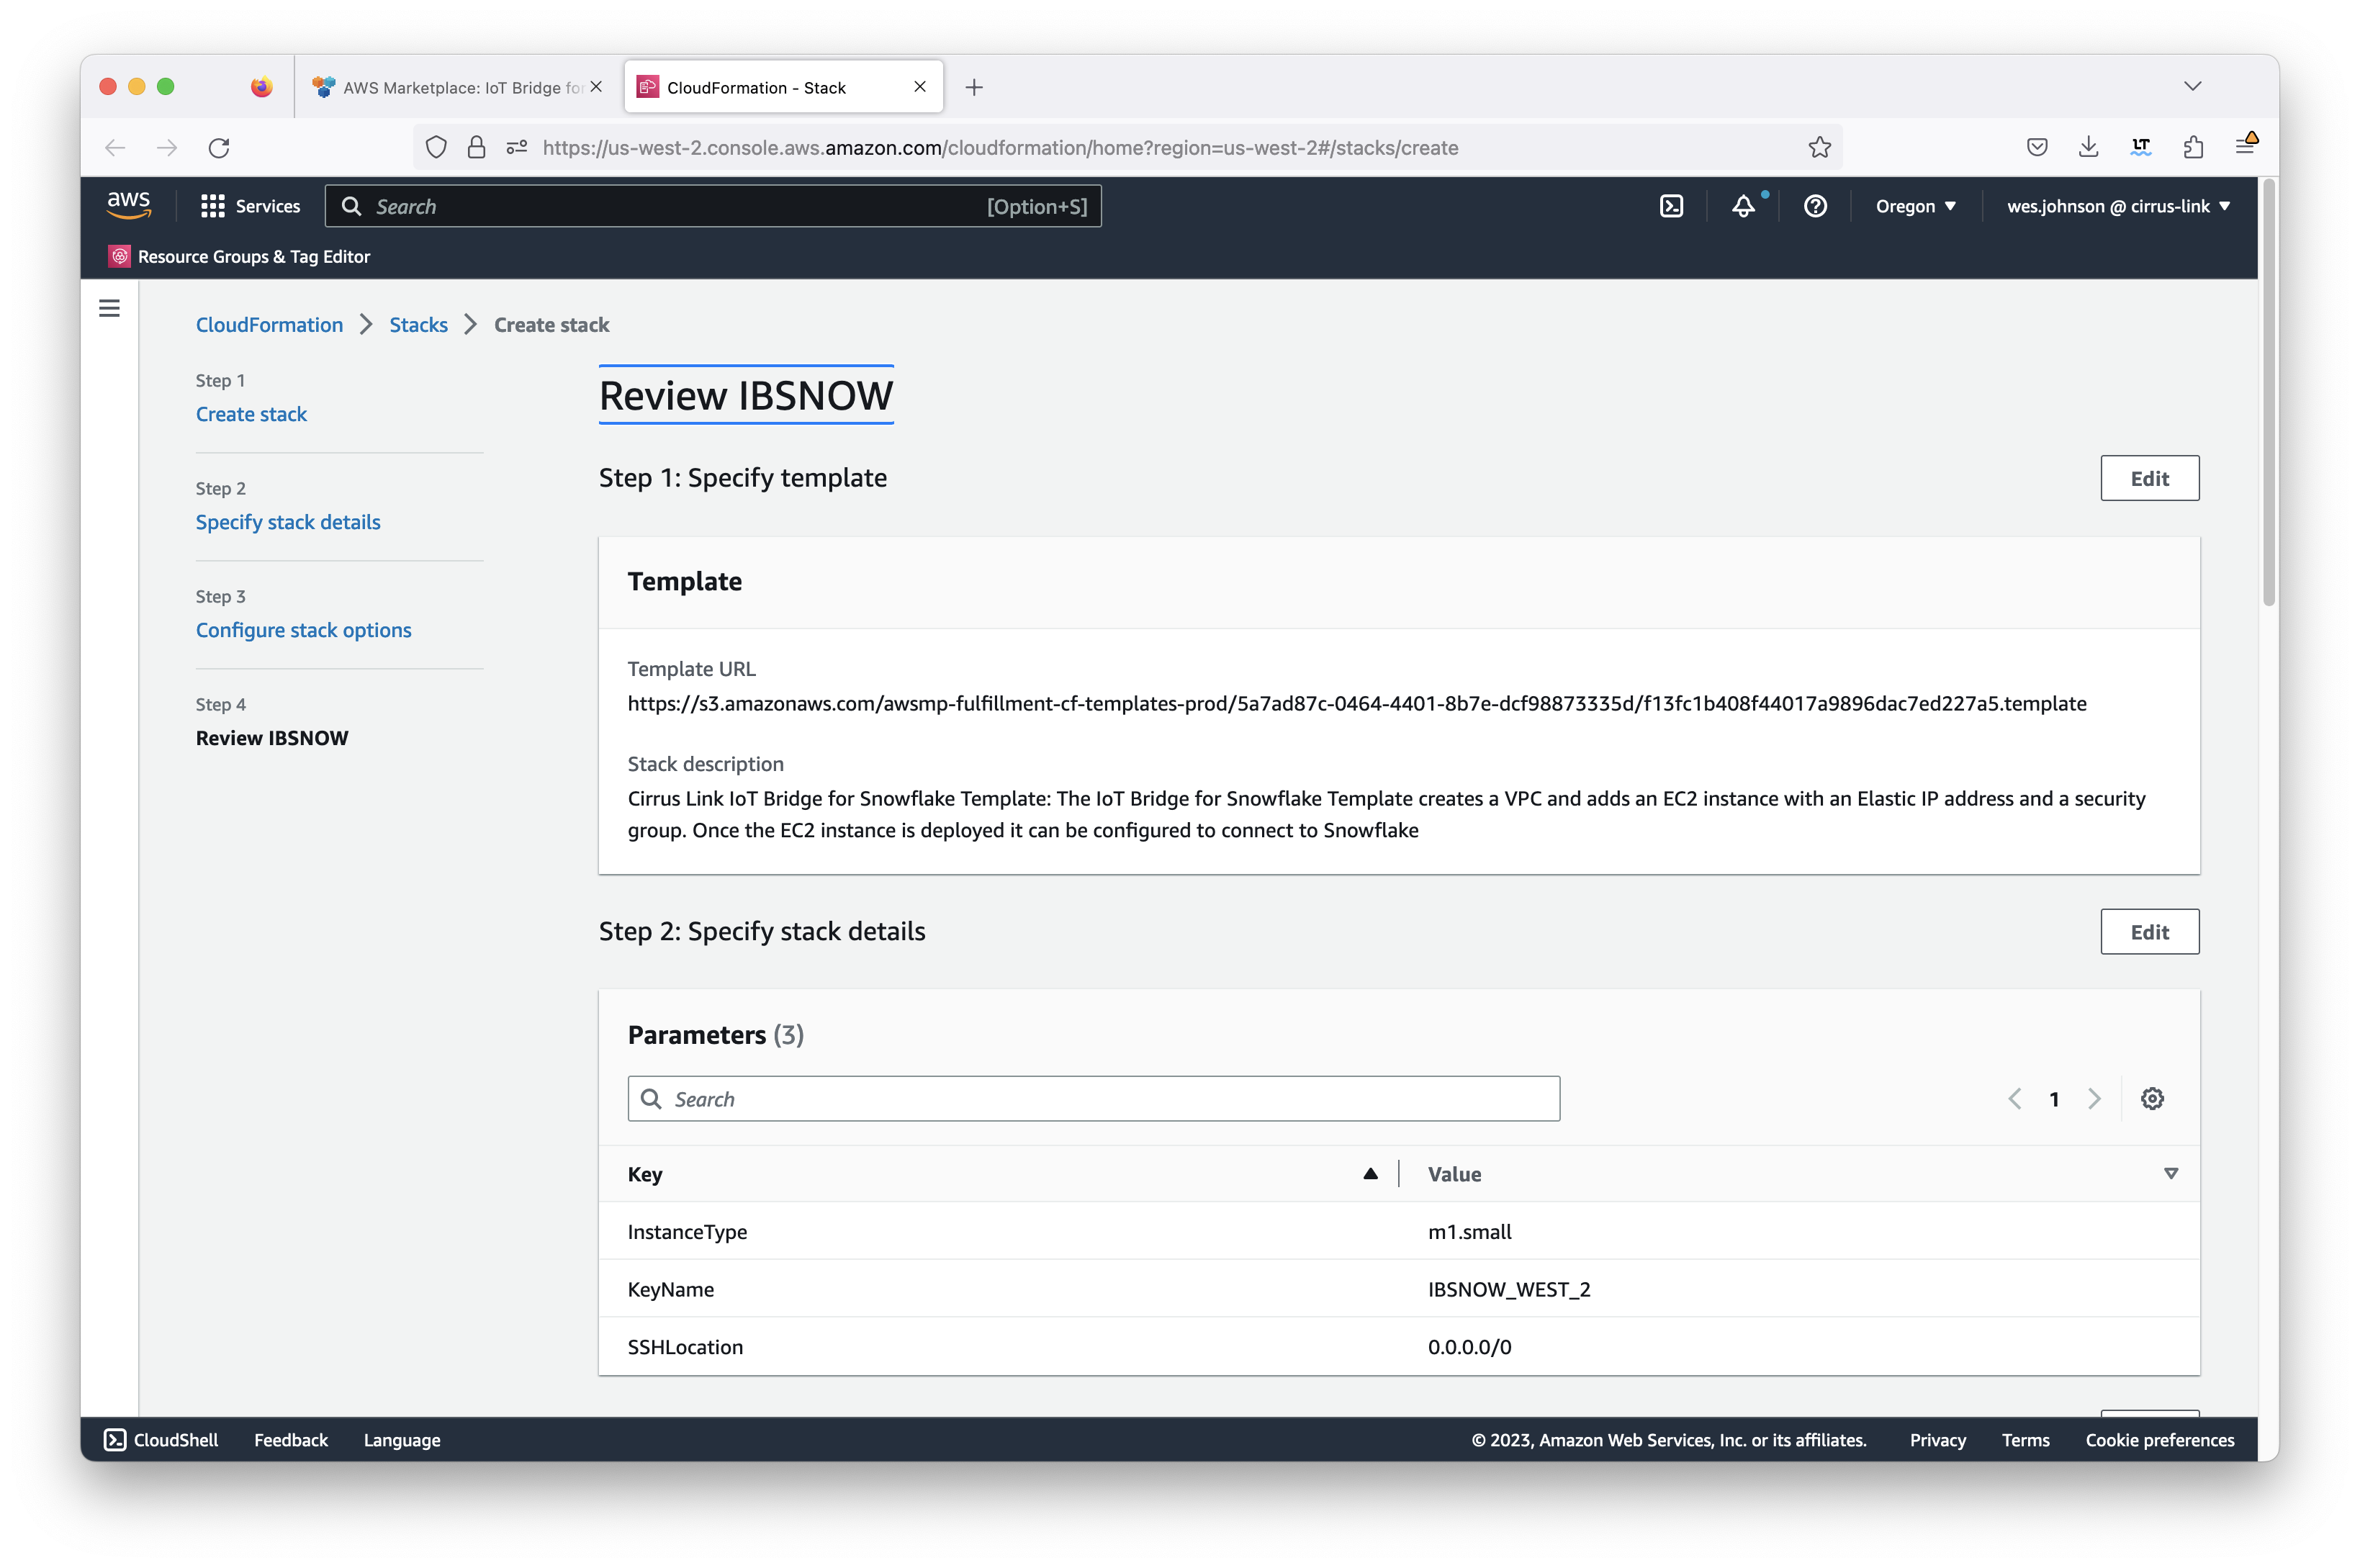
Double check the configuration and finally click 'Submit' in the bottom right corner of the screen to kick off the stack creation. You should now see the 'CREATE_IN_PROGRESS' status as shown below.
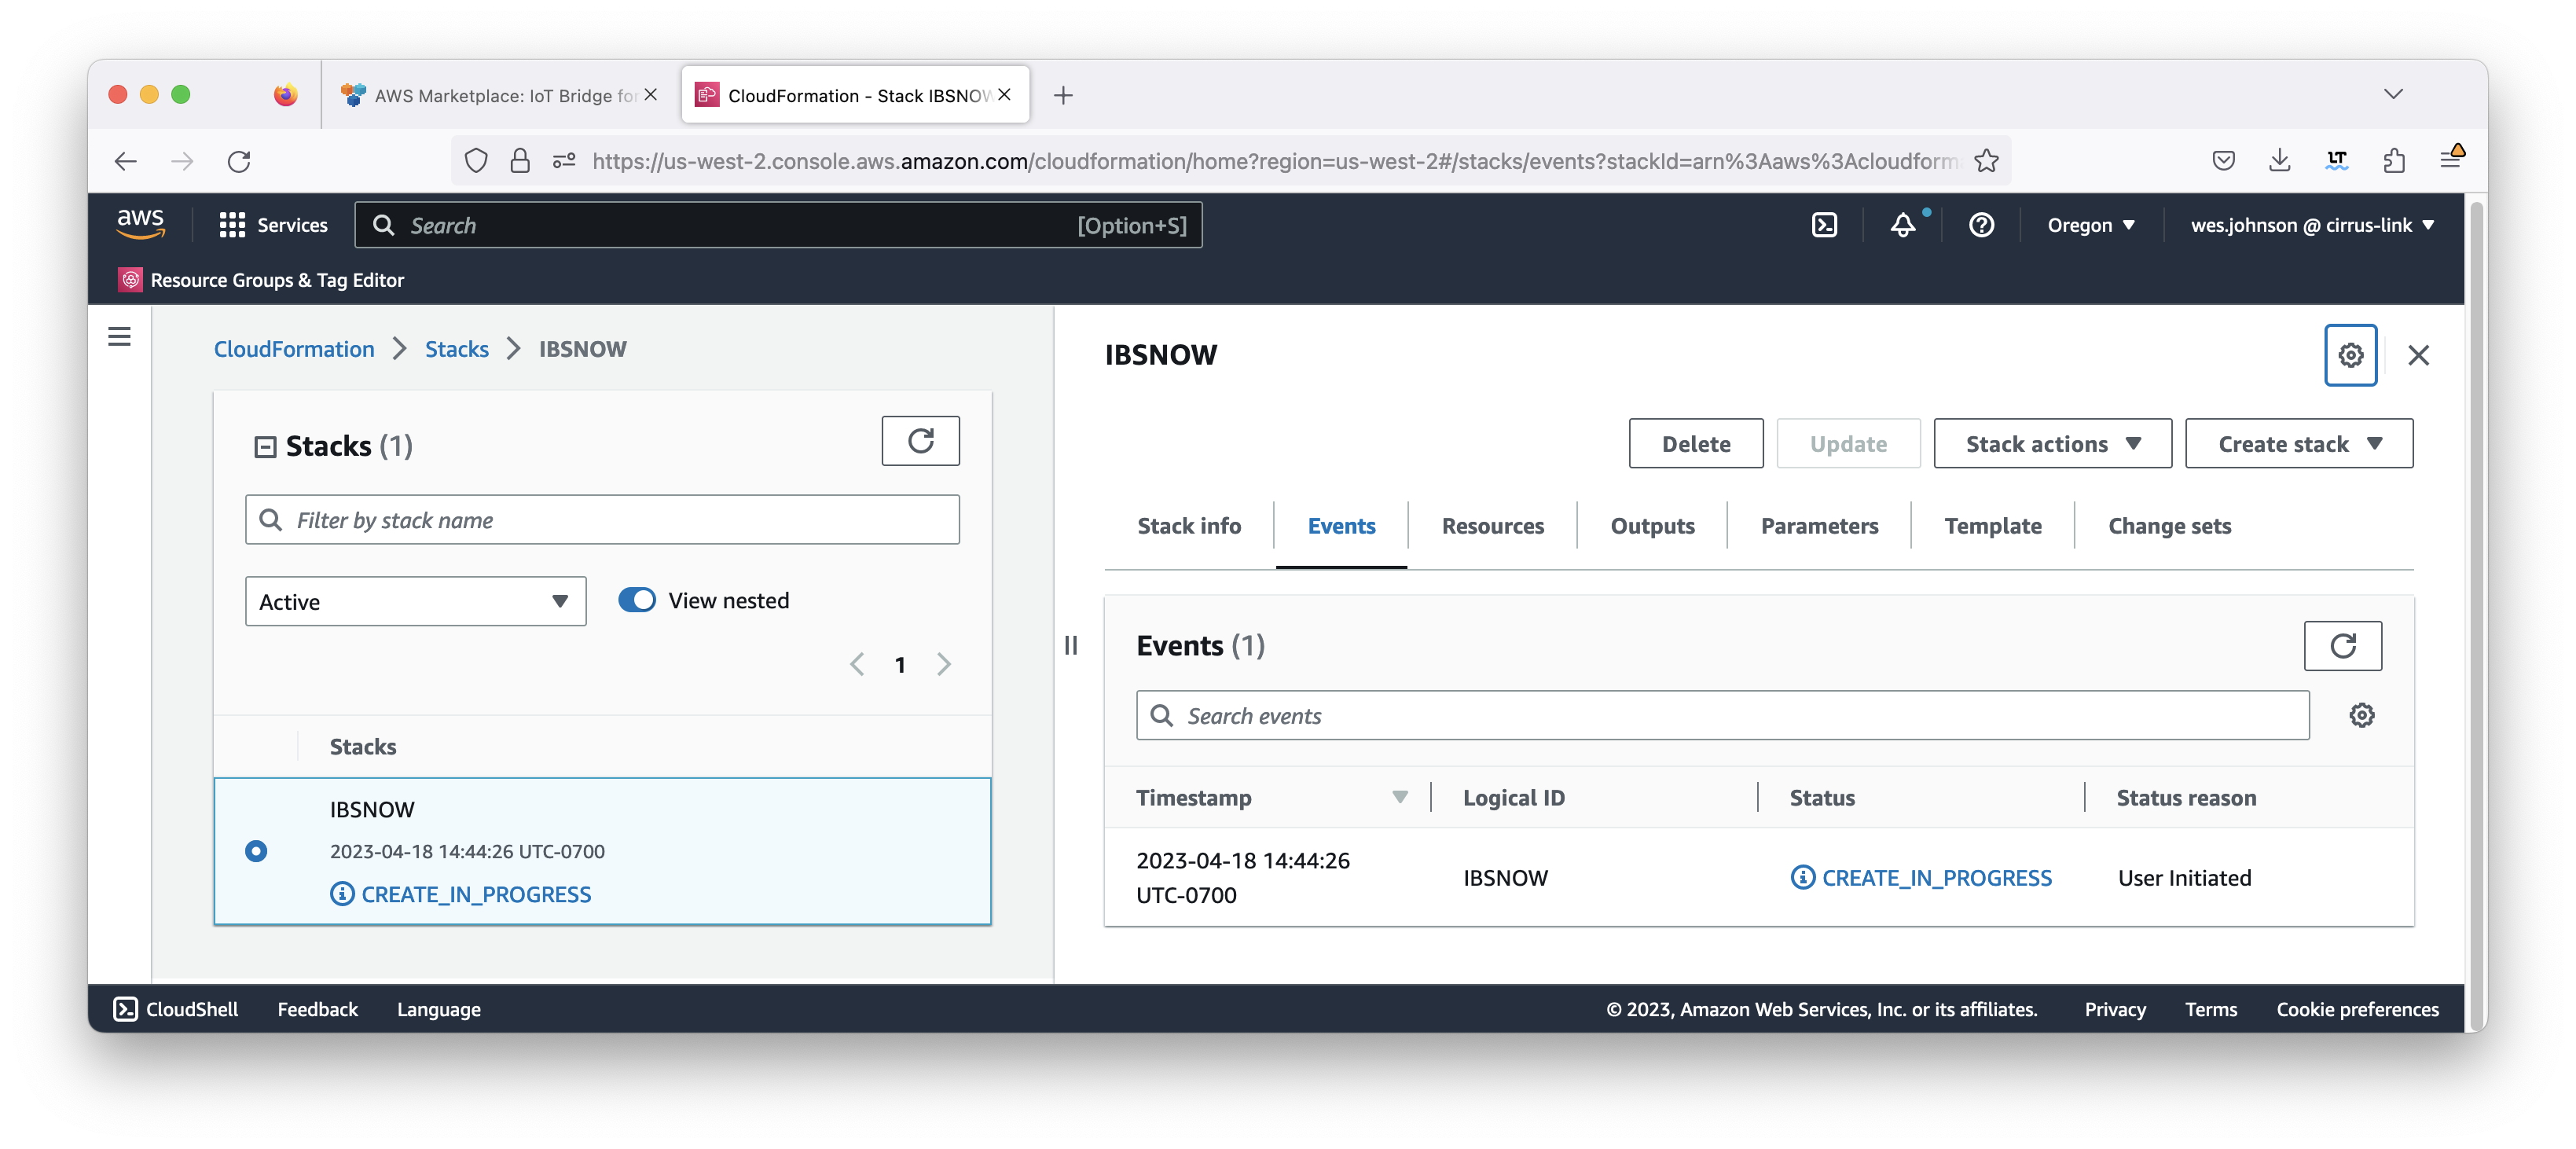
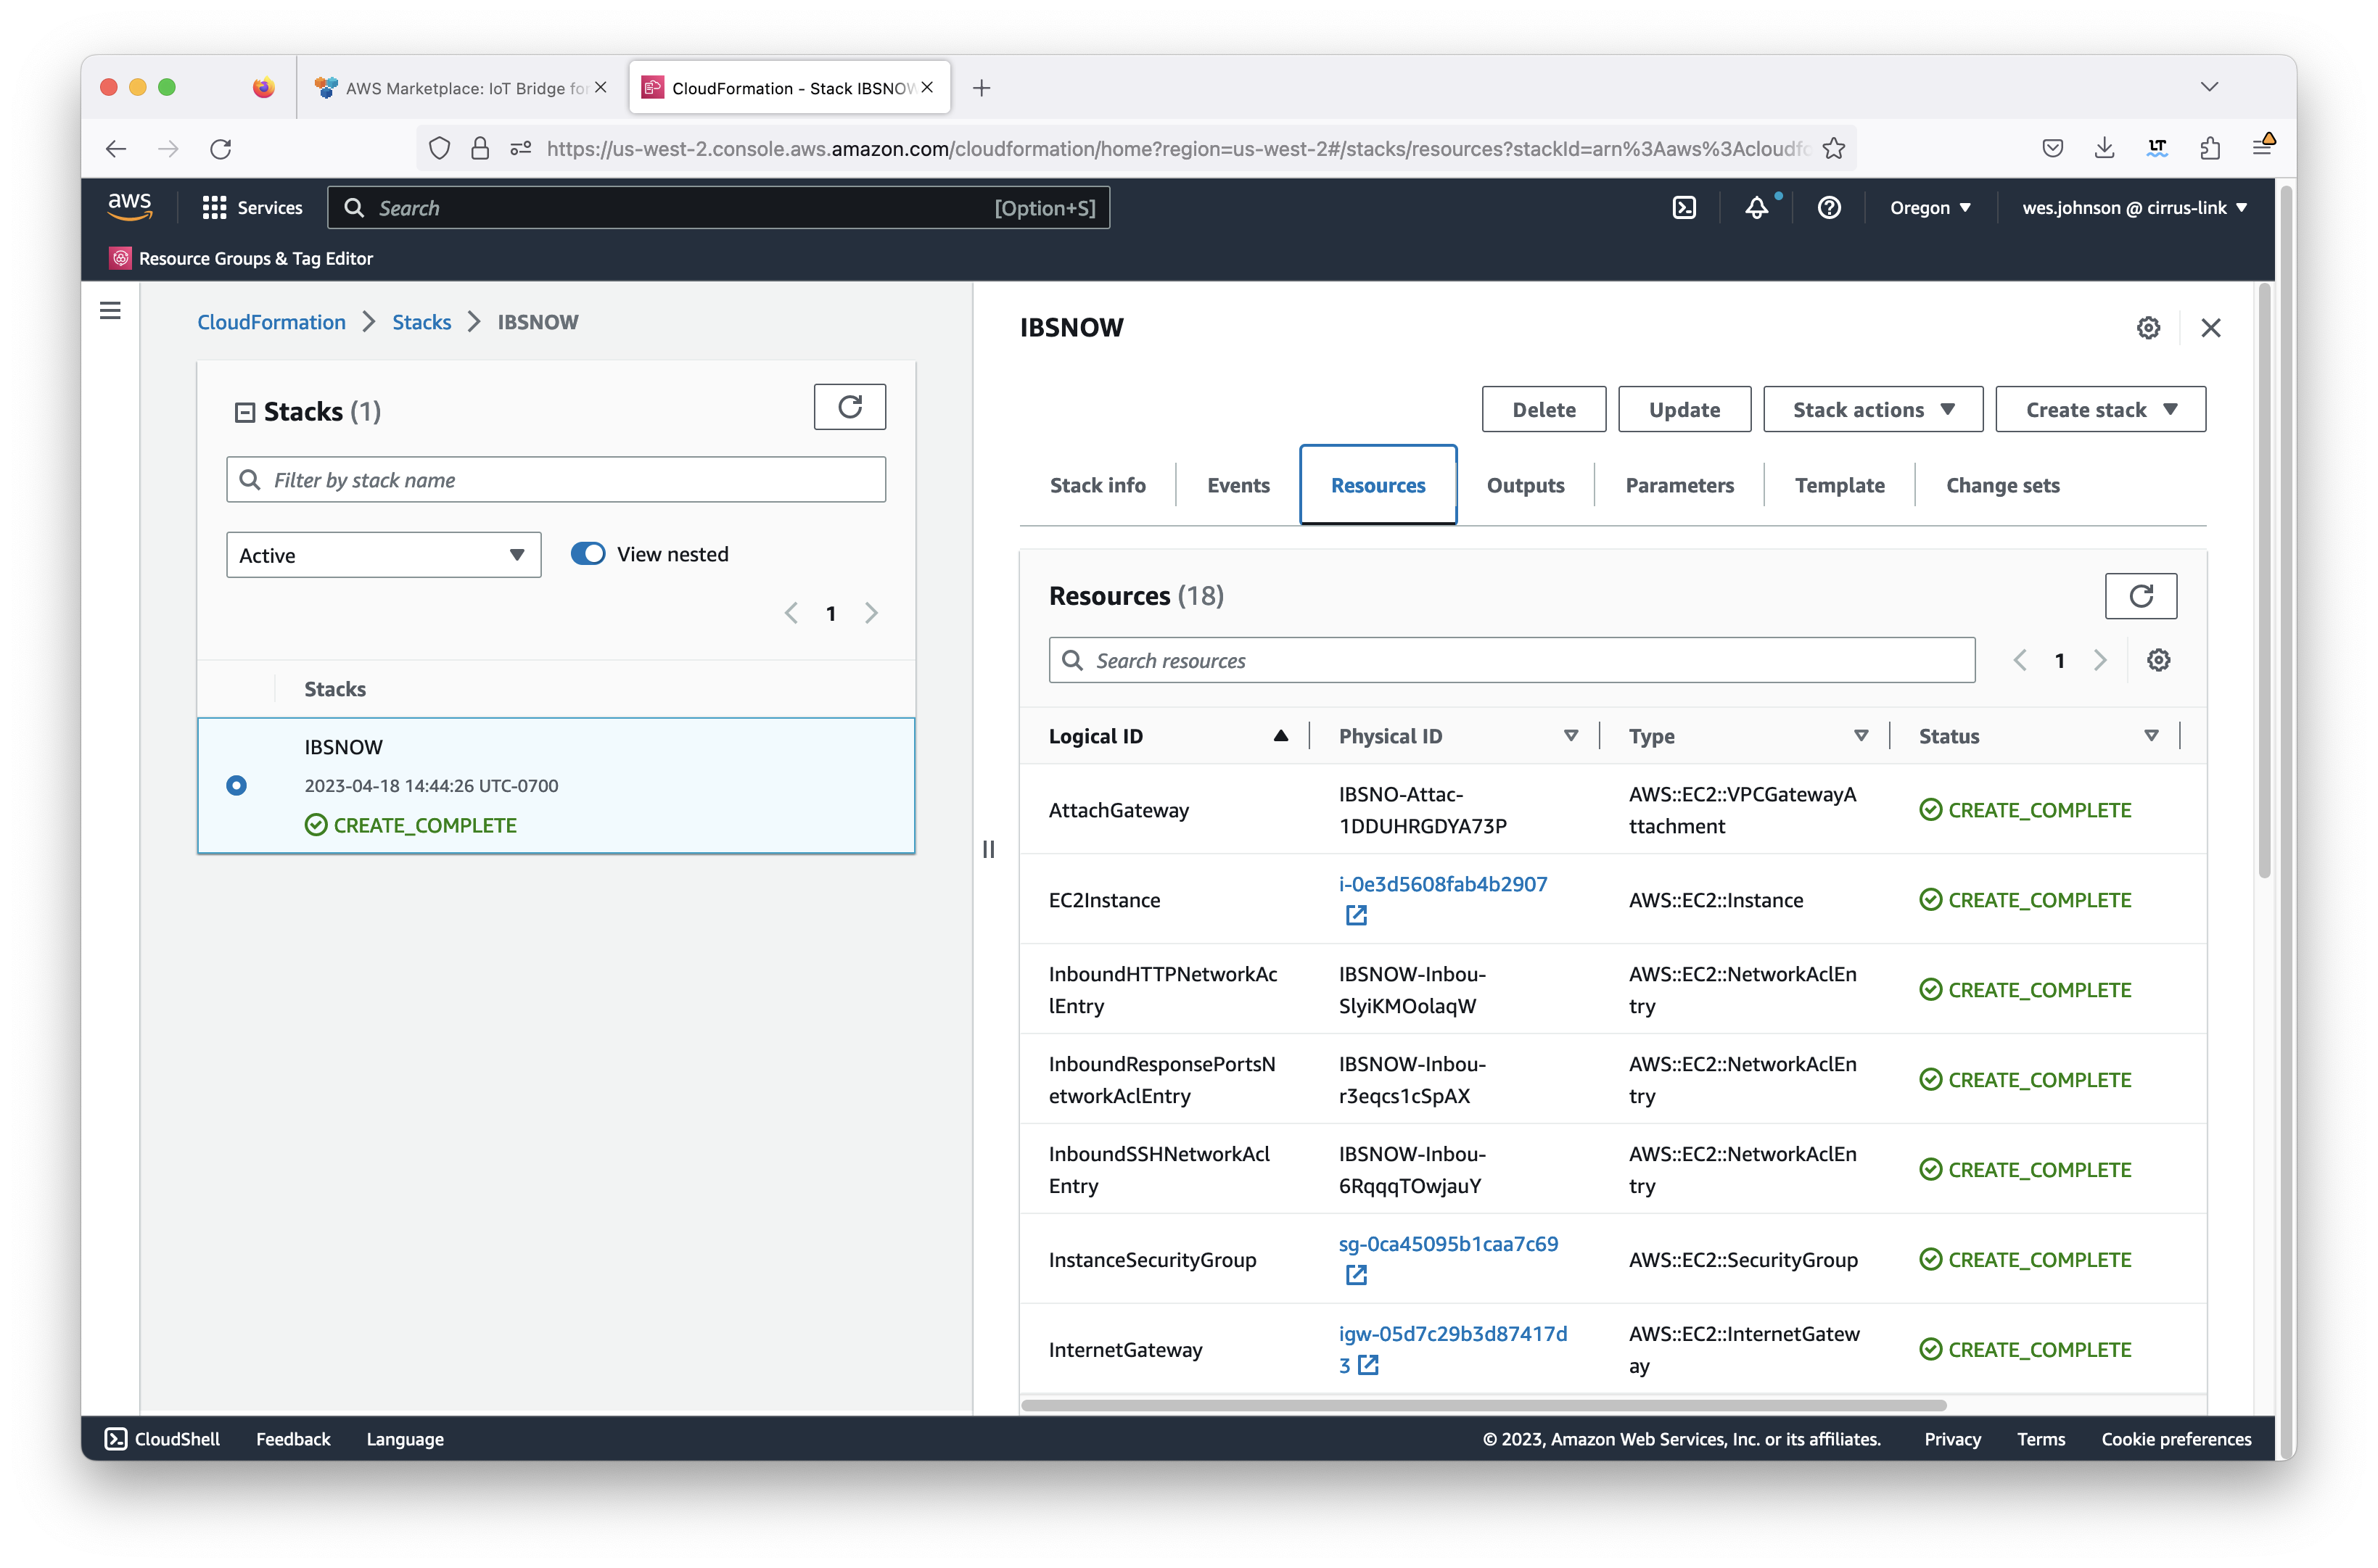
This will begin the stack deployment. You can check on the progress by clicking both the Events and Resources tab as shown below. Deployment takes a few minutes to complete. When it completes, you should see something similar to what is shown below with all of the resources showing 'CREATE_COMPLETE' for the status.
Deployments can fail for multiple reasons, including AWS account resource limitations. By clicking the 'Events' page, you can see more information about what failed during deployment.
If this happens during deployment, note the 'Status reason' column on the right side of the events tab. Typically the following steps are necessary to resolve the issue.
- Delete the stack using the 'Delete' button at the top of the stack's page
- Resolve the issue resulting in the failure. Often these are AWS account resource limits. If so, request an AWS resource limit increase via an AWS support ticket.
- Repeat this procedure to deploy the stack.
After the AWS Infrastructure has been deployed via the AWS Marketplace 1-click procedure, the application must be configured. In order to configure the application, you must be able to access the EC2 instance via SSH. Information on accessing the EC2 instance via SSH can be found here. Additional details on the file system layout of this EC2 instance can be found here.
IoT Bridge Configuration
For configuration details, please see: Iot Bridge for Snowflake - Configuration
Reference Documentation
The IoT Bridge Quickstart Guide covers end to end setup of IoT Bridge including Edge setup, IB setup, and seeing data in Snowflake.
The IoT Bridge Configuration Reference covers configuration options for the IoT Bridge EC2 instance.