...
...
At this point, Ignition is running as a Docker container in Azure Edge. You should be able to browse to http://[ip_address_of_azure_edge]:8088. Replace [ip_address_of_azure_edge] with the IP address of your Azure Edge system. You should see something similar to the following.
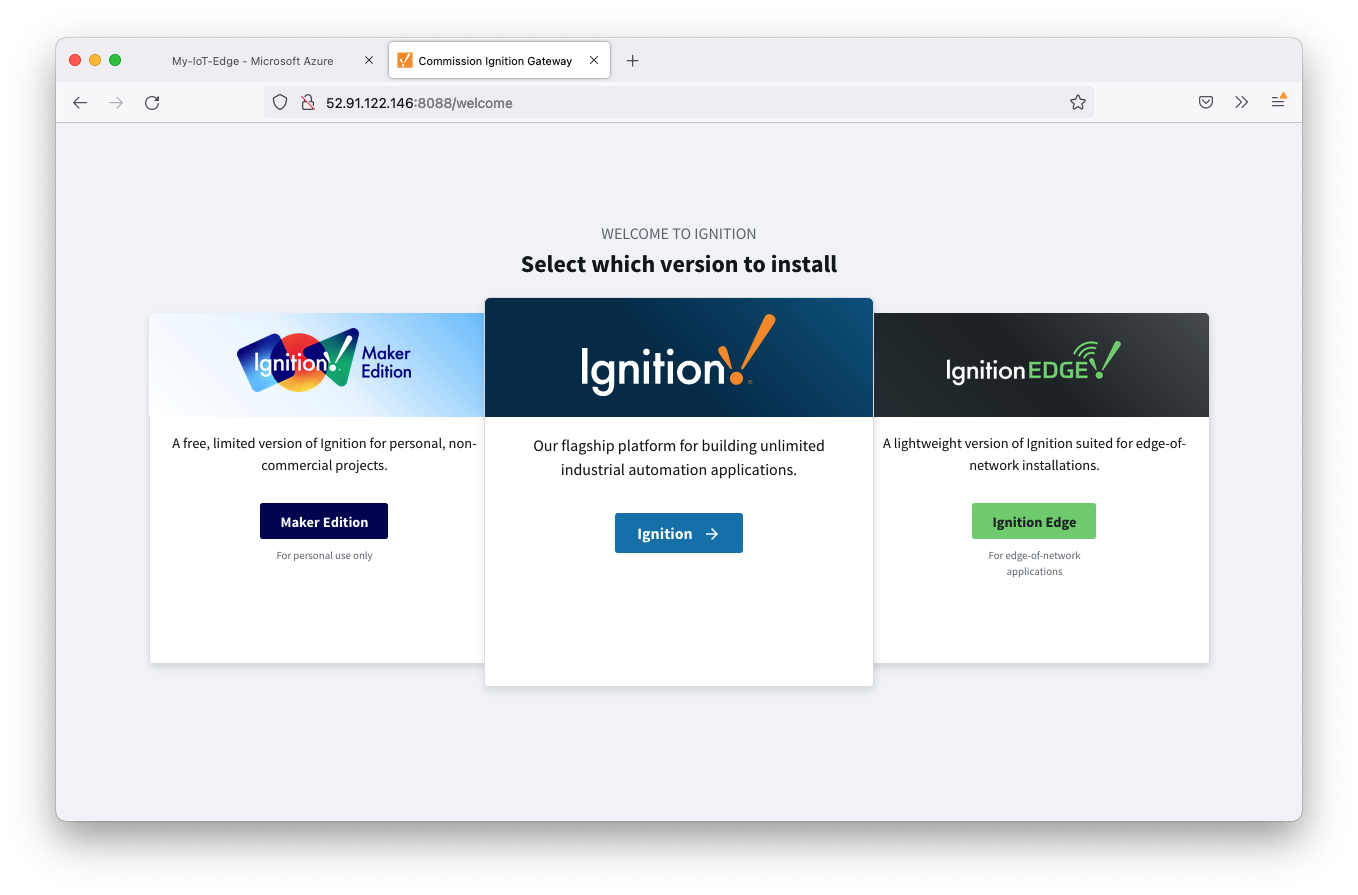
Follow the steps in the Installing and Upgrading Ignition documentation starting from Step 3. Ignition documentation and select either Ignition or Ignition Edge for this tutorial.
Step 3: Install and configure the Azure Injector Module
Follow the steps in the Module Installation guide to install the latest Azure Injector Module.
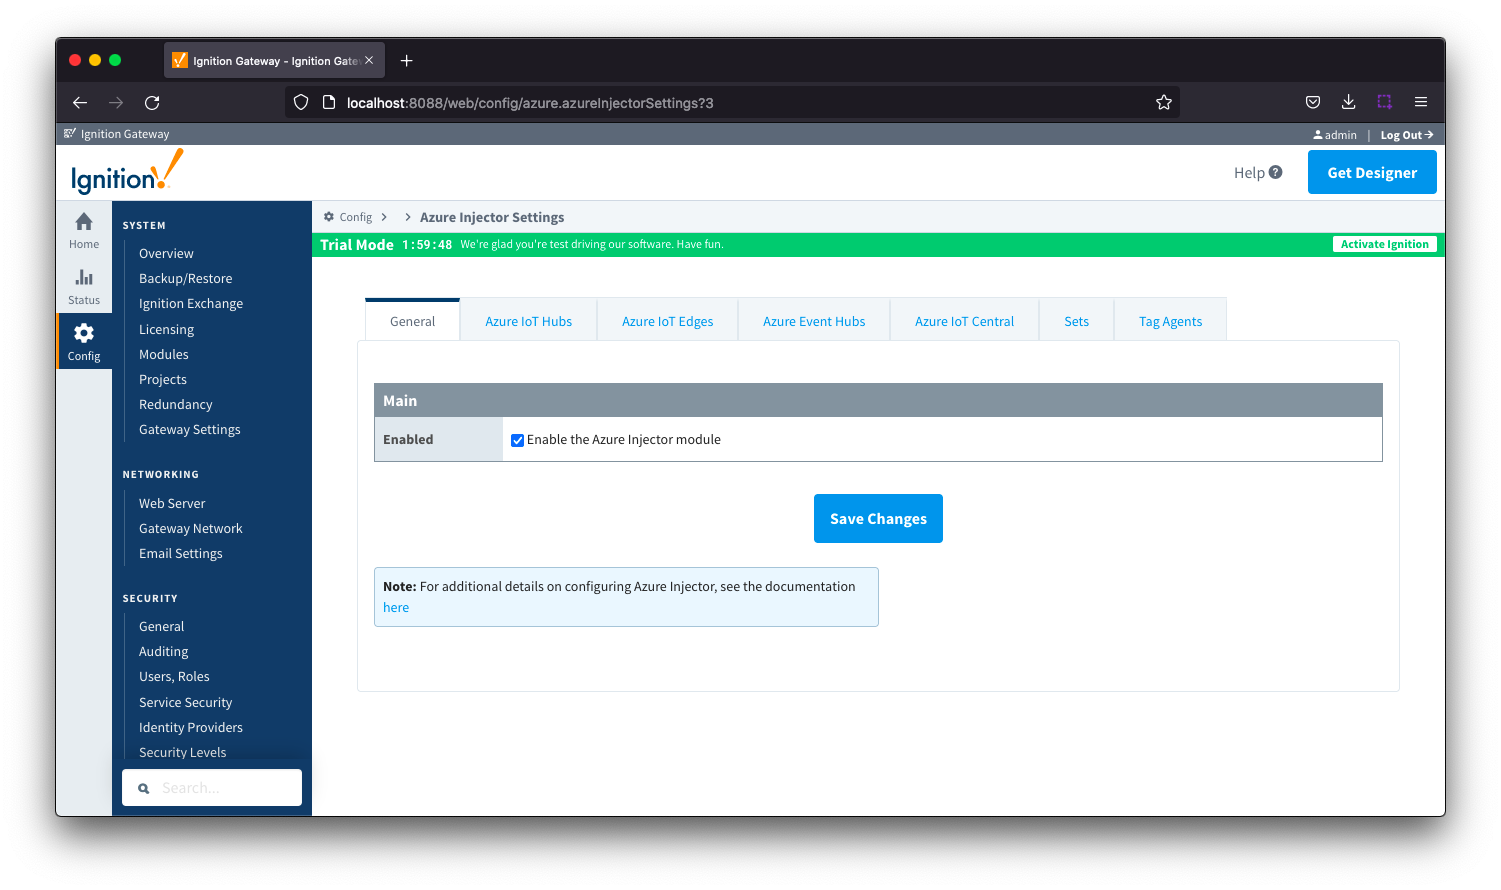
Now select 'Settings' under the Azure Injector section in the left navigation panel near the bottom. After doing so, you should see the following page.
Now select 'Azure IoT Edge HubsEdges' from the tabs near the top of the page. This will open the following page.
...
Now select the 'Settings' tab directly to the left of the 'Certificates' tab. Then click the 'Create new Azure IoT Edge Hub Setting...' link. This will open the following page.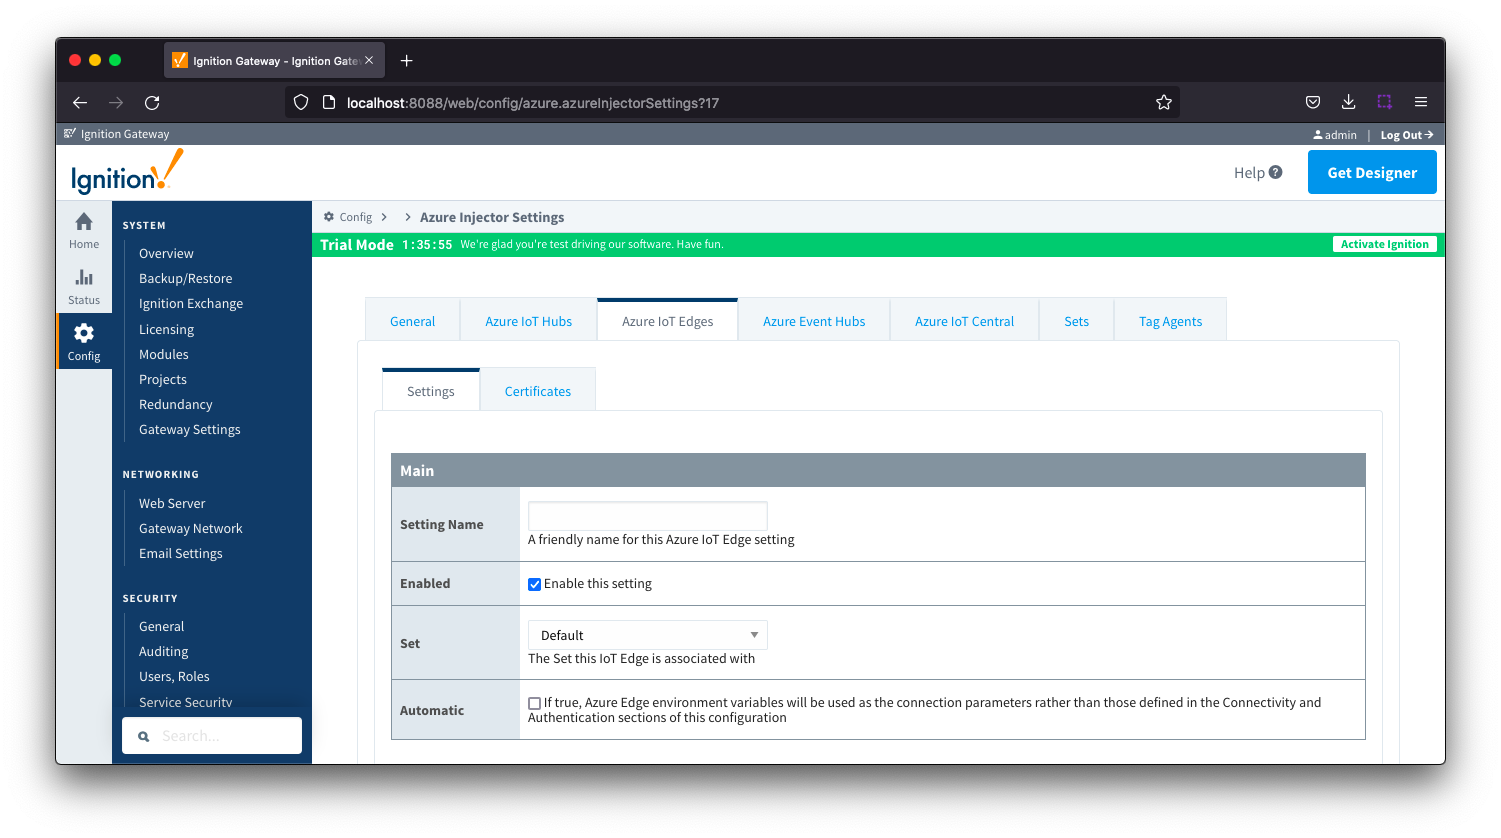
...
If everything went well, you should also see 'Connected' under the Status column. Note it
| Note |
|---|
| The status may take a couple of seconds to switch to a Connected status. |
| Info |
|---|
If the Status does not show connected, browse to the Ignition 'Status → Logs' page to see any errors that may provide clues as to why the connection failed. Common issues include: - Mis-configured certificates resulting in TLS errors
- Firewall issues
- Make sure the MQTTS port (usually 8883) is open all the way to the Azure Edge Hub
|
...
Once the system is showing connected, tags can be created in Ignition Designer. Review the Inductive Automation documentation for Launching Designer against the Ignition gateway
When the Azure Injector modules is installed in Ignition, an Edge Node folder is automatically created in the 'default' Ignition tag provider.
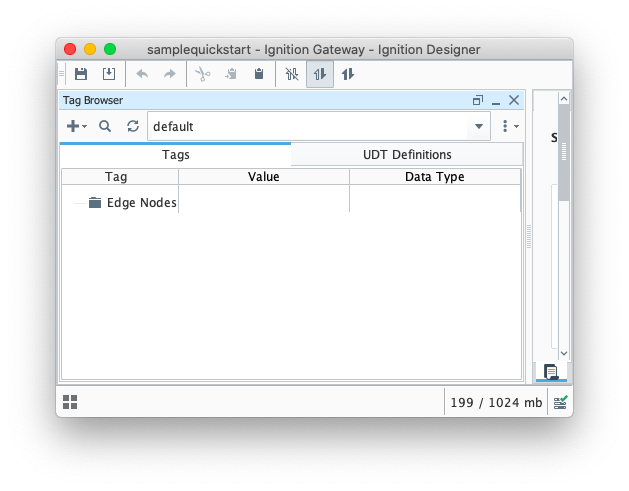
Create a tree structure under this folder as shown below with a memory tags - this folder structure creates the same hierarchy that is described in the Sparkplug B specification of Group ID, Edge ID, and Device ID.
| Tip |
|---|
| Refer to the Ignition Tag Browser and Creating Tags documentation for assistance in configuring Ignition tags |
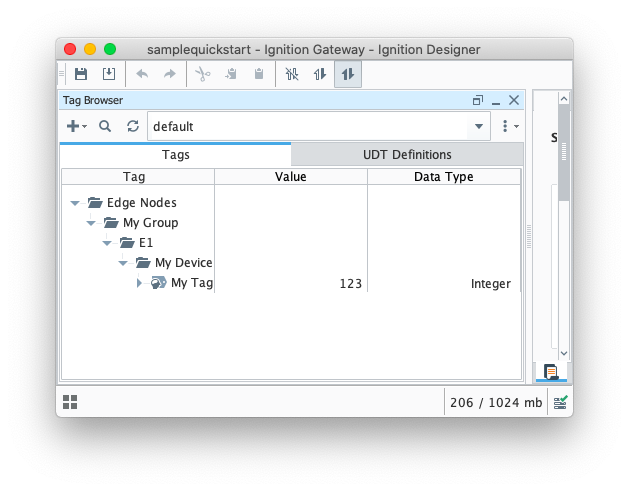 Image Modified
Step 5: Publishing data
Using the Azure Command Line tools you previously installed on a development machine (from the prereqs here), run the following command
...
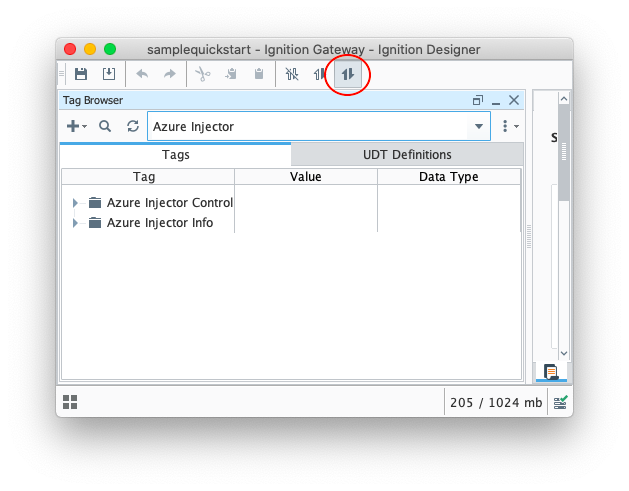
Make sure that the Ignition Designer has read/write communications turned on by selecting the Project/Comm Read/Write button highlighted in the image below.
| Tip |
|---|
| Review the Inductive Automation Designer Interface documentation for additional assistance on setting the project communication mode |
...
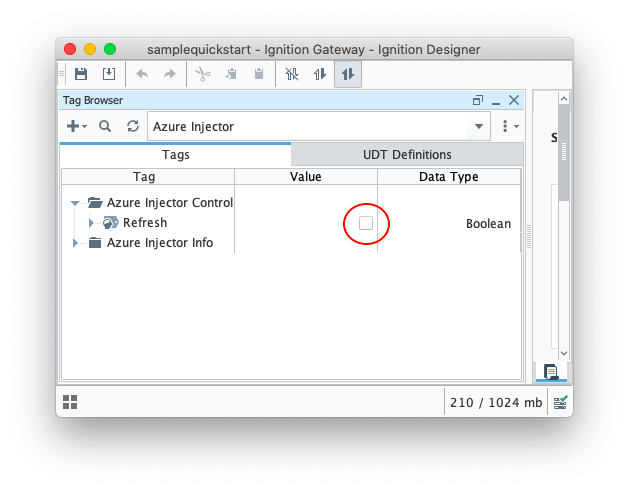
To refresh the default Tag Agent, open the folder "Azure Injector Control" and click on the Refresh Boolean. When this happens, the Tag Agent will scan the "Edge Nodes" folder and publish the Sparkplug BIRTH sequence to the Azure IoT Edge Hub.
| Note |
|---|
| The Boolean tag will not change to true. This is really a one-shot and as a result, the tag will not change to true. |
...