![]()
Contents
Cirrus Link Resources
Cirrus Link Website![]()
Contact Us (Sales/Support)![]()
Forum![]()
Cirrus Link Modules Docs for Ignition 7.9.x![]()
Inductive Resources
Ignition User Manual![]()
Knowledge Base Articles![]()
Inductive University![]()
Forum![]()
![]()
Cirrus Link Website![]()
Contact Us (Sales/Support)![]()
Forum![]()
Cirrus Link Modules Docs for Ignition 7.9.x![]()
Ignition User Manual![]()
Knowledge Base Articles![]()
Inductive University![]()
Forum![]()
Before being able to access the AMI you must have completed the installation process here. Once the AMI in AWS Marketplace has been used to create an EC2 instance you are ready to continue this quickstart guide.
This quickstart document covers how Sparkplug SiteWise Bridge (SSB) can be used to consume MQTT Sparkplug data and create and update SiteWise Asset Models and Assets. This will show how to configure Sparkplug SiteWise Bridge as well as show how to use Inductive Automation's Ignition platform along with Cirrus Link's MQTT modules to publish device data to an MQTT Server. This data will ultimately be consumed by Sparkplug SiteWise Bridge to create and update the SiteWise components. This tutorial will use the AWS IoT Core MQTT Server implementation. However, SSB does work with any MQTT v3.1.1 compliant MQTT Server.
Before configuring Sparkplug SiteWise Bridge (SSB), you must register a 'thing' connection in AWS IoT Core. Begin by browsing to AWS IoT Core in your AWS account. Make sure you are in the same AWS region that you have already deployed SSB to. Begin by expanding 'Secure' and click 'Policies' as shown below.
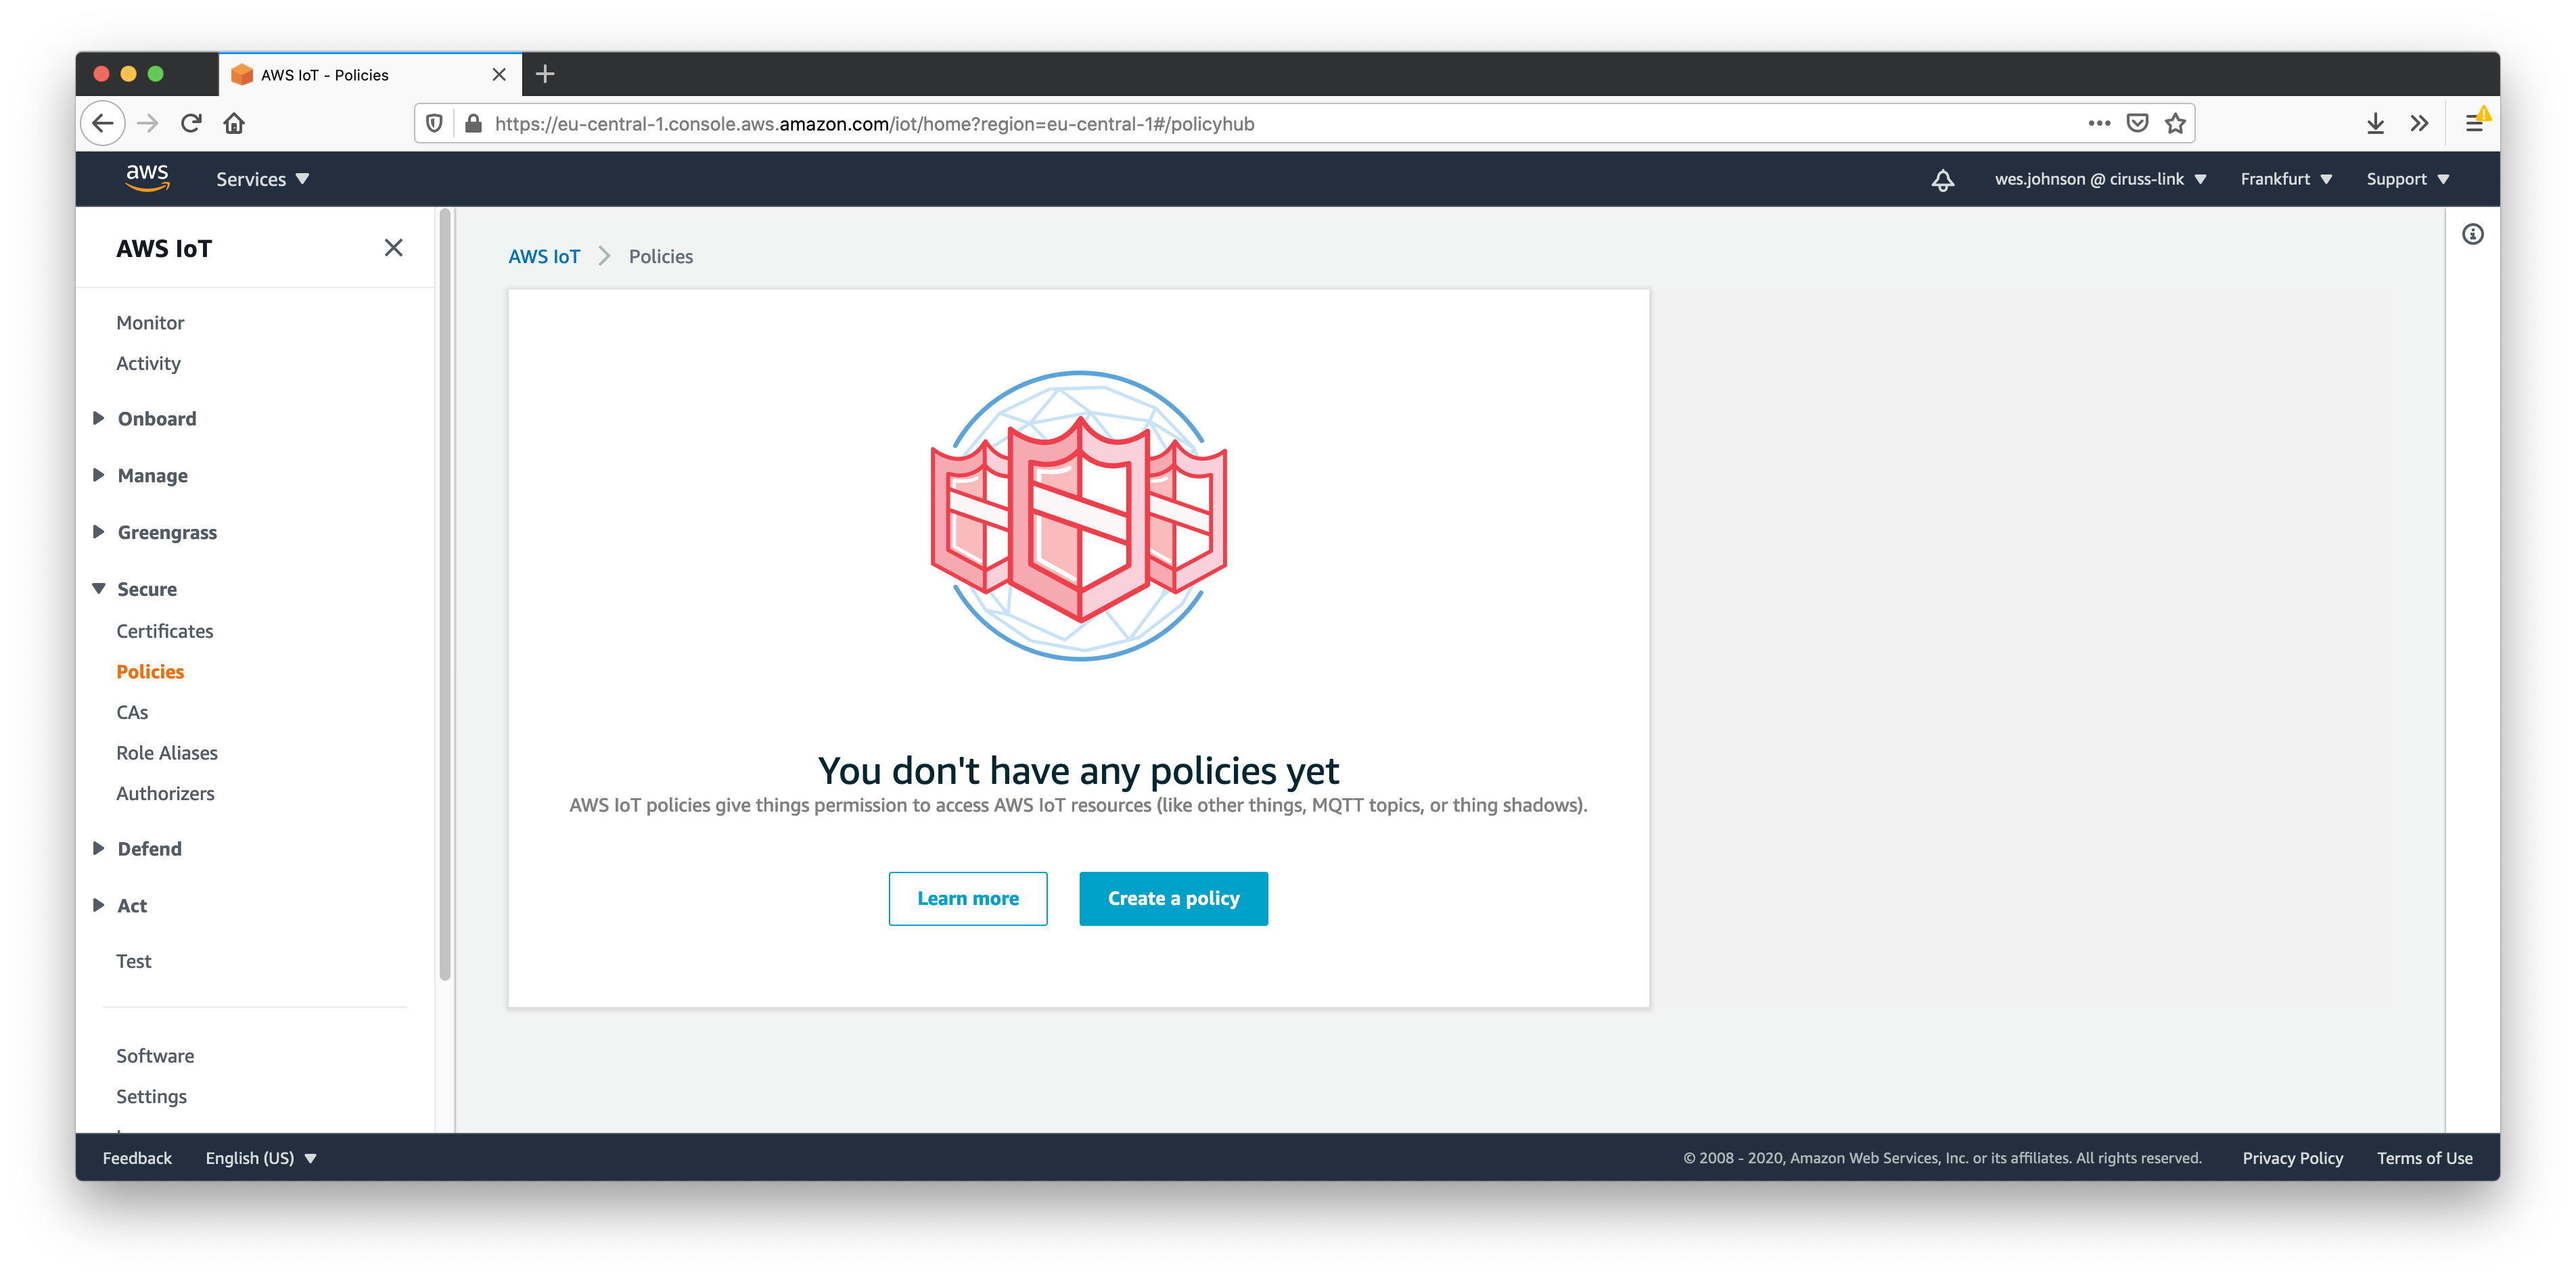
Now click the 'Create a policy' button. This will bring up the following page.
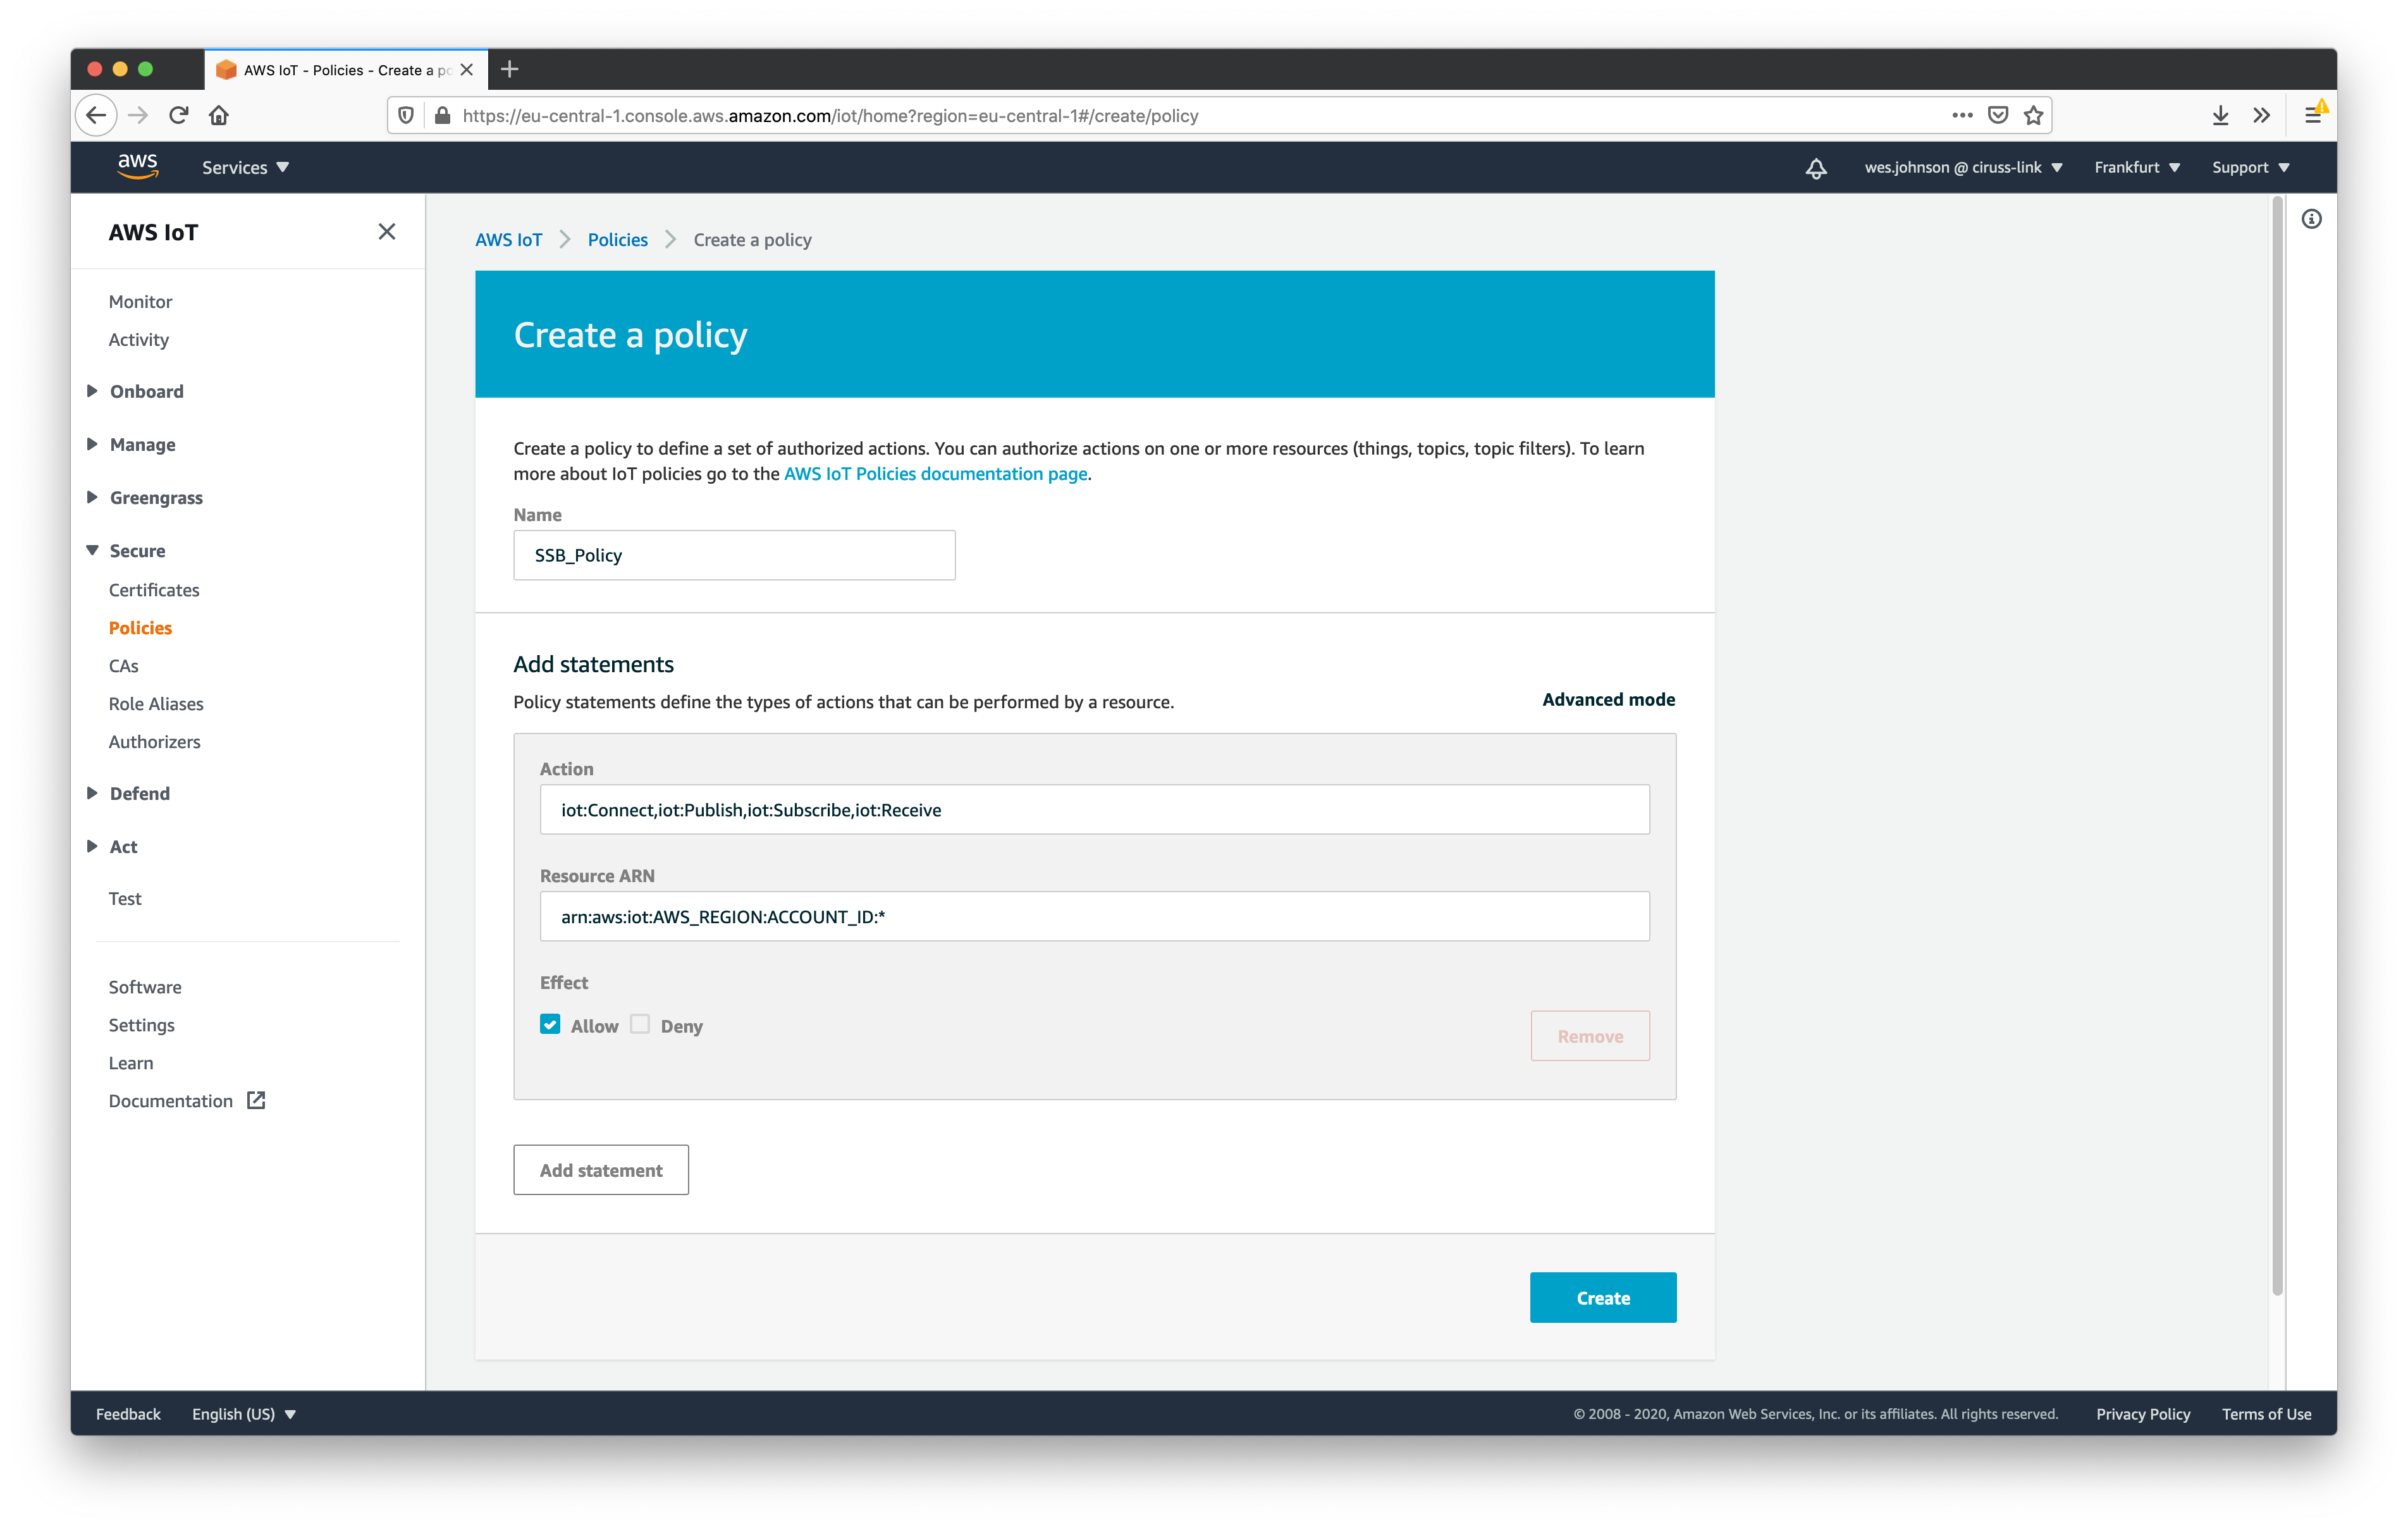
Set the following parameters for the policy.
Finally click 'Create' in the lower right. This will show the newly created policy.
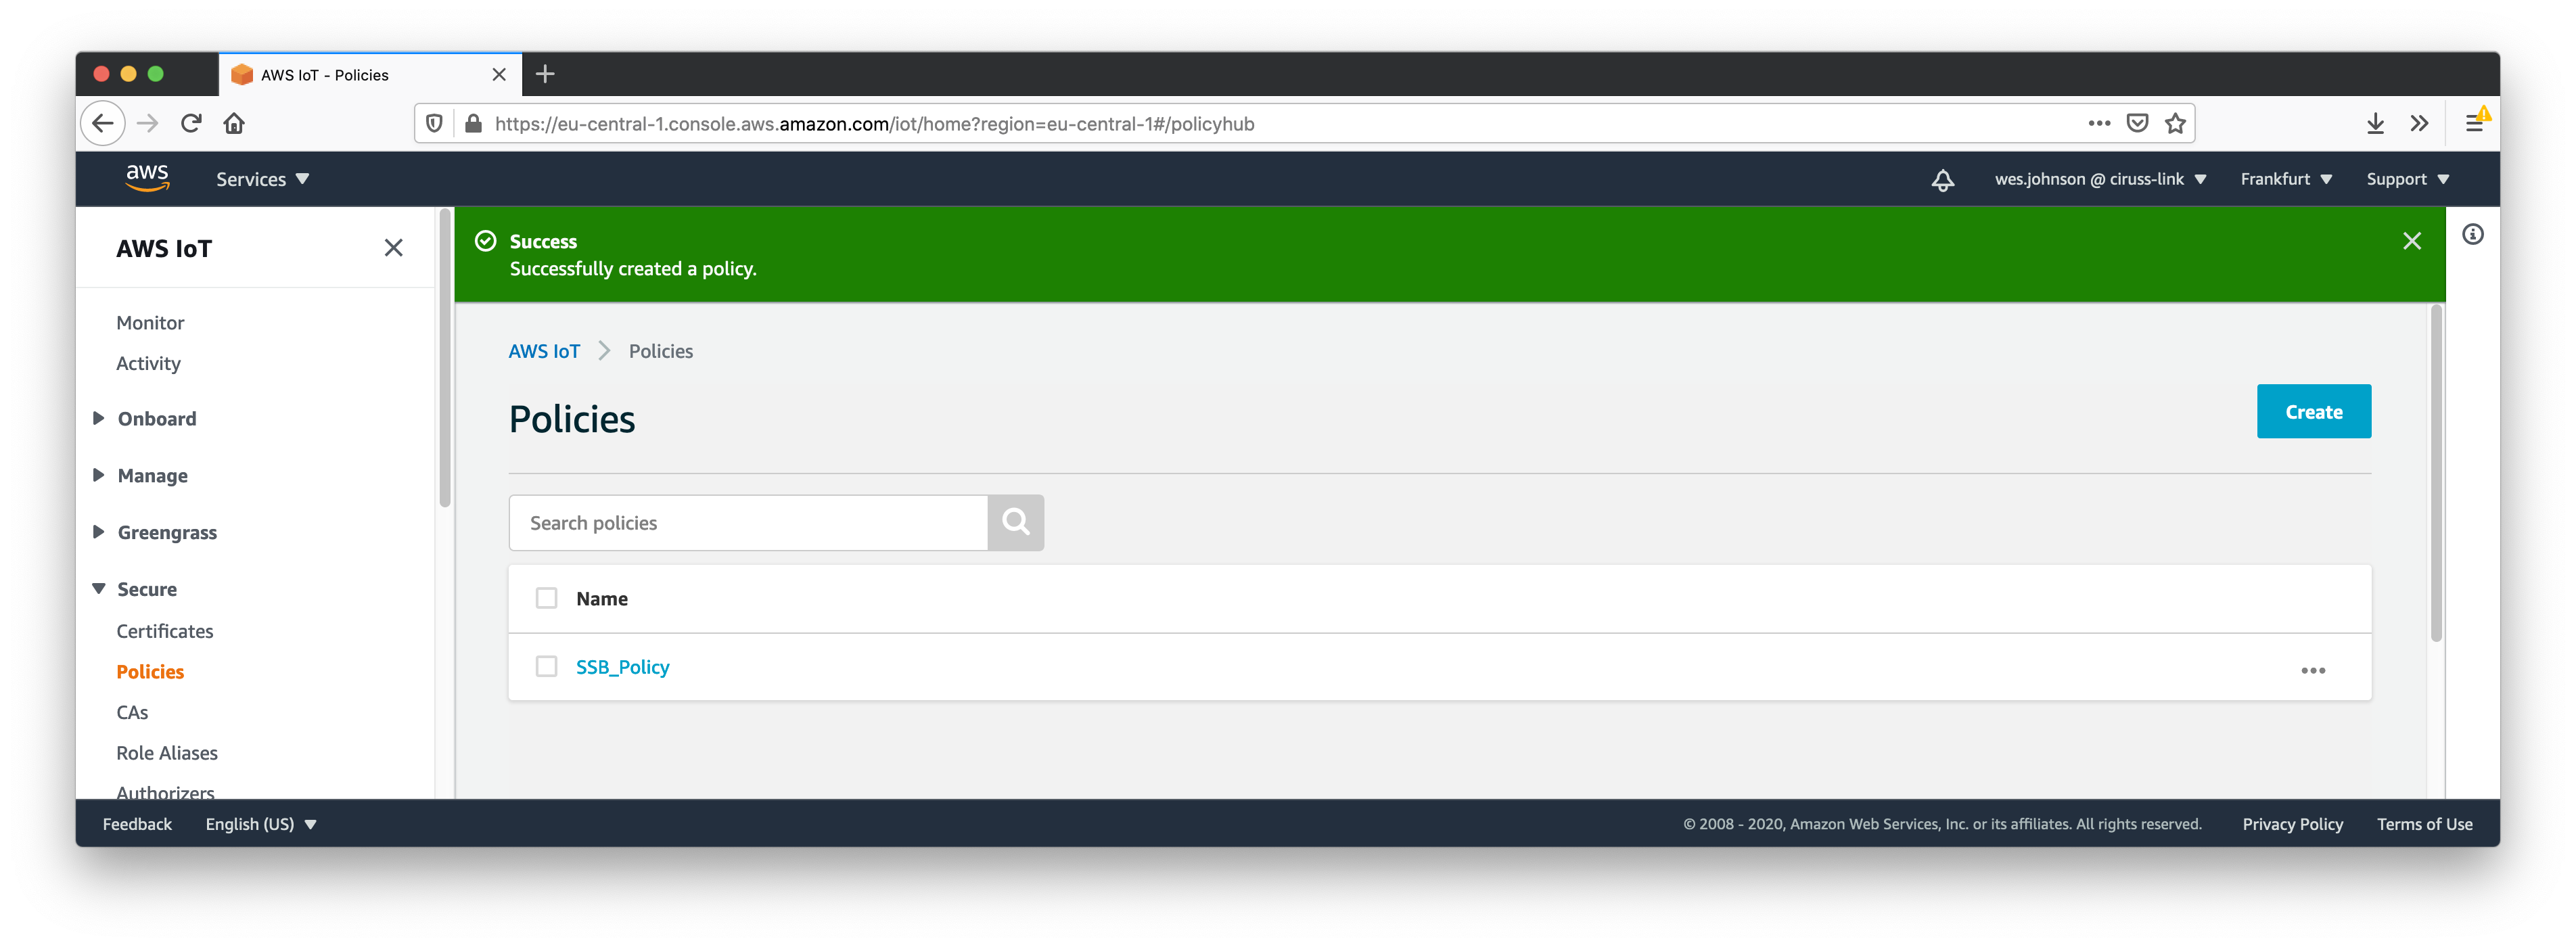
At this point a 'thing' can be created. We'll use the policy a bit later in the procedure. To create the thing, expand 'Manage' on the left navigation panel and click 'Things' as shown below.
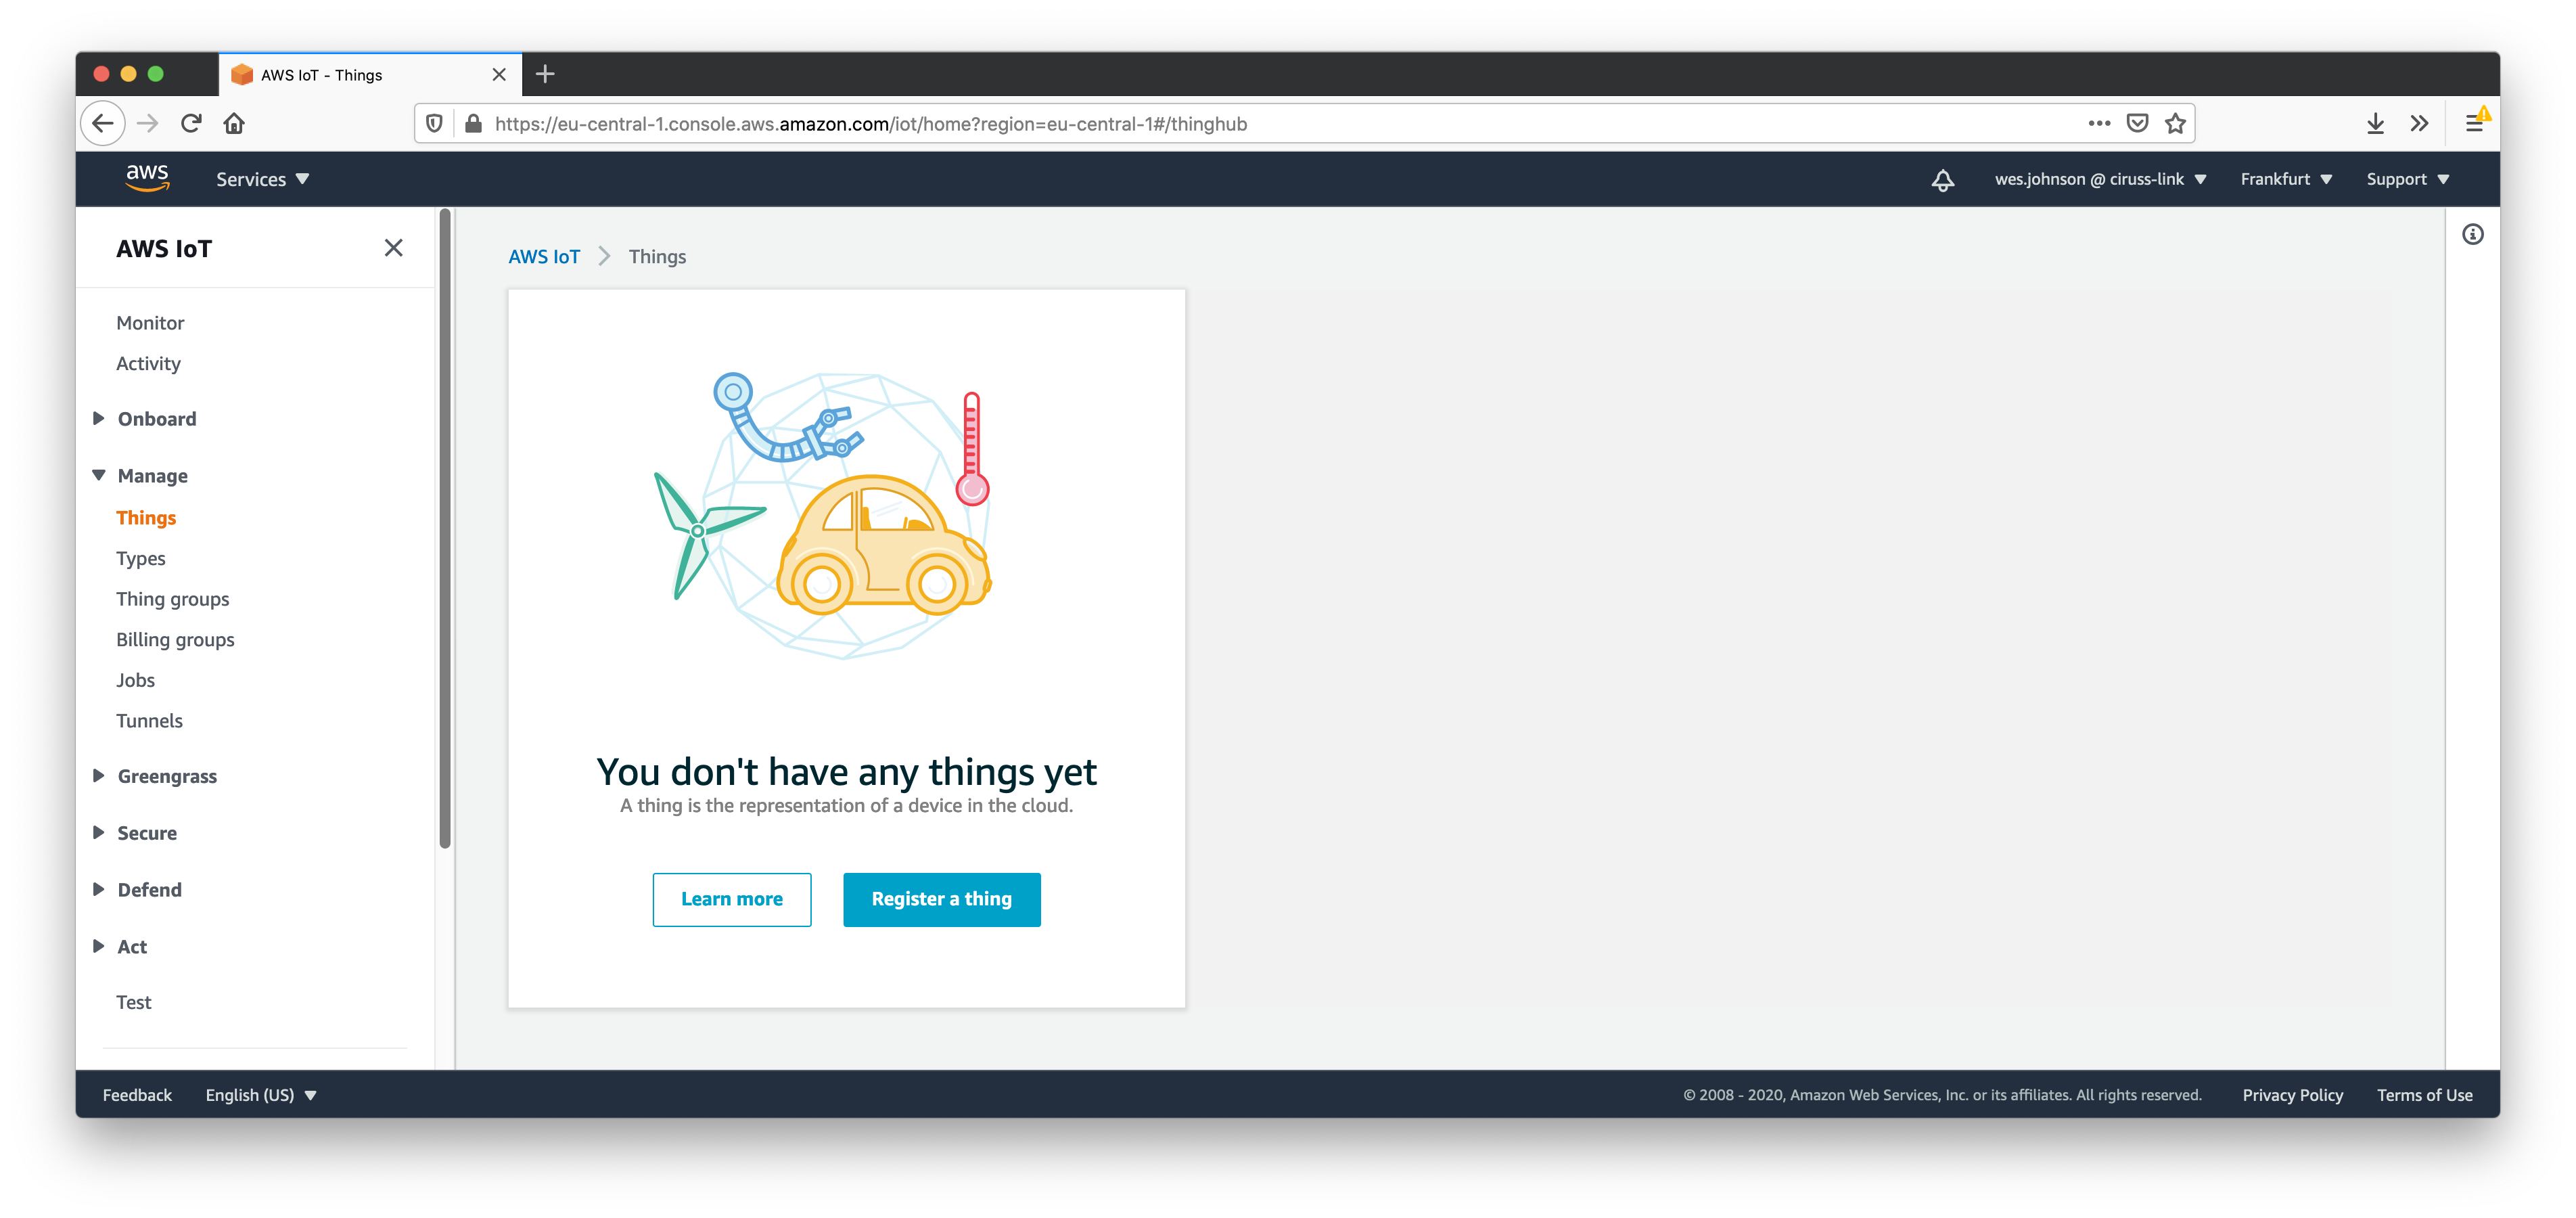
Click 'Register a thing'. This will bring up the page below.

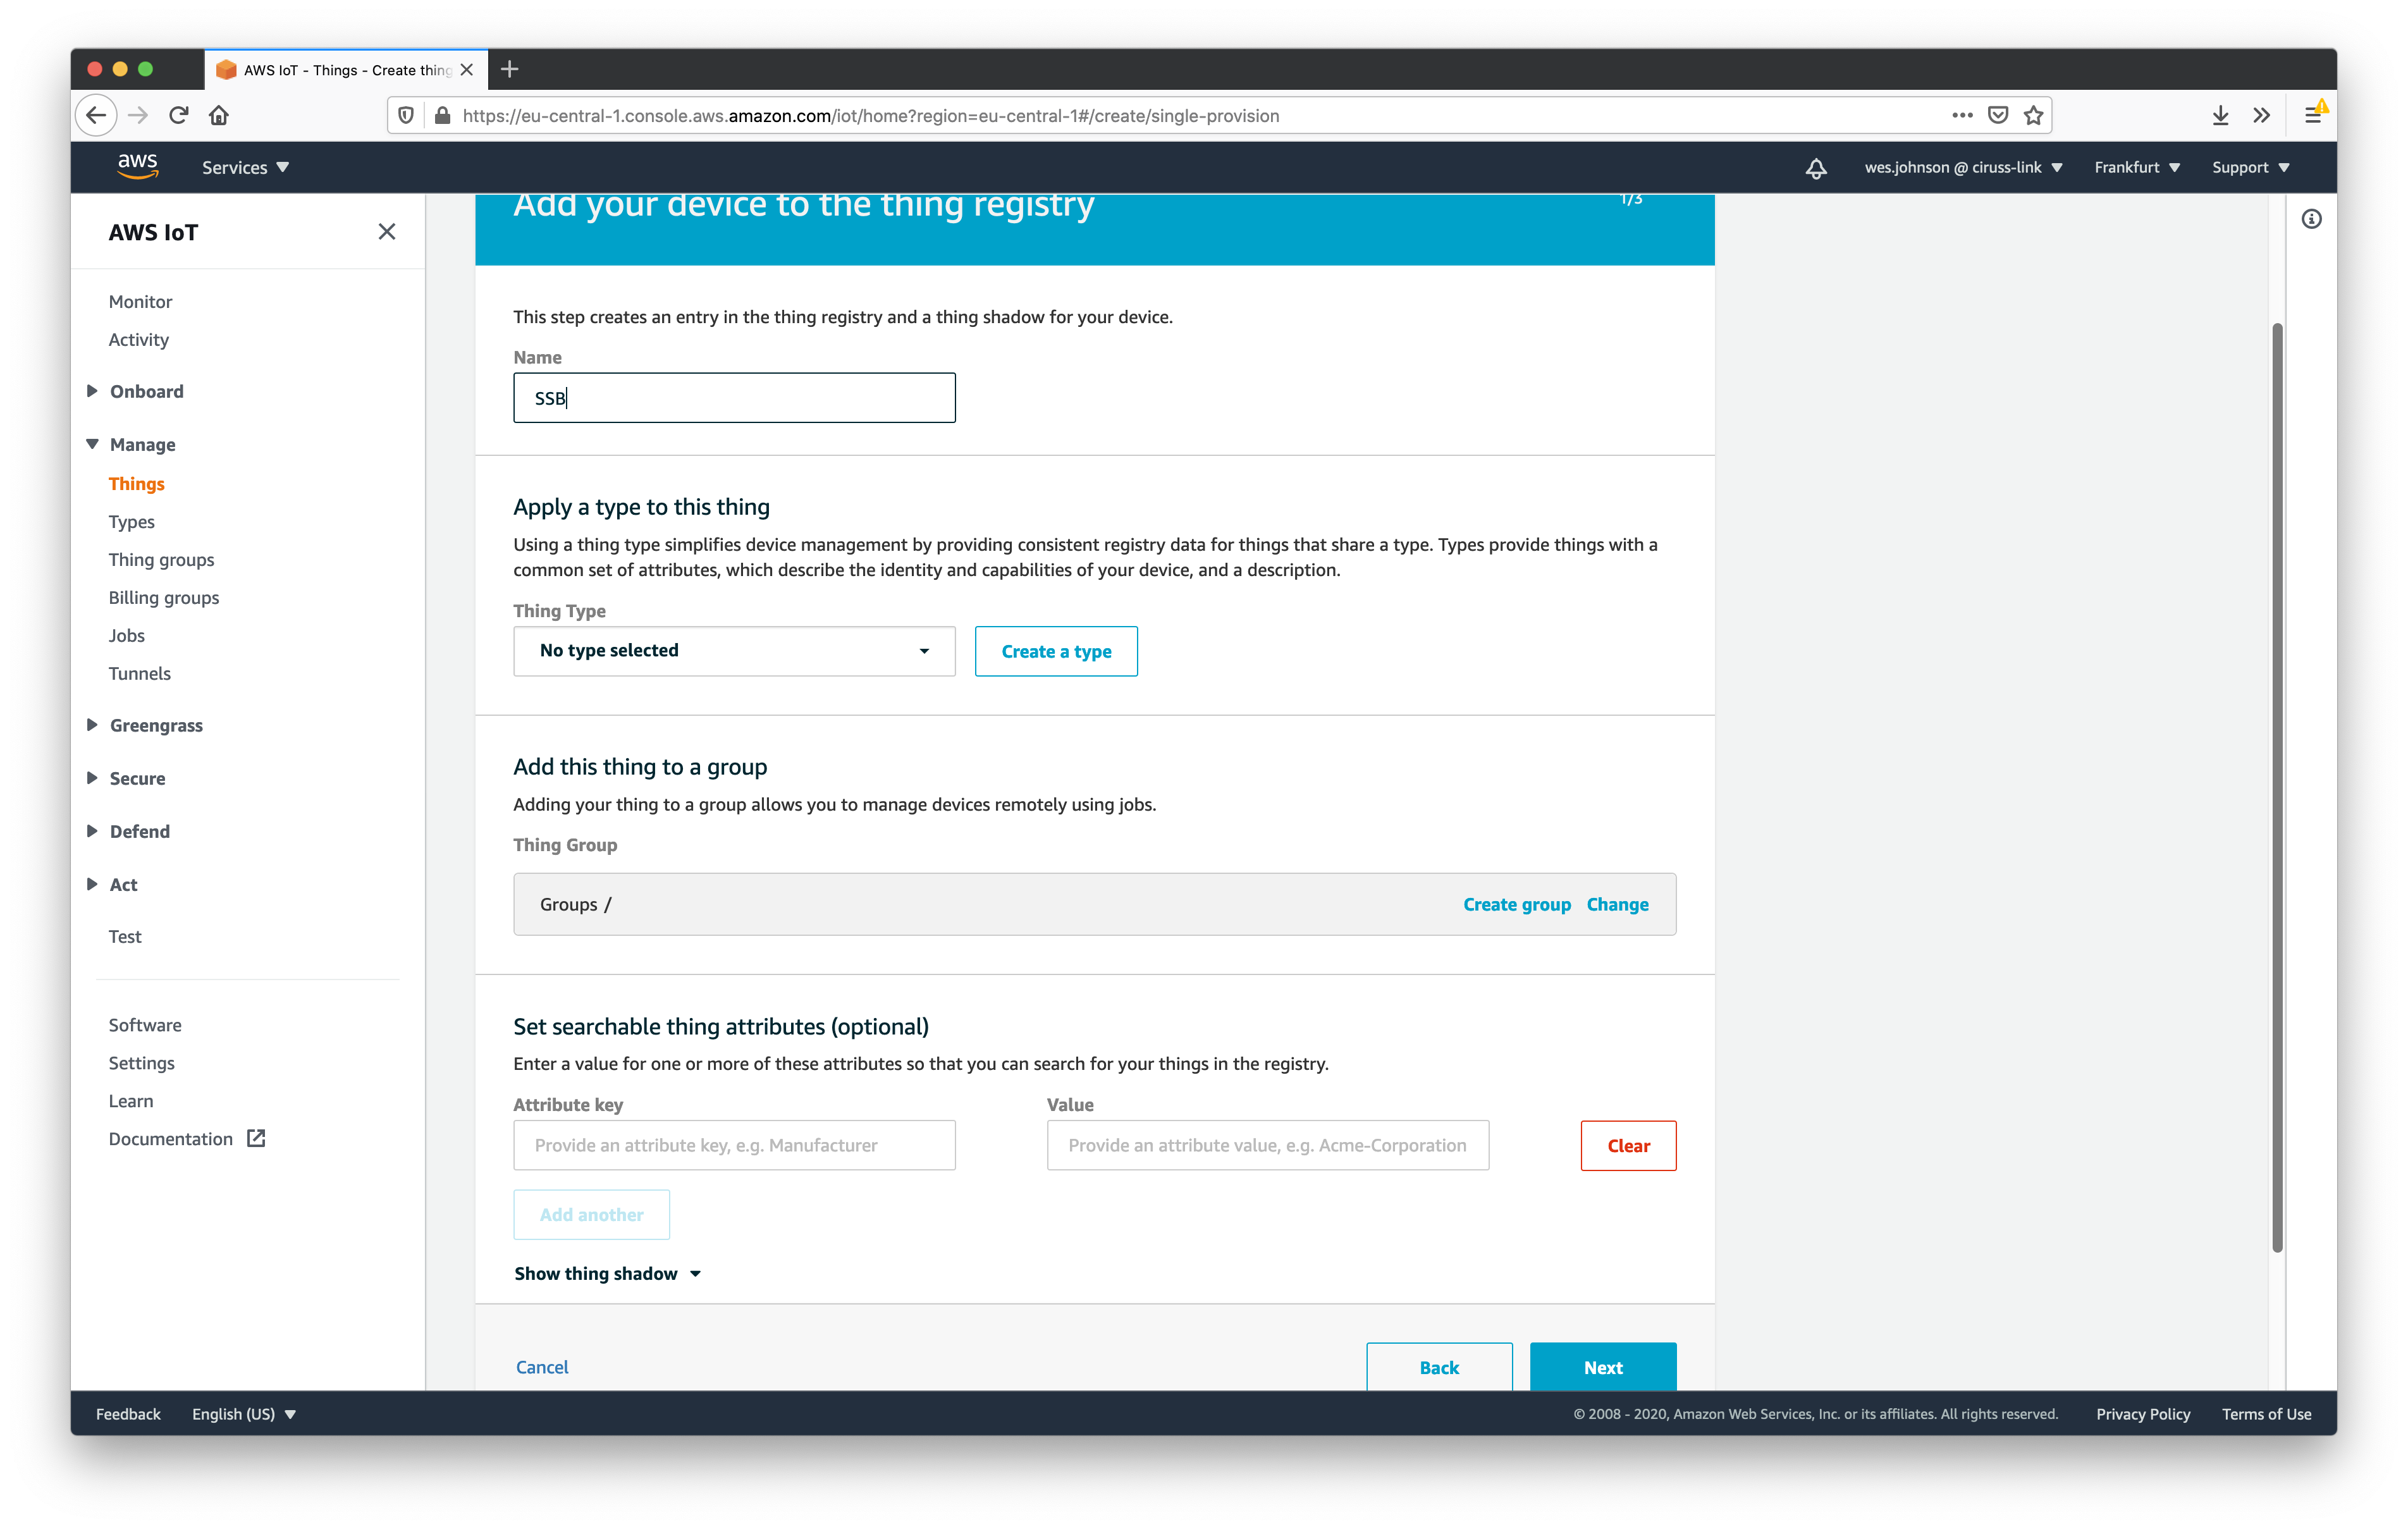
Now click 'Create a single thing'. This will open the following page. Give you thing a name (such as SSB) and then click 'Next'.
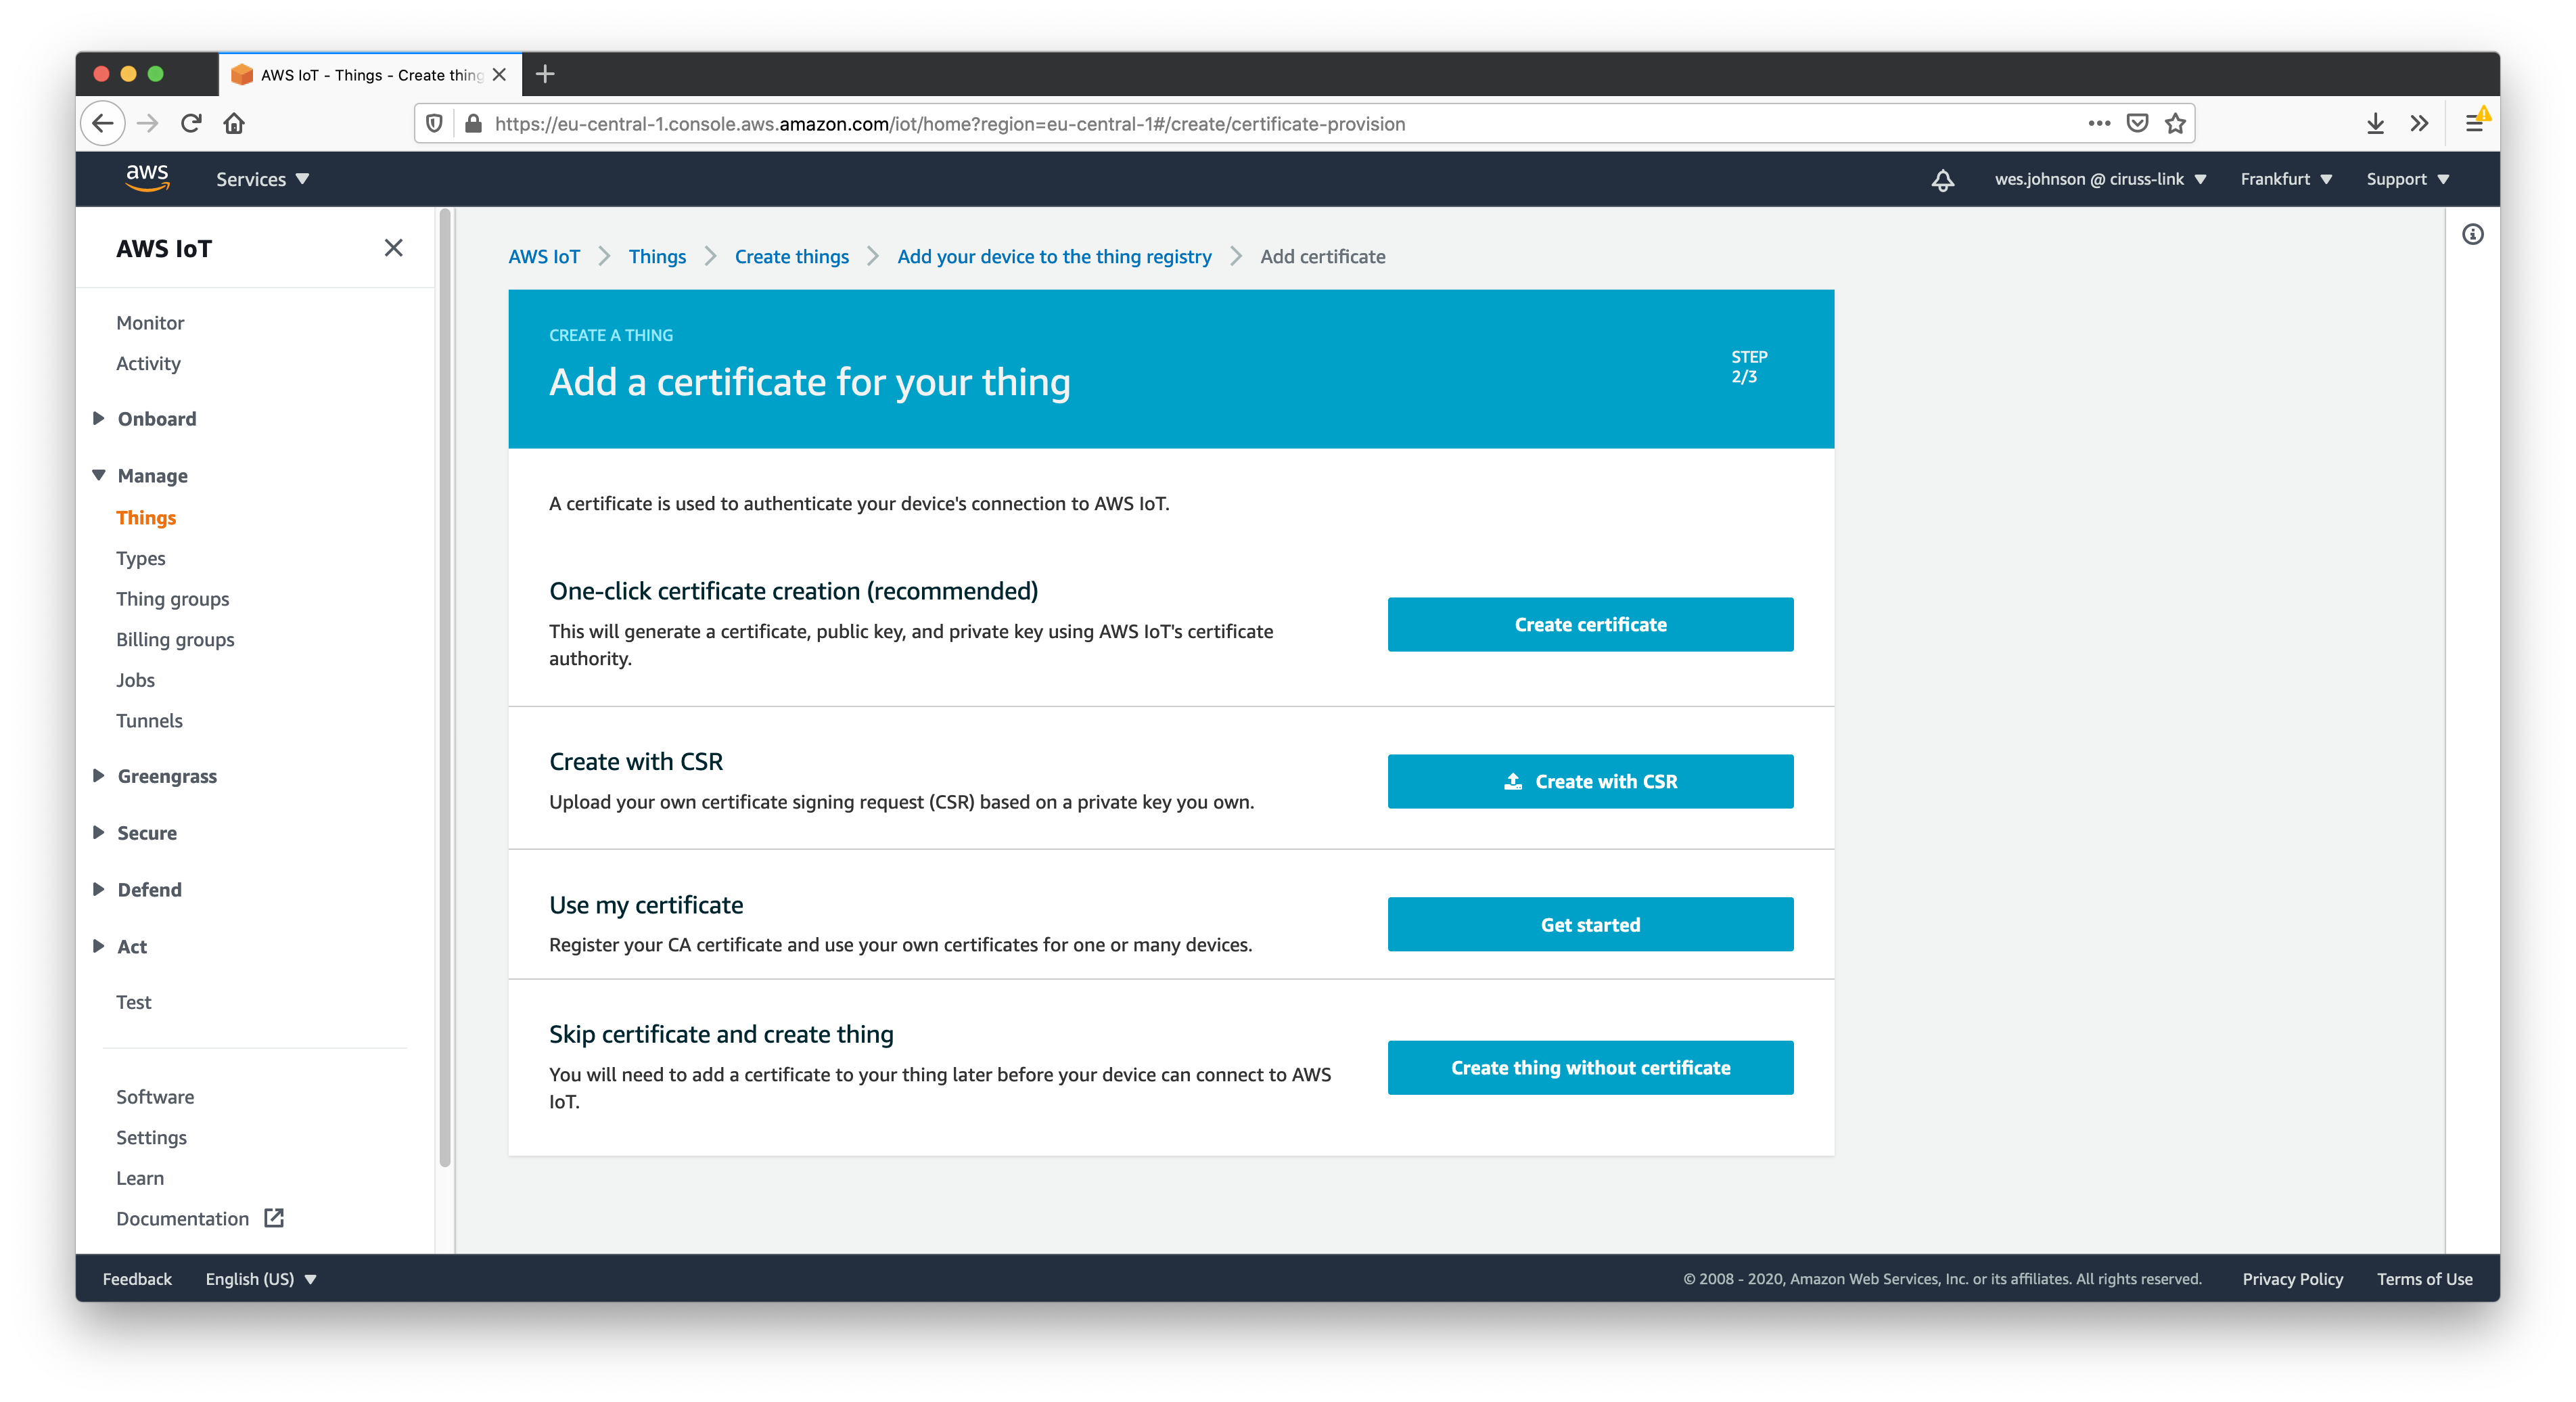
This will bring up the following page. Click the 'One-click certificate creation' option shown below.
This will bring up the page similar to what is shown below. At this point, you must download the UUID.cert.pem file and the UUID.private.key file. These will both be used in the SSB configuration to connect to AWS IoT later. These files will not be accessible later and must be downloaded now. In addition, there is a link to download the root CA for AWS IoT. Make sure to download this as well. The 'RSA 2048 bit key: Amazon Root CA 1' is the preferred root certificate to download.
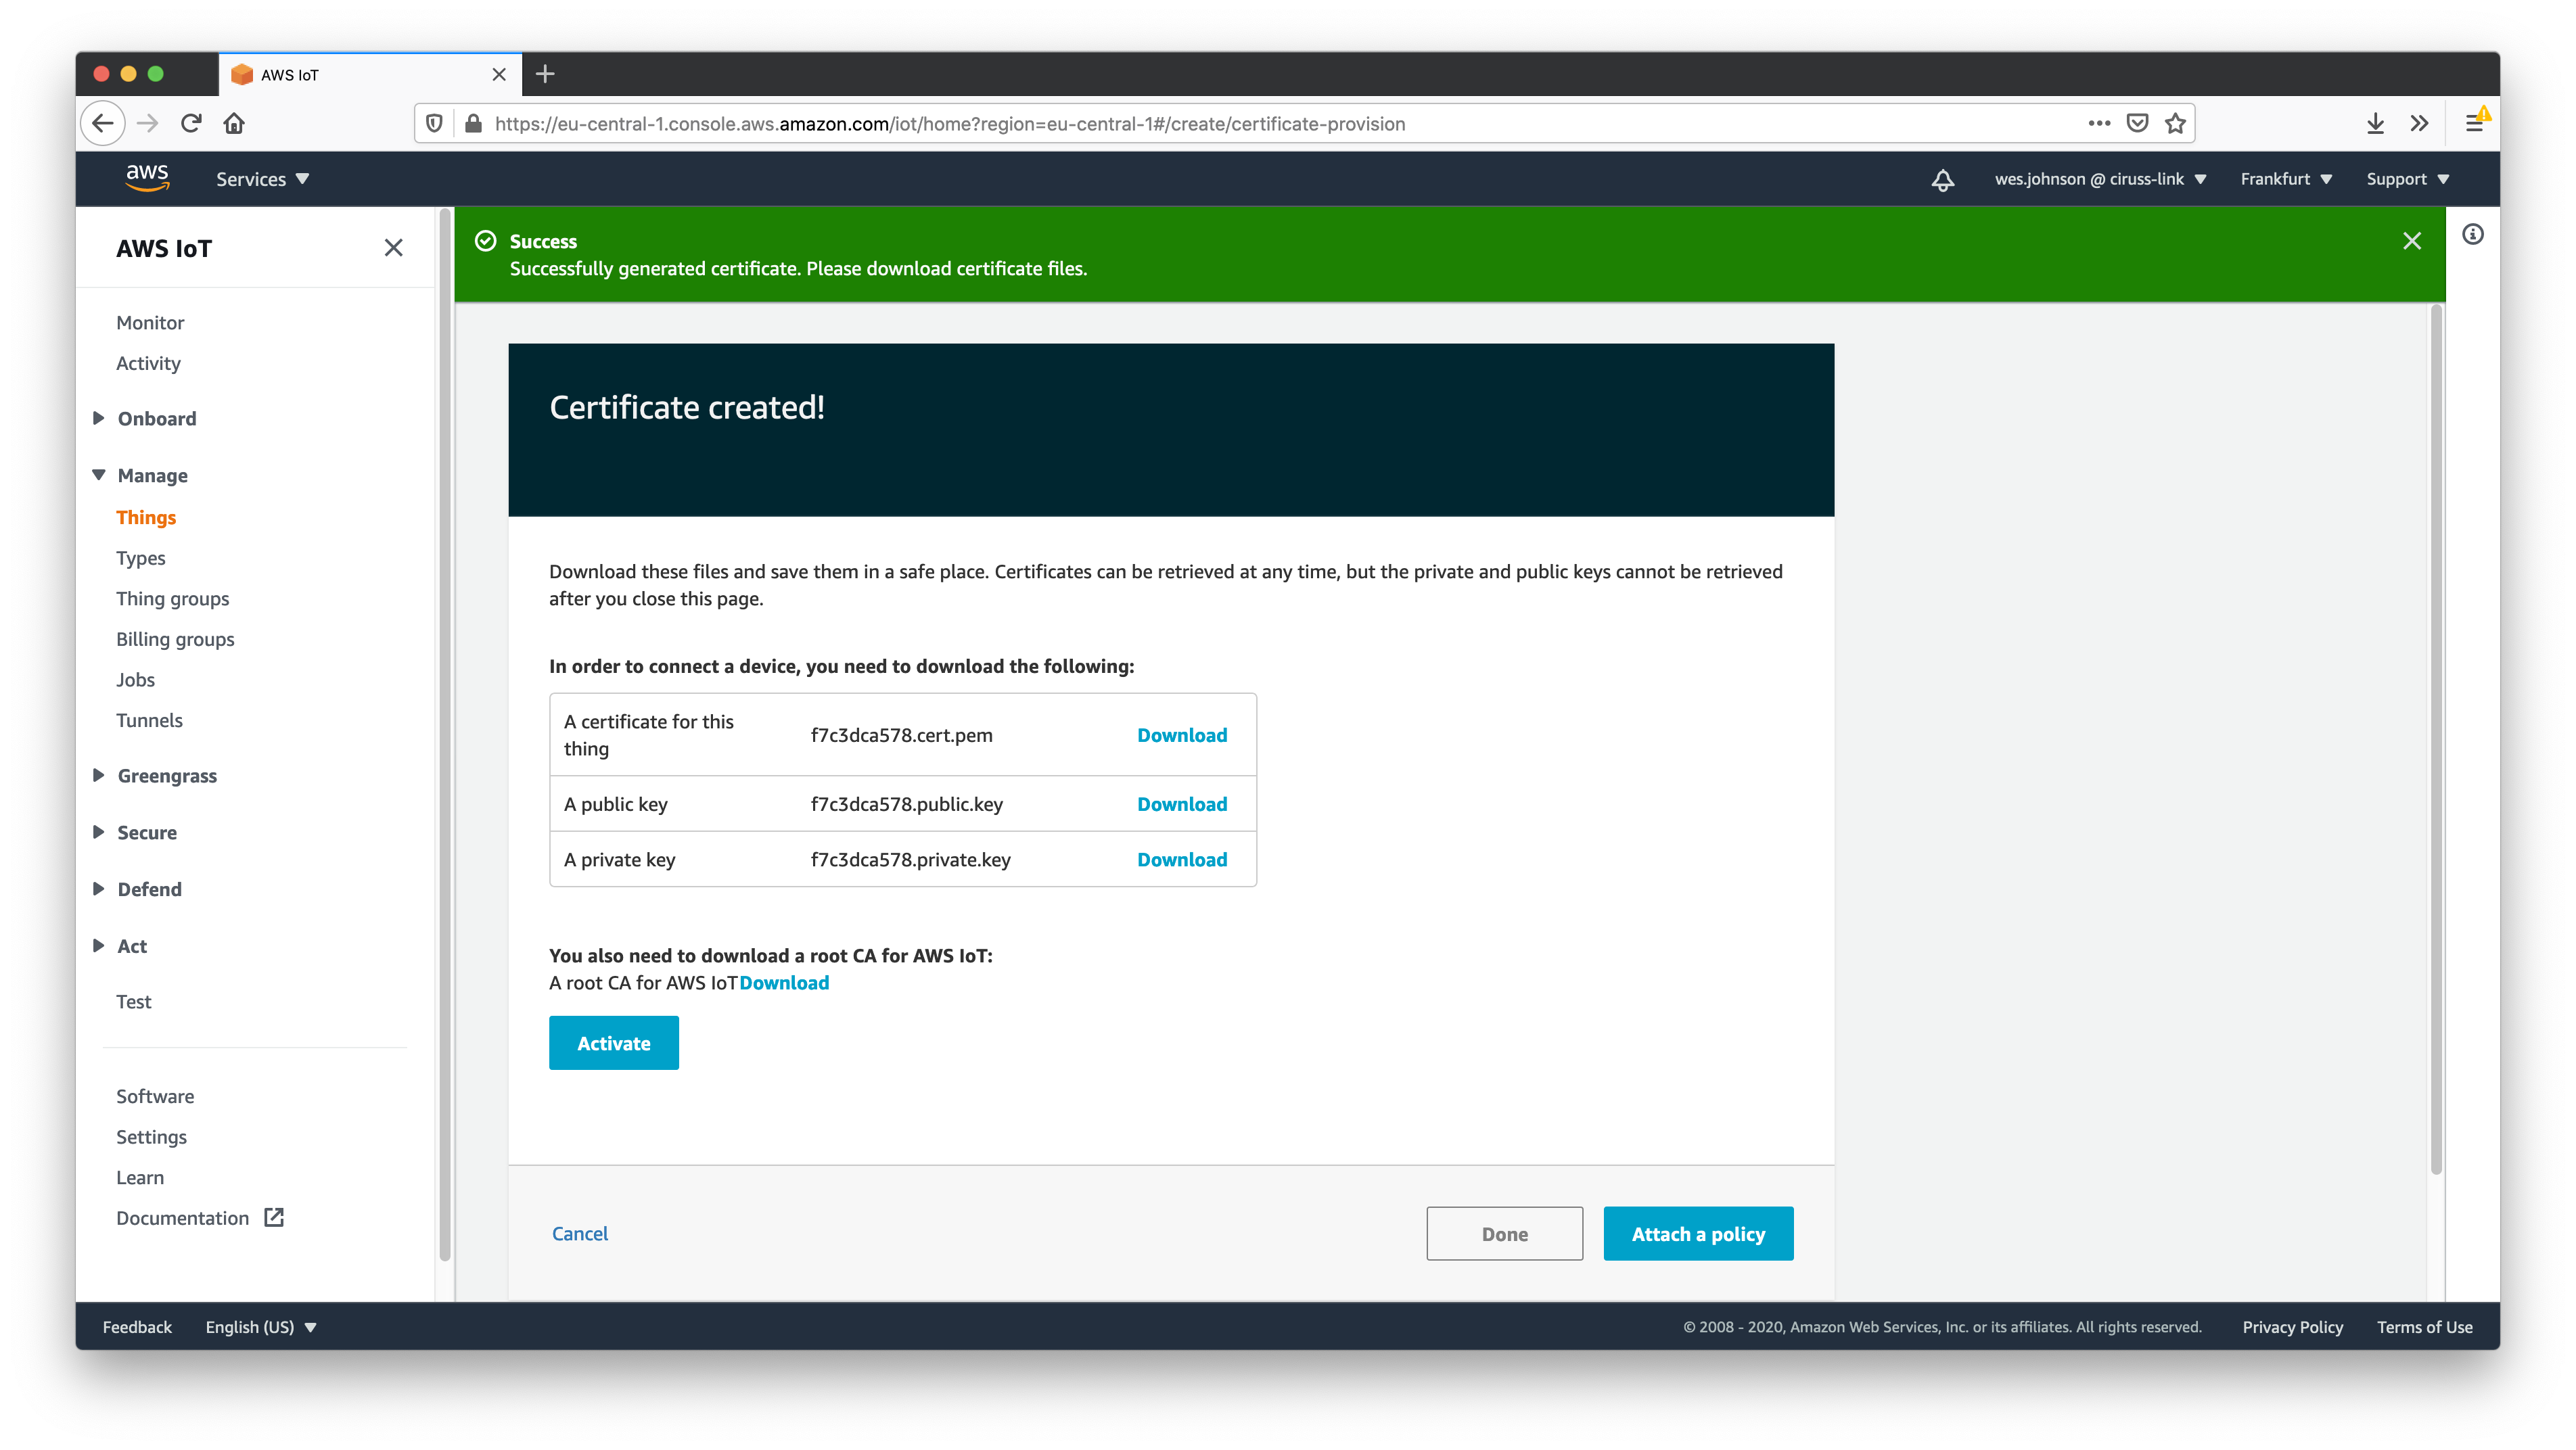
At this point you should have three files where 'UUID' will be some UUID specific to your thing. Do not proceed until you have all three files.
Once you have these, click the 'Activate' button. Then, click the 'Attach a policy' button. This will bring up the following page.
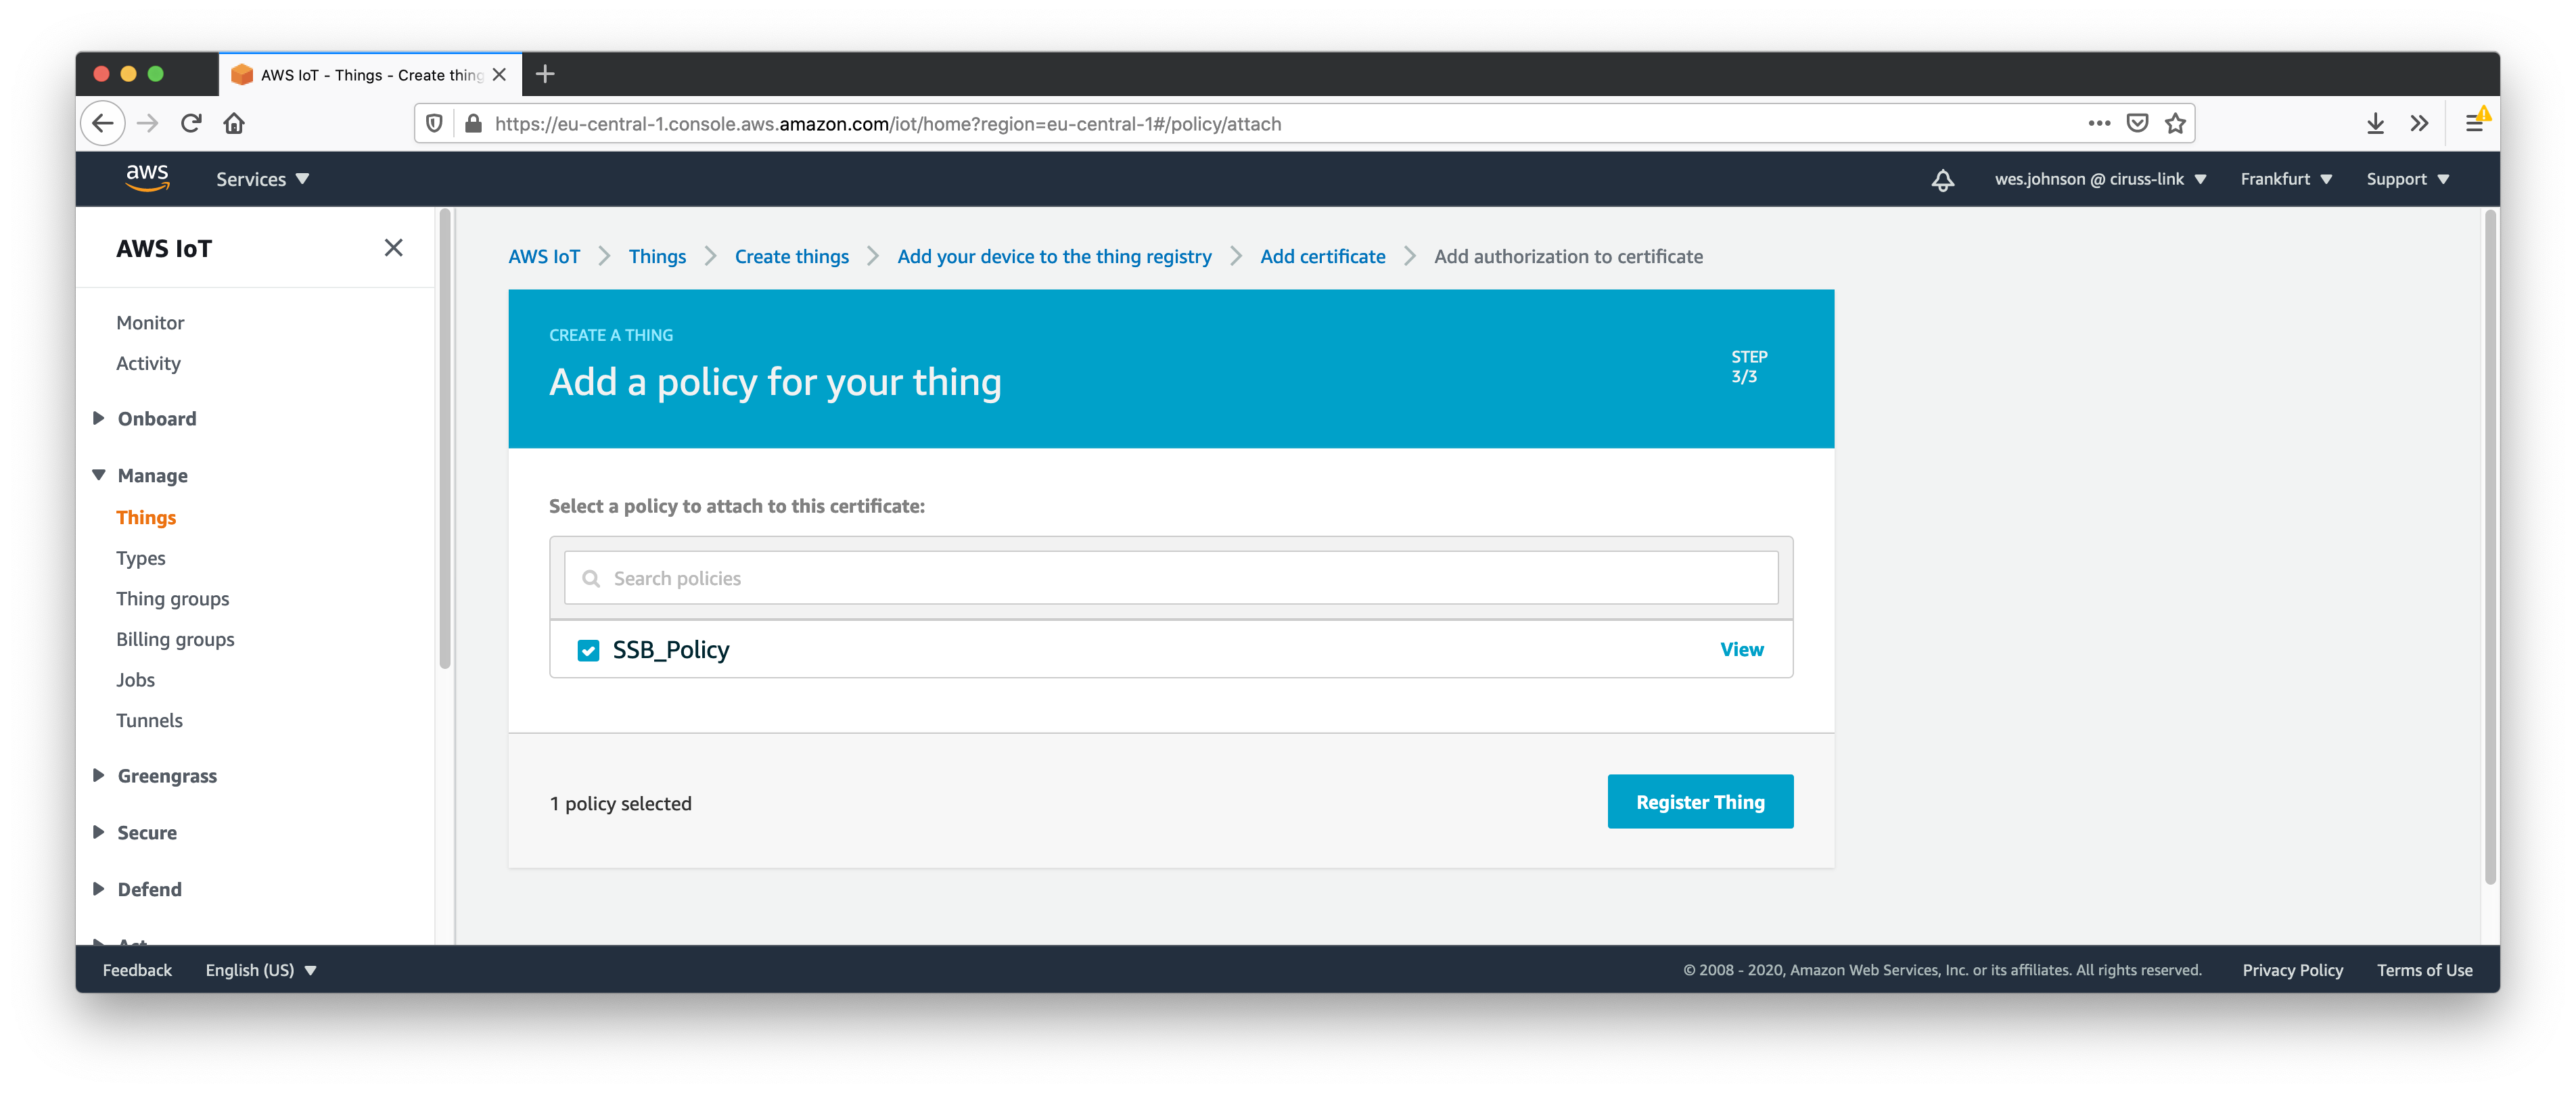
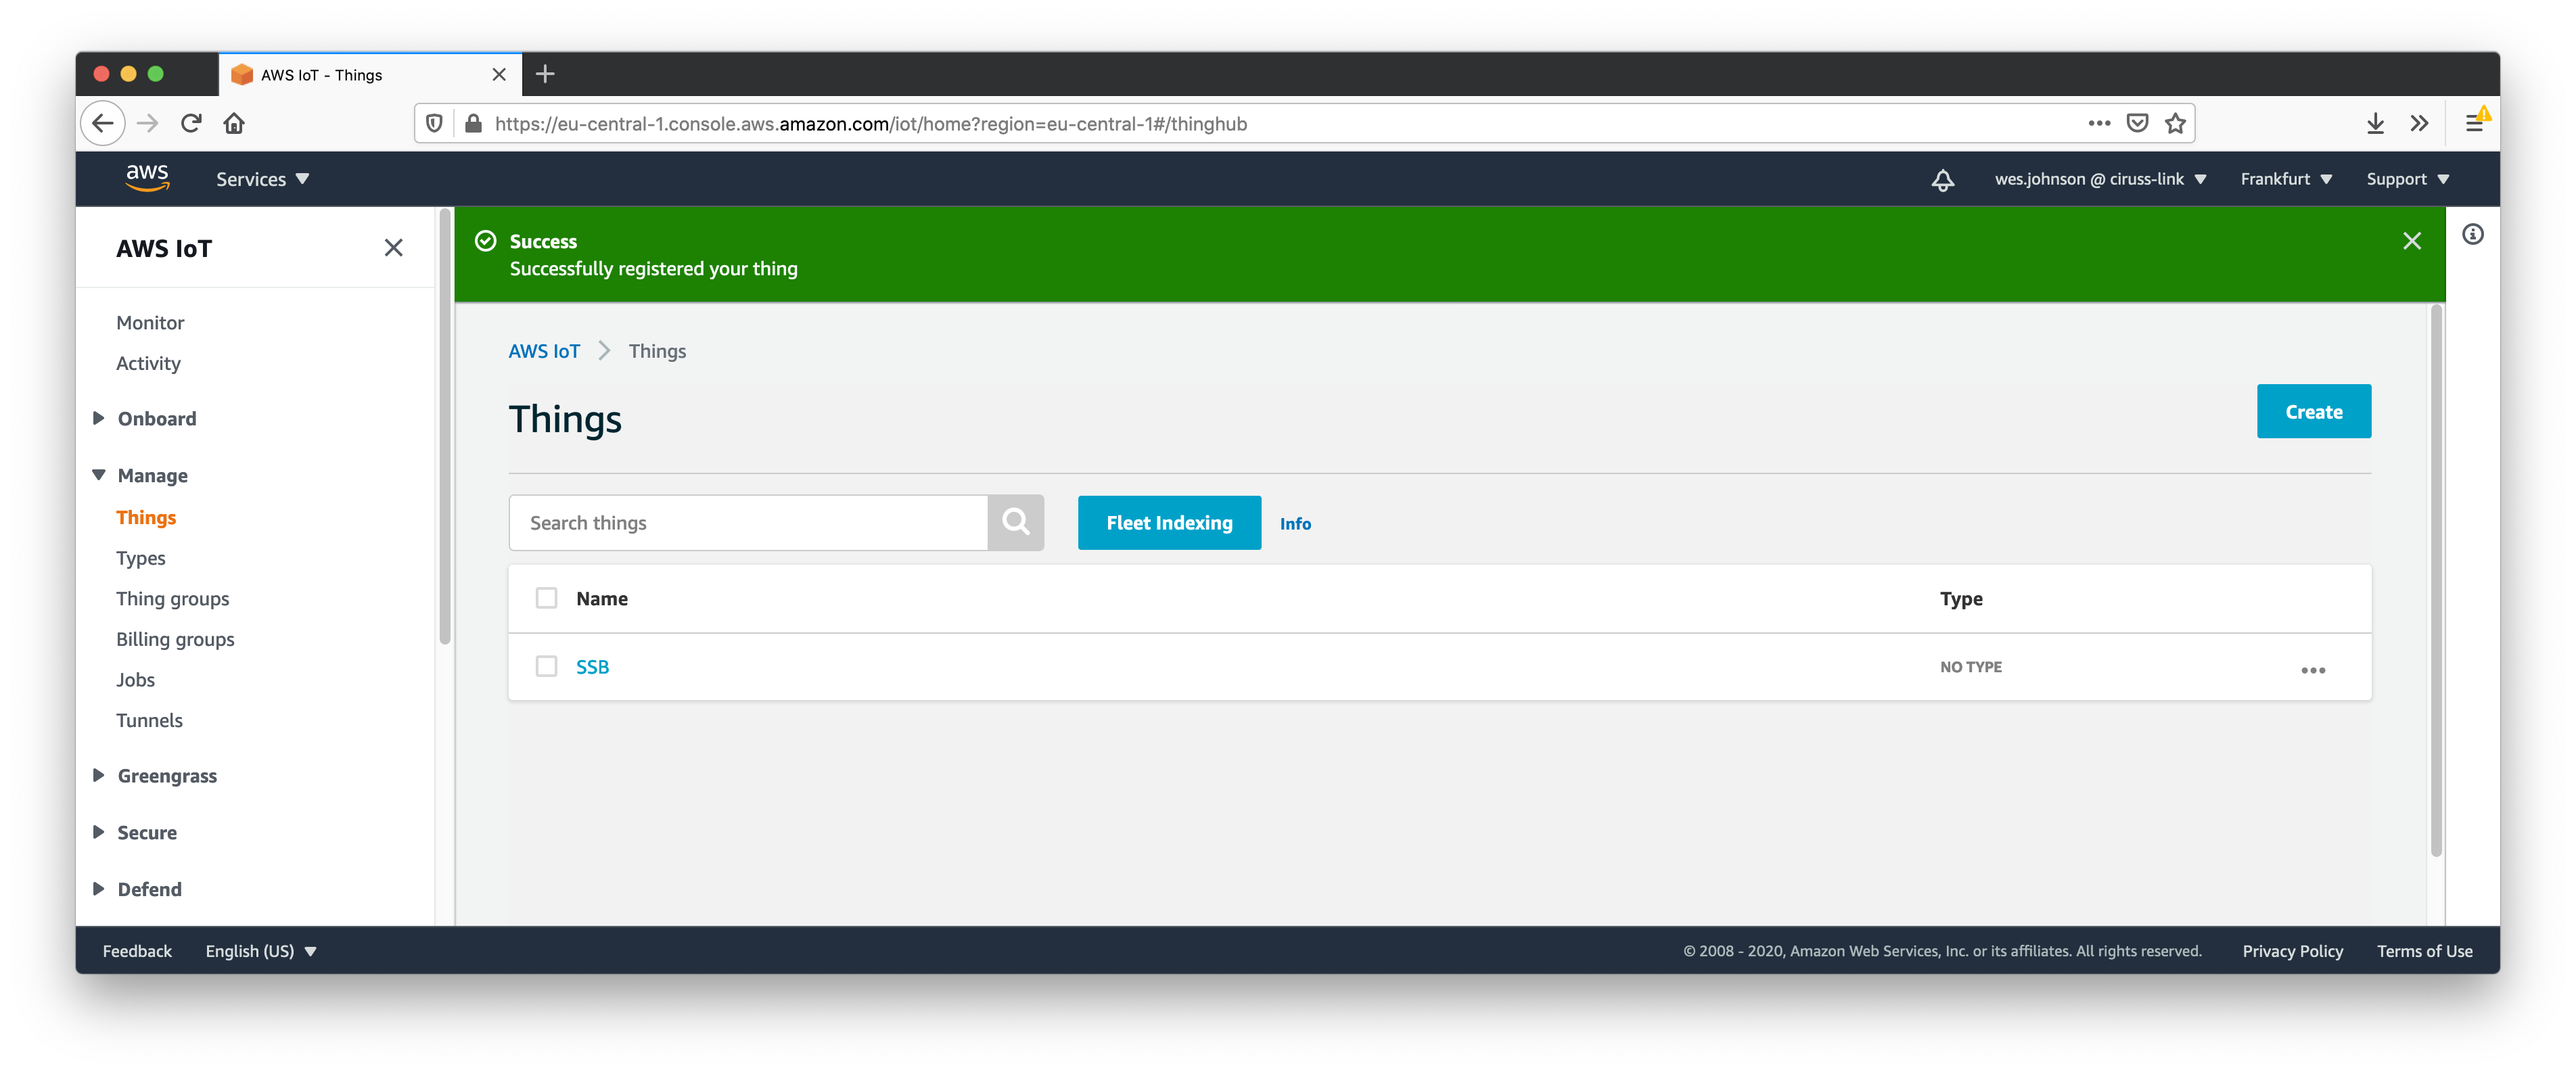
Now select the 'SSB_Policy' and finally click 'Register Thing'. At this point, you should see your newly provisioned 'thing' as shown below.
Now we need to get the AWS IoT Core Endpoint. Do so by selecting 'Settings' from the left navigation panel as shown below.
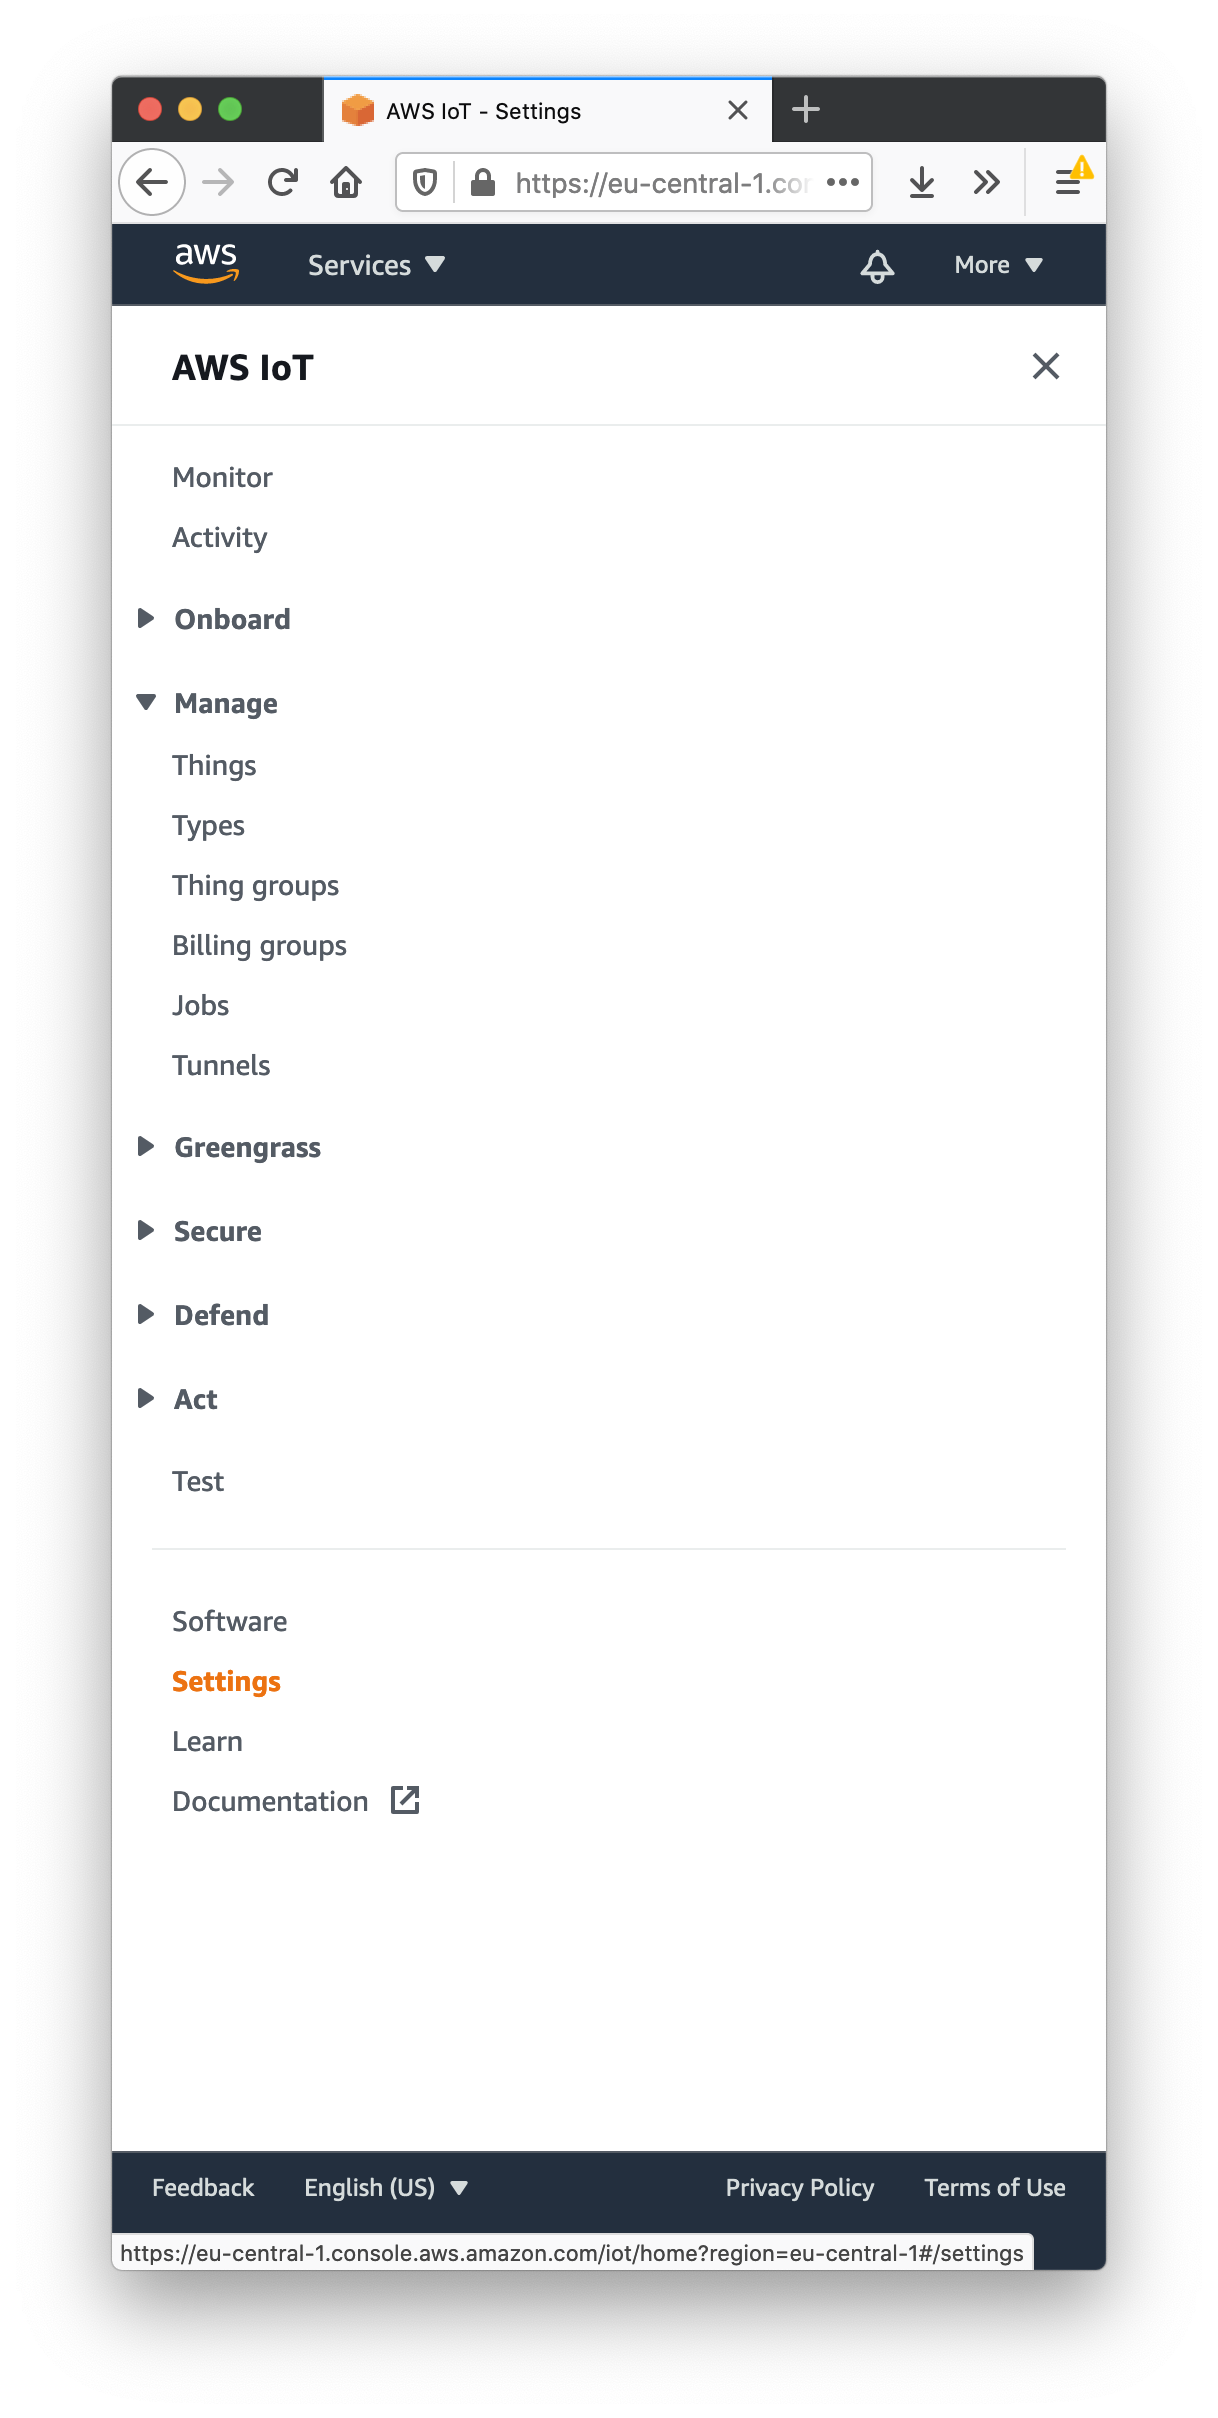
When selected, your AWS IoT Endpoint will be displayed. Note it for future use when configuring SSB.
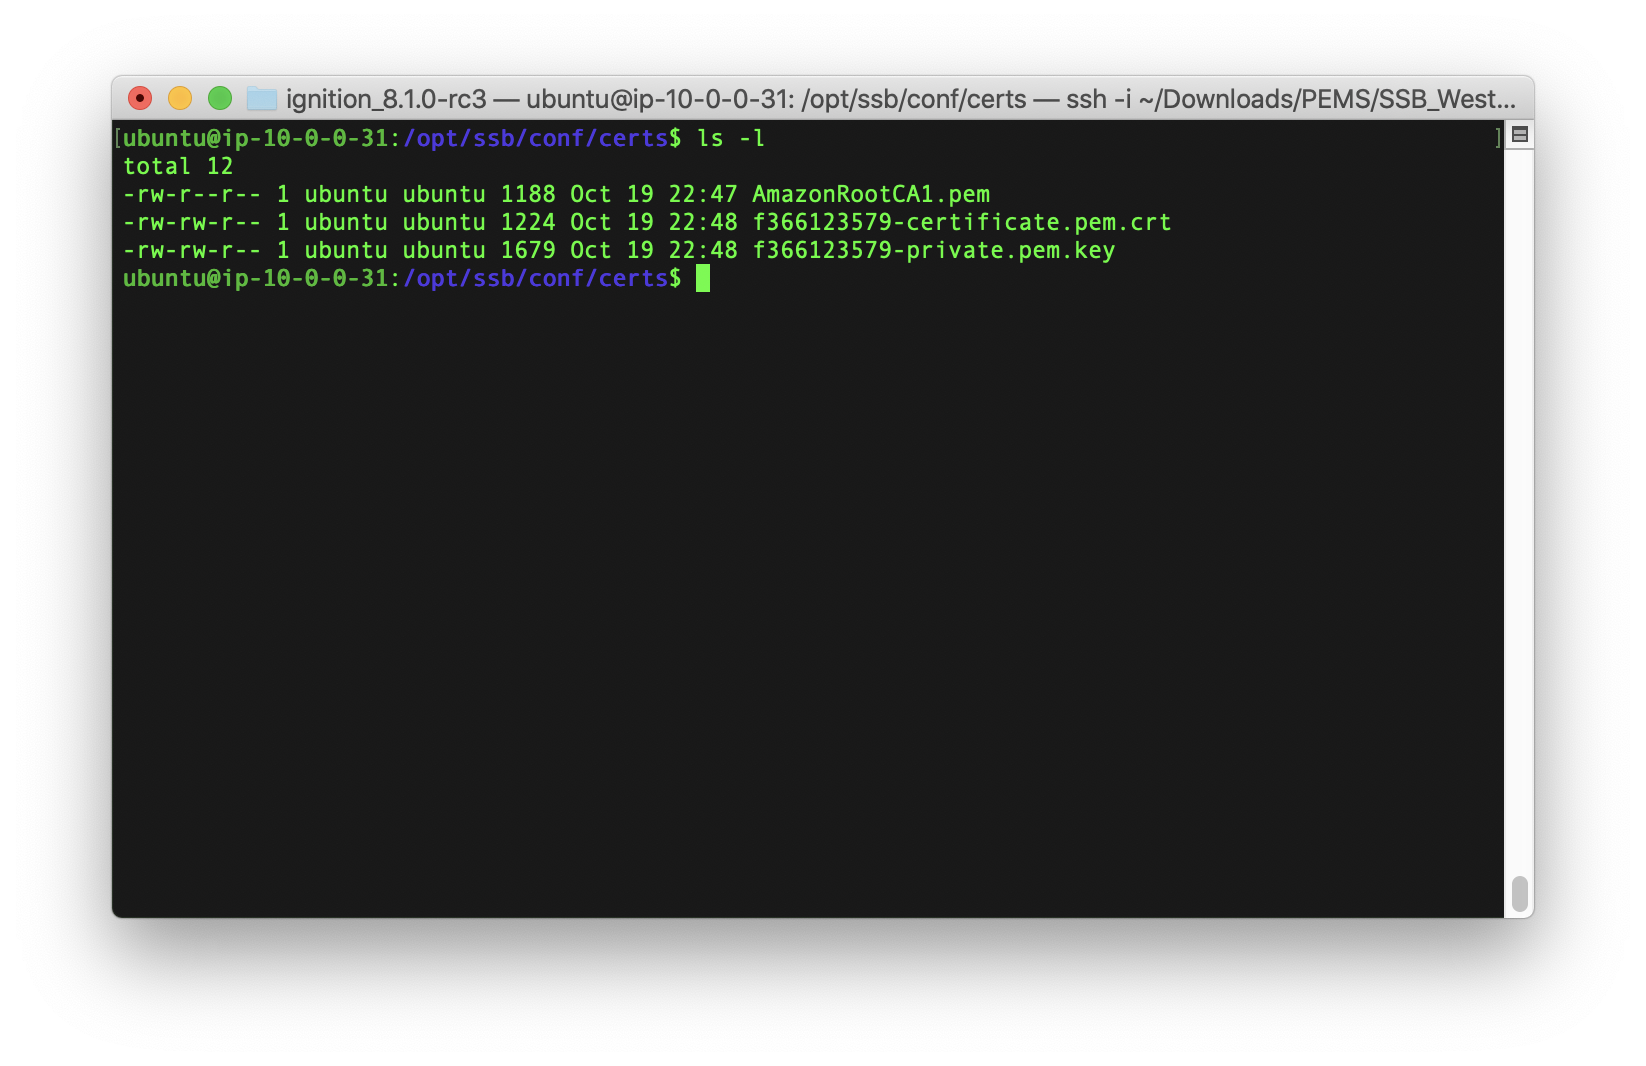
With AWS IoT now properly provisioned and SSB installed, SSB must be configured. To configure it, you must be able to access it via SSH. Ensure you can access it via the Access Instructions here. Once you can access it, you must copy the three certificate files you captured when provisioning the AWS IoT Core thing. Again, these files are:
On the target EC2 instance, run the following command to create a directory to hold the certificates.
mkdir /opt/ssb/conf/certs
Now copy the three files to the /opt/ssb/conf/certs directory. When done, it should look similar to what is shown below.
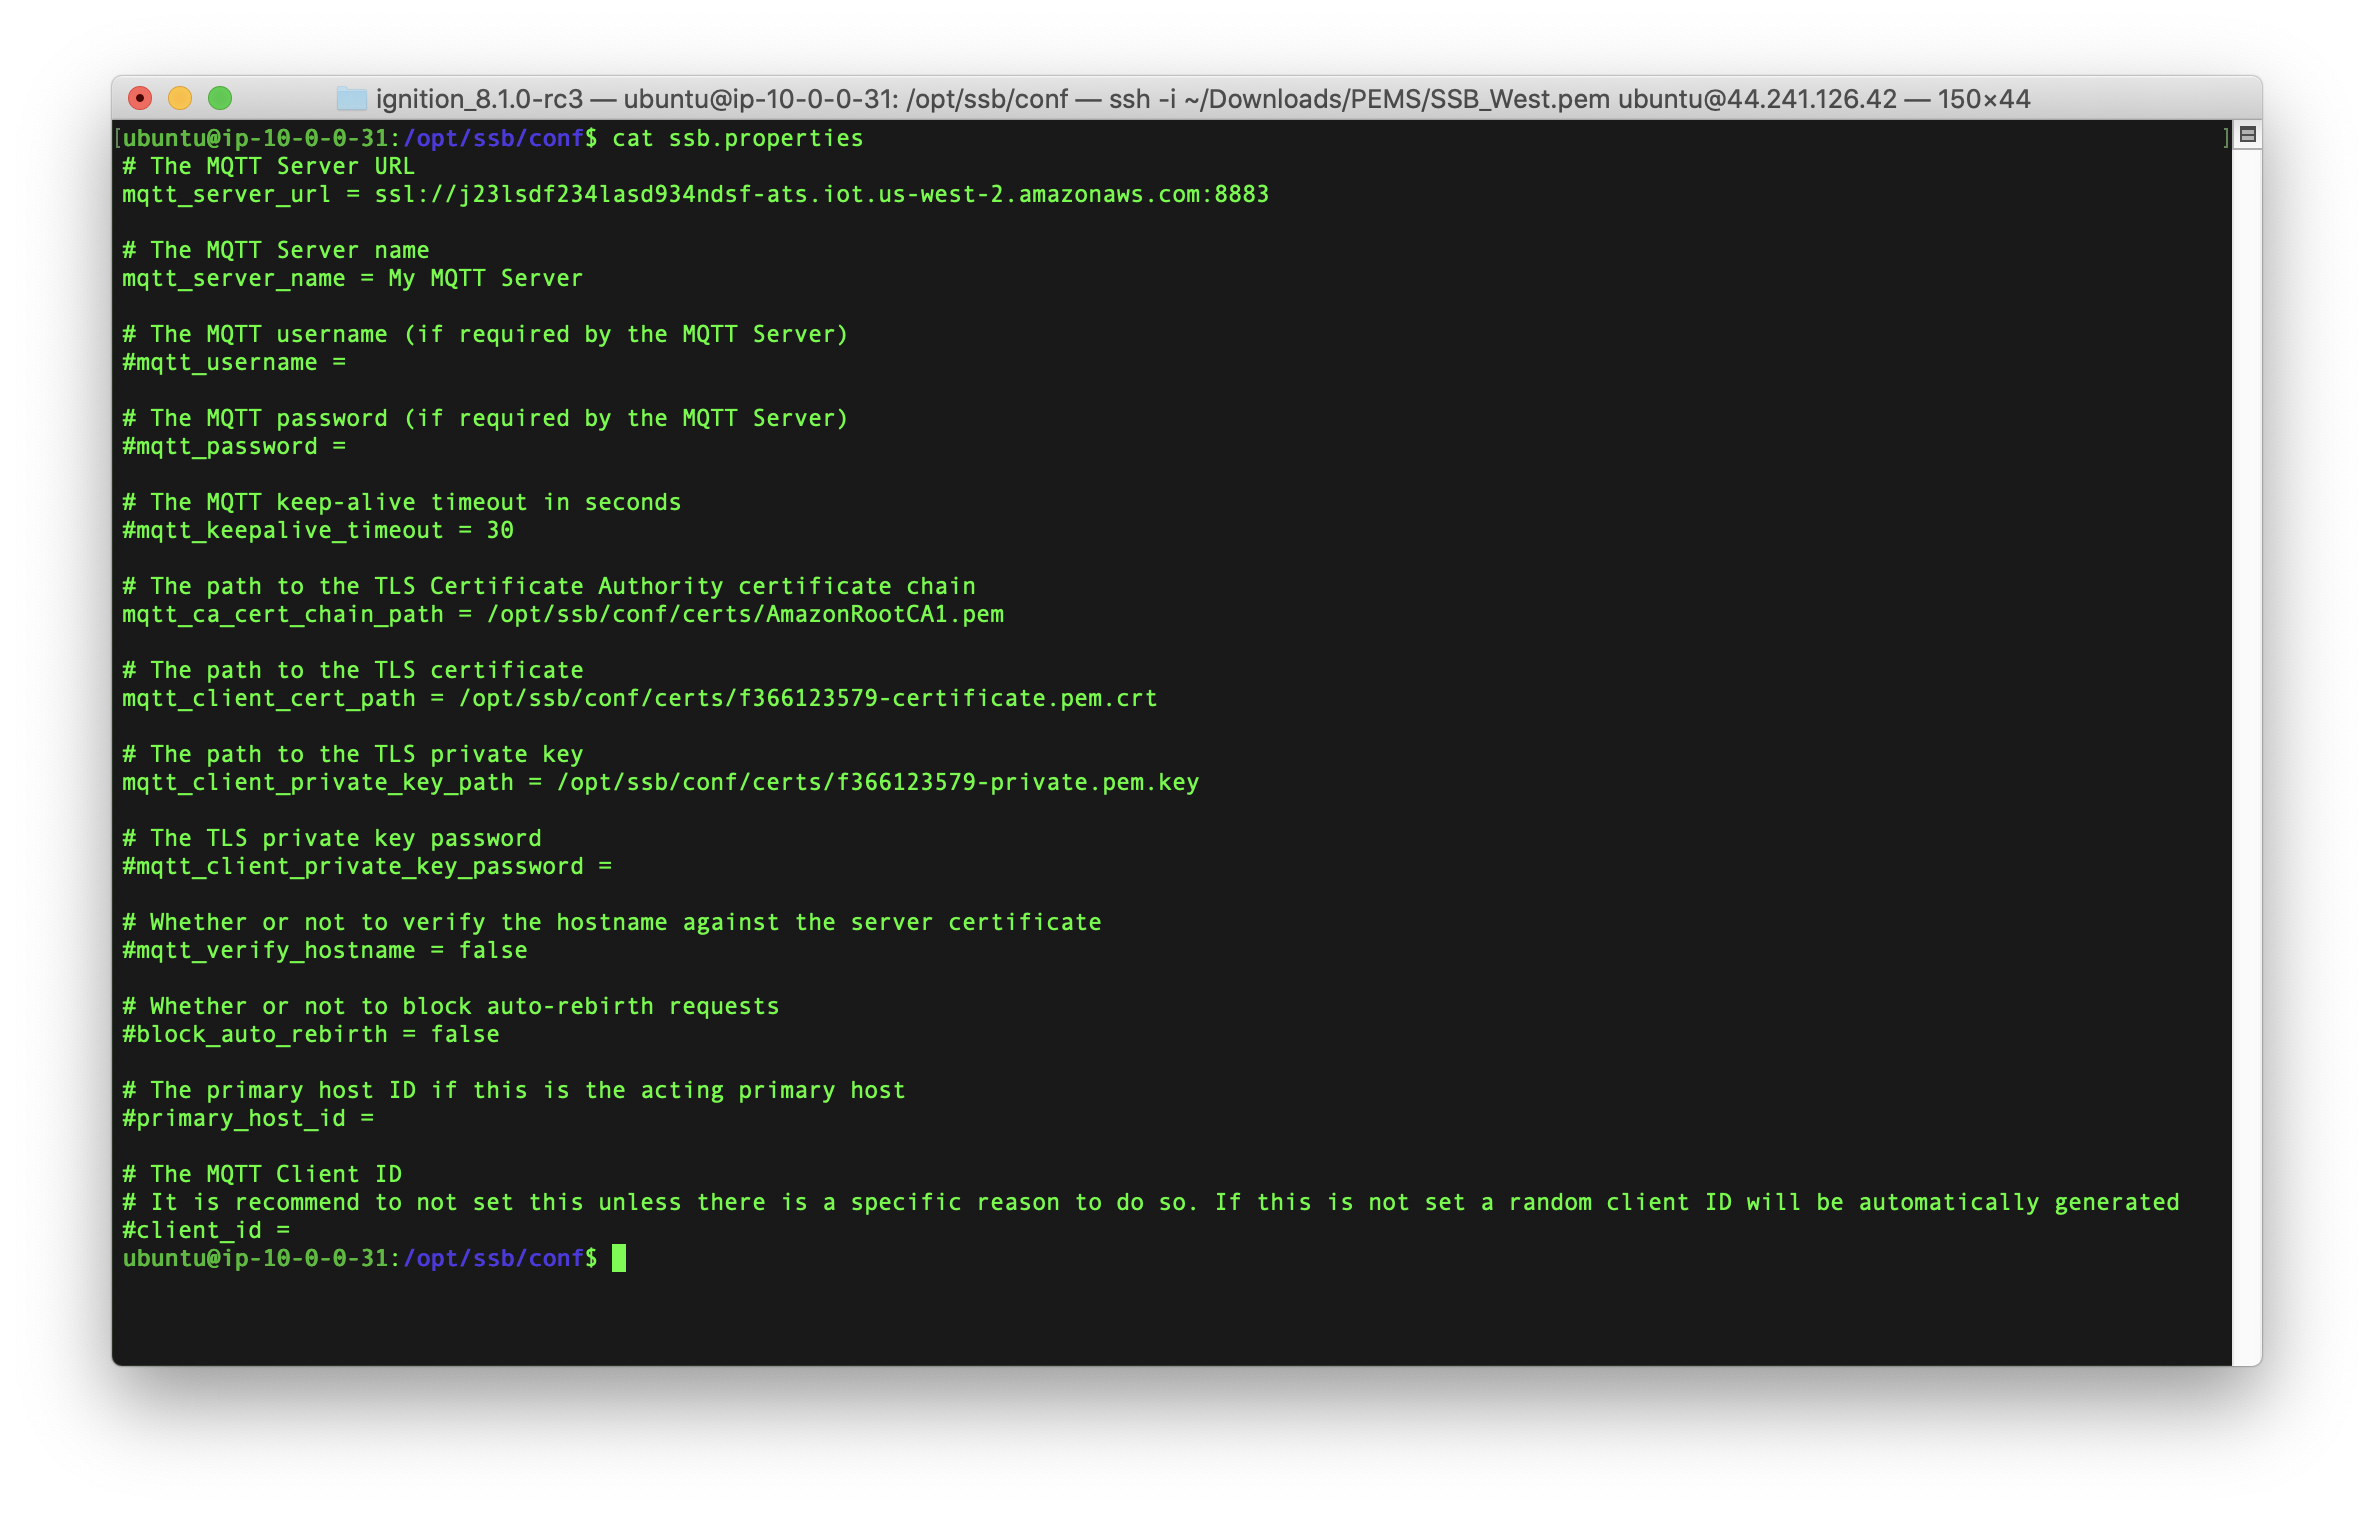
Now, modify the file /opt/ssb/conf/ssb.properties file. Set the following:
When complete, it should look similar to what is shown below.
TBD