![]()
Contents
Cirrus Link Resources
Cirrus Link Website![]()
Contact Us (Sales/Support)![]()
Forum![]()
Cirrus Link Modules Docs for Ignition 7.9.x![]()
Inductive Resources
Ignition User Manual![]()
Knowledge Base Articles![]()
Inductive University![]()
Forum![]()
![]()
Cirrus Link Website![]()
Contact Us (Sales/Support)![]()
Forum![]()
Cirrus Link Modules Docs for Ignition 7.9.x![]()
Ignition User Manual![]()
Knowledge Base Articles![]()
Inductive University![]()
Forum![]()
...
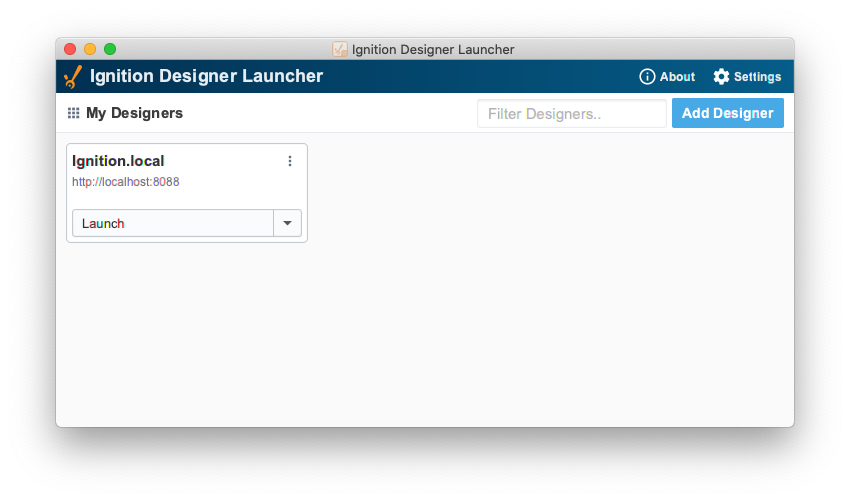
With Ignition running and the Azure AWS Injector module loaded now and configured we can now open the Ignition Designer to create/observe the initial Tag structure. Regardless of the OS Ignition is running on, there is a “Launch “Get Designer” button on the Ignition Gateway Console. From here you can launch your Designer on any machine. This is shown below. The default credentials for the designer are the same as the Gateway Console, admin/password.
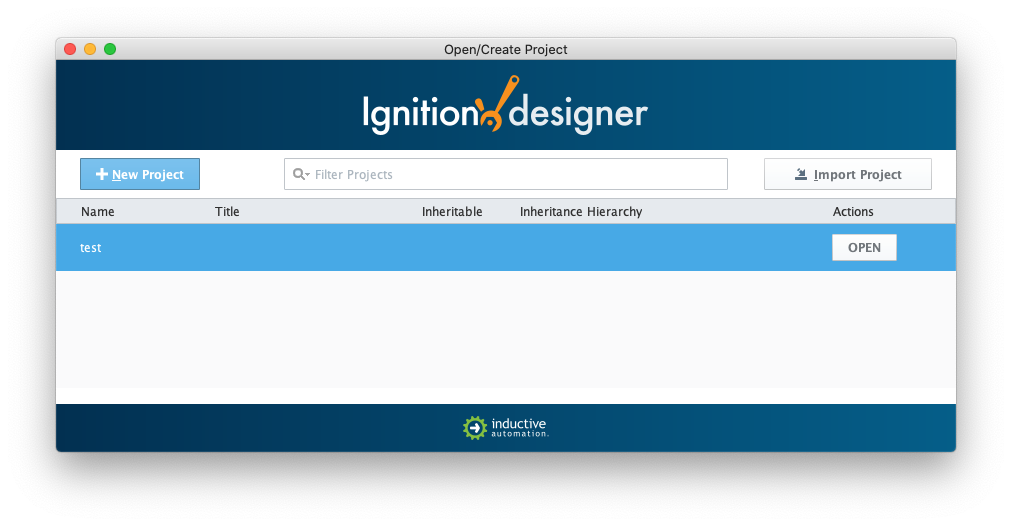
Once you have logged into the Designer enter a new project name and open the project. The project name that we used for this tutorial is simply called “Tutorial1”“test”.
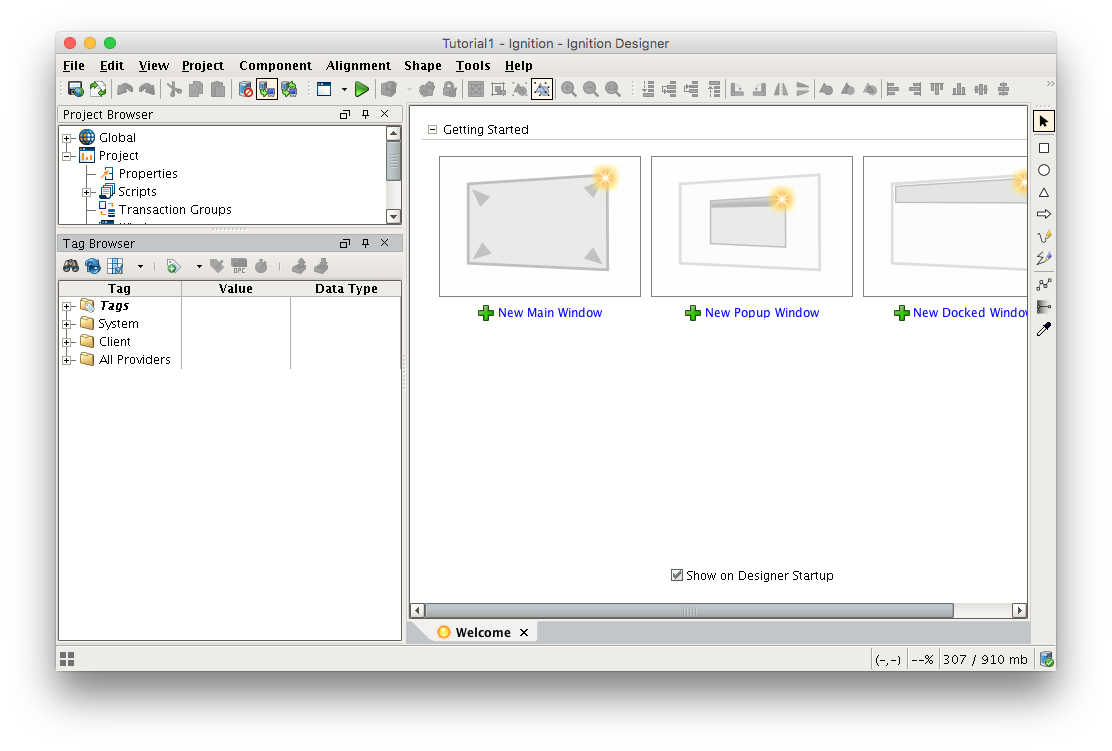
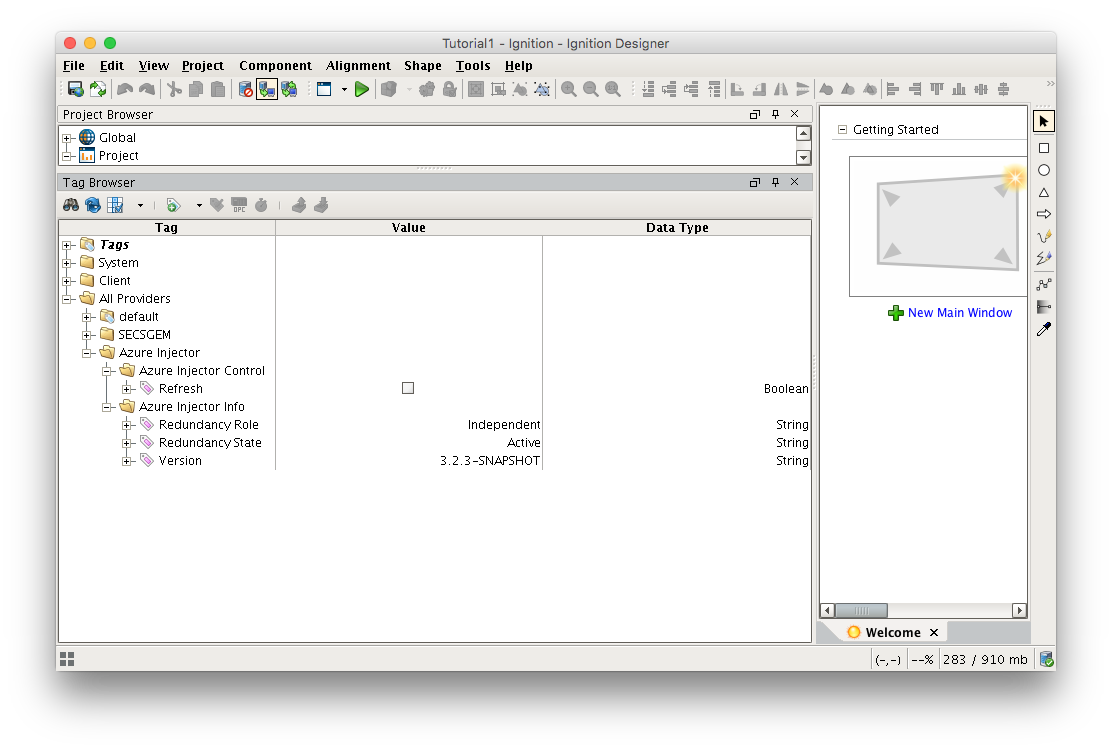
After Designer opens, you will see the default Designer screen as shown below.
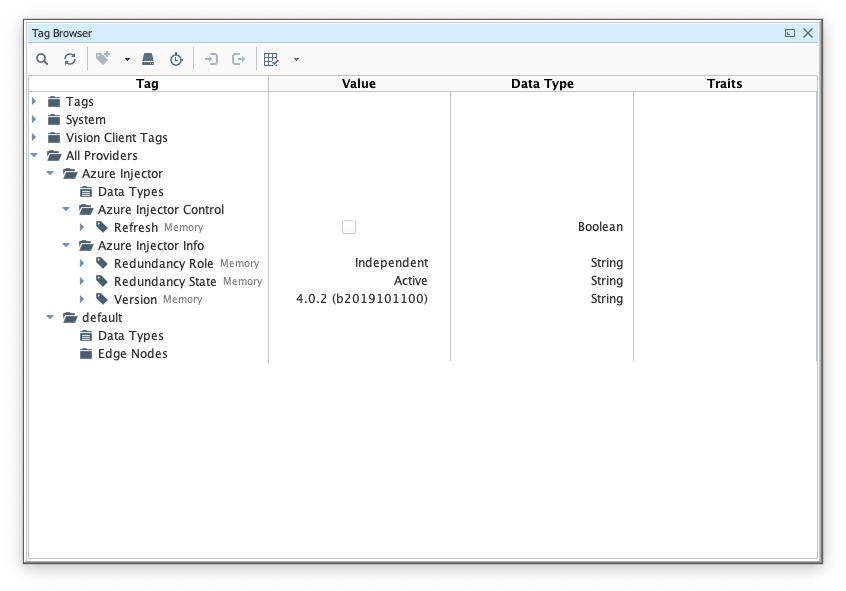
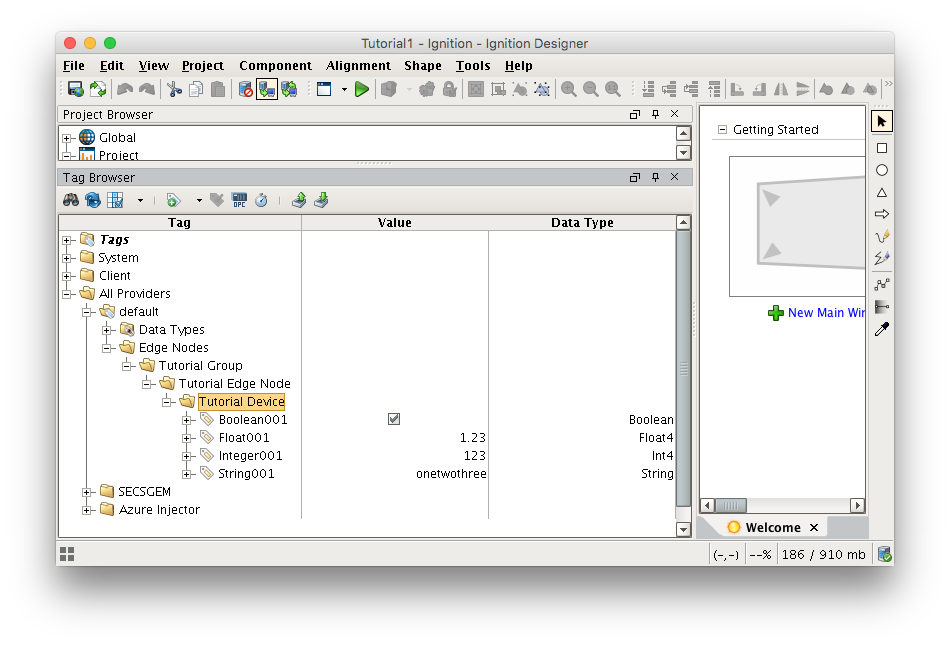
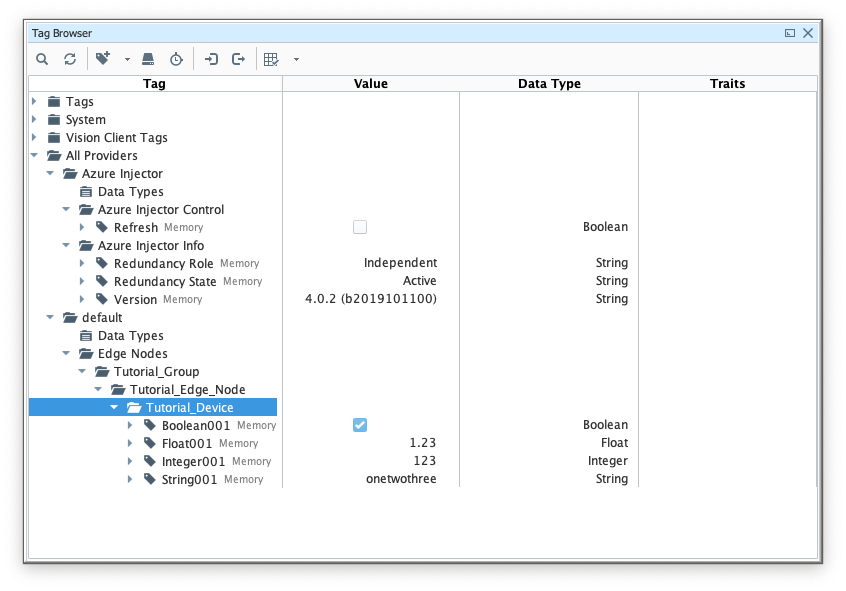
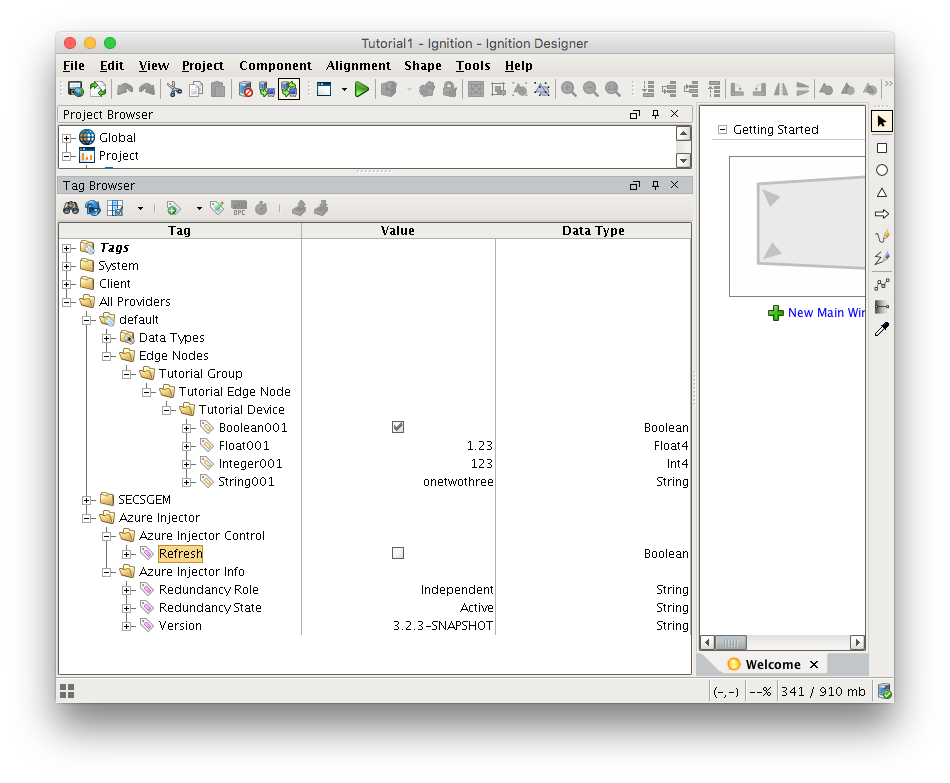
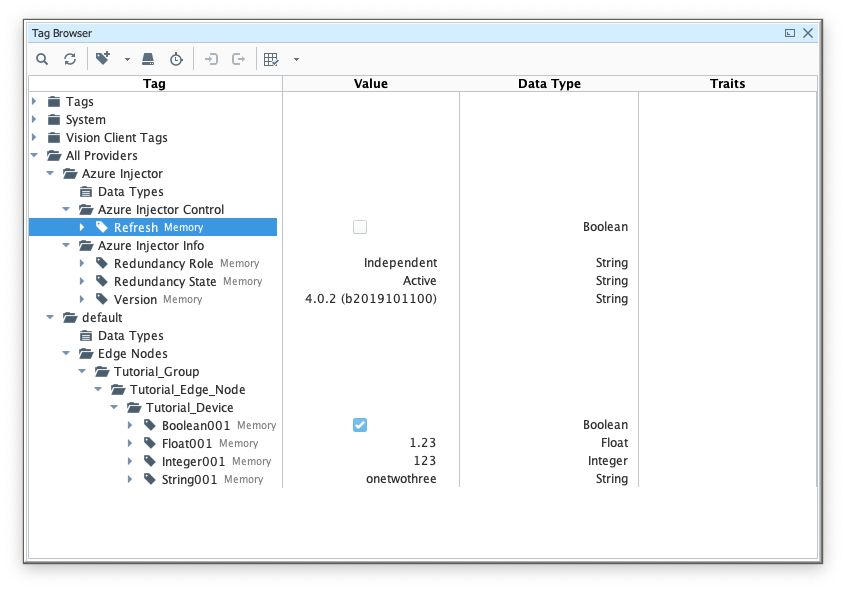
 With the Azure AWS Injector module installed in Ignition, a new folder is created under the "All Providers" folder and is called “Azure “AWS Injector”. This folder will contain both information tags about the module's version and state, as well as control tags for refreshing the module and it's Tag Agents.
With the Azure Injector module installed in Ignition, a new folder is created under the "All Providers" folder and is called “Azure Injector”. This folder will contain both information tags about the module's version and state, as well as control tags for refreshing the module and its Tag Agents.
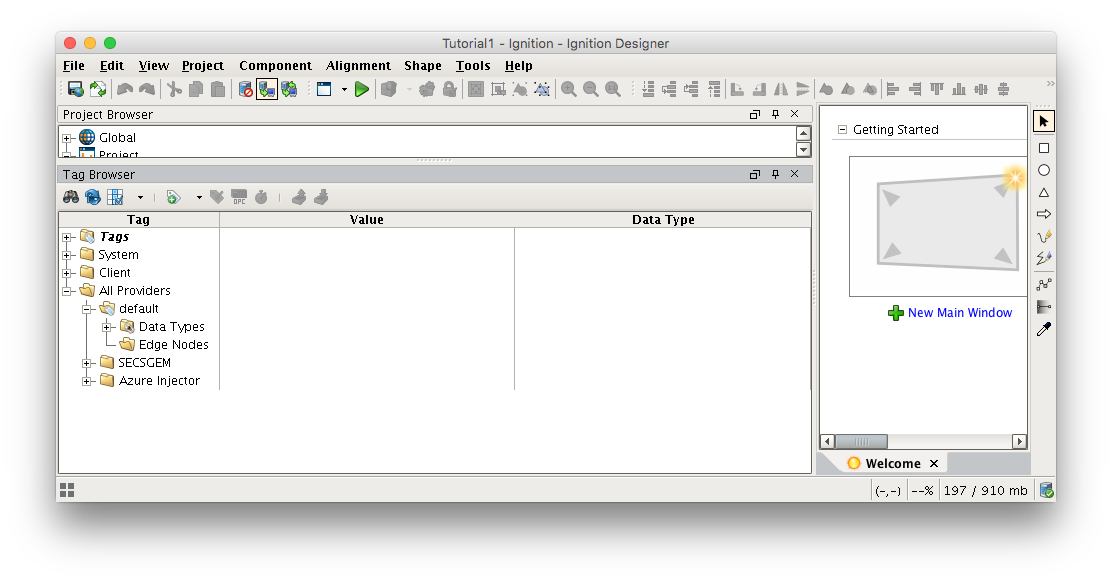
Next, we need to create a folder structure where we will create a virtual Edge device and some tags to be published by the Azure Injector module. When the Azure Injector module is installed in Ignition, a folder is automatically created in the Ignition tag structure with the following path:

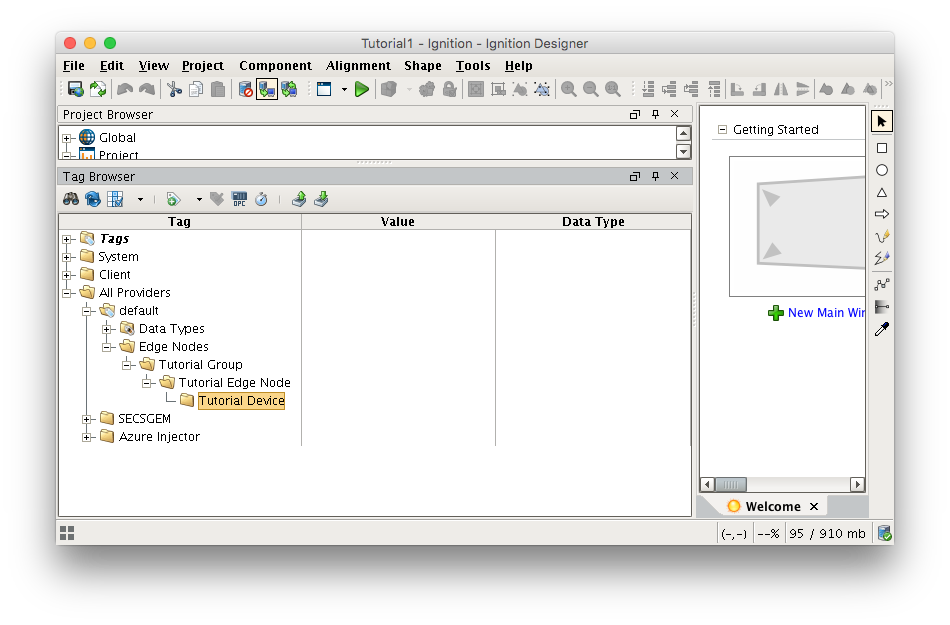
For this tutorial, right click on the Edge Nodes folder and create a new folder called Tutorial Group. Then right click on the Tutorial Group folder and create another new folder called Tutorial Edge Node. Finally, right click on the Tutorial Edge Node folder and create another new folder called Tutorial Device. This folder structure creates the same hierarchy that is described in the Sparkplug B specification of Group ID, Edge ID, and Device ID.
 With this folder structure in place, now we can create some memory tags of various data types to publish. Right click on the Tutorial Device folder and select ’New Tag’/’Memory Tag’. In the tag editor change the Name of the tag to “Boolean001”, and change the Data Type to Boolean. Follow this same procedure for new memory tags called “Integer001” of type Integer, “Float001” of type Float, and “String001” of type String. The resulting folder structure should look as follows.
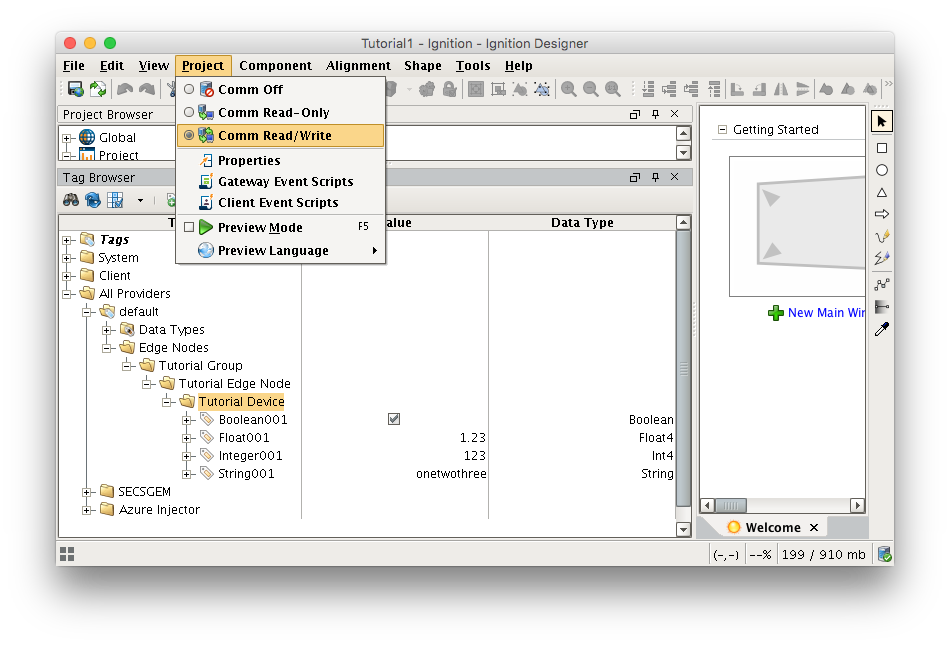
Now that we have a folder structure with some tags we can refresh the Azure Injector module. Make sure that the Ignition Designer has read/write communications turned on by selecting Project/Comm Read/Write.
To refresh the default Tag Agent with the folder structure we’ve created, open the folder "All Providers/Azure Injector/Azure Injector Control" and click on the Refresh Boolean. Note the Boolean tag will not change to true. This is really a one-shot and as a result, the tag will not change to true.
When this happens, the Tag Agent will scan the "Edge Nodes" folder and find the new Memory Tags that we have created, construct JSON payloads representing those tags with their current values and publish the payload to the Azure IoT Hub that we have configured.
 The Azure Injector Tag Agent will publish two JSON payloads to the Azure IoT hub. The format of these messages closely follows the Sparkplug B Specification's payload structure.
...
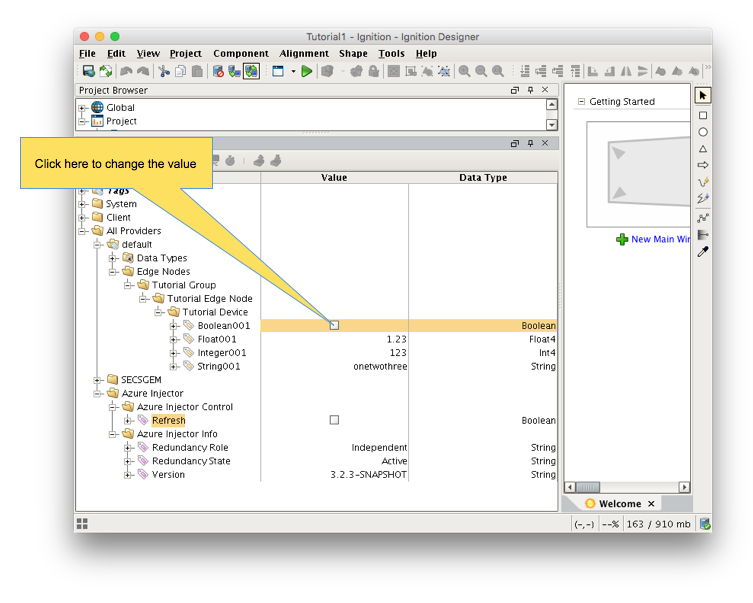
Click on the value of the "Boolean001" Memory Tag to change it's value.
 This will result in the following payload to be constructed to represent this Tag change event and pushed to the Azure IoT Hub:
...