![]()
Contents
Cirrus Link Resources
Cirrus Link Website![]()
Contact Us (Sales/Support)![]()
Forum![]()
Cirrus Link Modules Docs for Ignition 7.9.x![]()
Inductive Resources
Ignition User Manual![]()
Knowledge Base Articles![]()
Inductive University![]()
Forum![]()
![]()
Cirrus Link Website![]()
Contact Us (Sales/Support)![]()
Forum![]()
Cirrus Link Modules Docs for Ignition 7.9.x![]()
Ignition User Manual![]()
Knowledge Base Articles![]()
Inductive University![]()
Forum![]()
...
...
Browse to Azure IoT Central. Then select the applications tab as shown below.
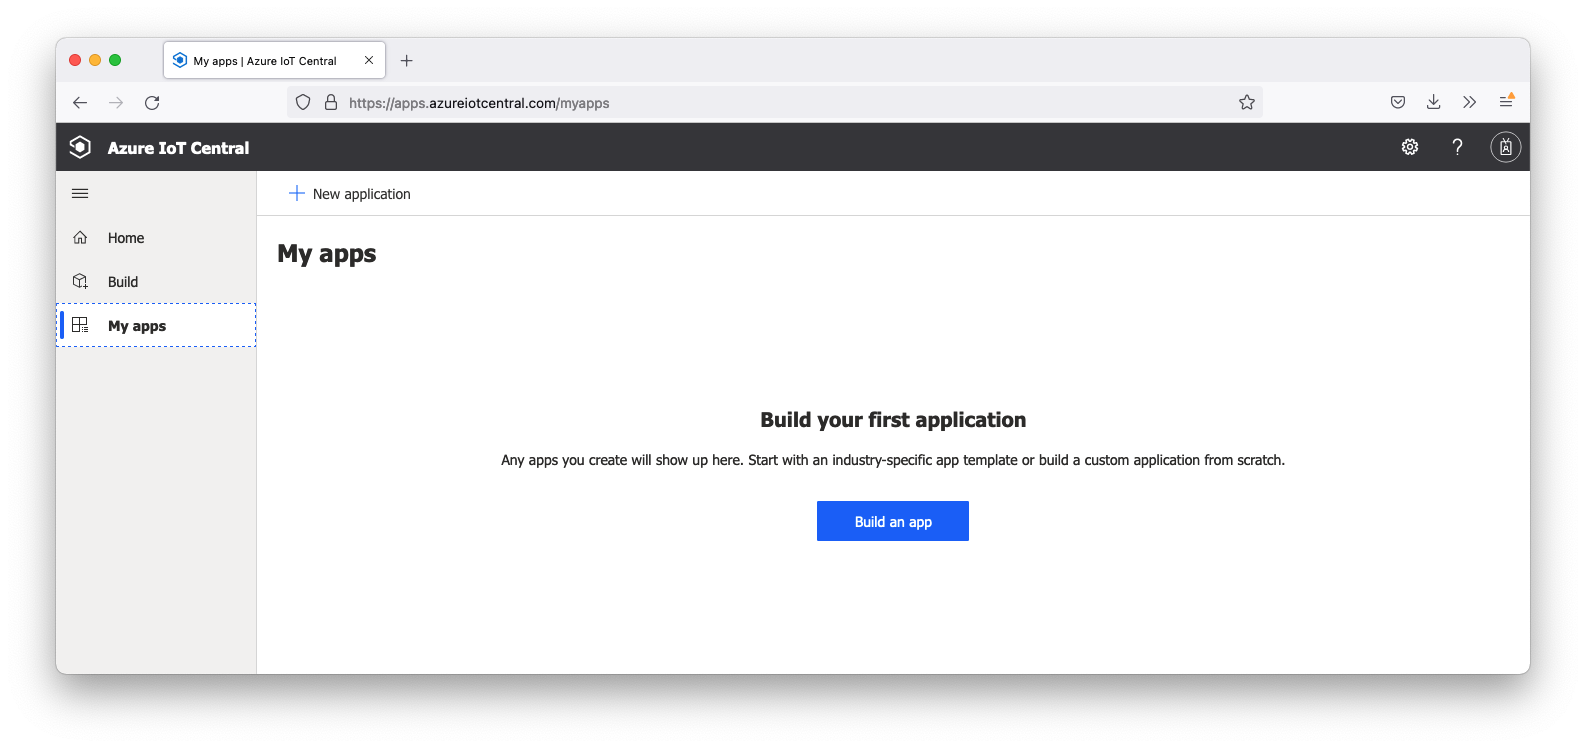
Click the 'Build an app' button in the middle of the window. Afterward, you should see the the following.
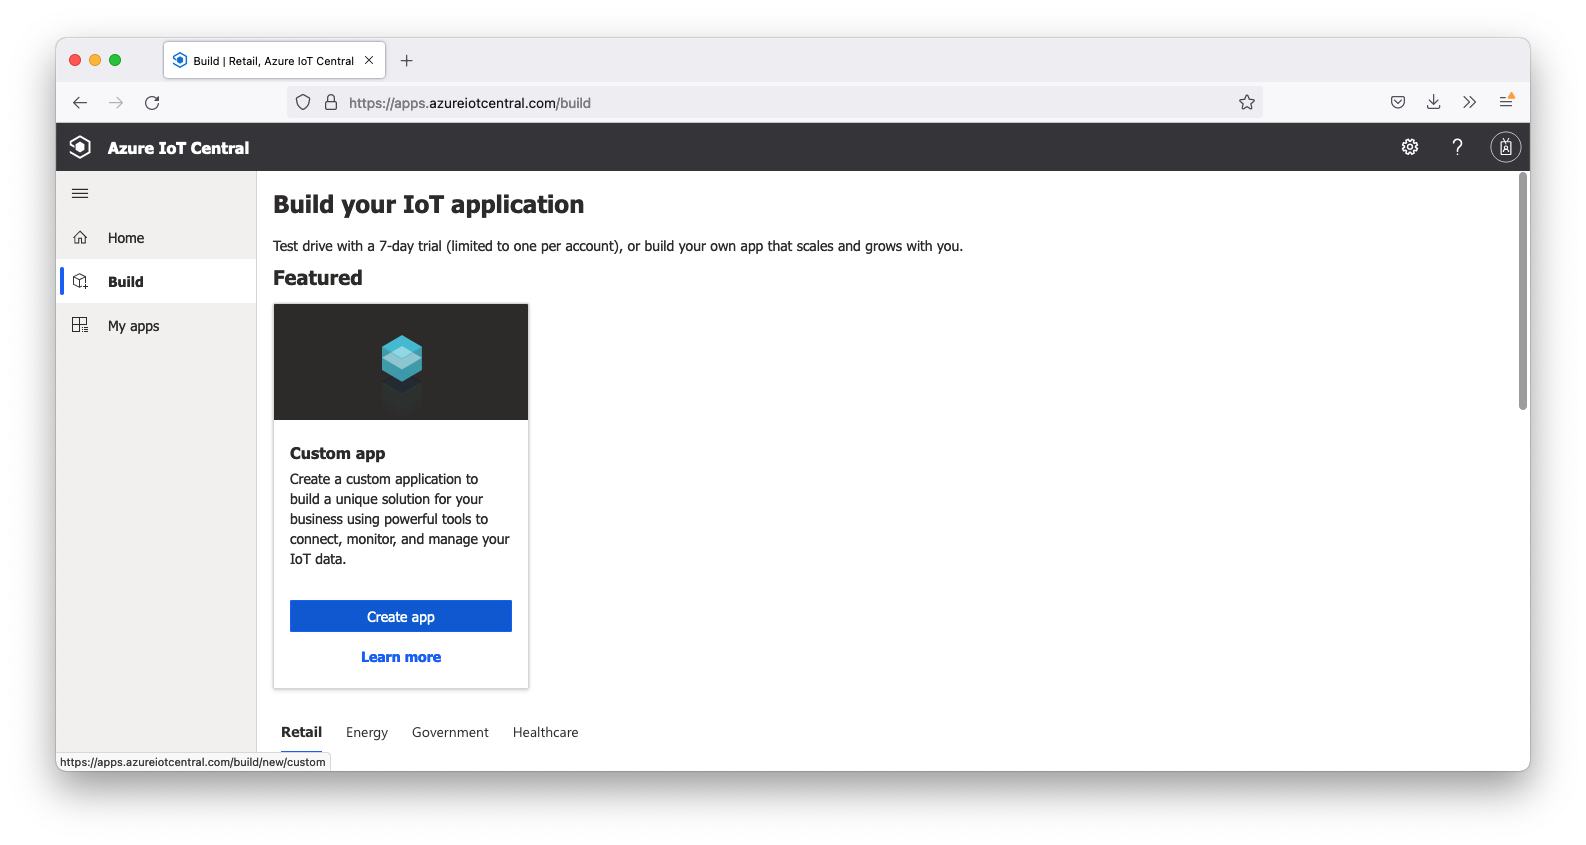
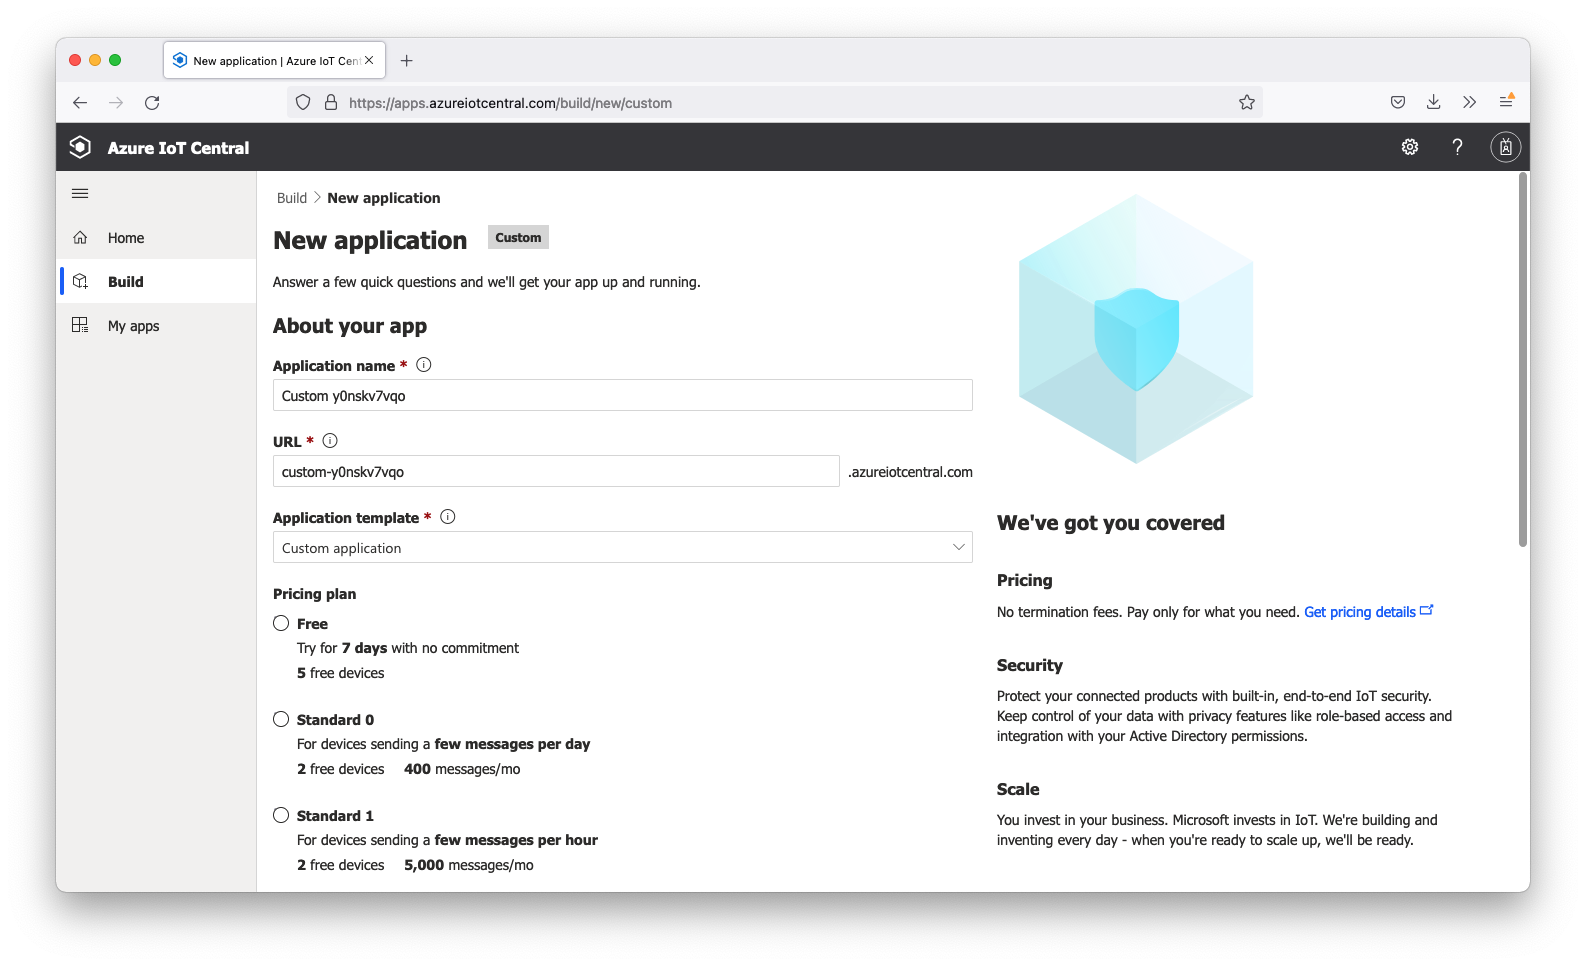
Click the 'Create app' in the Custom app tile window. This will open the following screen.
Follow the instructions in the Microsoft IoT Central How-to Guide for creating an IoT Central Application
Follow the instructions in the Microsoft IoT Central How-to Guide for adding a device to your Azure IoT Central application
Once configured, the device Modify the Application name, URL, and select a Pricing plan. Once all fields have been configured, click the 'Create' button at the bottom of the screen. Once complete, you should see your new application which should look similar to the following.:
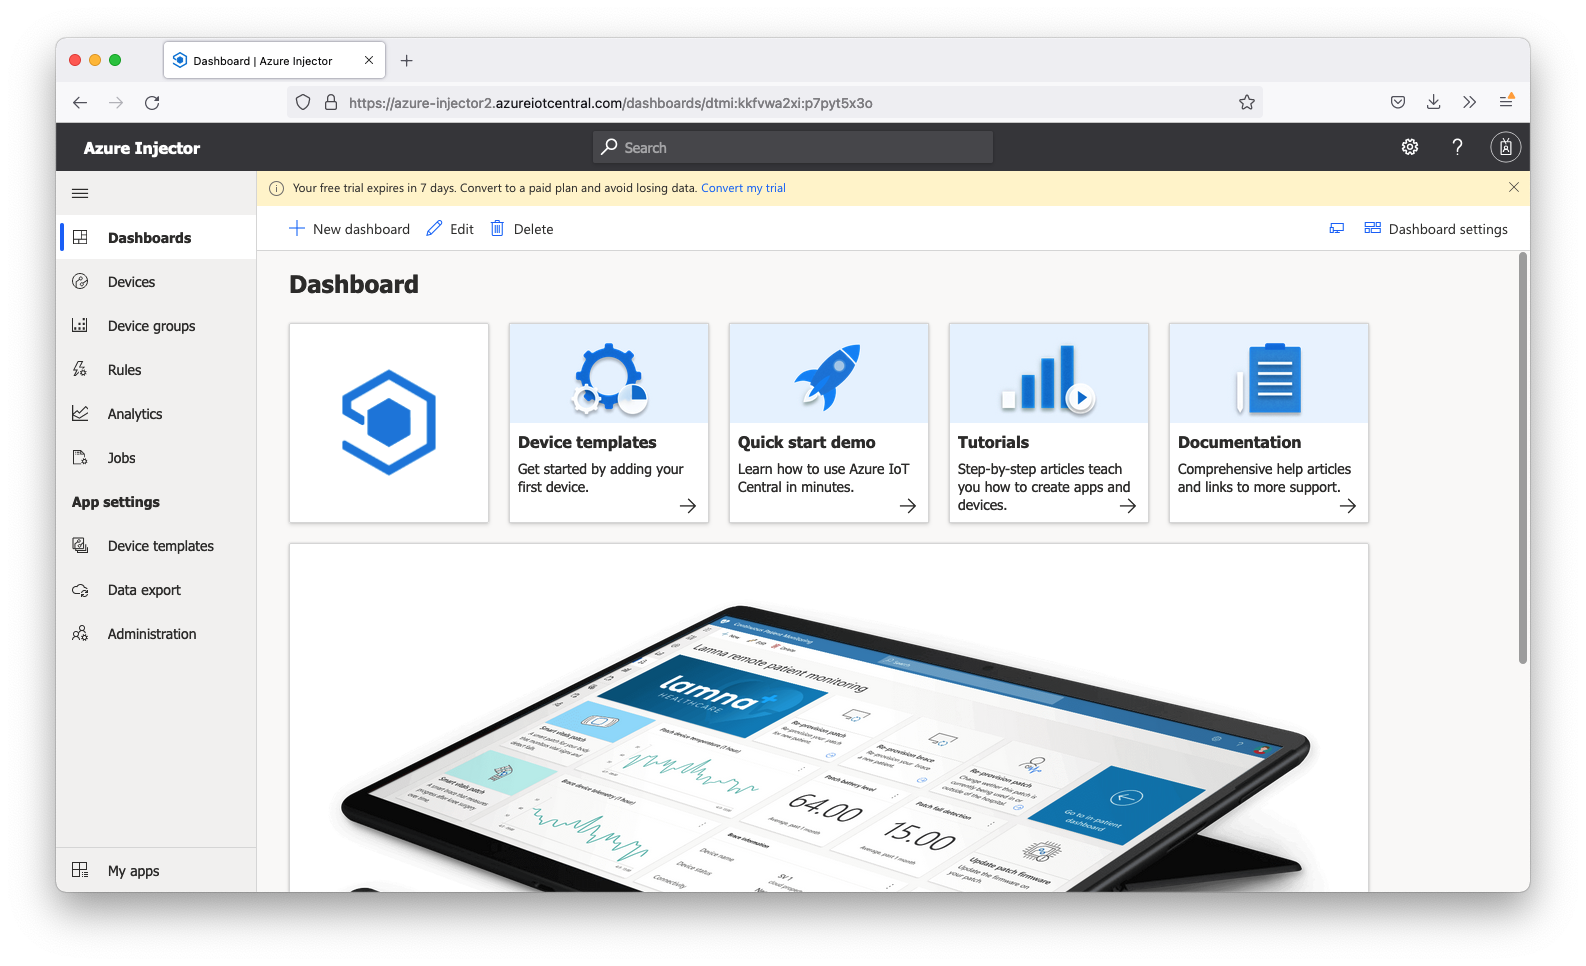
Now select 'Devices' on the left. You should see the following.

Now click 'New' in the upper area. Give the Device a name and an ID as shown below.
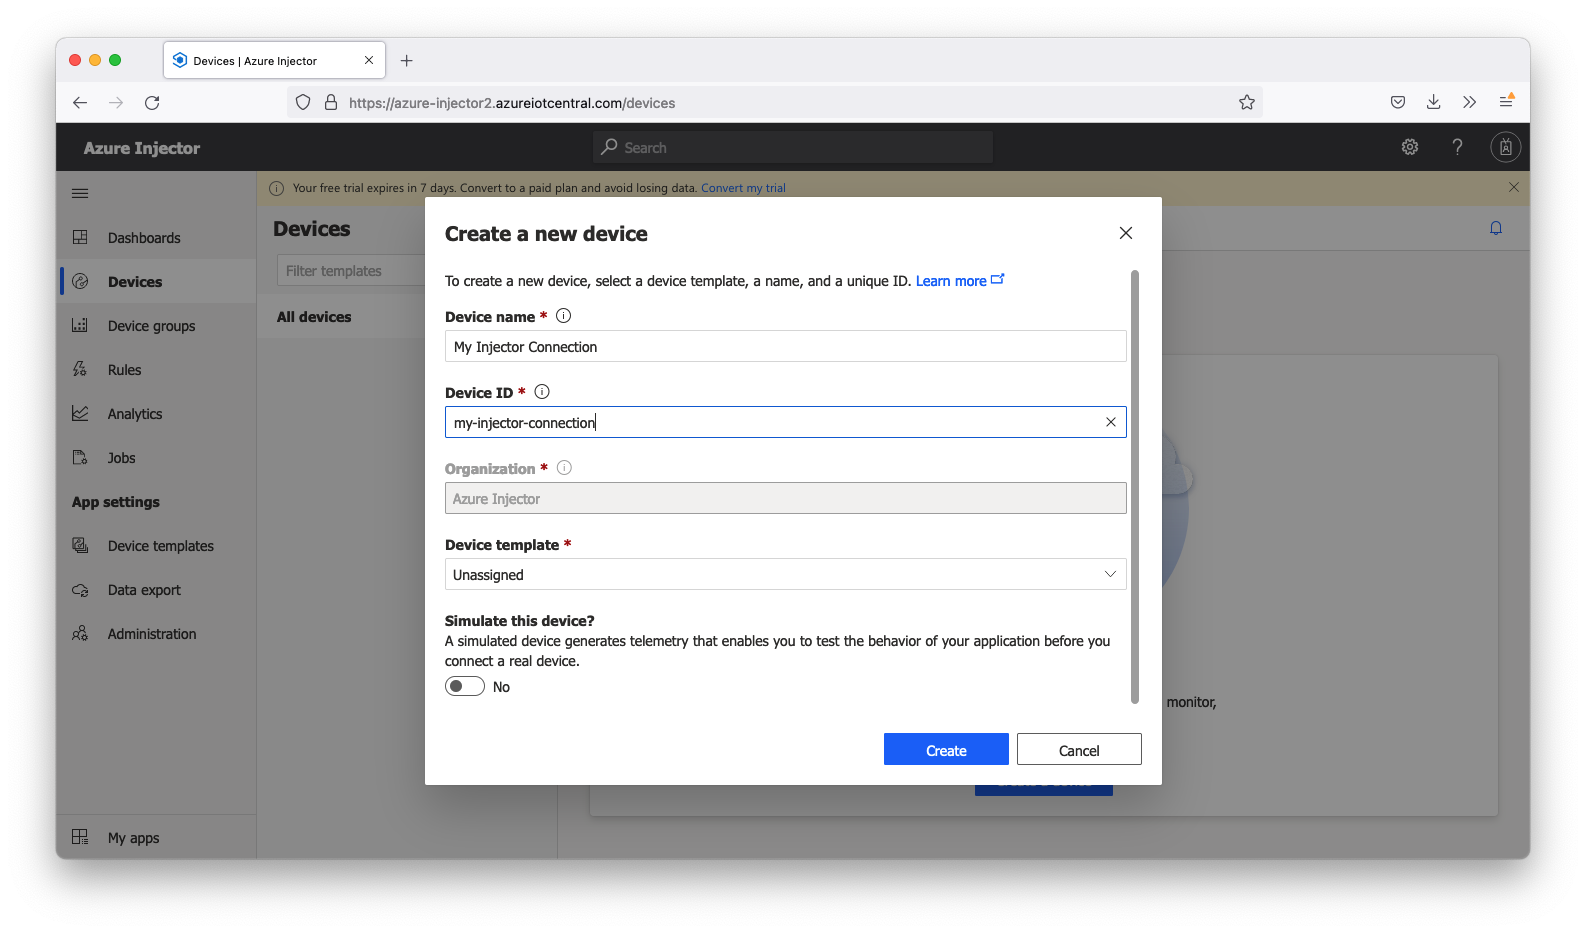
| Note |
|---|
| Info |
| Make sure to note the 'Device ID' as this will be used later in the configuration of Azure Injector |
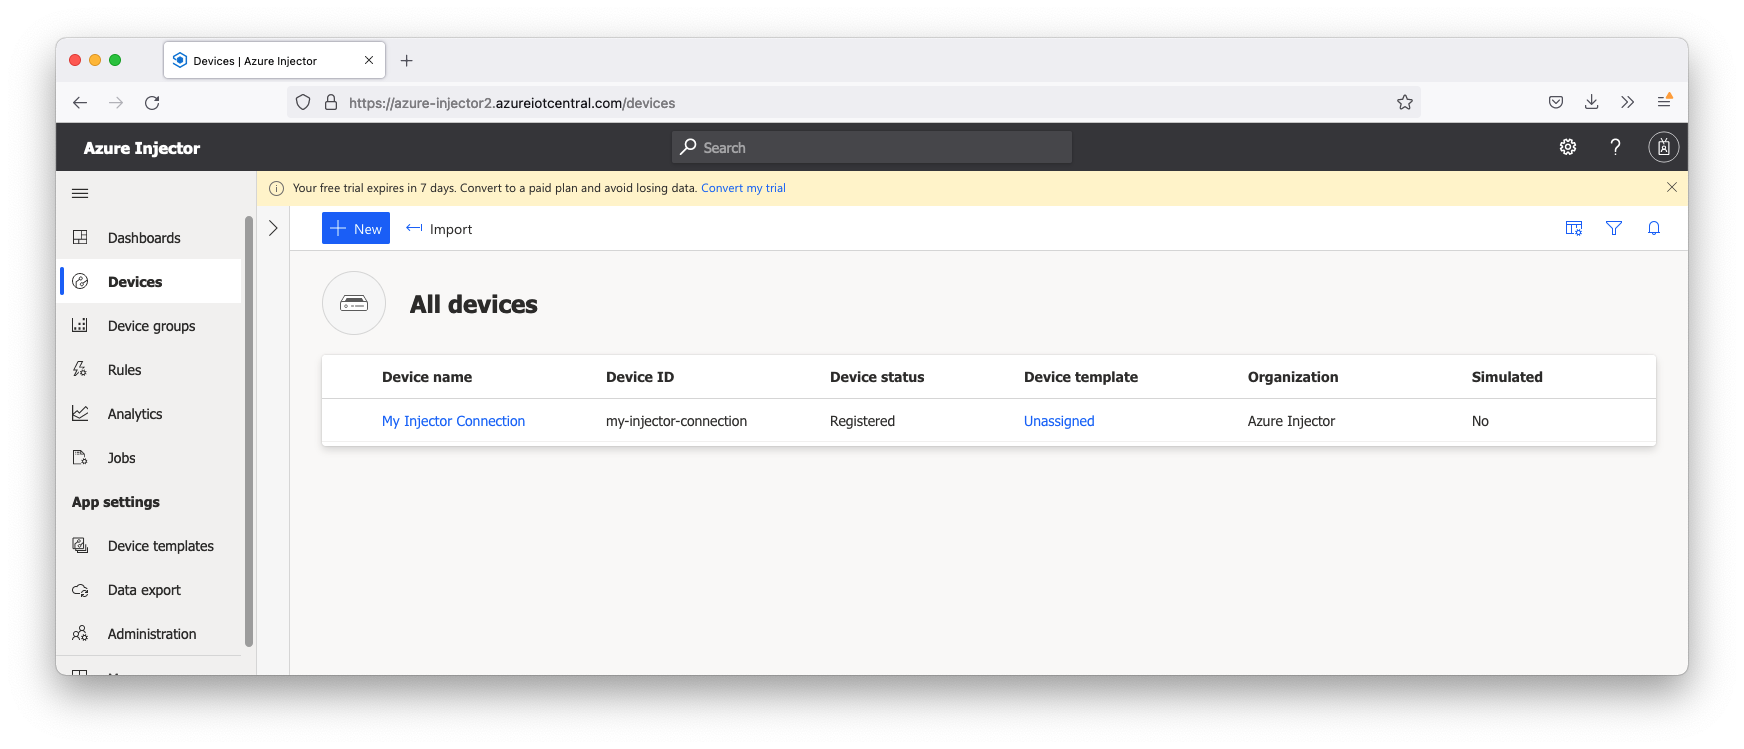
Finally, click 'Create' to create the new device. When complete, it should look similar to the following.
...
From the left hand menu bar under Security > Permissions > Device connection groups, record the "ID scope" as this will be used later in the configuration of Azure Injector.
From the left hand menu bar under Security > Permissions > Device connection groups > SAS-IoT-Devices > Shared access signature (SAS), record either the "Primary key" or "Secondary key" as this will be used later in the configuration of Azure Injector.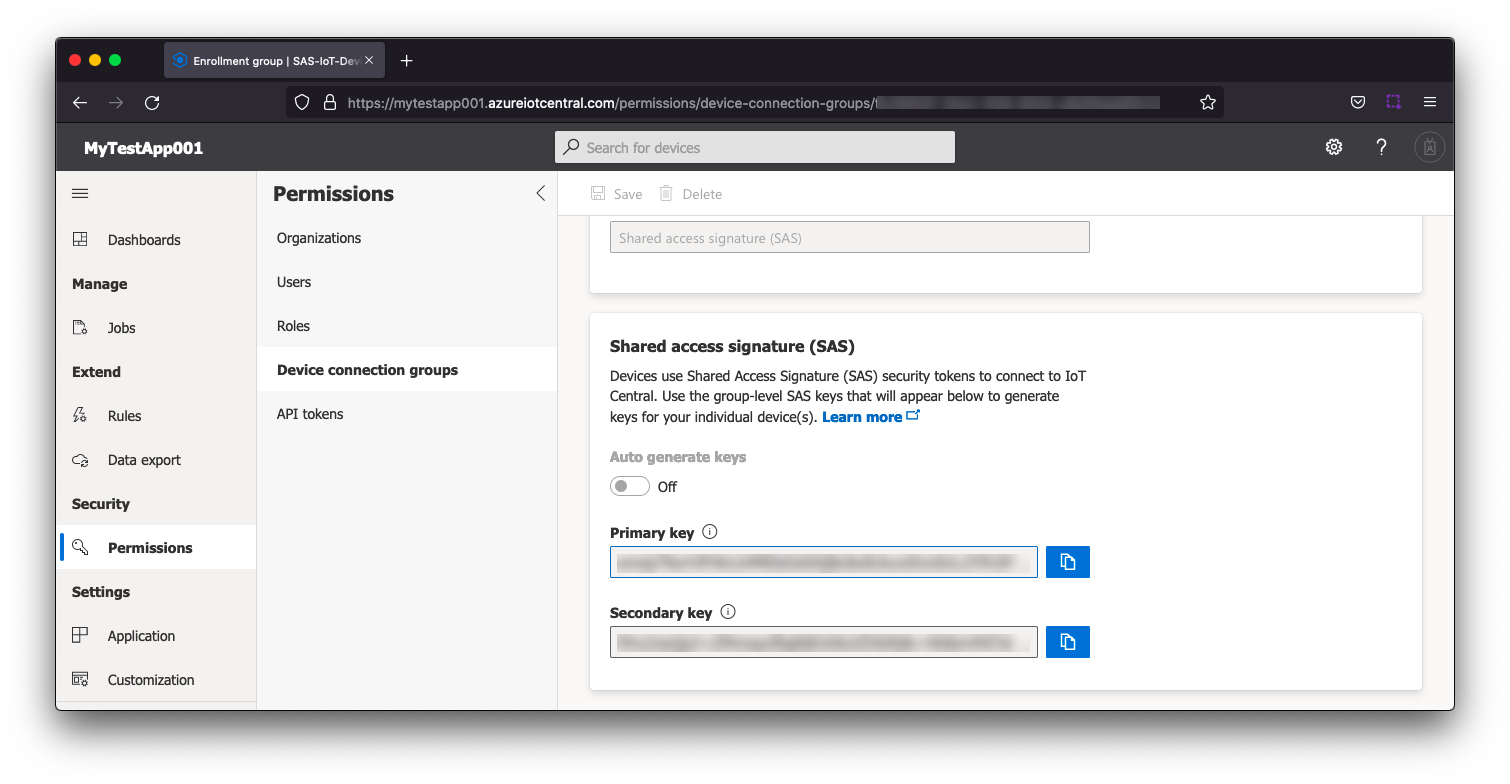
Once you have Ignition and the Azure Injector Module installed and running we can setup the configuration to connect to your existing Azure IoT Central endpoint.
...
Navigate to the Azure Injector Modules configuration section from the left side bar in the Ignition Gateway and select the Azure IoT Central tab.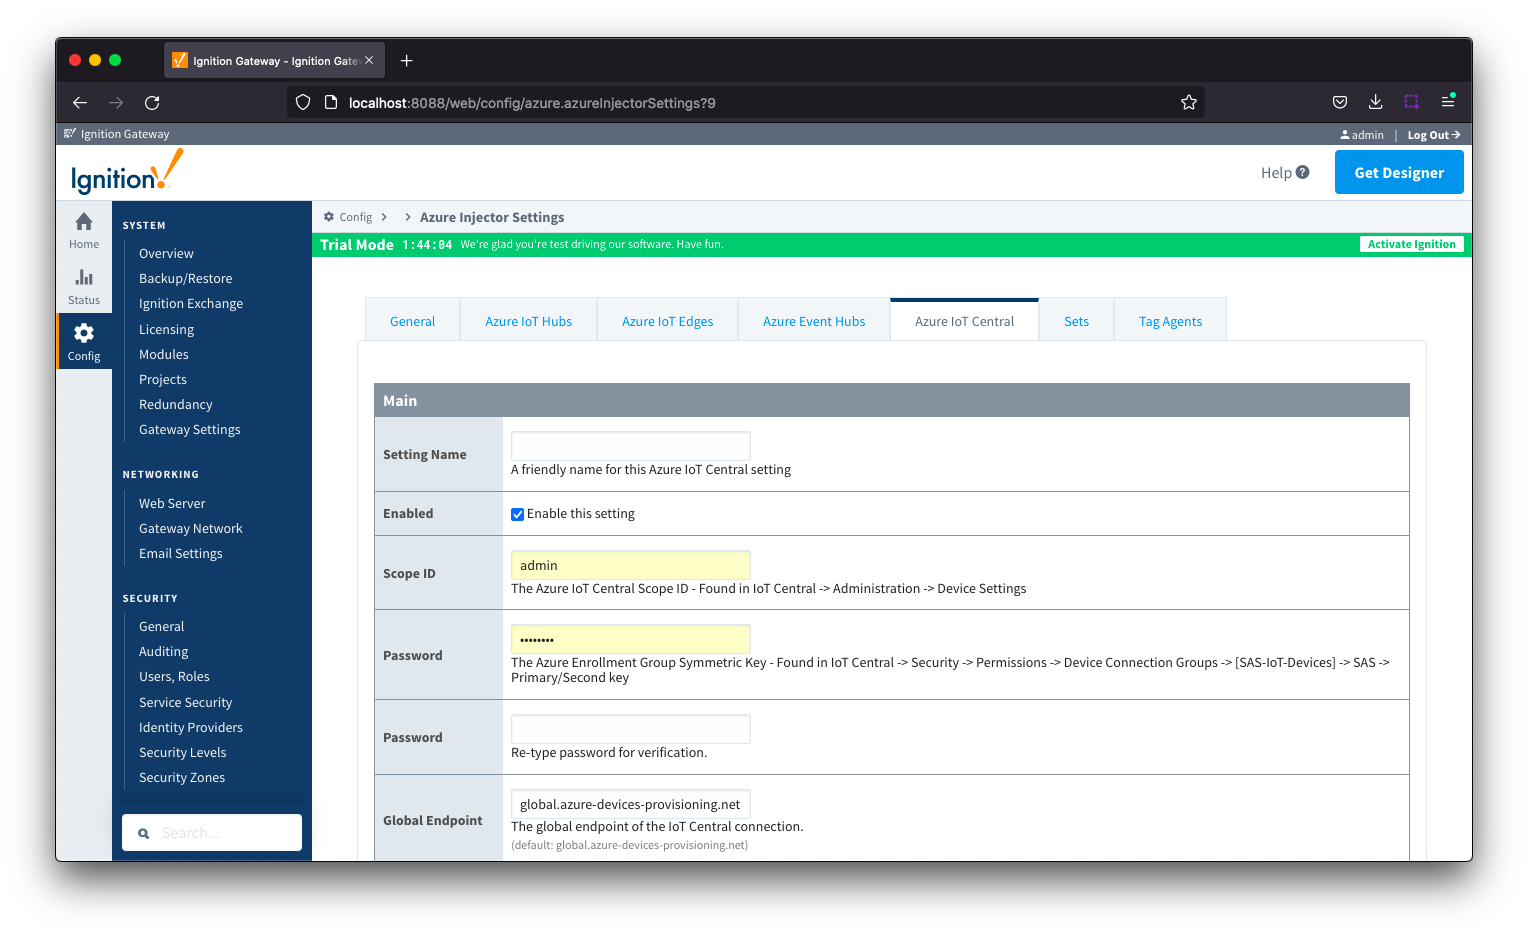

Set the following fields.
All other fields can remain default. Finally, click 'Save Changes' at the bottom of the configuration page. After a bit of time (about 30s or so) you should see the status go from 'Disconnected' to 'Connected' as shown below.
...
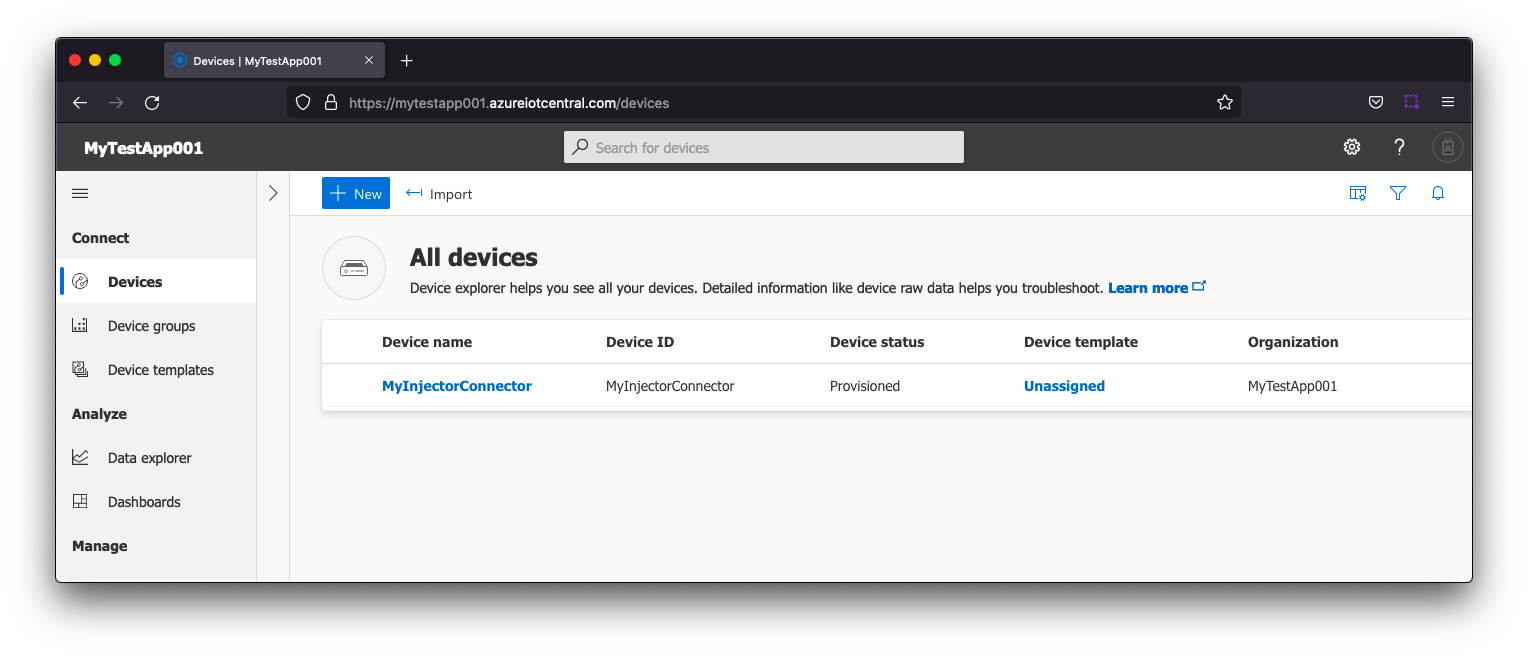
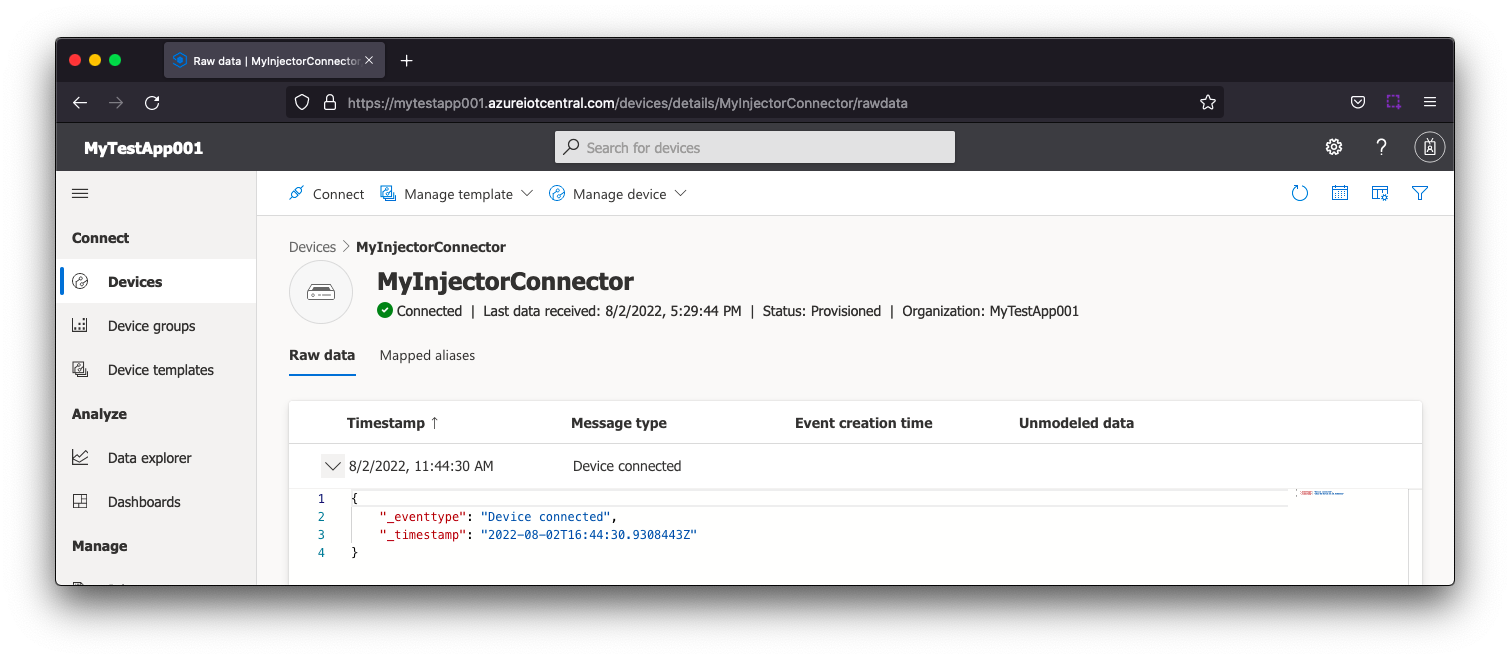
Also, in the IoT Central Application portal under devices you should see the device is connected.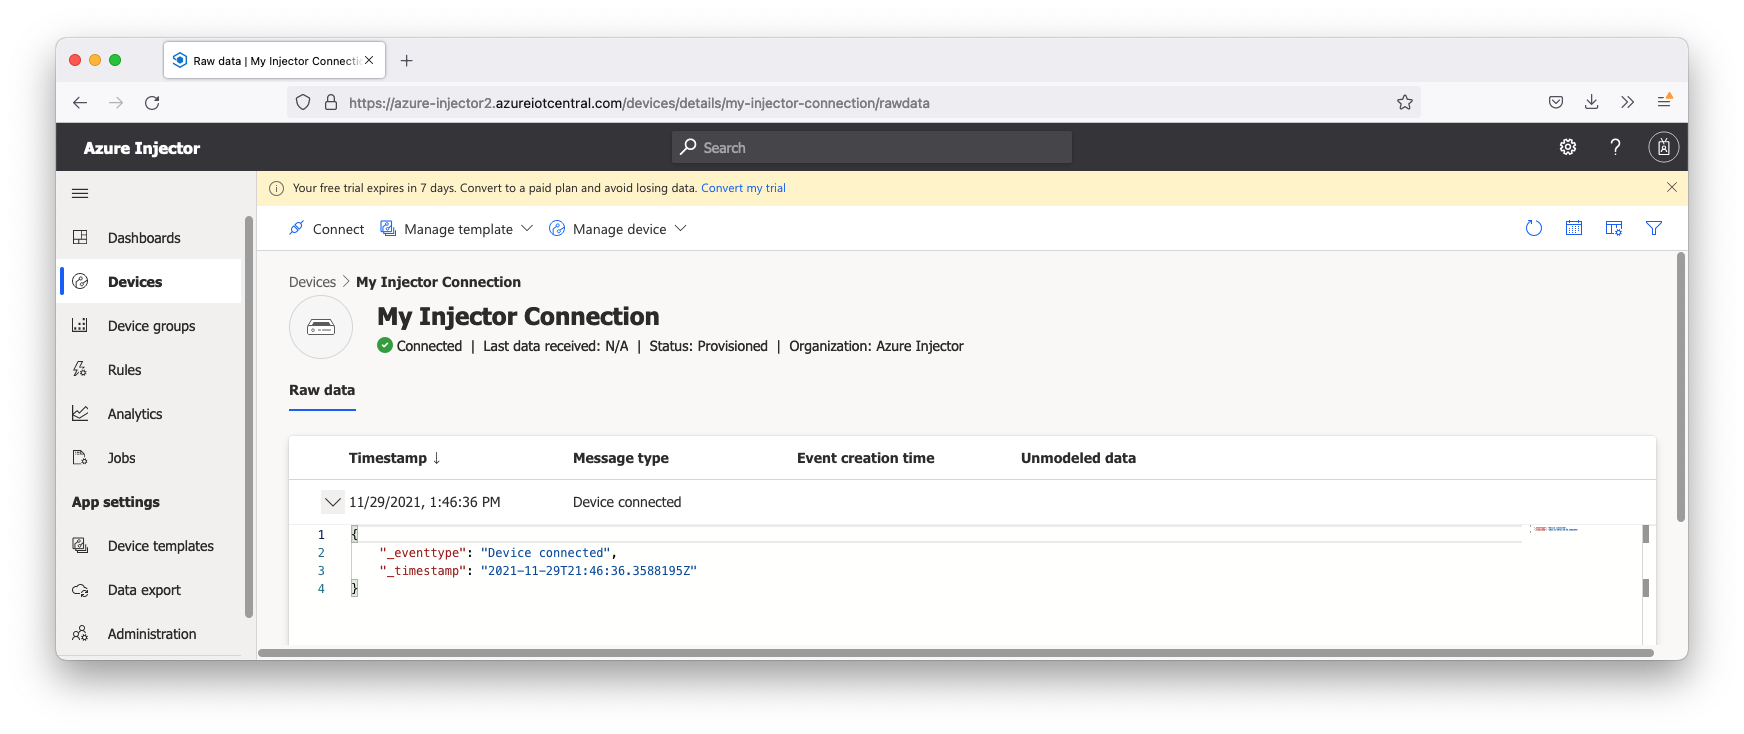
Now the Azure Injector module is connected to the MQTT server in Azure IoT Central, we have to determine if there are are changes needed to the Tag Agent tab to be able to push data.
...
Once the Tag Agent is setup as needed, you can jump to Step 46: Publishing data.
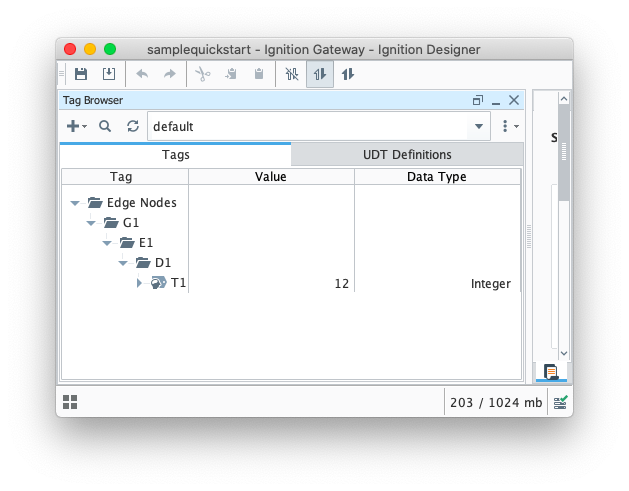
If you do not have Ignition tags defined we will do that in the next step with a tag tree depth that requires no additional Sparkplug settings.
...
When the Azure Injector module is installed in Ignition, an Edge Node folder is automatically created in the 'default' Ignition tag provider.
...
| Tip |
|---|
| Refer to the Ignition Tag Browser and Creating Tags documentation for assistance in configuring Ignition tags |
| Anchor |
|---|
...
|
...
|
...
When the Azure Injector module is installed in Ignition, an Azure Injector tag provider is automatically created. This folder will contain both information tags about the module's version and state, as well as control tags for refreshing the module and Tag Agents.
Make sure that the Ignition Designer has read/write communications turned on by selecting the Project/Comm Read/Write button highlighted in the image below.
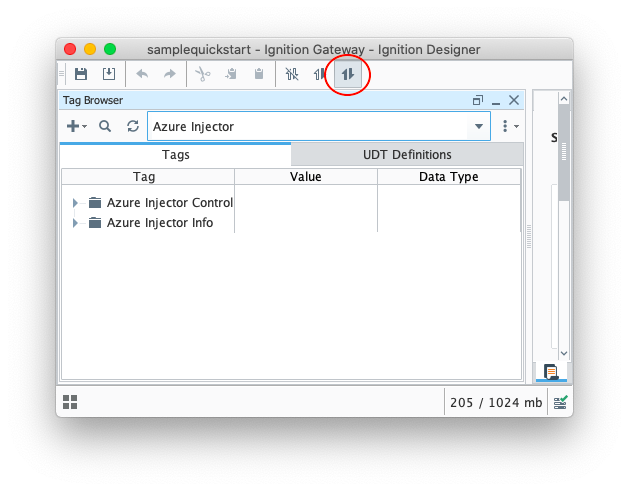
| Tip |
|---|
| Review the Inductive Automation Designer Interface documentation for additional assistance on setting the project communication mode |
...
The first message shows the 'NBIRTH' message which is an indication that the Sparkplug Edge Node has come online.
The second message is a Sparkplug DBIRTH message denoting that a Sparkplug Device has come online along with its 'metrics' or tags, tag metadata, and values. In this case only a single tag is included in the payload.
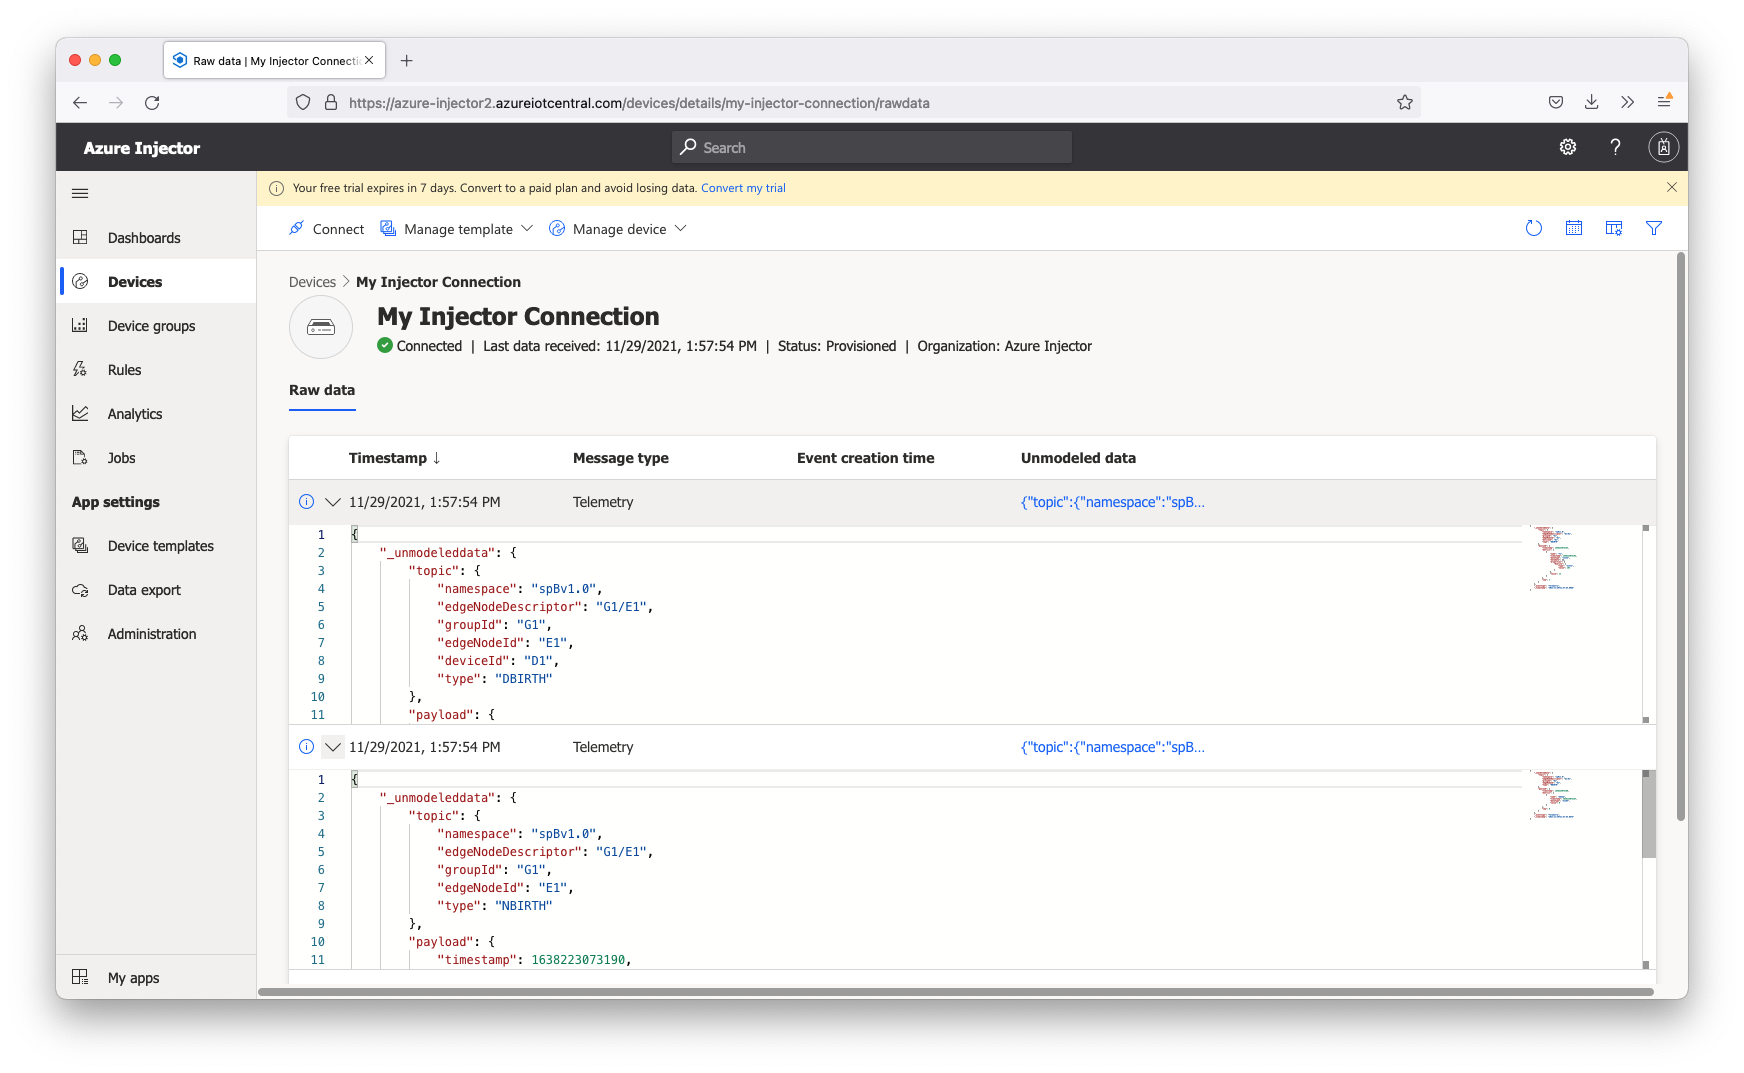
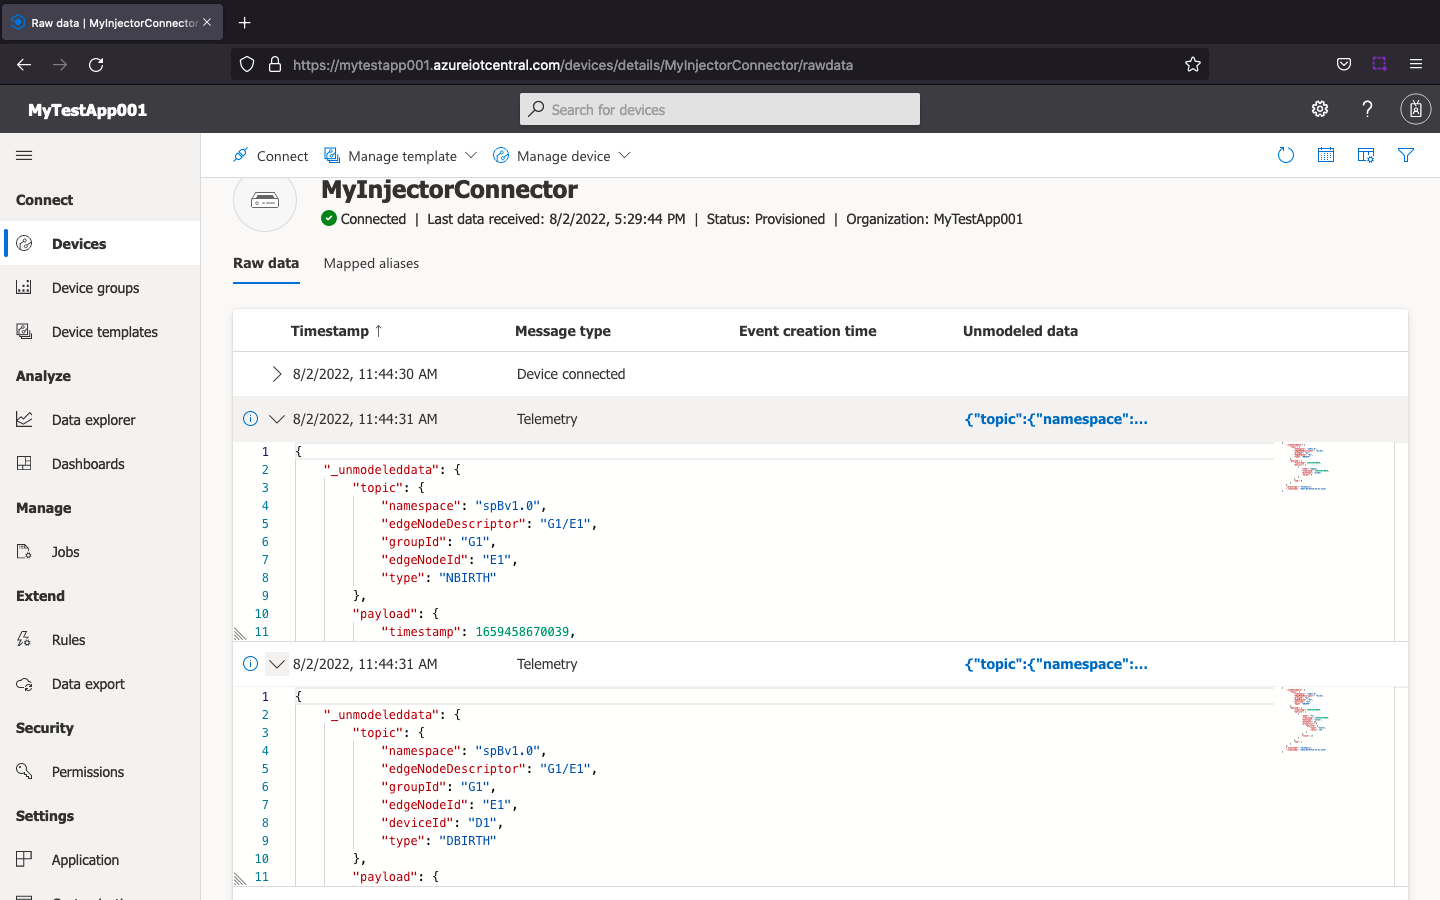
This includes the following data messages.
| Code Block |
|---|
{
    "_unmodeleddata": {
        "topic": {
            "namespace": "spBv1.0",
            "edgeNodeDescriptor": "G1/E1",
            "groupId": "G1",
            "edgeNodeId": "E1",
            "type": "NBIRTH"
        },
        "payload": {
            "timestamp": 16382230731901659458670039,
            "metrics": [
                {
                    "name": "bdSeq",
                    "timestamp": 16382230731871659458670039,
                    "dataType": "Int64",
                    "value": 0
                }
            ],
            "seq": 0
        }
    },
    "_eventtype": "Telemetry",
    "_timestamp": "20212022-1108-29T2102T16:5744:5431.067Z511Z"
} |
| Code Block |
|---|
{
    "_unmodeleddata": {
        "topic": {
            "namespace": "spBv1.0",
            "edgeNodeDescriptor": "G1/E1",
            "groupId": "G1",
            "edgeNodeId": "E1",
            "deviceId": "D1",
            "type": "DBIRTH"
        },
        "payload": {
            "timestamp": 16382230731921659458670049,
            "metrics": [
                {
                    "name": "T1",
                    "timestamp": 16382230731921659458670049,
                    "dataType": "Int32",
                    "metaData": {},
                    "properties": {
                        "Quality": {
                            "type": "Int32",
                            "value": 192
                        }
                    },
                    "value": 12
                }
            ],
            "seq": 1
        }
    },
    "_eventtype": "Telemetry",
    "_timestamp": "20212022-1108-29T2102T16:5744:5431.098Z527Z"
} |
...
Because Azure Injector is driven by tag change events, try writing a '10' to the T1 tag. Do this by double clicking the T1 tag in Designer and updating the Value parameter.
...
| Code Block |
|---|
{
    "_unmodeleddata": {
        "topic": {
            "namespace": "spBv1.0",
            "edgeNodeDescriptor": "G1/E1",
            "groupId": "G1",
            "edgeNodeId": "E1",
            "deviceId": "D1",
            "type": "DDATA"
        },
        "payload": {
            "timestamp": 16382236638121659462601542,
            "metrics": [
                {
                    "name": "T1",
                    "timestamp": 16382236628001659462601542,
                    "dataType": "Int32",
                    "value": 10
                }
            ],
            "seq": 2
        }
    },
    "_eventtype": "Telemetry",
    "_timestamp": "20212022-1108-29T2202T17:0750:4302.998Z771Z"
} |
| Excerpt Include | ||||||
|---|---|---|---|---|---|---|
|
...