...
Click 'New' in the upper left corner. This will open the following window:
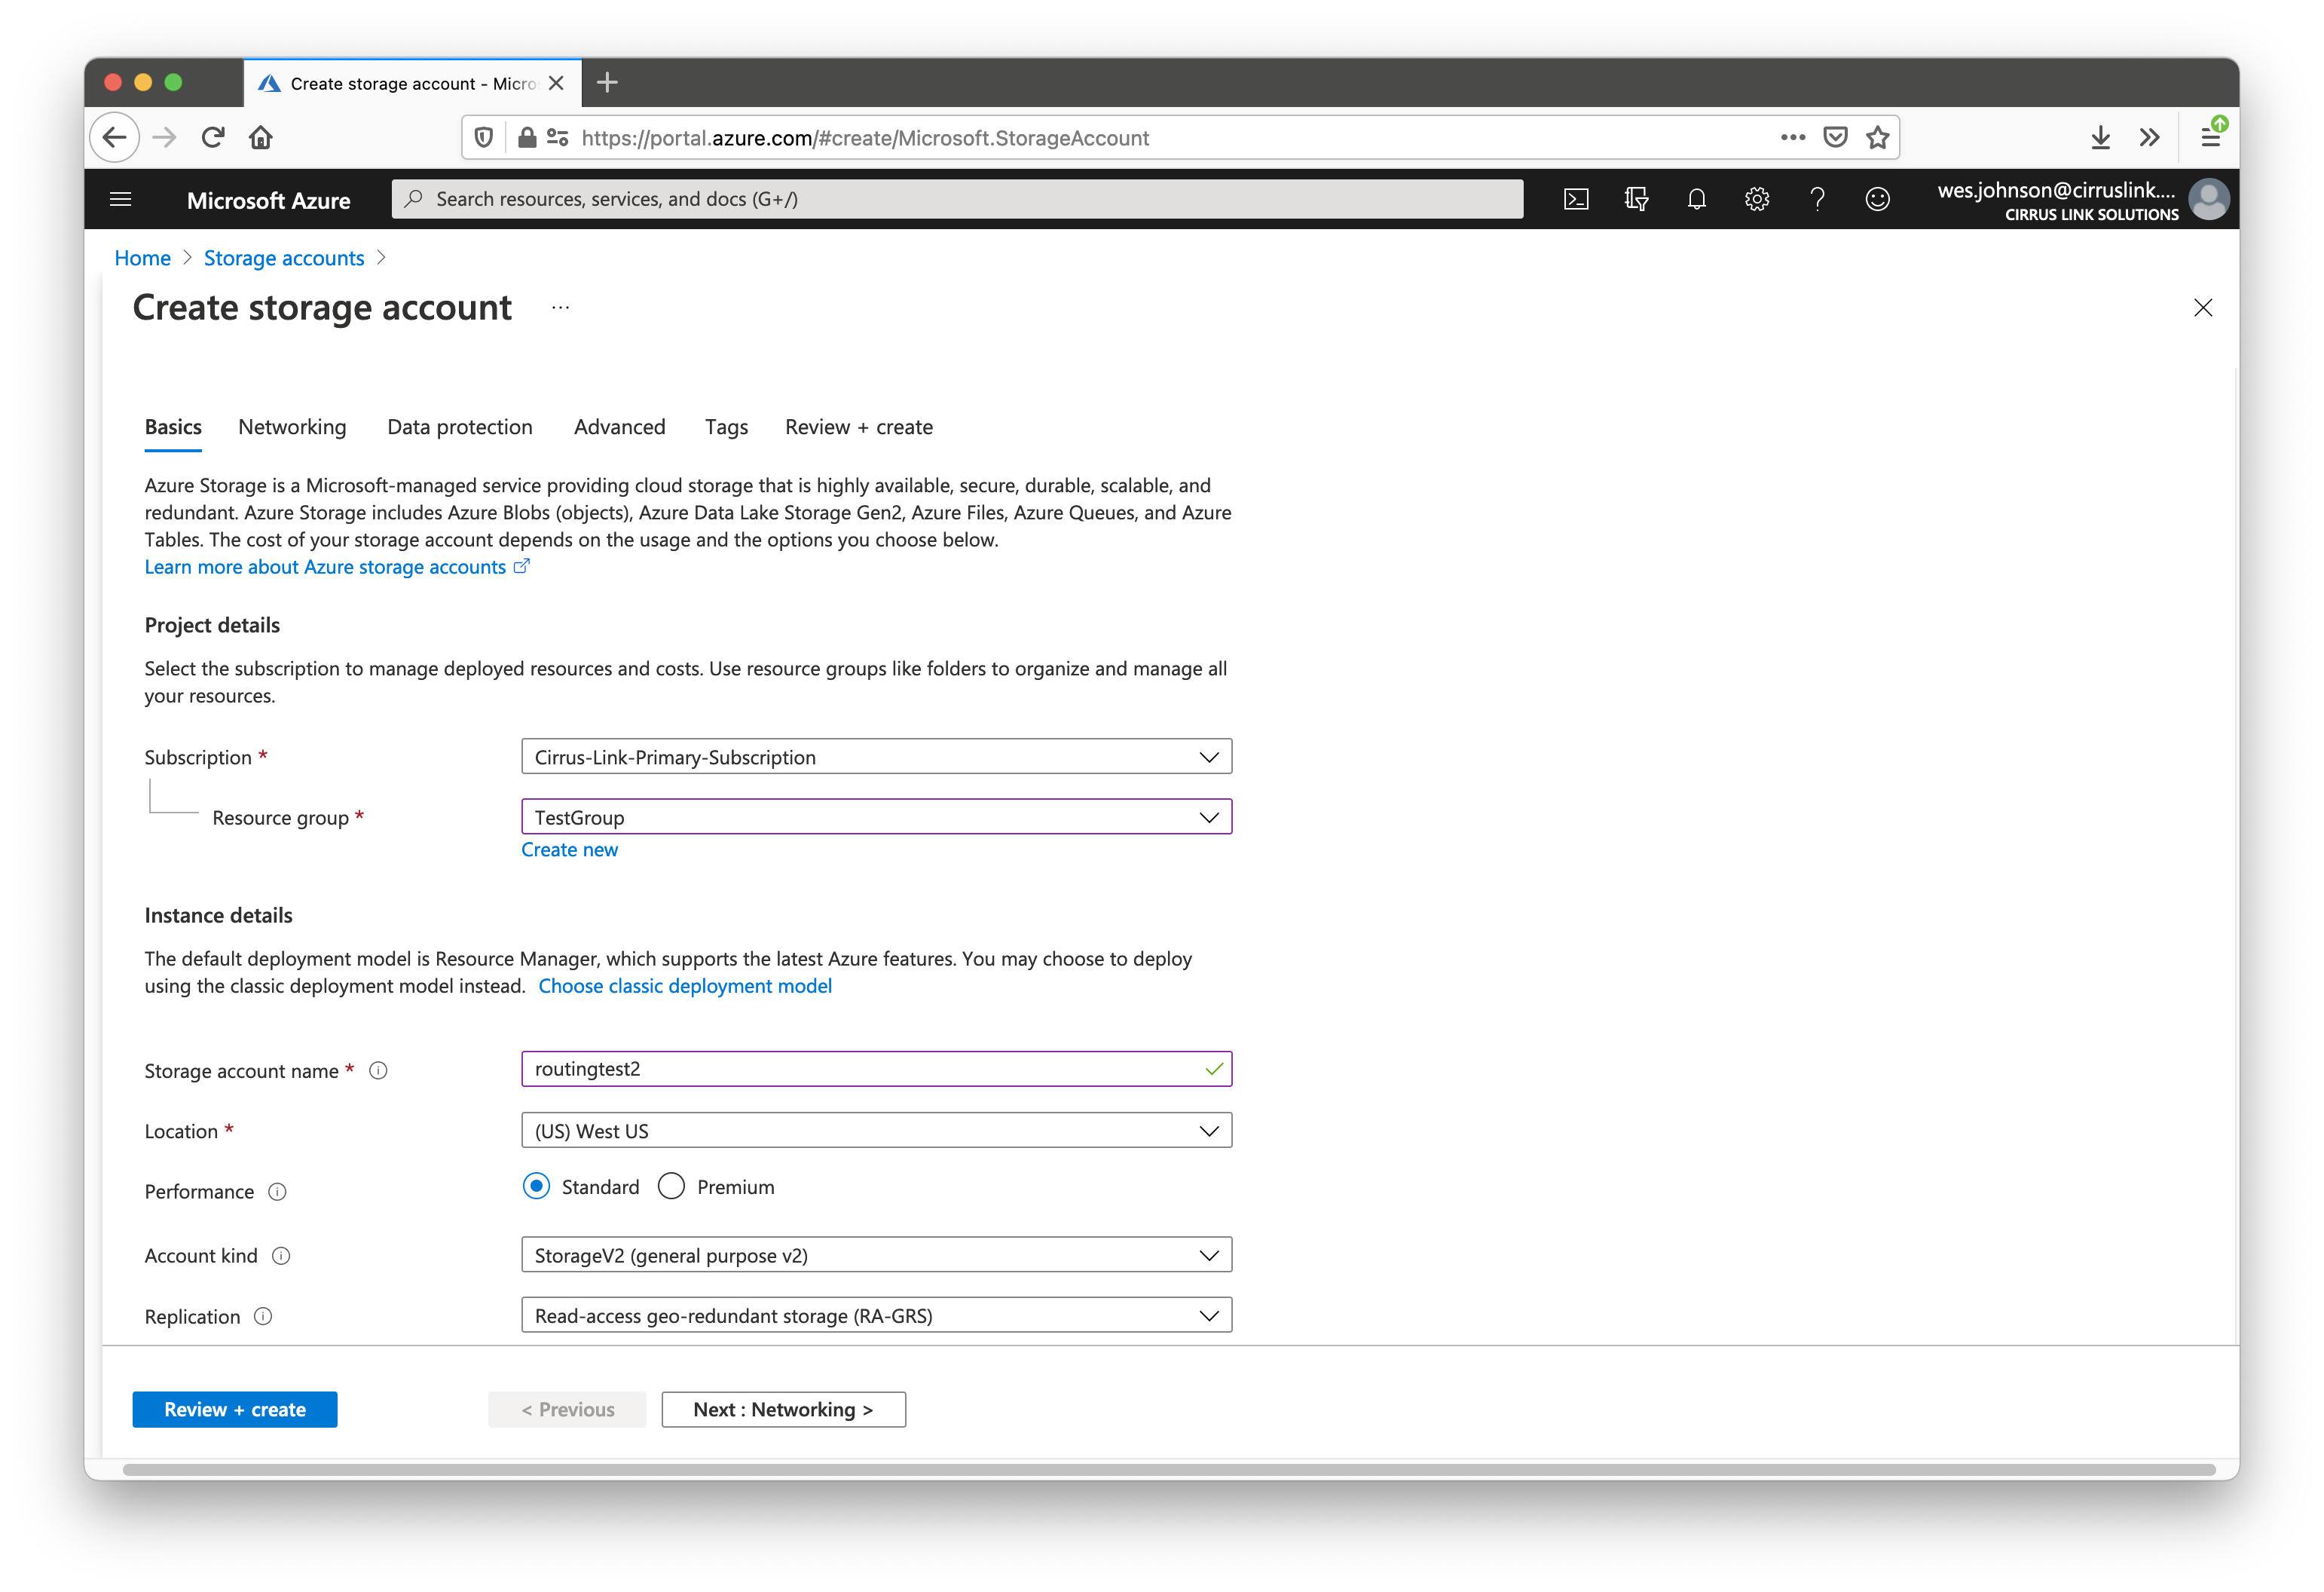
Specify the Subscription, Resource Group, Storage account name, and Location as shown above. Leave the other fields default. Now click 'Review + Create' near the bottom of the screen. All of the other tab fields (under Networking, Data Protection, Advanced, and Tags) can be left default for the purposes of this example. However, if this is intended to run in production make sure to visit these tabs and set up the Storage Account appropriately for your use case and security needs. After creating the Storage account, you should see it on the main Storage Accounts page as shown below:
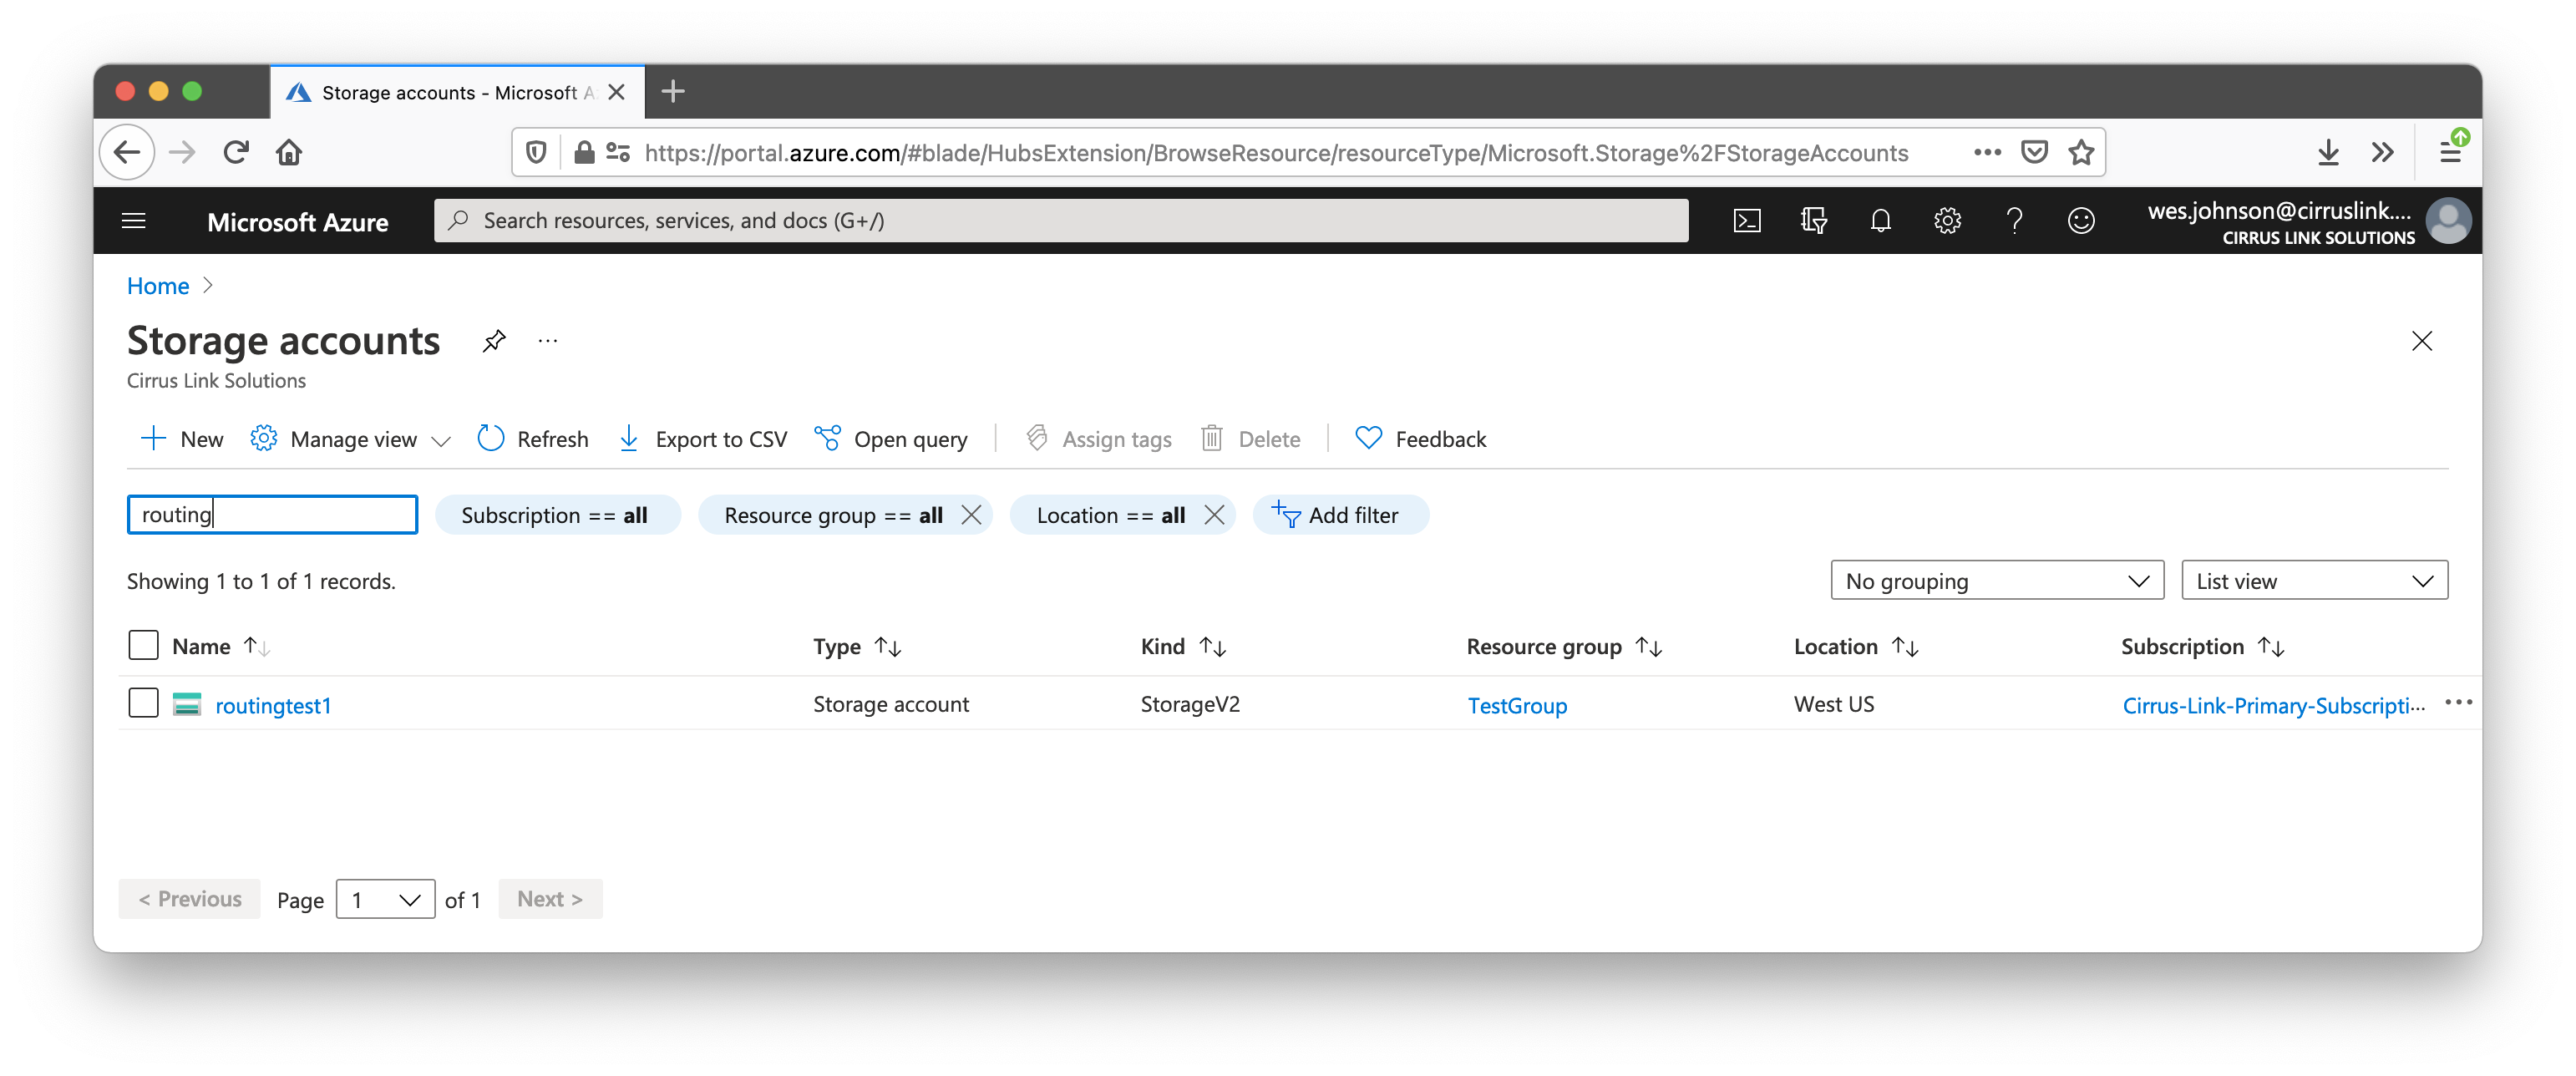 Image Added
Now select the Storage Account and and scroll down to 'Containers' in the navigation pane for the Storage Account. This is under the 'Blob Service' section as shown below.
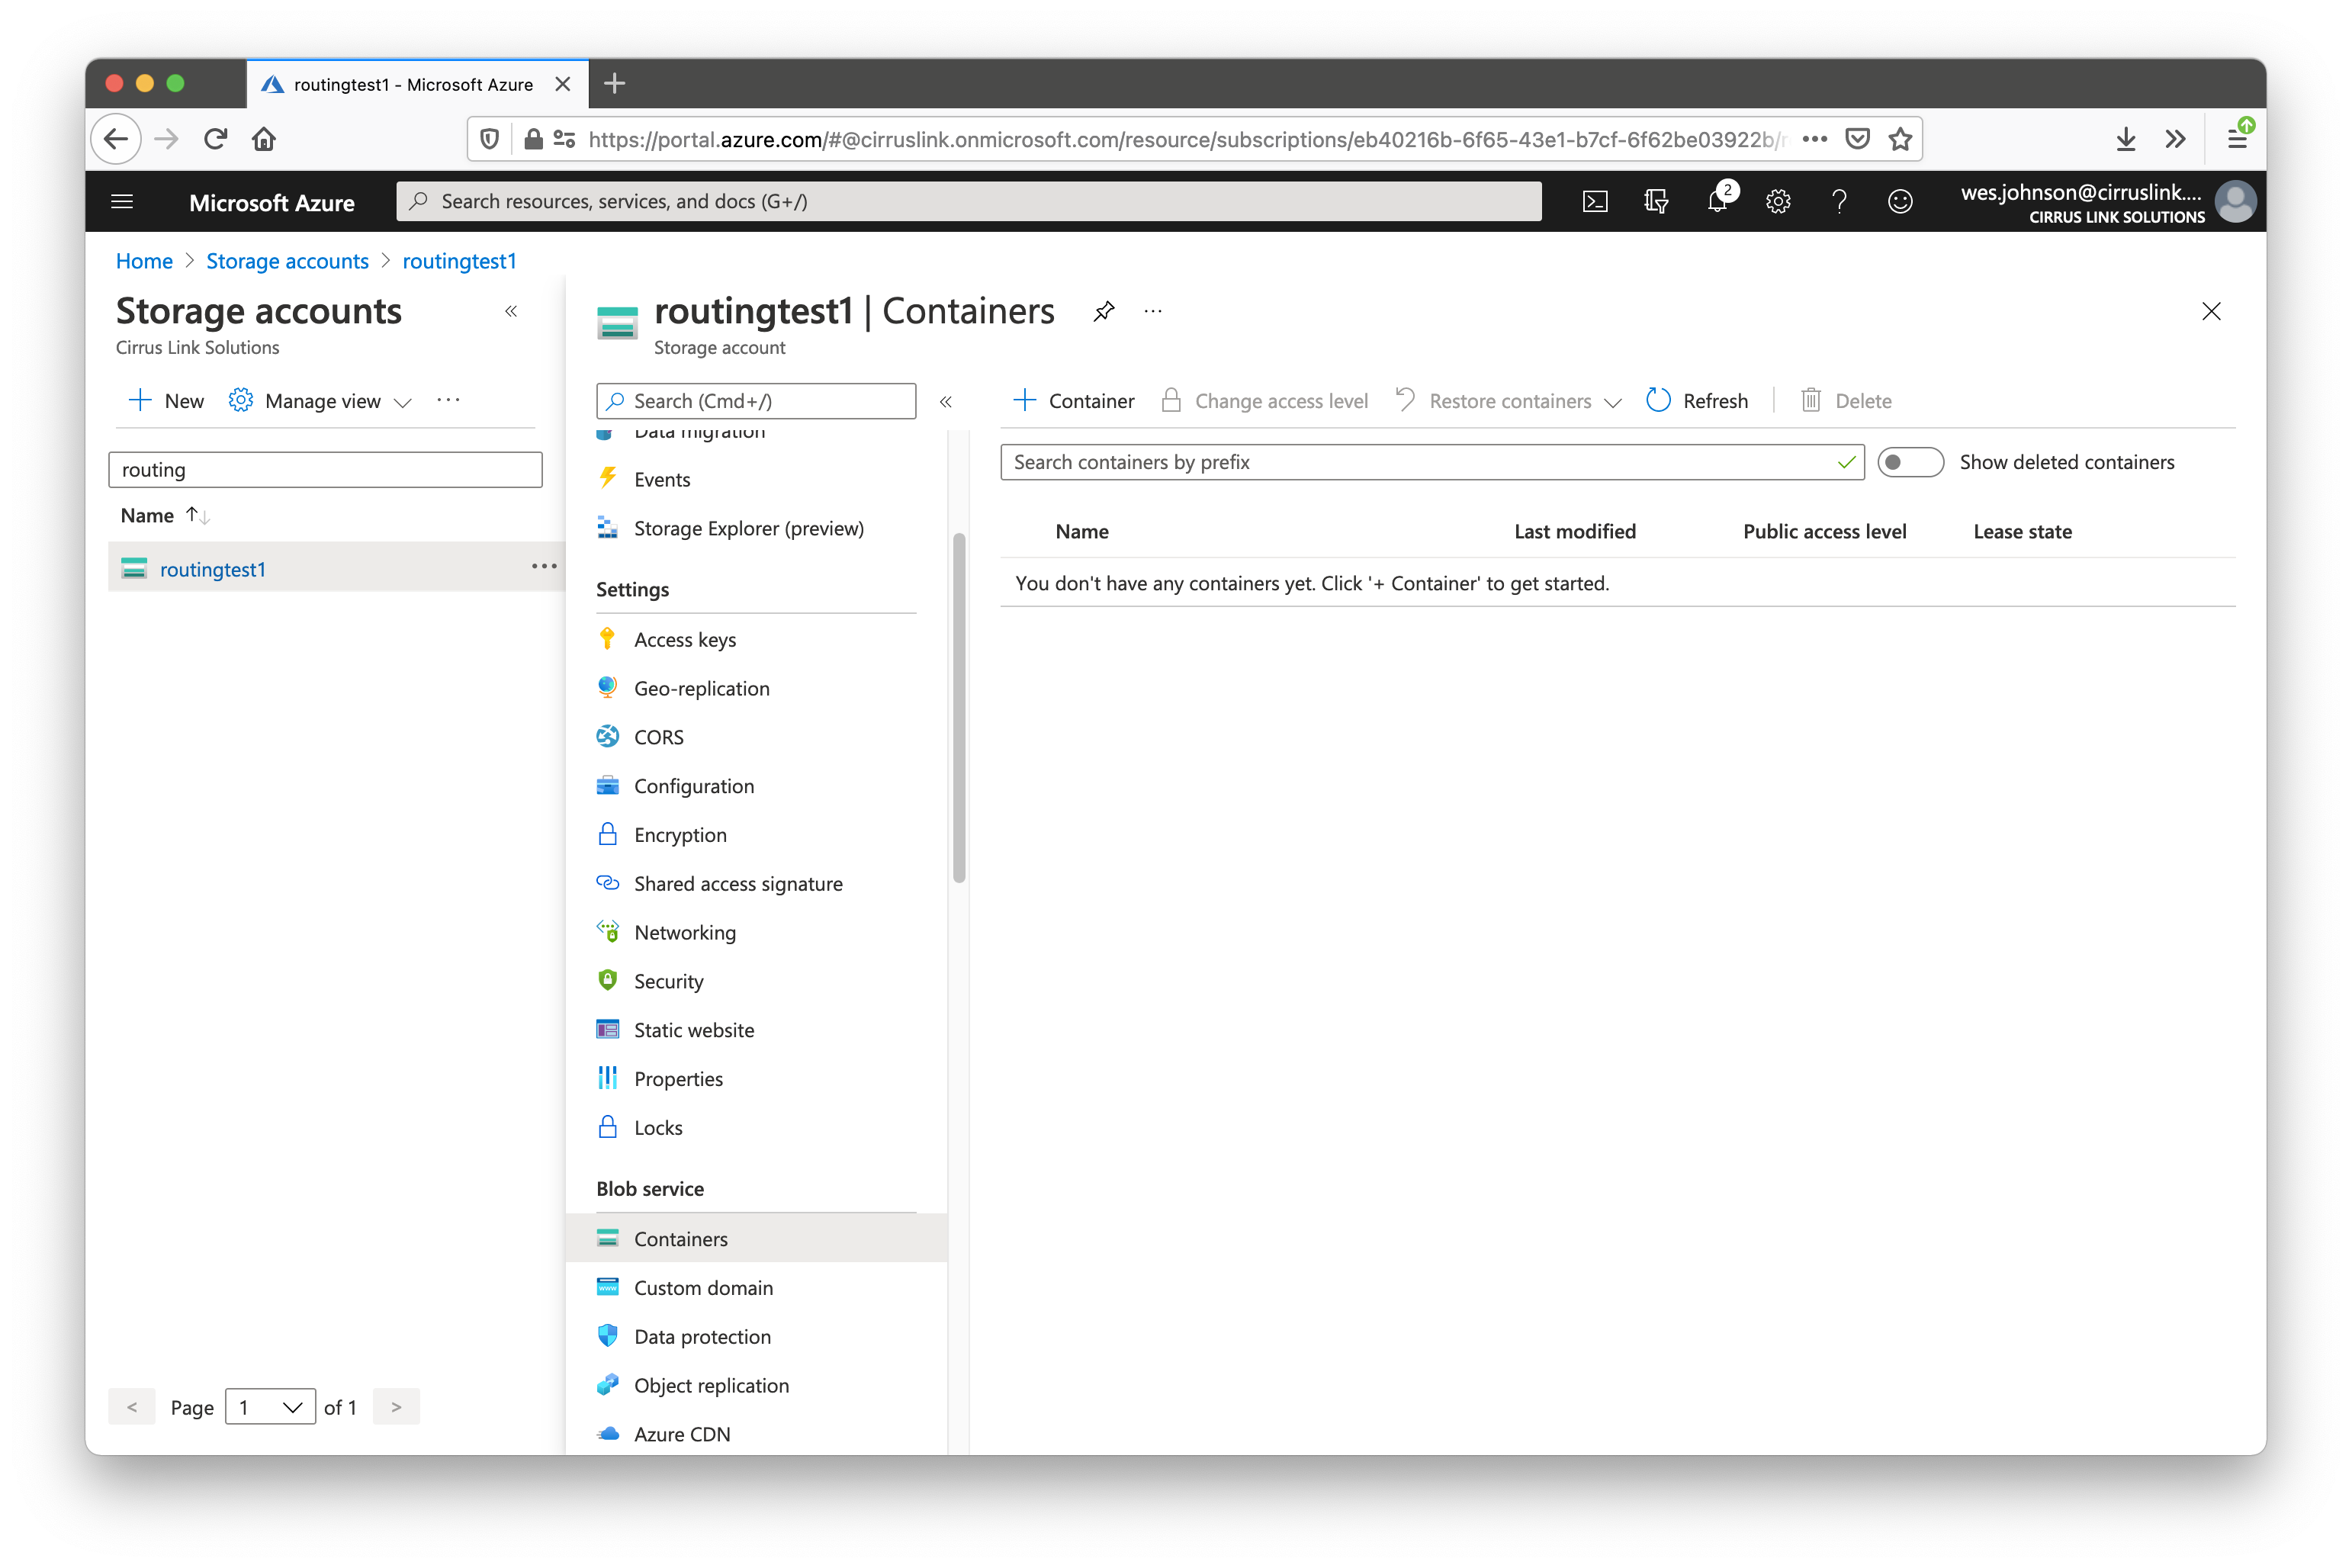 Image Added
Click the '+ Container' button near the top of the main panel. This will open a new panel on the right. Give the new container
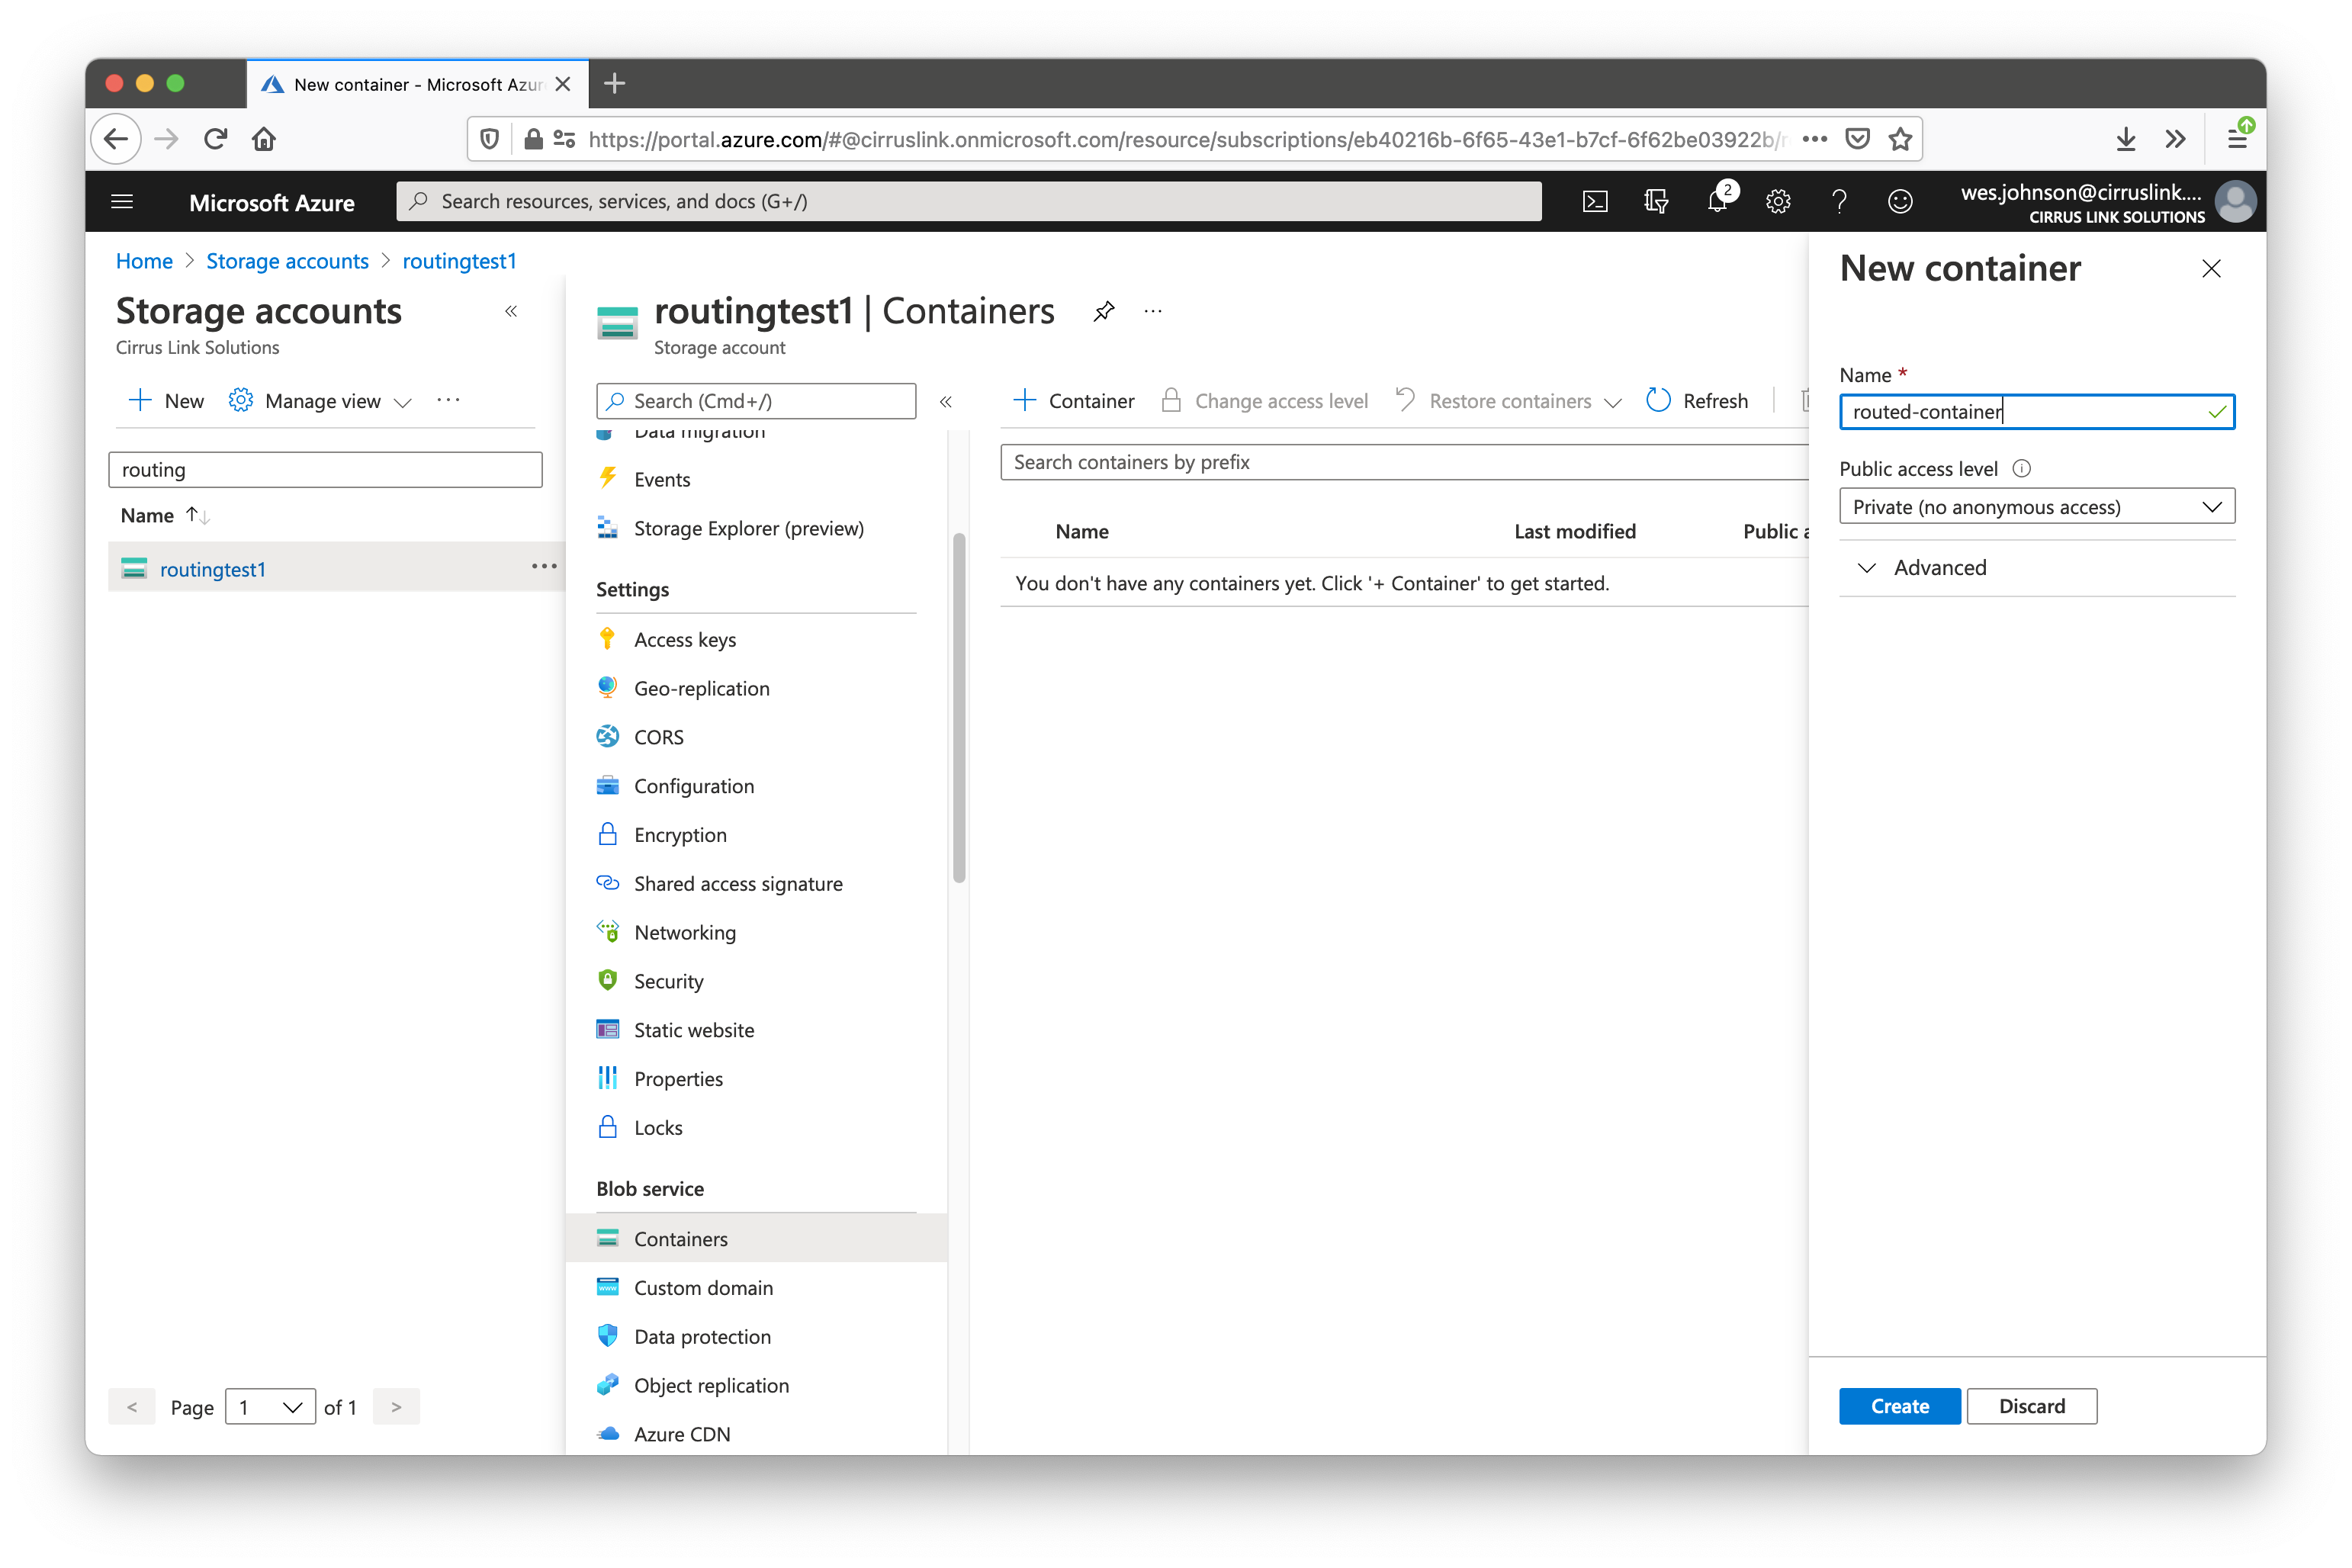 Image Added
Step 3: Configure a Message Route in Azure IoT Hub
...