...
Step 1: Set up an IoT Central Application
Browse to Azure IoT Central. Then select the applications tab as shown below.
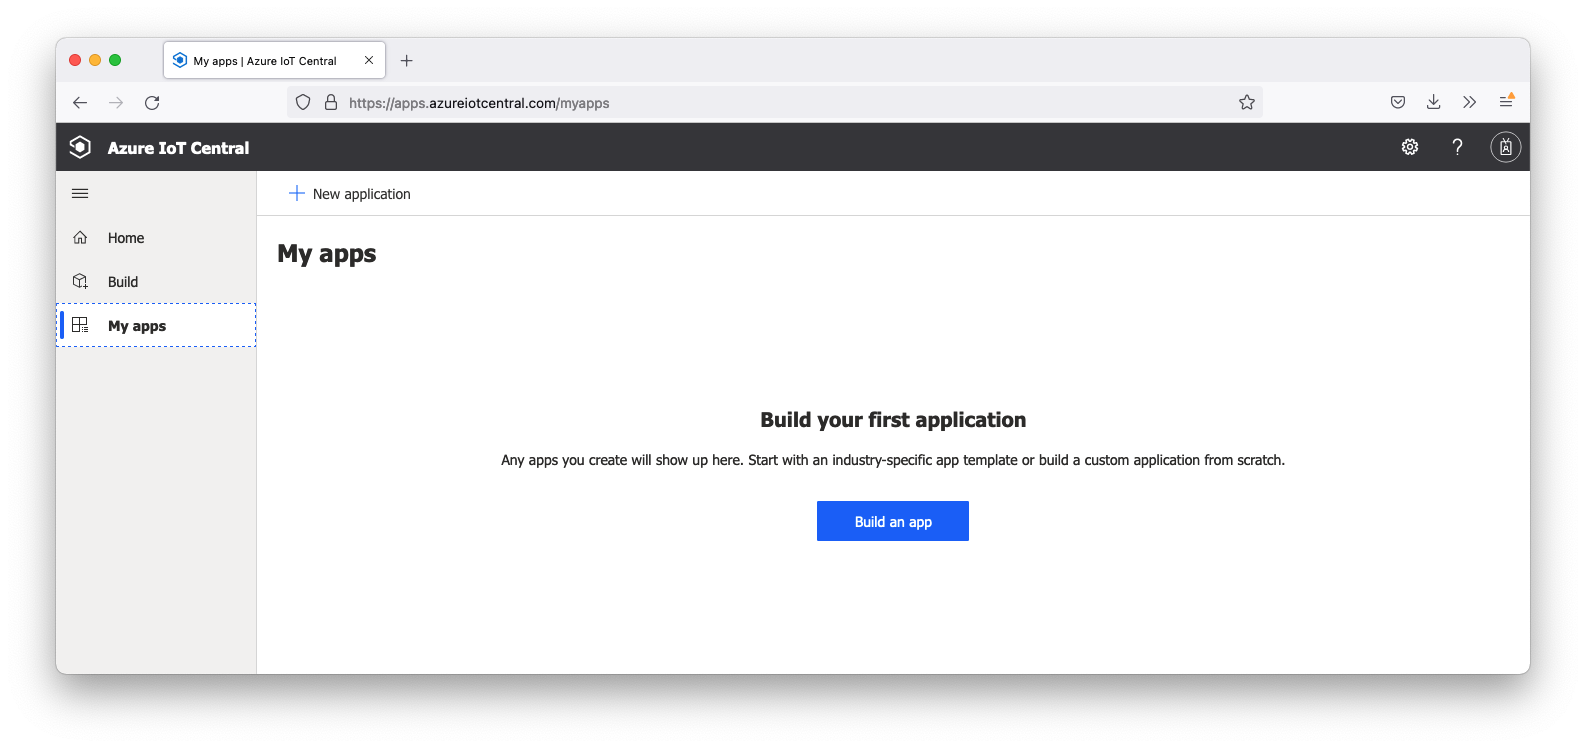 Image Removed
Click the 'Build an app' button in the middle of the window. Afterward, you should see the the following.
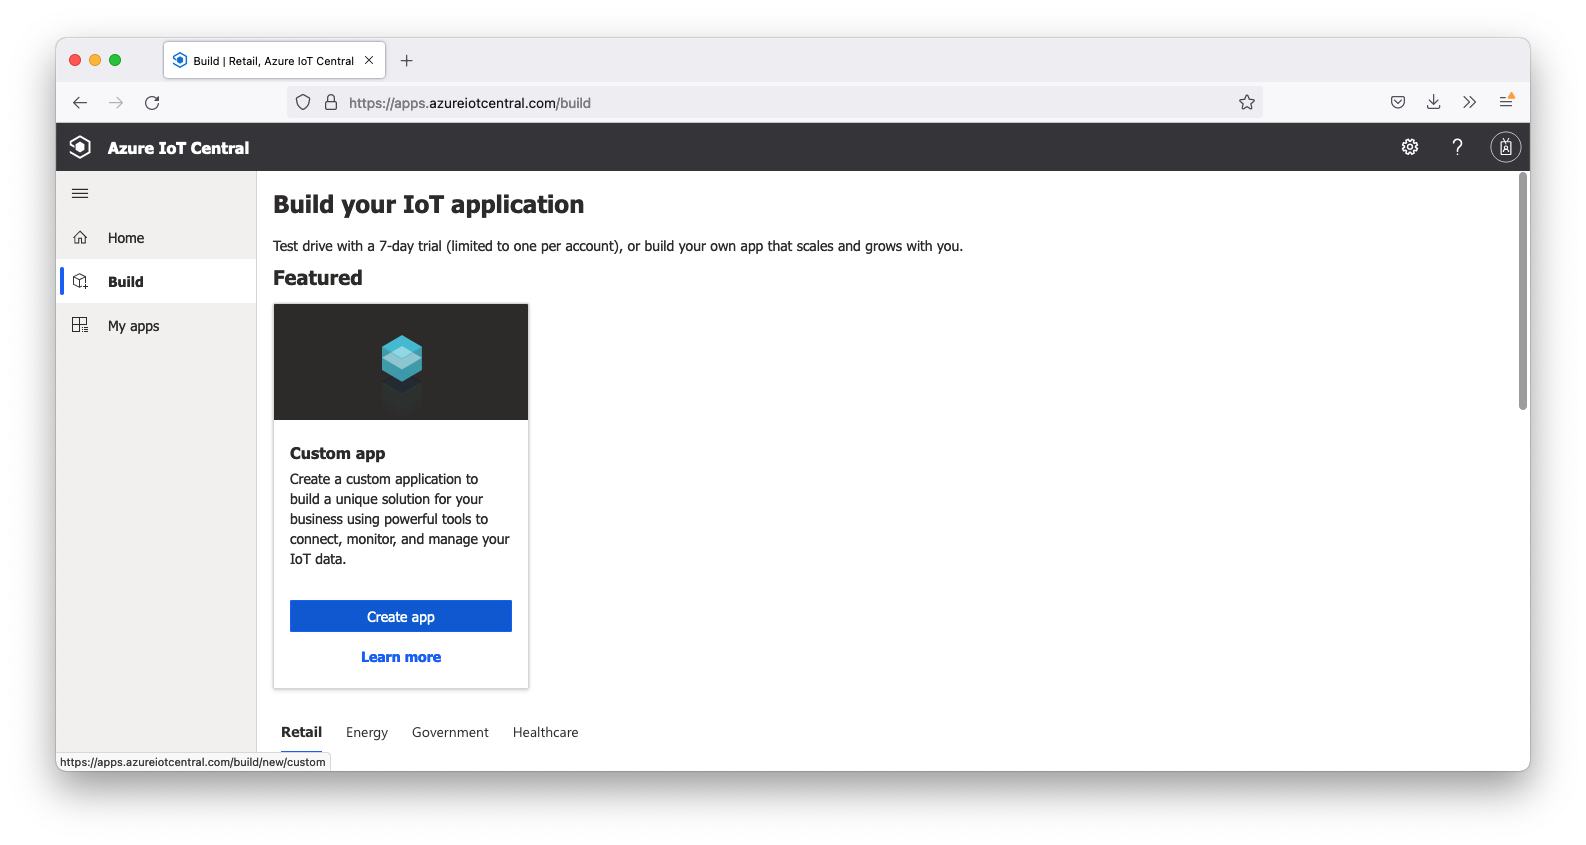 Image Removed
Click the 'Create app' in the Custom app tile window. This will open the following screen.
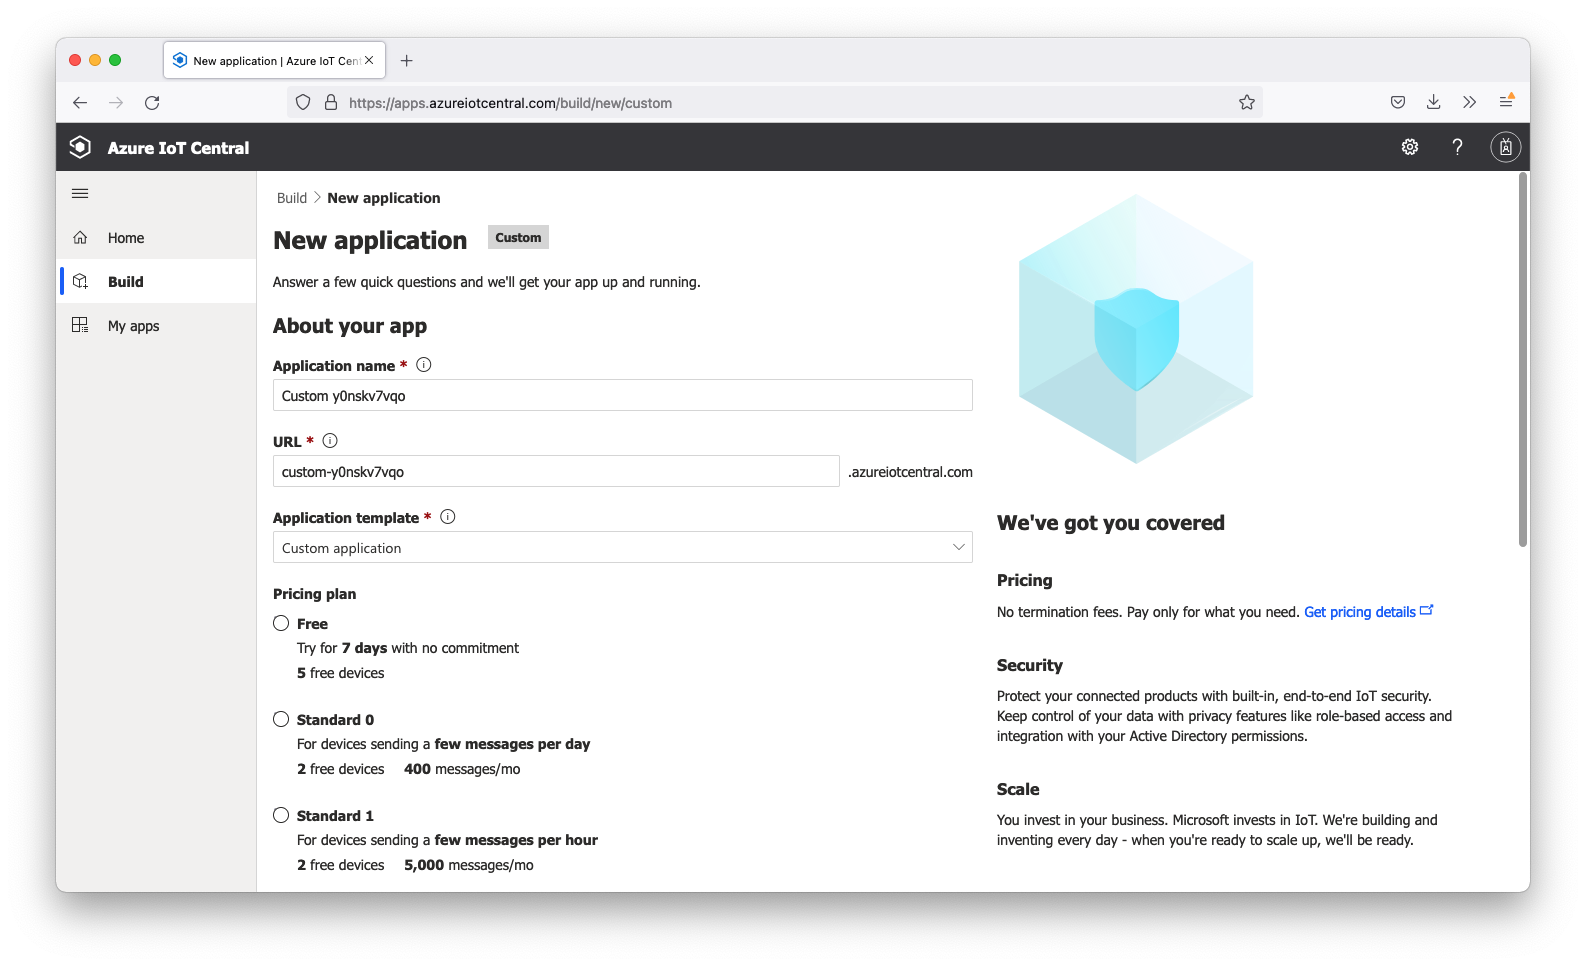 Image Removed
Follow the instructions in the Microsoft IoT Central How-to Guide for creating an IoT Central Application
Step 2: Set up a Device
Follow the instructions in the Microsoft IoT Central How-to Guide for adding a device to your Azure IoT Central application
Once configured, the device Modify the Application name, URL, and select a Pricing plan. Once all fields have been configured, click the 'Create' button at the bottom of the screen. Once complete, you should see your new application which should look similar to the following.:
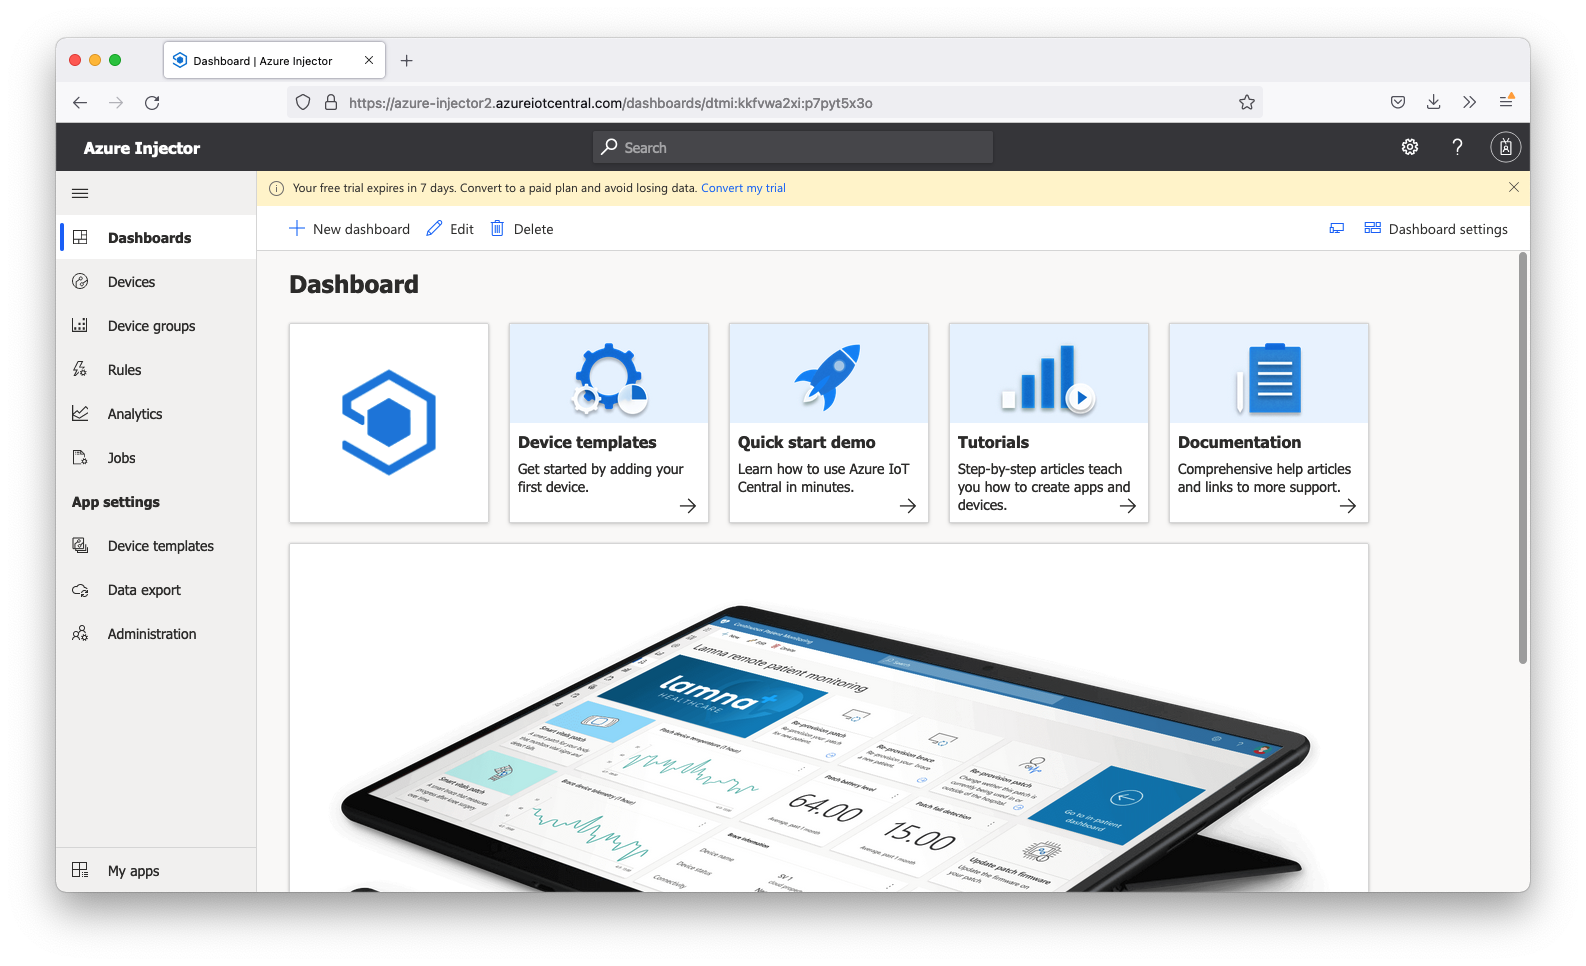 Image Removed
Now select 'Devices' on the left. You should see the following.
 Image Removed
Now click 'New' in the upper area. Give the Device a name and an ID as shown below.
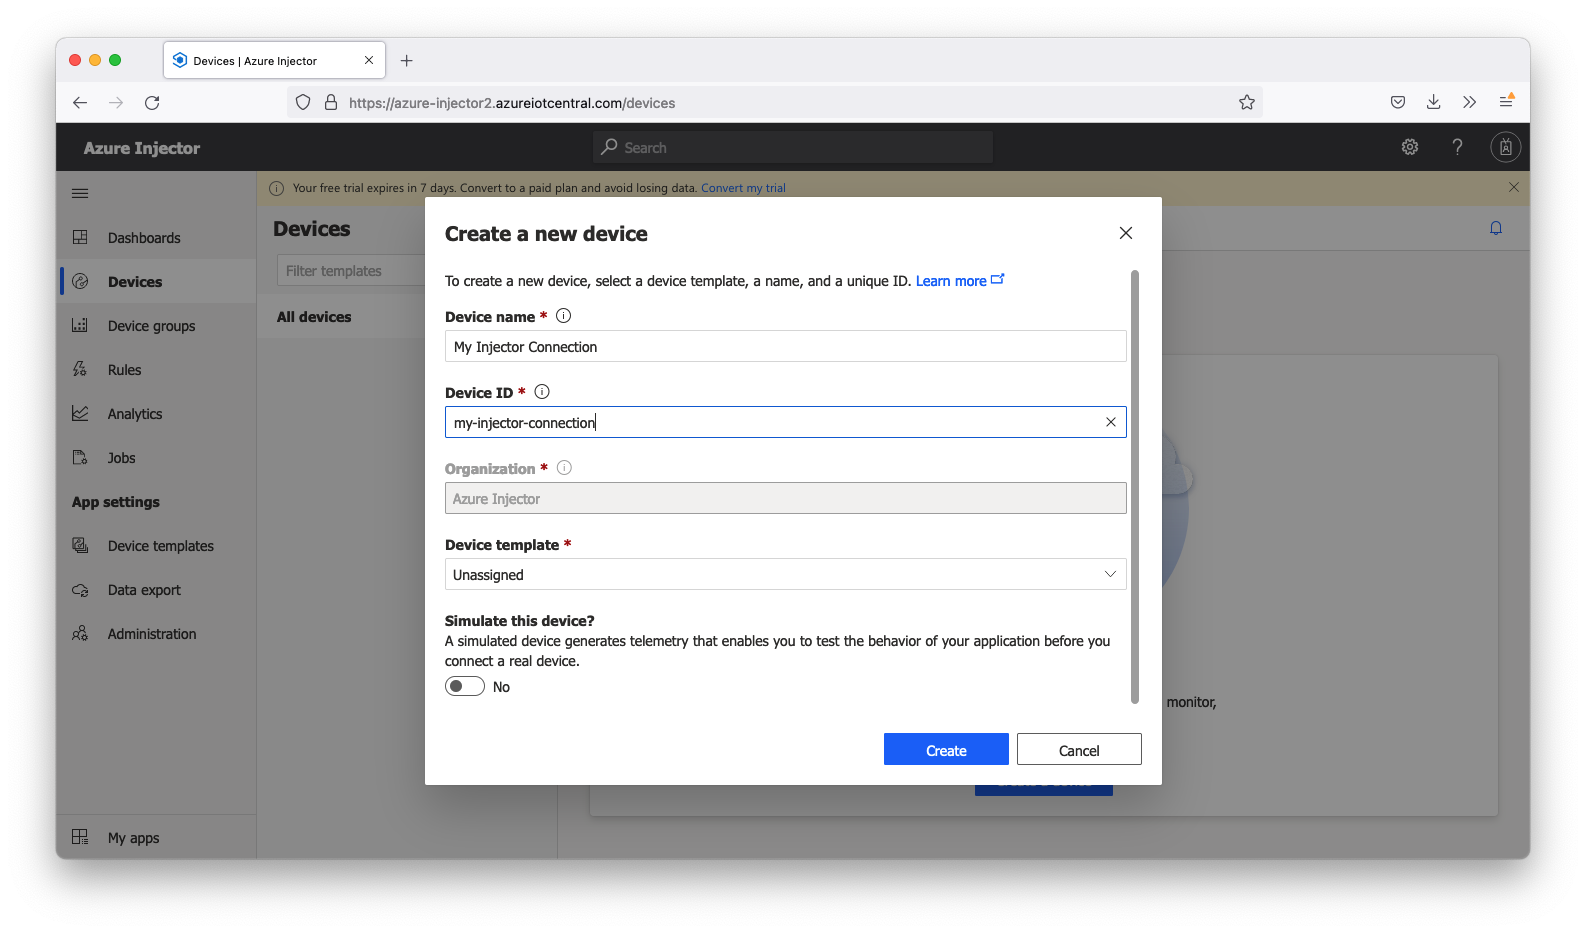 Image Removed
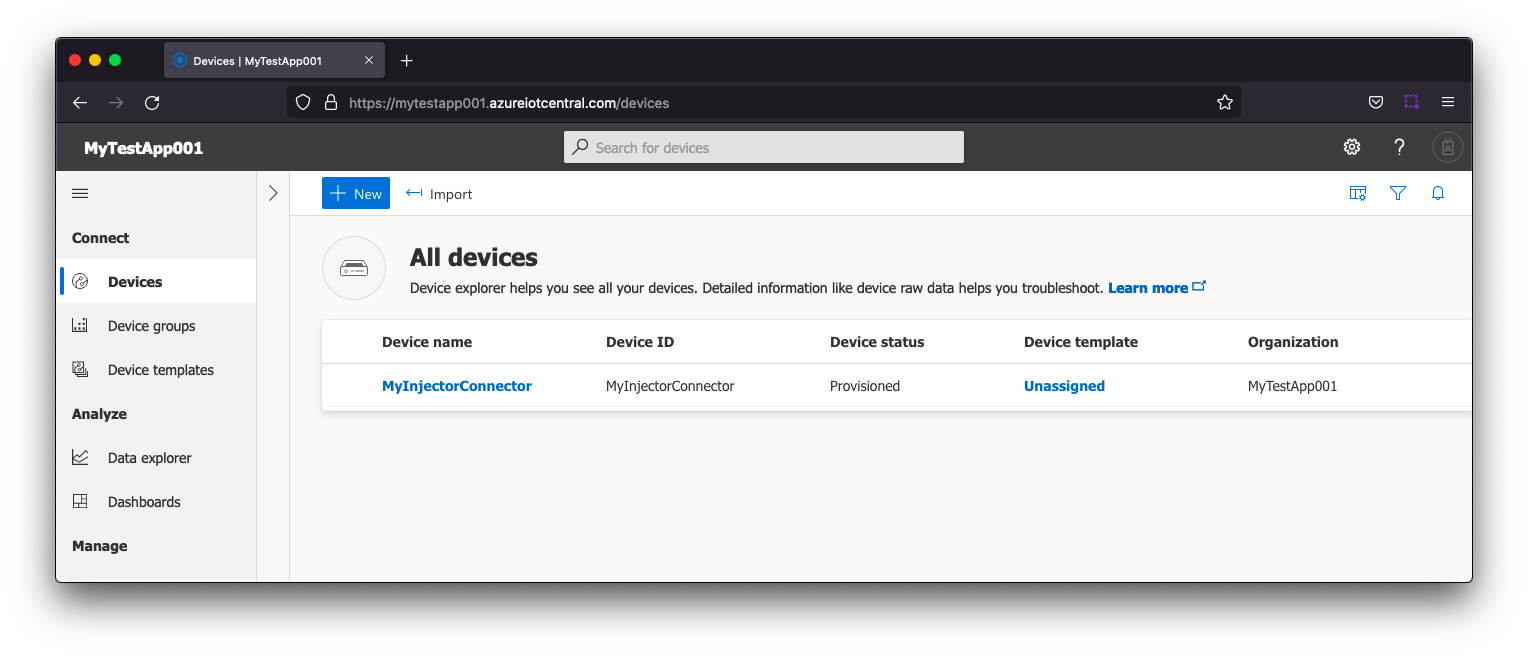 Image Added
| Note |
|---|
| Info |
|---|
| Make sure to note the 'Device ID' as this will be used later in the configuration of Azure Injector |
Finally, click 'Create' to create the new device. When complete, it should look similar to the following.
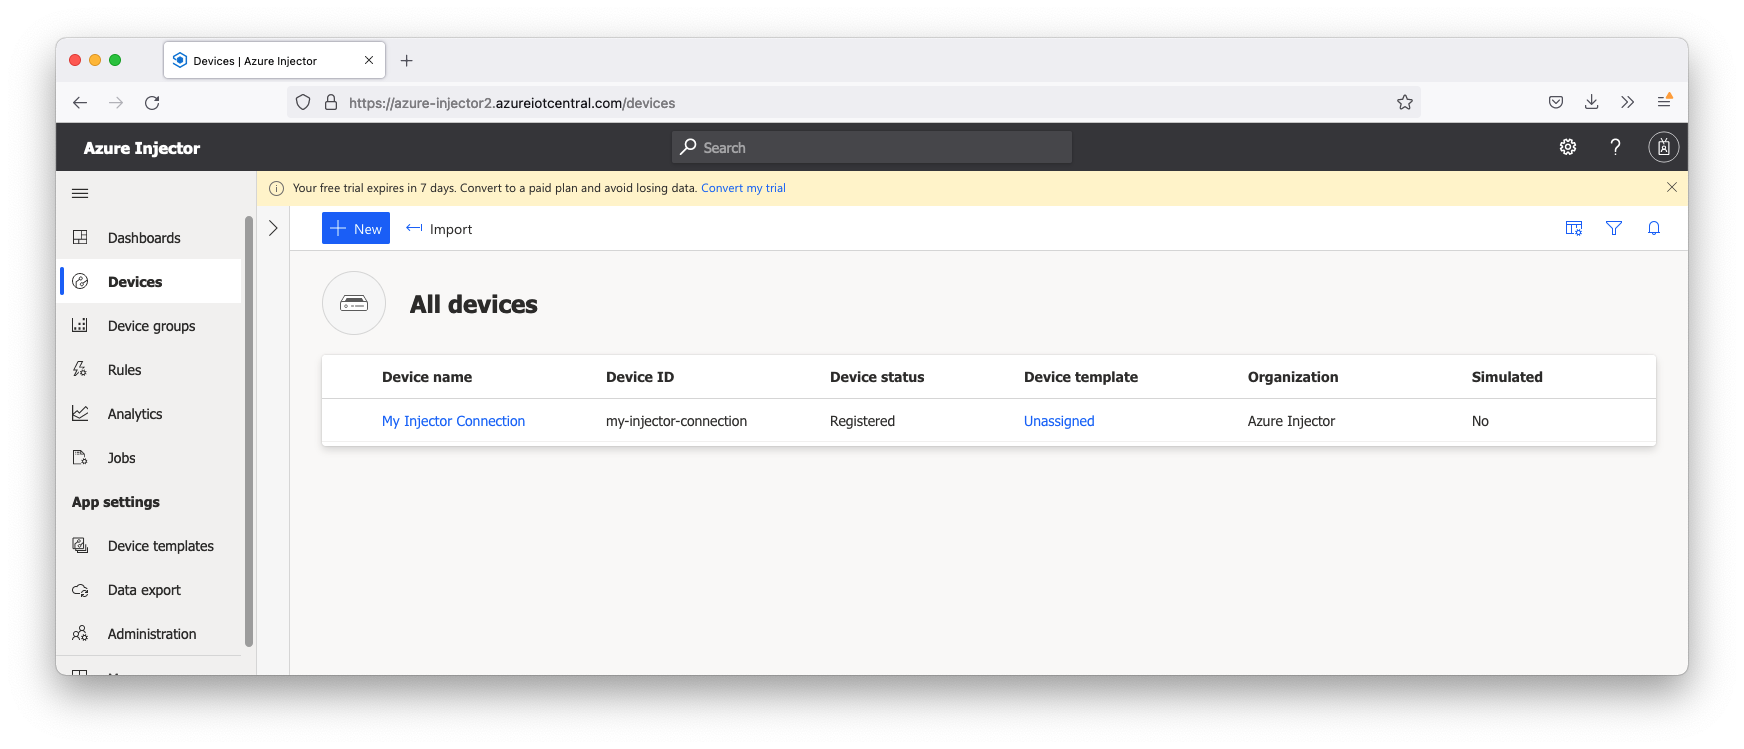 Image Removed
...
Step 3: Record Security Permissions needed
From Security > Permissions > Device connection groups, record the "ID scope" as this will be used later in the configuration of Azure Injector. Image Added
From Security > Permissions > Device connection groups > SAS-IoT-Devices > Shared access signature (SAS), record either the "Primary key" or "Secondary key" as this will be used later in the configuration of Azure Injector.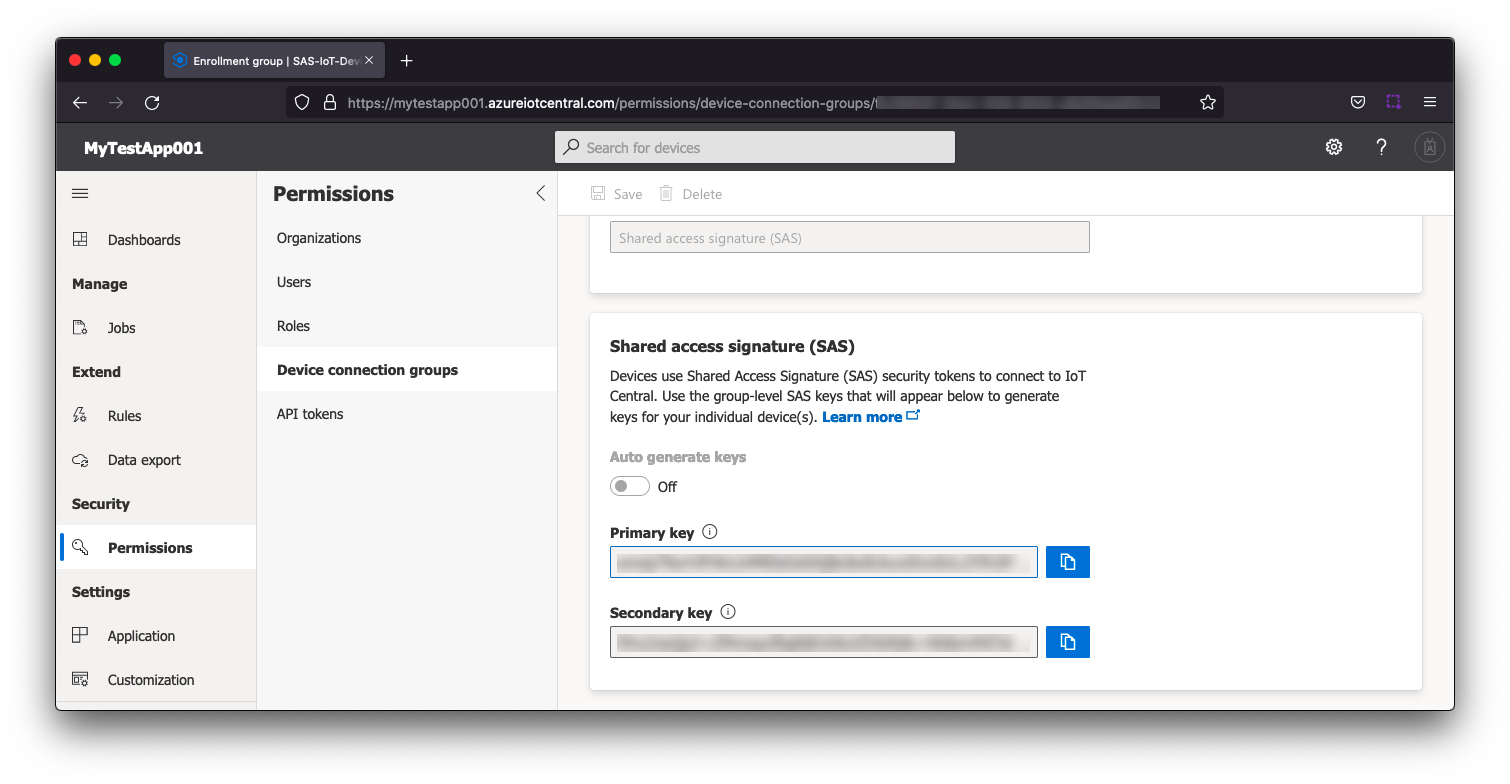 Image Added
Step 4: Configure the Azure Injector Module
Once you have Ignition and the Azure Injector Module installed and running we can setup the configuration to connect to your existing Azure IoT Central endpoint.
...
- Setting Name
- This can be any string that makes sense that represents this connection.
- Enabled
- Scope ID
- This is the ID scope recorded in Step 3
- Found under Security -> Permissions -> Device connection groups found in the Azure IoT Central application view under 'Administration → Device connection'. It is labeled 'ID scope'
- Password (Azure Enrollment Group Symmetric Key)
- This is the Primary key or Secondary key recorded in Step 3
- Found under Security found in the Azure IoT Central application view under Security -> Permissions -> Device Connection Groups connection groups -> [SAS-IoT-Devices] -> SAS -> Primary /Second key or Secondary key. Either the primary or secondary key can be used for the connection.
- Global Endpoint
- Provisioned Device ID
- Use This is the Device ID that was provisioned in step 1 Step 2 of this tutorial (as part of provisioning the Azure IoT Central application)tutorial
All other fields can remain default. Finally, click 'Save Changes' at the bottom of the configuration page. After a bit of time (about 30s or so) you should see the status go from 'Disconnected' to 'Connected' as shown below.
...
Once the Tag Agent is setup as needed, you can jump to Step 46: Publishing data.
If you do not have Ignition tags defined we will do that in the next step with a tag tree depth that requires no additional Sparkplug settings.
Step
...
5: Create tags to be published in Designer
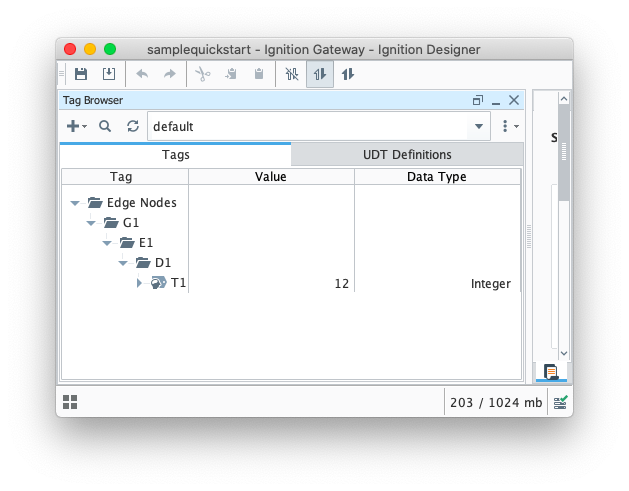
When the Azure Injector module is installed in Ignition, an Edge Node folder is automatically created in the 'default' Ignition tag provider.
...
| Tip |
|---|
| Refer to the Ignition Tag Browser and Creating Tags documentation for assistance in configuring Ignition tags |
...
...
Step ...
6: Publishing data
When the Azure Injector module is installed in Ignition, an Azure Injector tag provider is automatically created. This folder will contain both information tags about the module's version and state, as well as control tags for refreshing the module and Tag Agents.
...
| Code Block |
|---|
{
    "_unmodeleddata": {
        "topic": {
            "namespace": "spBv1.0",
            "edgeNodeDescriptor": "G1/E1",
            "groupId": "G1",
            "edgeNodeId": "E1",
            "deviceId": "D1",
            "type": "DBIRTH"
        },
        "payload": {
            "timestamp": 1638223073192,
            "metrics": [
                {
                    "name": "T1",
                    "timestamp": 1638223073192,
                    "dataType": "Int32",
                    "metaData": {},
                    "properties": {
                        "Quality": {
                            "type": "Int32",
                            "value": 192
                        }
                    },
                    "value": 12
                }
            ],
            "seq": 1
        }
    },
    "_eventtype": "Telemetry",
    "_timestamp": "2021-11-29T21:57:54.098Z"
} |
Step
...
7: Force a data change
Because Azure Injector is driven by tag change events, try writing a '10' to the T1 tag. Do this by double clicking the T1 tag in Designer and updating the Value parameter.
...