...
Upon completion of this module you will have an Ignition Gateway connected and publishing live Tag data to an Azure IoT Hub.
Tutorial
Step 1: Set up an IoT Central Application
Browse to Azure IoT Central. Then select the applications tab as shown below.
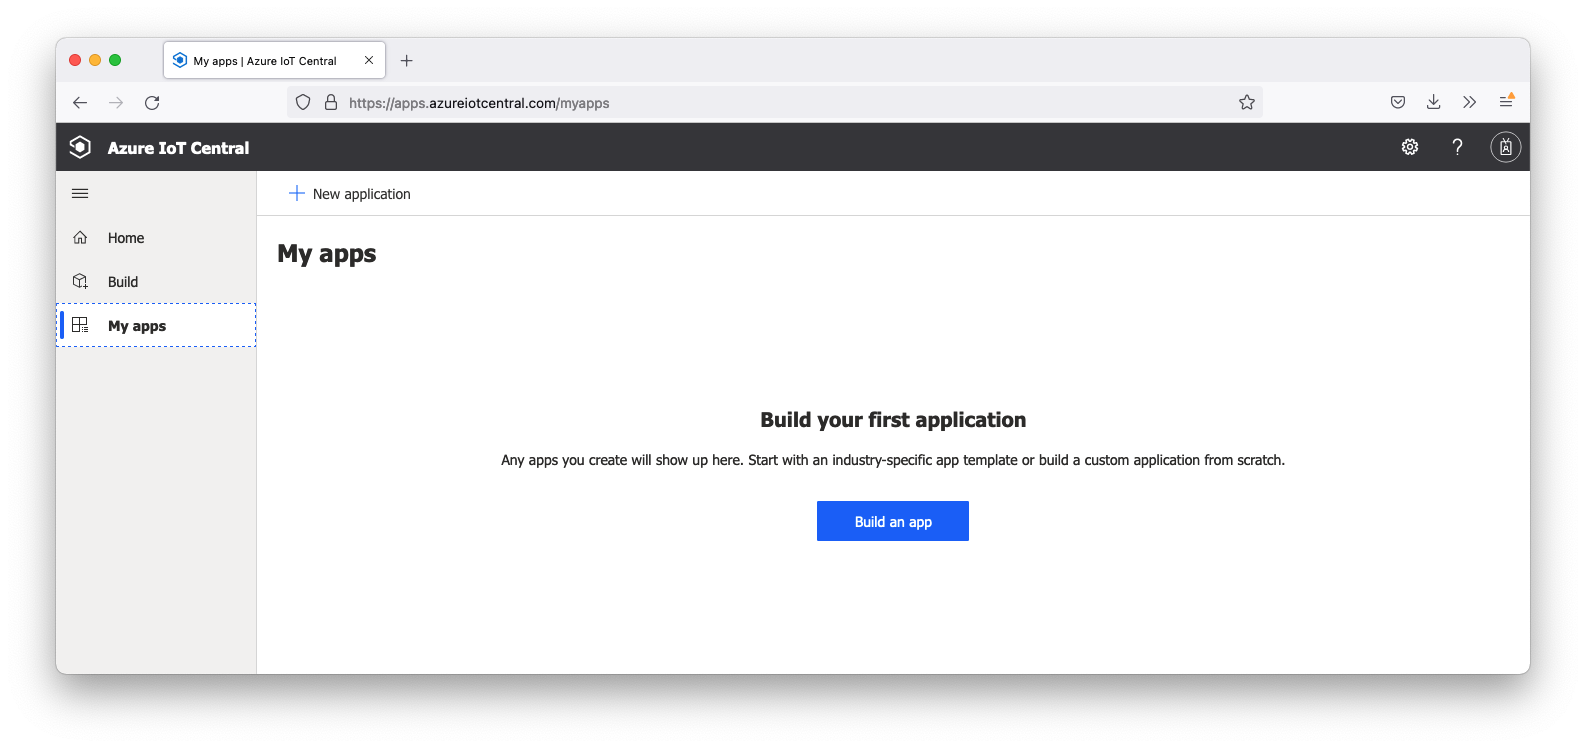 Image Added
Click the 'Build an app' button in the middle of the window. Afterward, you should see the the following.
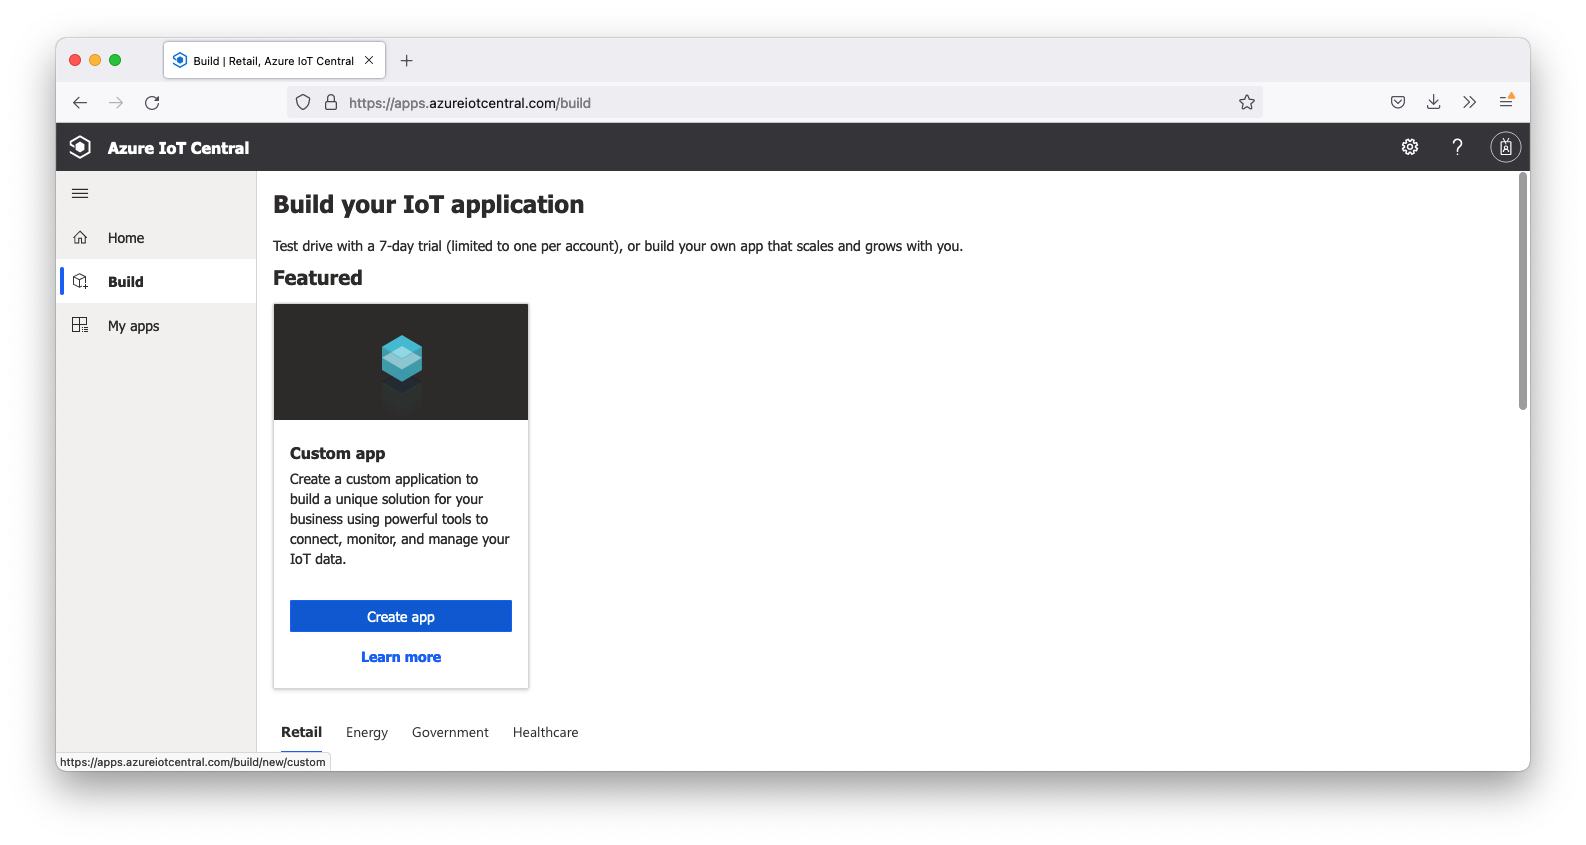 Image Added
Click the 'Create app' in the Custom app tile window. This will open the following screen.
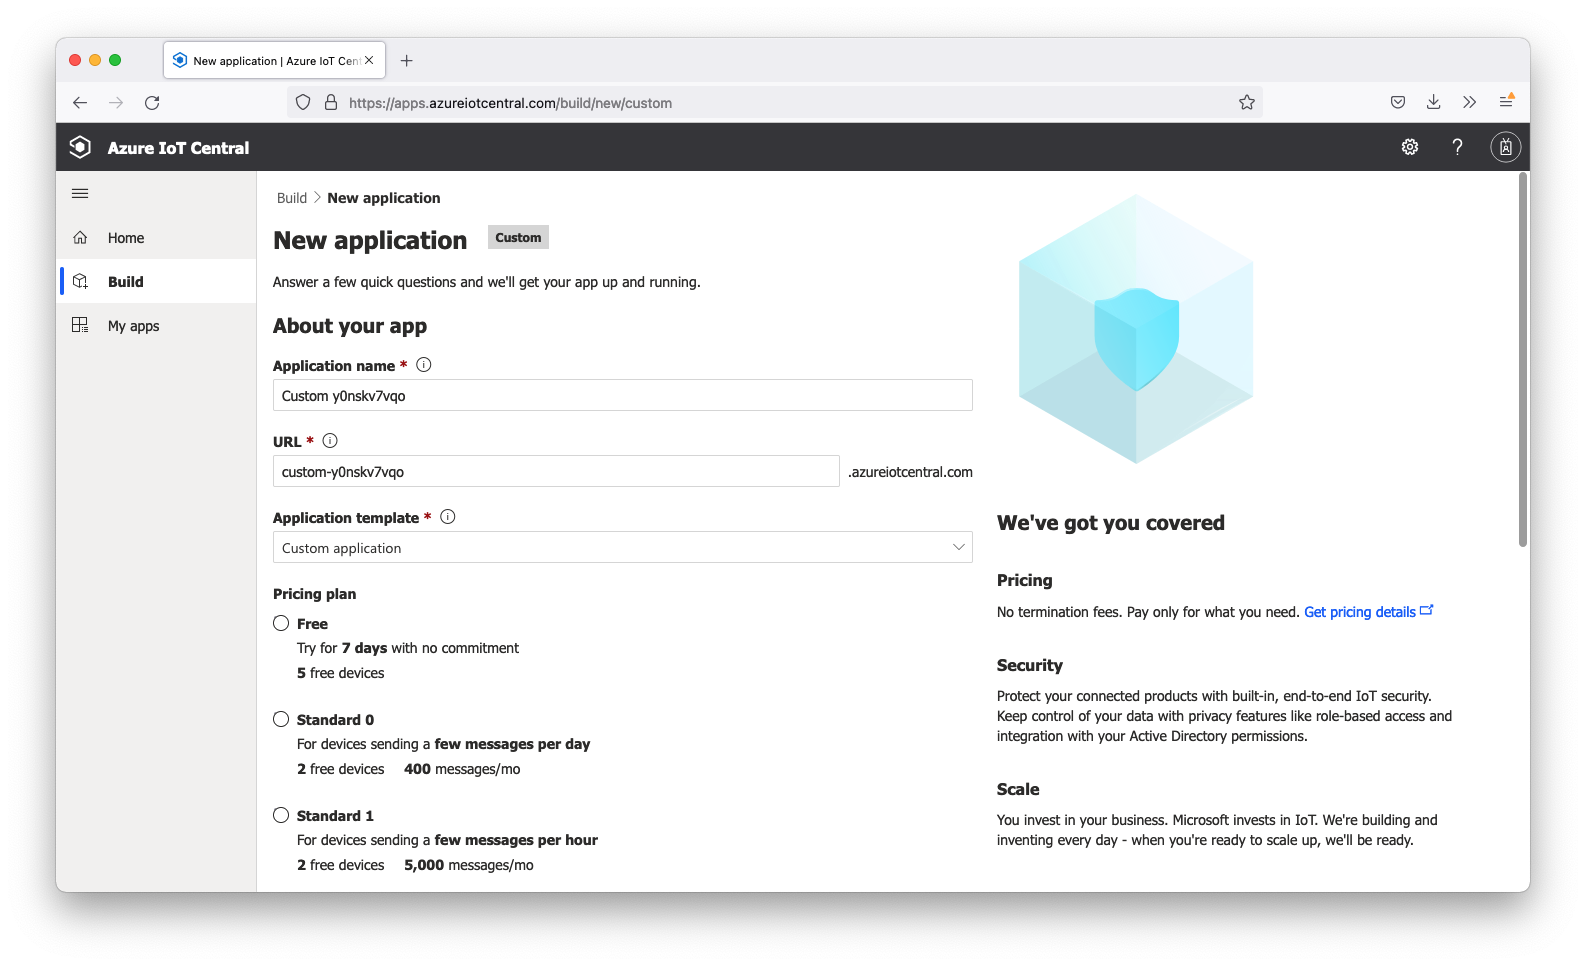 Image Added
Modify the Application name, URL, and select a Pricing plan. Once all fields have been configured, click the 'Create' button at the bottom of the screen. Once complete, you should see your new application which should look similar to the following.
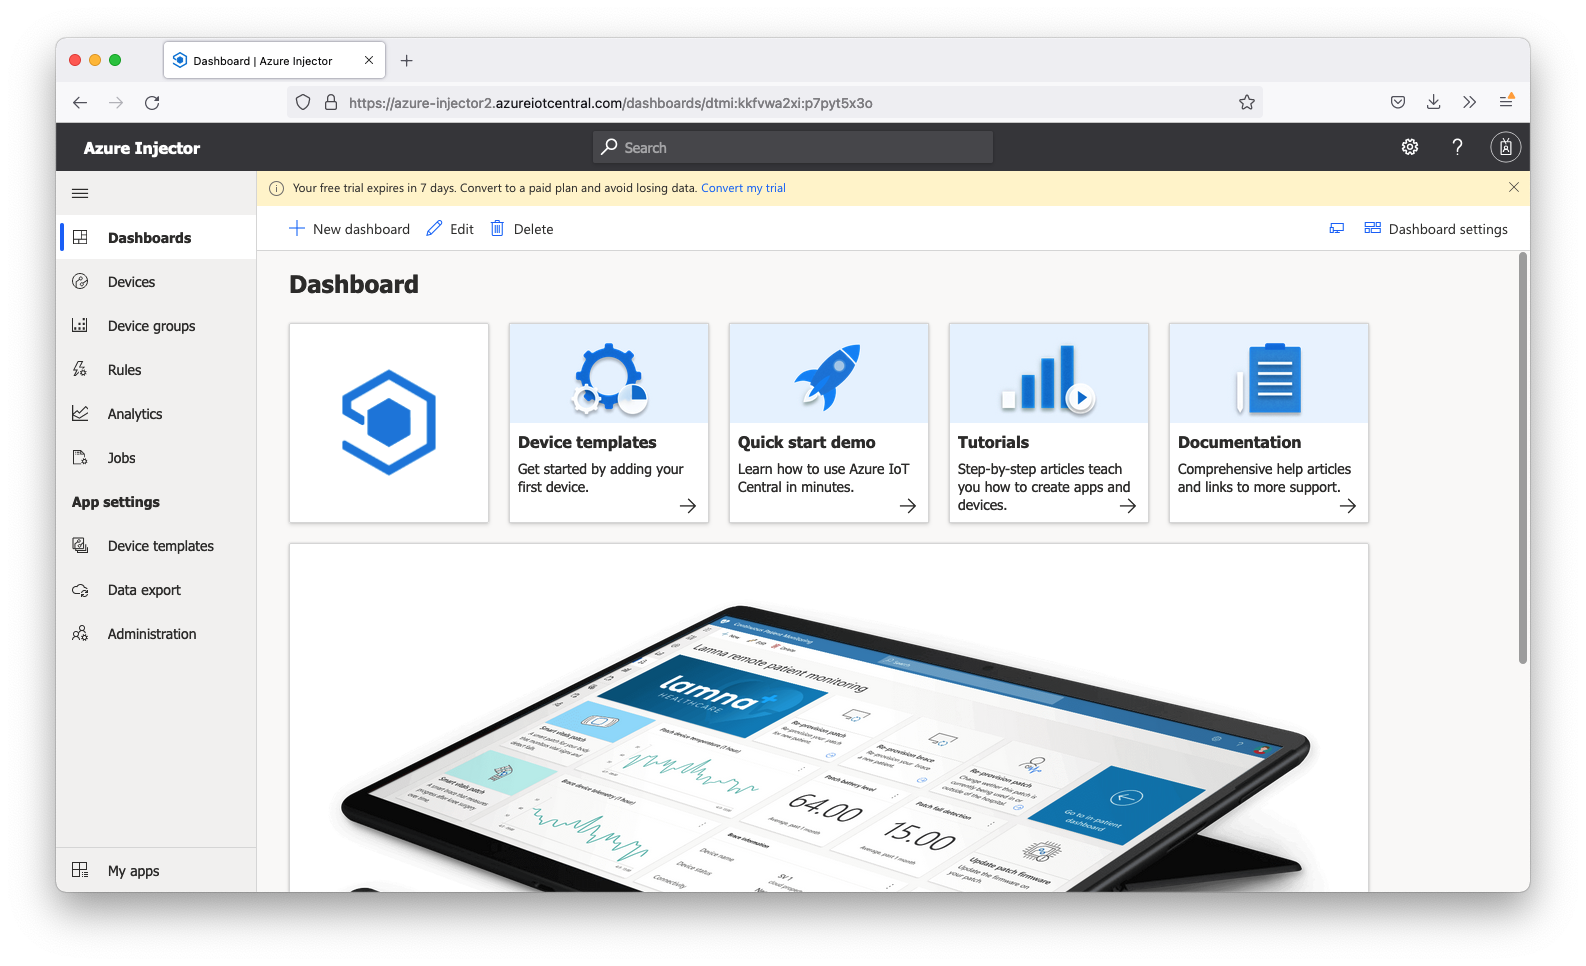 Image Added
Now select 'Devices' on the left. You should see the following.
 Image Added
Now click 'New' in the upper area. Give the Device a name and an ID as shown below.
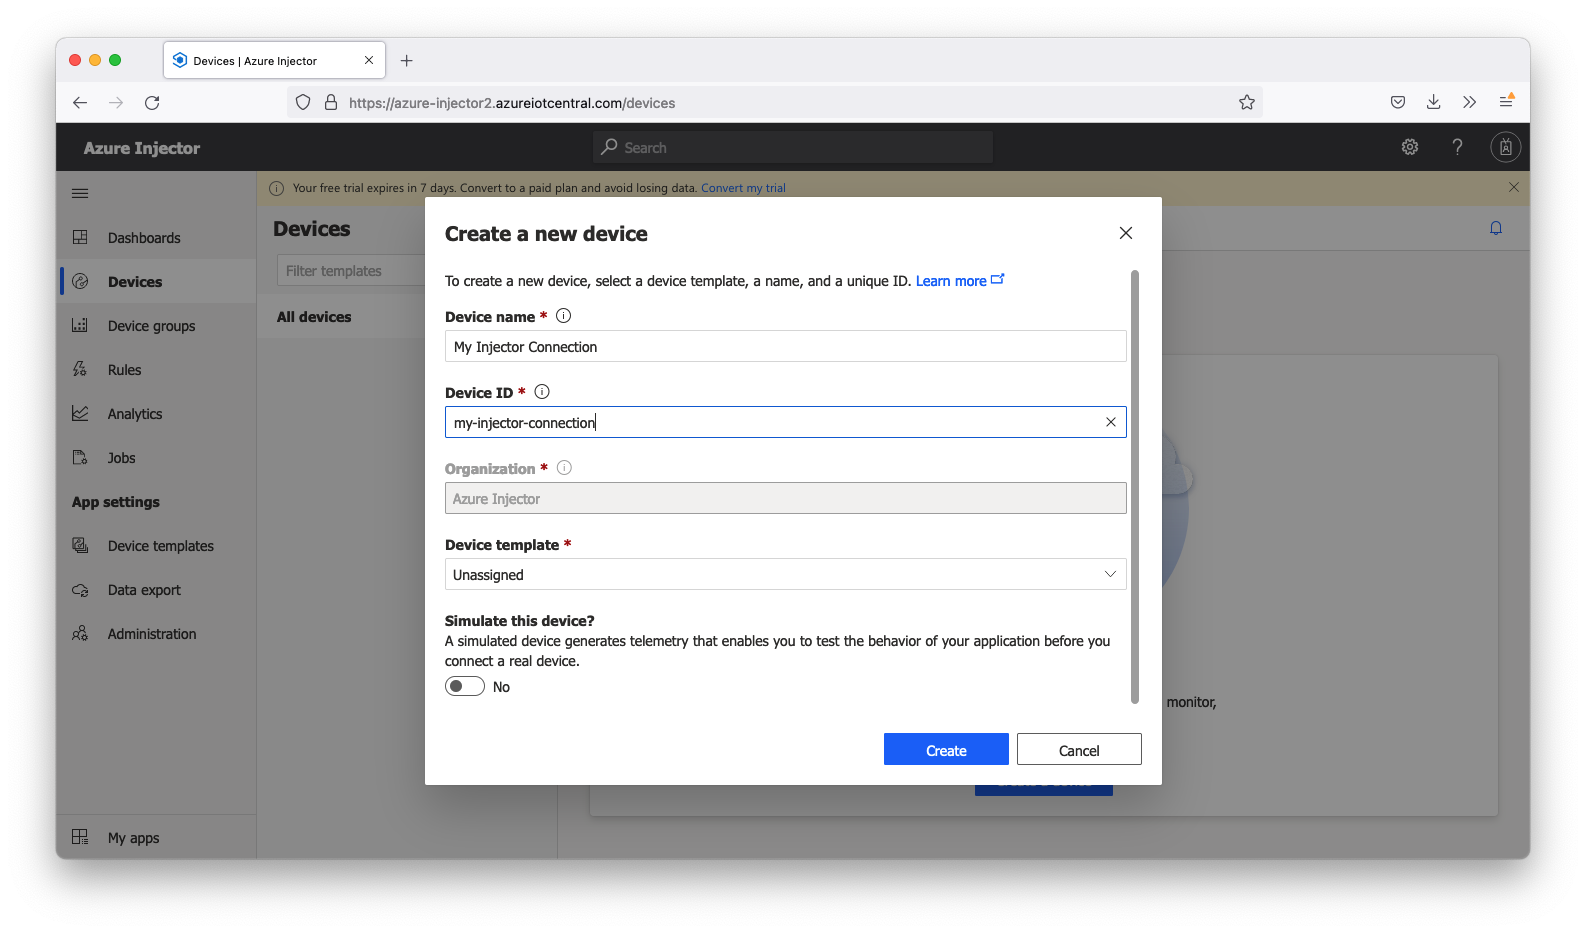 Image Added
| Info |
|---|
Make sure to note the 'Device ID' as this will be used later in the configuration of Azure Injector |
Step 2: Download and Install Ignition
Ignition is an Industrial Application Platform that can be used to create SCADA and HMI solutions. A fully functional Ignition system can be downloaded and run in trial mode.
...
Once the Ignition installer has been downloaded, follow the instructions provided by Inductive Automation to install and startup Ignition.
Step
...
3: Download and Install the Cirrus Link Azure Injector Module
Go to the Inductive Automation download page again and select the 'Strategic Partner Modules' tab. Find the Cirrus Link modules section and download the Azure Injector Module.
https://inductiveautomation.com/downloads/ignition. The download links should look similar to what is shown below.

Step
...
4: Configure the
...
Azure Injector
Once you have Ignition installed and running, and the Azure Injector module downloaded, browse to the Ignition Gateway console (e.g. http://localhost:8088). Login Log in using the default credentials of admin/password. credentials that were provisioned during the Ignition setup process or some other valid credentials. Click on Configuration tab and then click on the Modules tab on the left side of the page. Scroll to the bottom of the Modules section and click on the Download/Upgrade modules button. When prompted, select the Azure Injector module the Azure Injector module from the file browser and install it. When complete, the Ignition Gateway Web UI module section should look similar to what is shown below:
 Image Removed
 Image Added
Select the "AZURE INJECTOR" → "Settings" link on the lower left of the page to navigate to the Azure Injector Module's configuration page. A detailed explanation of each configuration tab can be found here. For this tutorial, we will only be adding a new Azure IoT Hub Central Setting.
Click on the "Create new Azure IoT Hub Central Setting..." link to bring up the following configuration form:
 Image Removed
 Image Added
For Set the following fields.
...
...
- be any string that makes sense that represents this connection.
- Enabled
- Scope ID
- Password (Azure Enrollment Group Symmetric Key)
- Global Endpoint
- Provisioned Device ID