Prerequisites:
- Knowledge of Ignition and Module installation process: Cirrus Link Module Installation
- Install the following MQTT Modules
- MQTT Distributor
- v4.0.X if using Ignition 8.0.x
- MQTT Engine
- v4.0.X if using Ignition 8.0.x
- MQTT Transmission
- v4.0.X if using Ignition 8.0.x
- A device that supports Modbus over TCP
Overview:
Transmission is an MQTT module for Ignition that can convert Ignition tag data and tag change events into MQTT messages to be consumed by MQTT Engine or other MQTT clients. This tutorial will show how to configure MQTT Transmission to send OPC tag data in Ignition as MQTT messages via MQTT Distributor to MQTT Engine where they will be displayed.
The topology of this example shows MQTT Distributor, MQTT Engine, and MQTT Transmission all running in the same Ignition instance. This is done for simplicity of the tutorial. But, this isn't required or even intended to be a real use case. In a more realistic scenario MQTT Transmission and MQTT Engine would be located on separate machines.
Variations:
This tutorial shows how to use OPC tags and MQTT Transmission to generate MQTT messages based on tag change events. However, the tag source does not have to be an OPC tag. Instead, as long as the tag structure for MQTT Transmission is followed, any Ignition tag can be used to generate MQTT messages and/or be controlled via MQTT messages.
Sending OPC Tag Data with Transmission:
The first step is to configure the tag provider in Ignition in a way that MQTT Transmission understands. Start by configuring your OPC server, client, and tags. This can be done using the Inductive Automation documentation here. Once this is done, the Tag Provider needs to be set up in Ignition via the Ignition Designer. Using a Web Browser, browse to the Ignition Gateway on your Ignition Gateway. If it is running on your development machine, that is: http://localhost:8088. You should see this:
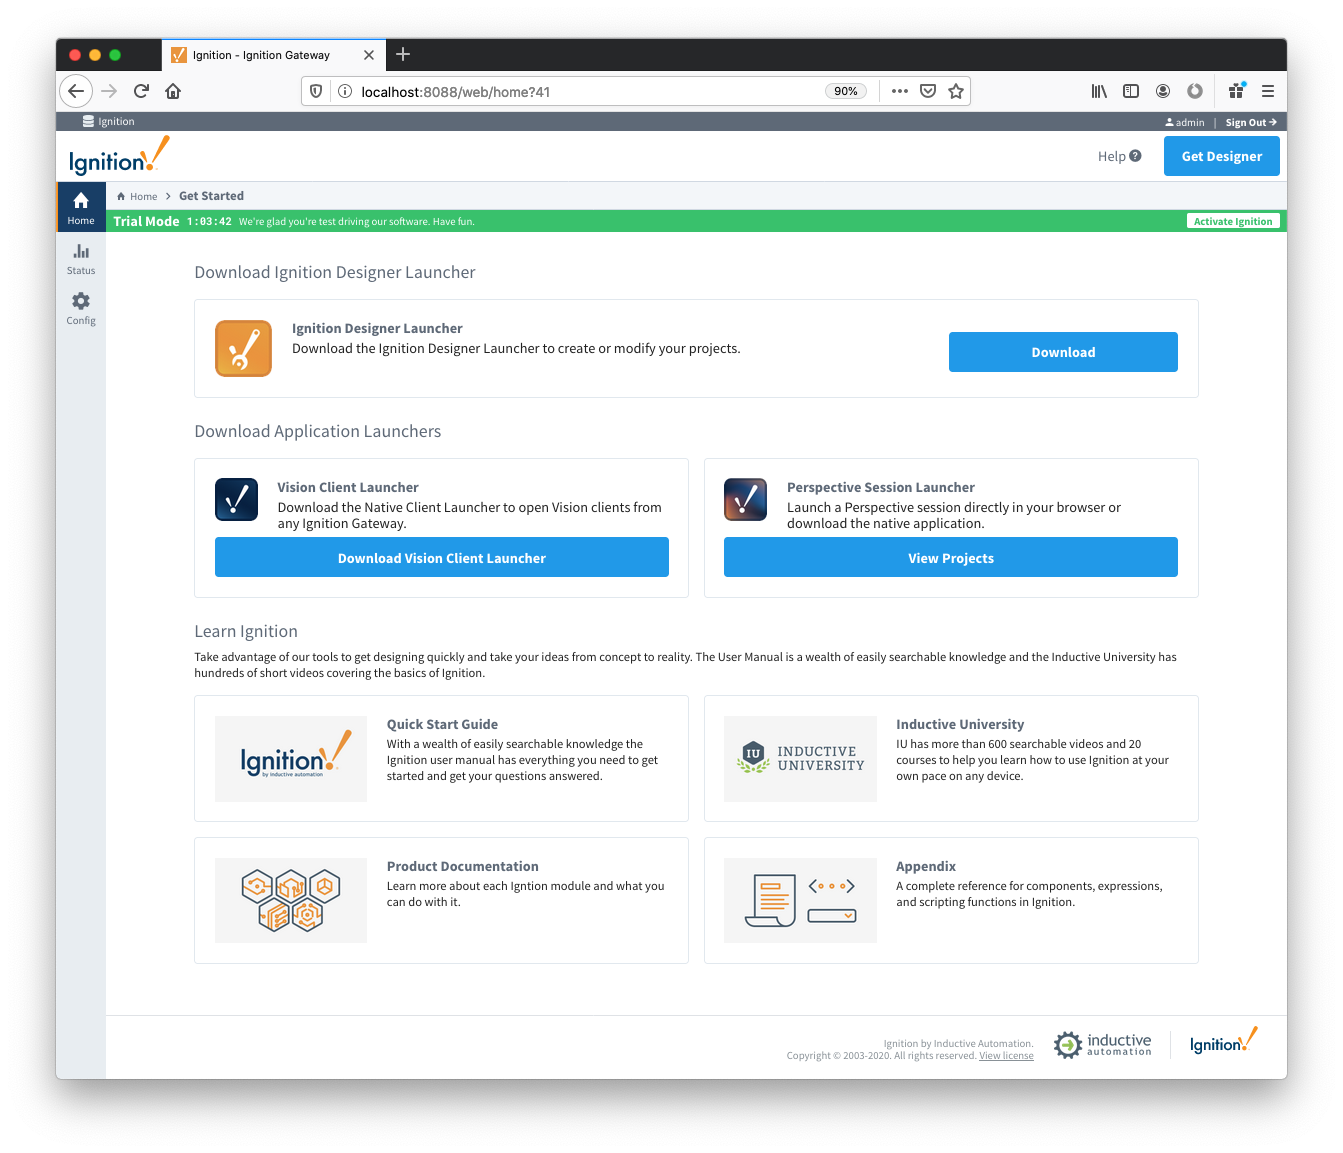
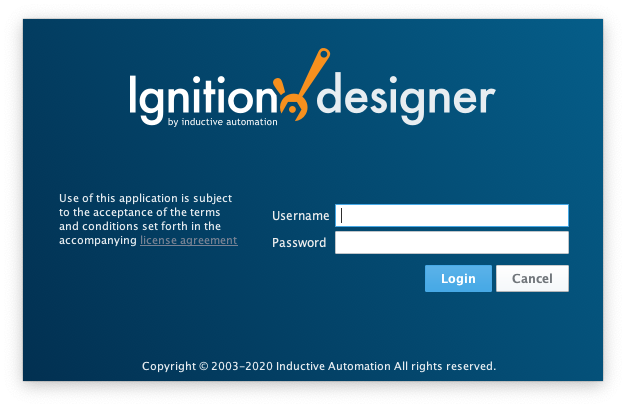
Near the upper right corner, click 'Get Designer'. This will take you to a screen to select the version of the Designer to download based on your operating system. Follow the instructions to download and install and then start the designer, showing a login screen like this:
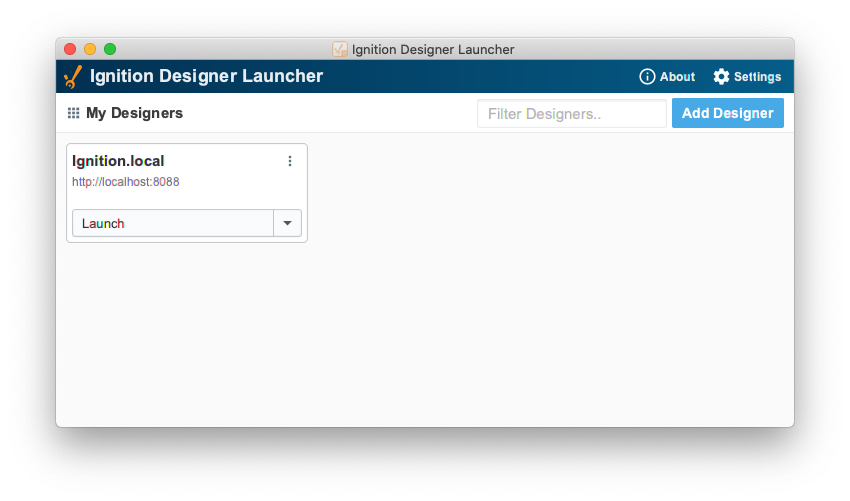
Press "Launch" to start the designer:
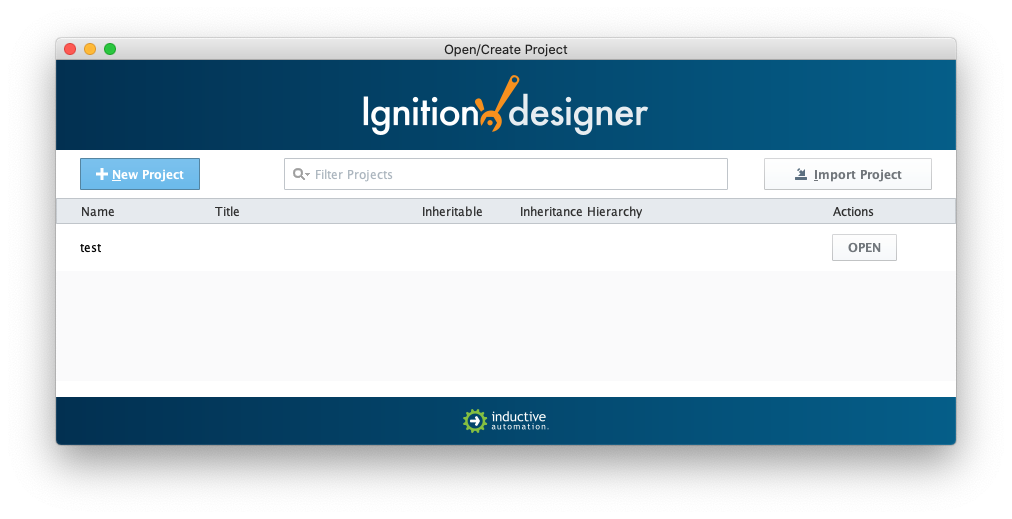
 This will bring you to a new Window where you can select an Ignition Project or create a new one. Create a new project by giving it a name and clicking 'New Project'.
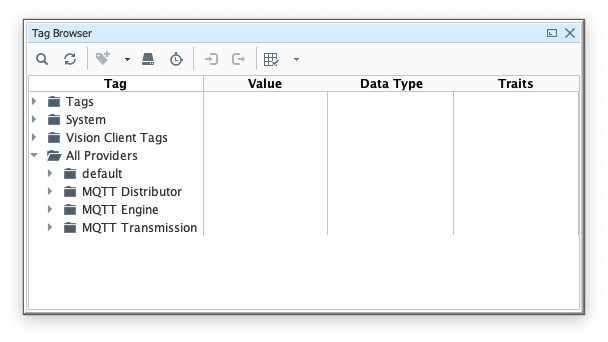
 This tutorial will use the "default" Tag Provider. Expand 'All Providers' in the Tag Browser and select 'default'. Note that if Ignition Edge is being used, the tag provider will be named 'edge'.

Or for older Designer Tag Browser views.
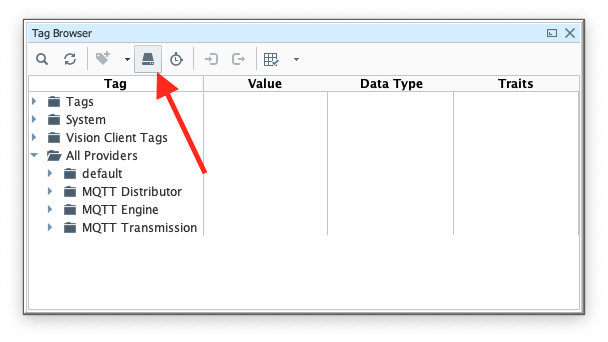
 With 'default' (or 'edge') selected, click the 'OPC' icon in the Tag Browser icon list:
This will open a new window as shown below. If the OPC server and client were set up and configured properly, you should see something similar to the following:
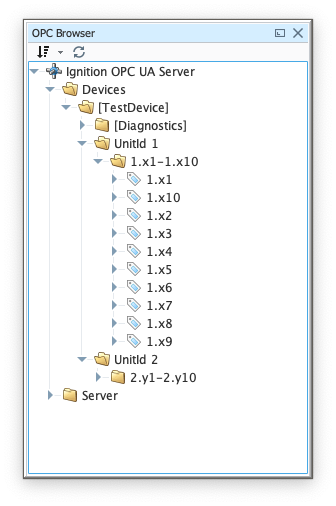
Note there is a device with an attached PLC and two sets of registers. Yours will look different based on the device you are using and how it is configured. At this point, we can do the following:
- Select the device (TestDevice in this case) and drag it into the Tag Browser under the 'default' Tag Provider.
- Rename the "_TestDevice_" folder to "Tutorial Tags".
- Rename the "UnitId 1" and "UnitId 2" folders to "PLC1" and "PLC2".
- Delete the "_Diagnostics_" folder as it is not used in this tutorial.
This is shown below:

The folder structure of these Tags should be carefully noted so that MQTT Transmission can be configured correctly to monitor the Tags.
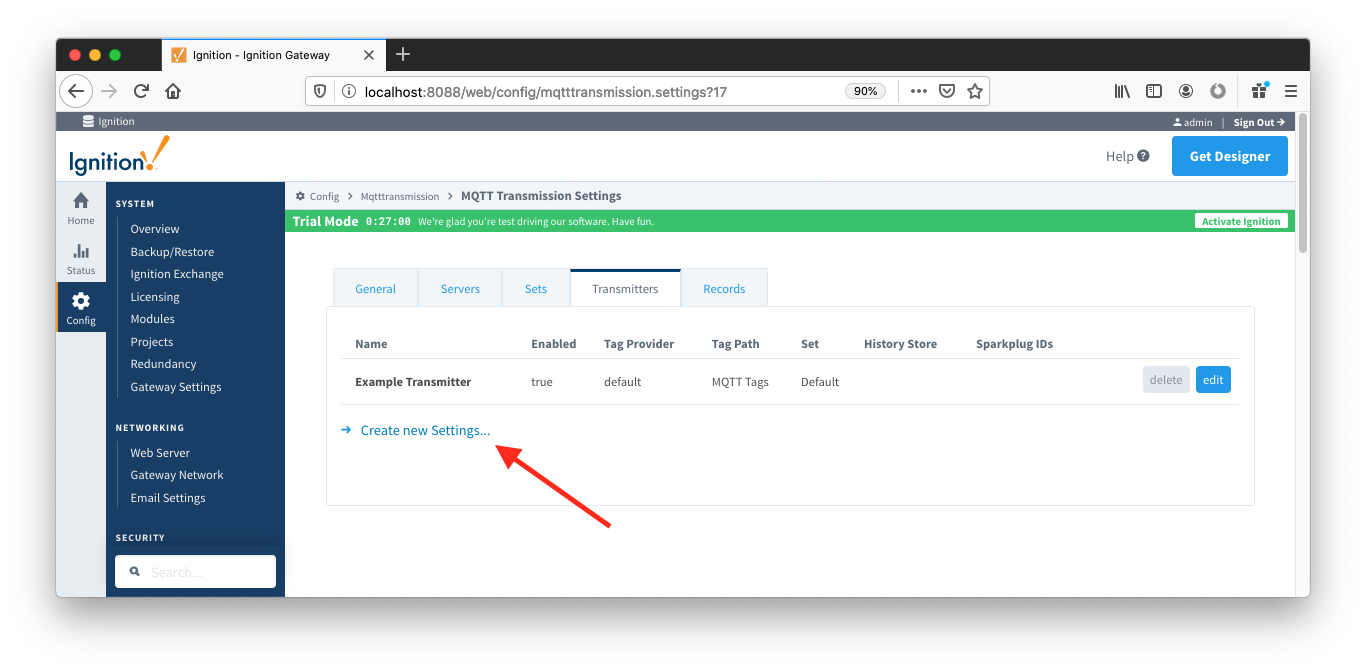
With the Tags set up, MQTT Transmission can now be configured. Do so by browsing to the the Configure section of the Ignition Gateway web UI and selecting 'MQTT Transmission -> Settings' on the left:
This tutorial uses the default MQTT Server of MQTT Distributor:
Under the Transmitters tab, a new Transmitter will need to be created. Click on the "Create new Setting..." link as shown below:
 Modify the following settings:
- Name: Tutorial Transmitter
- Tag Provider: default
- Tag Path: Tutorial Tags
Sparkplug Settings
- Group ID: Tutorial Group
- Edge node ID: Tutorial Edge
(leave all other setting as defaults)

Click "Save Changes" to see the new Transmitter was successfully created.
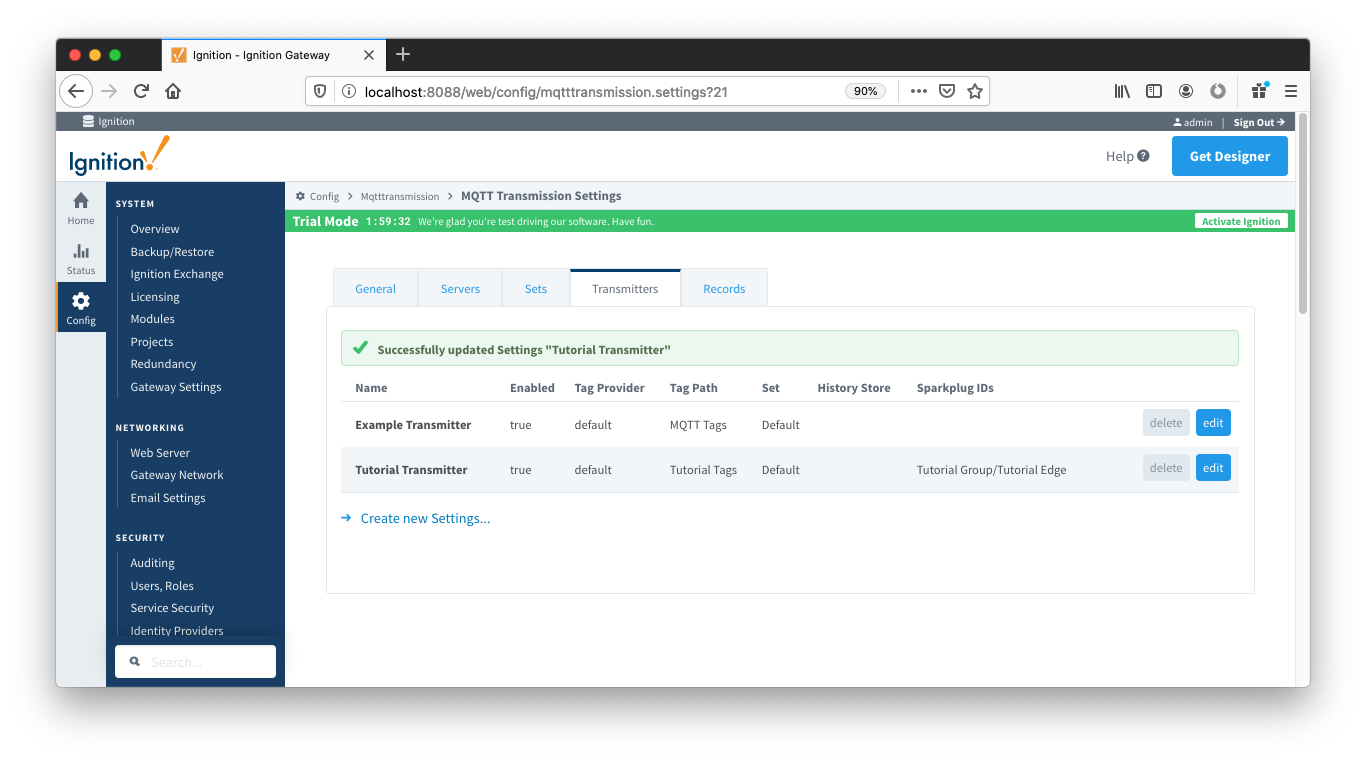
This new Transmitter will scan the Tags in the "Tutorial Tags" folder and publish them to MQTT Engine using the hard coded Group and Edge Node IDs that were configured in the Transmitters settings. Since the Device ID was left blank in the Transmitter settings, they will be scanned from the Tag Tree. Each Folder in the "Tutorial Tags" folder will be considered a device. For this tutorial the devices will be "PLC1" and "PLC2".
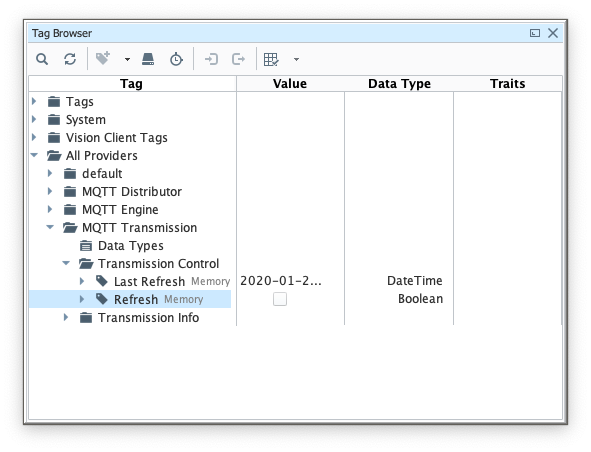
In Designer force MQTT Transmission to update by toggling the "Refresh" Tag shown below:
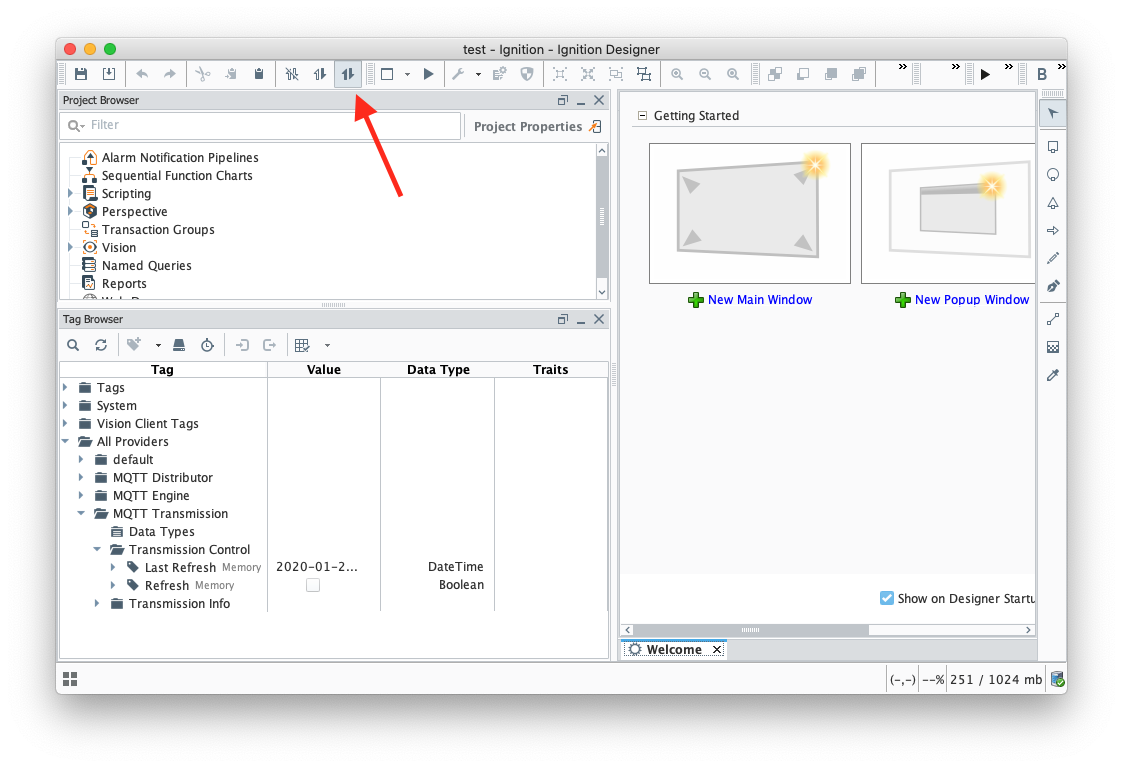
 Note that Designer must be in read/write mode. Do so by selecting these two buttons in the top menu of Designer:
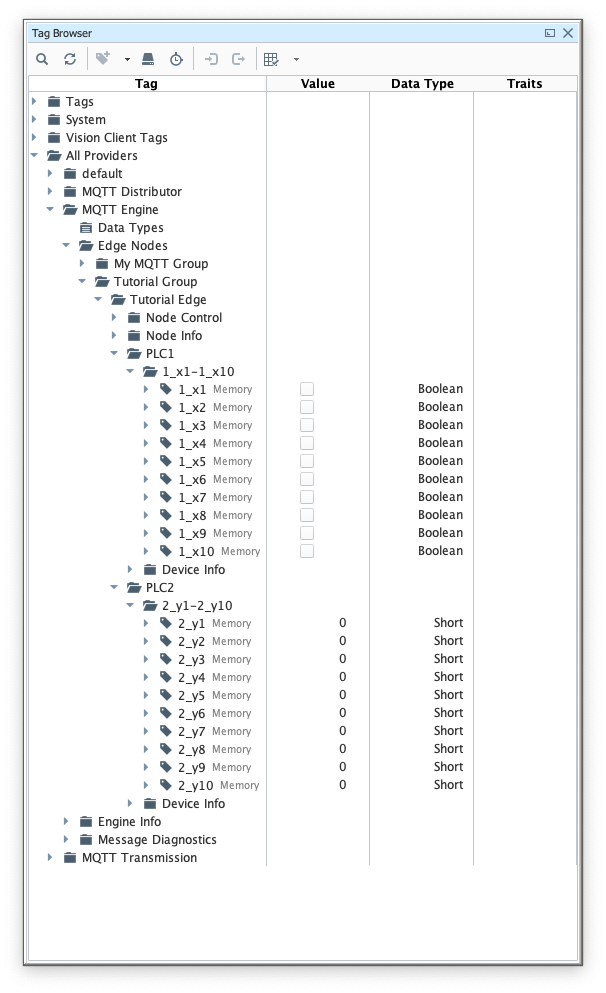
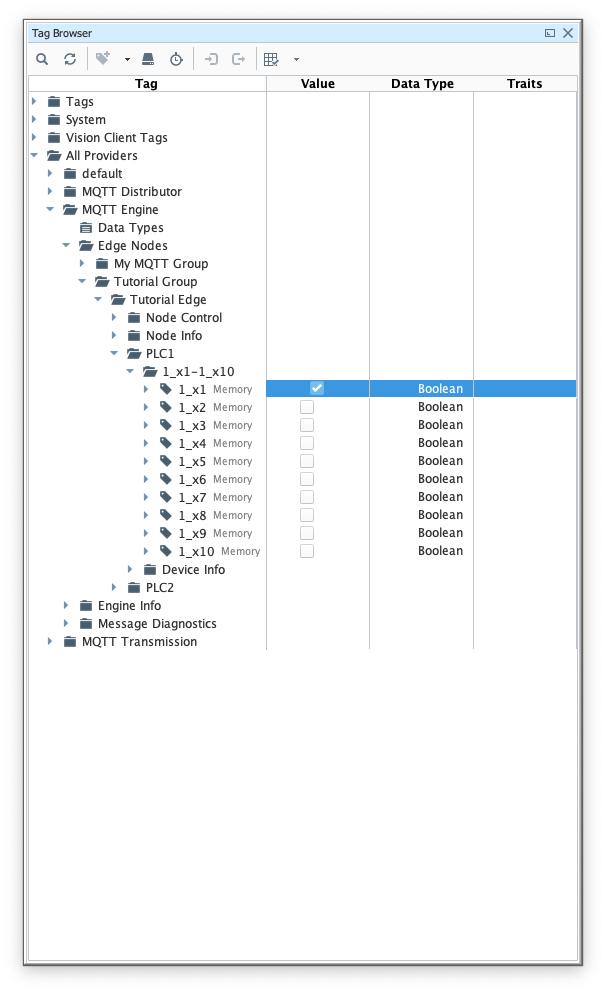
 At this point, you should be able to expand the "MQTT Engine" Tag provider and see all of the tags in MQTT Engine:
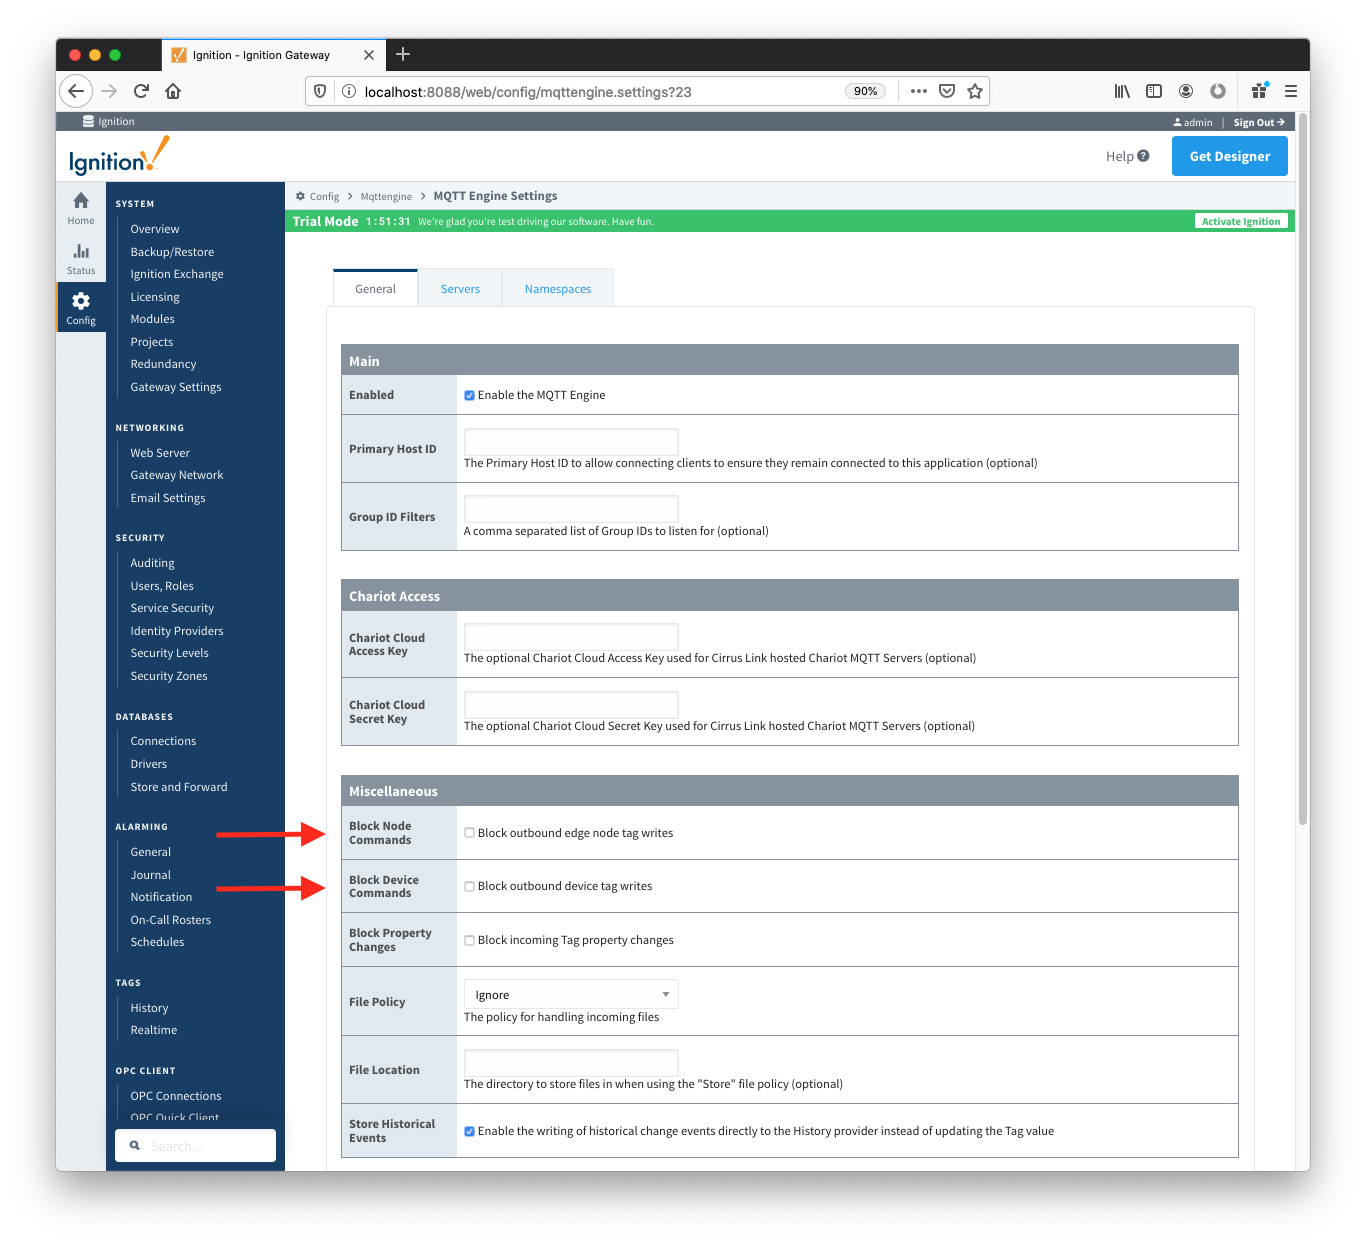
 In addition to the tags being displayed in Engine, they are also writable if this enabled in MQTT Engine. By default, MQTT Engine blocks command messages from being sent to devices. To enable this feature, in the Ignition web console browse to the MQTT Engine Module Settings.
Make sure the "Block Node Commands" and "Block Device Commands" settings are disabled, as shown below.
Note that after updating the MQTT Engine settings, the Tags in the Tag Browser under the MQTT Engine Tag Provider may become Stale. This is because the primary host ID is not set up on both MQTT Engine and MQTT Transmission which is outside of the scope of this Tutorial. To get around this, manually toggle the MQTT Transmission "Refresh" Tag as shown above.
Now attempt to write to any output Tags that are available on the OPC device, via the corresponding Tag in the MQTT Engine Tag Provider.
Note there is some delay in the response. This is due in part to MQTT Transmissions 'Tag Pacing Period'. This is the delay for MQTT messages to wait before being sent to allow multiple change events to buffer before putting them into a single MQTT message. This can be changed in the MQTT Transmission module's Transmitter configuration in the Ignition web console.
Additional Resources
- Inductive Automation's Ignition download with free trial
- Azure Injector download with free trial
- Questions about this tutorial?
- Sales questions
- About Cirrus Link