Prerequisites
Overview
Within MQTT Transmission, a record is a collection of tags under an Ignition folder which are treated as a single entity and published on demand. They are used for sending a record of information such as a batch data entry form or flow computer event/alarm record.
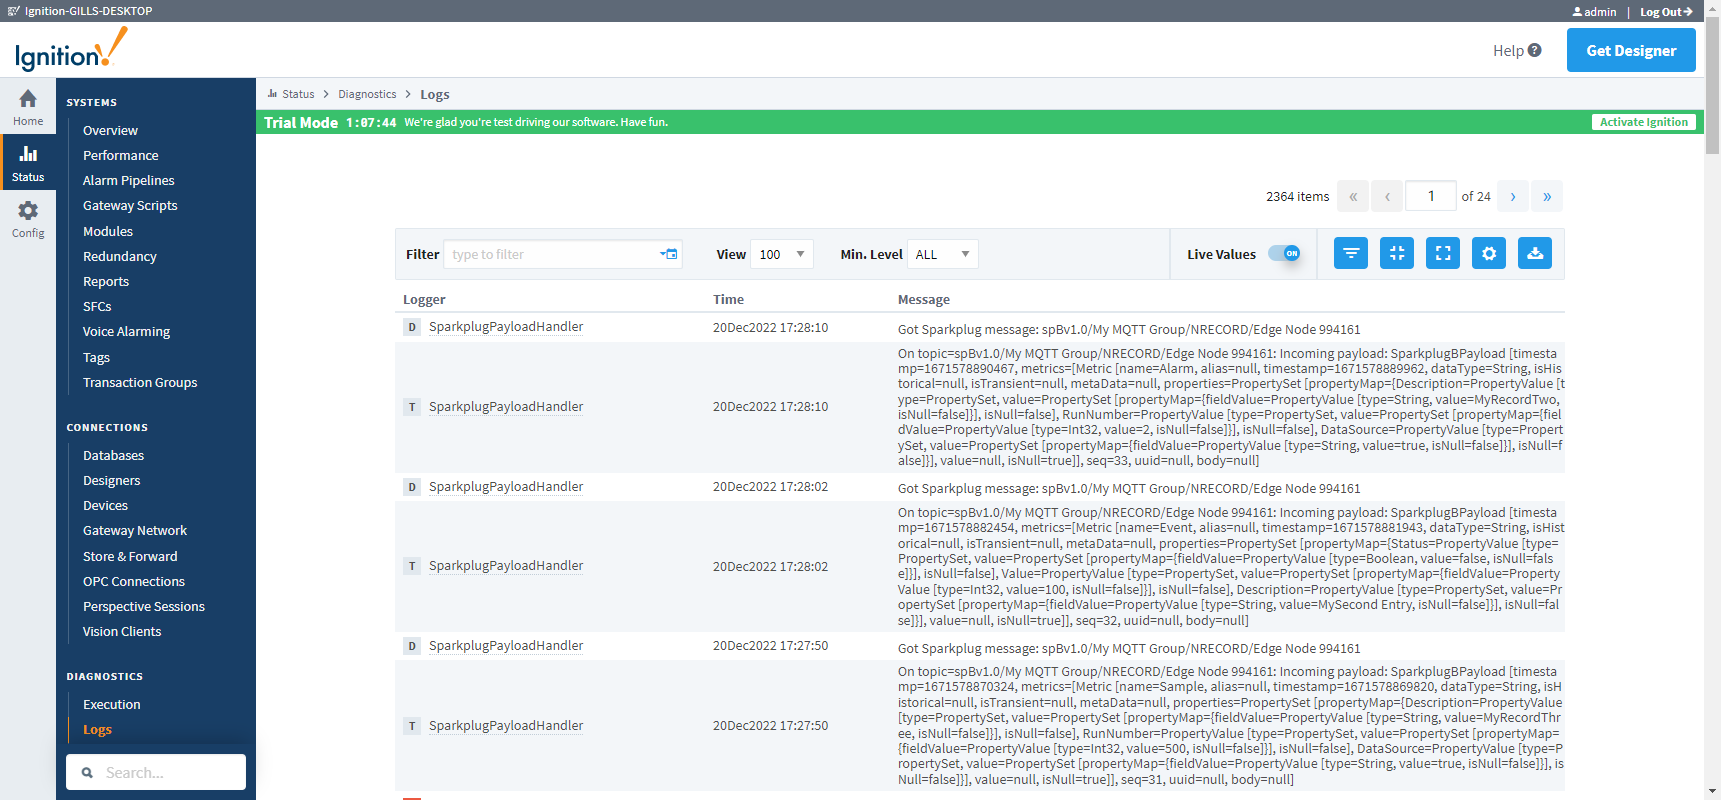
Records are published via an MQTT client using a Sparkplug-like topic format with a protobuf payload.
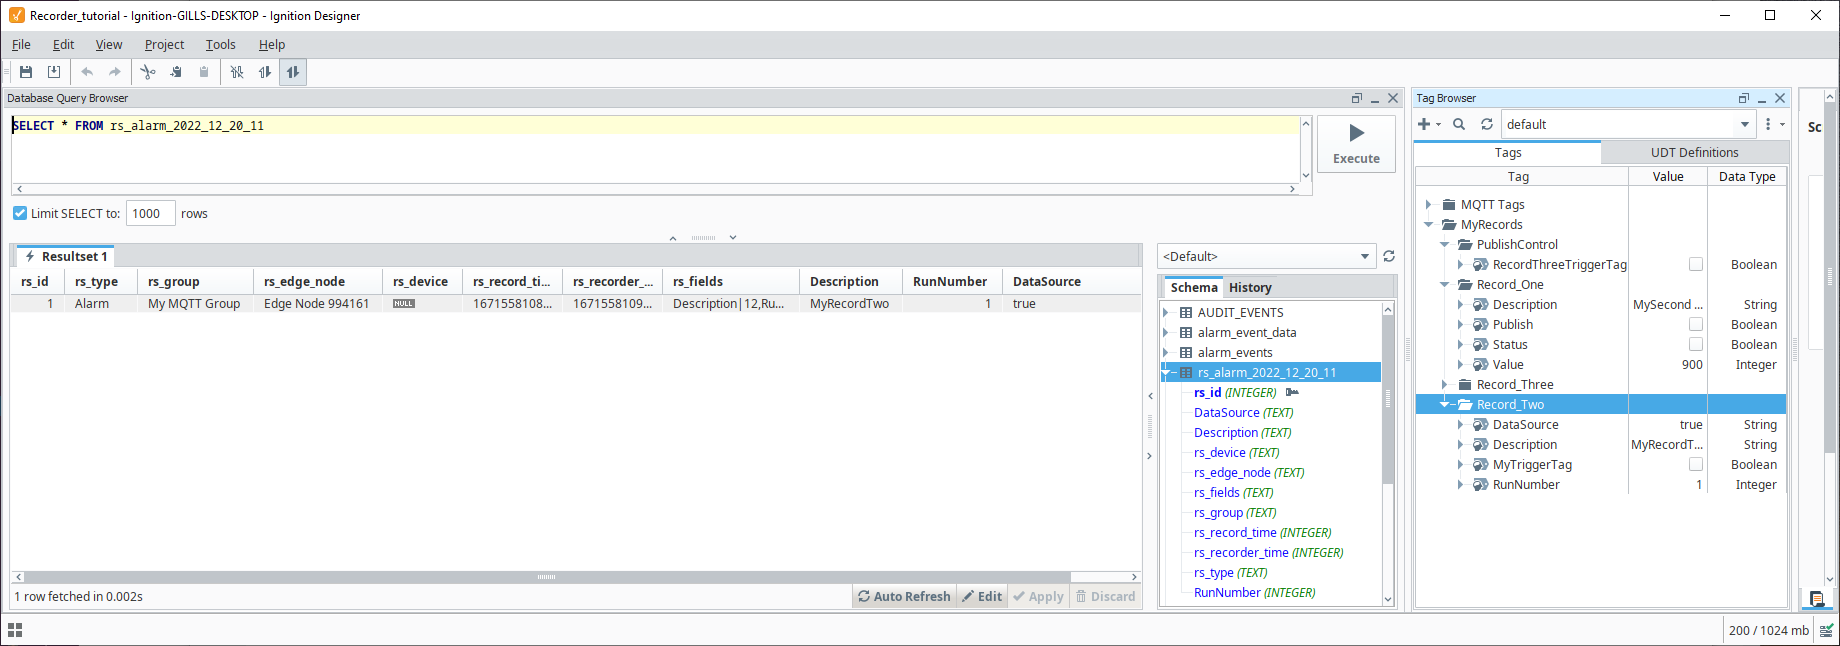
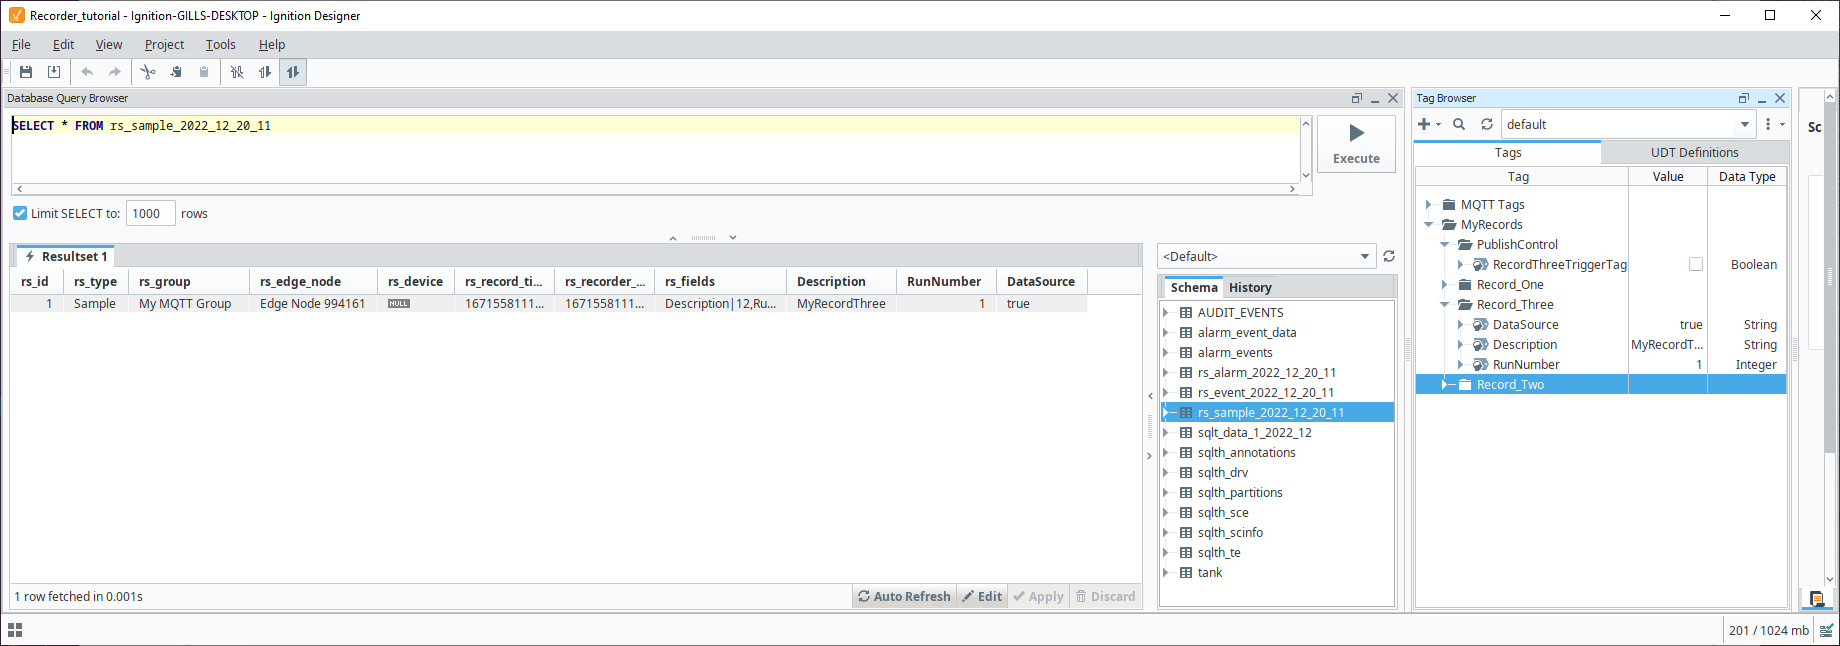
Records received at MQTT Engine are passed to MQTT Recorder which automatically generates database tables and populates the rows within the tables with records as they are received.
This tutorial shows how to configure the MQTT modules to generate and publish records to be stored in an MySQL database including:

Step 1: Install the MQTT modules
Install the four MQTT modules listed in the pre-requisites onto your Ignition system following the Cirrus Link Module Installation guide.
By default, both MQTT Engine and MQTT Transmission are configured to connect to MQTT Distributor on tcp://localhost:1883 and will show as Connected under their respective Servers configuration setting in the Ignition UI. MQTT Transmission will also have an Example Transmitter configured pointing to a set of tags that are configured in the Ignition "default" tag provider.
This allows the three modules to automatically connect and provide a starting base for the tutorial.
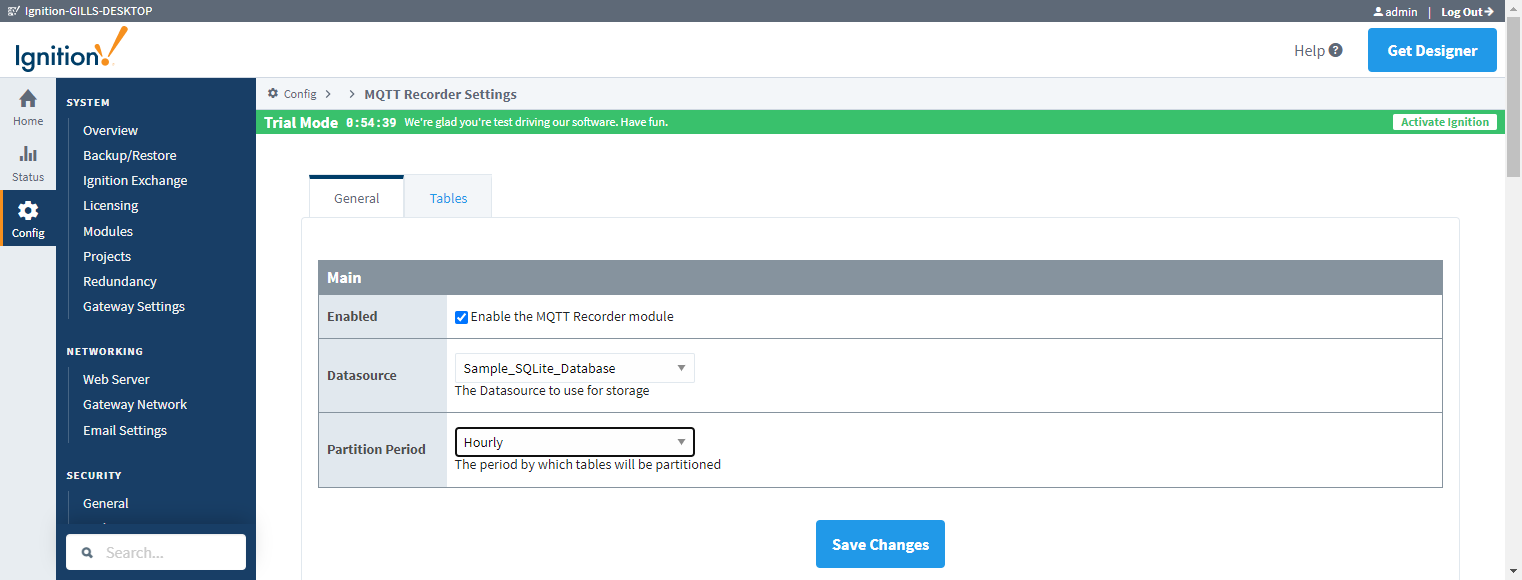
Follow the Ignition Connecting to MySQL guide to configure a database connection to your SQL database.
Within MQTT Transmission, a record is a collection of tags under an Ignition folder which are treated as a single entity and published on demand.
The next step is to create the Ignition folders representing the Records within Ignition.
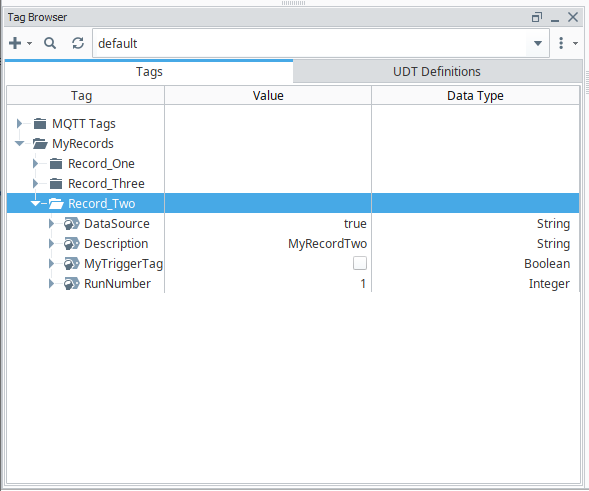
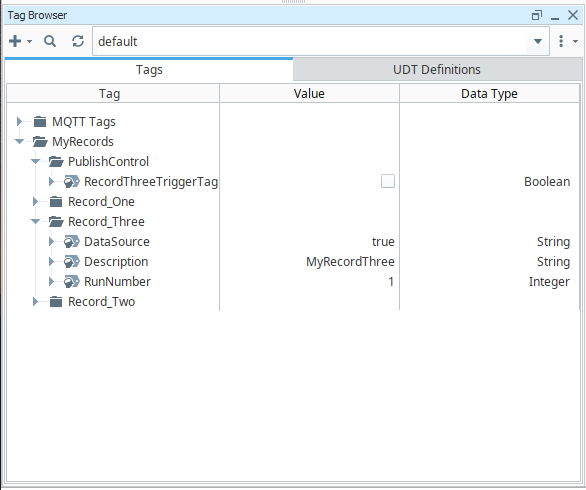
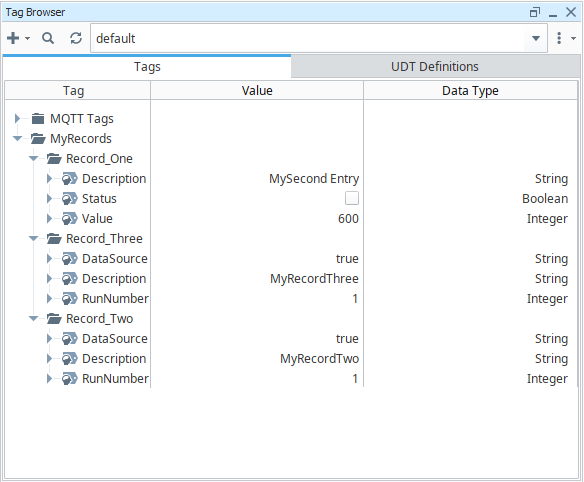
Use the Design Launcher to launch a Designer connection to the Ignition Gateway and create a new project. In the 'default' tag provider, import the recorder_tutorial_tags.json to build a set of Ignition folders to represent the records.
The imported tags will create three records as shown below:
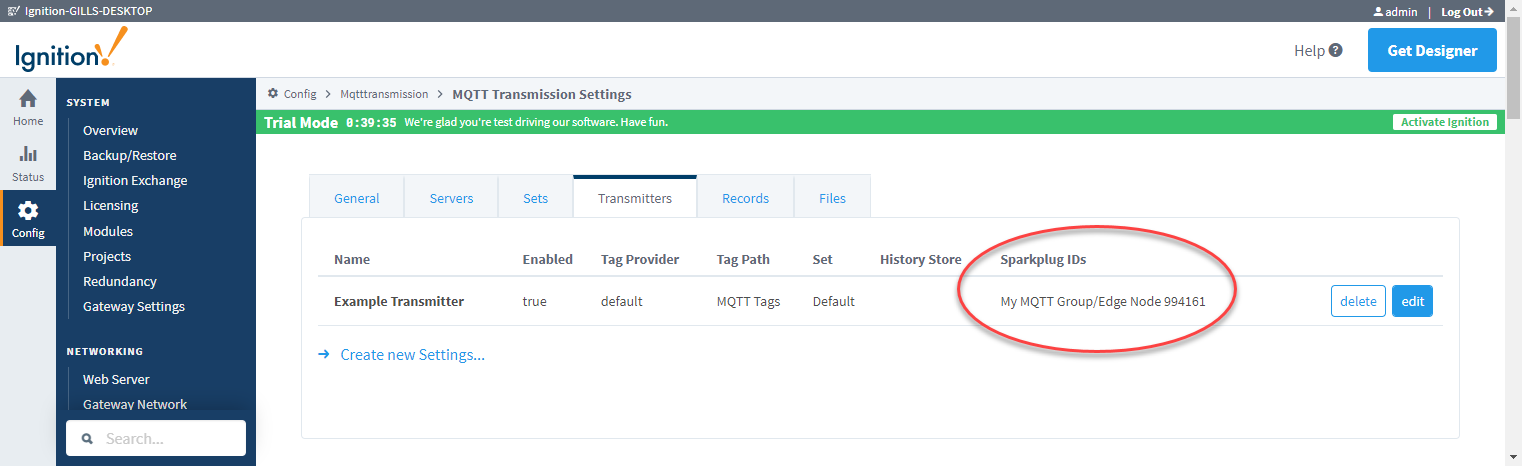
Now we can configure the MQTT Transmission module to publish records using the existing MQTT client created by the Example Transmitter. Navigate to the MQTT Transmission > Settings in the left side bar of the Ignition Gateway UI and select the Transmitters tab. Make note of the Sparkplug IDs configured for your transmitter.
For our example we have the Group ID as My MQTT Group and the Edge Node ID as Edge Node 994161
Now we can setup three configurations each of which points to a record folder and also configs the boolean tag which controls the on demand publish of the record.
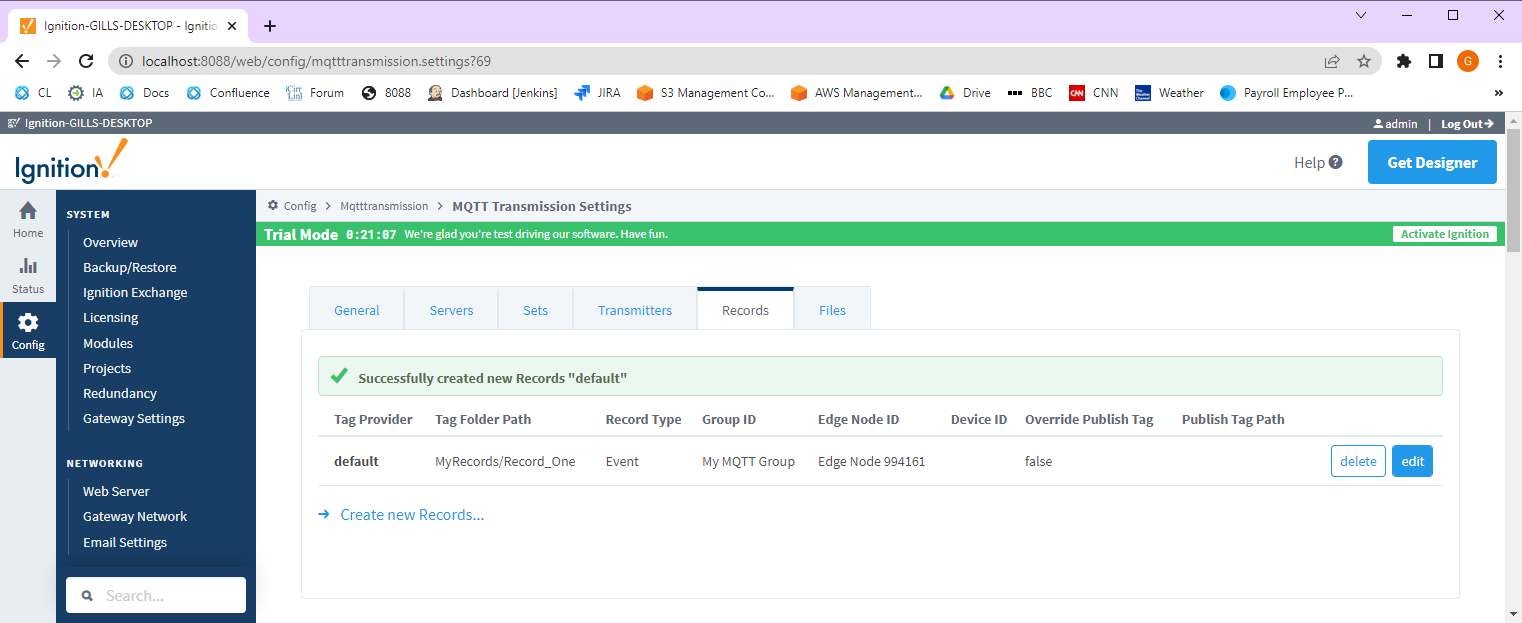
Select the Records tab and then click the Create new Records.. link. Use the following configuration settings:
- Tag Settings
- Tag Provider
- Tag Folder Path
- Record Type
- Sparkplug Settings
- Group ID
- Edge Node ID
- Use the Edge Node ID from your Transmitters Sparkplug IDs. For my Transmitter, I will use Edge Node 994161
- Device ID
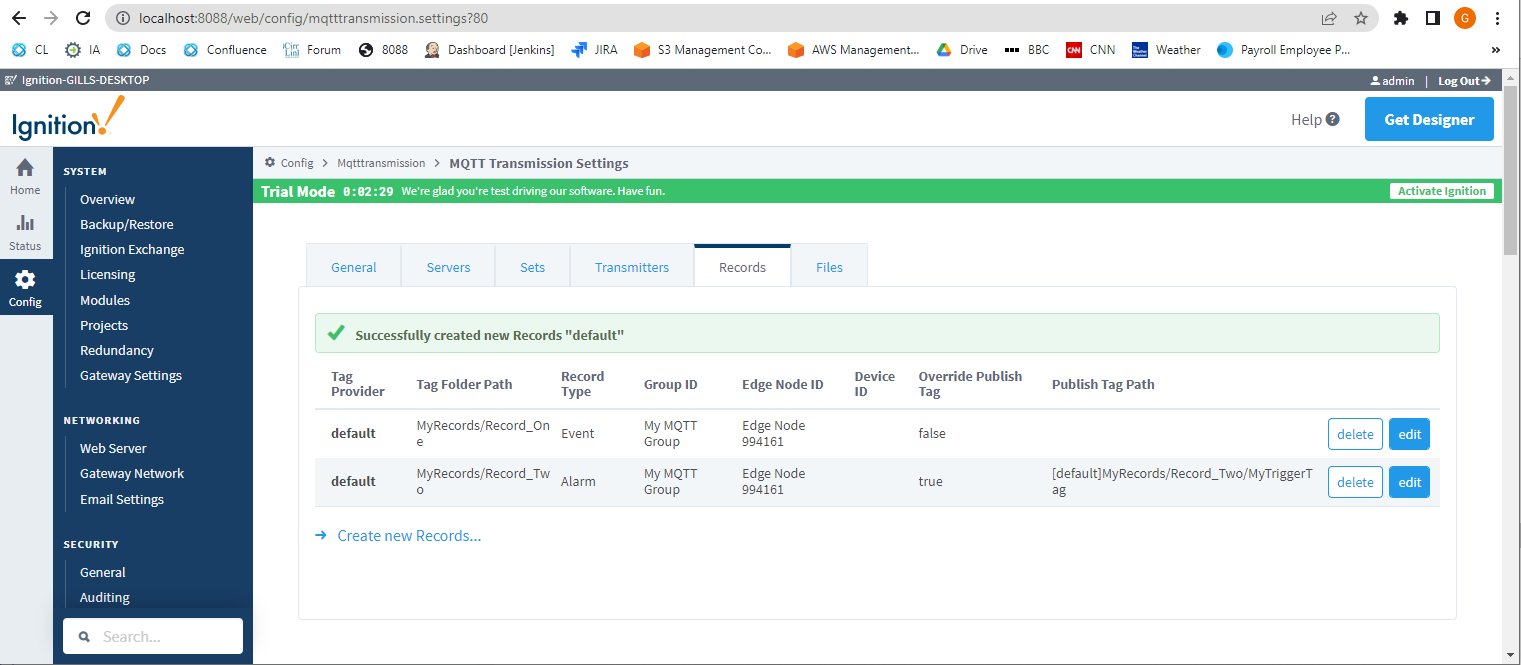
- Advanced Settings
- Override Publish Tag
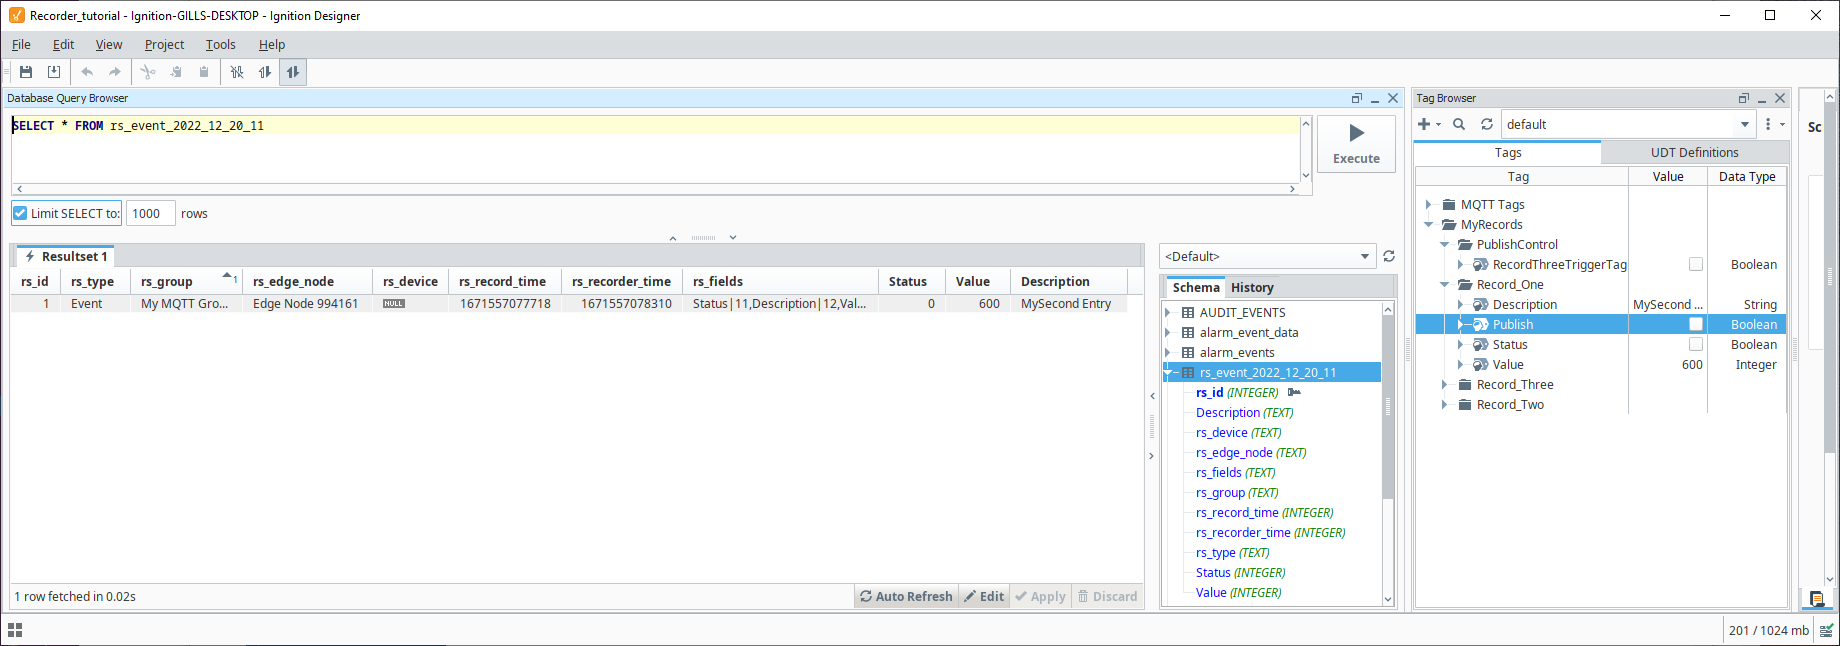
- Leave as unchecked. This will create a boolean tag named Publish in the Tag Folder Path MyRecords/Record_One which will be used to trigger the record publish
- Publish Tag Path
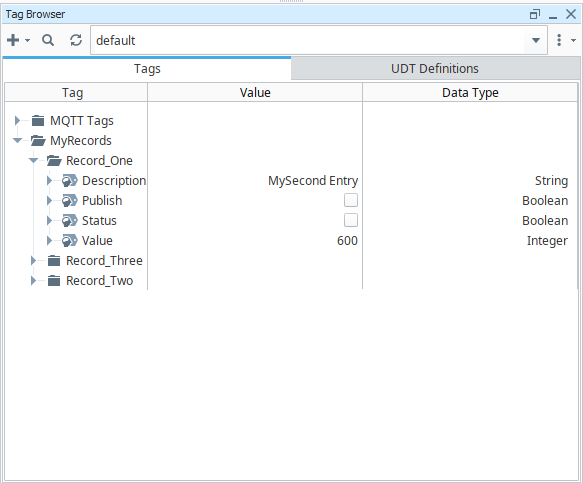
Select Create New Record and you will see the Publish boolean in the tag browser