![]()
Contents
Cirrus Link Resources
Cirrus Link Website![]()
Contact Us (Sales/Support)![]()
Inductive Resources
Ignition User Manual![]()
Knowledge Base Articles![]()
Inductive University![]()
Forum![]()
![]()
Cirrus Link Website![]()
Contact Us (Sales/Support)![]()
Ignition User Manual![]()
Knowledge Base Articles![]()
Inductive University![]()
Forum![]()
Prerequisites:
Overview:
Chariot MQTT Server is a MQTT 3.1.1 compliant MQTT server. It is capable of providing a functional replacement for MQTT Distributor in larger scale deployments. Like Inductive Automation's Ignition platform, it comes with a two hour re-settable trail period. It can also be set up with a license key from Cirrus Link to enable it permanently. Chariot MQTT Server provides a web based administration page for enabling and limiting user access to the MQTT server via an Access Control List (ACLs). Like MQTT Distributor it also supports TLS security and username/password authentication in addition to ACLs for user authorization.
Installation:
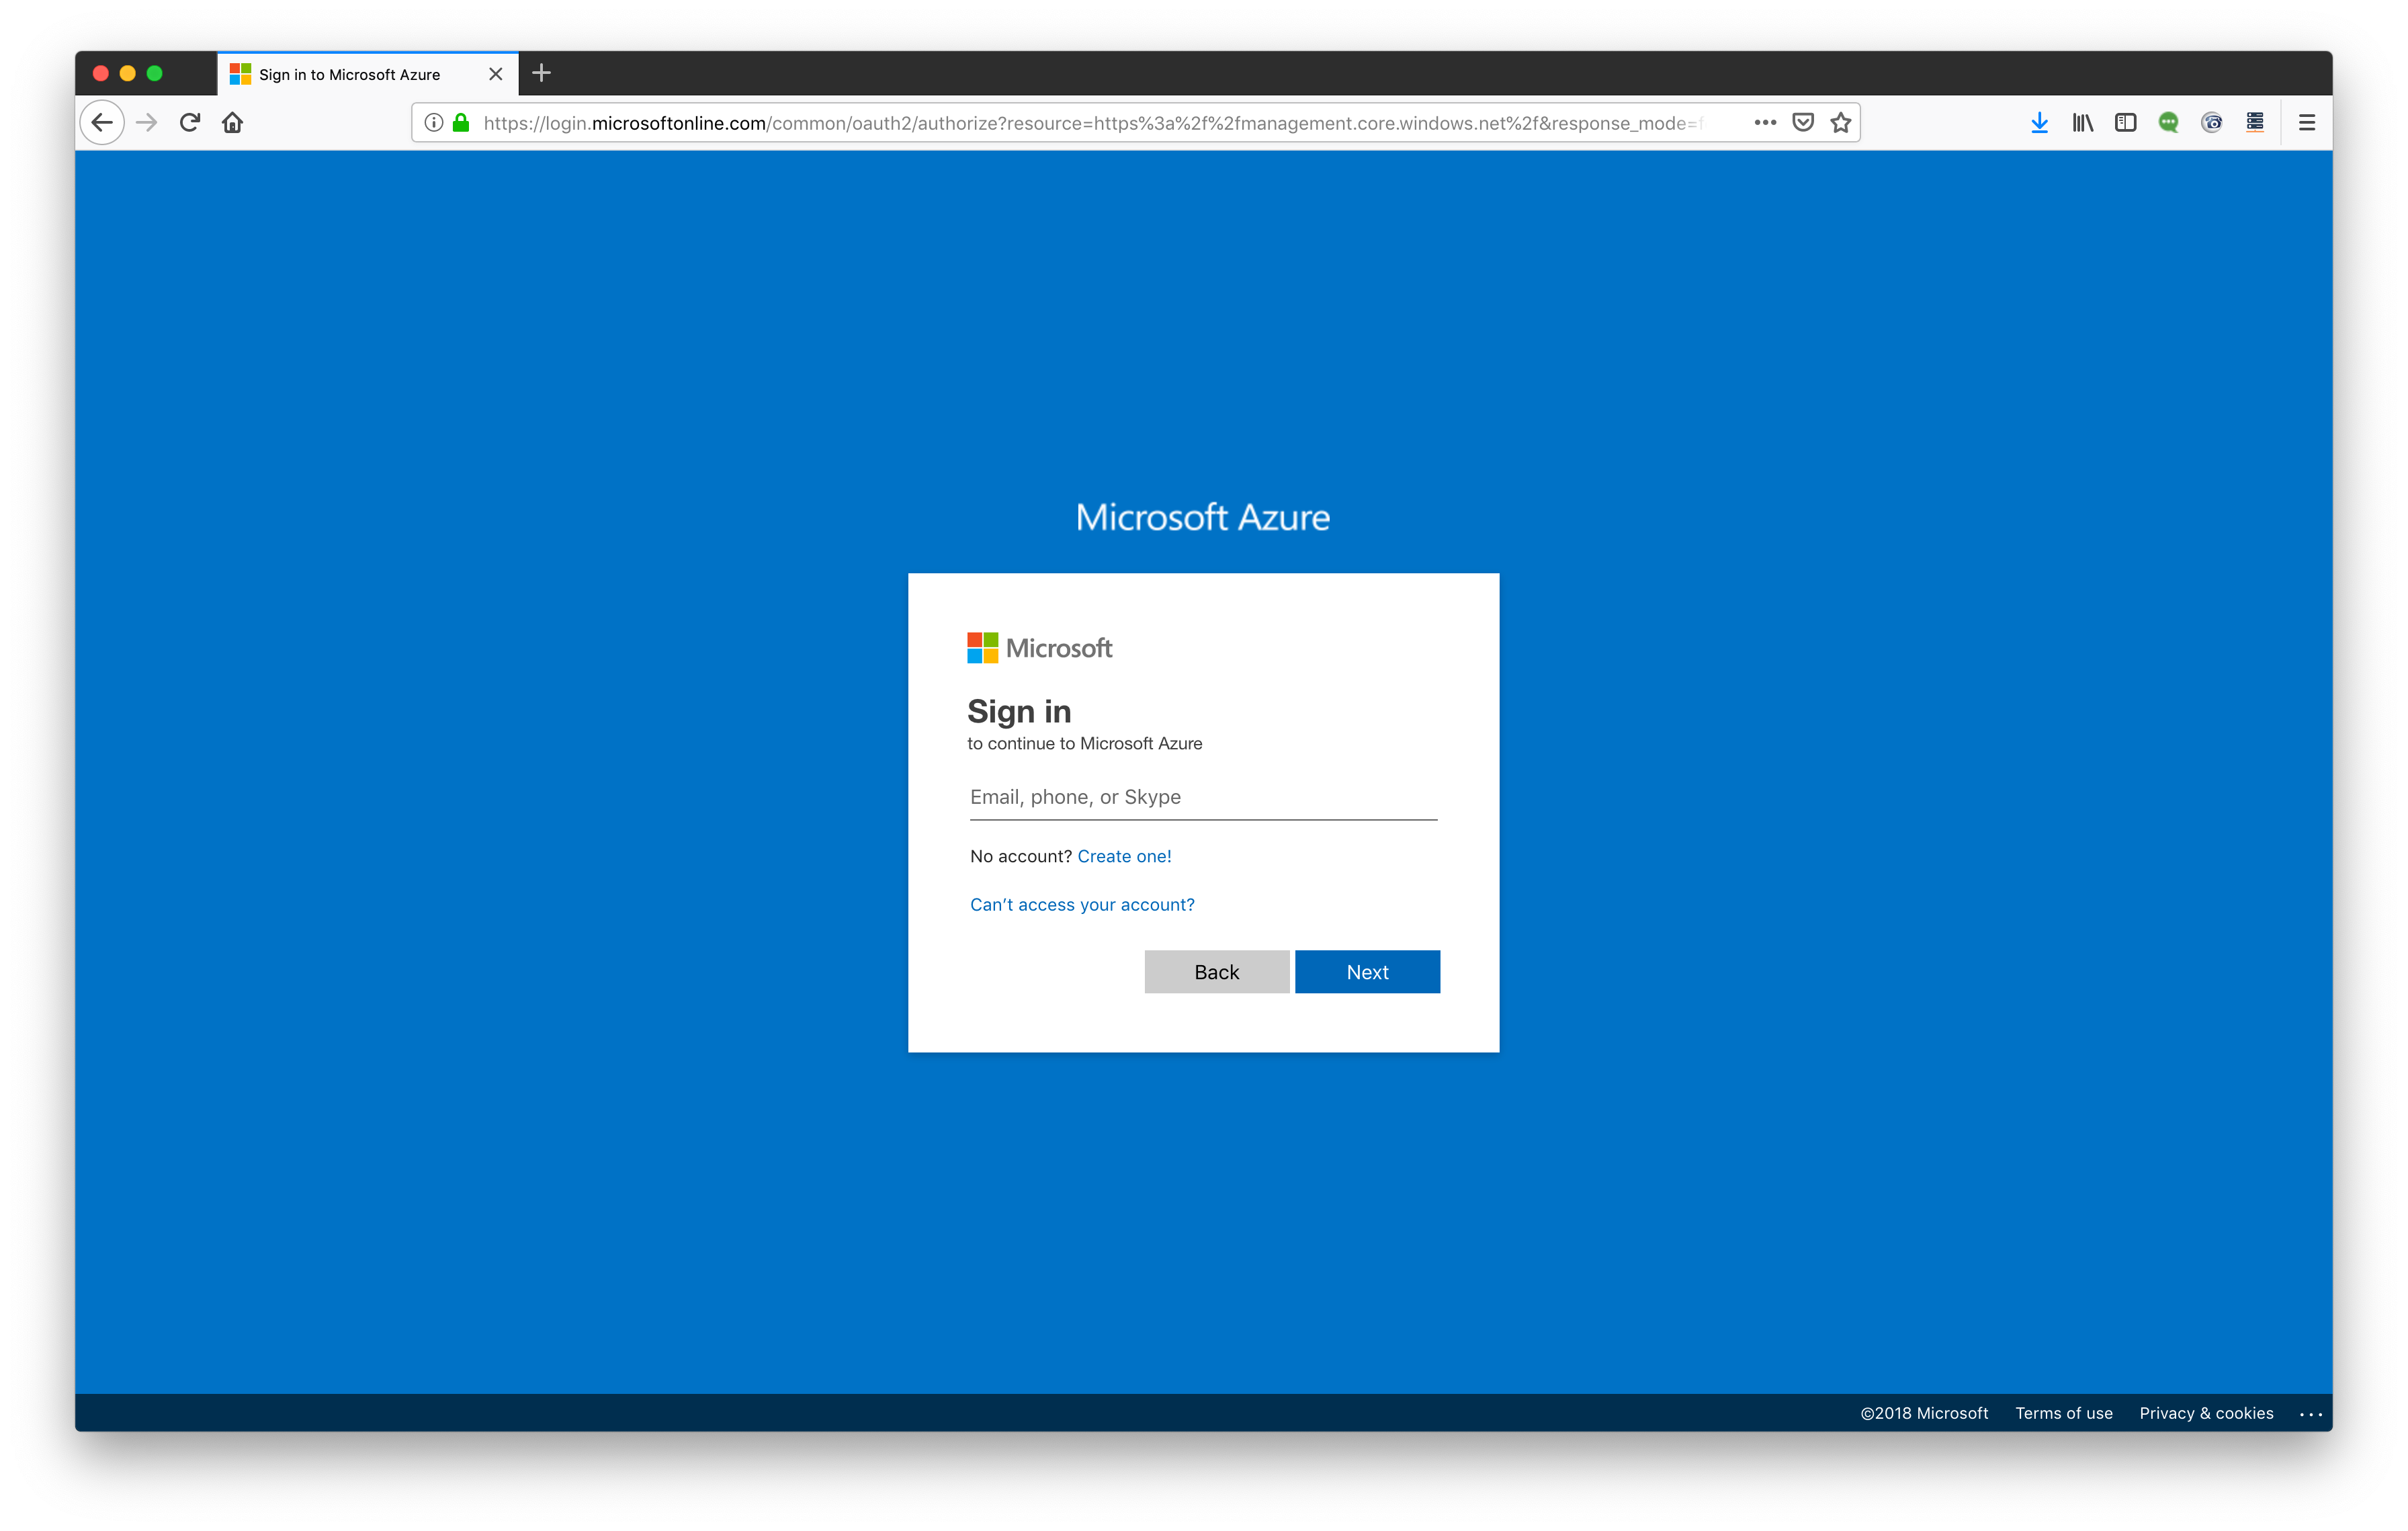
Browse to https://portal.azure.com/ and sign in.
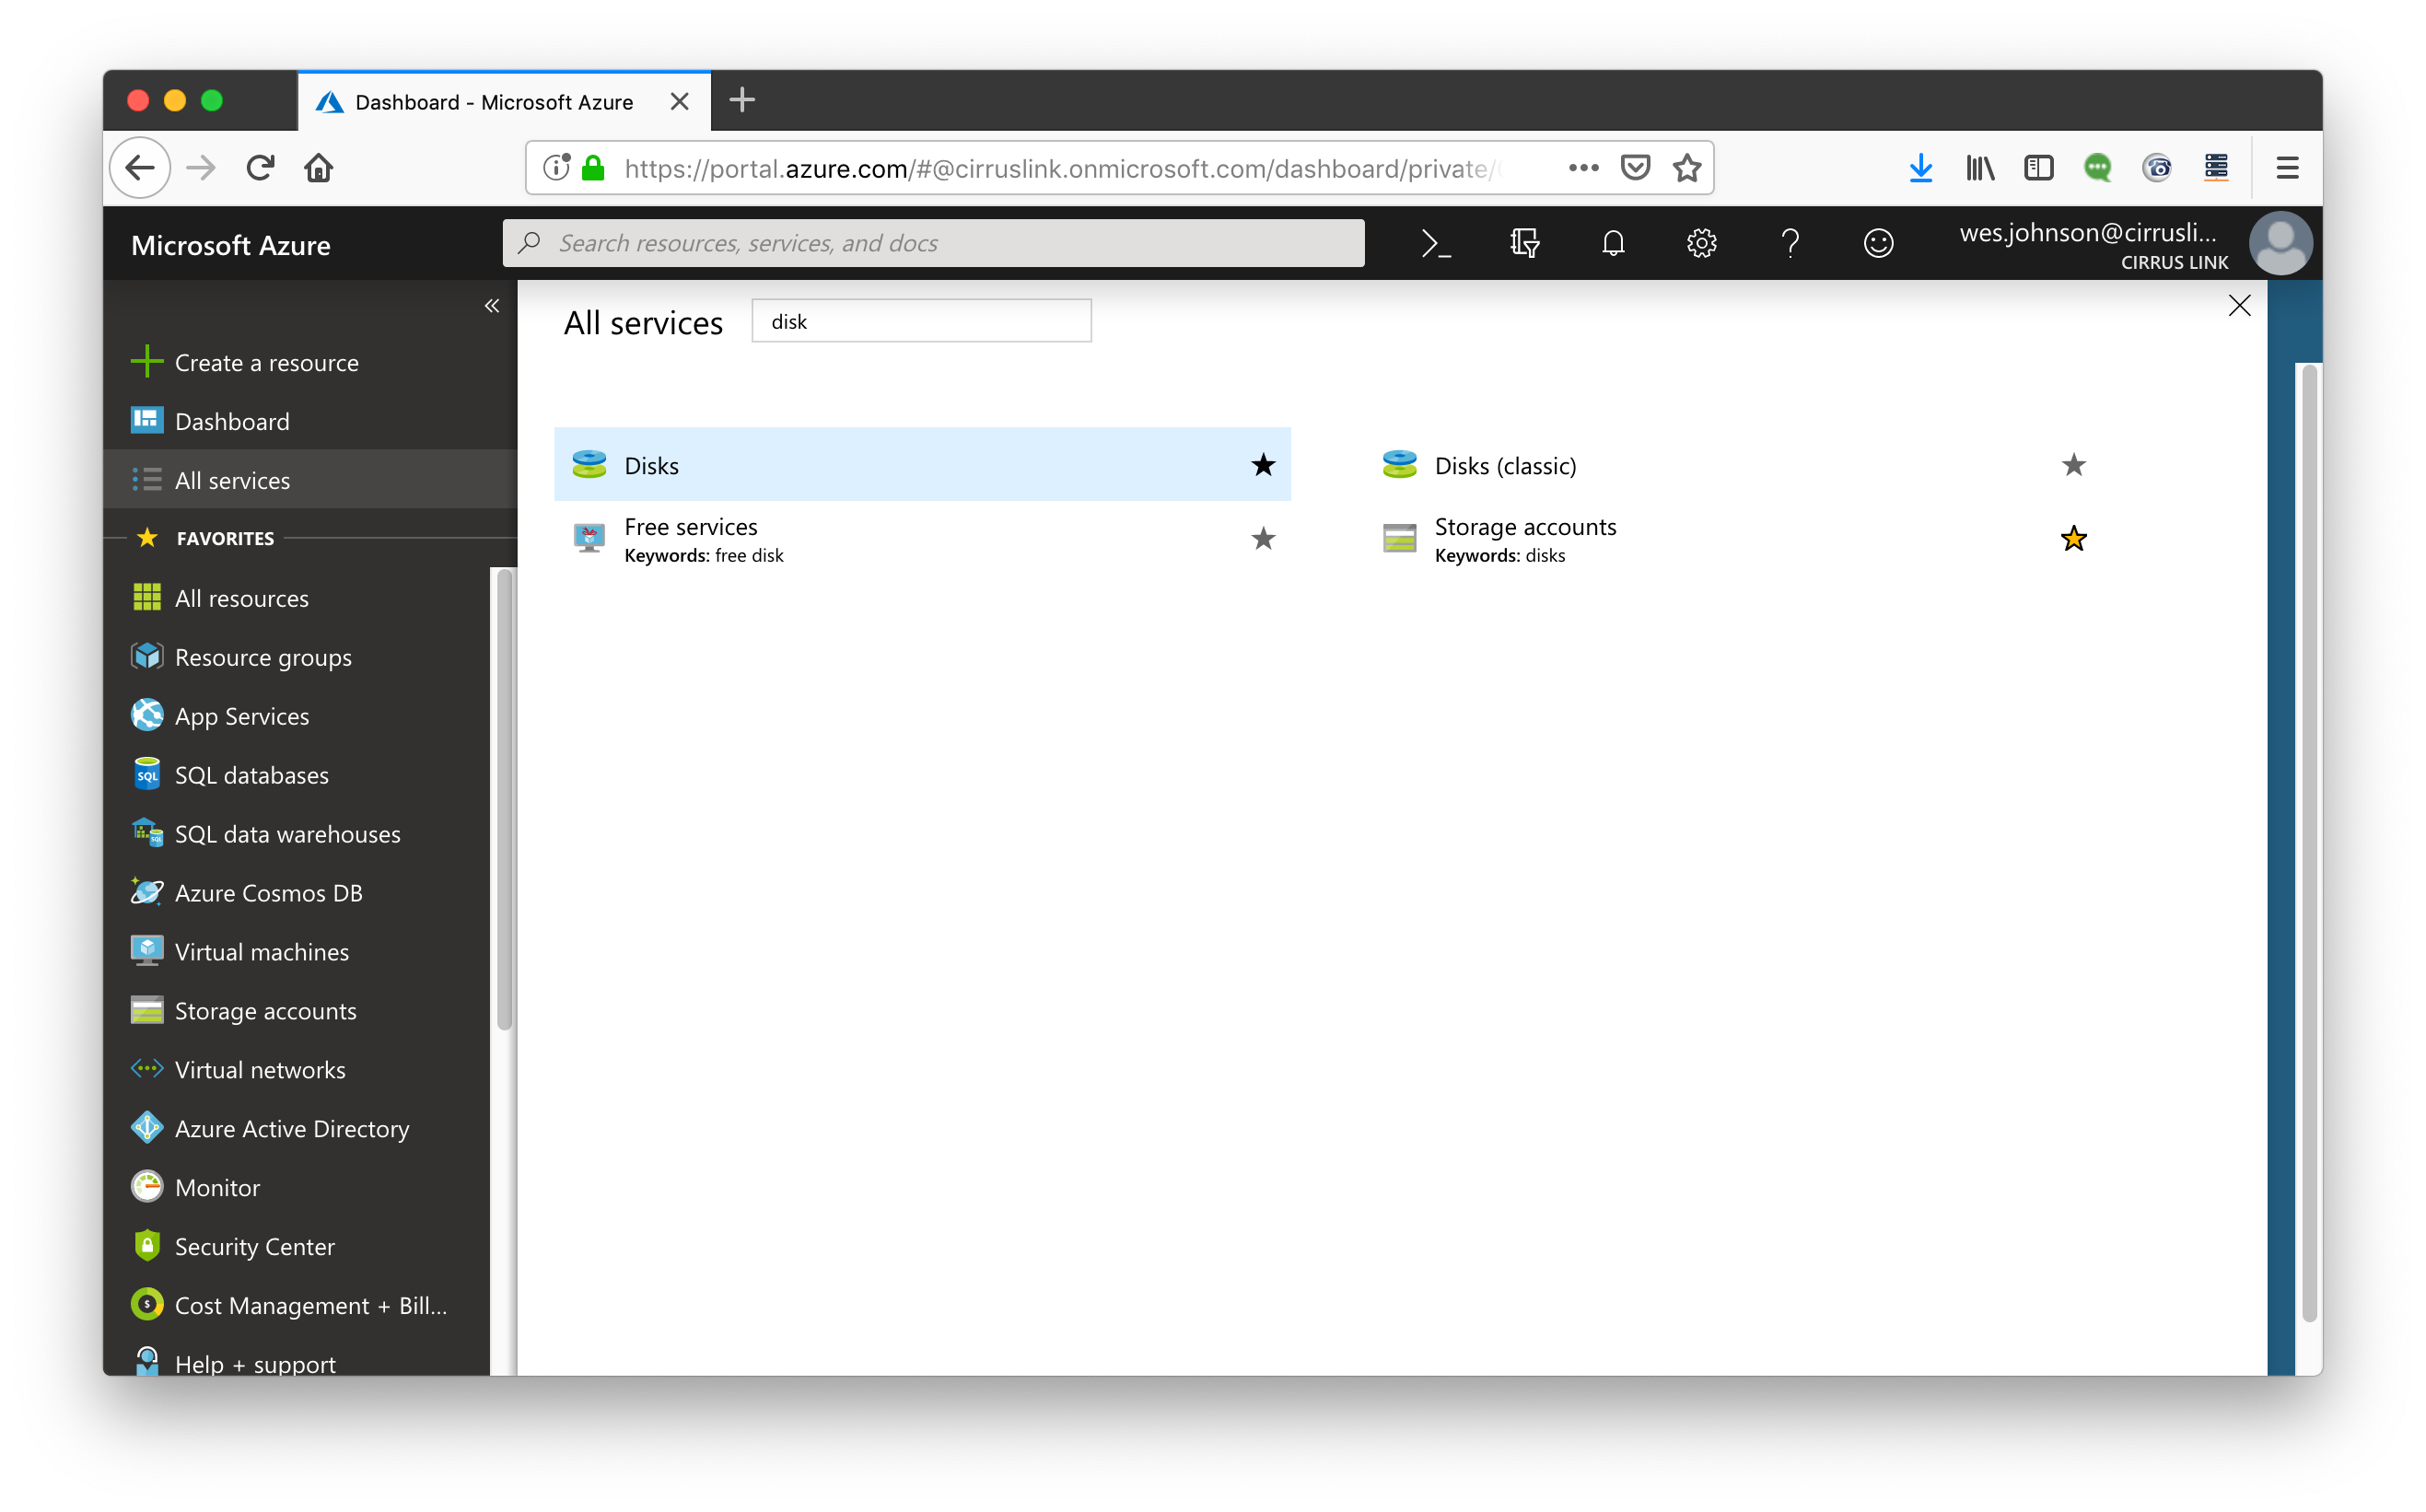
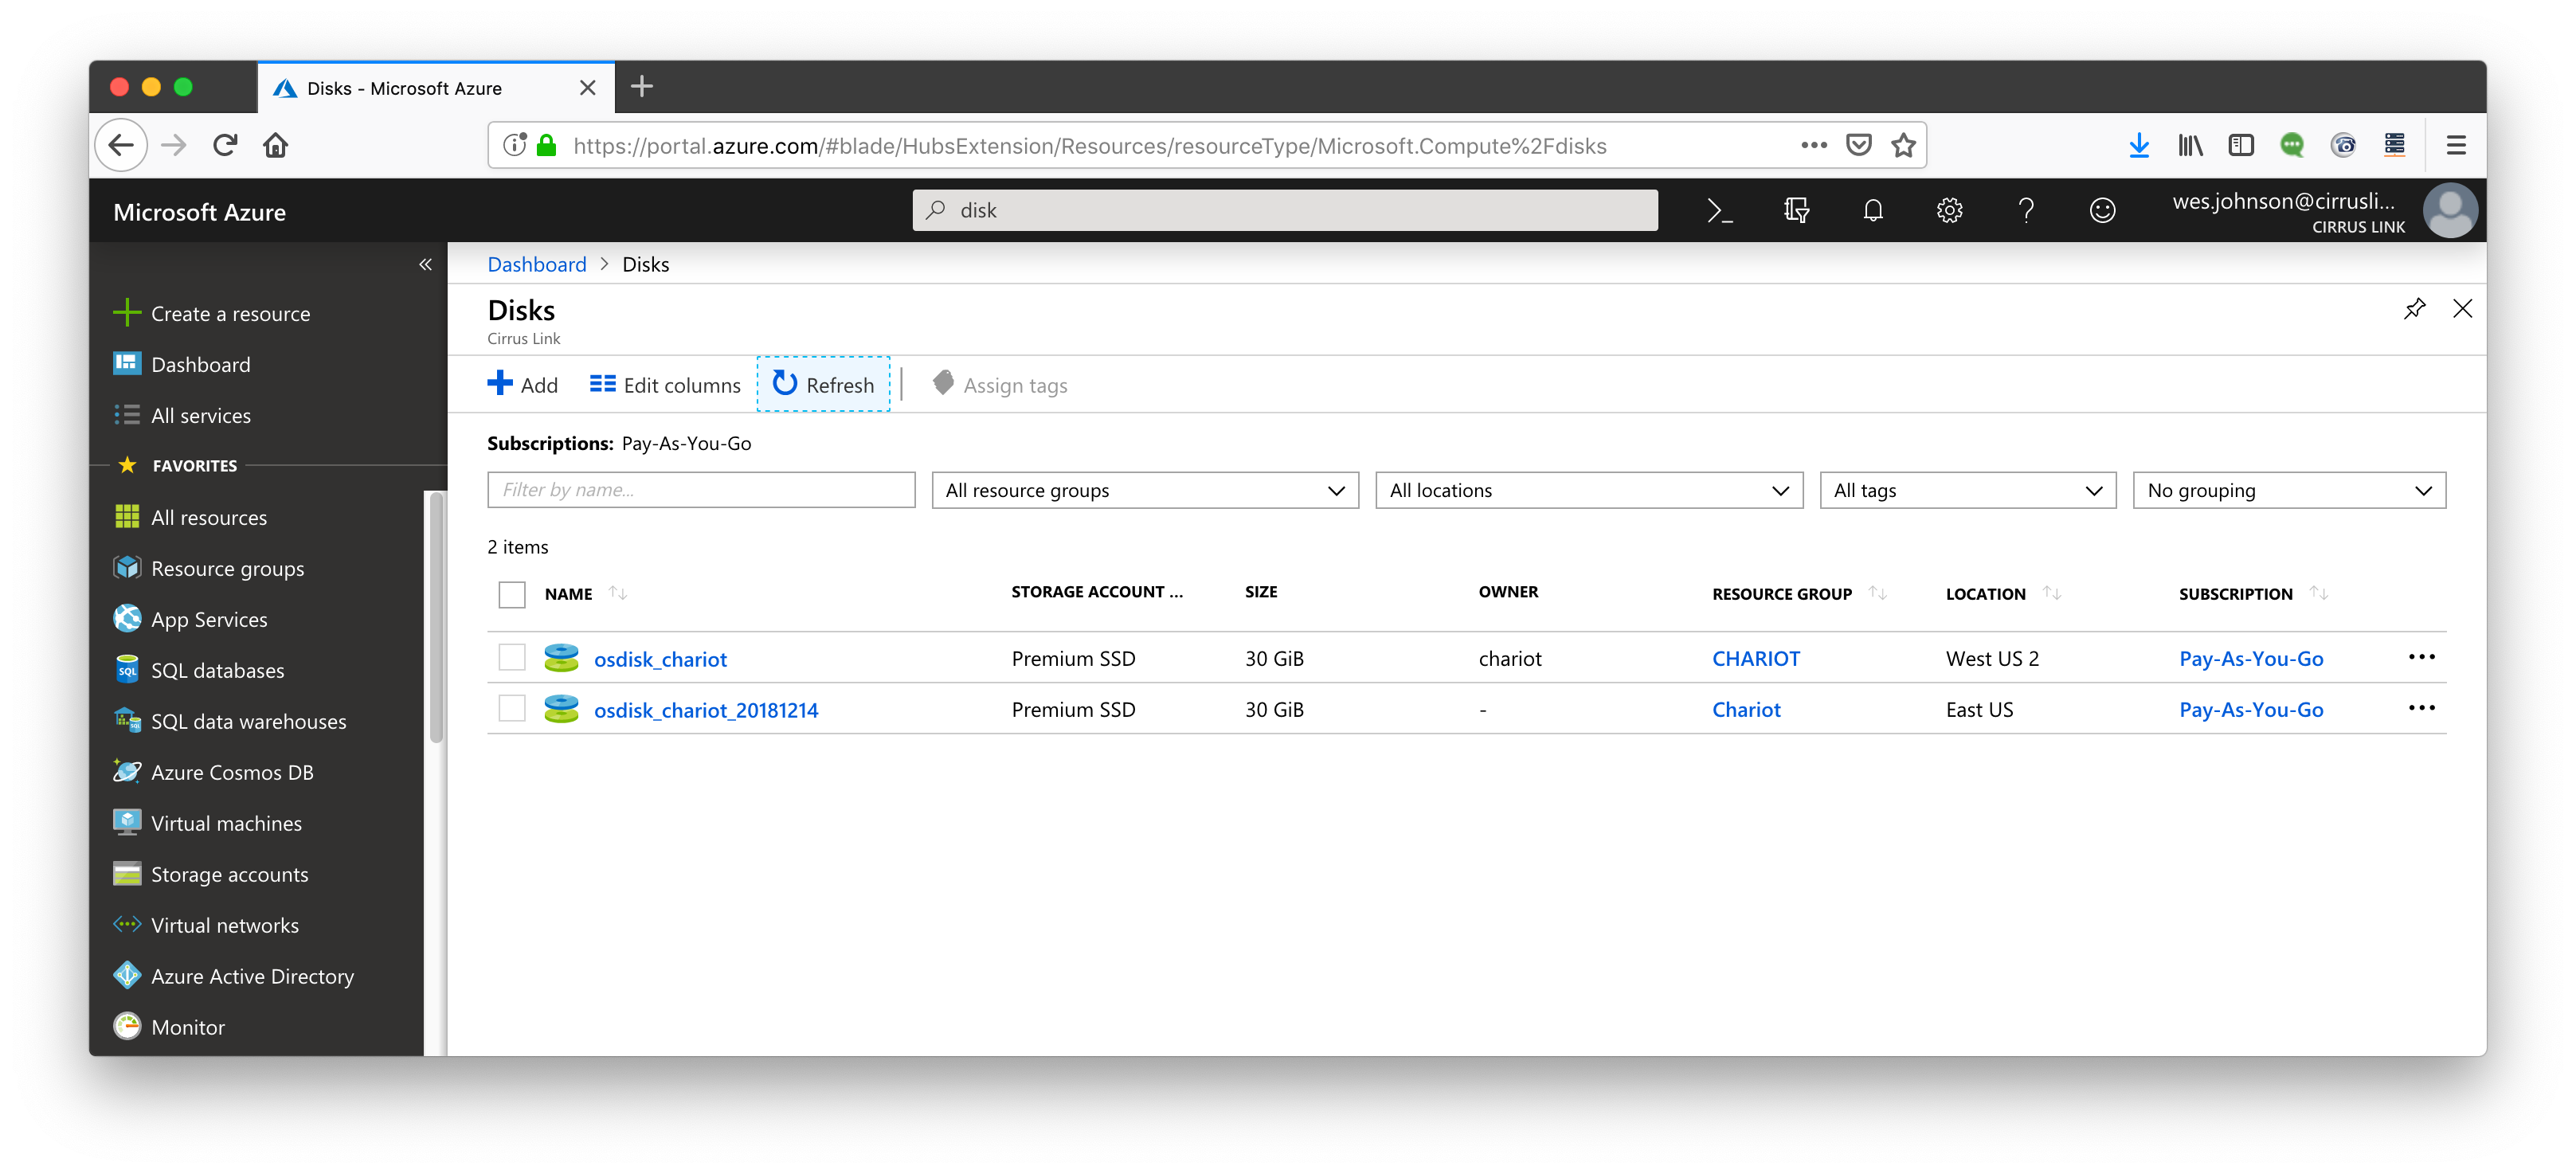
In the upper left corner click 'All Services'. Then type 'disk' in the filter box and then select the 'Disks' option as shown below.
In the Disks view, click the 'Add' option as shown below:

Now fill in the properties of the managed disk. Set the following. Also not the screen shot below showing the settings. When done, click the 'Create' button.
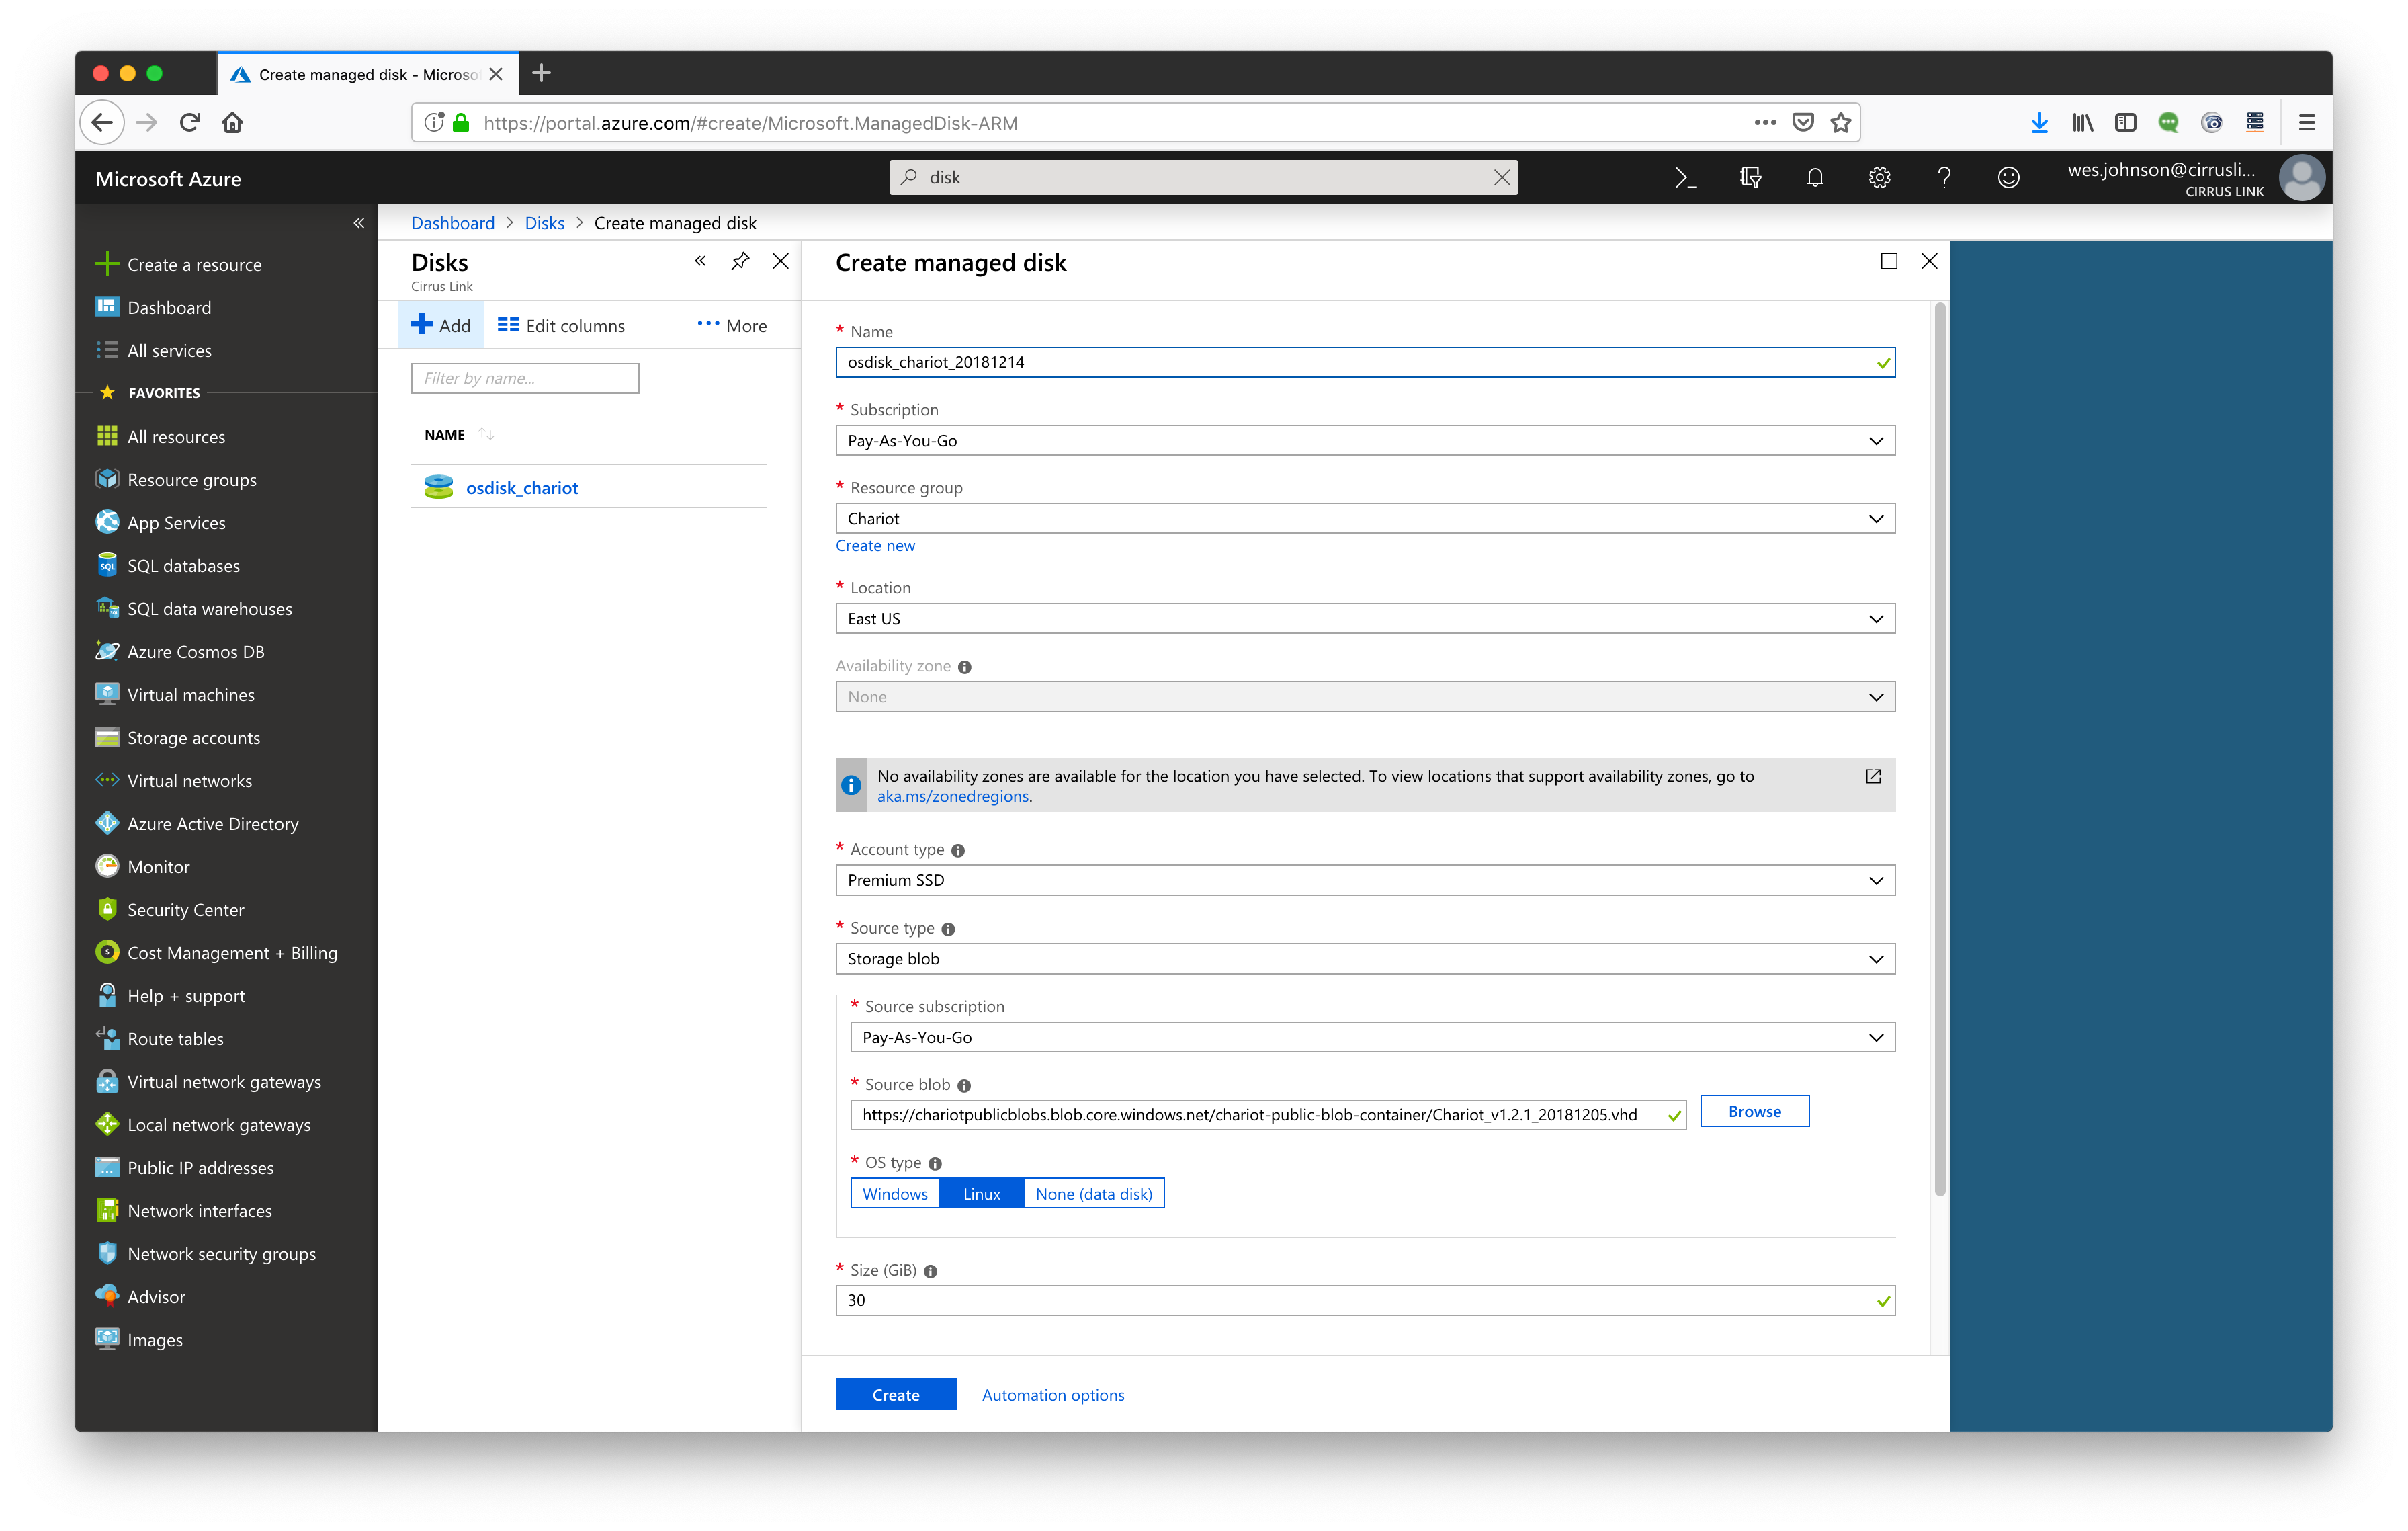
Creating the disk takes a few minutes. When it is complete, you should see a new disk (osdisk_chariot_20181214) as shown below.
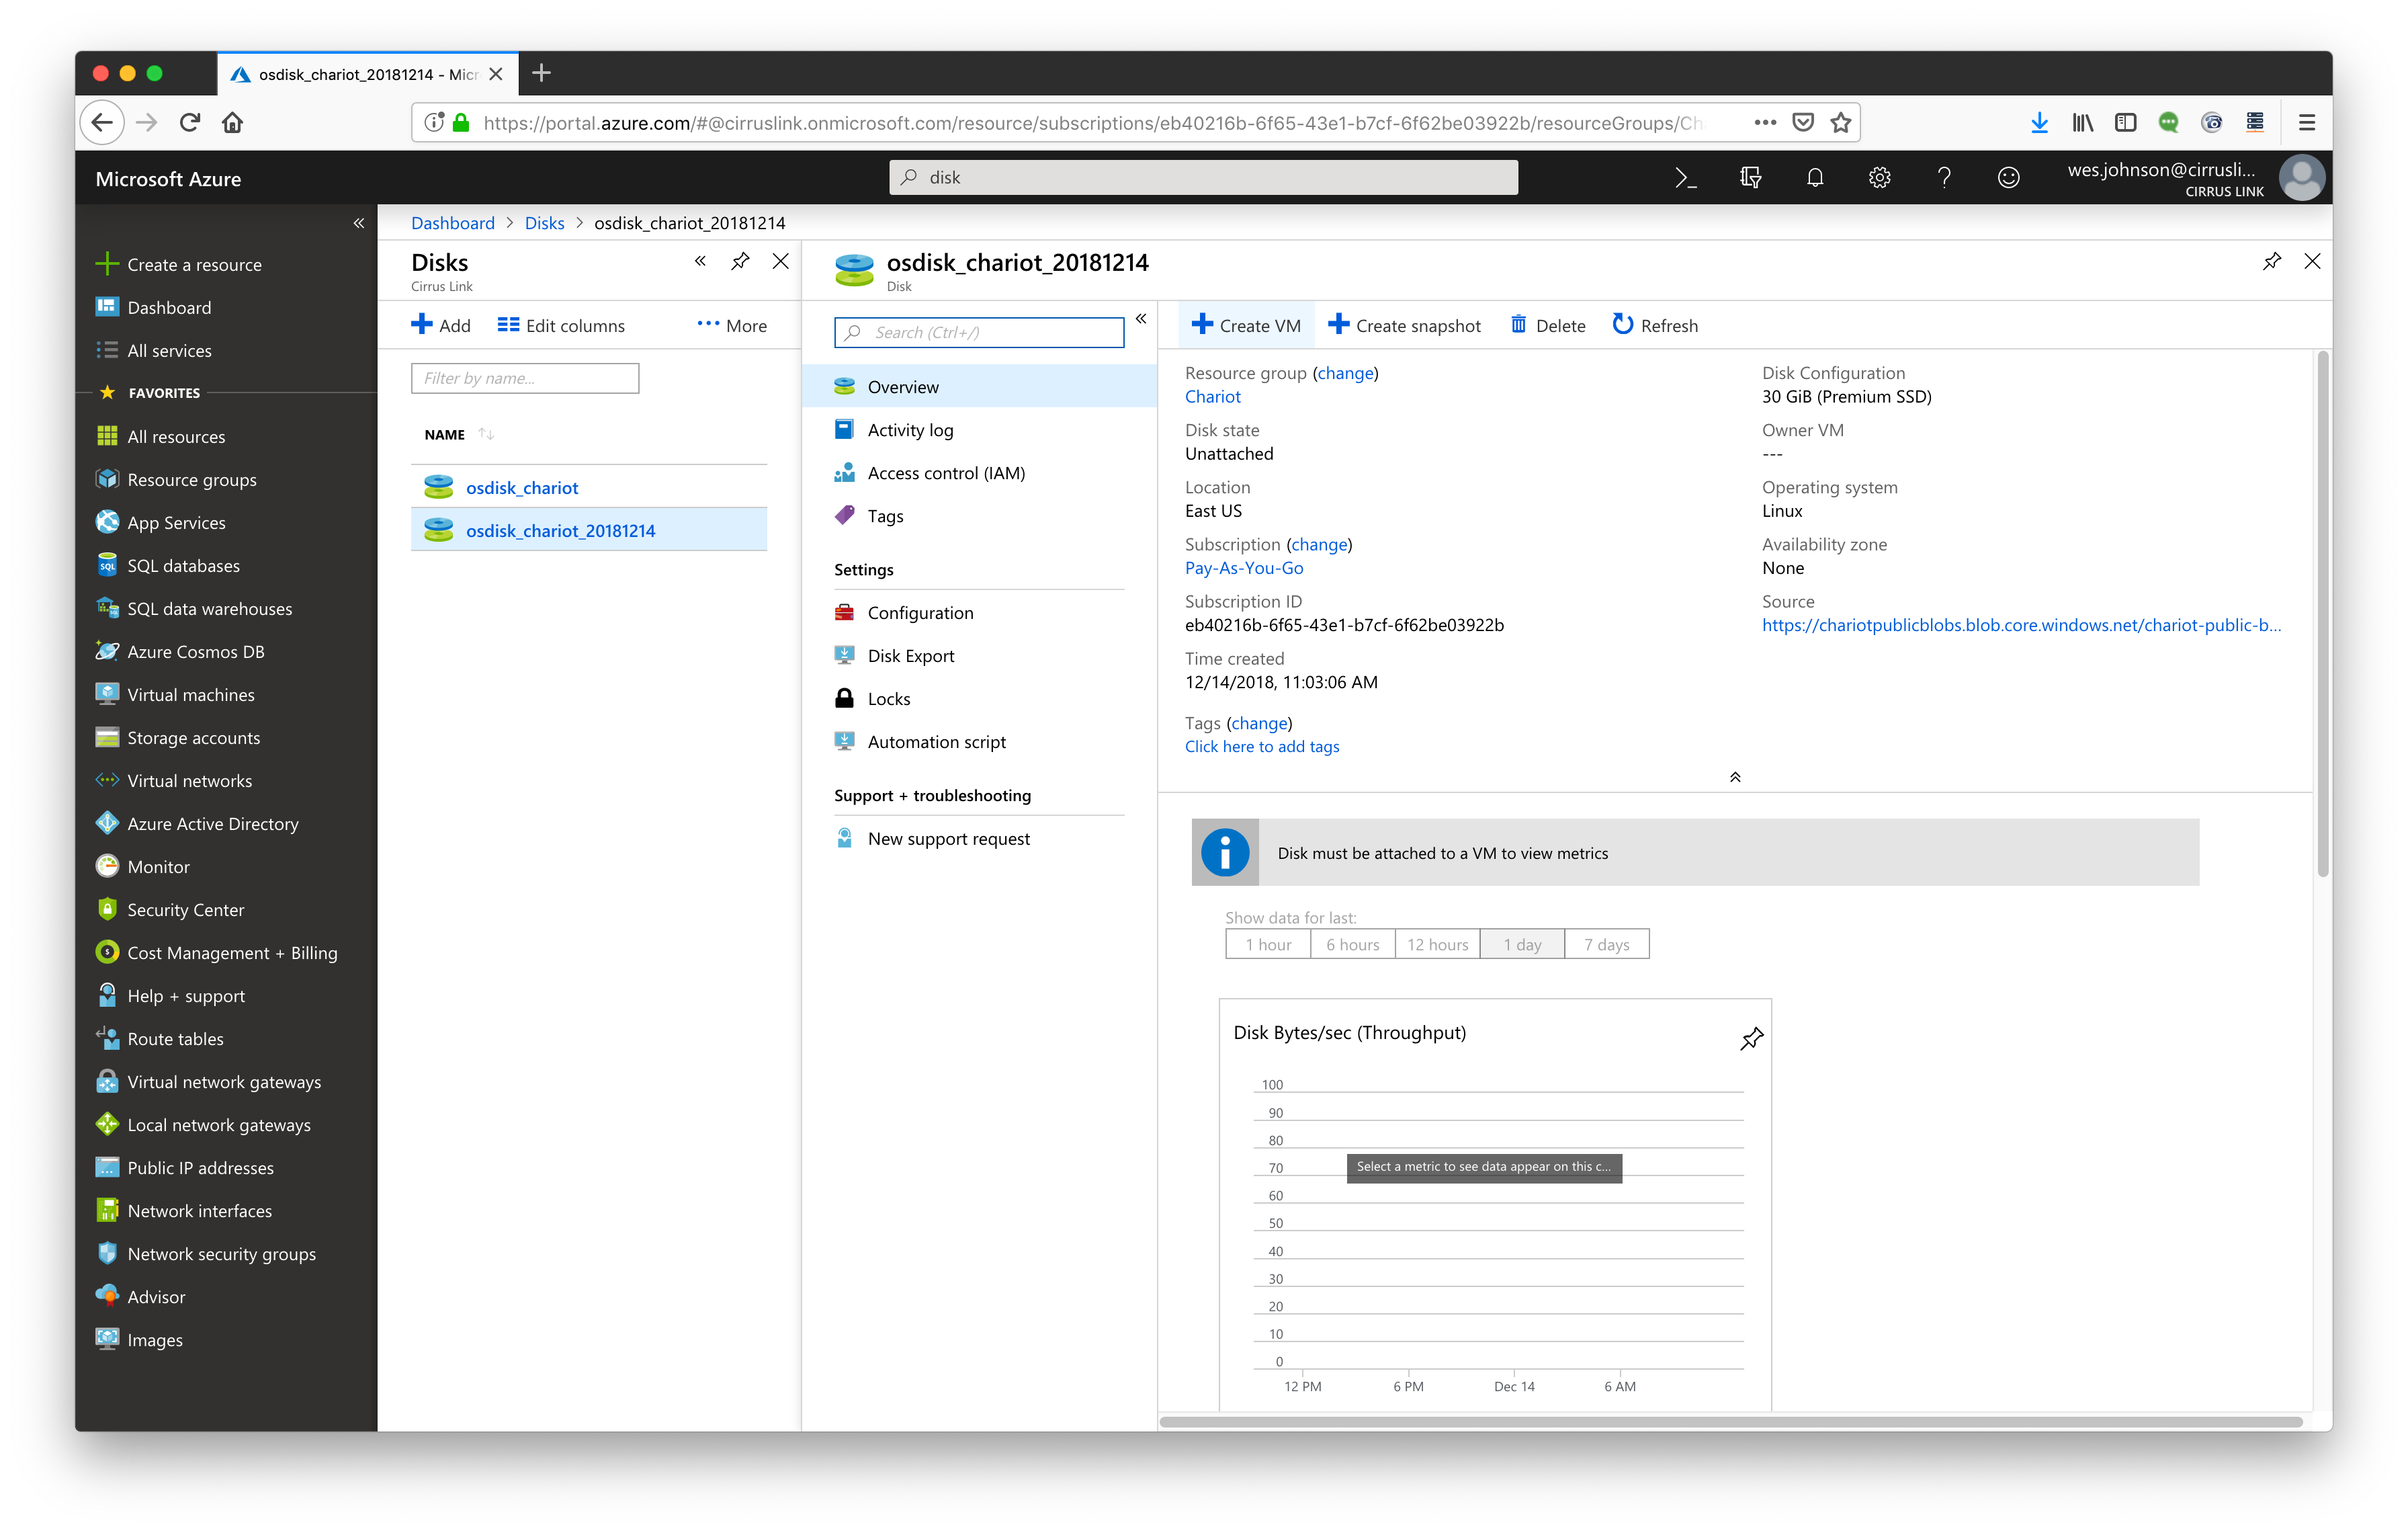
With the disk created, select it. You will see a screen similar to what is shown below. Click the '+ Create VM' button as shown below.
Set the name of the disk and note the Image is the disk you just created as shown below. Also, select the size of the VM. In this case we're using a B1ms. Leave everything else in its default and click 'Next: Disks'.

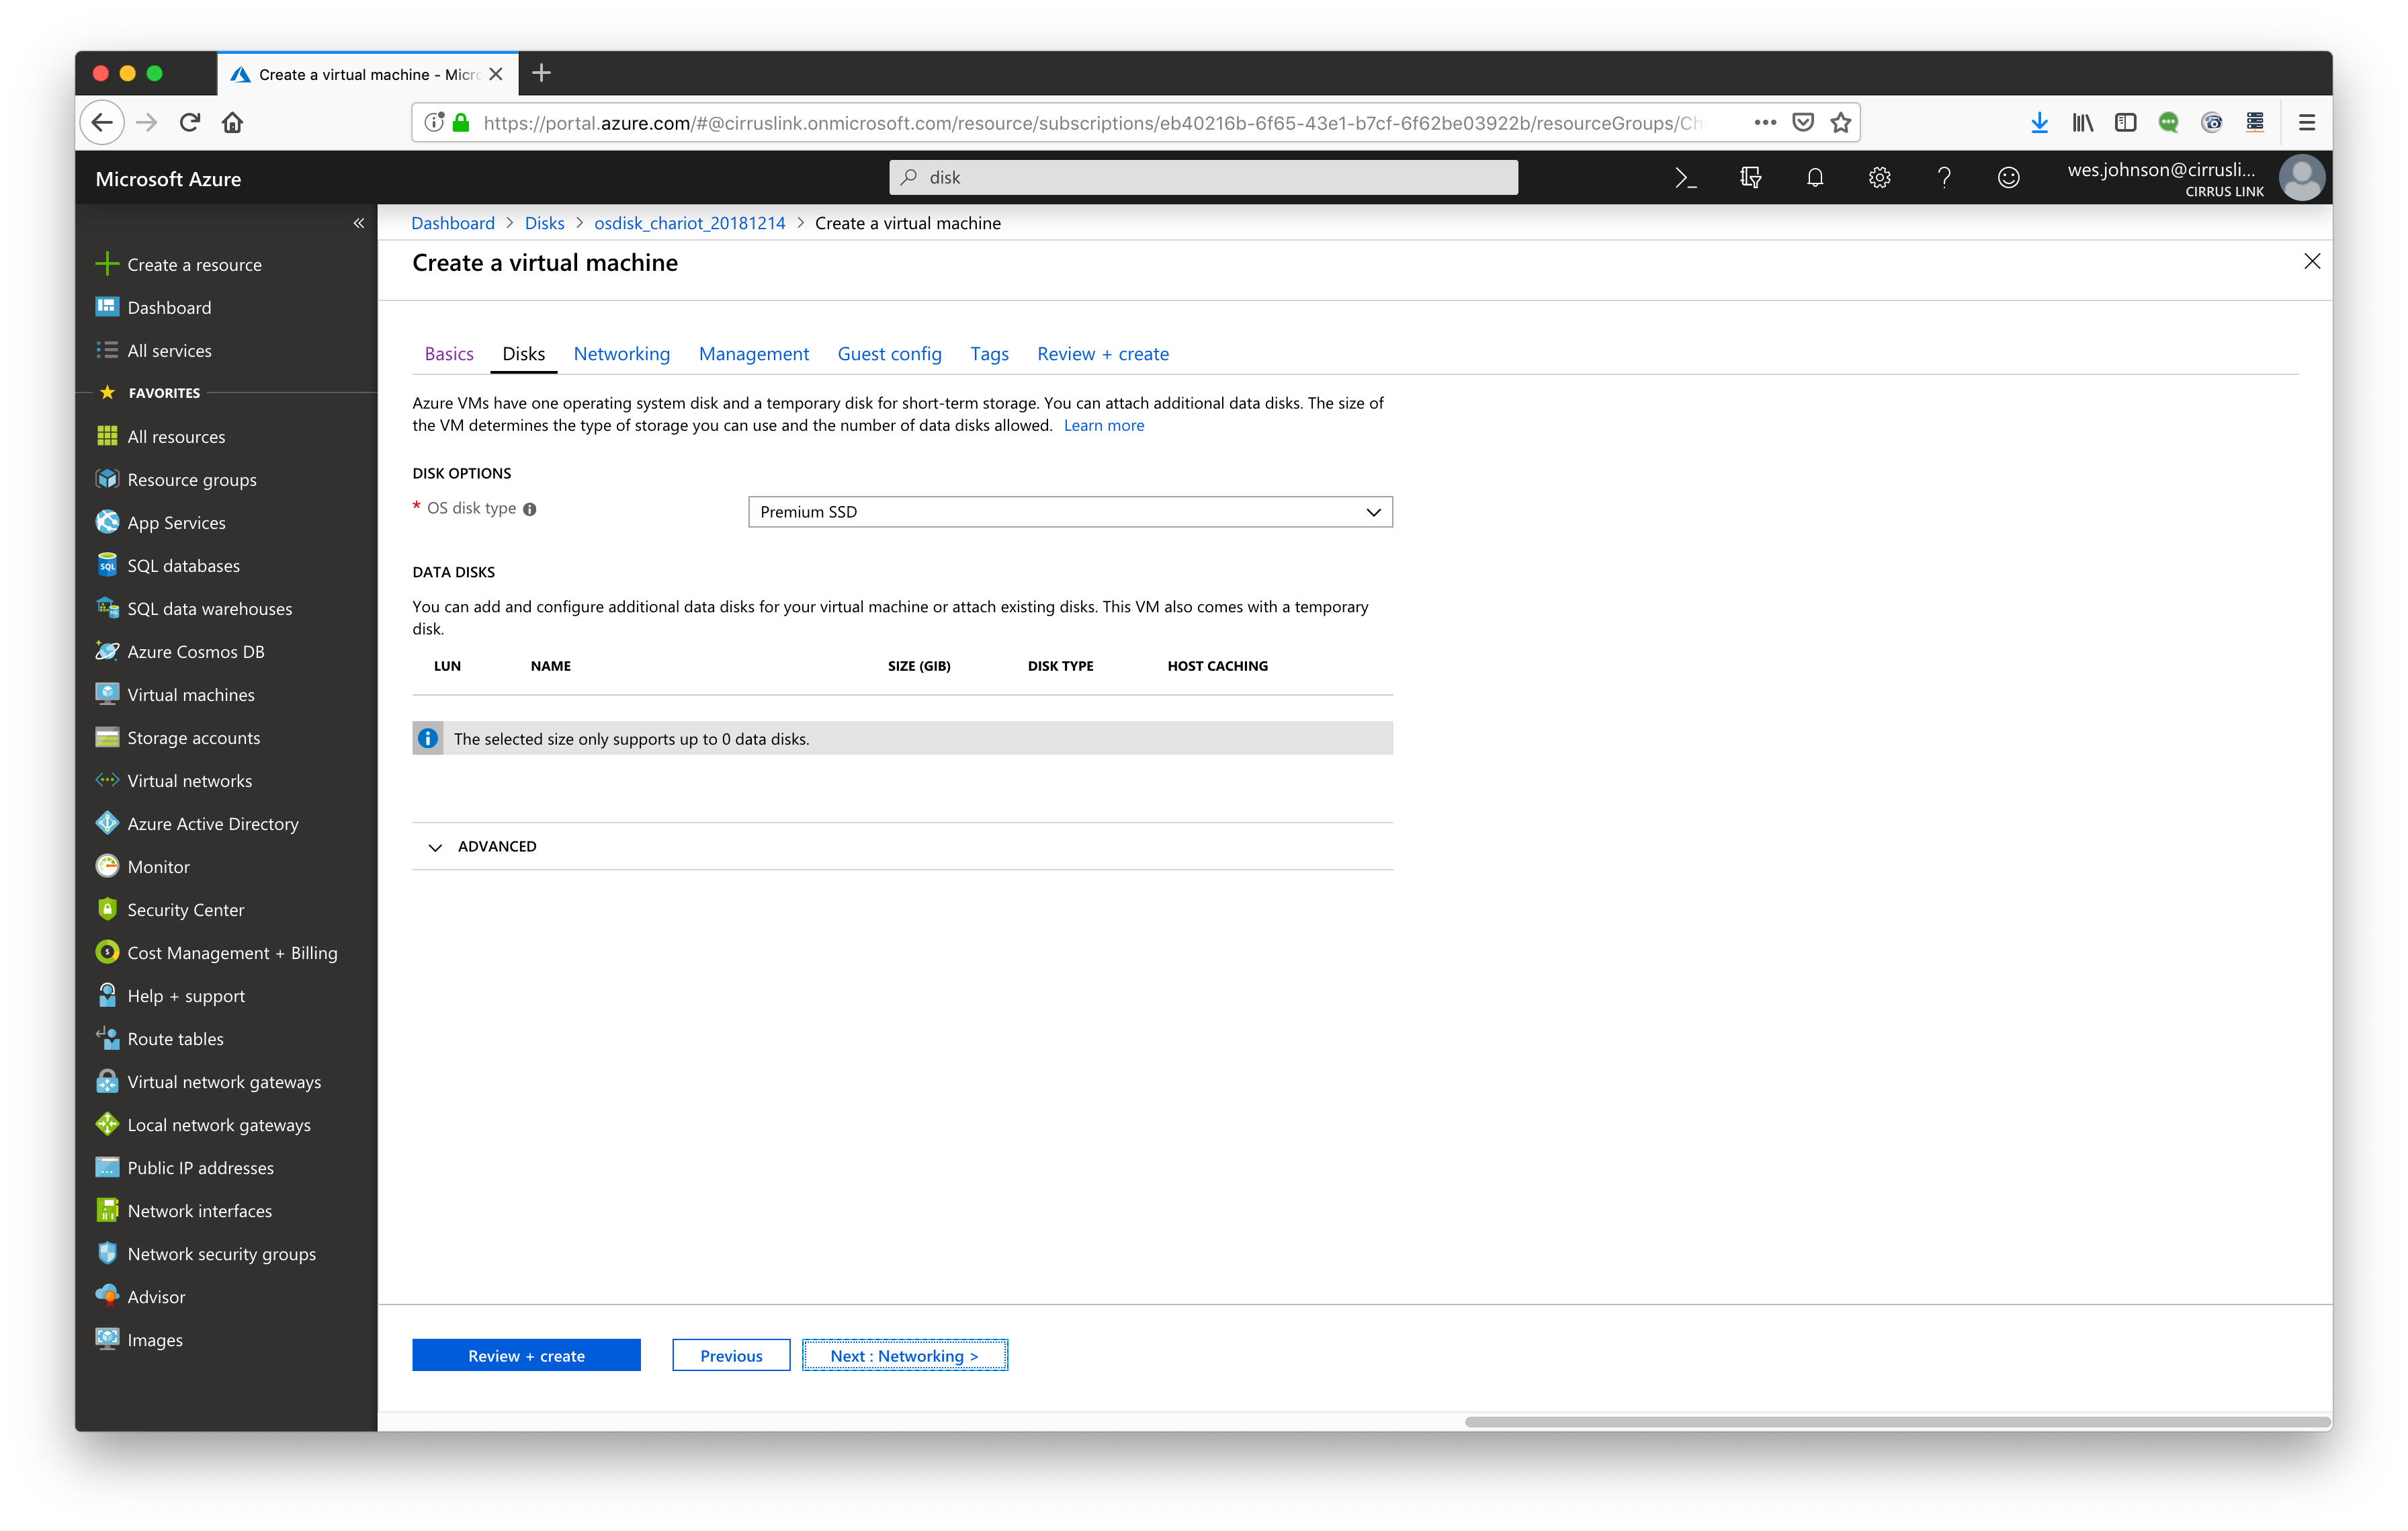
Leave everything default and click 'Next: Networking'
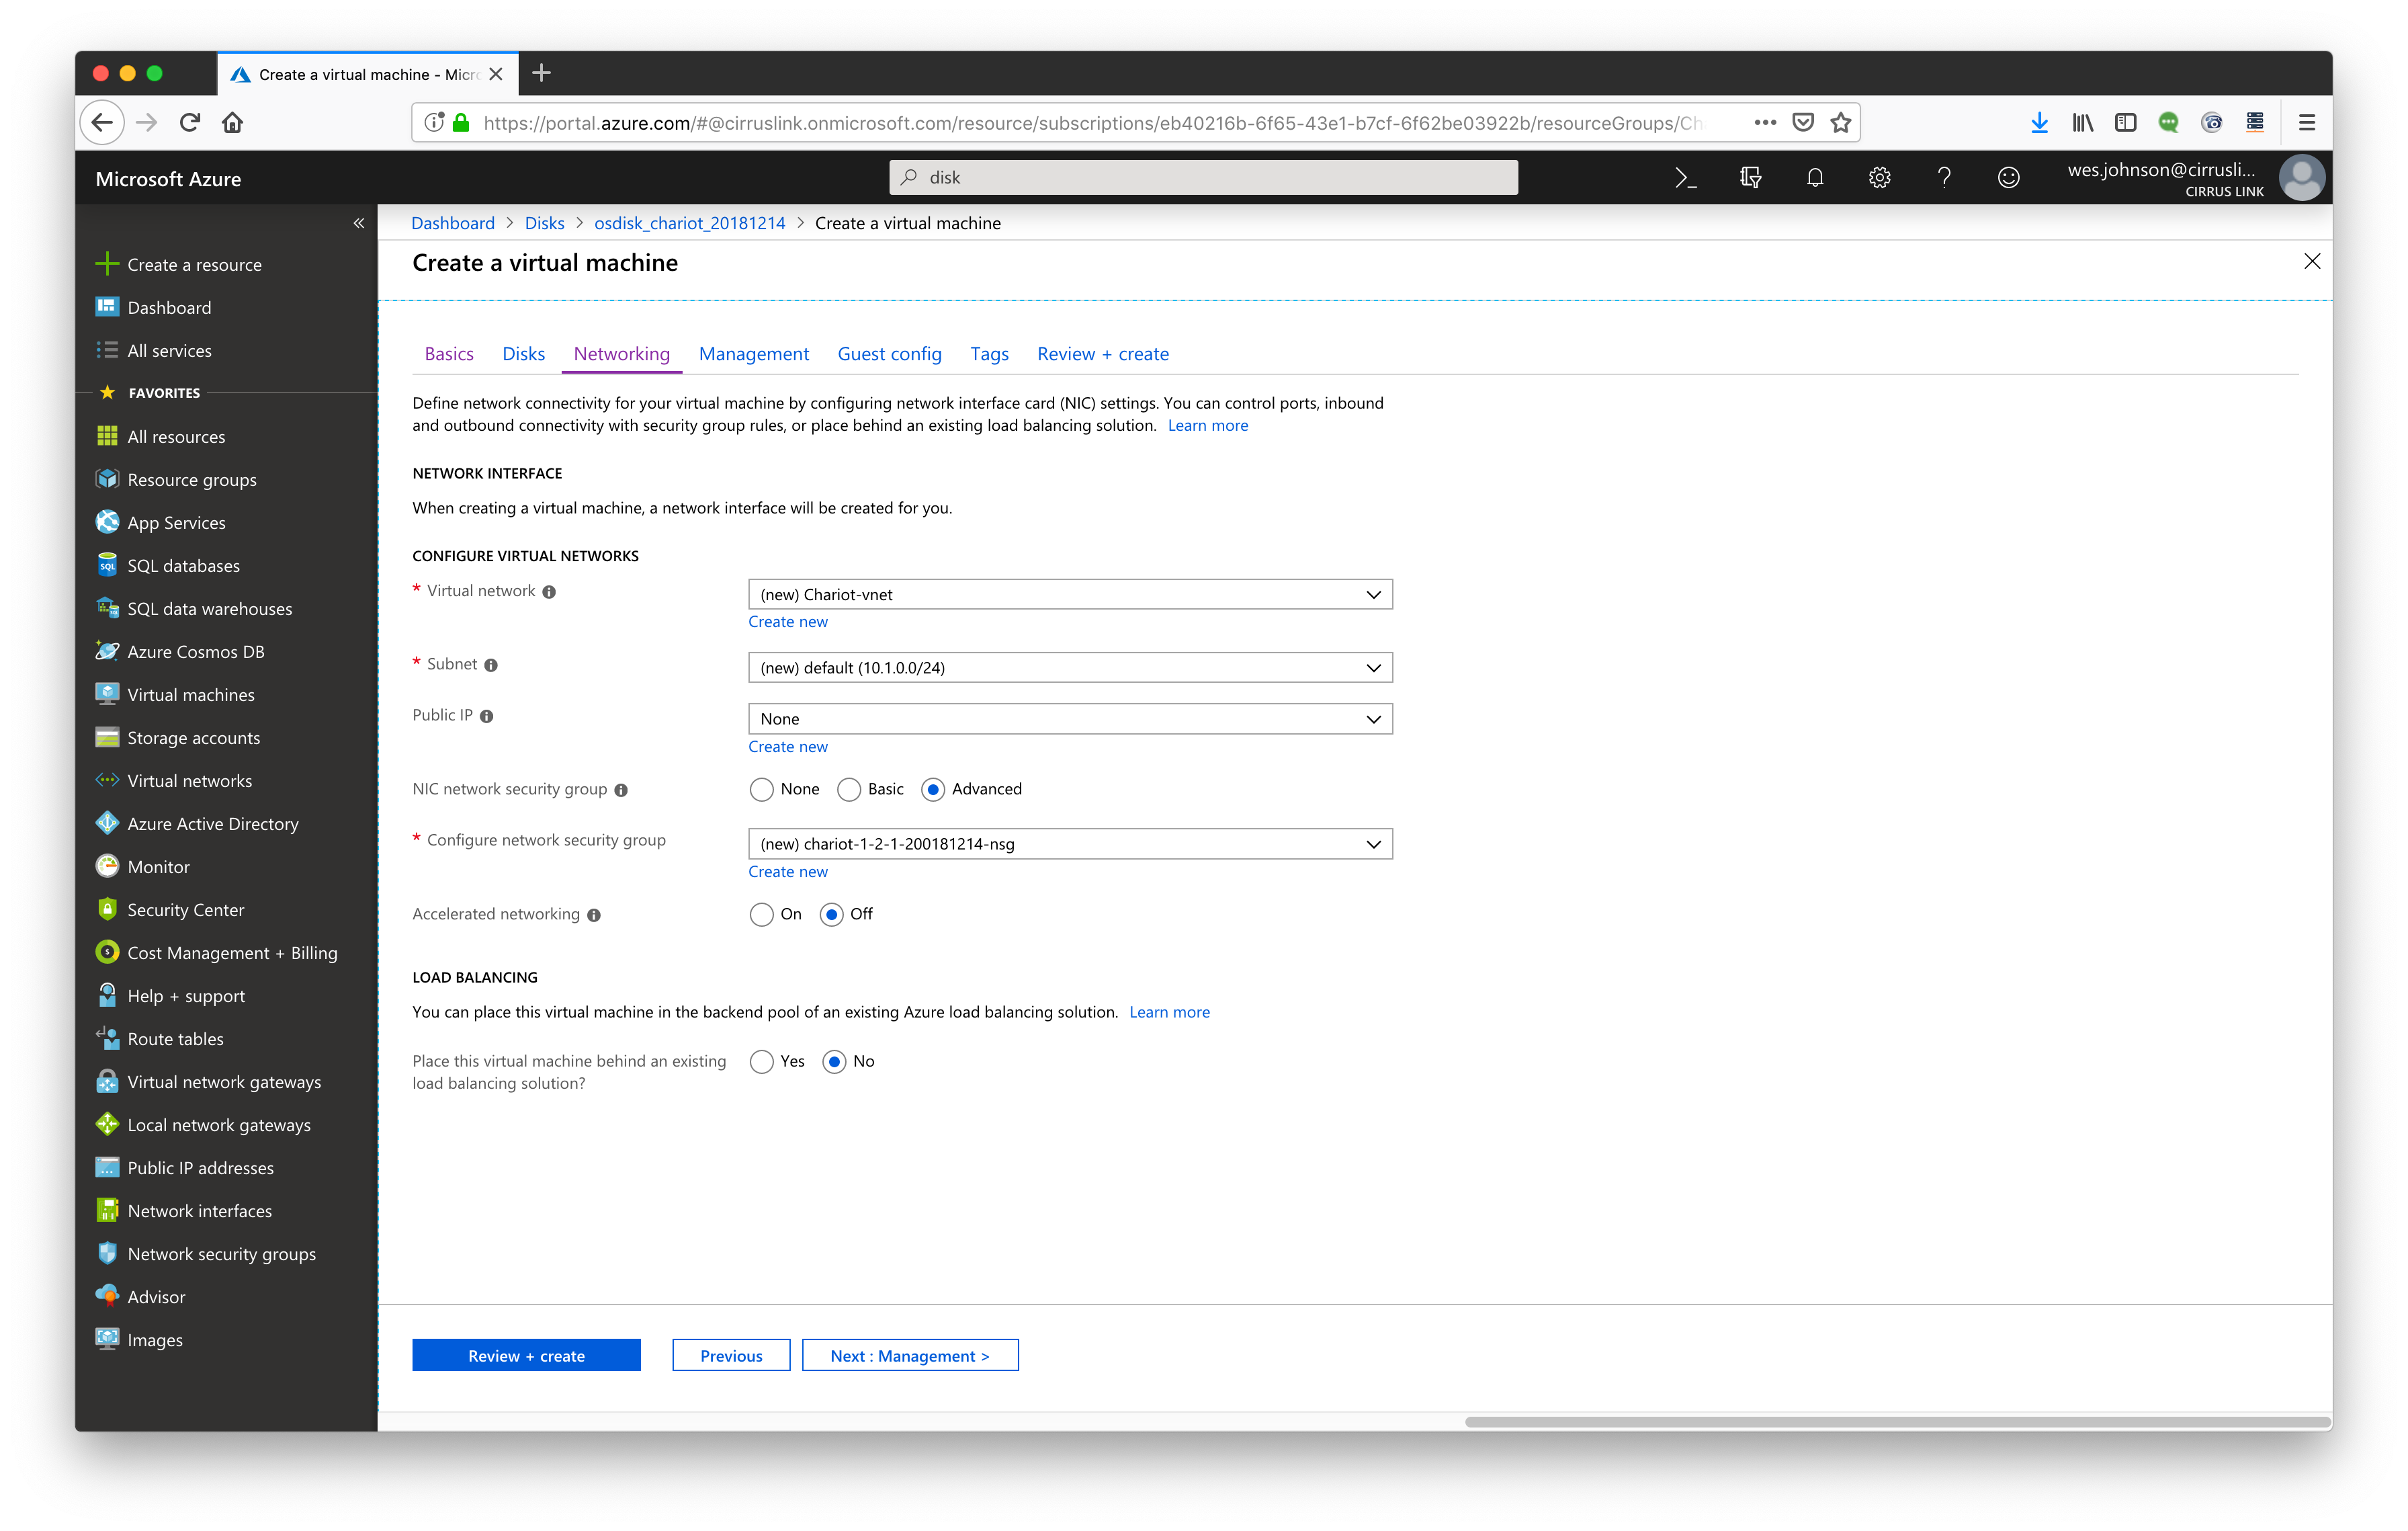
Select a Vitrtual Network and Subnet. Also, create a new Security Group and set it to 'Advanced' as shown below. Then click 'Next: Management'
Turn all monitoring and diagnostics as shown below and click 'Next: Guest Config'

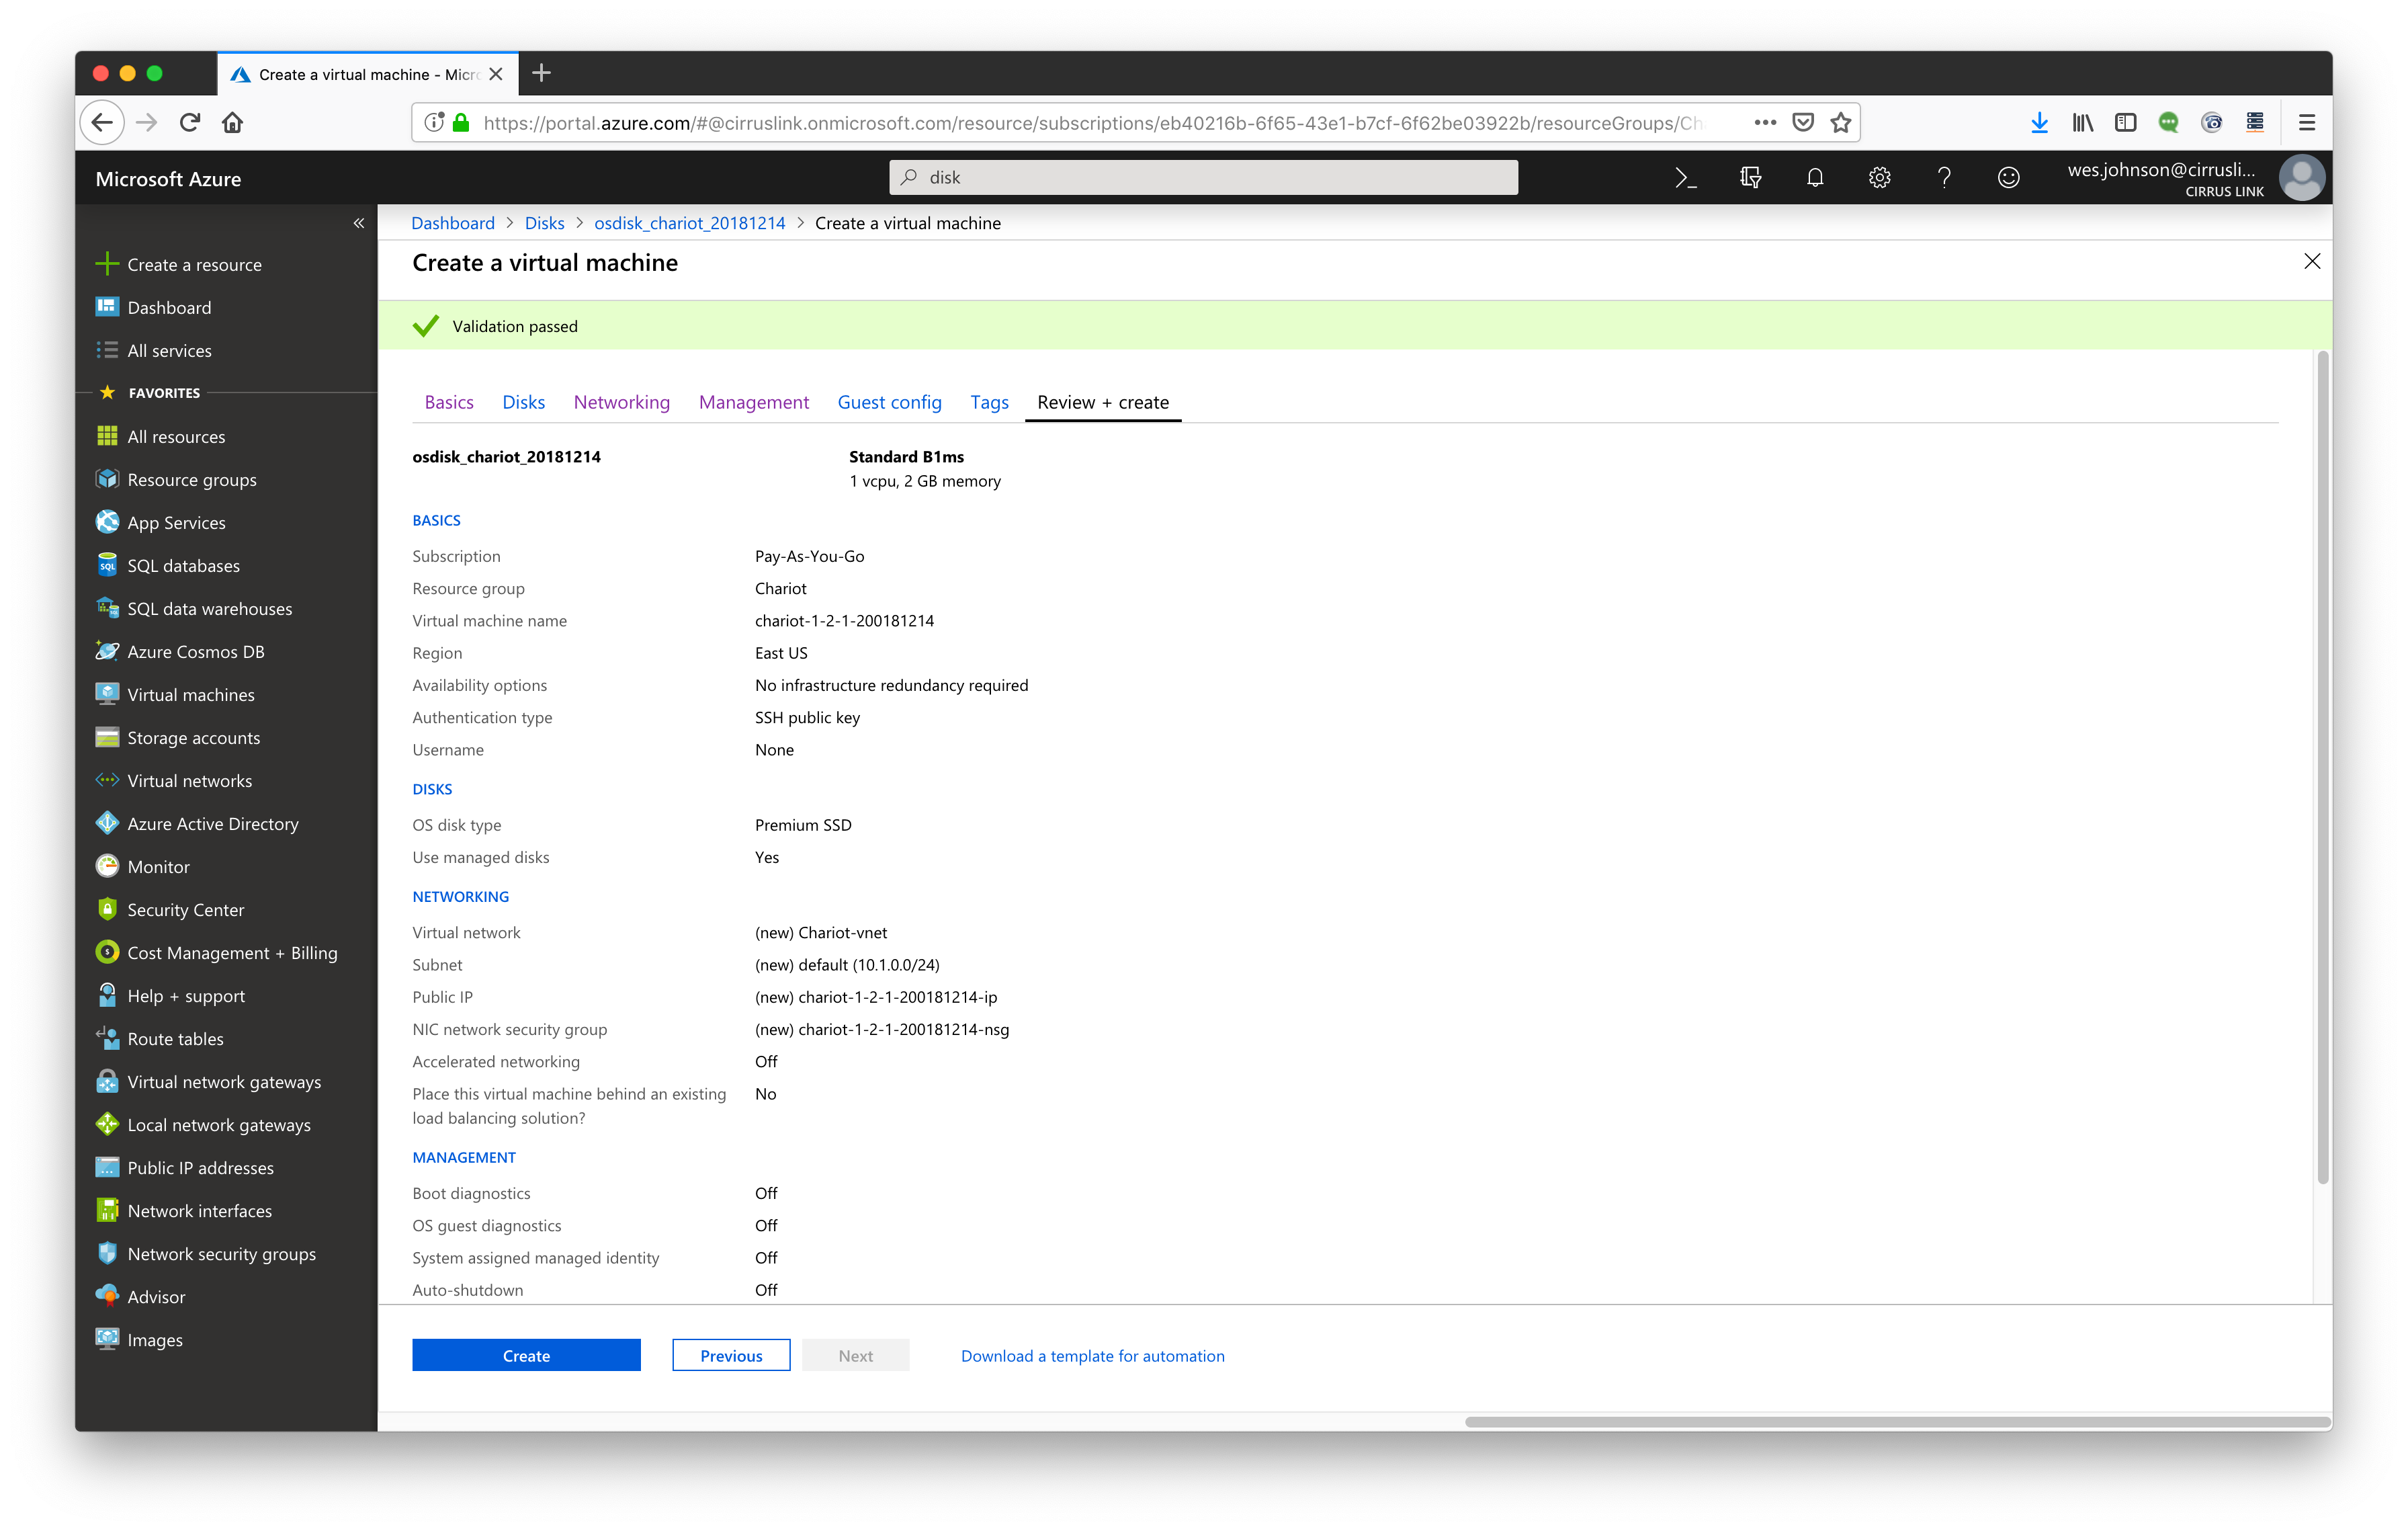
Click through 'Guest Config' and 'Tags' accepting all defaults until you get to the 'Review + create' section. Make sure validation passed as shown below. Then click 'Create' to build the VM.