![]()
Contents
Cirrus Link Resources
Cirrus Link Website![]()
Contact Us (Sales/Support)![]()
Forum![]()
Cirrus Link Modules Docs for Ignition 7.9.x![]()
Inductive Resources
Ignition User Manual![]()
Knowledge Base Articles![]()
Inductive University![]()
Forum![]()
![]()
Cirrus Link Website![]()
Contact Us (Sales/Support)![]()
Forum![]()
Cirrus Link Modules Docs for Ignition 7.9.x![]()
Ignition User Manual![]()
Knowledge Base Articles![]()
Inductive University![]()
Forum![]()
...
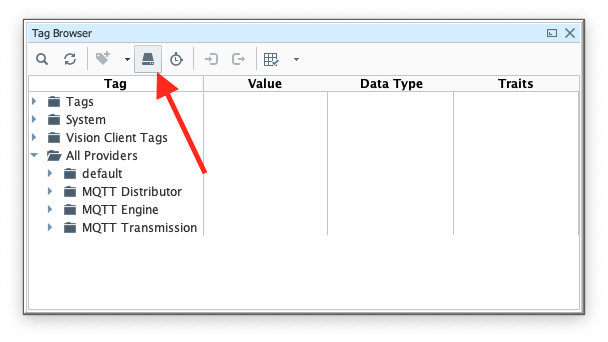
 This tutorial will use the "default" Tag Provider. Expand 'All Providers' in the Tag Browser and select 'default'. Note that if Ignition Edge is being used, the tag provider will be named 'edge'.
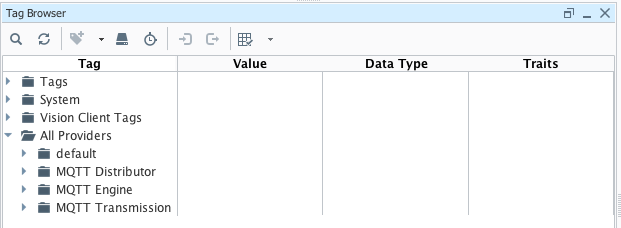
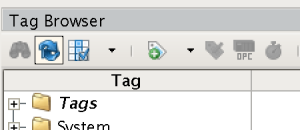
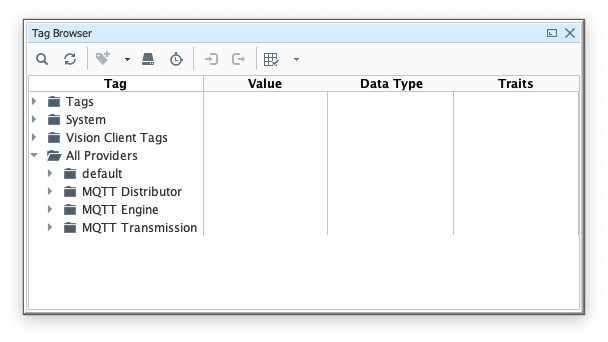 With 'default' (or 'edge') selected, click the 'OPC' icon in the Tag Browser icon list:
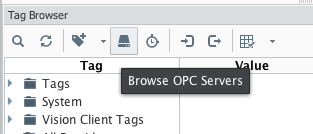
This will open a new window as shown below. If the OPC server and client were set up and configured properly, you should see something similar to the following:
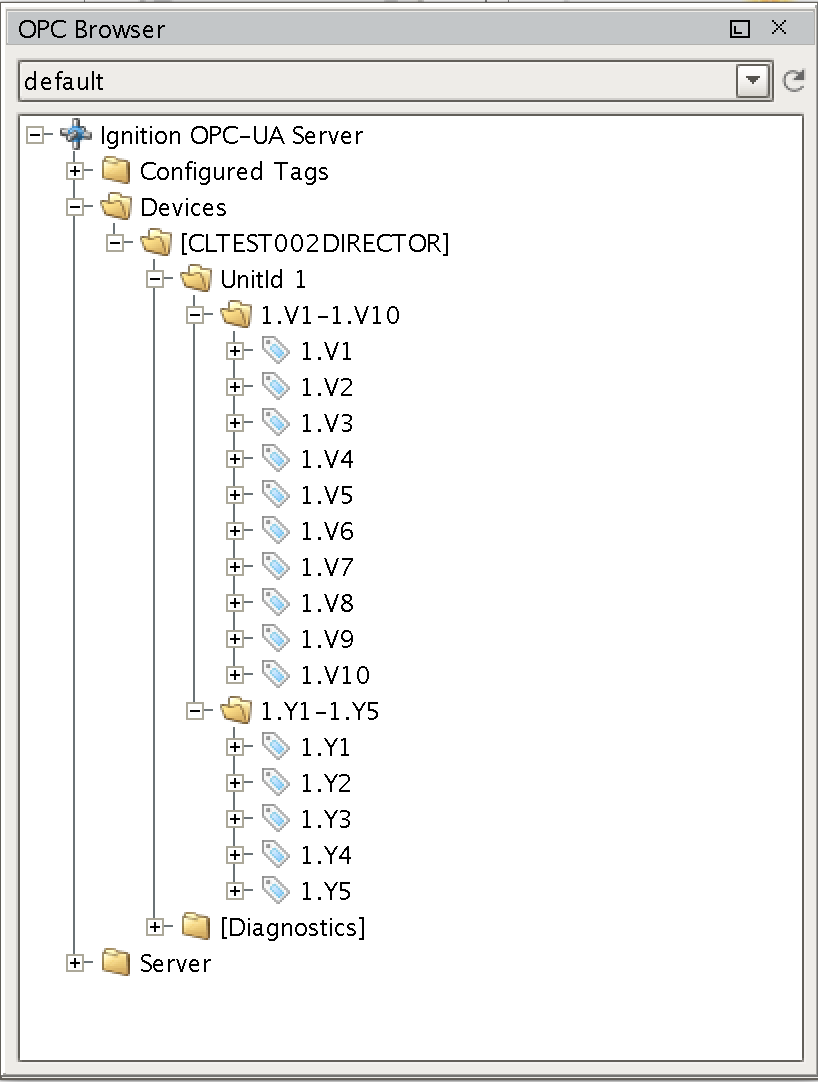
Note there is a device with an attached PLC and two sets of registers. Yours will look different based on the device you are using and how it is configured. At this point, we can select do the following:
...
...
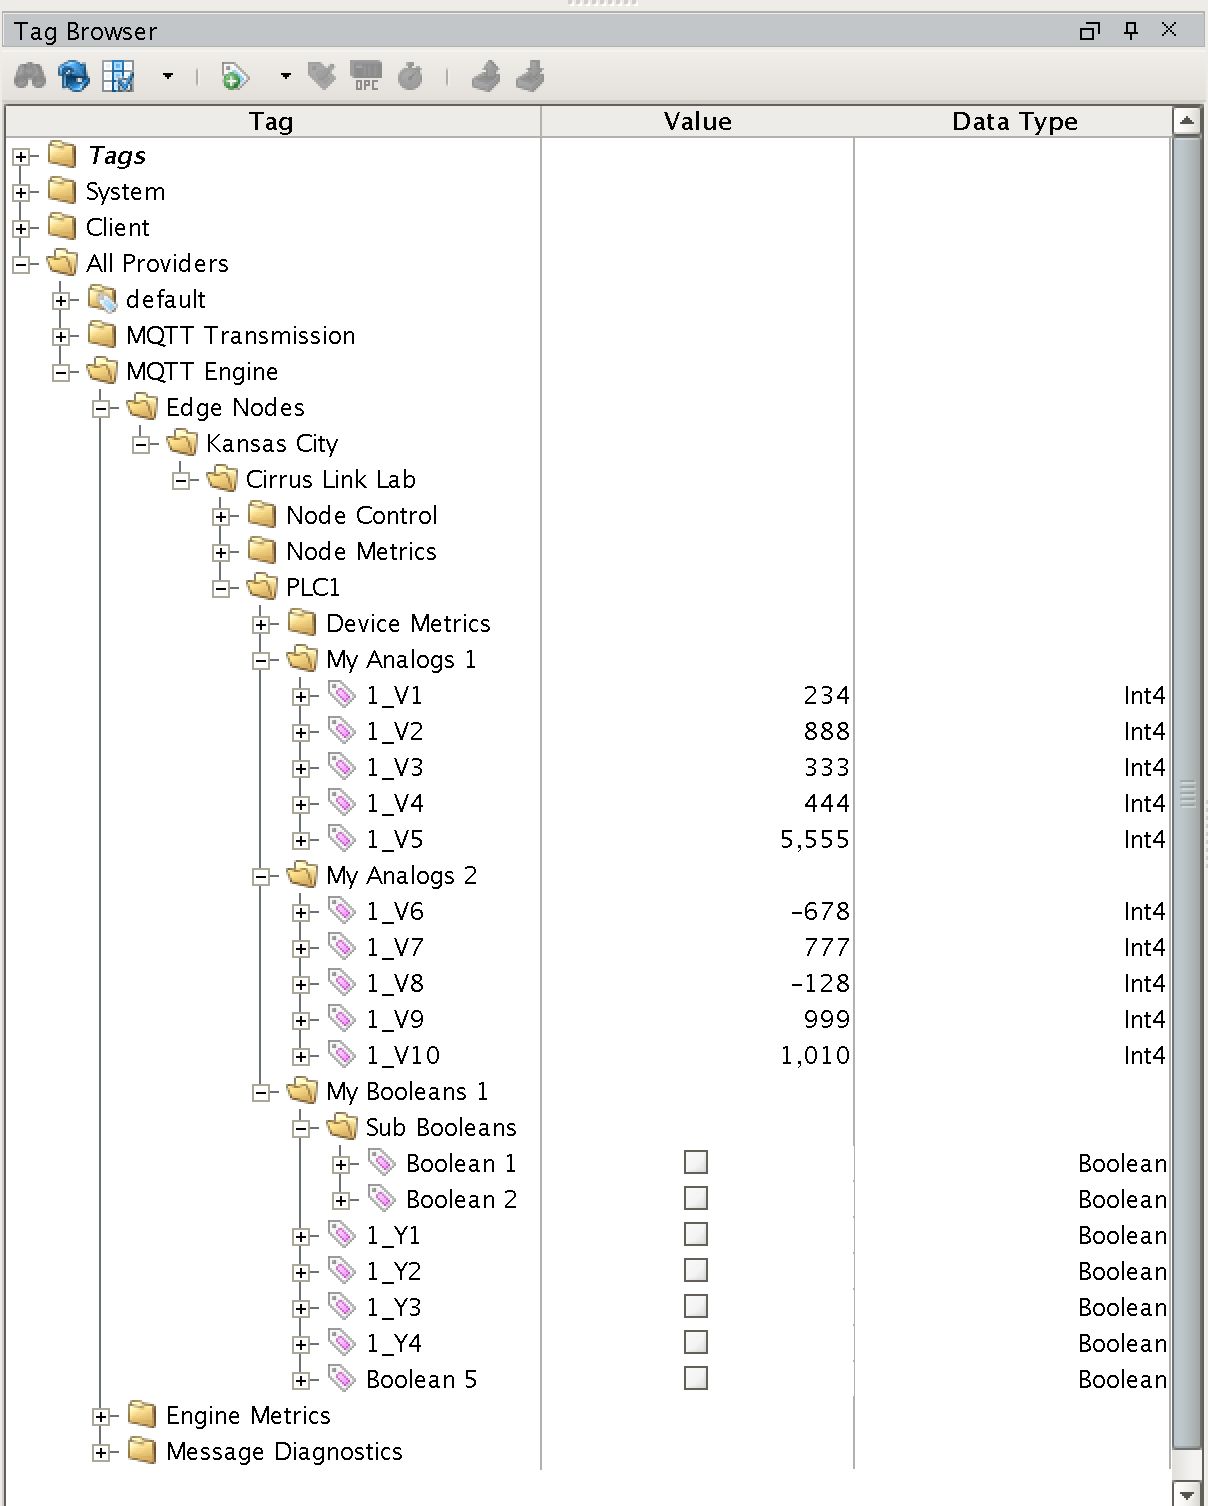
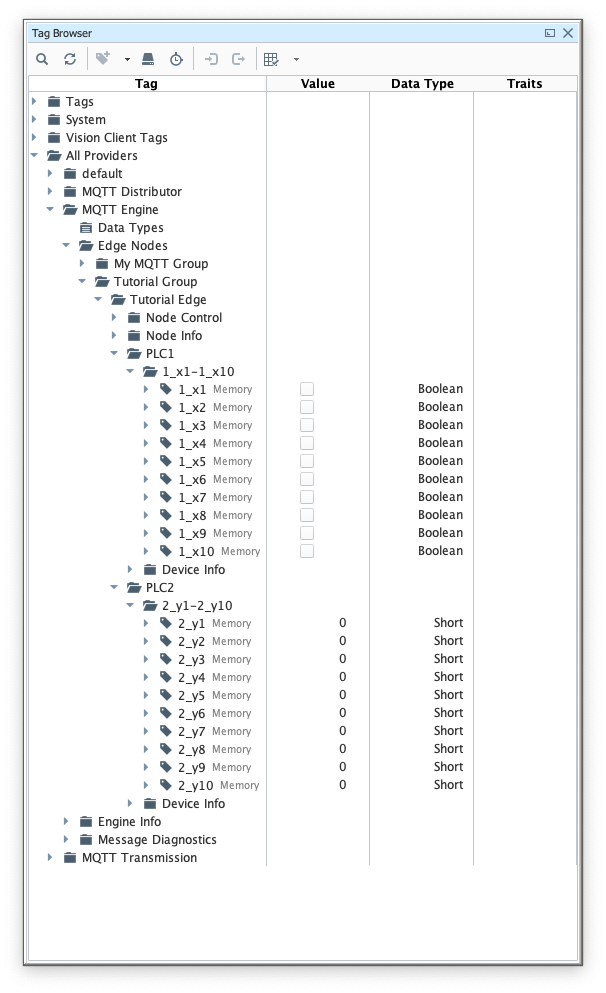
This is shown below:

The folder structure of these Tags should be carefully noted so that MQTT Transmission can be configured correctly to monitor the Tags.
With the Tags set up, MQTT Transmission can now be configured
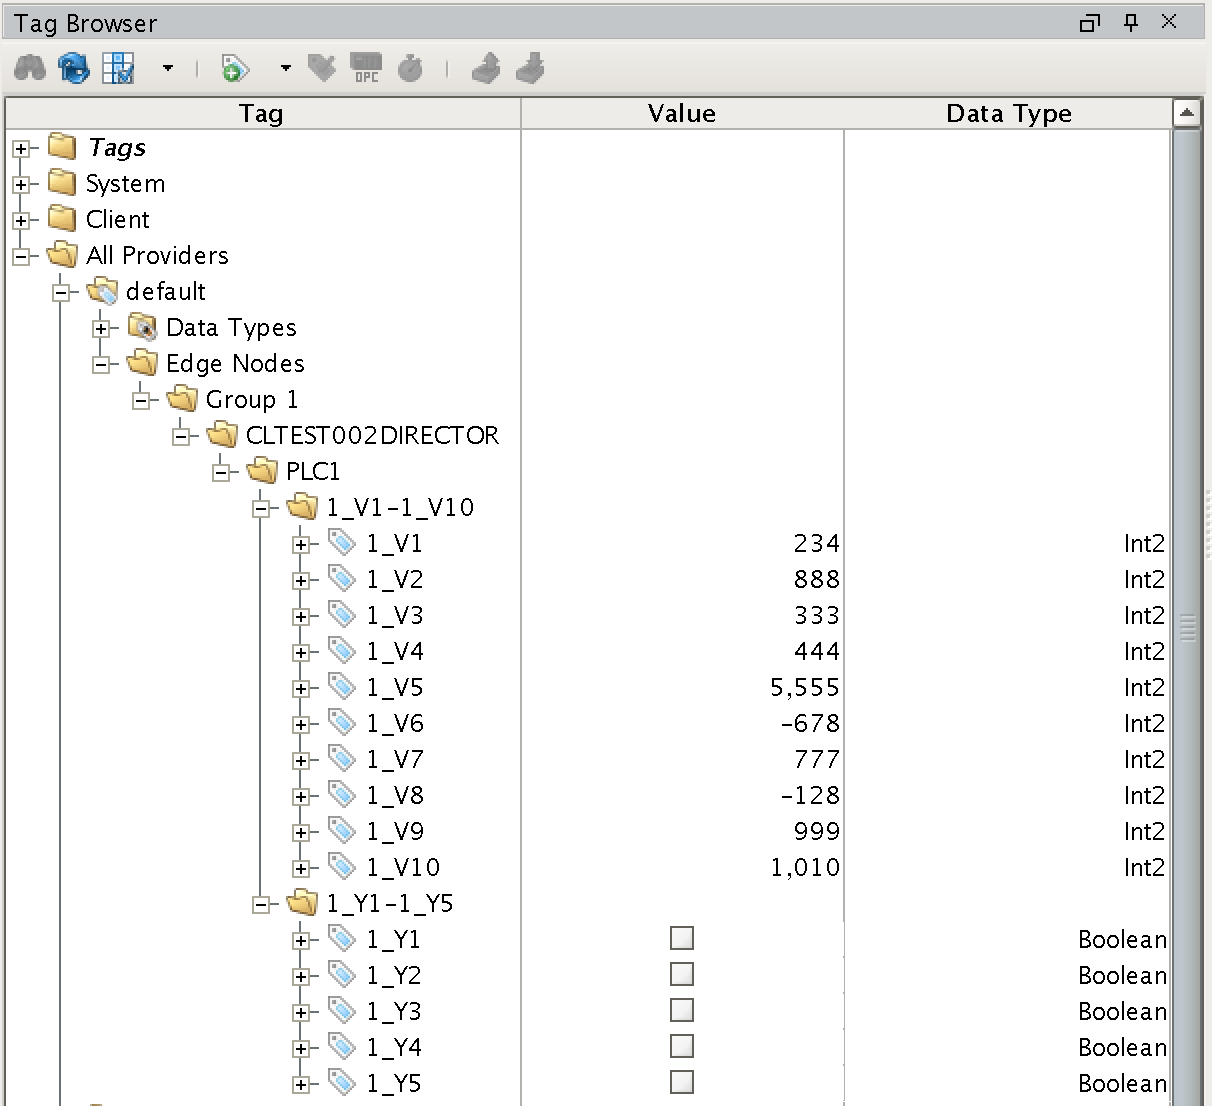
The first level of folders is very important in terms of layout and how the tags will be understood and represented by MQTT Transmission. These are the rules:
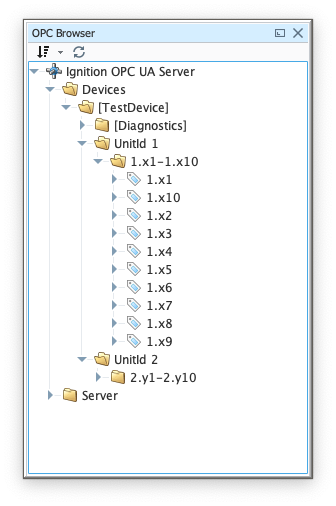
In our example, we have a single Edge Node of 'CLTEST002DIRECTOR', under it a single Device called PLC1, and under it, 15 registers in two different folders. We could rearrange this by renaming and moving folders and tags to a different representation as desired. The layout below is also valid as was done simply by moving/renaming the tags shown above.
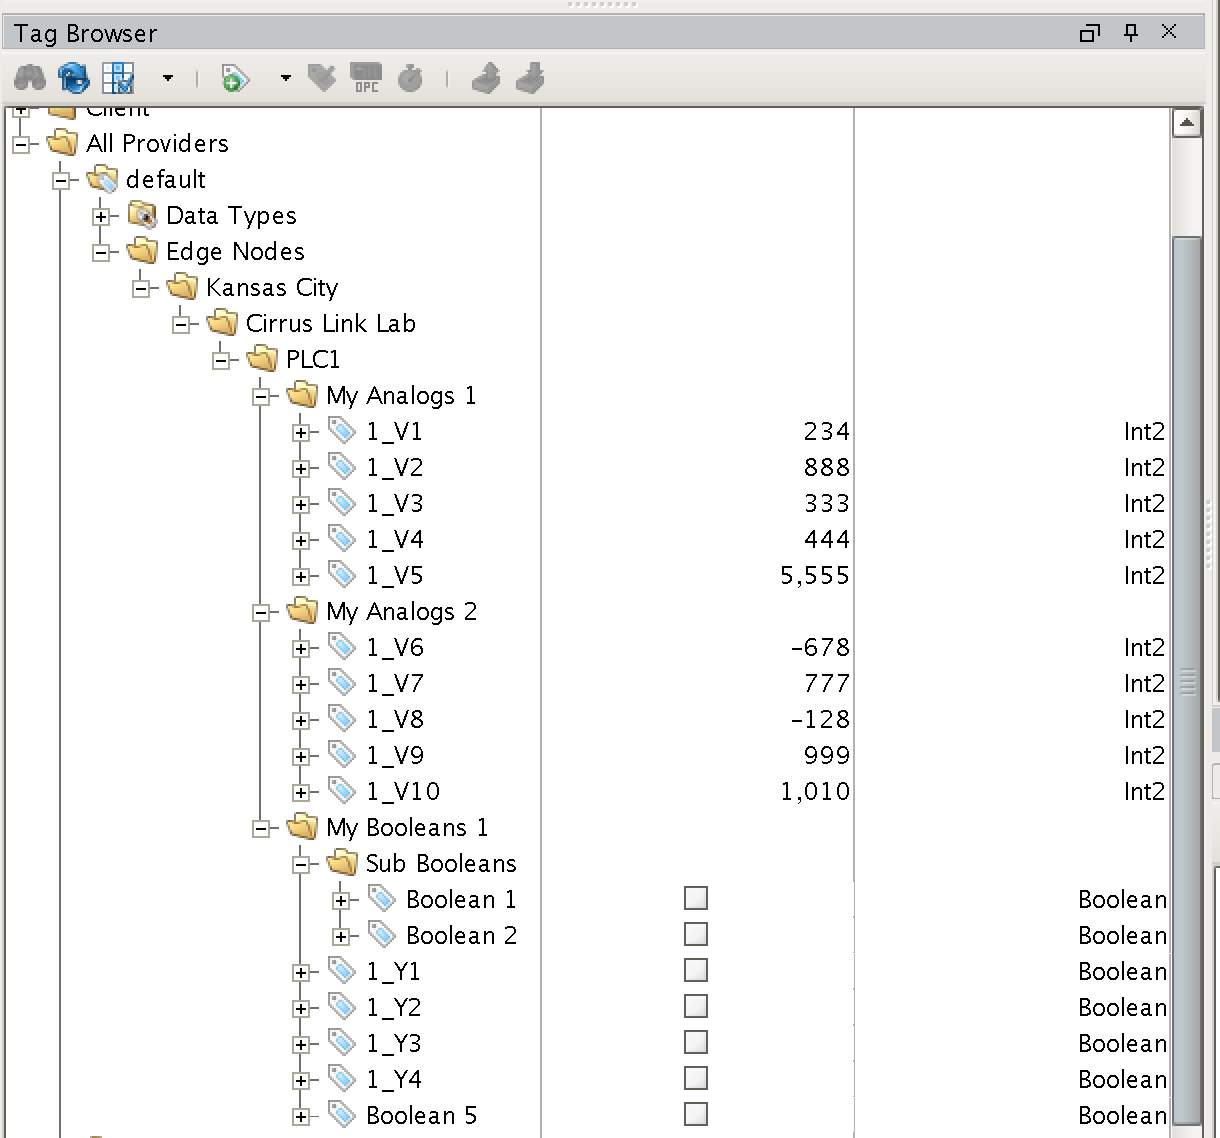
Note while the folders and tags were moved and renamed, the required basic structure stayed the same with:
...
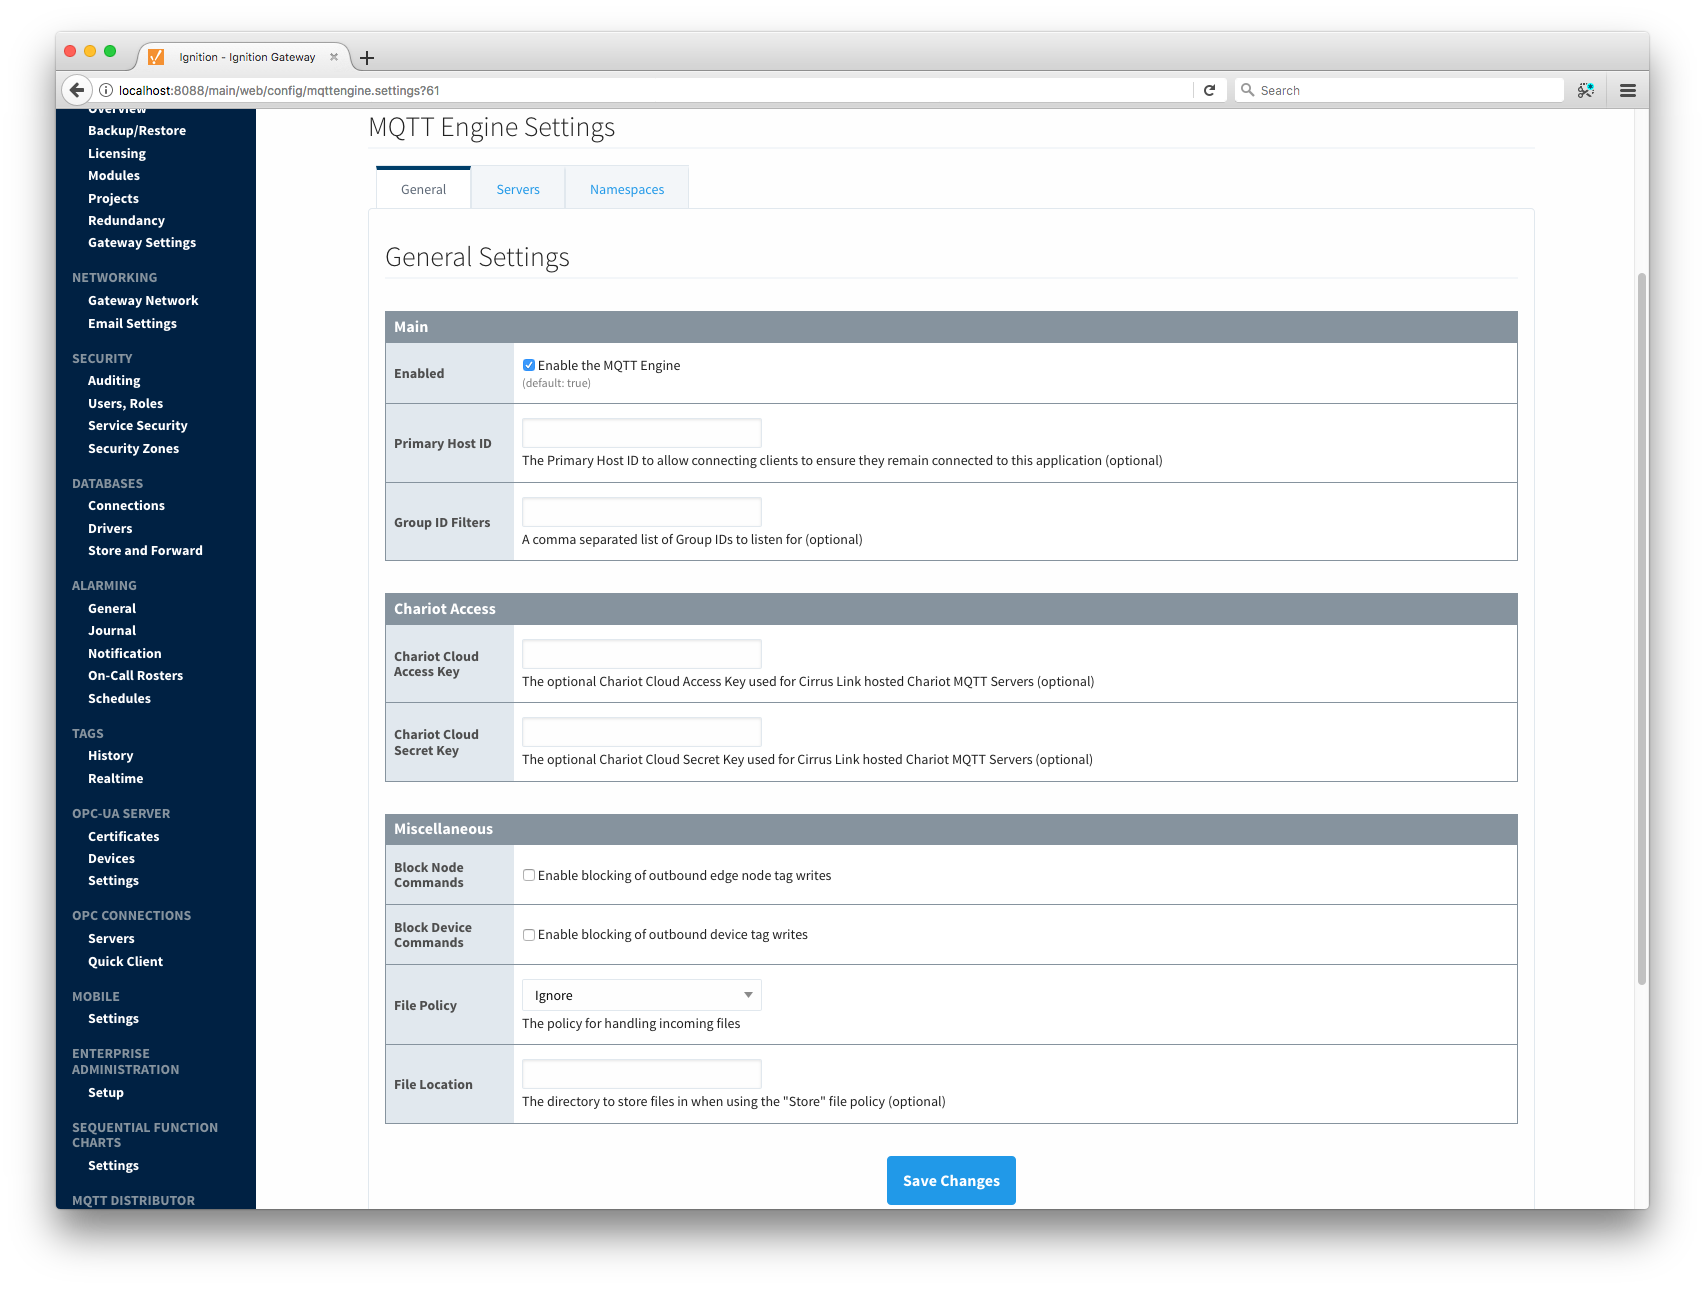
With our tags set up as we want them, we now must configure MQTT Transmission. Do so by browsing to the the Configure section of the Ignition Gateway web UI and selecting 'MQTT Transmission -> Settings' on the left: 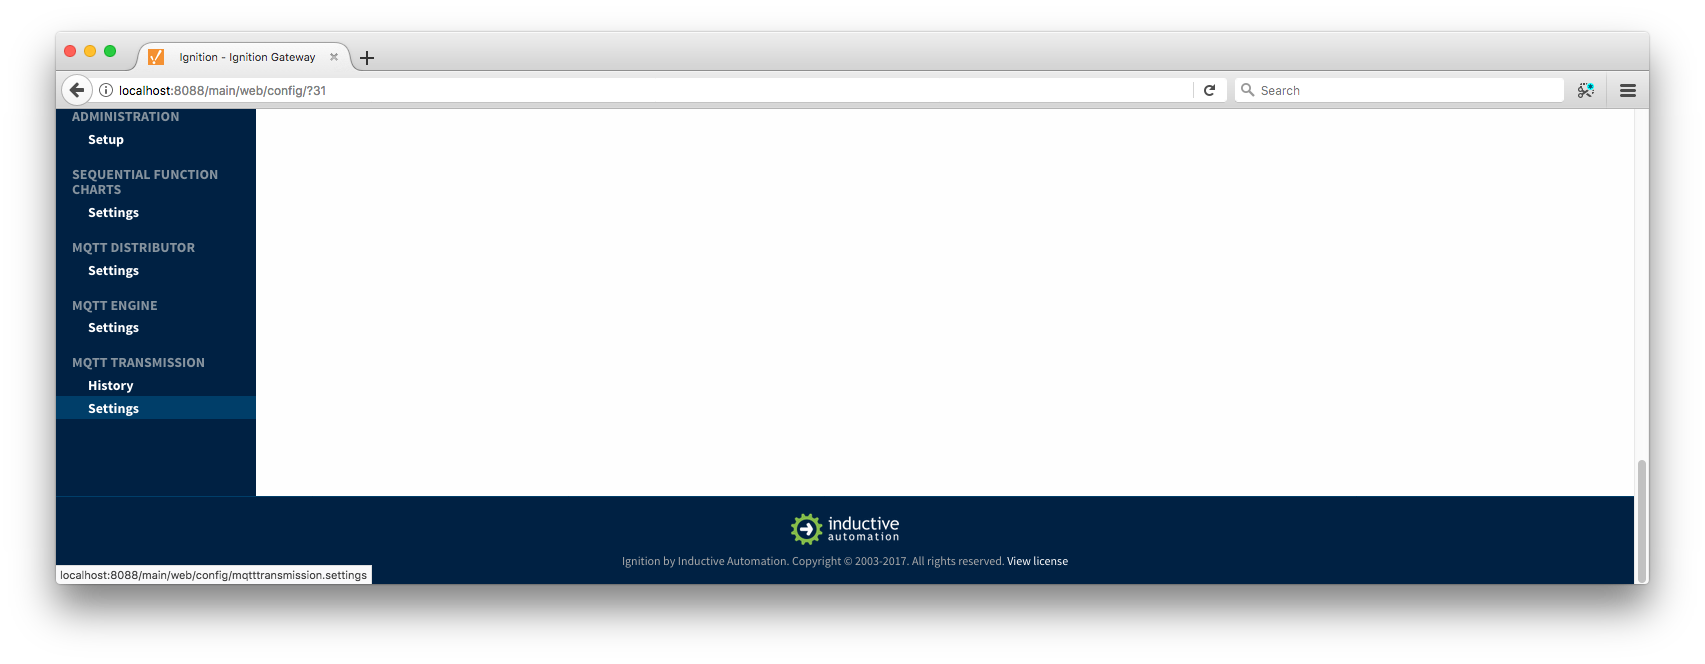
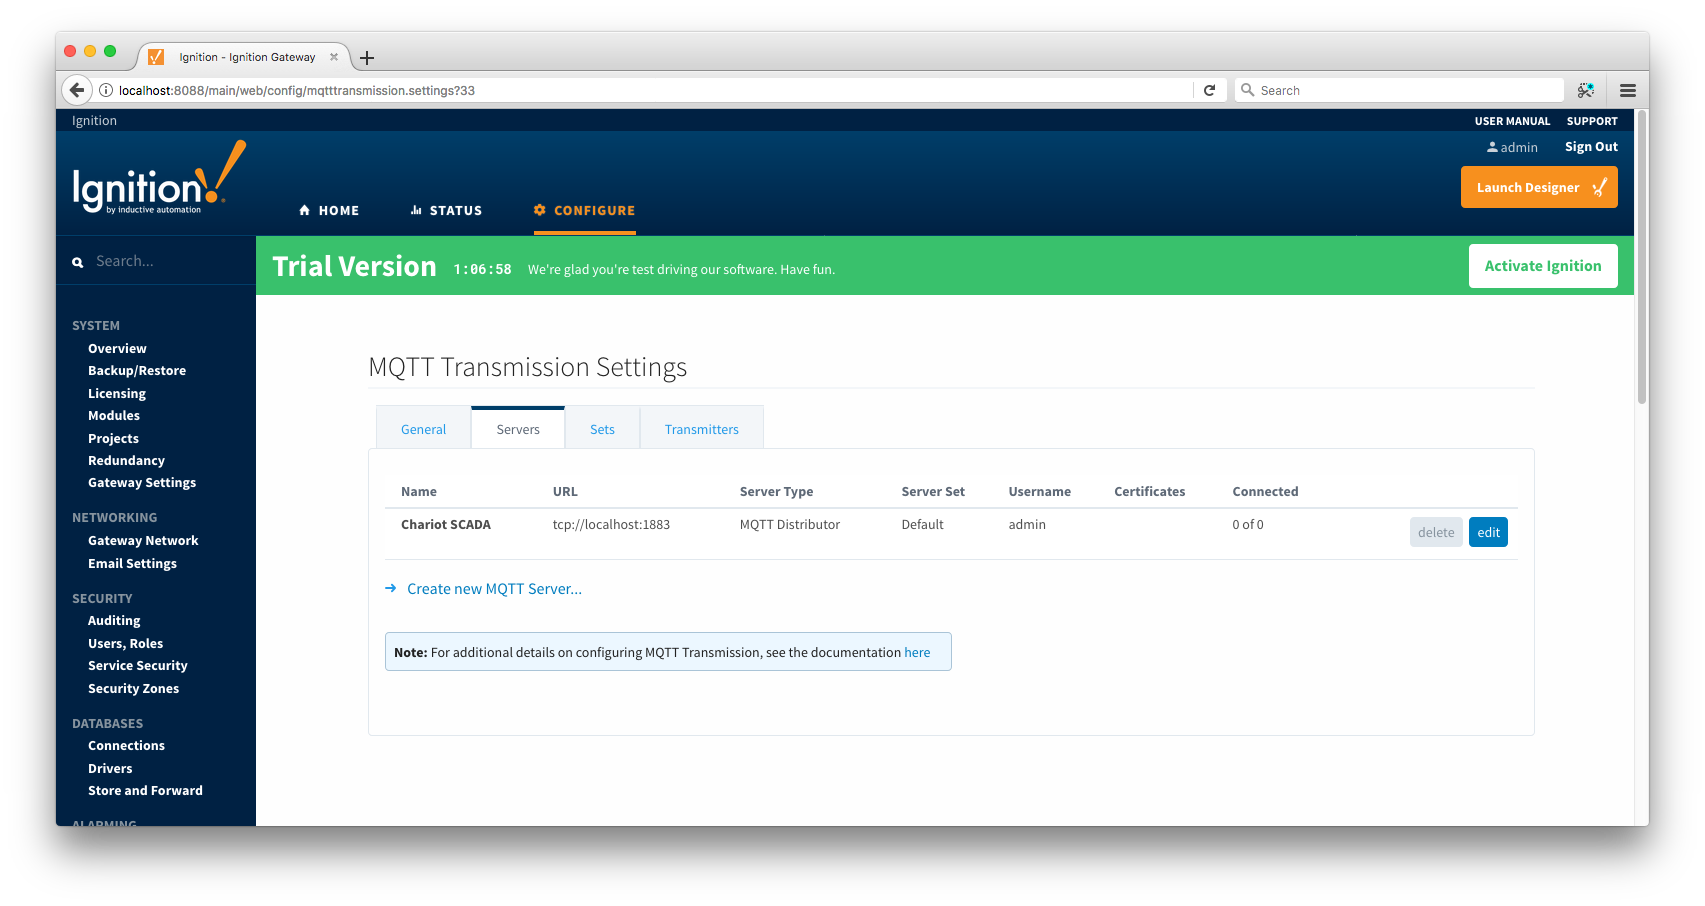
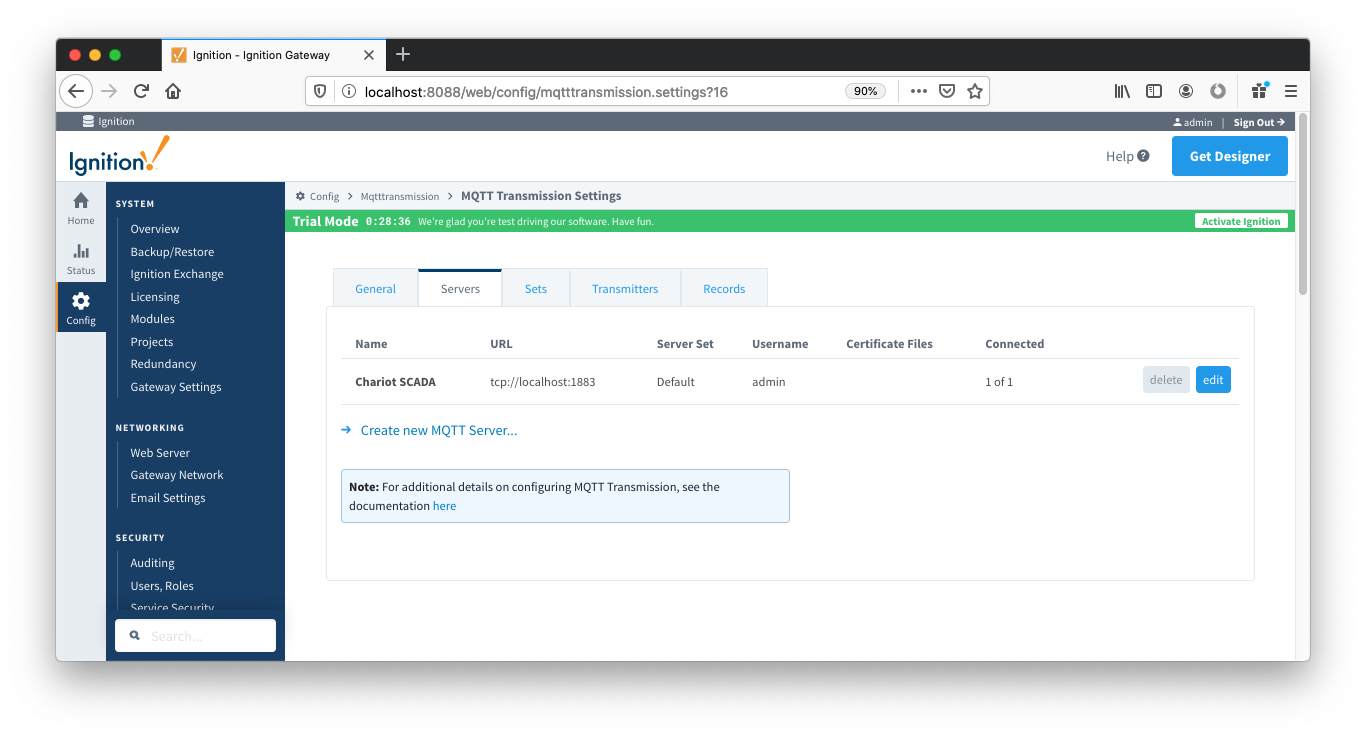
This tutorial uses In this example we're usiing the default MQTT Server of MQTT Distributor:
 Under the Transmitters tab, we're also using the defaults:
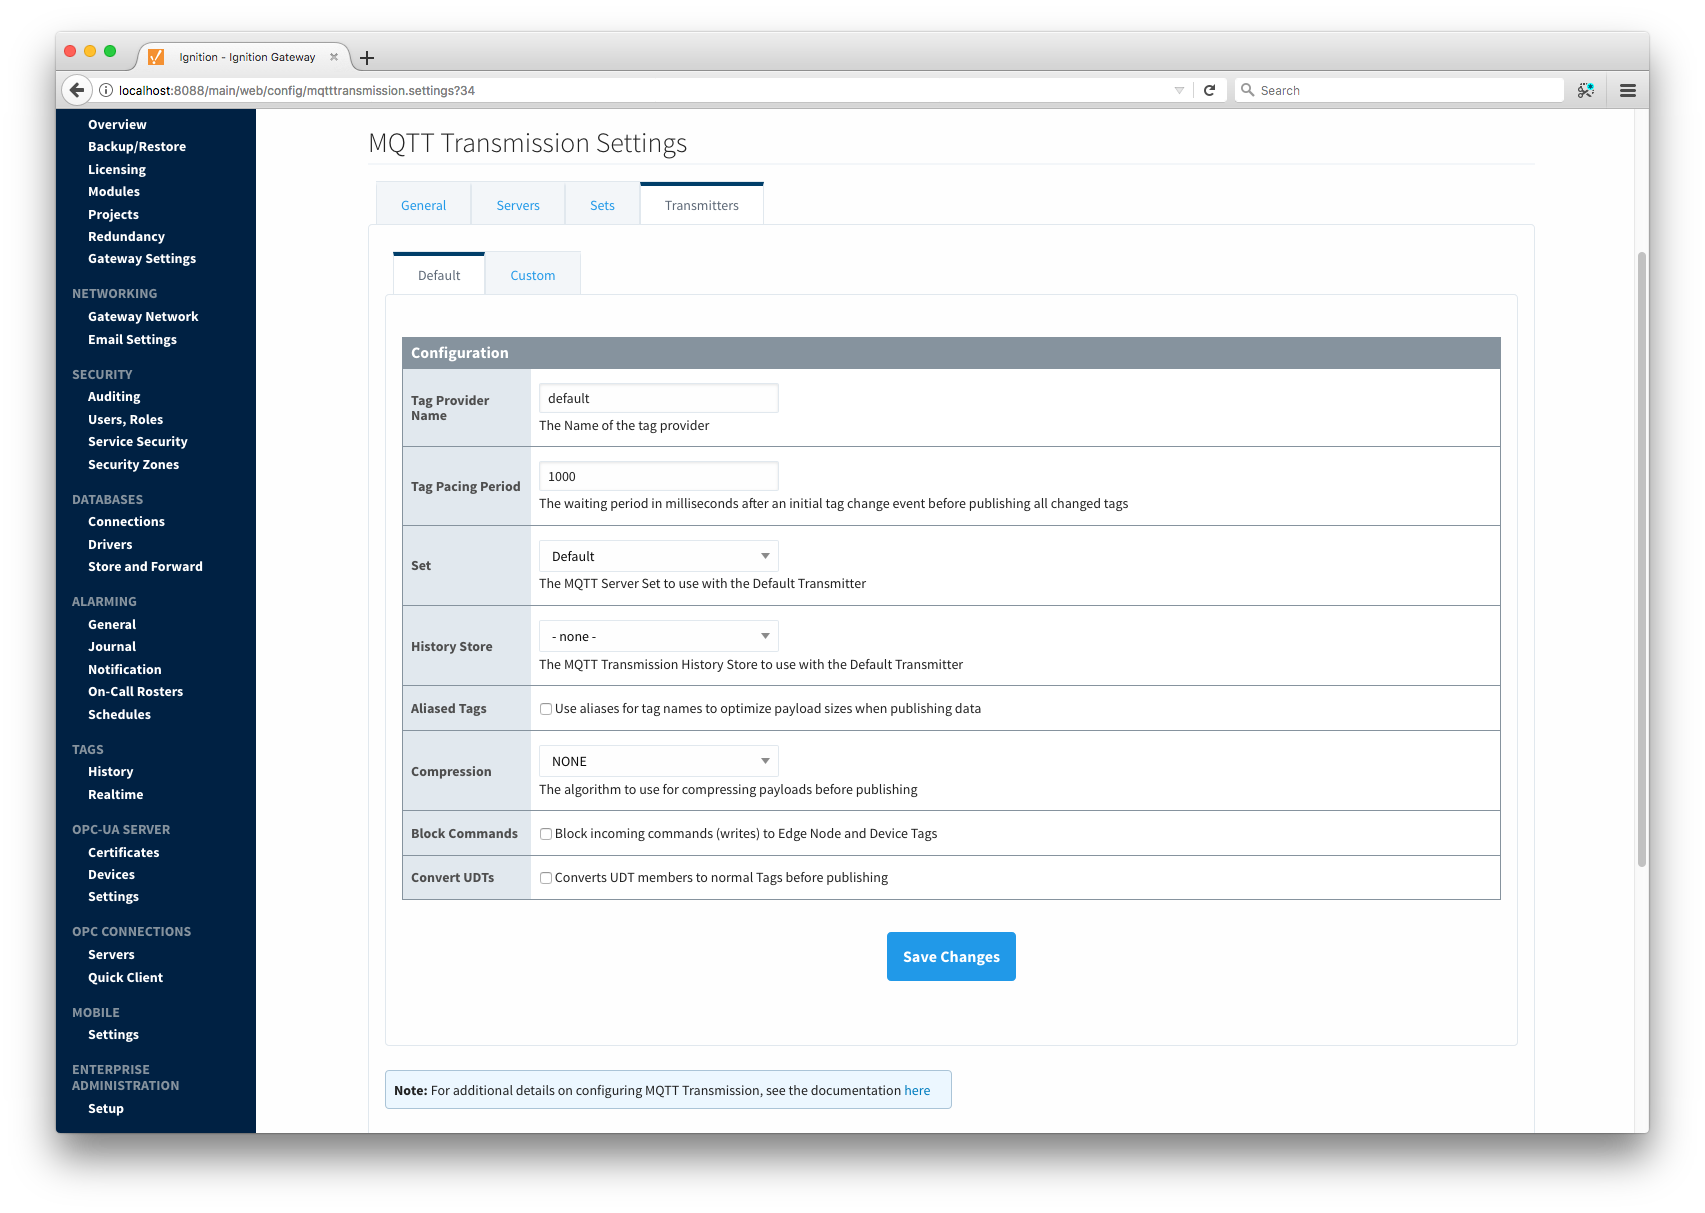
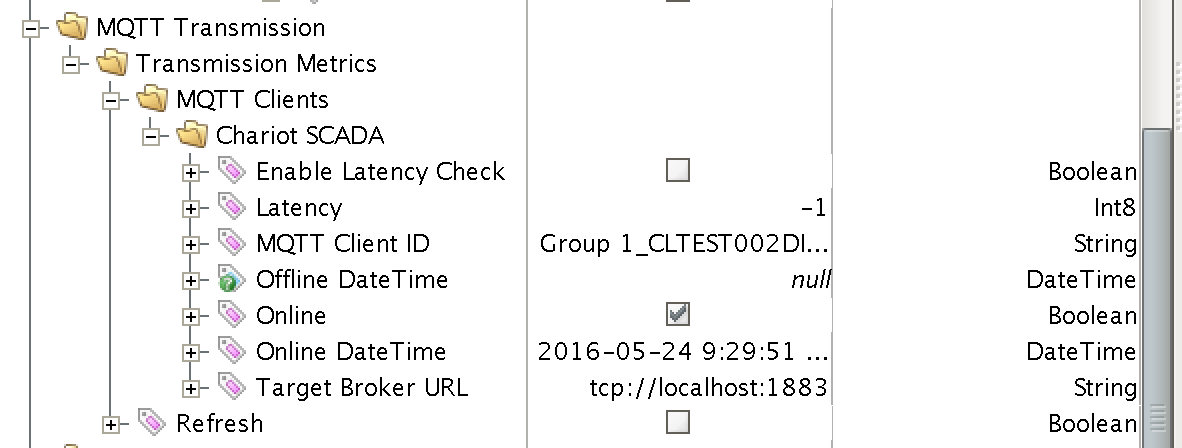
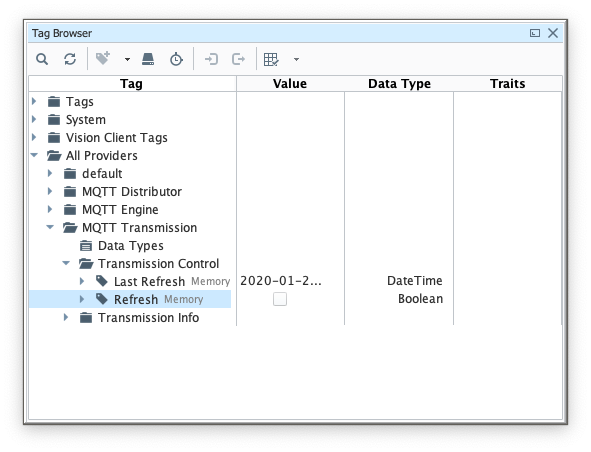
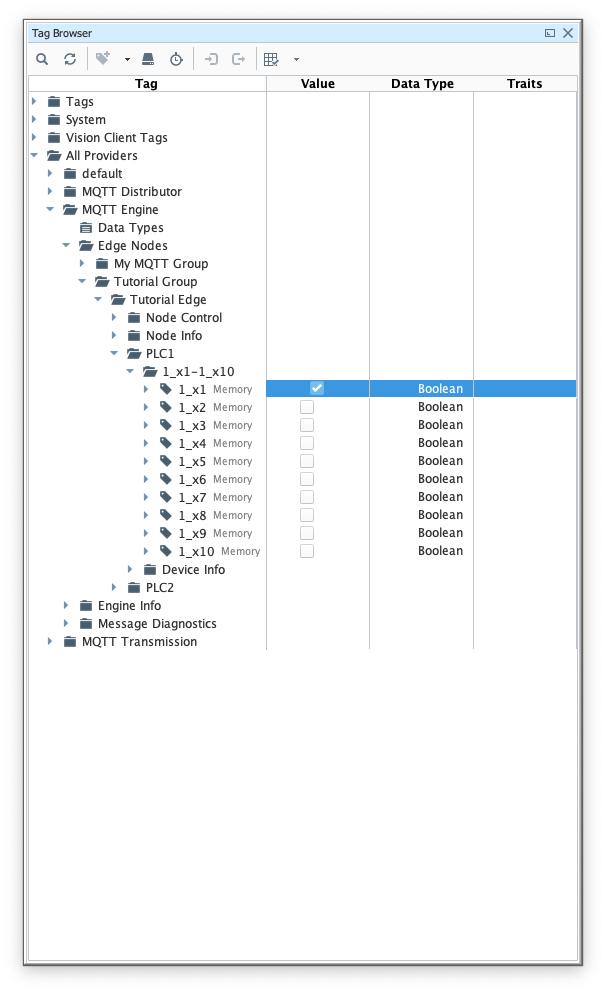
Note the Tag Provider Name is the same Tag Provider we build out our Edge Nodes from in the Tag Browser earlier. Now we can go back to Designer and force MQTT Transmission to update. MQTT Transmission does not dynamically look for changes in the tag structure and update them. If it did, you could end up with a lot of improperly structured data while the changes to the tag tree are being made. So, the update must be forced via 'Refresh'. This is a tag under the MQTT Transmission tag provider as shown below in the Tag Browser.
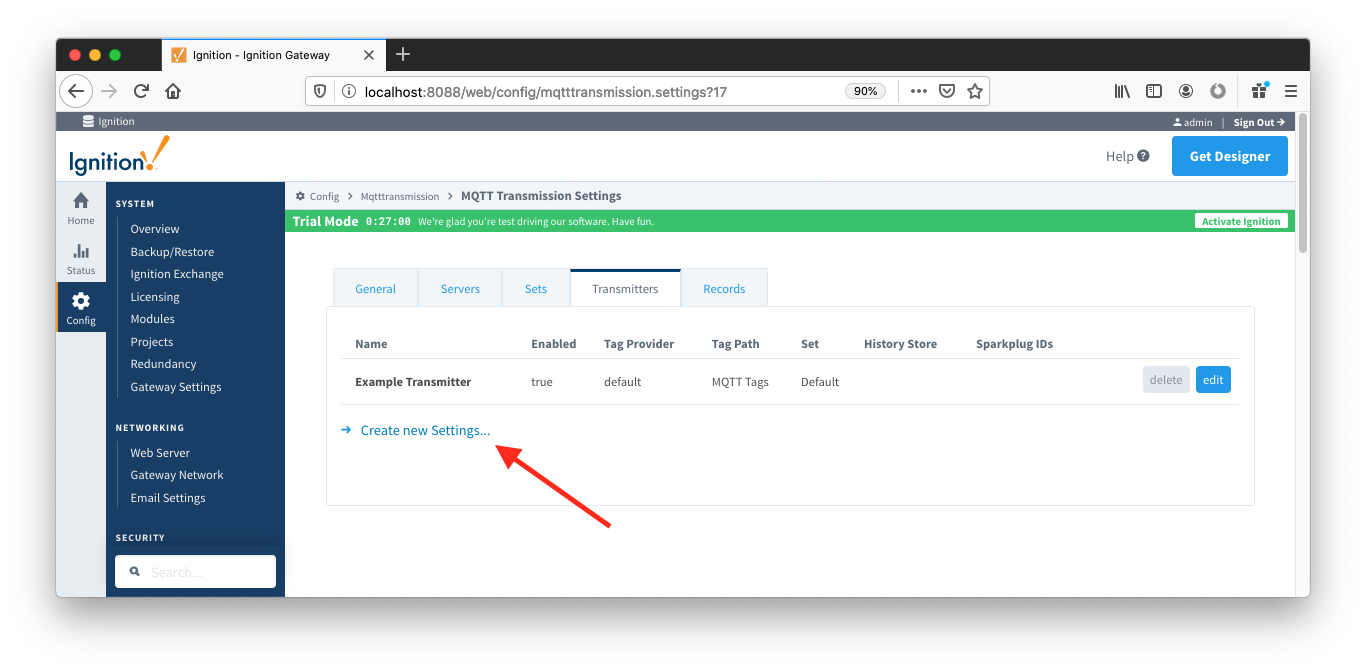
a new Transmitter will need to be created. Click on the "Create new Setting..." link as shown below:
 Modify the following settings:
(leave all other setting as defaults)

Click "Save Changes" to see the new Transmitter was successfully created.
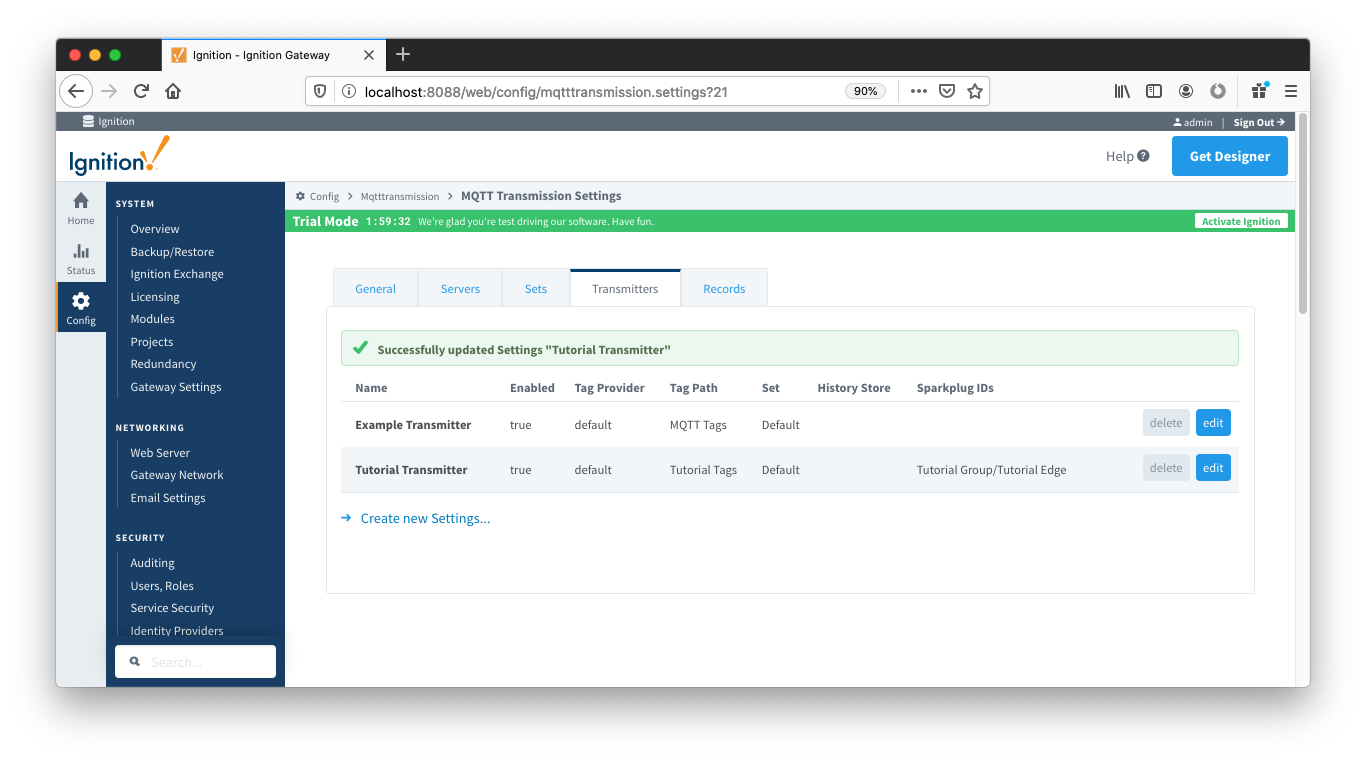
This new Transmitter will scan the Tags in the "Tutorial Tags" folder and publish them to MQTT Engine using the hard coded Group and Edge Node IDs that were configured in the Transmitters settings. Since the Device ID was left blank in the Transmitter settings, they will be scanned from the Tag Tree. Each Folder in the "Tutorial Tags" folder will be considered a device. For this tutorial the devices will be "PLC1" and "PLC2".
In Designer force MQTT Transmission to update by toggling the "Refresh" Tag shown below:
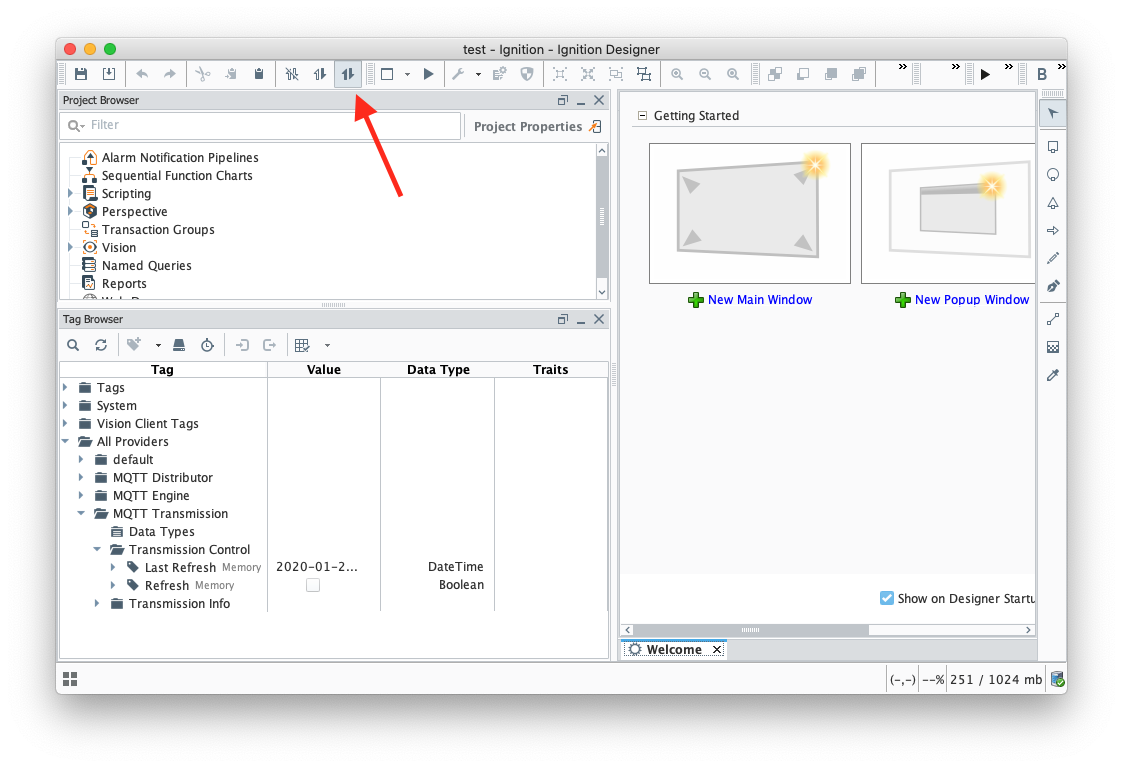
 Note that In order to refresh, Designer must be in read/write and preview mode. Do so by selecting these two buttons in the top menu of Designer:
![]()
![]()
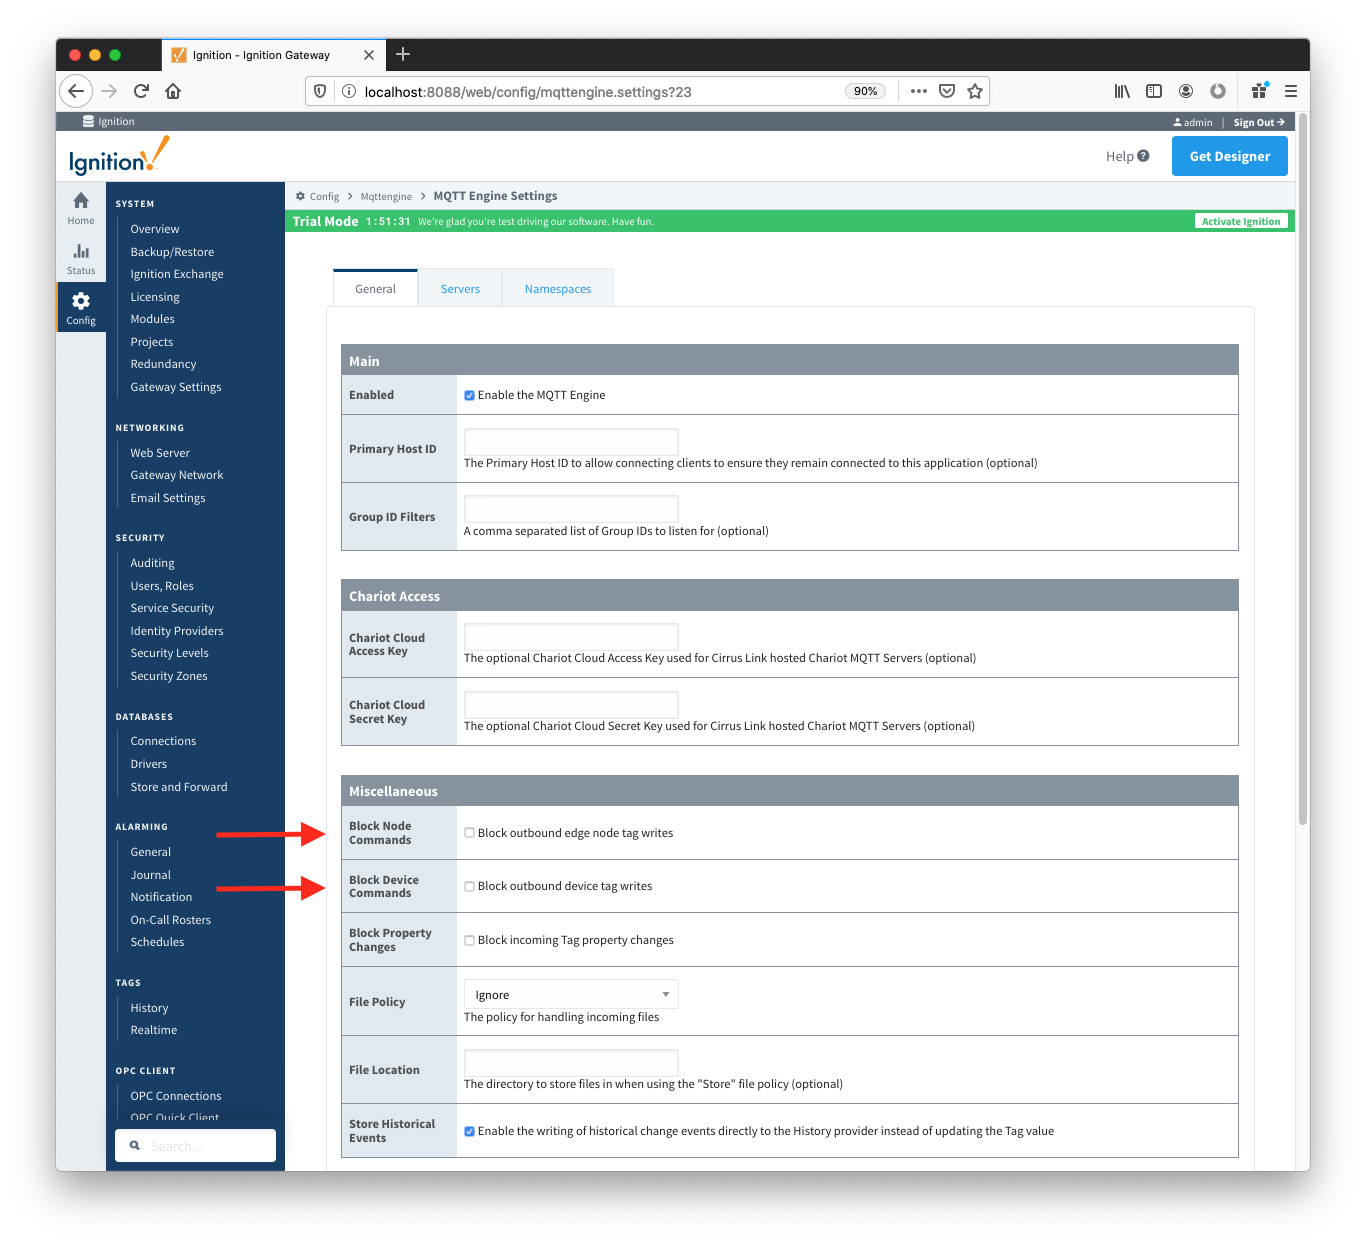
Note that after updating the MQTT Engine settings, the Tags in the Tag Browser under the MQTT Engine Tag Provider may become Stale. This is because the primary host ID is not set up on both MQTT Engine and MQTT Transmission which is outside of the scope of this Tutorial. To get around this, manually toggle the MQTT Transmission "Refresh" Tag as shown above.
Now attempt to write to any output Tags that are available on the OPC device, via the corresponding Tag in the MQTT Engine Tag Provider.

...