![]()
Contents
Cirrus Link Resources
Cirrus Link Website![]()
Contact Us (Sales/Support)![]()
Inductive Resources
Ignition User Manual![]()
Knowledge Base Articles![]()
Inductive University![]()
Forum![]()
![]()
Cirrus Link Website![]()
Contact Us (Sales/Support)![]()
Ignition User Manual![]()
Knowledge Base Articles![]()
Inductive University![]()
Forum![]()
...
...
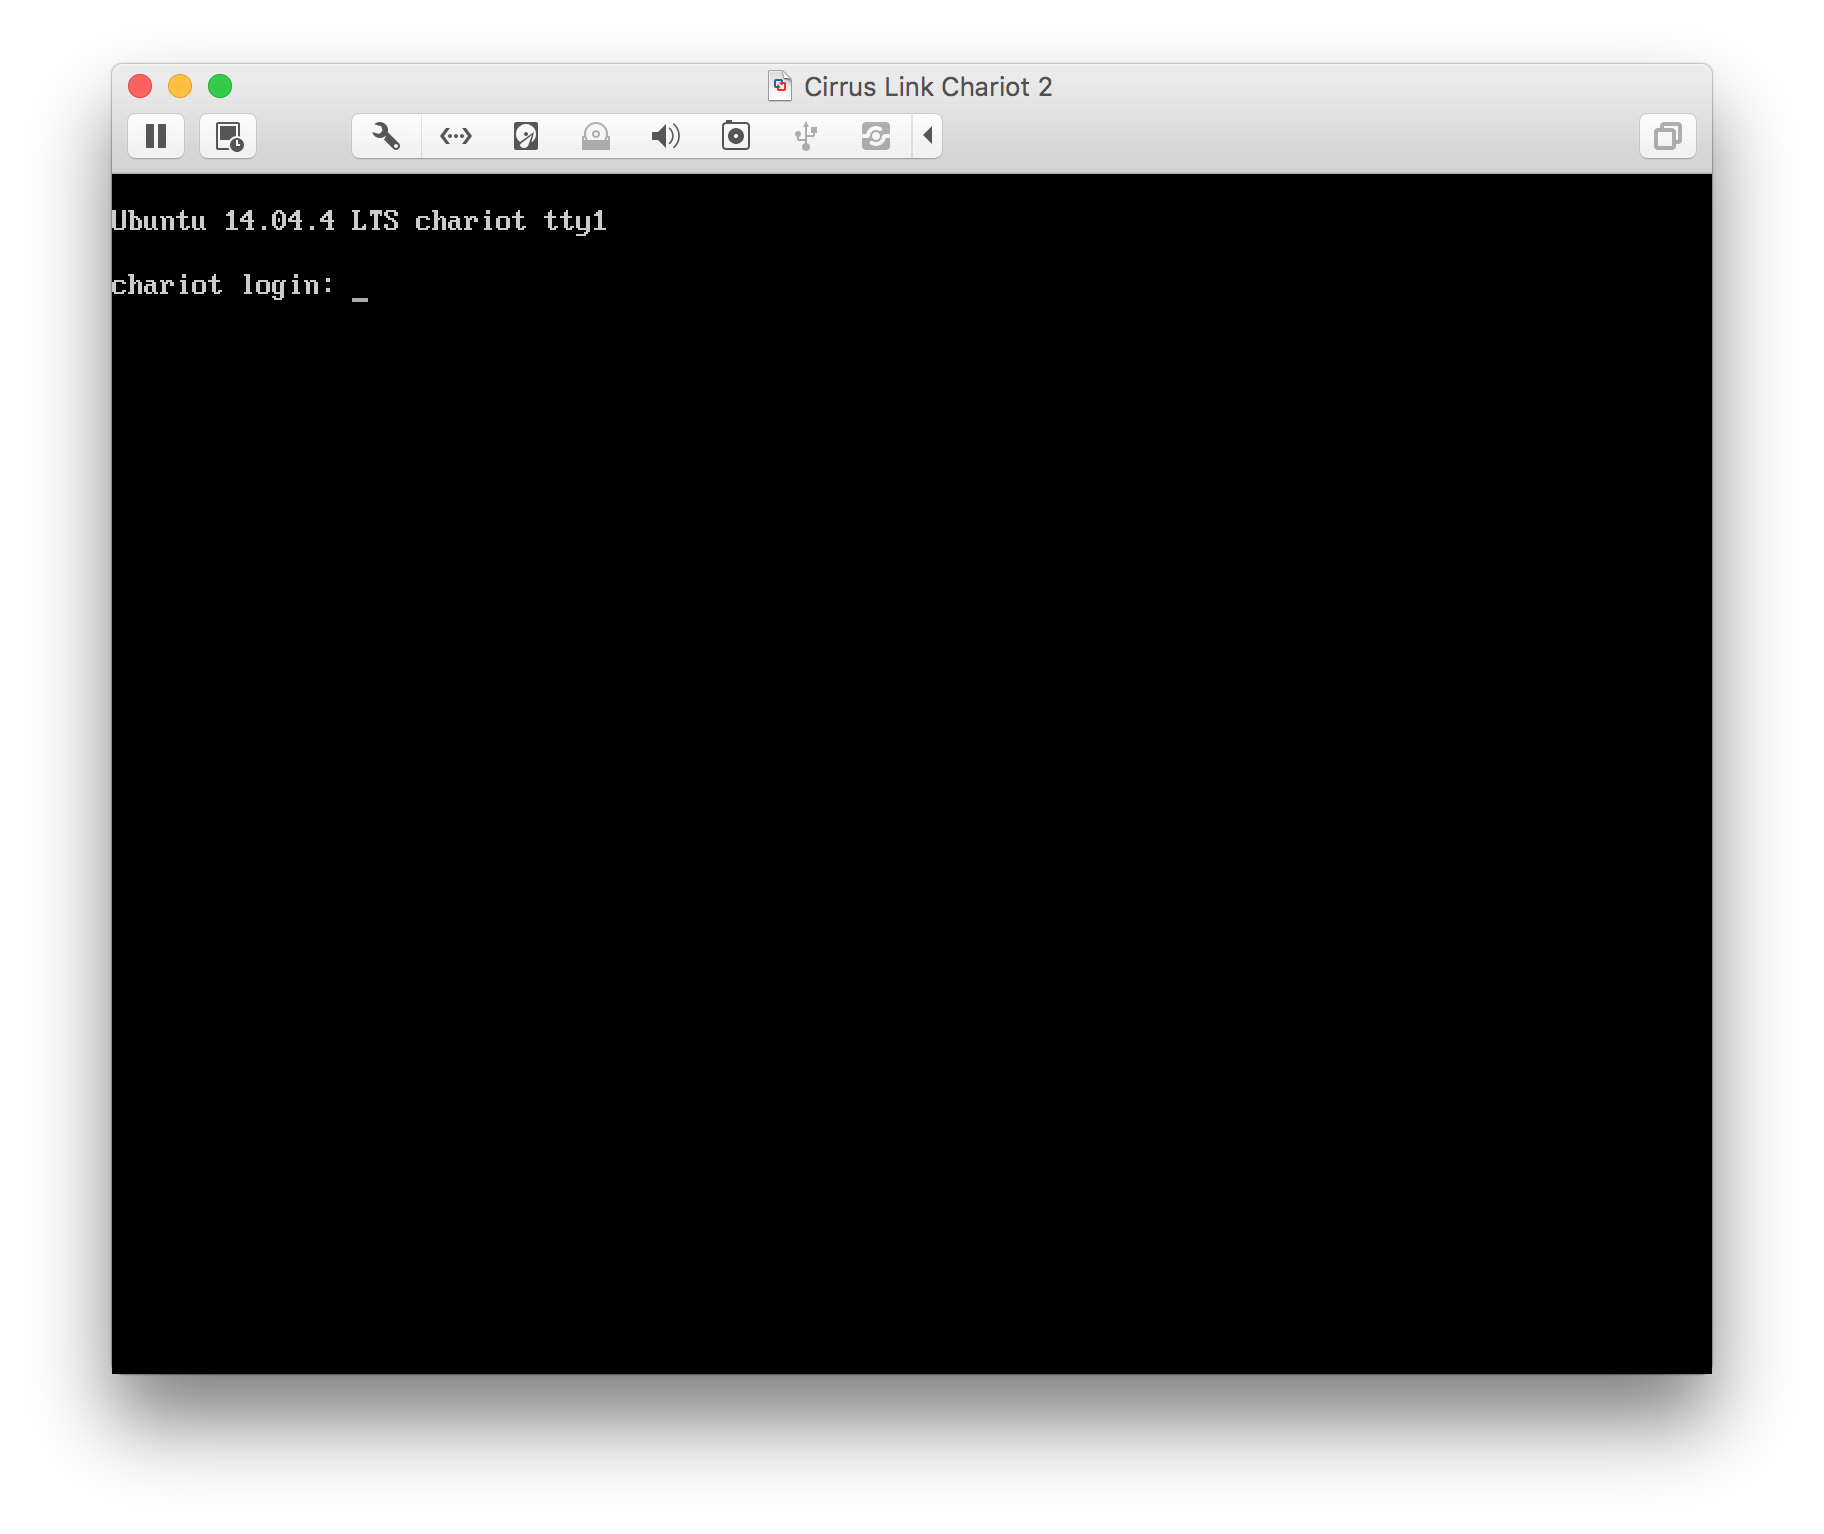
Using Chariot MQTT Server:
At this point the Chariot MQTT server is up and running. By default it has the hostname 'chariot' and is at the IP address 192.168.1.150 with a subnet mask of 255.255.255.0. In order for you to be able to browse to it, the host computer operating system OS must be on the same network. Once you are on the same network, you can browse to Chariot MQTT Server by going to https://192.168.1.150. You will likely get security warnings from your browser due to using a certifcate certificate that is not signed by a trusted Certificate Authority (CA). This is okfine, just accept the certificate (typically by clicking an 'advanced' button or something similar depending on the browser type). Below is an example warning from Google Chrome.
...
Once you accept the security warning, you should see something similar to the following.

Log in using the default Instance Admin credentials:
...