![]()
Contents
Cirrus Link Resources
Cirrus Link Website![]()
Contact Us (Sales/Support)![]()
Forum![]()
Cirrus Link Modules Docs for Ignition 7.9.x![]()
Inductive Resources
Ignition User Manual![]()
Knowledge Base Articles![]()
Inductive University![]()
Forum![]()
![]()
Cirrus Link Website![]()
Contact Us (Sales/Support)![]()
Forum![]()
Cirrus Link Modules Docs for Ignition 7.9.x![]()
Ignition User Manual![]()
Knowledge Base Articles![]()
Inductive University![]()
Forum![]()
...
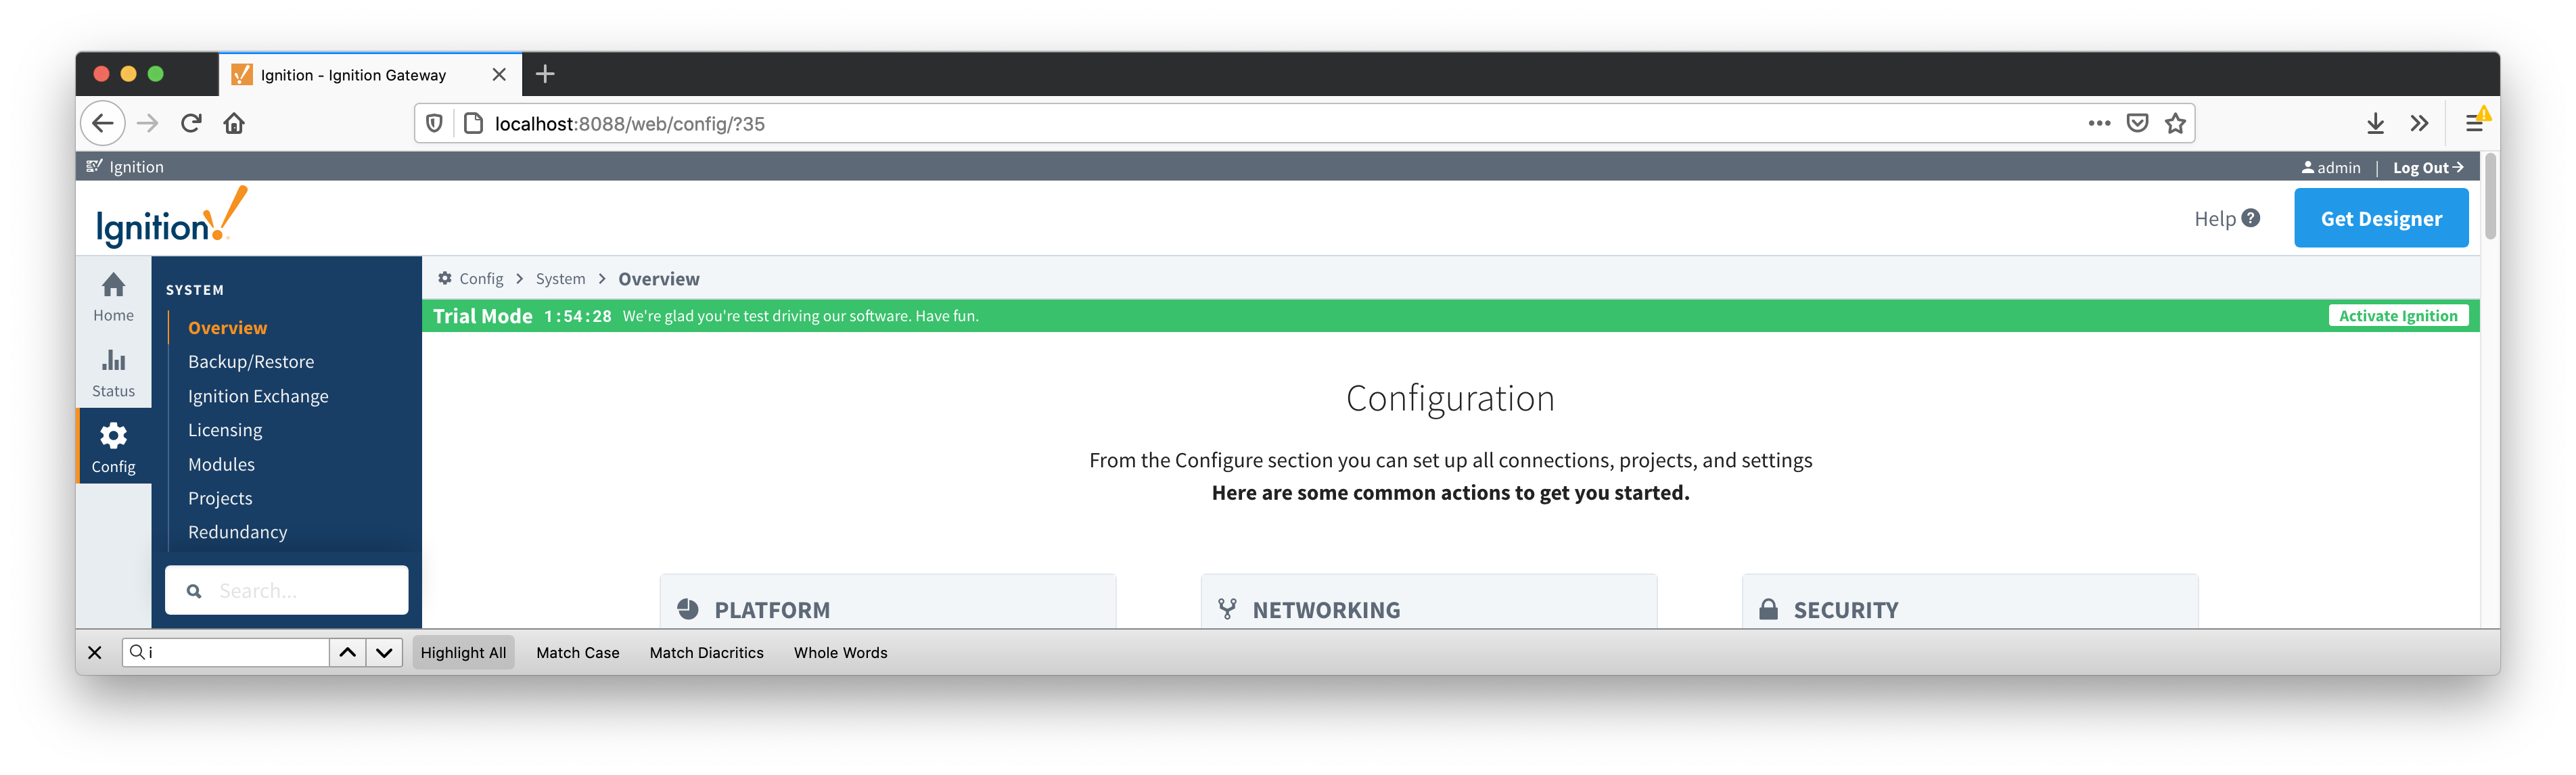
With Ignition and MQTT Transmission installed, we can configure the MQTT Transmission module to connect to AWS IoT Core using the same certificates that we provisioned earlier. Begin by clicking 'Get Desginer' in the upper right hand corner of the Ignition Gateway Web UI as shown below.
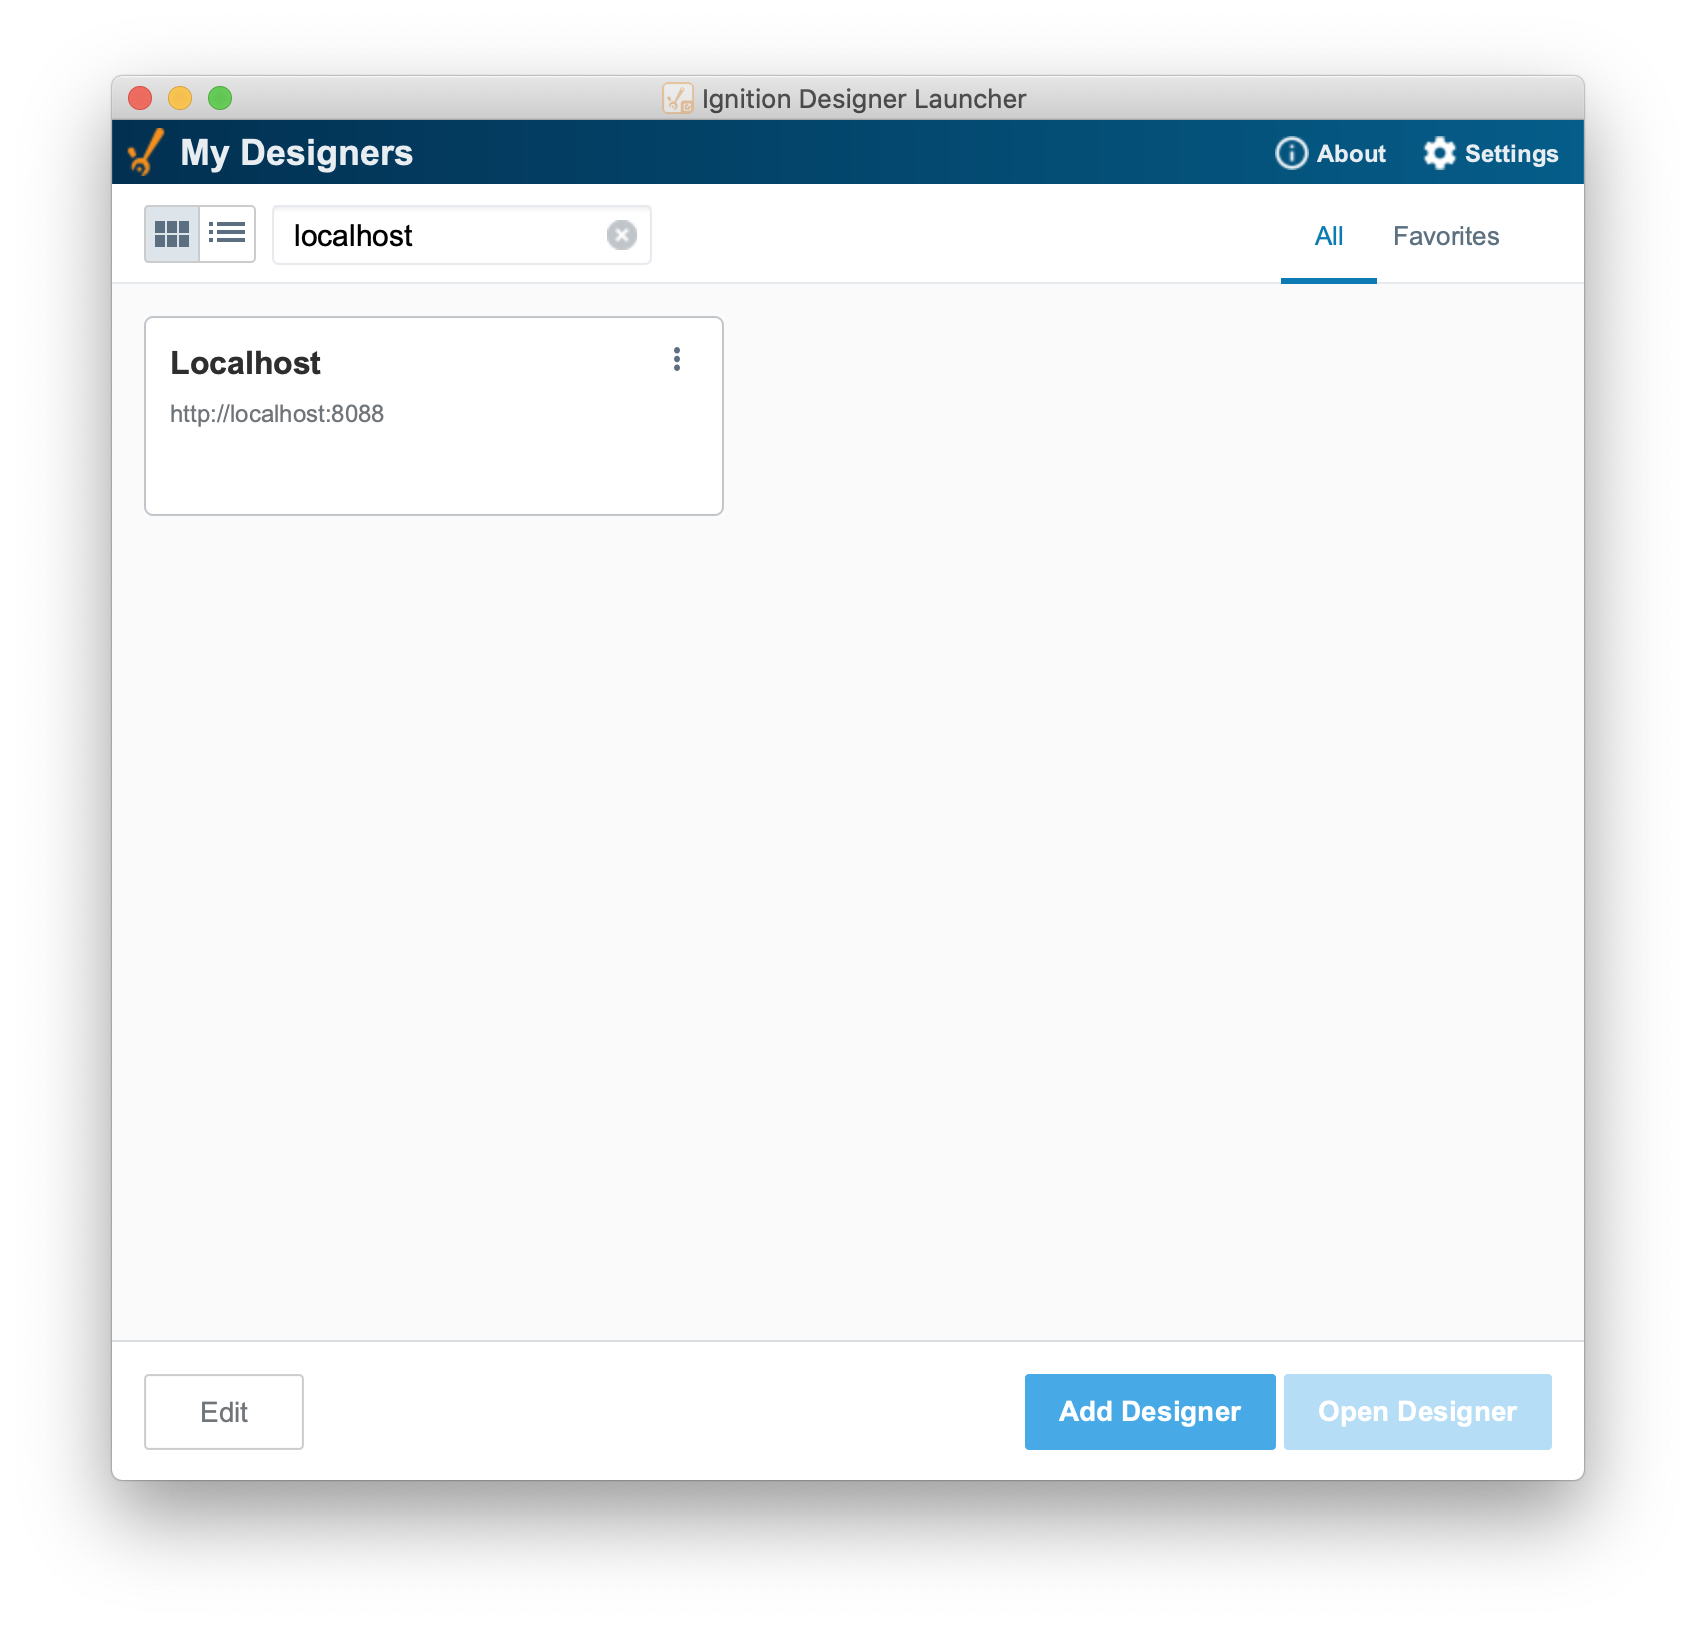
Now launch the Ignition Designer using the Designer Launcher as shown below.
Once it is launched, you should see something similar to what is shown below. Note the Tag Browser has been expanded and the automatically created example tags have been highlighted.
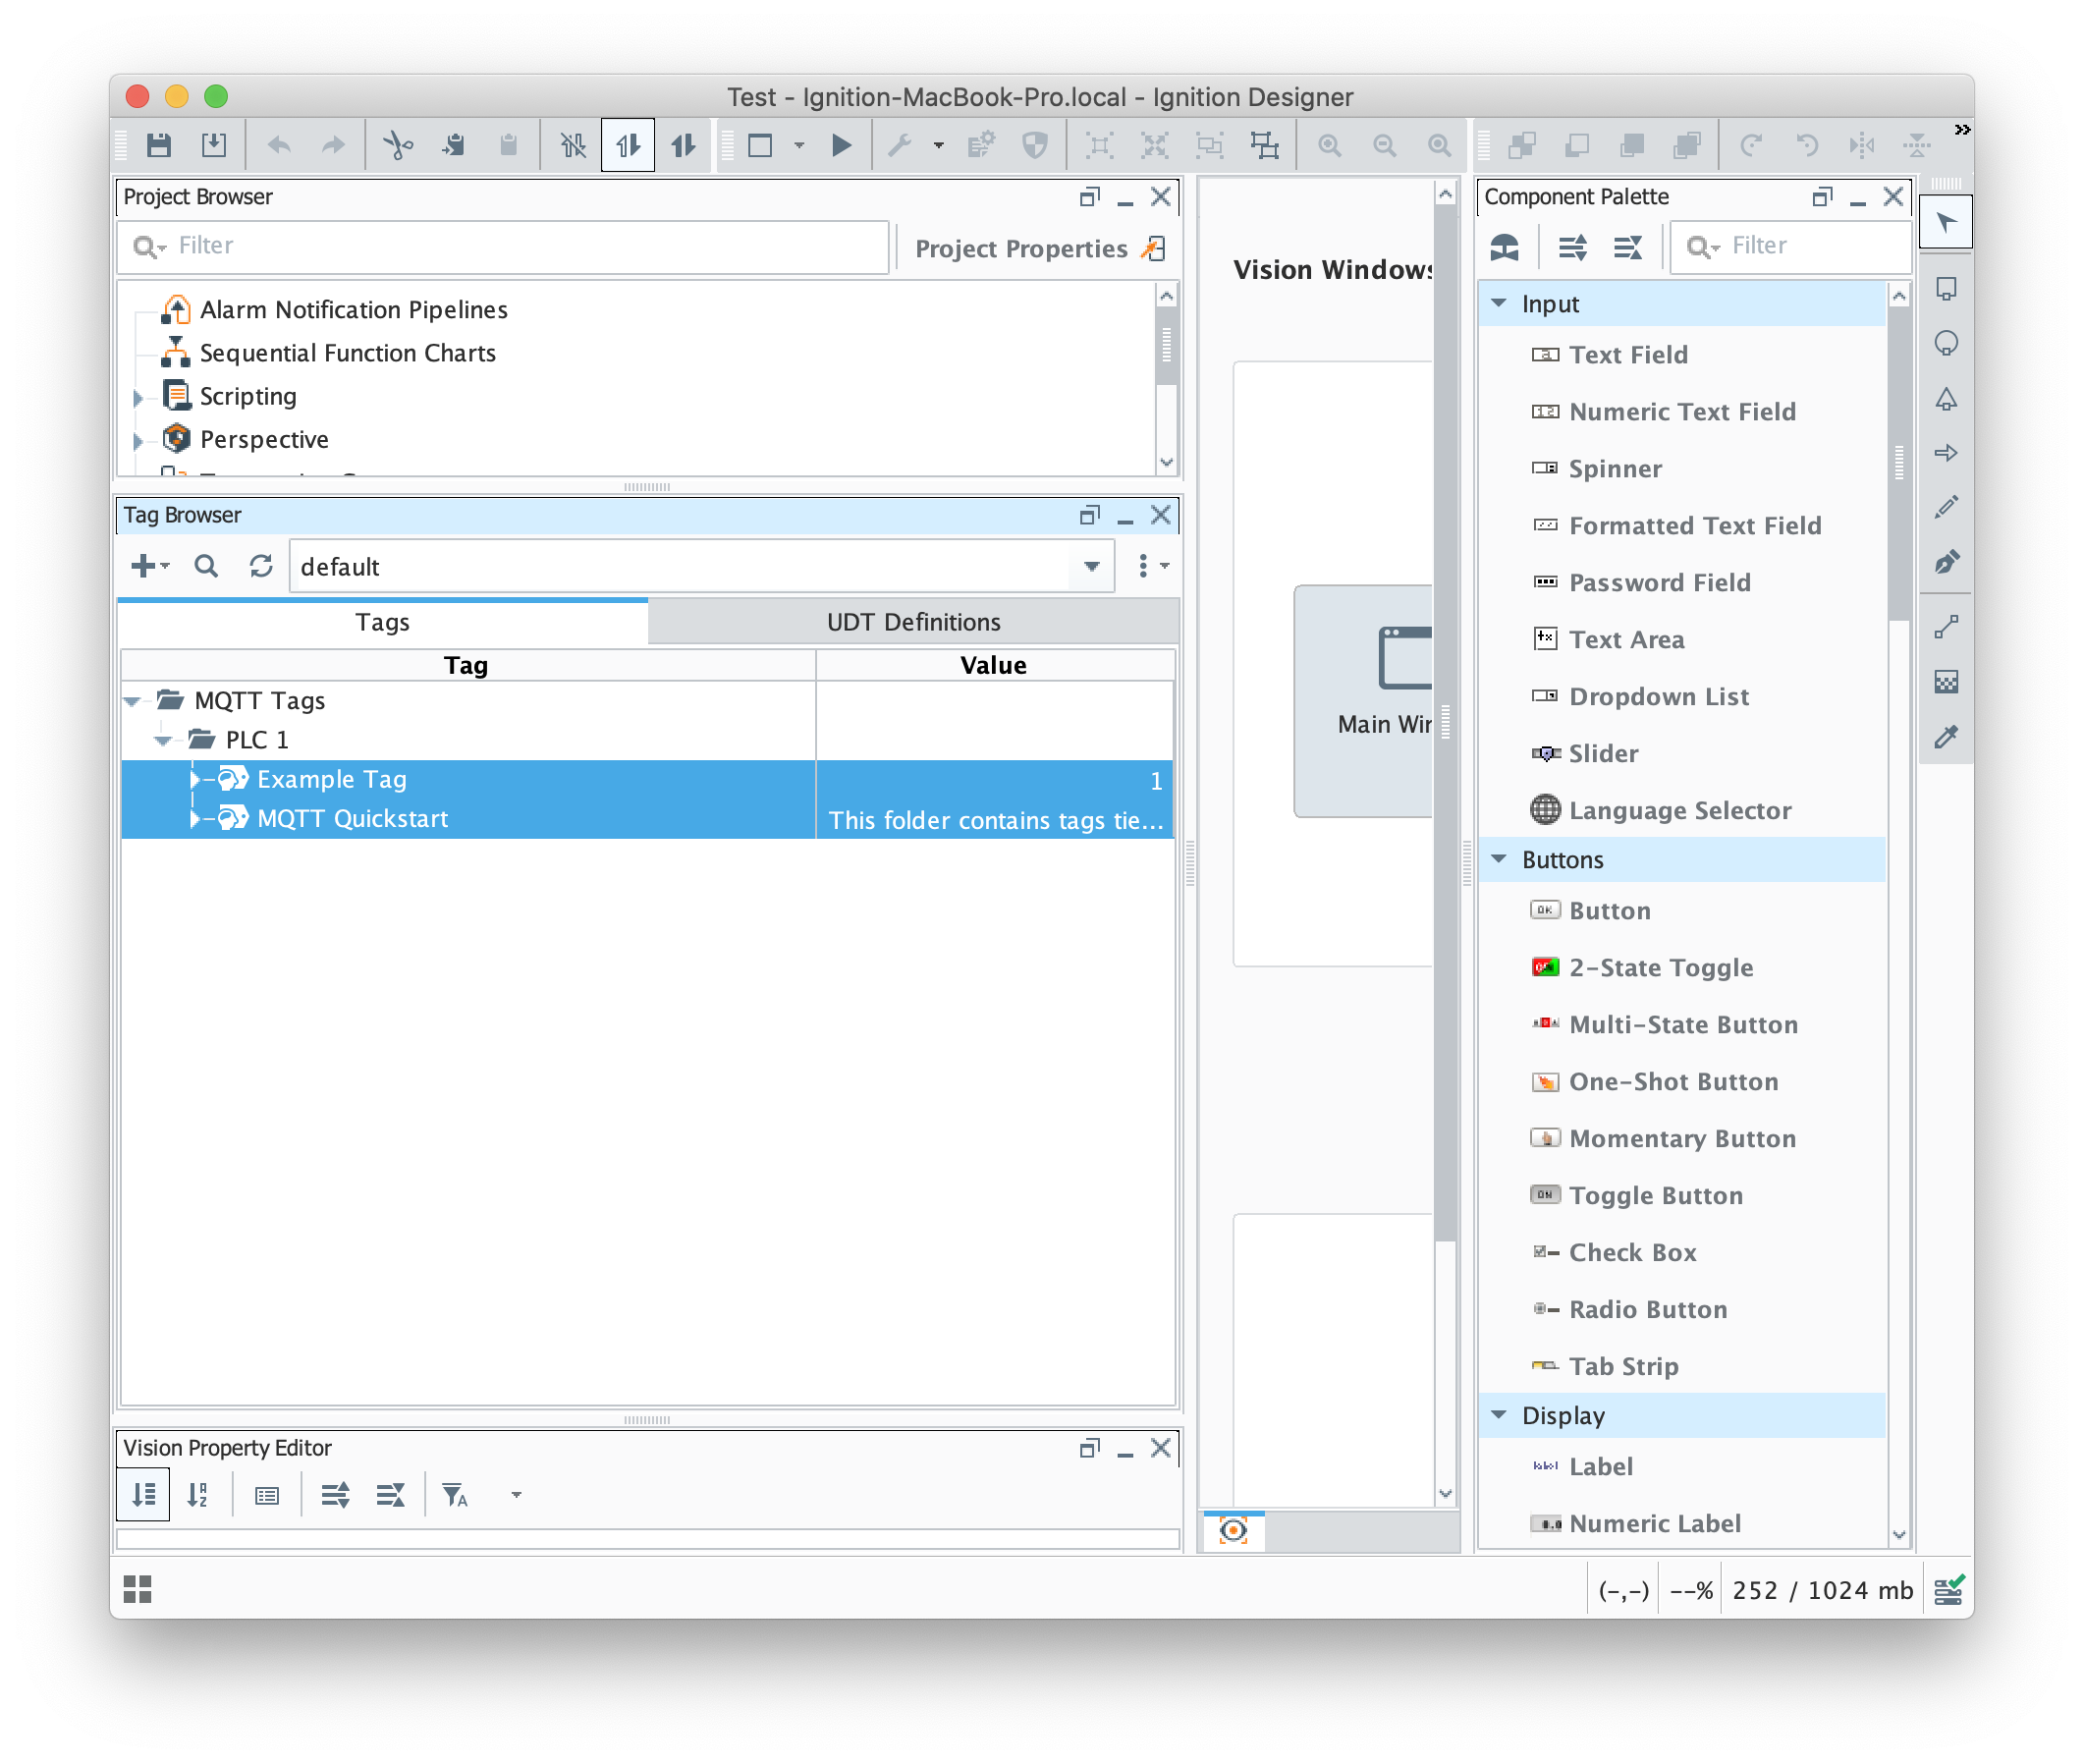
Begin by deleting these two tags (Example Tag and MQTT Quickstart). Then click the 'UDT Definitions' tab as shown below. We will use this view to create a very simple UDT definition.
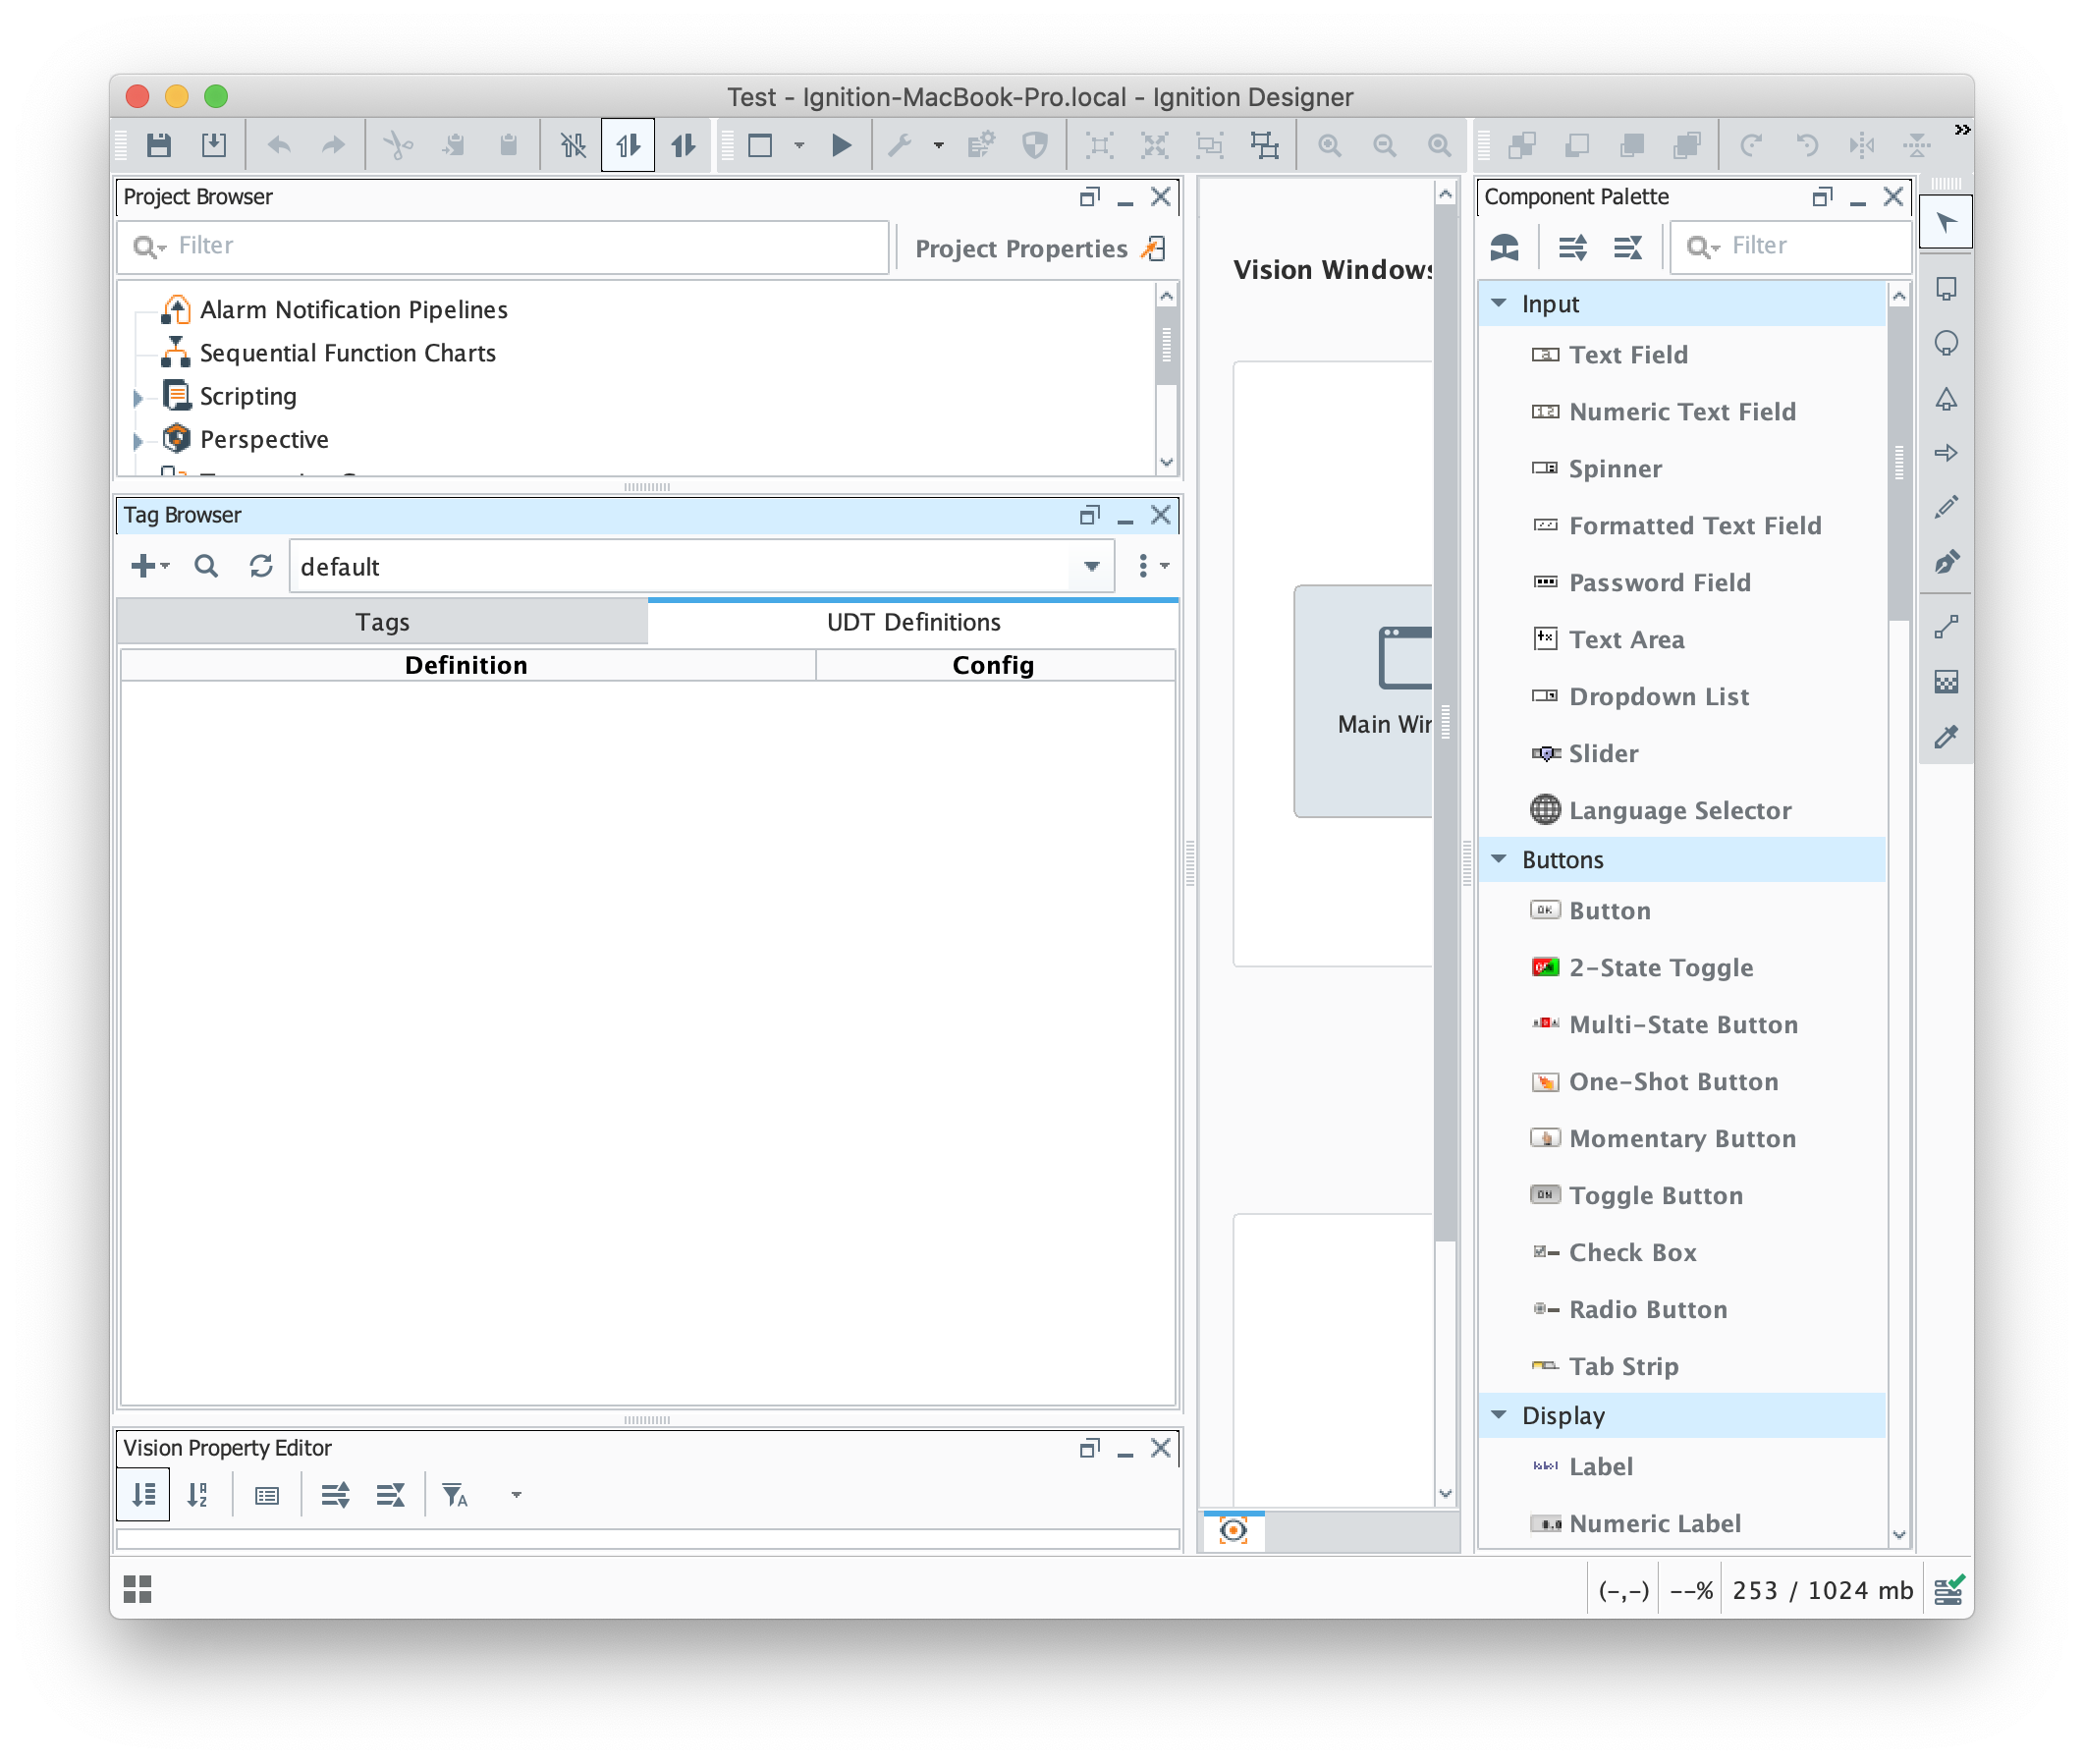
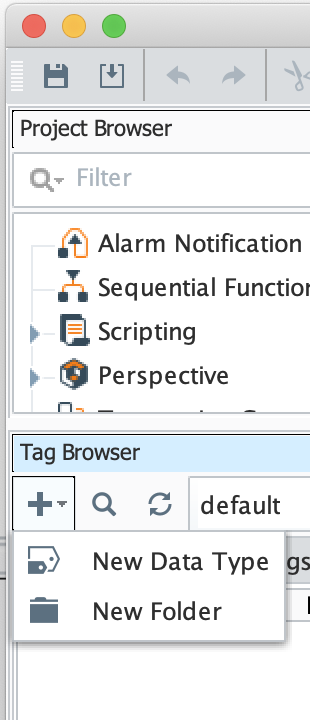
Now, click the '+' icon in the upper left corner of the tag browser as shown below and select 'New Data Type'
This will open the following dialog box.
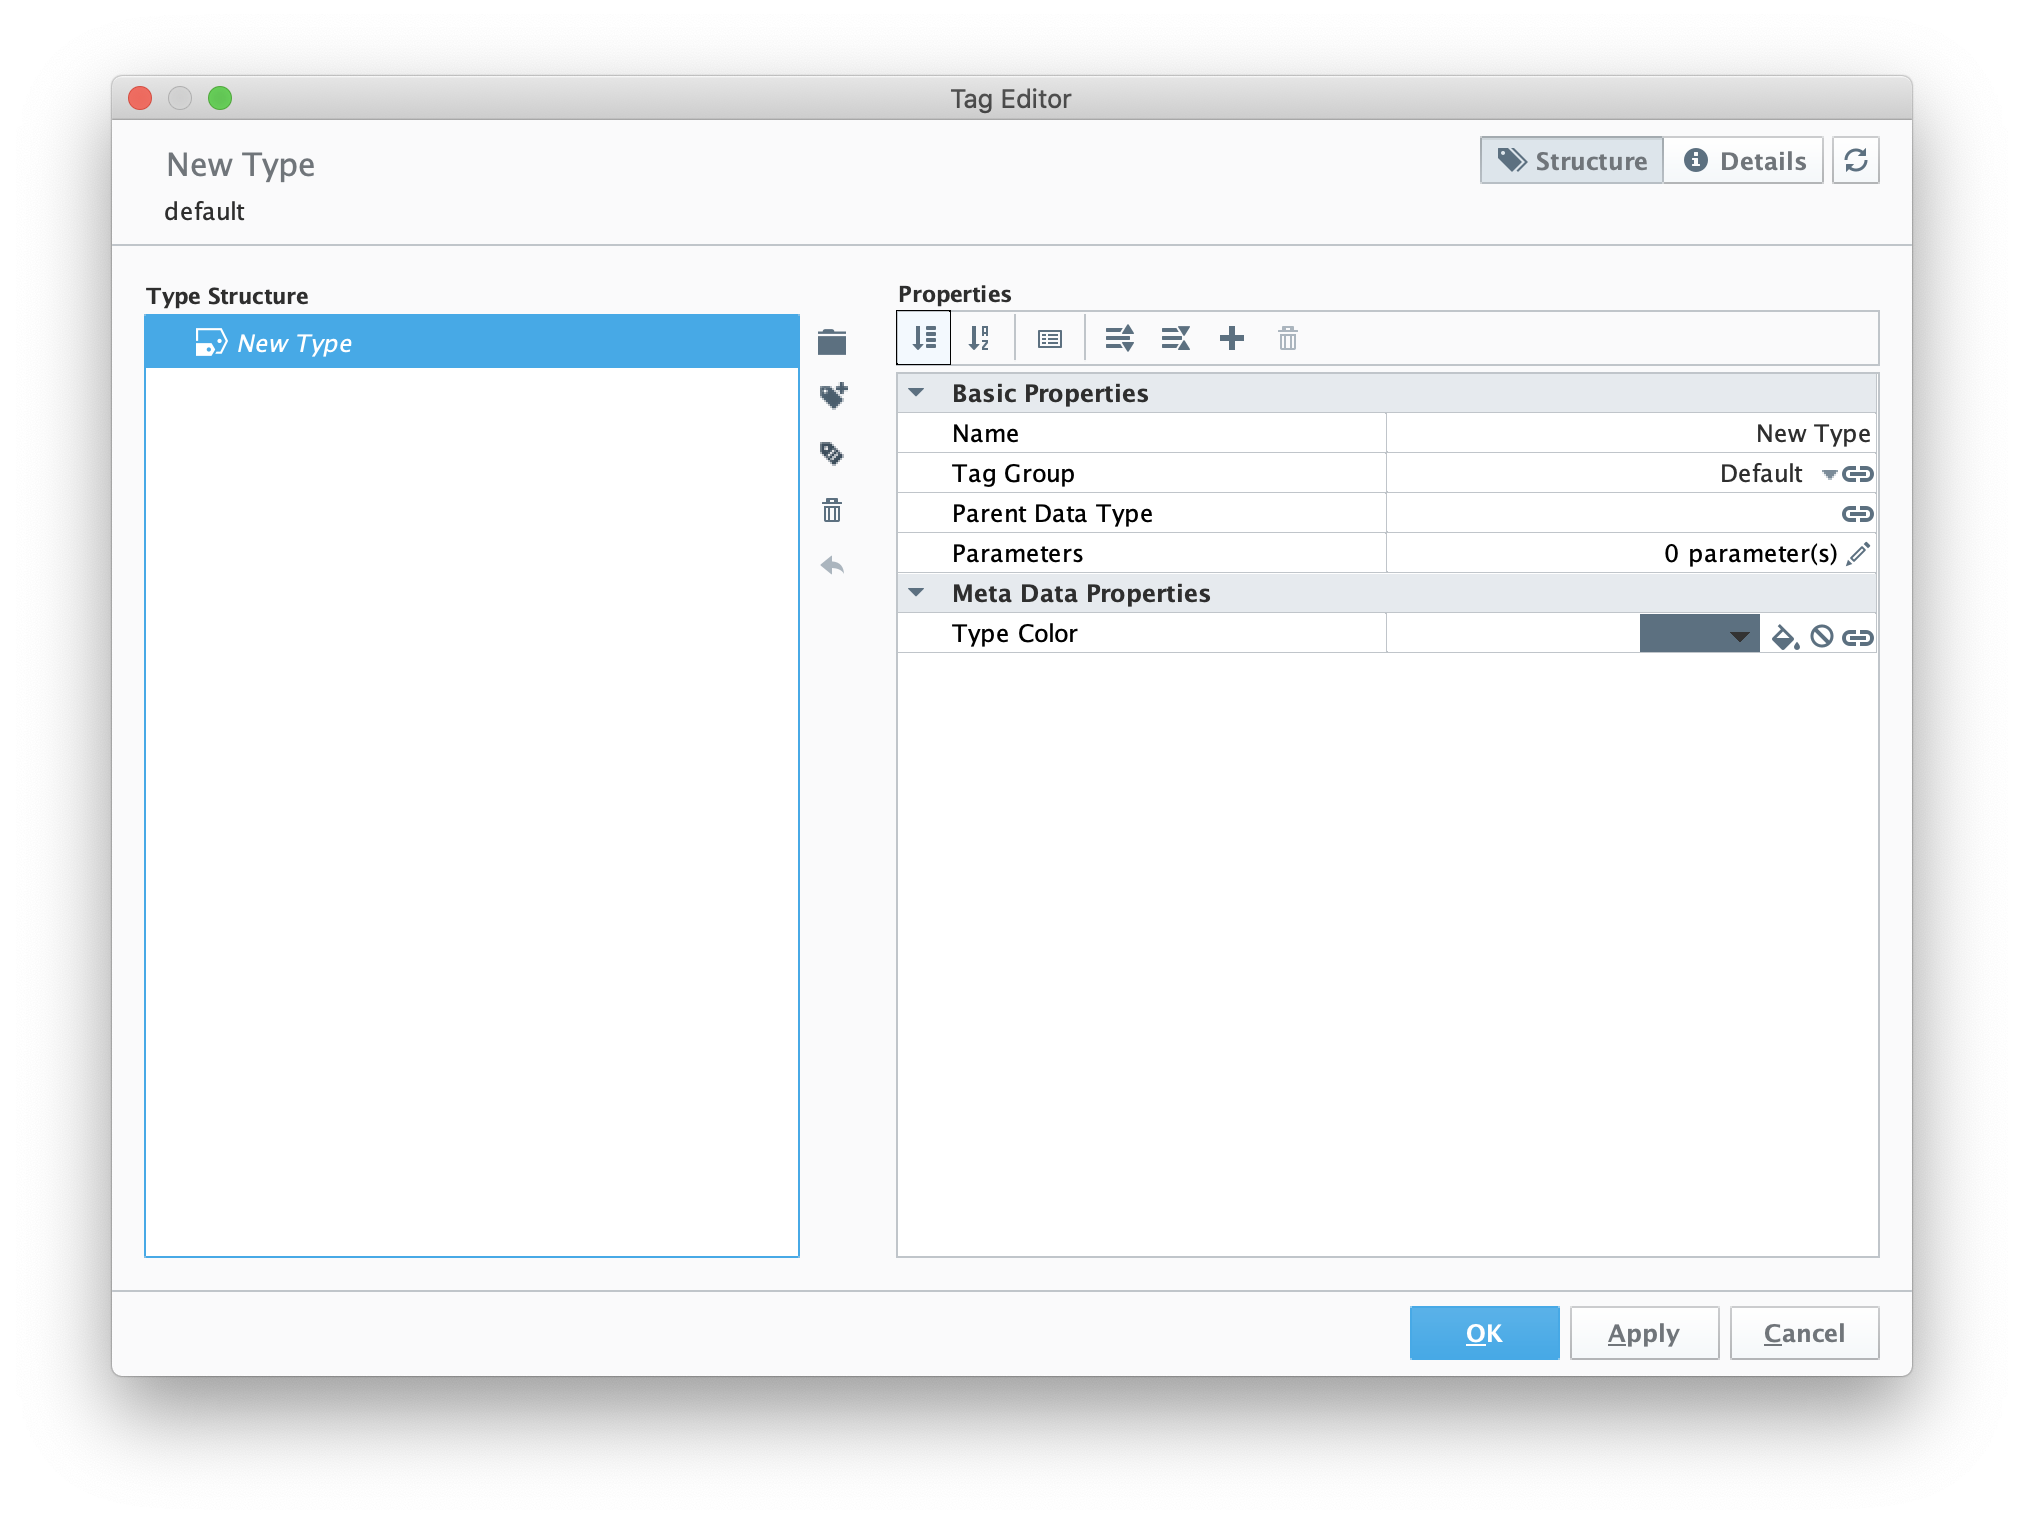
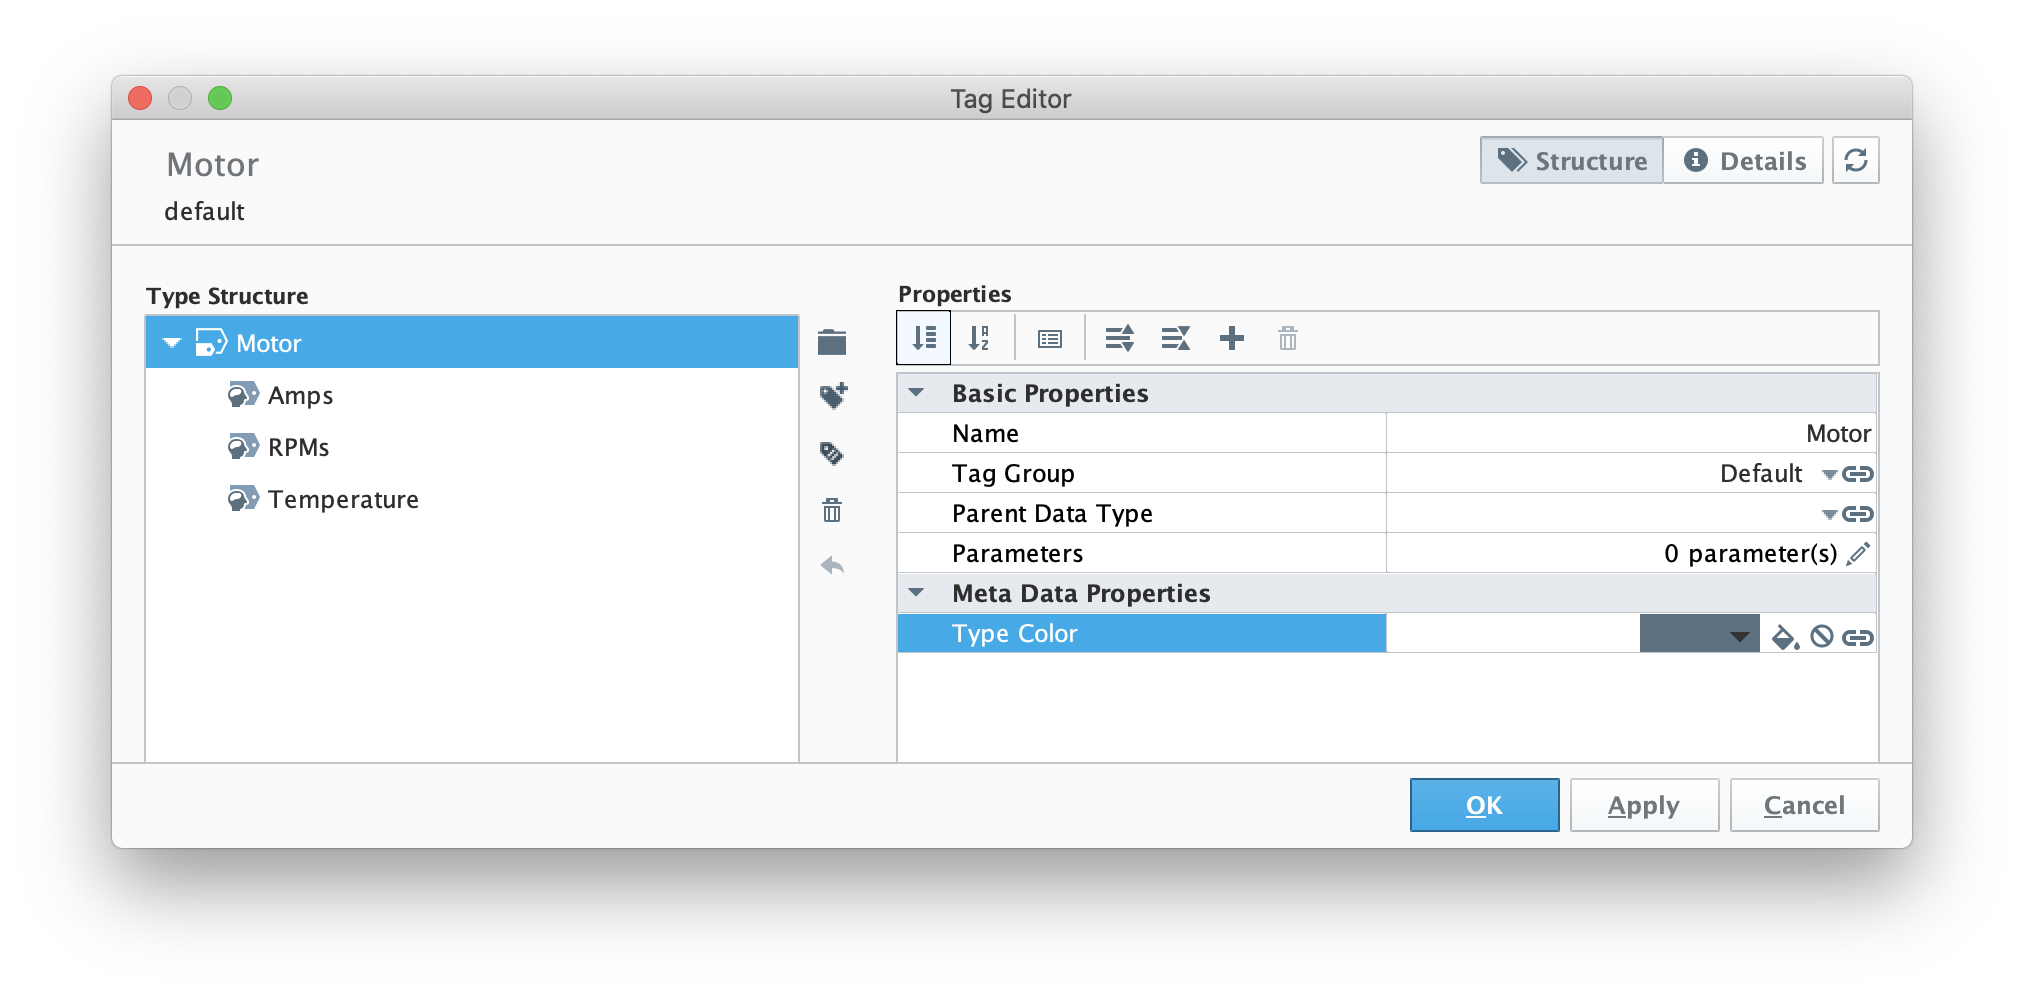
Change the name of the tag to Motor as shown below. Also, note the highlighted 'new member tag' icon in the middle of the dialog. We'll use this to create some member tags.
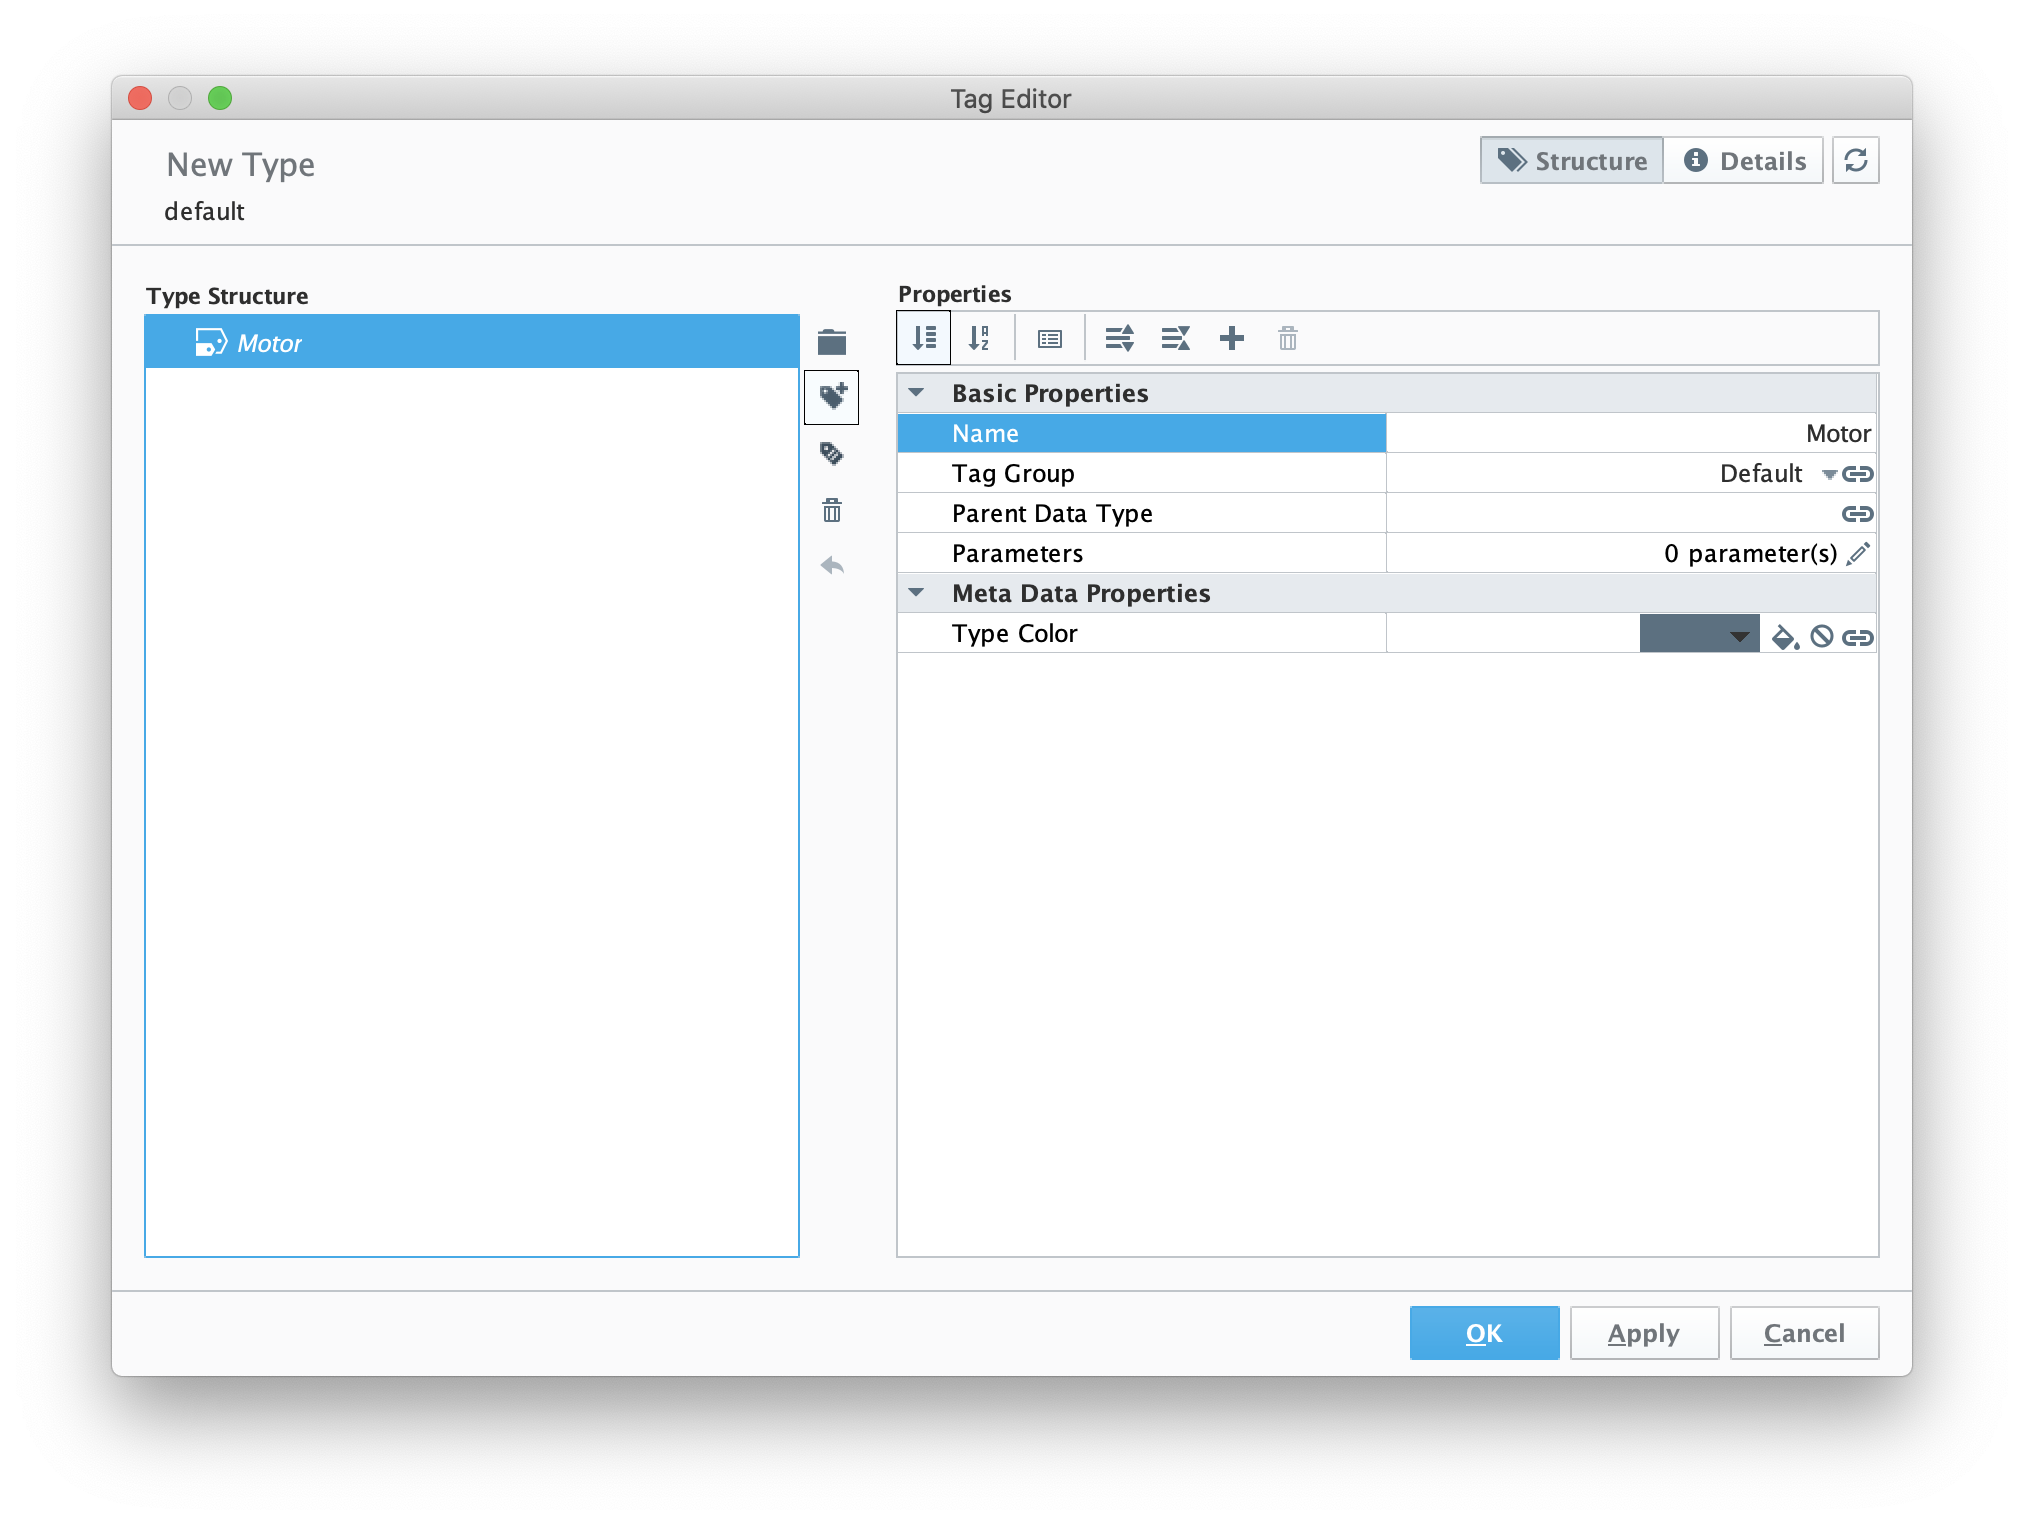
Now use the 'new member tag' button to create a new 'memory tag' as shown below.

Then, set the following parameters for the new memory tag.
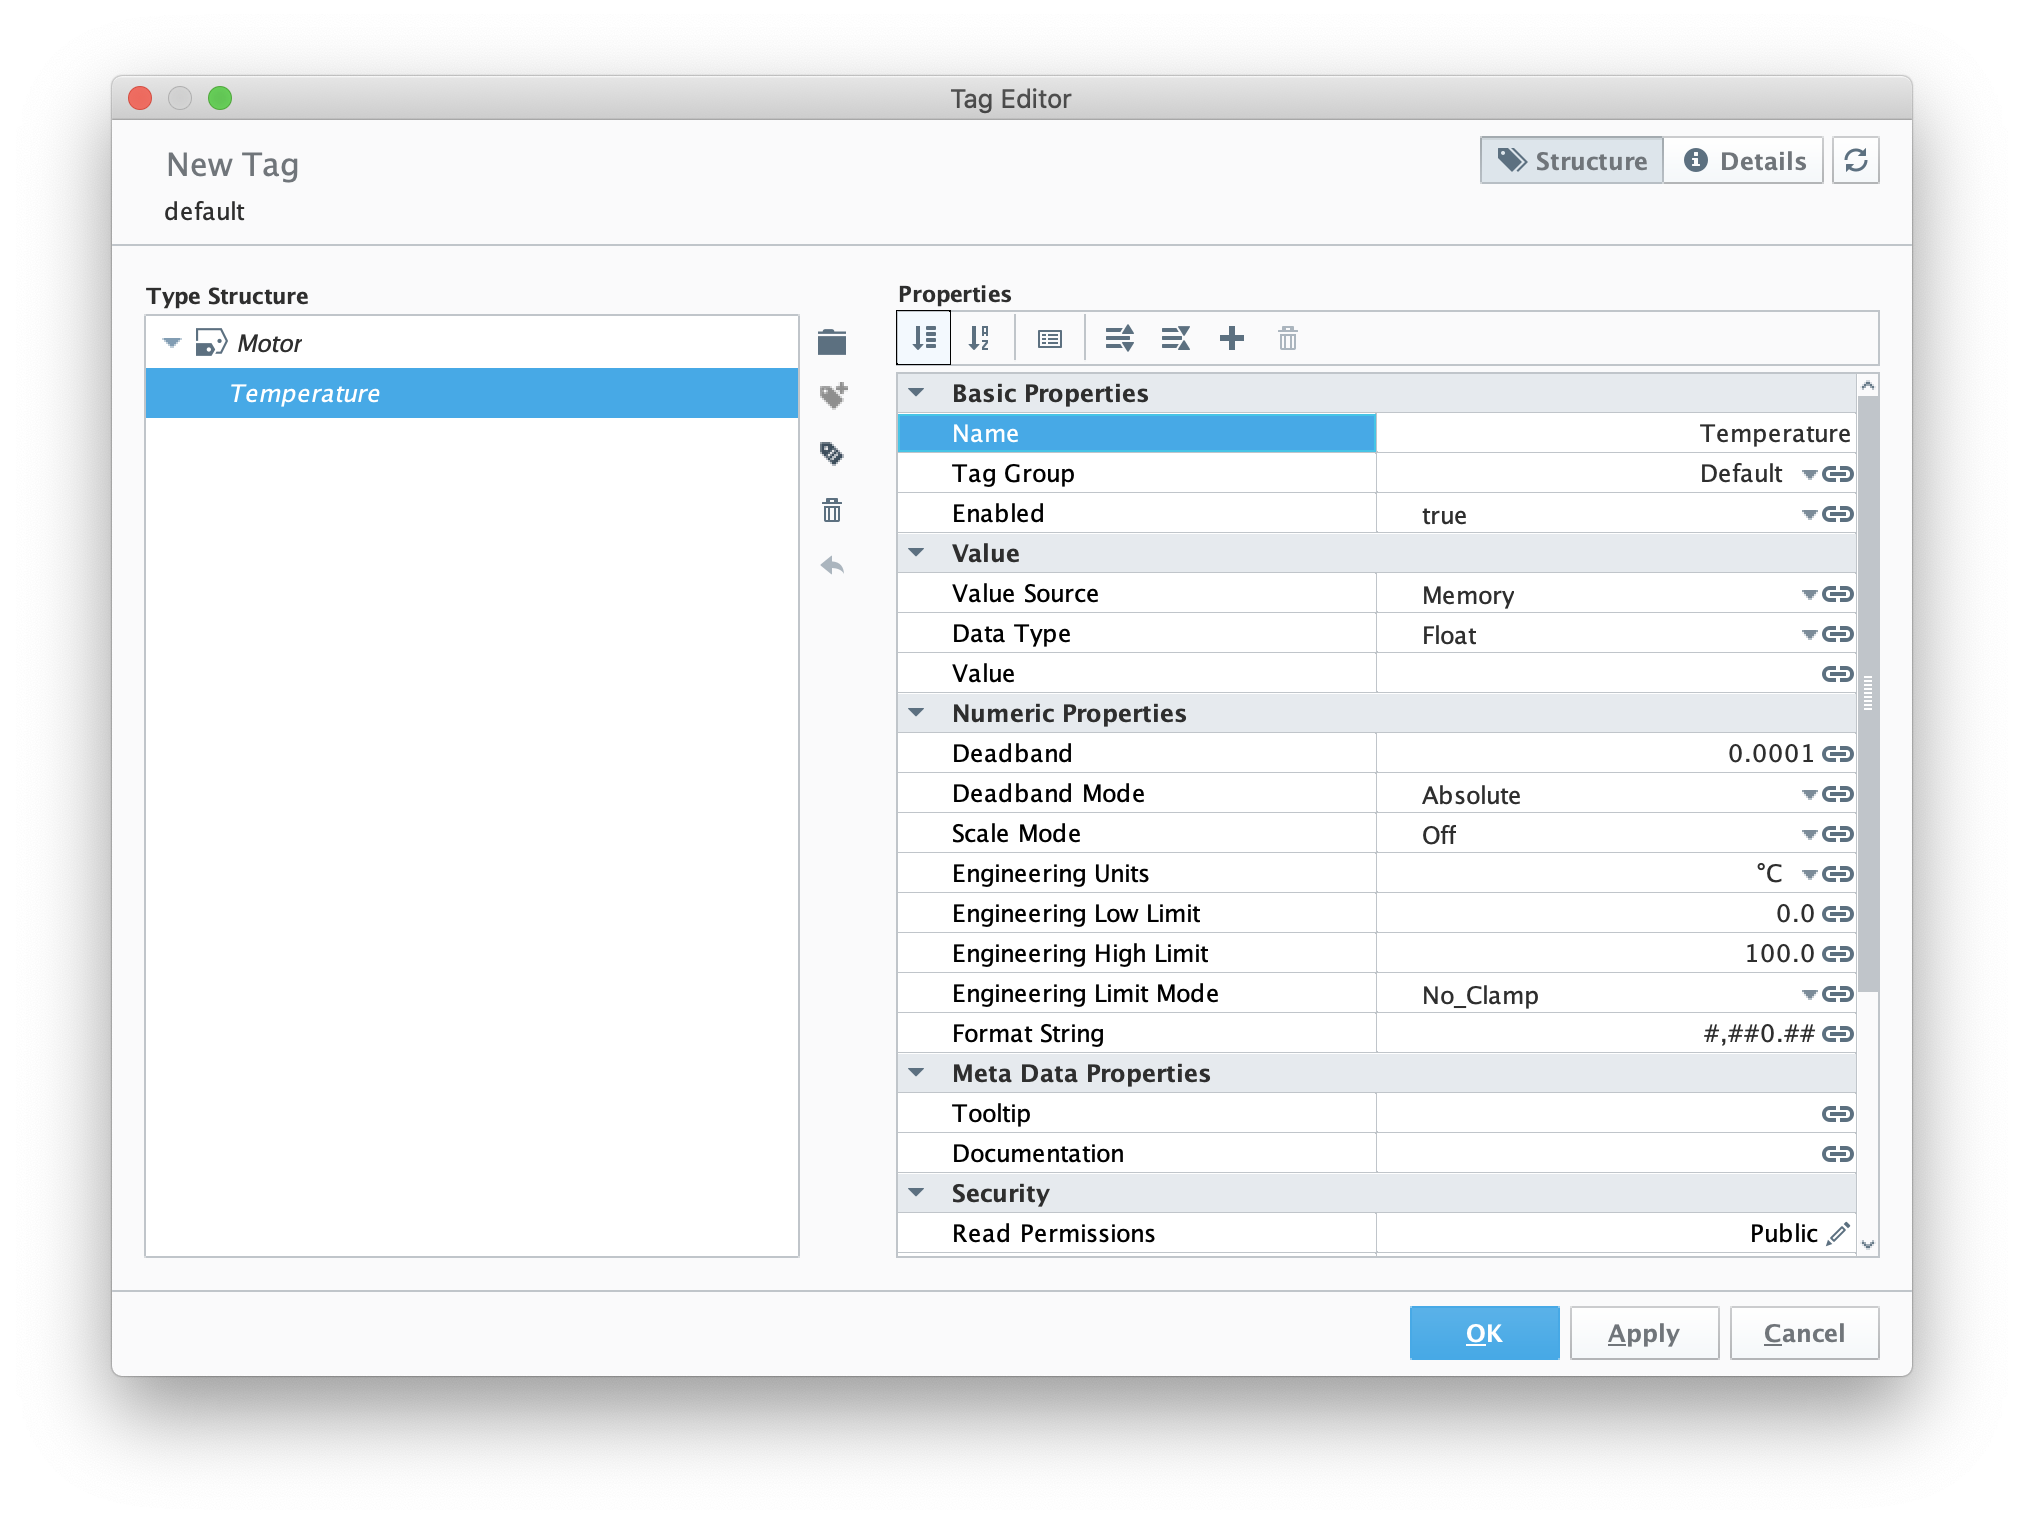
Now create two additional member tags with the following configuration.
...
When complete, the UDT definition should look as follows.
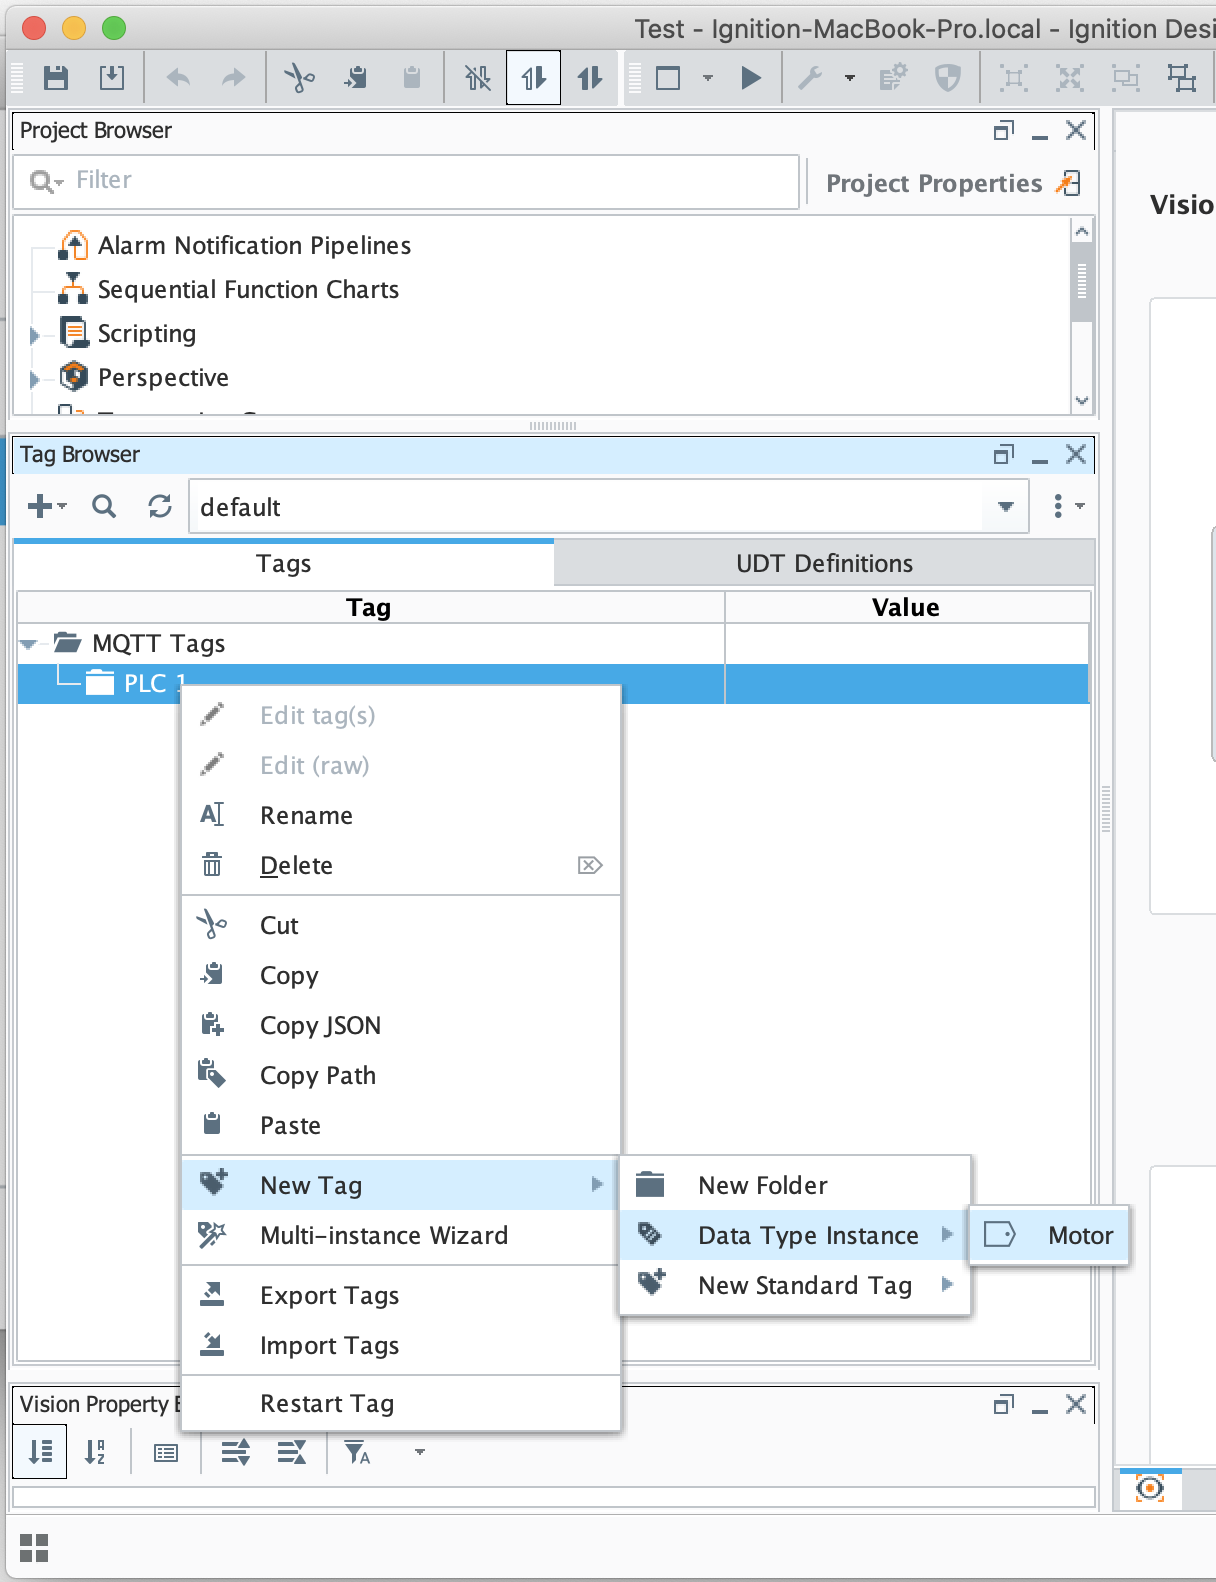
Now switch back to the 'Tags' tab of the Tag Browser. Right click on the 'PLC 1' folder and select 'New Tag → Data Type Instance → Motor' as shown below.
Now set the name to 'My Motor' as shown below and click OK.
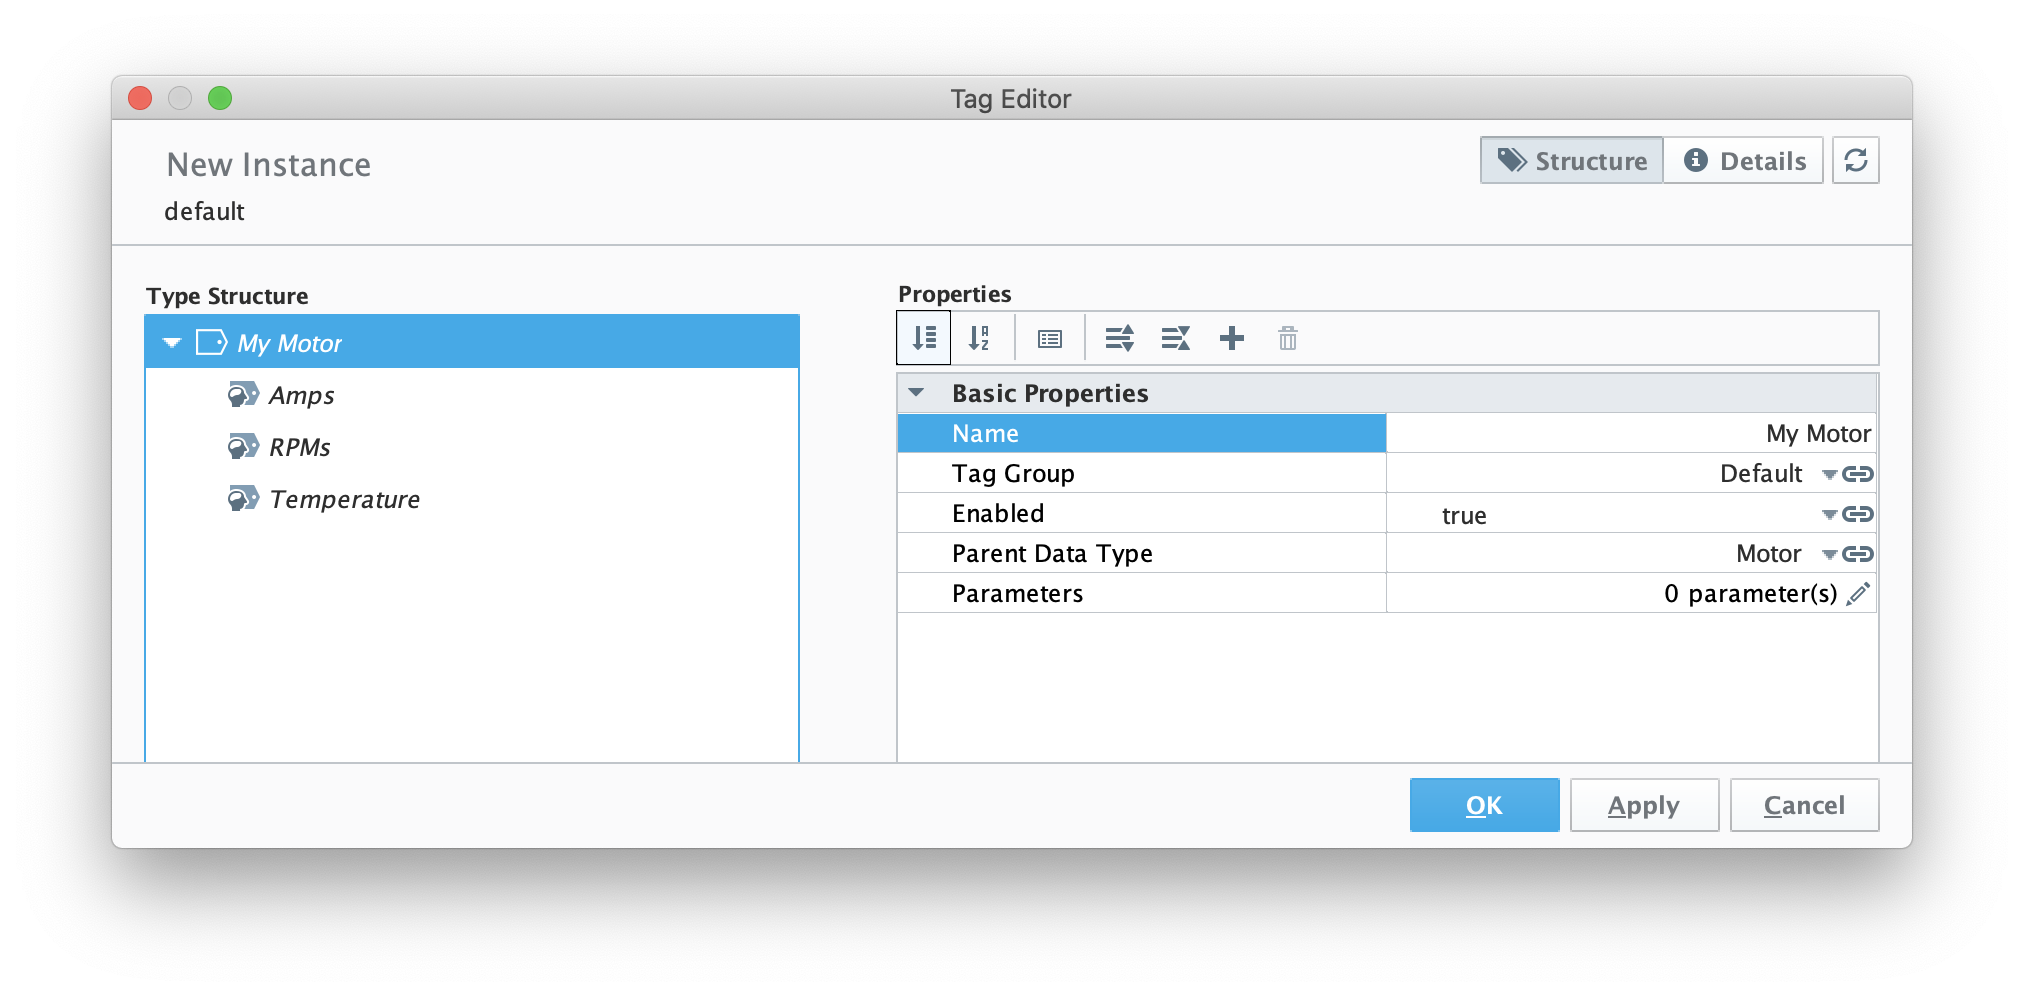
Now, set some values under the instance as shown below.
...