![]()
Page History
...
- Copy the
upgradeExport.shfile from the v2.1.0 install directory to the base directory where v2.0.0 was installed - Run the
upgradeExport.shscript to create the upgrade file containing the data from the old installation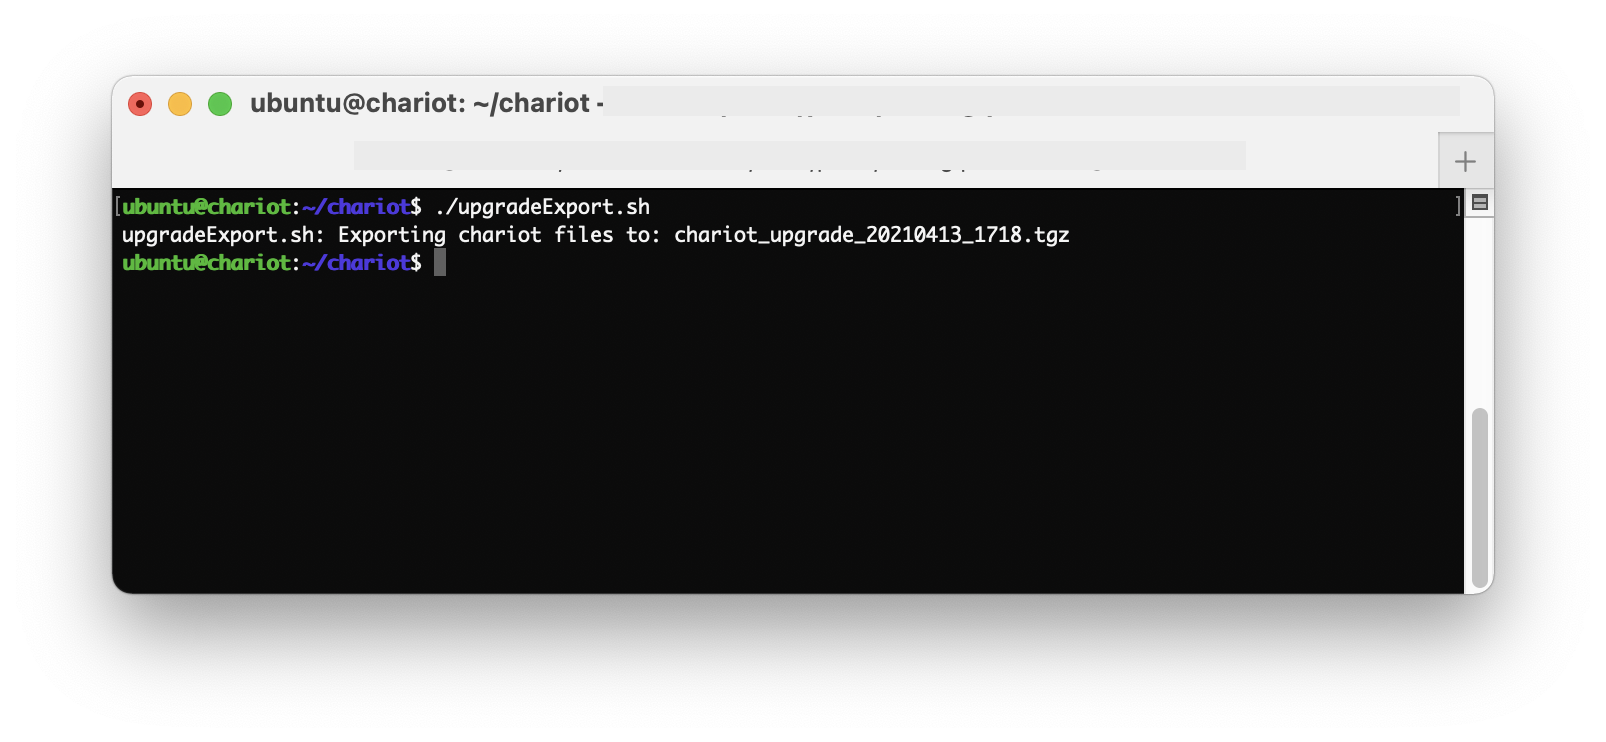
- Copy the exported file from v2.0.0 install directory to the base directory where v2.1.0 is installed
- Make sure you've ran the install script by this point and if you haven't, run the v2.1.0 install script now, but do not start Chariot yet.
- Run the upgradeImport.sh script to import the file into the new installation
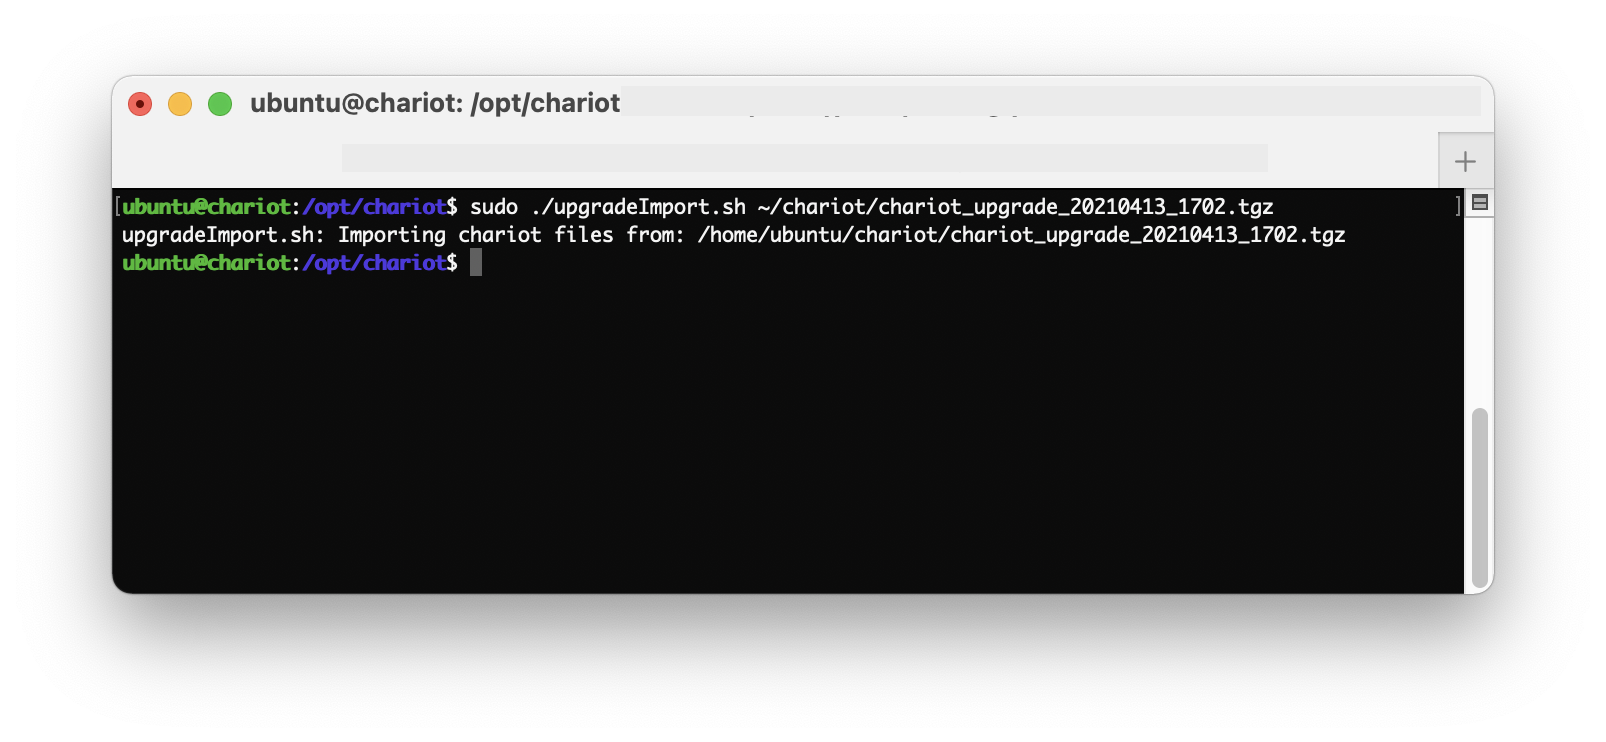
- Start the new v2.1.0 Chariot MQTT Server.
...
- Stop old v2.0.0 Chariot MQTT Server.
- Copy the
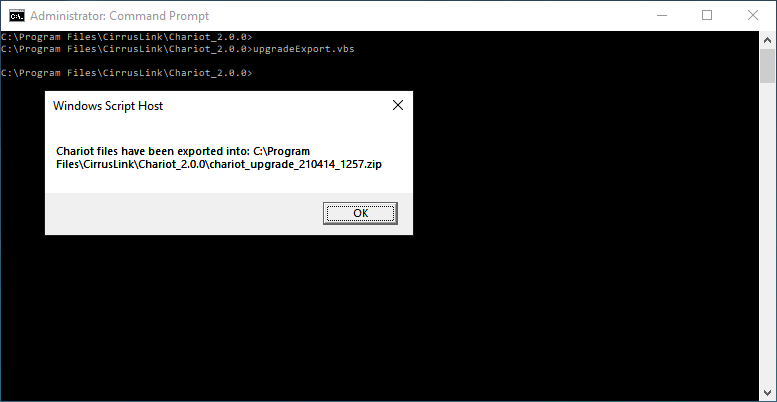
upgradeExport.vbsfile from the v2.1.0 install directory to the base directory where v2.0.0 was installed. - Run the
upgradeExport.vbsscript to create the upgrade file containing the data from the old installation. - Change to the v2.1.0 install directory and run the upgradeImport.vbs script.
- If the upgradeImport.vbs script is invoked without specifying a full path to the ZIP upgrade archive, the 'Chose File to Upload' window will appear as shown below:
 TODO
TODO
- 4. Change to the v2.1.0 install directory and run the upgradeImport.vbs script.
- 5. If the upgradeImport.vbs script is invoked without specifying a full path to the ZIP upgrade archive, the 'Chose File to Upload' window will appear as shown below:
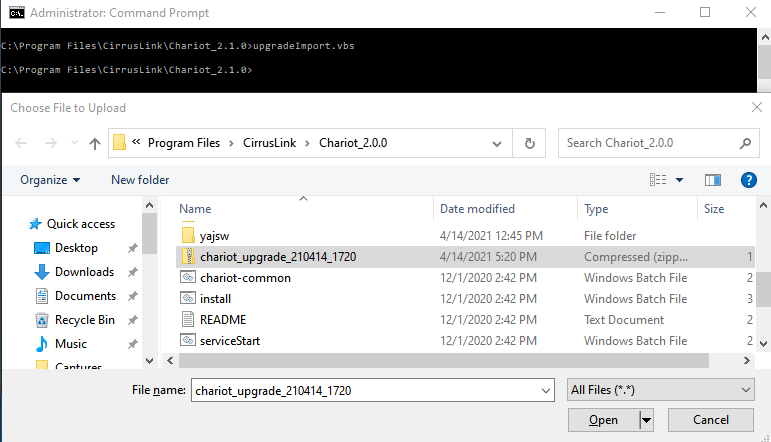
6. Navigate to the Chariot 2.0.0 directory and select the 'chariot_upgrade' ZIP archive created earlier.
...
The new Chariot MQTT Server should be loaded with the Users, Roles, MQTT Credentials, and System & Server configurations from the old installation. However, the new Chariot MQTT Server will still need to be licensed and any SSL certificates/keys will need to be uploaded again.
REMINDER: Ensure you clear your web browser cache after upgrading Chariot to ensure you pick up the latest Chariot UI features and updates.
Overview
Content Tools