...
After setting the properties, click the 'Next' button in the lower right of the Window. This will bring up the following screen.
<TODO>Add Image</TODO>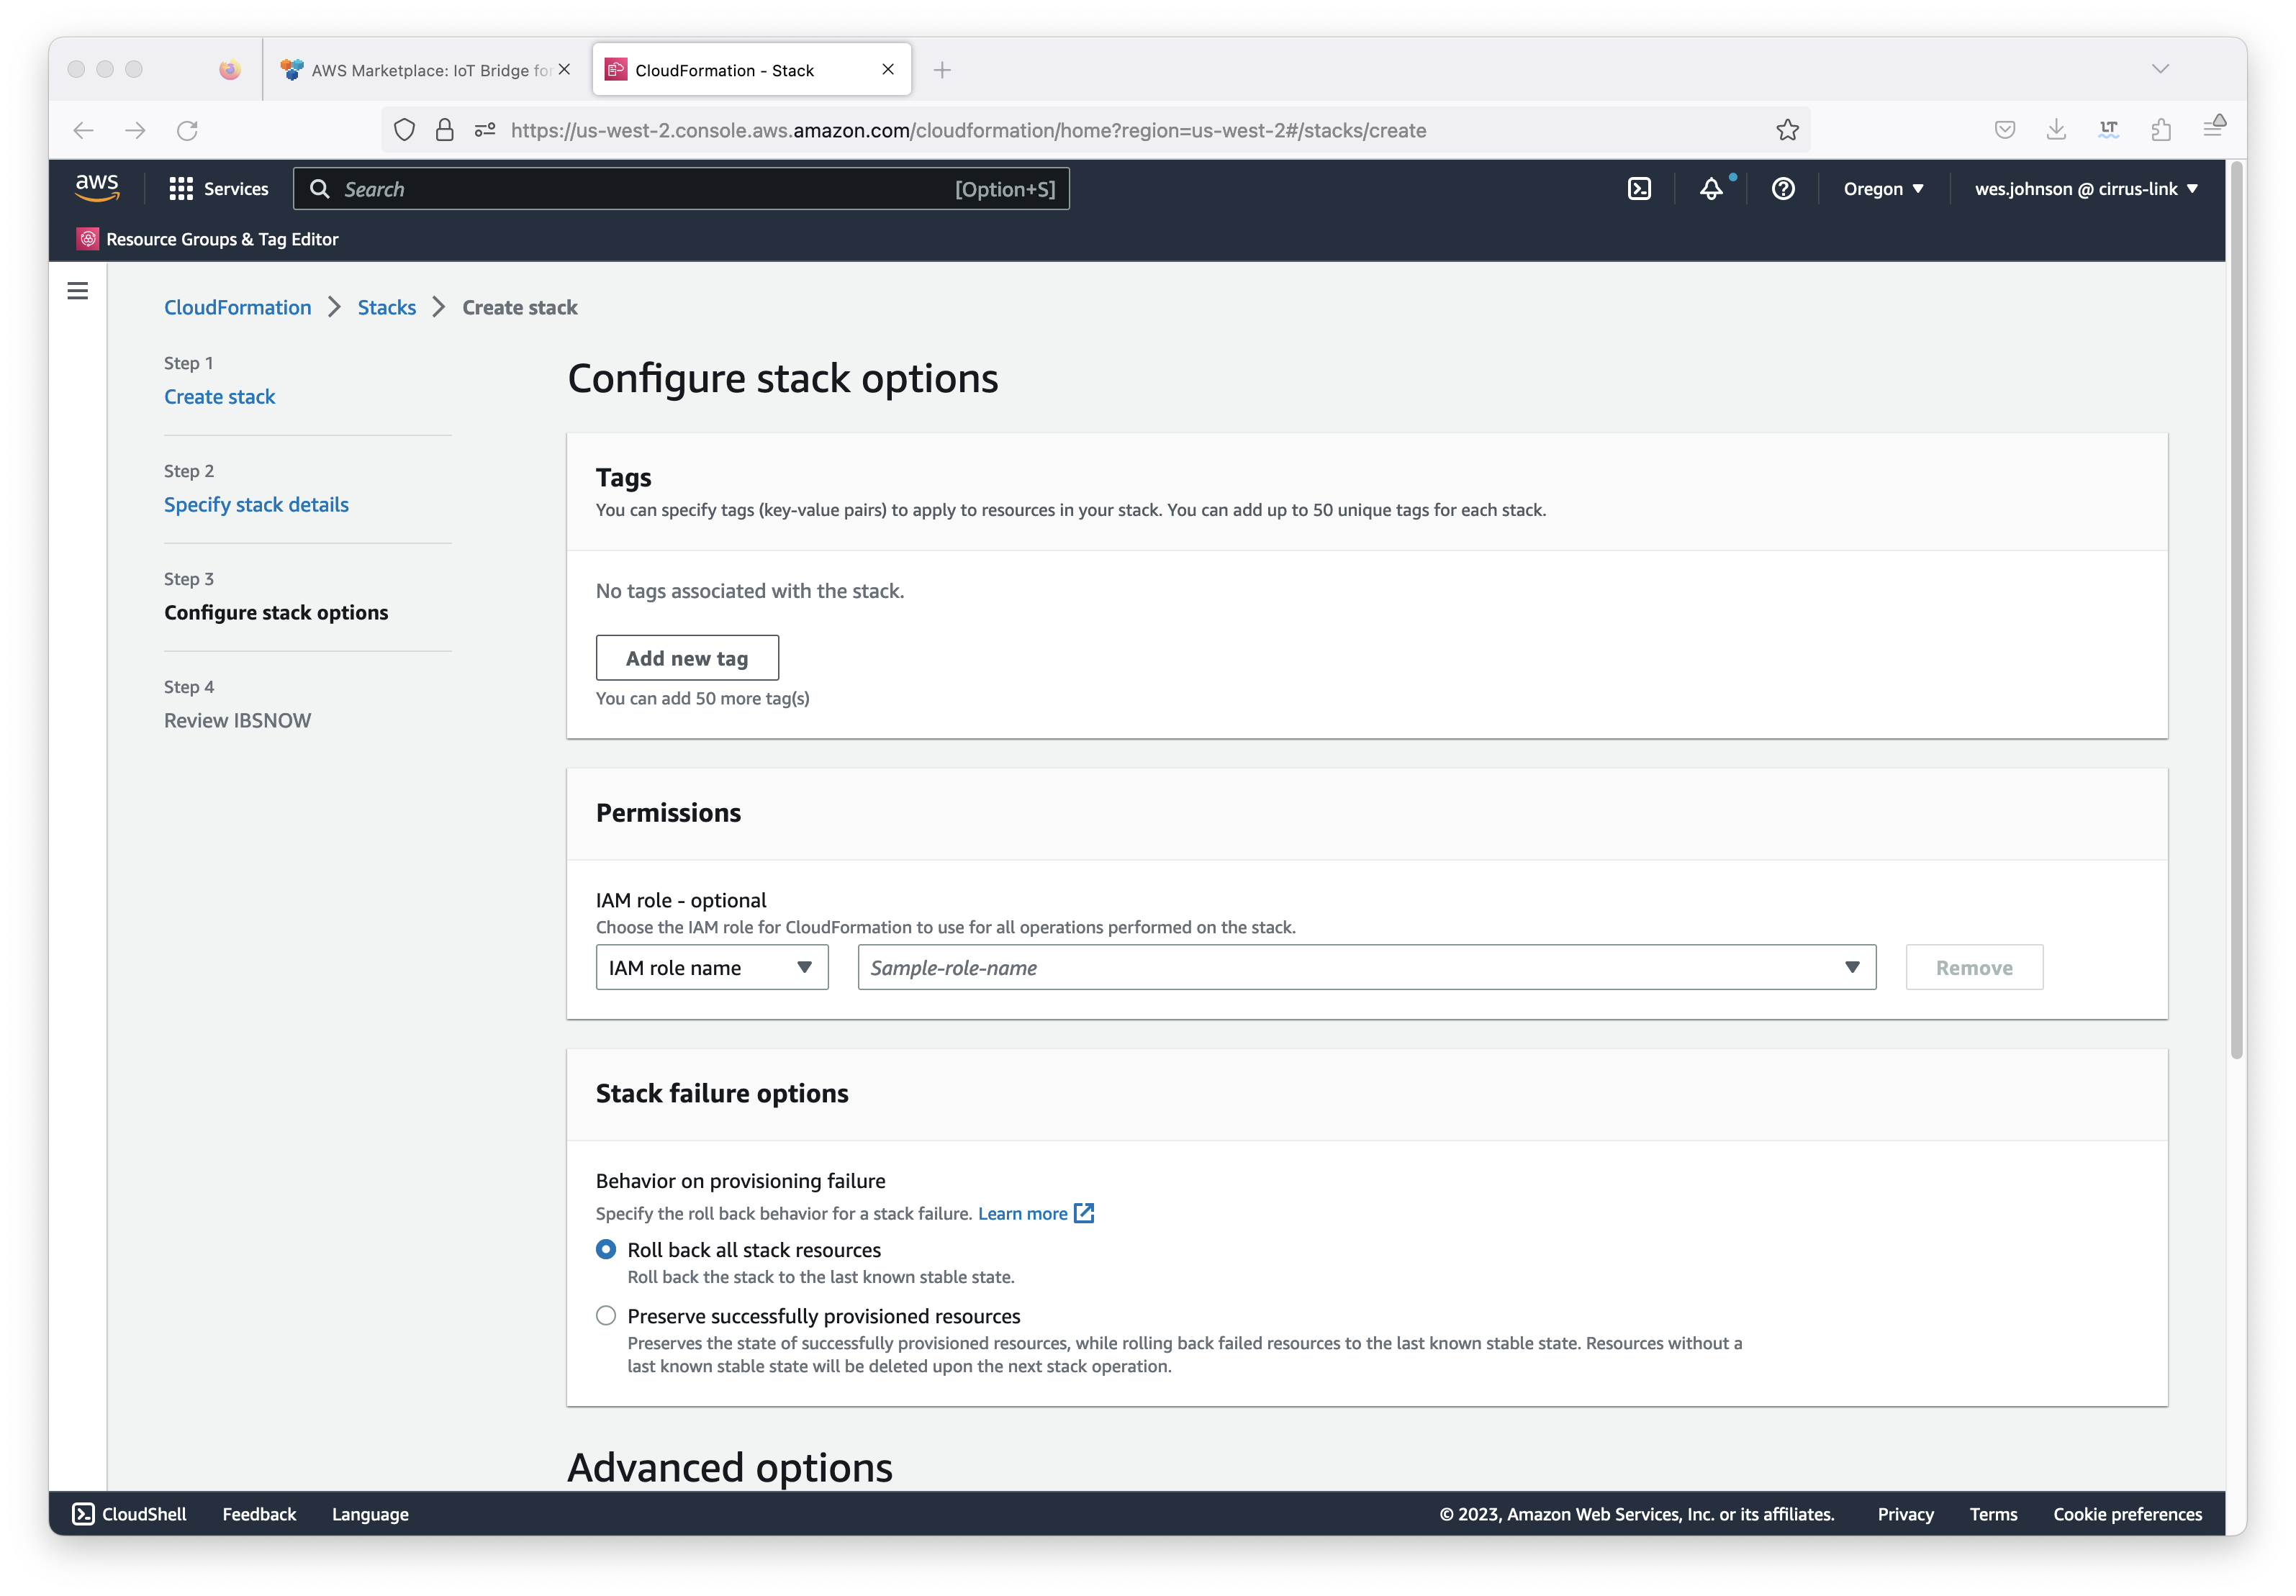 Image Added
Configure anything else that may be required here. Generally, nothing must be set here given that the user you are logged in as has the permissions to create everything that will created as part of the Cloud Formation deployment. Also, the 'Roll back all stack resources' should be selected in case there is a failure in deployment. This will ensure no resources get created and left in place should the any portion of the stack creation fail. After setting any additional configuration here, click the 'Next' button in the lower right corner. This will bring up the review screen as shown below.
<TODO>Add Image</TODO>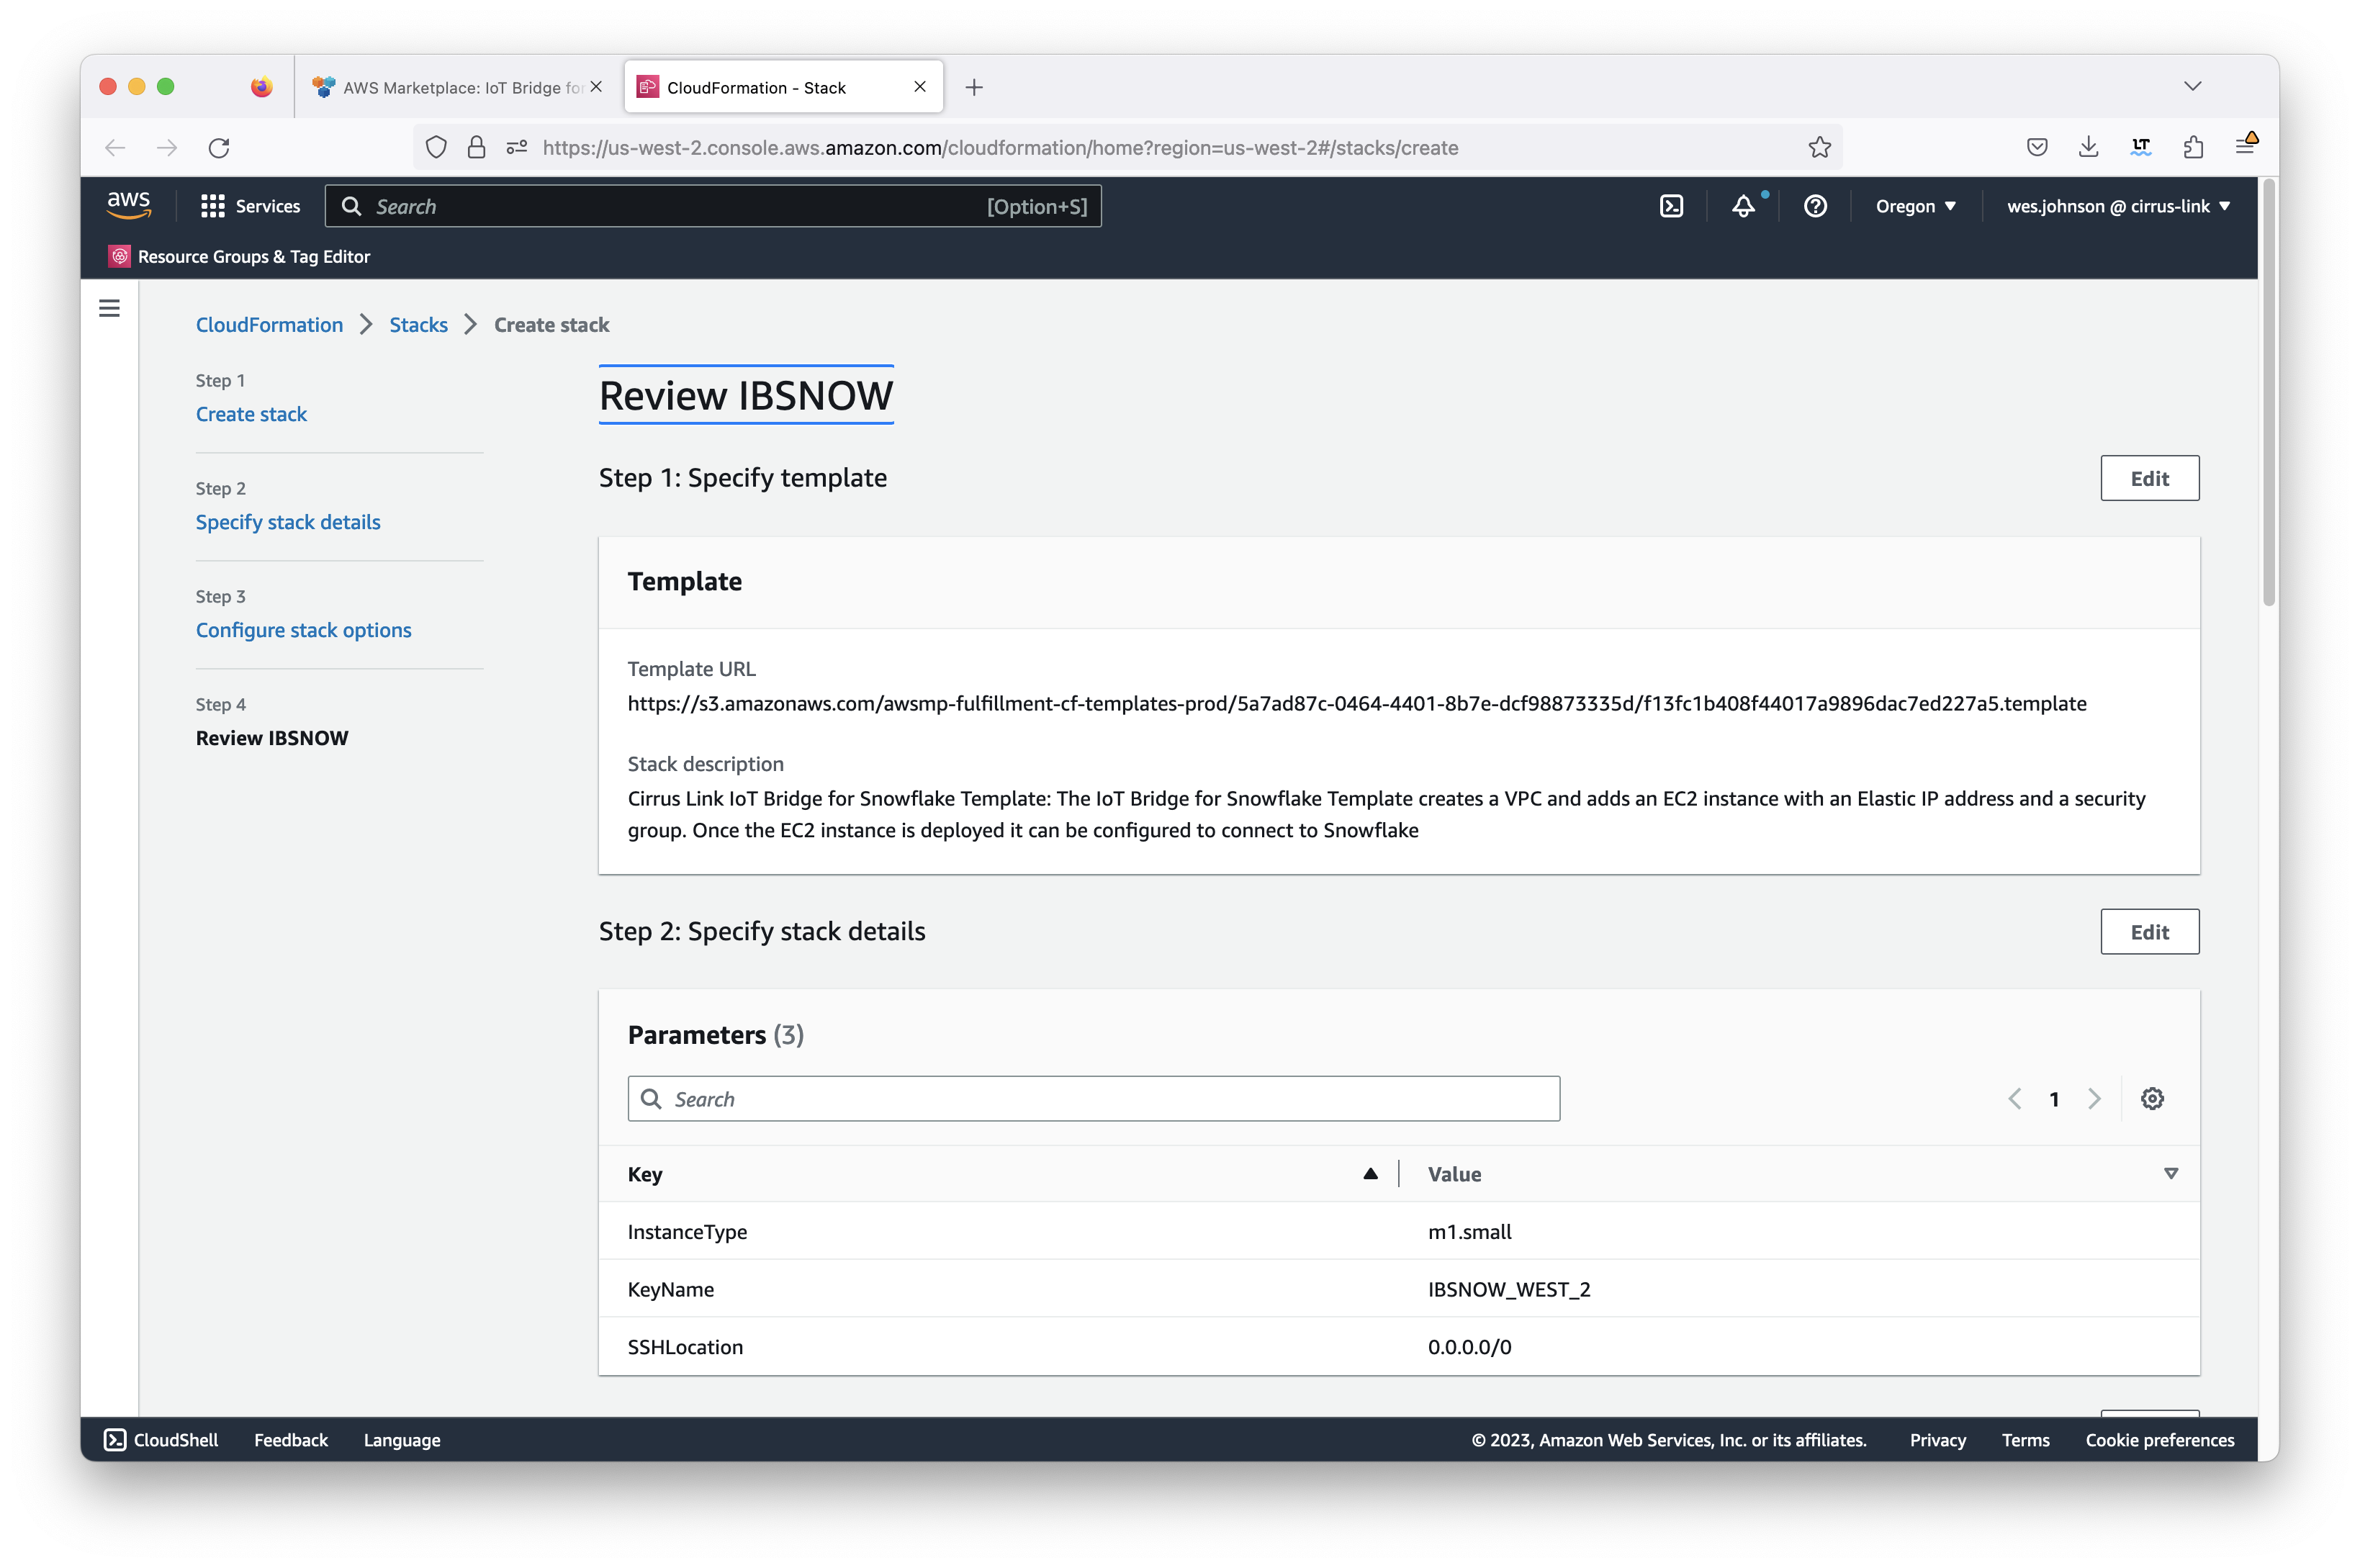 Image Added
Double check the configuration and finally click 'Create stackSubmit' in the bottom right corner of the screen . Note you also must accept the IAM changes that the IoT Bridge Cloud Formation deployment makes to your AWS account. If you agree to this, click the checkbox shown below and then click the 'Create stack' button.to kick off the stack creation. You should now see the 'CREATE_IN_PROGRESS' status as shown below.
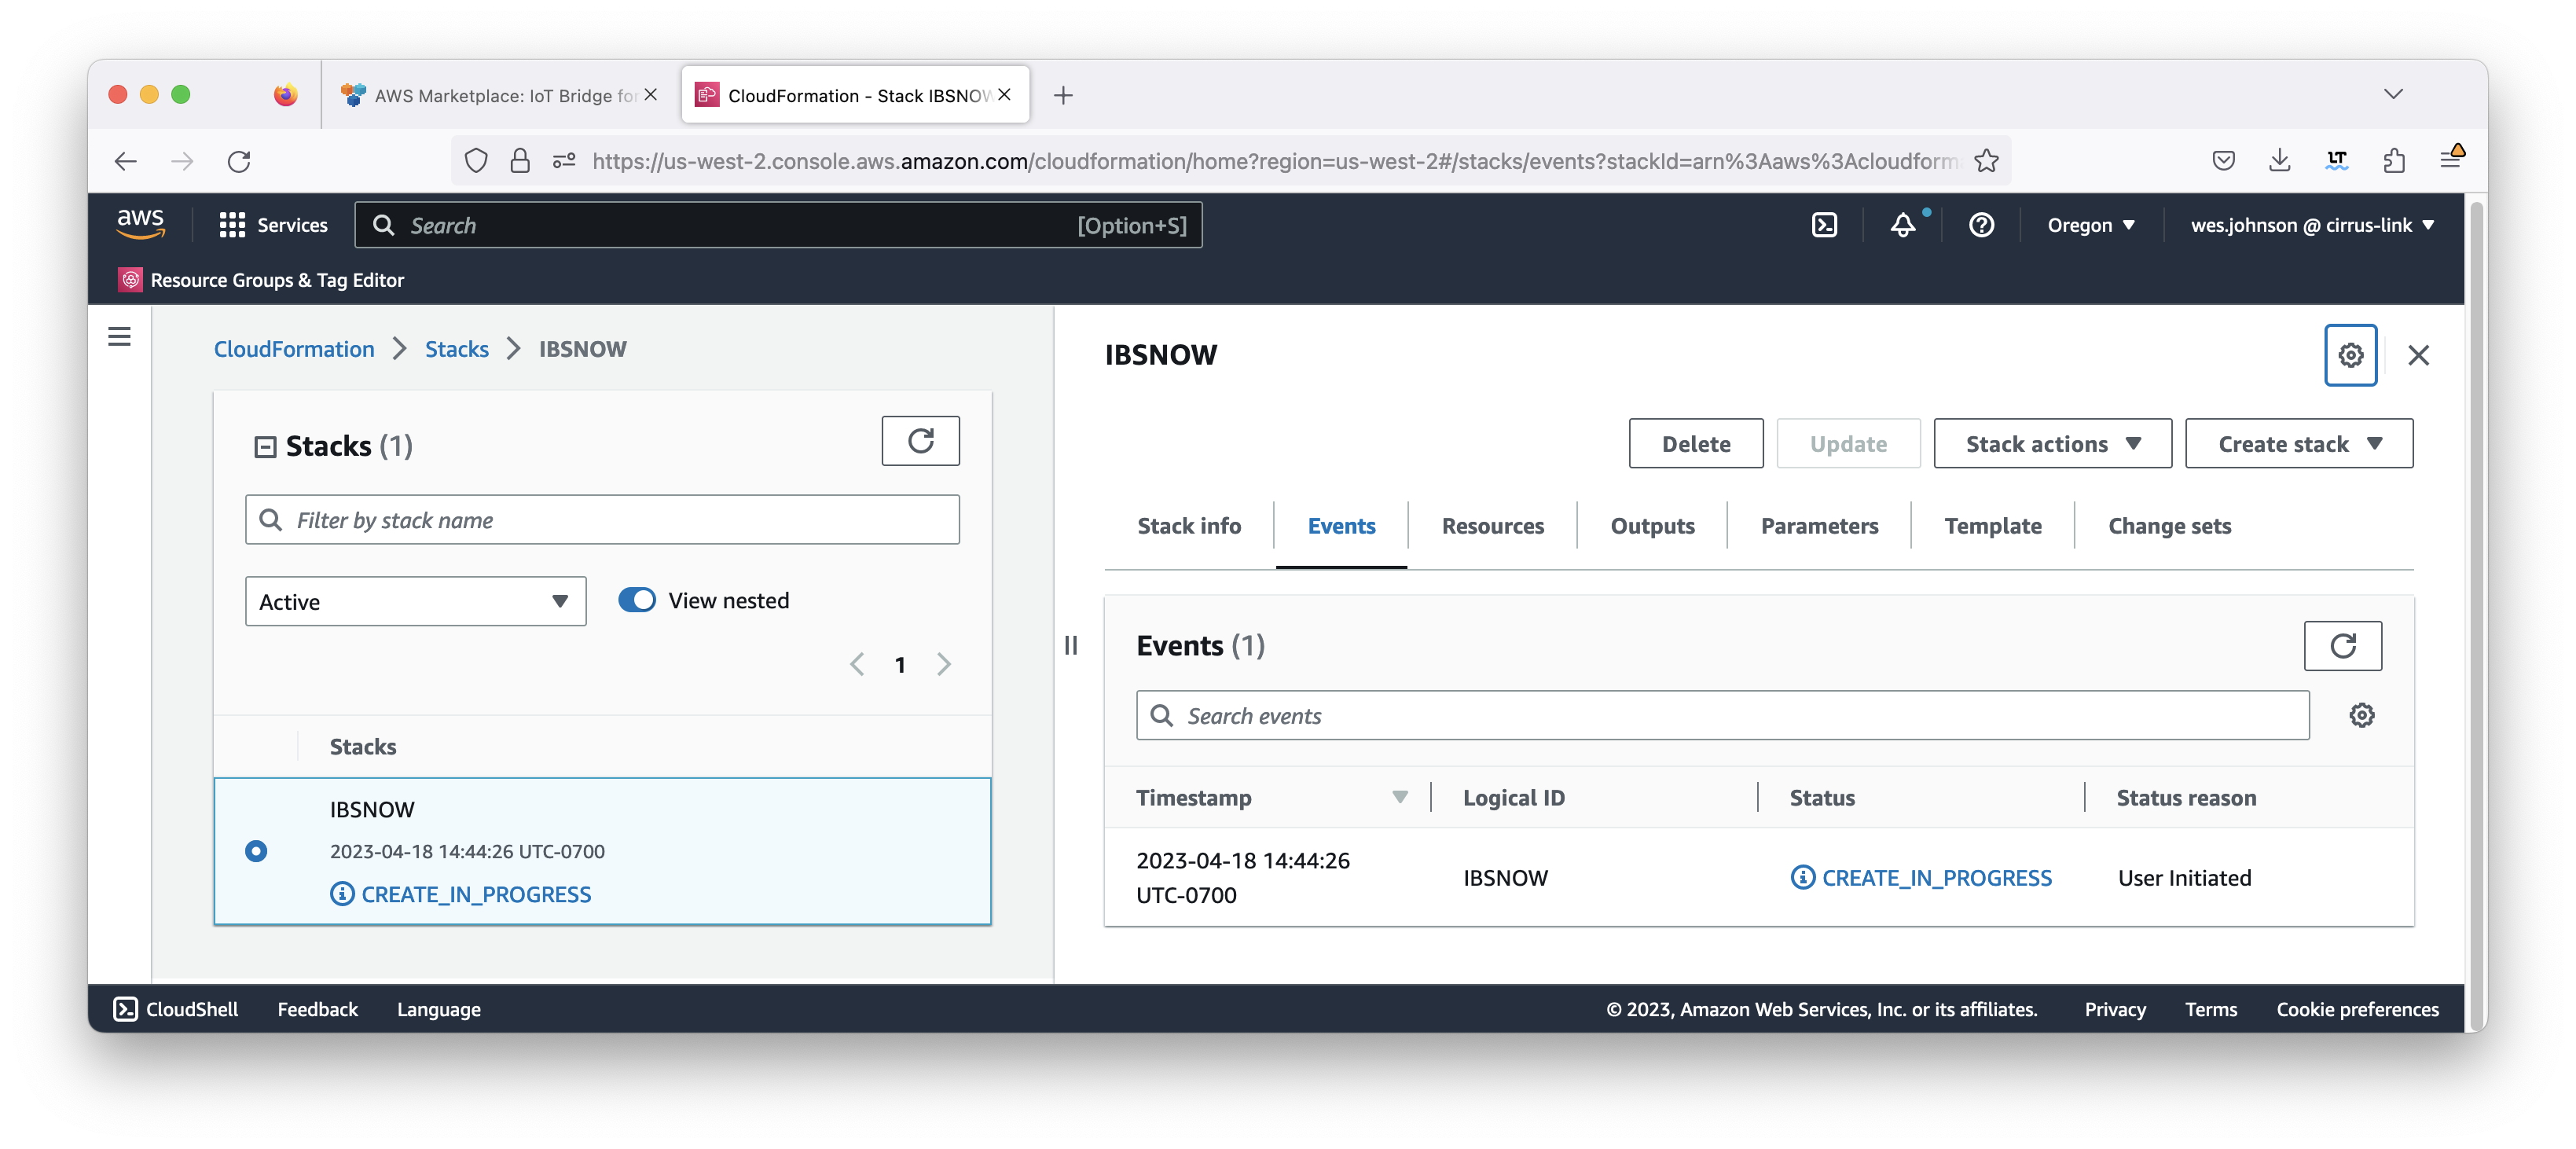 Image Added<TODO>Add Image</TODO>
This will begin the stack deployment. You can check on the progress by clicking both the Events and Resources tab as shown below. Deployment takes a few minutes to complete. When it completes, you should see something similar to what is shown below with all of the resources showing 'CREATE_COMPLETE' for the status.
...