![]()
Contents
Cirrus Link Resources
Chariot MQTT Server v1 (previous version)![]()
Cirrus Link Modules for Ignition![]()
Contact Us (Sales/Support)![]()
Forum![]()
![]()
Chariot MQTT Server v1 (previous version)![]()
Cirrus Link Modules for Ignition![]()
Contact Us (Sales/Support)![]()
Forum![]()
...
...
| Warning |
|---|
| If Upgrading Chariot to a Newer Version please review this tutorial. |
The instructions below detail Installing (as superuser), Installing (as non superuser), Starting, Stopping, Restarting and Uninstalling the Chariot MQTT Server.
| Anchor | ||||
|---|---|---|---|---|
|
The following installation instructions assume you have superuser privileges. Non-superuser installation instructions can be found here. The Chariot MQTT Server can be installed on the Linux server by following these steps:
Using the file transfer method of
...
your choice, transfer the Chariot MQTT Server zip file to the Linux server
...
. From a command prompt, run the unzip command on the file. For example, unzip the files into a directory named Chariot
| Code Block |
|---|
...
unzip ./chariot_linux.zip -d ./Chariot |
...
From the command prompt, run the Chariot service install script
...
in the directory where the
...
files were unzipped.
| Code Block |
|---|
...
/ |
...
bin/bash ./install.sh |
An example of a success installation may look like the following:
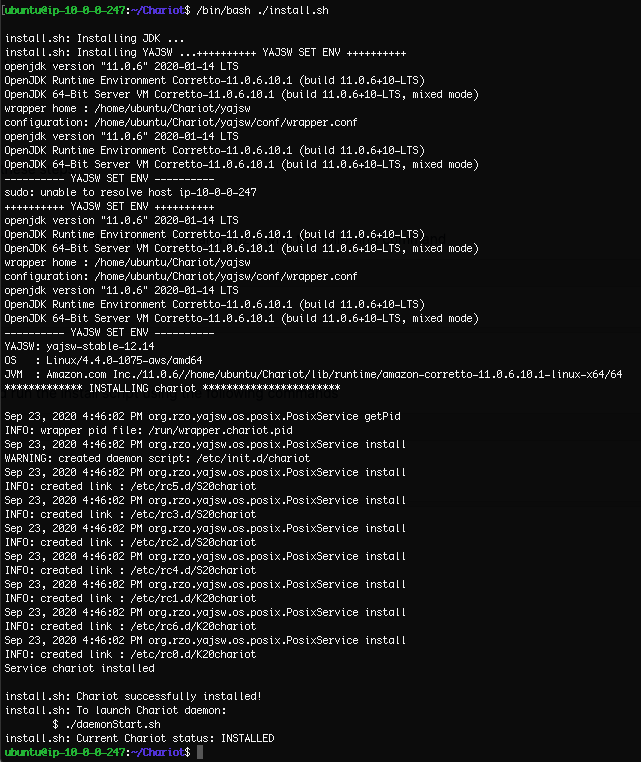
The Chariot MQTT Server should now be installed in the Linux server and will run automatically when the server is booted.
After the Chariot MQTT Server is installed, the Chariot daemon can be launched with the following command
| Code Block |
|---|
$ ./daemonStart.sh |
The status of the Chariot MQTT Server can be obtained by running the following script
| Code Block |
|---|
$ ./status.sh |
An example of a success running Chariot MQTT Server may look like the following:

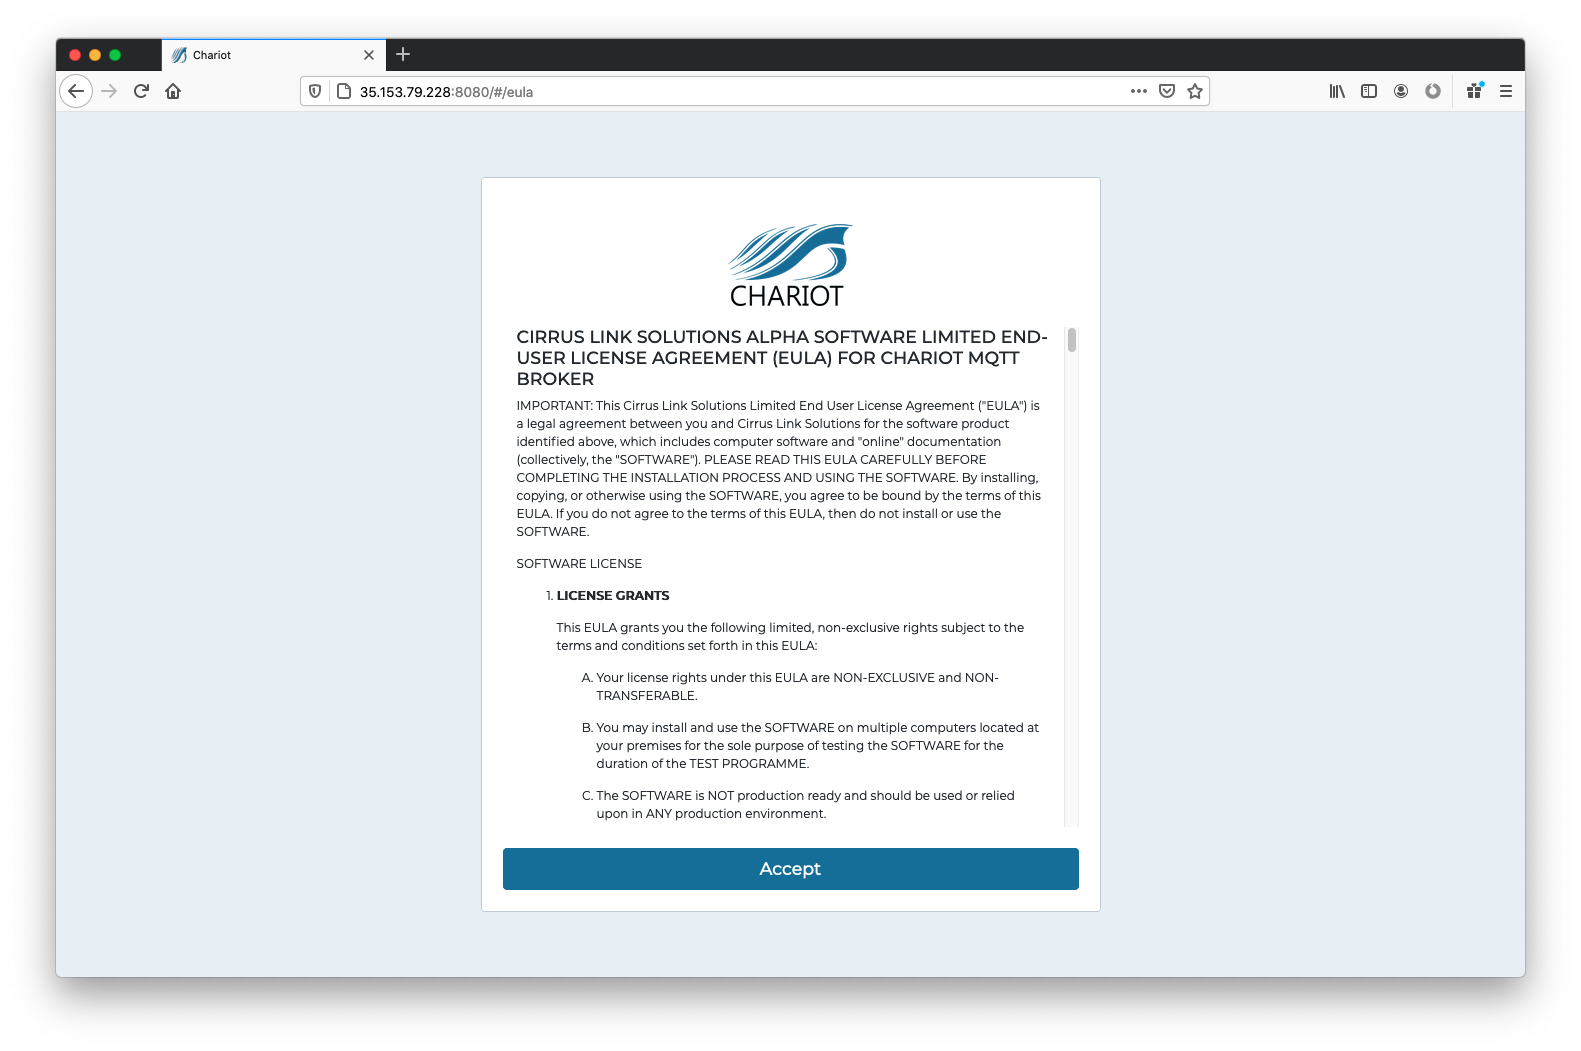
Additionally the Chariot MQTT Server Web UI can be accessed on port 8080. Navigate to the server's URL in a browser and verify that the EULA page is shown.
Chariot daemon can be stopped by running the following script:
| Code Block |
|---|
$ ./daemonStop.sh |
The Chariot MQTT Server can be uninstalled by running the following script:
| Code Block |
|---|
$ ./uninstall.sh |
...
| Anchor | ||||
|---|---|---|---|---|
|
The following installation instructions assume you do not have superuser privileges. Superuser installation instructions can be found here. The Chariot MQTT Server can be installed on the Linux server by following these steps:
| Code Block | ||
|---|---|---|
| ||
sudo adduser chariot |
...
Installing Chariot MQTT Server (as non-superuser)
Using the file transfer method of your choice, transfer the downloaded Chariot MQTT Server zip file to the server.
From a command prompt, create a new user 'chariot' and give the user super user privileges
| Code Block | ||
|---|---|---|
| ||
sudo adduser chariot sudo usermod -aG sudo chariot |
...
From the command prompt, install the unzip utility.
| Code Block | ||
|---|---|---|
| ||
sudo apt-get install unzip |
...
From the command prompt, switch user to the 'chariot' user
| Code Block | ||
|---|---|---|
| ||
su chariot |
...
From the command prompt, run the unzip command on the file. For example, unzip the files into a directory named chariot
| Code Block | ||
|---|---|---|
|
...
sudo unzip /tmp/chariot_linux.zip -d ./chariot |
| Code Block | ||
|---|---|---|
| ||
# The following updates are only necessary if installing Chariot v2.0.0 as a non-superuser. This is fixed and no longer required in later versions of Chariot.

# In /opt/chariot/chariot-common
In line 28 - Change the script that is called:
'queryDaemon.sh' to be 'queryDaemonNoPriv.sh'

# In /opt/chariot/yajsw/conf/wrapper.conf
Add the line:
wrapper.pidfile = /tmp/wrapper.chariot.pid |
From the command prompt, run the Chariot service install script in the directory where the files were unzipped.
| Code Block | ||
|---|---|---|
| ||
cd |
...
chariot
sudo /bin/bash ./install.sh |
...
From the command prompt, change ownership to 'chariot', log out of the 'chariot' user, remove 'chariot' from the sudo group and log in as 'chariot'
| Code Block | ||
|---|---|---|
| ||
cd .. sudo chown -R chariot:chariot |
...
./chariot
exit
sudo deluser chariot sudo
su chariot |
The Chariot MQTT Server should now be installed in the Linux server and will run automatically when the server is booted.
| Anchor | ||||
|---|---|---|---|---|
|
From a command prompt, run the Chariot service start script in the directory where the service was installed.
For Chariot versions prior to 2.4.1
| Code Block |
|---|
/etc/init.d/chariot start |
For Chariot versions 2.4.1 and newer
| Code Block |
|---|
systemctl start chariot |
Verify the Chariot service is running. From a command prompt, run the Chariot service status script in the directory where the service was installed.
| Code Block |
|---|
./status.sh |
The status returned will be: INSTALLED, NOT INSTALLED or RUNNING.
Additionally the Chariot MQTT Server Web UI can be accessed on port 8080. Navigate to the server's URL in a browser and verify that the EULA page is shown.
| Anchor | ||||
|---|---|---|---|---|
|
From a command prompt, run the Chariot service stop script in the directory where the service was installed.
For Chariot versions prior to 2.4.1
| Code Block |
|---|
/etc/init.d/chariot stop |
For Chariot versions 2.4.1 and newer
| Code Block |
|---|
systemctl stop chariot |
| Anchor | ||||
|---|---|---|---|---|
|
From a command prompt, run the Chariot service restart script in the directory where the service was installed
For Chariot versions prior to 2.4.1
| Code Block |
|---|
| Code Block | ||
|---|---|---|
| ||
ctrl + d |
| Code Block | ||
|---|---|---|
| ||
sudo deluser chariot sudo |
| Code Block | ||
|---|---|---|
| ||
su chariot /etc/init.d/chariot startrestart |
For Chariot versions 2.4.1 and newer
| Code Block |
|---|
systemctl restart chariot |
| Anchor | ||||
|---|---|---|---|---|
|
| Code Block |
|---|
./uninstall.sh |