![]()
Contents
Cirrus Link Resources
Cirrus Link Website![]()
Contact Us (Sales/Support)![]()
Inductive Resources
Ignition User Manual![]()
Knowledge Base Articles![]()
Inductive University![]()
Forum![]()
![]()
Cirrus Link Website![]()
Contact Us (Sales/Support)![]()
Ignition User Manual![]()
Knowledge Base Articles![]()
Inductive University![]()
Forum![]()
...
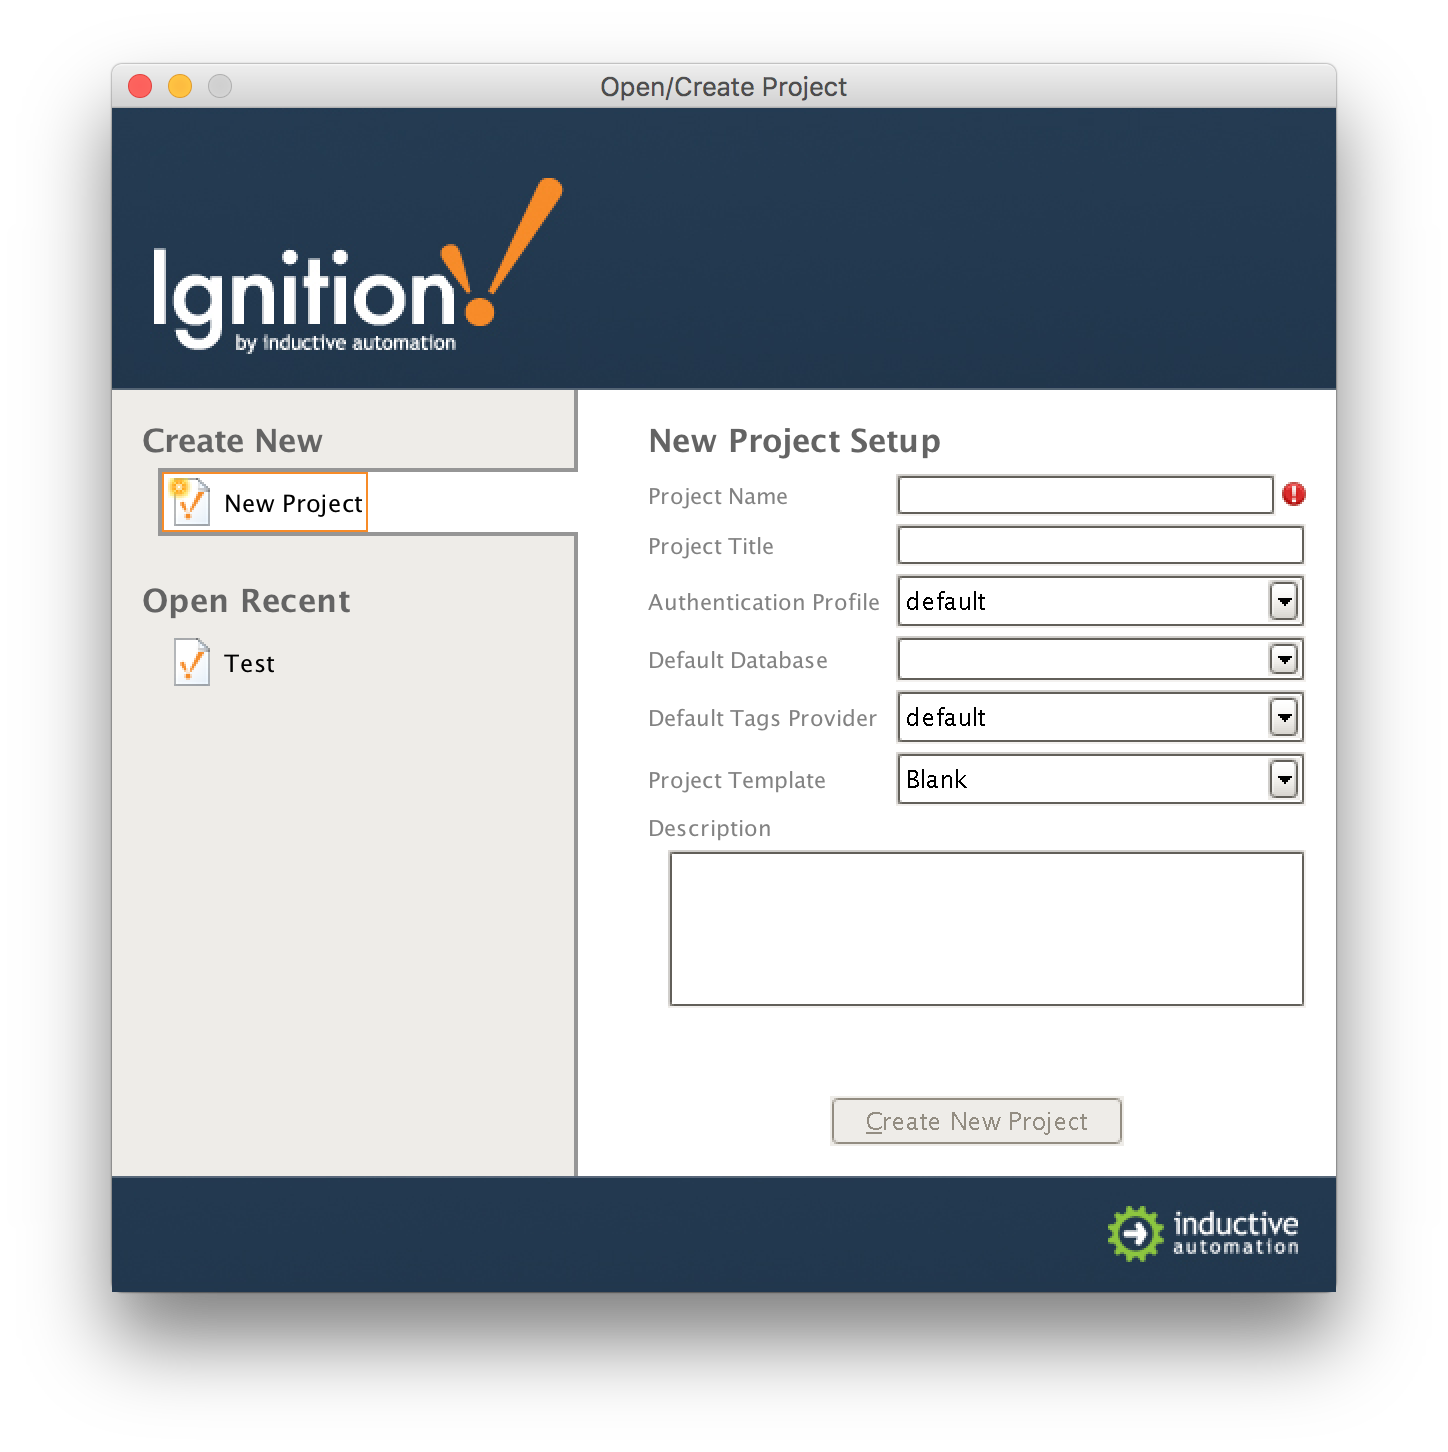
This will bring you to a new Window where you can select an Ignition Project or create a new one. Create a new project by giving it a name and clicking 'Create New Project'.
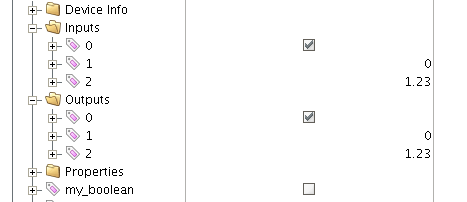
Now you should be in designer. In the left hand side of the main window is a 'Tag Browser' window. In it, expand 'All Providers -> MQTT Engine -> Edge Nodes -> Sparkplug Devices -> Javascript Edge Node -> Emulated Device'. You should see the following
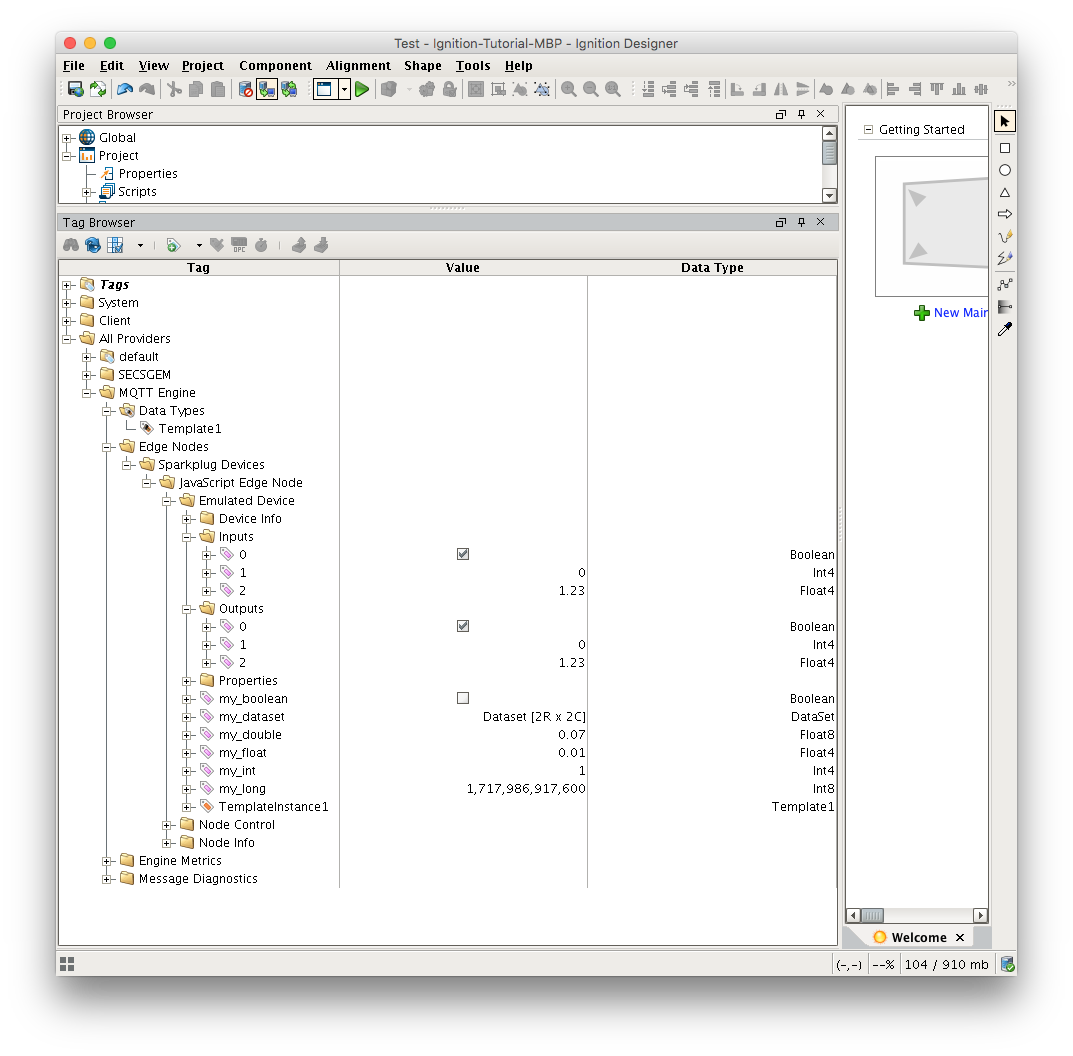 You will see that MQTT Engine saw a new device attach to the MQTT Server and publish a Birth Certificate. As a result, MQTT Engine created the Ignition Tags shown above. These are also dynamically updated as the values change. You can also write to the outputs after you Enable Device Writes from Ignition. This can be done by putting designer into read/write mode.
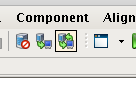
Do so by clicking this button in the menu to enable read/write mode:
![]()
Then you can change any of the Tag values in the Outputs folder here:
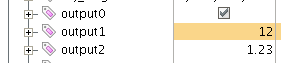
You should see the Tag value change as well as the value of the corresponding Tag in the Inputs folder. In the Sparkplug example code the outputs are virtually tied to the inputs. So, when modifying an output value, this causes an MQTT message to be sent from MQTT Engine, to the virtual device, which receives the message, modifies the values, and then publishes a MQTT message back to MQTT Engine where the two values are updated. If
Note: If you are not seeing the output and input values update to reflect the change you have made, make sure MQTT Engine is not configured to block outbound device tag writes as described here.
...