![]()
Contents
Cirrus Link Resources
Cirrus Link Website![]()
Contact Us (Sales/Support)![]()
Inductive Resources
Ignition User Manual![]()
Knowledge Base Articles![]()
Inductive University![]()
Forum![]()
![]()
Cirrus Link Website![]()
Contact Us (Sales/Support)![]()
Ignition User Manual![]()
Knowledge Base Articles![]()
Inductive University![]()
Forum![]()
...
At this point you will be asked to create or select an existing keypairkey pair. Choose 'Create a new key pair', give it a name, and then click the 'Download Key Pair', and finally click 'Launch Instances'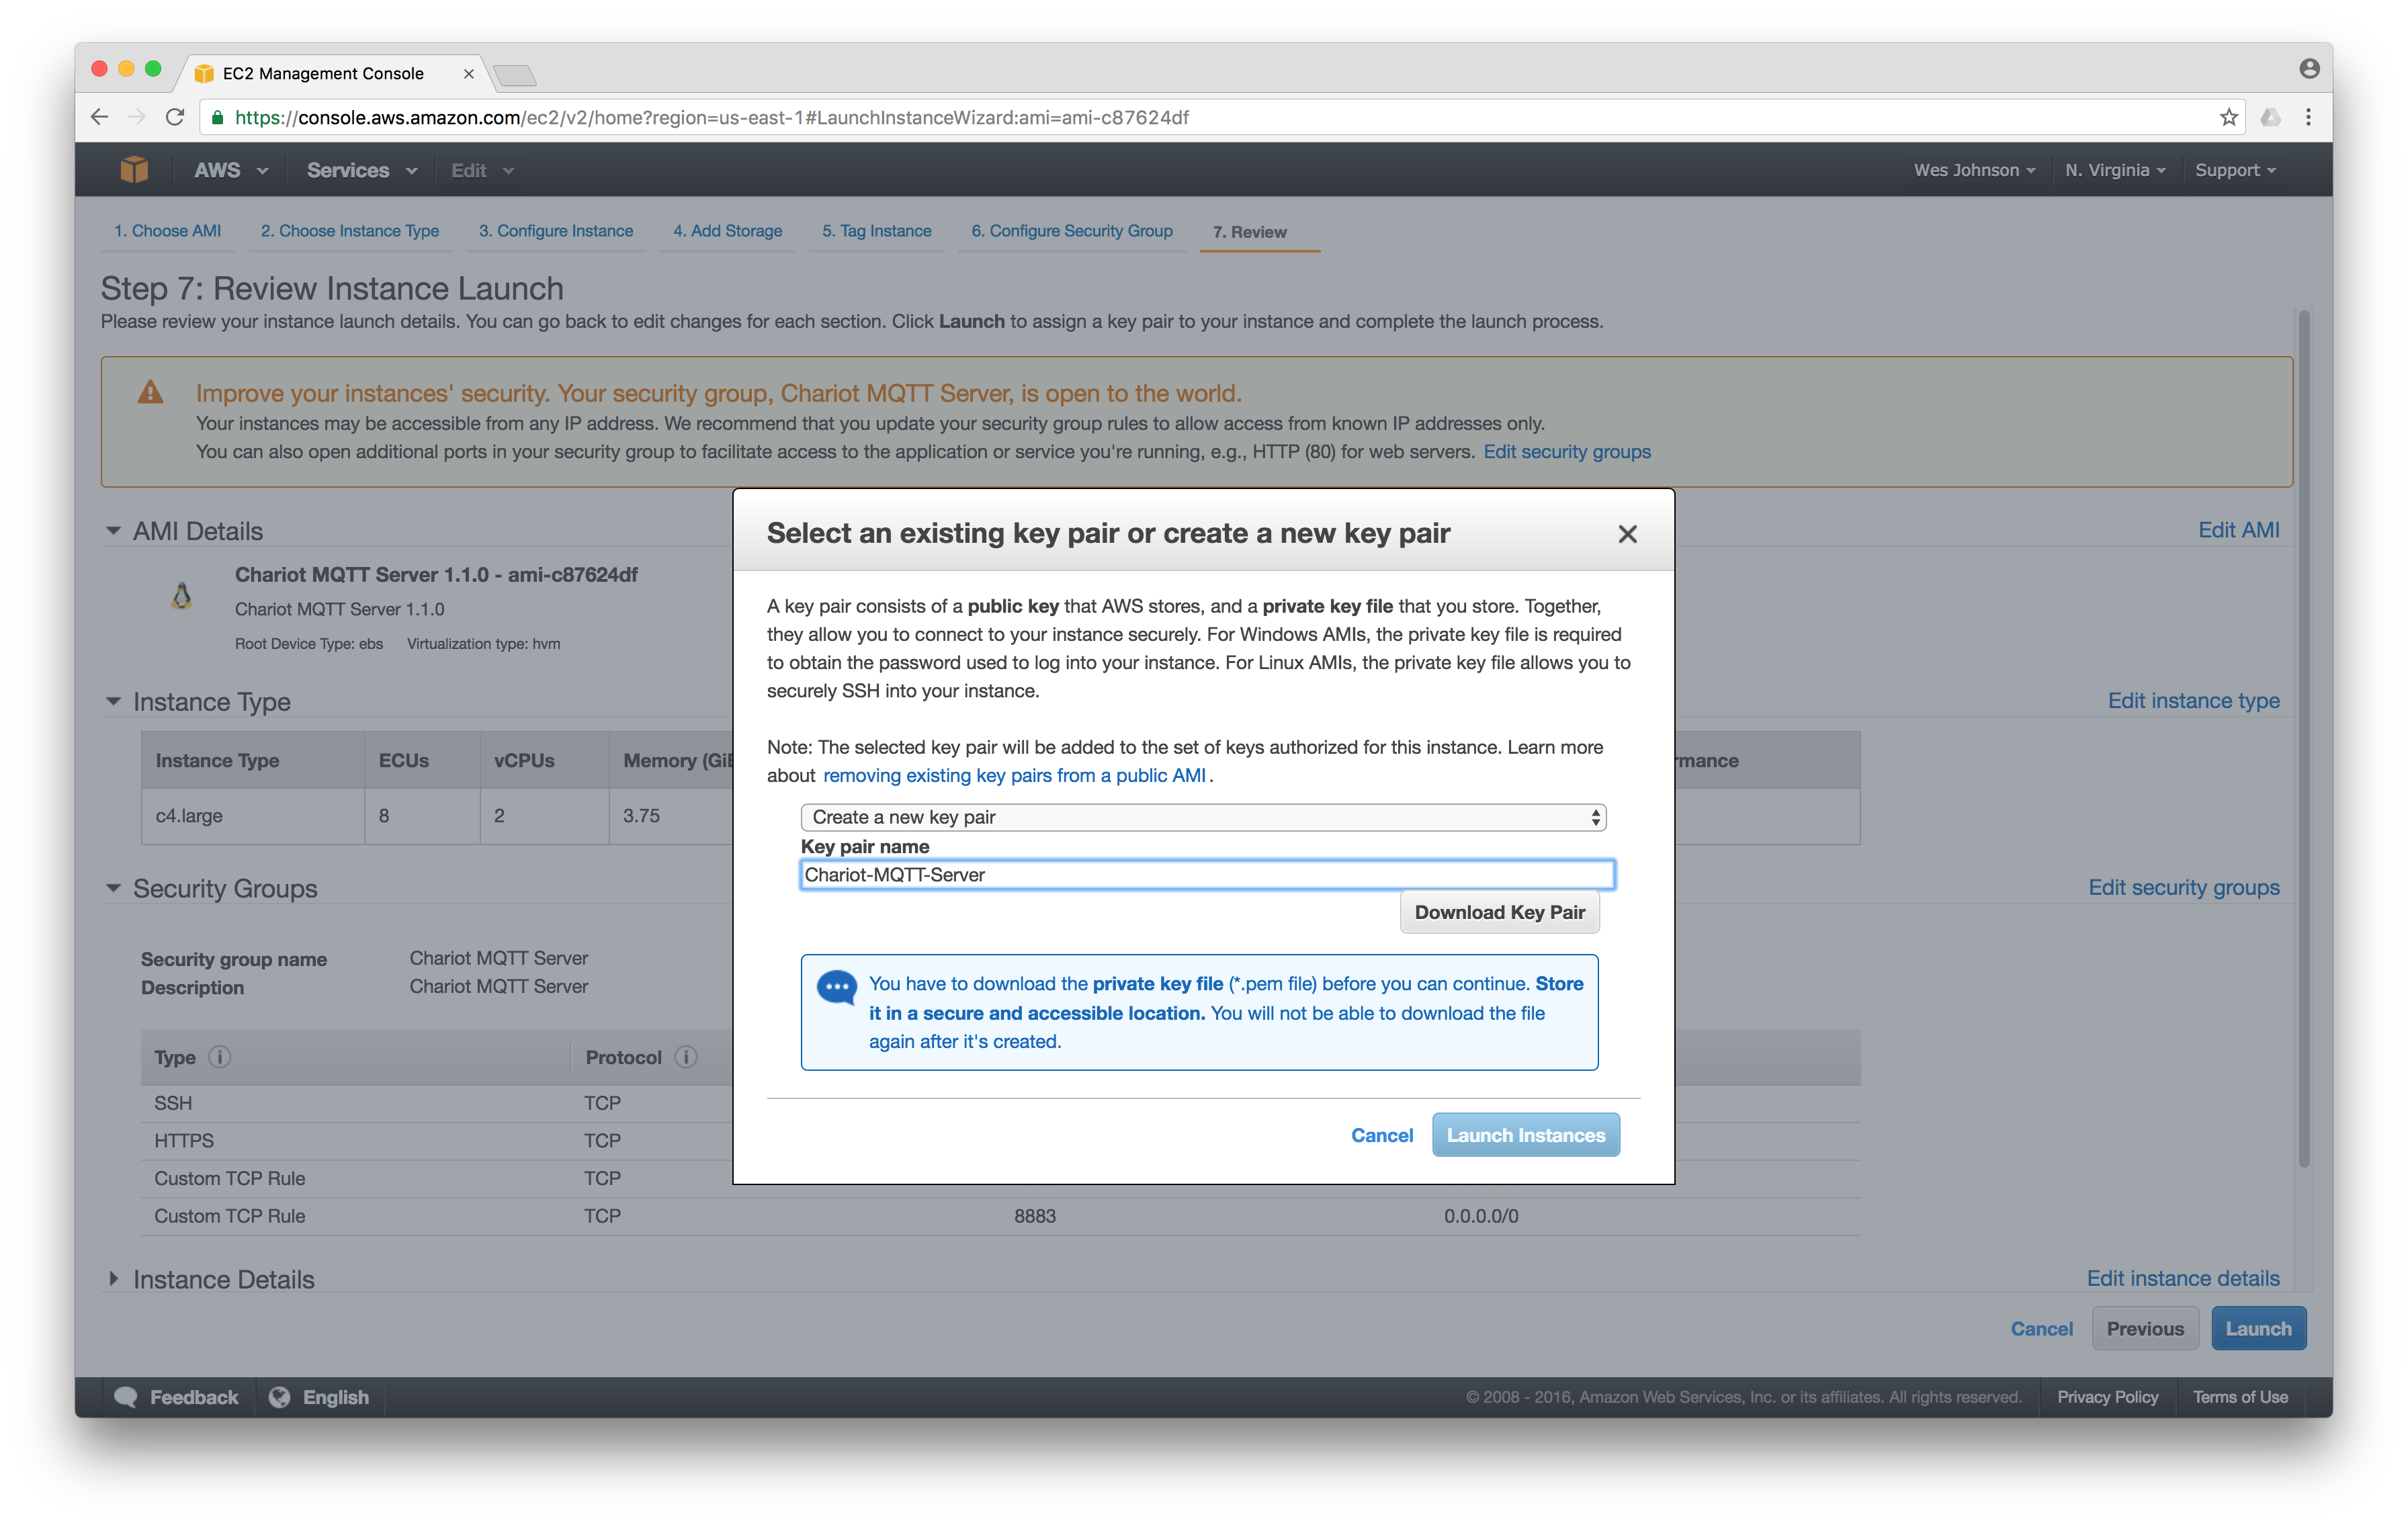
At this point, the instance will be created by Amazon AWS. Click 'View Instances' in the lower right of the screenshot below.

This will show the EC2 'Instances' screen and will show the newly created Chariot MQTT Server. It takes a few minutes for the instance to become fully ready. It will show Initializing under 'Instance State' and/or 'Status Checks' until it is fully initialized.
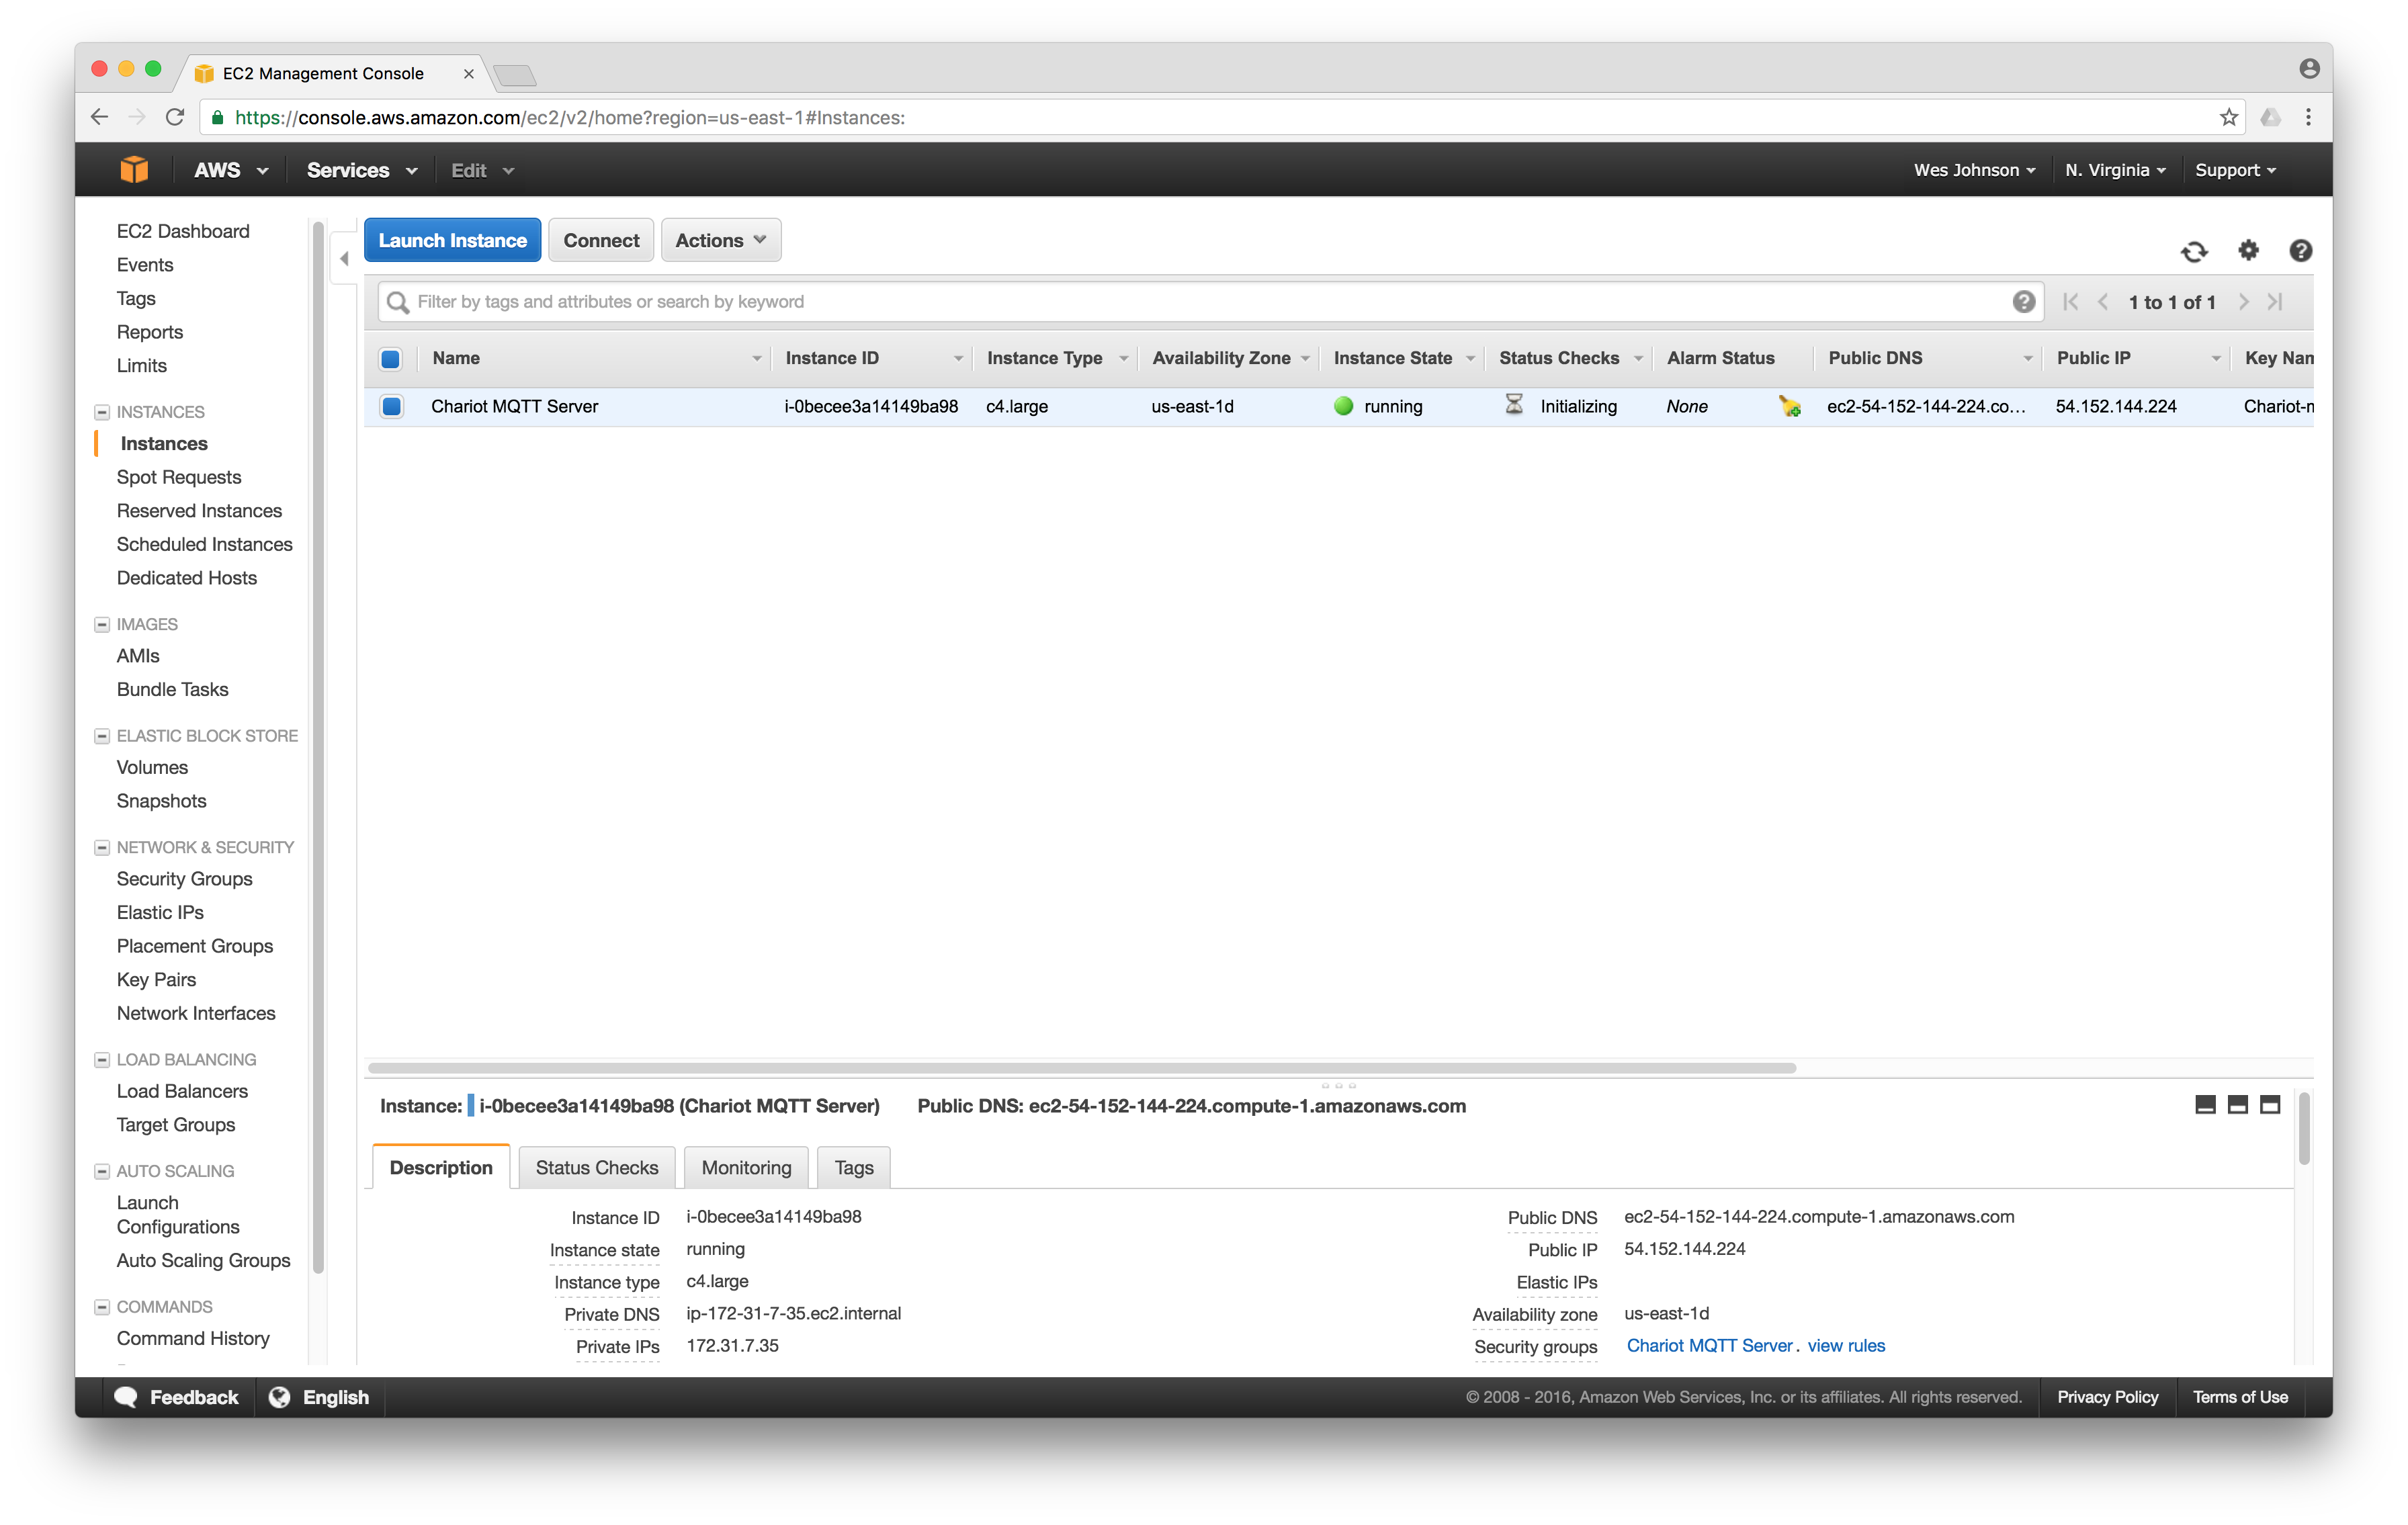
Once it shows 'running' under 'Instance State' and all 'Status Checks' are passed as shown below, it is ready to use. You will need to note the 'Public IP' address. In the screenshot example below, this is 54.152.144.224.

At this point, you are ready to log into Chariot MQTT Server. To log in, open https://[Public_IP_of_your_instance]. In this example, it is https://54.152.144.224. The login credentials are:
For usage instructions of the Chariot MQTT Server, visit this page.