...
- Installing Chariot MQTT Server into VirtualBox:
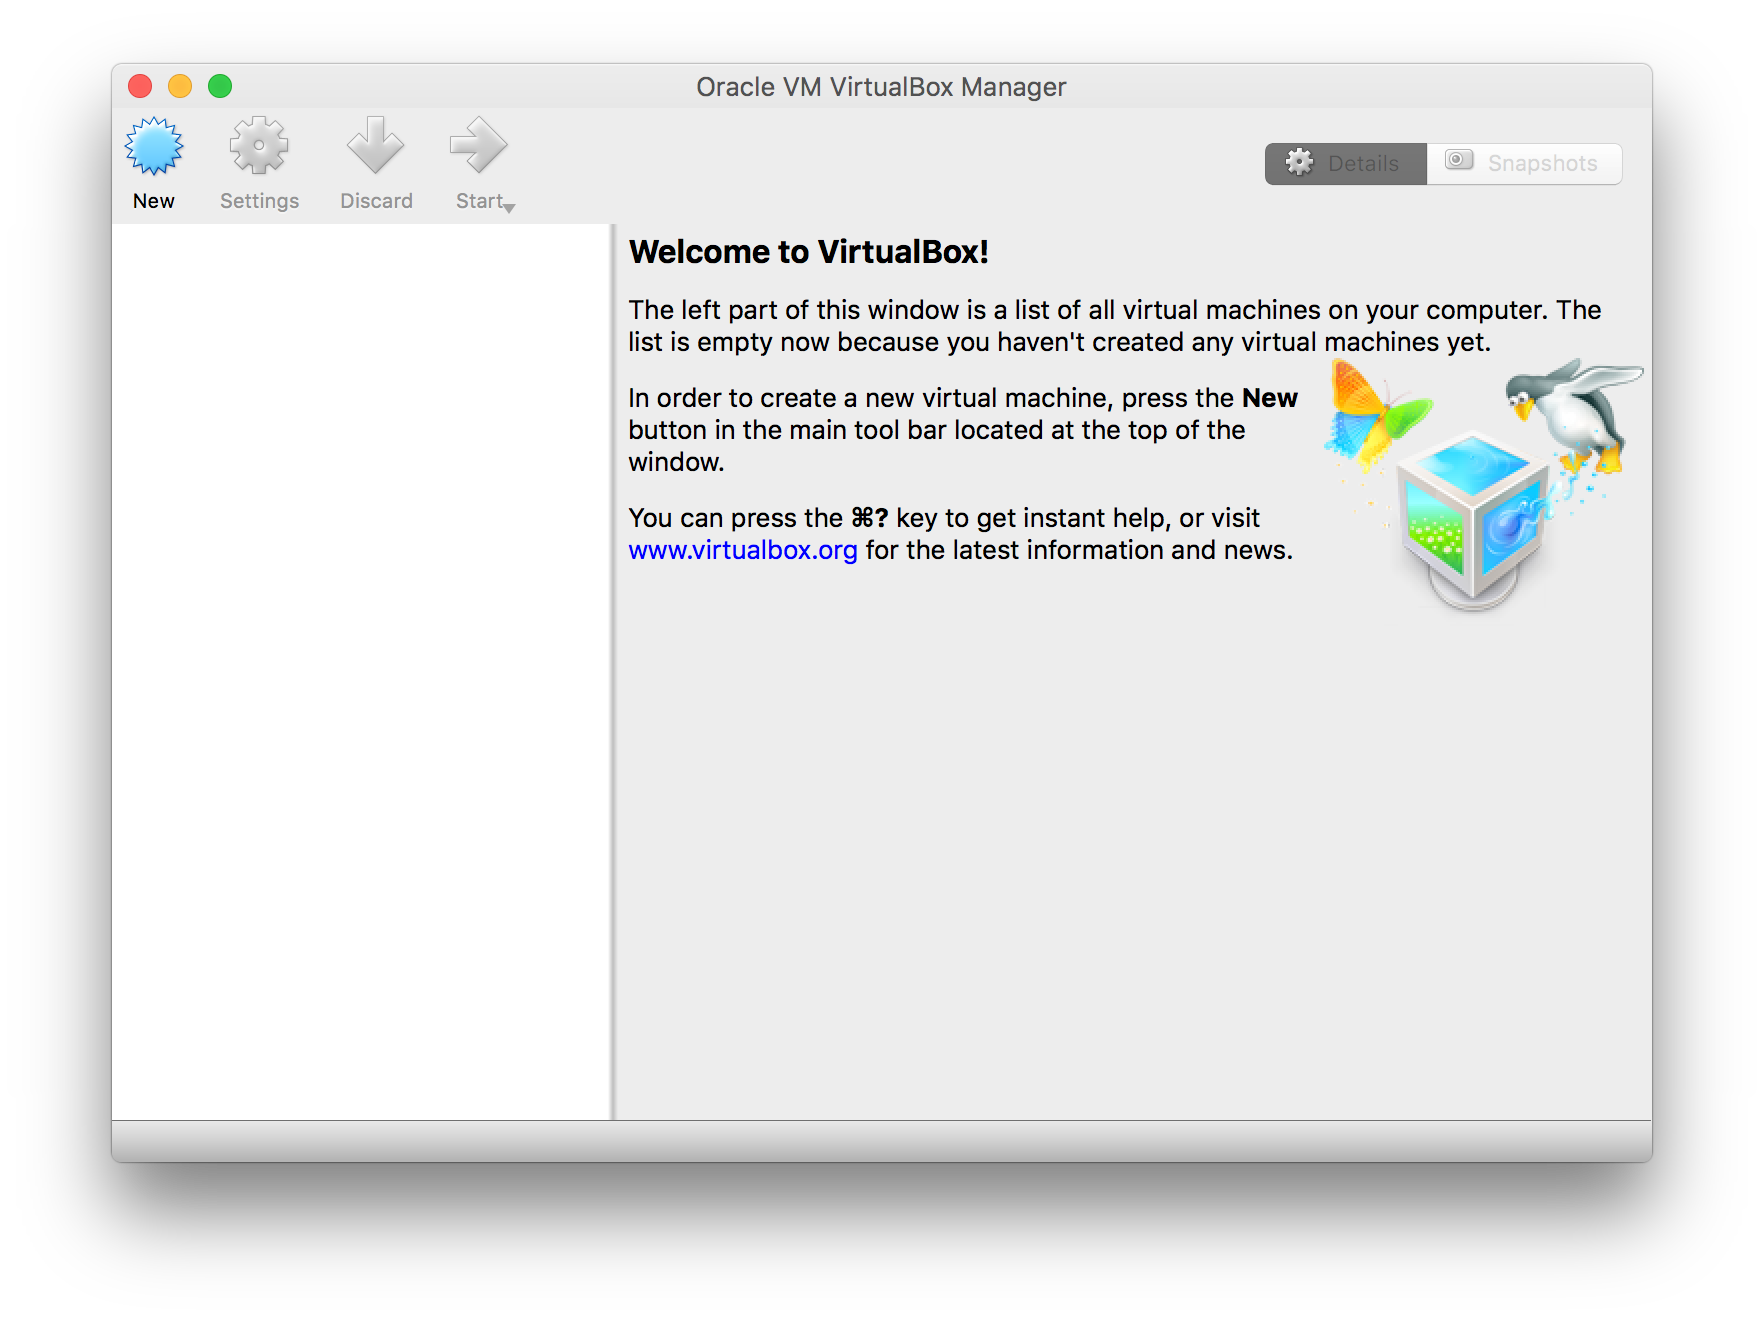
- First, open VirtualBox
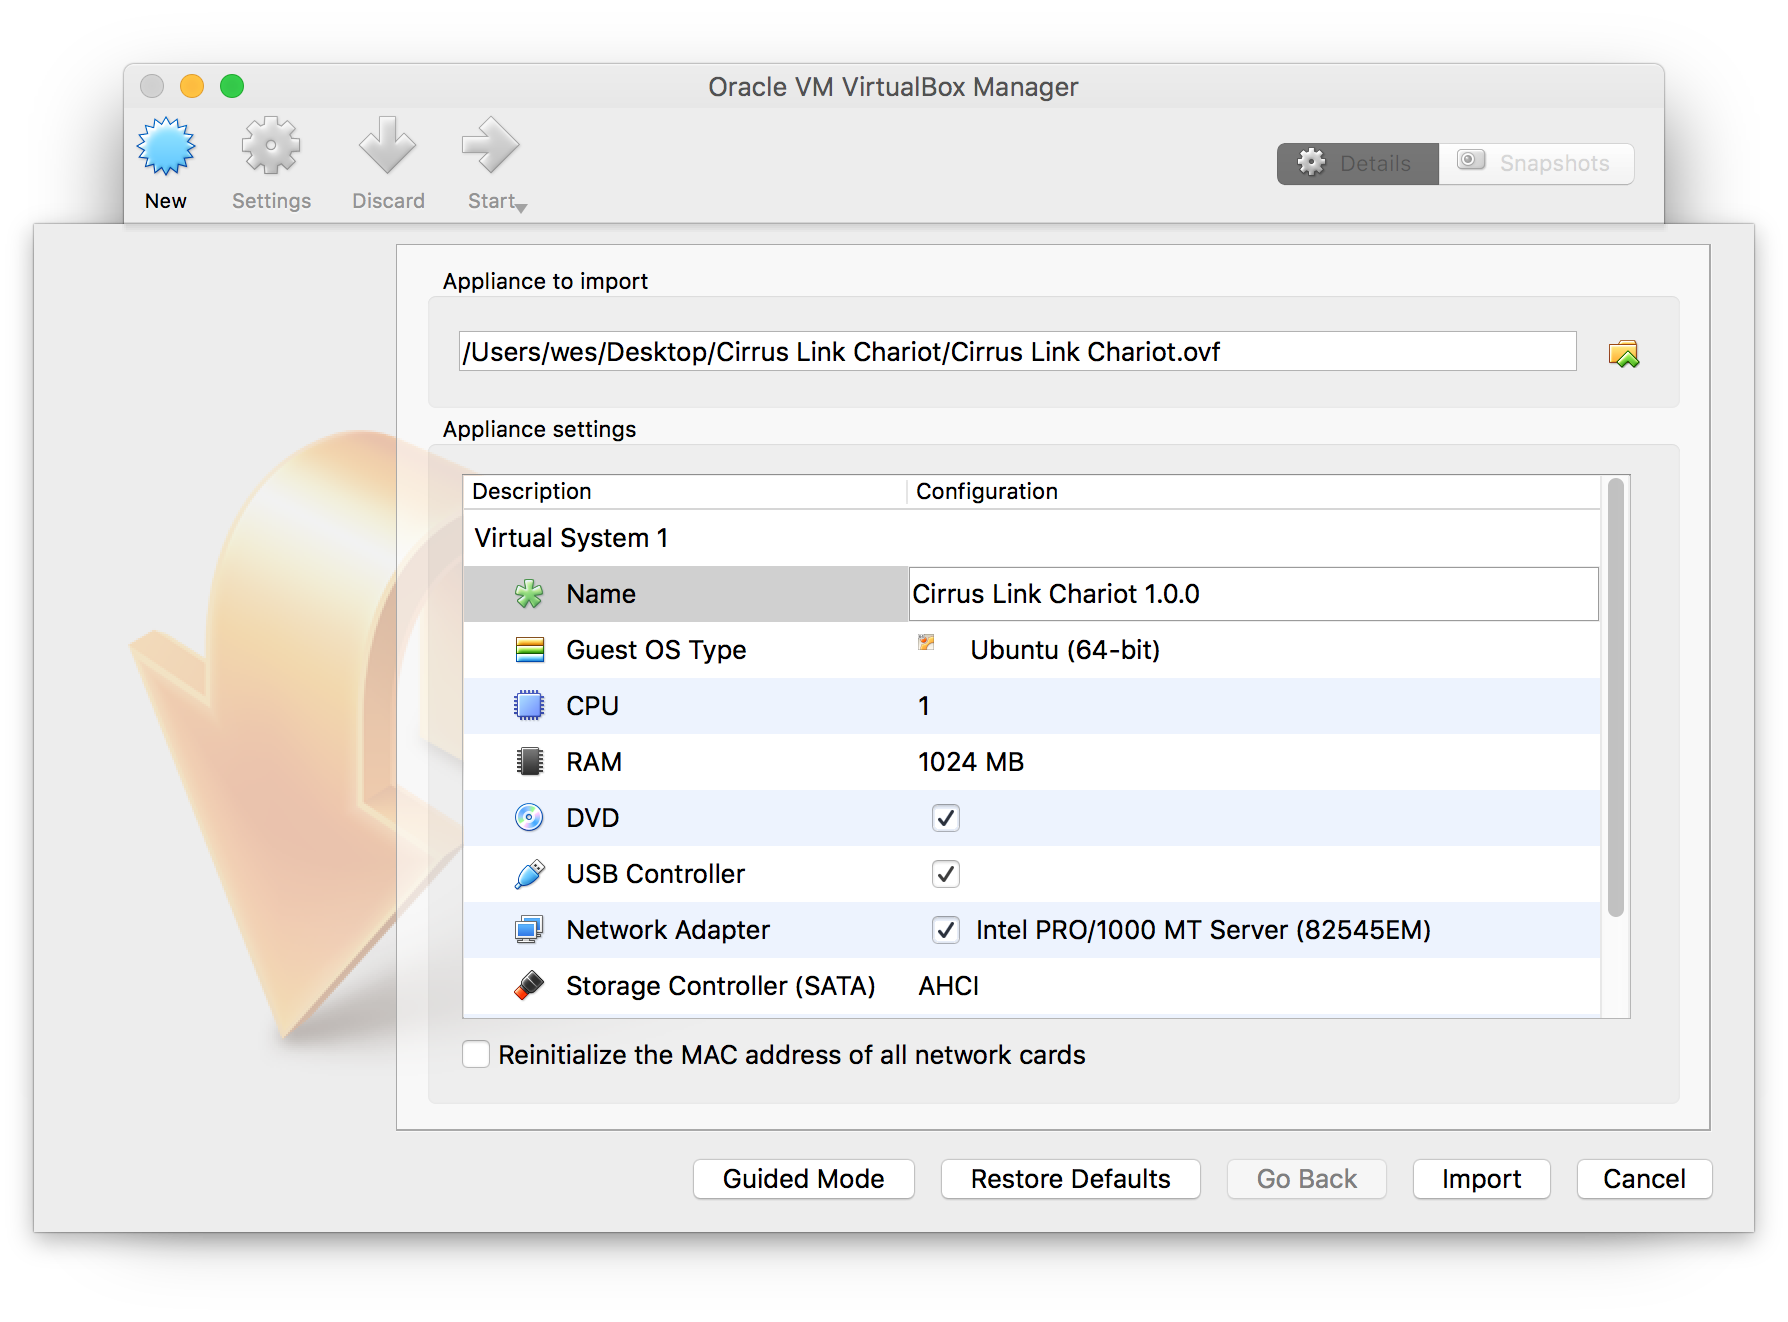
- Now, select 'Import Appliance...', browse to Cirrus Link Chariot_*.ovf (which came from Cirrus_Link_Chariot_1.0.0.zip) and select Open. This will show the following window:
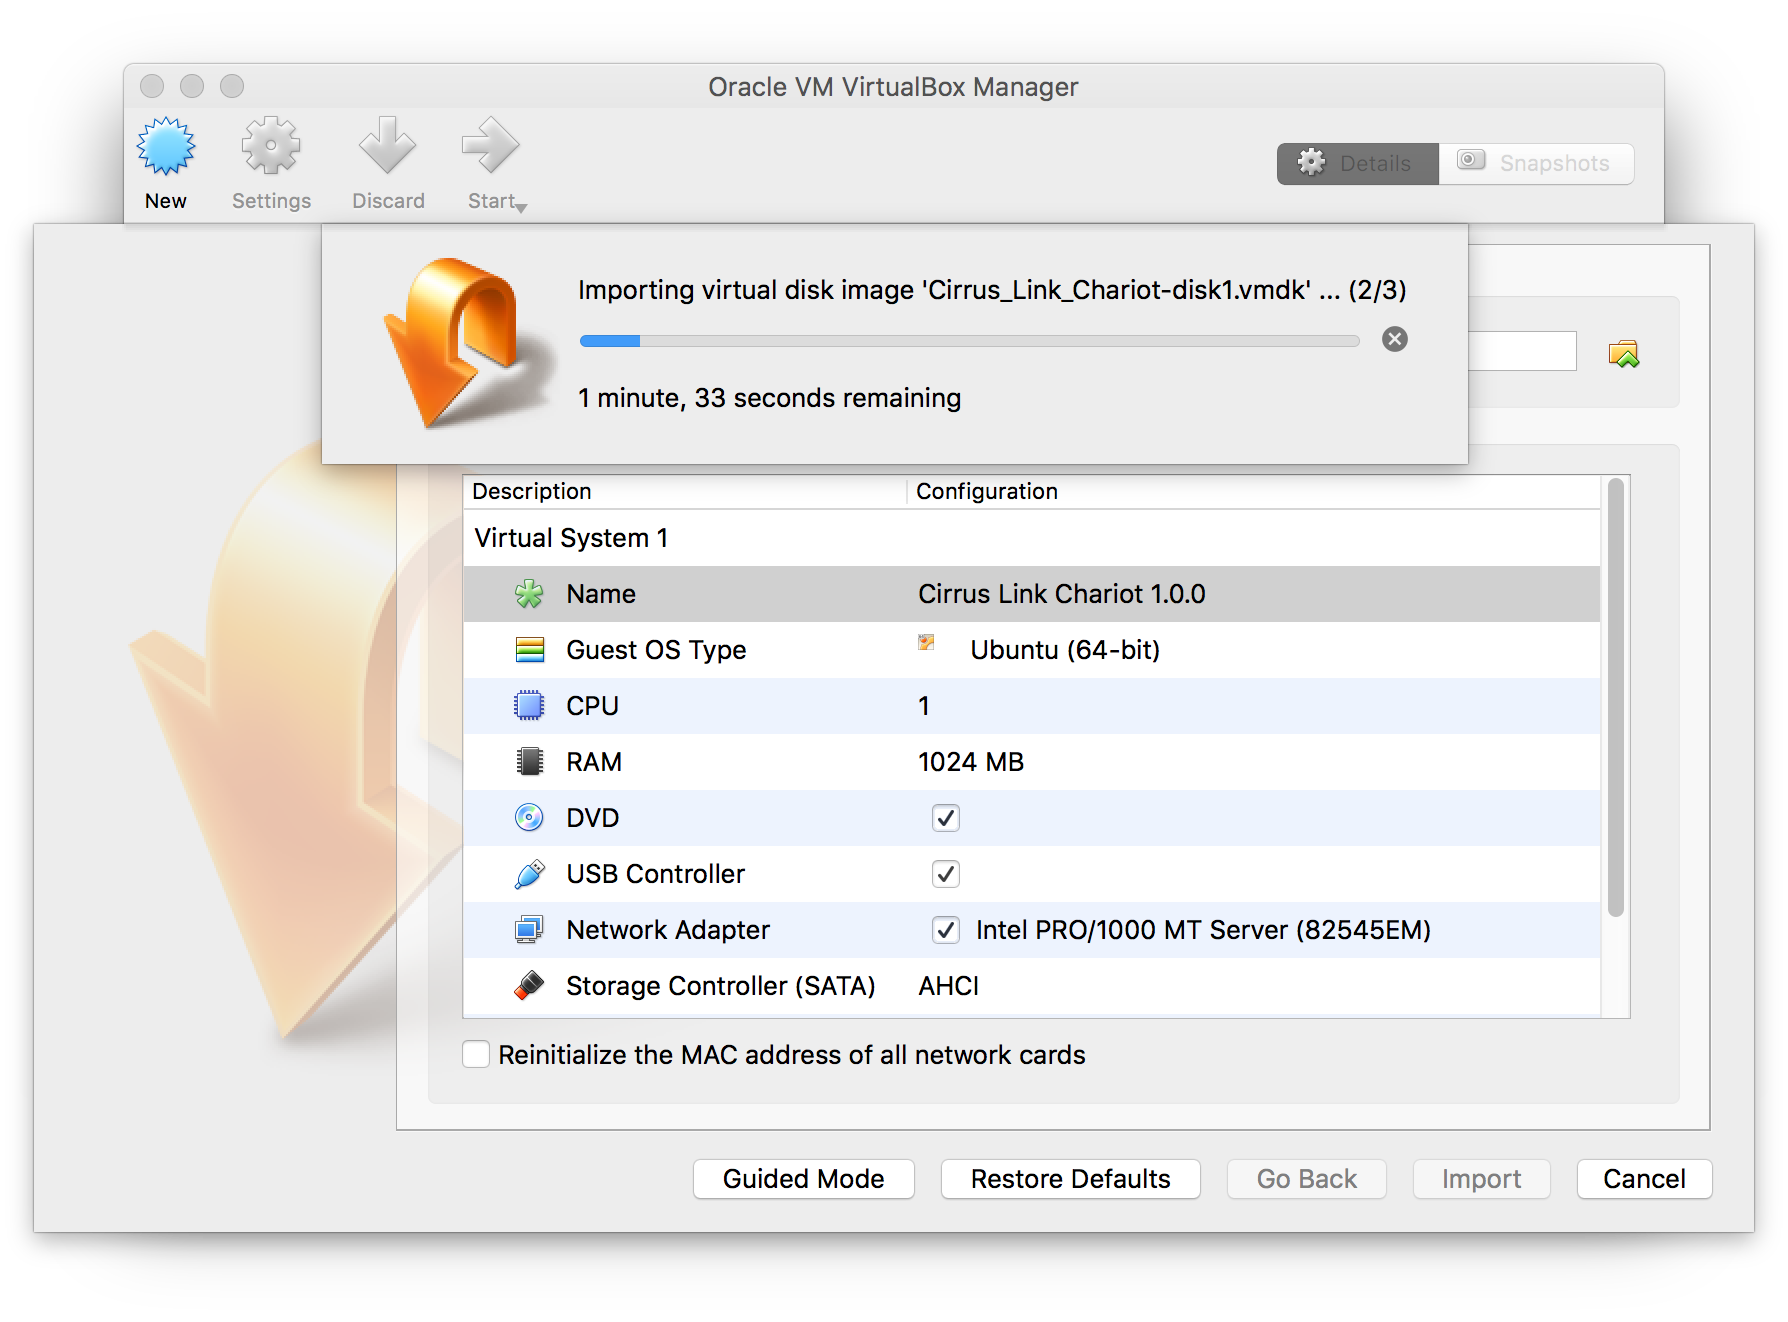
- Change the Name to 'Cirrus Link Chariot' and select 'Import'. The VM will take a few minutes to import depending on your computer.
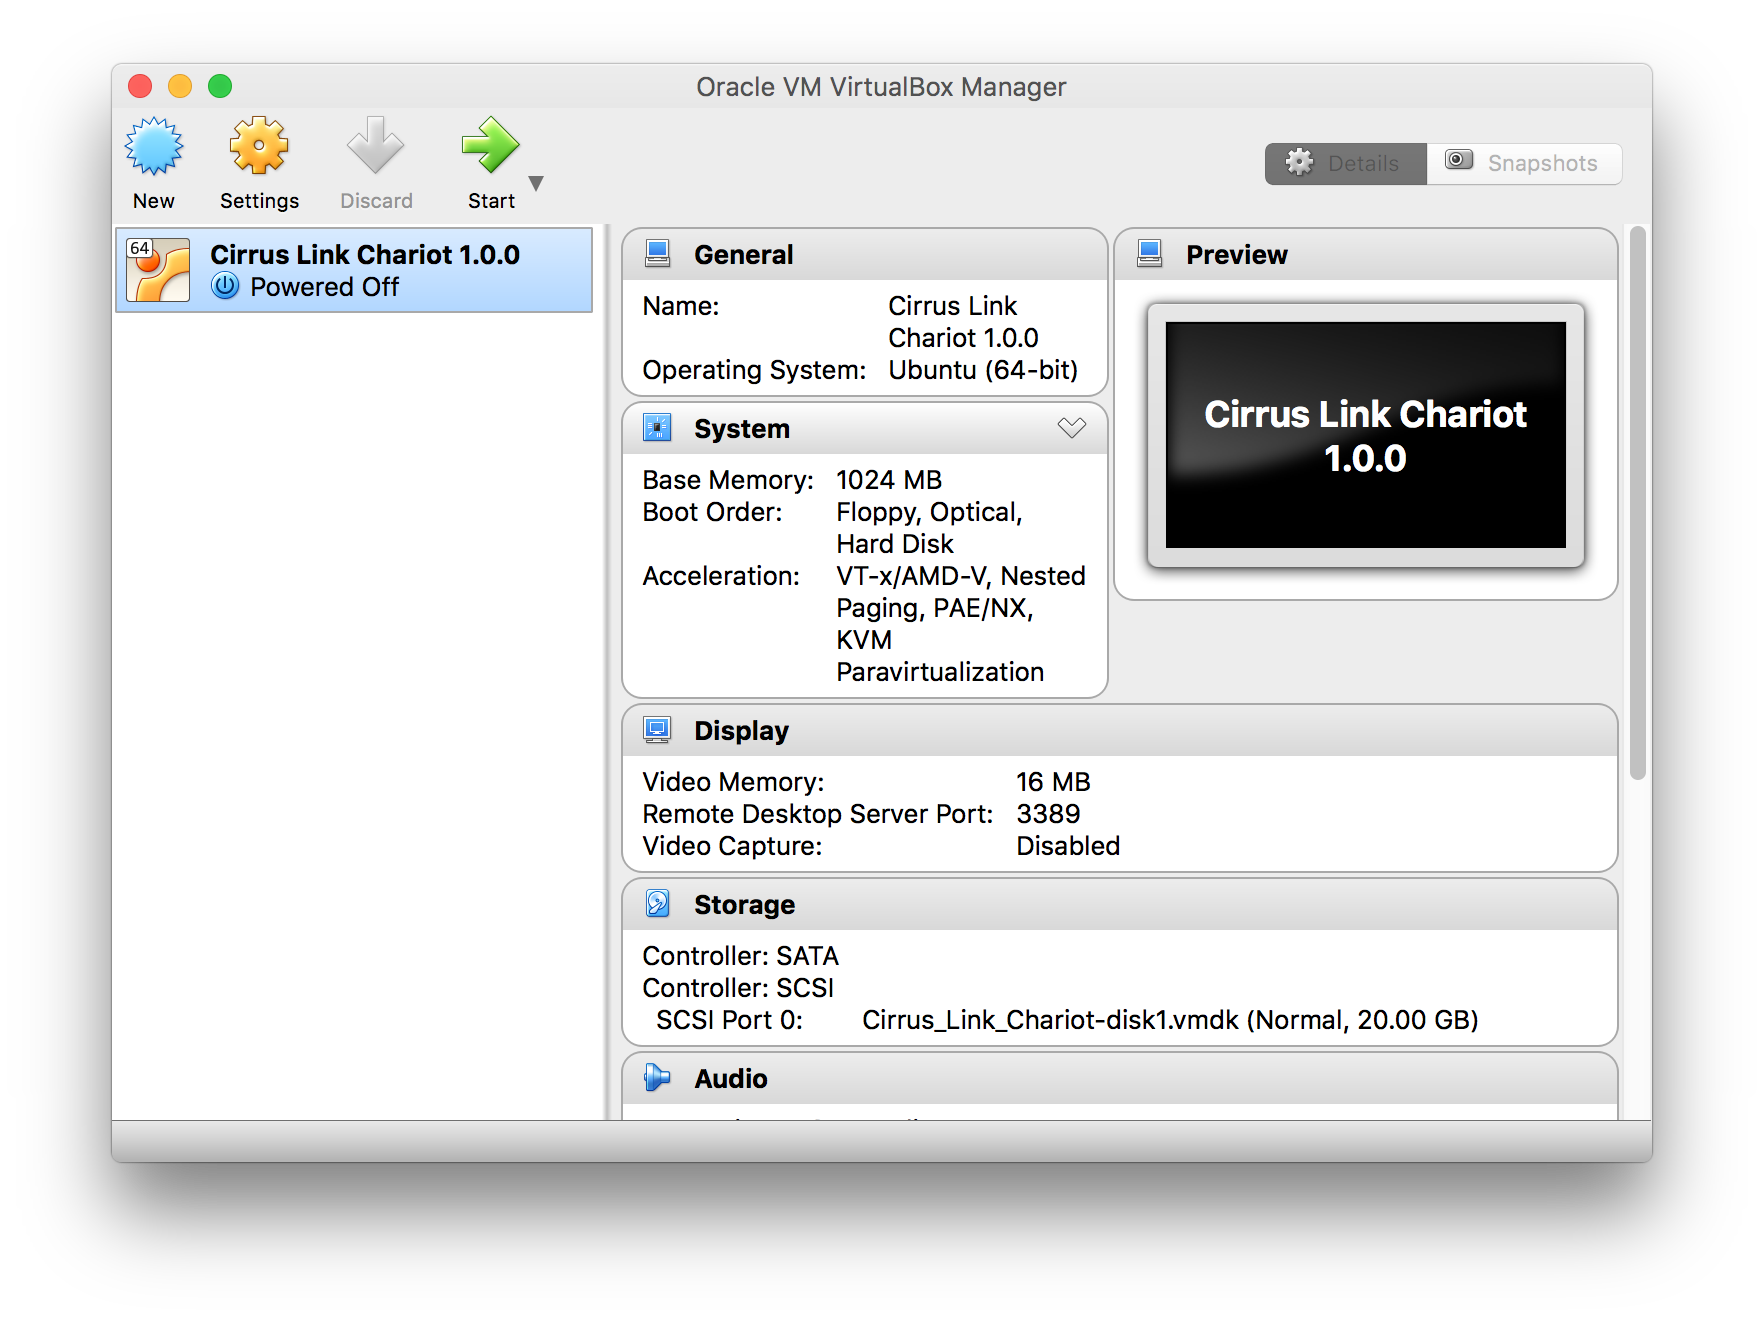
- When this is complete, you will see the new VM in the list as shown below.
- Simply click the Start button to start the VM. You may get an error mentioning the lack of a configured sound card. You can ignore this. You may also get some messages talking about keyboard capture and mouse pointer integration as shown below. These can also be ignored. Once you see the following, the Chariot MQTT Server is up and running.
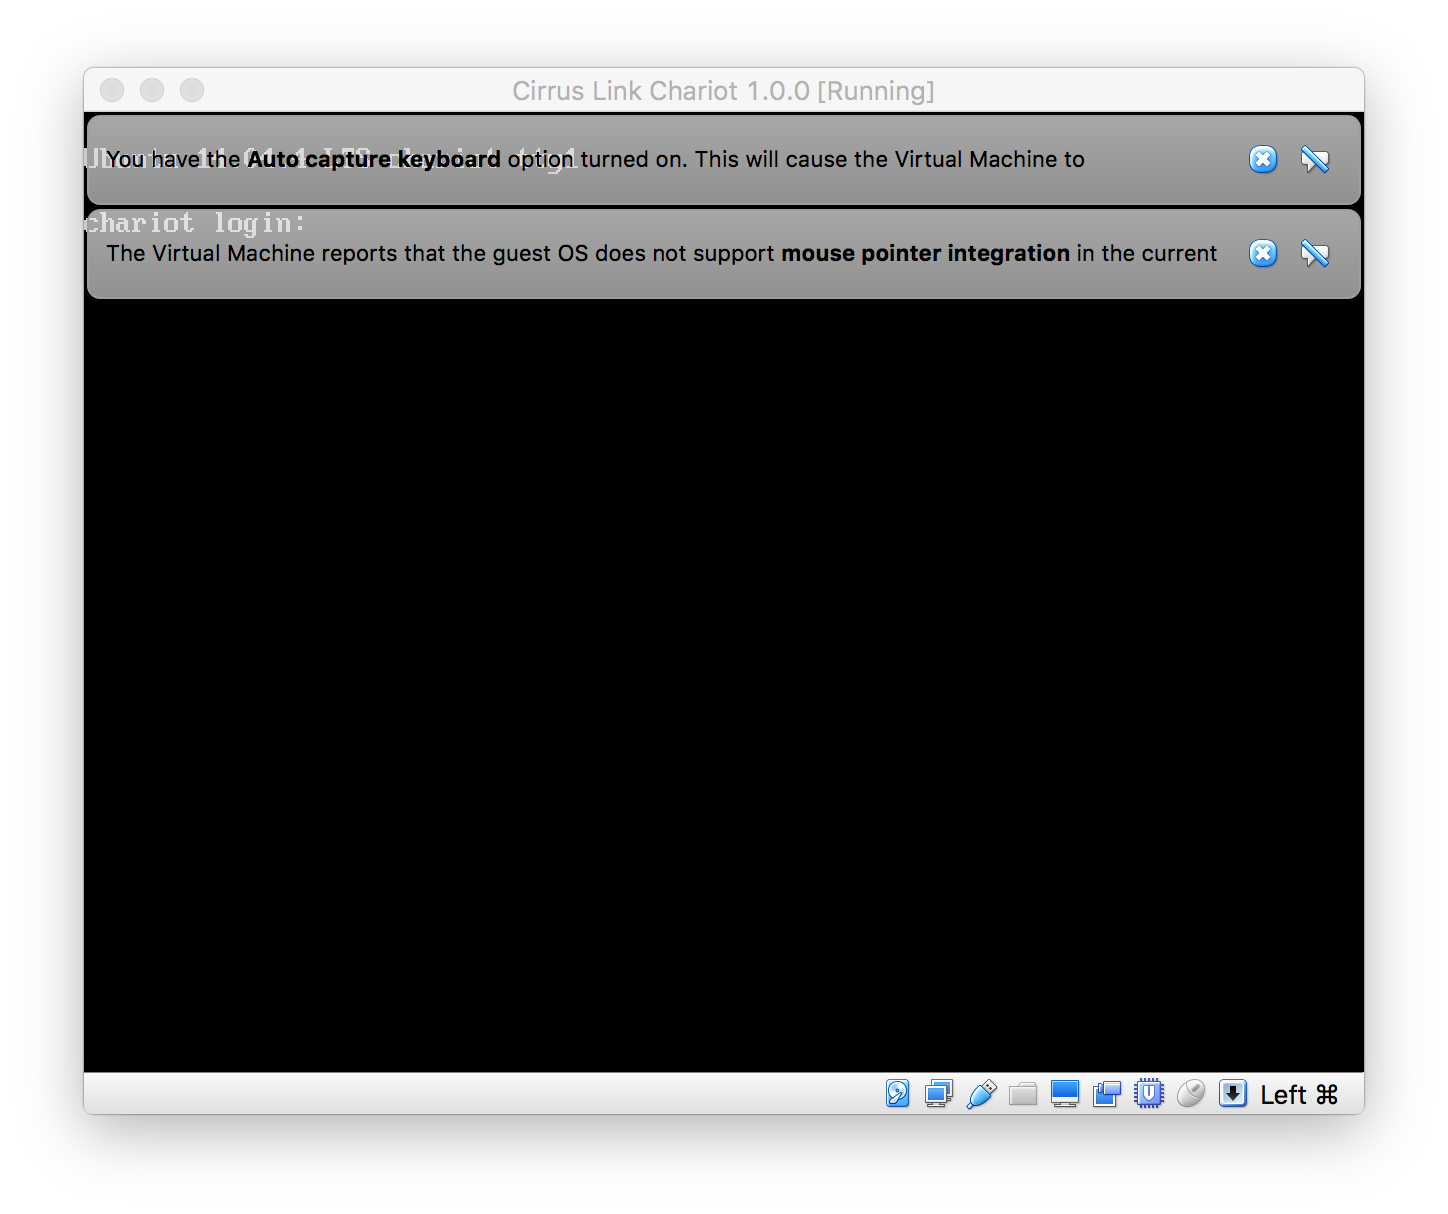 Image Removed
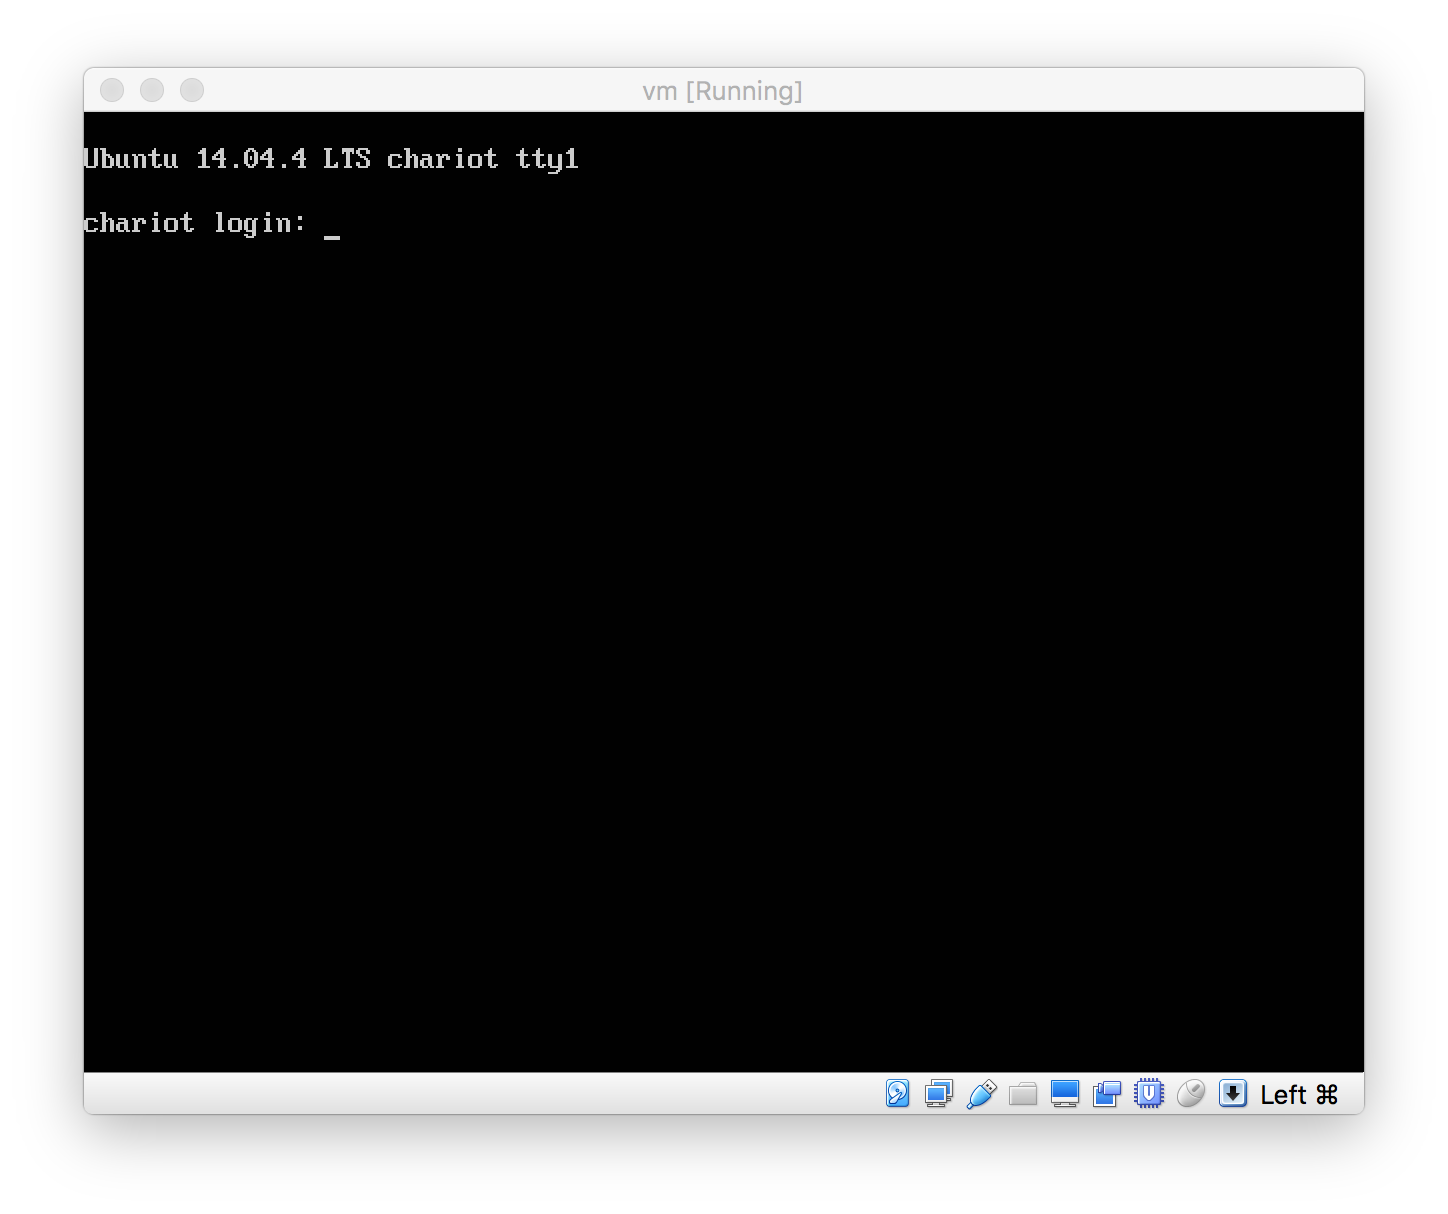 Image Added
- Installing Chariot MQTT Server into VMWare Fusion:
- First, open VMWare Fusion and select 'Import...'
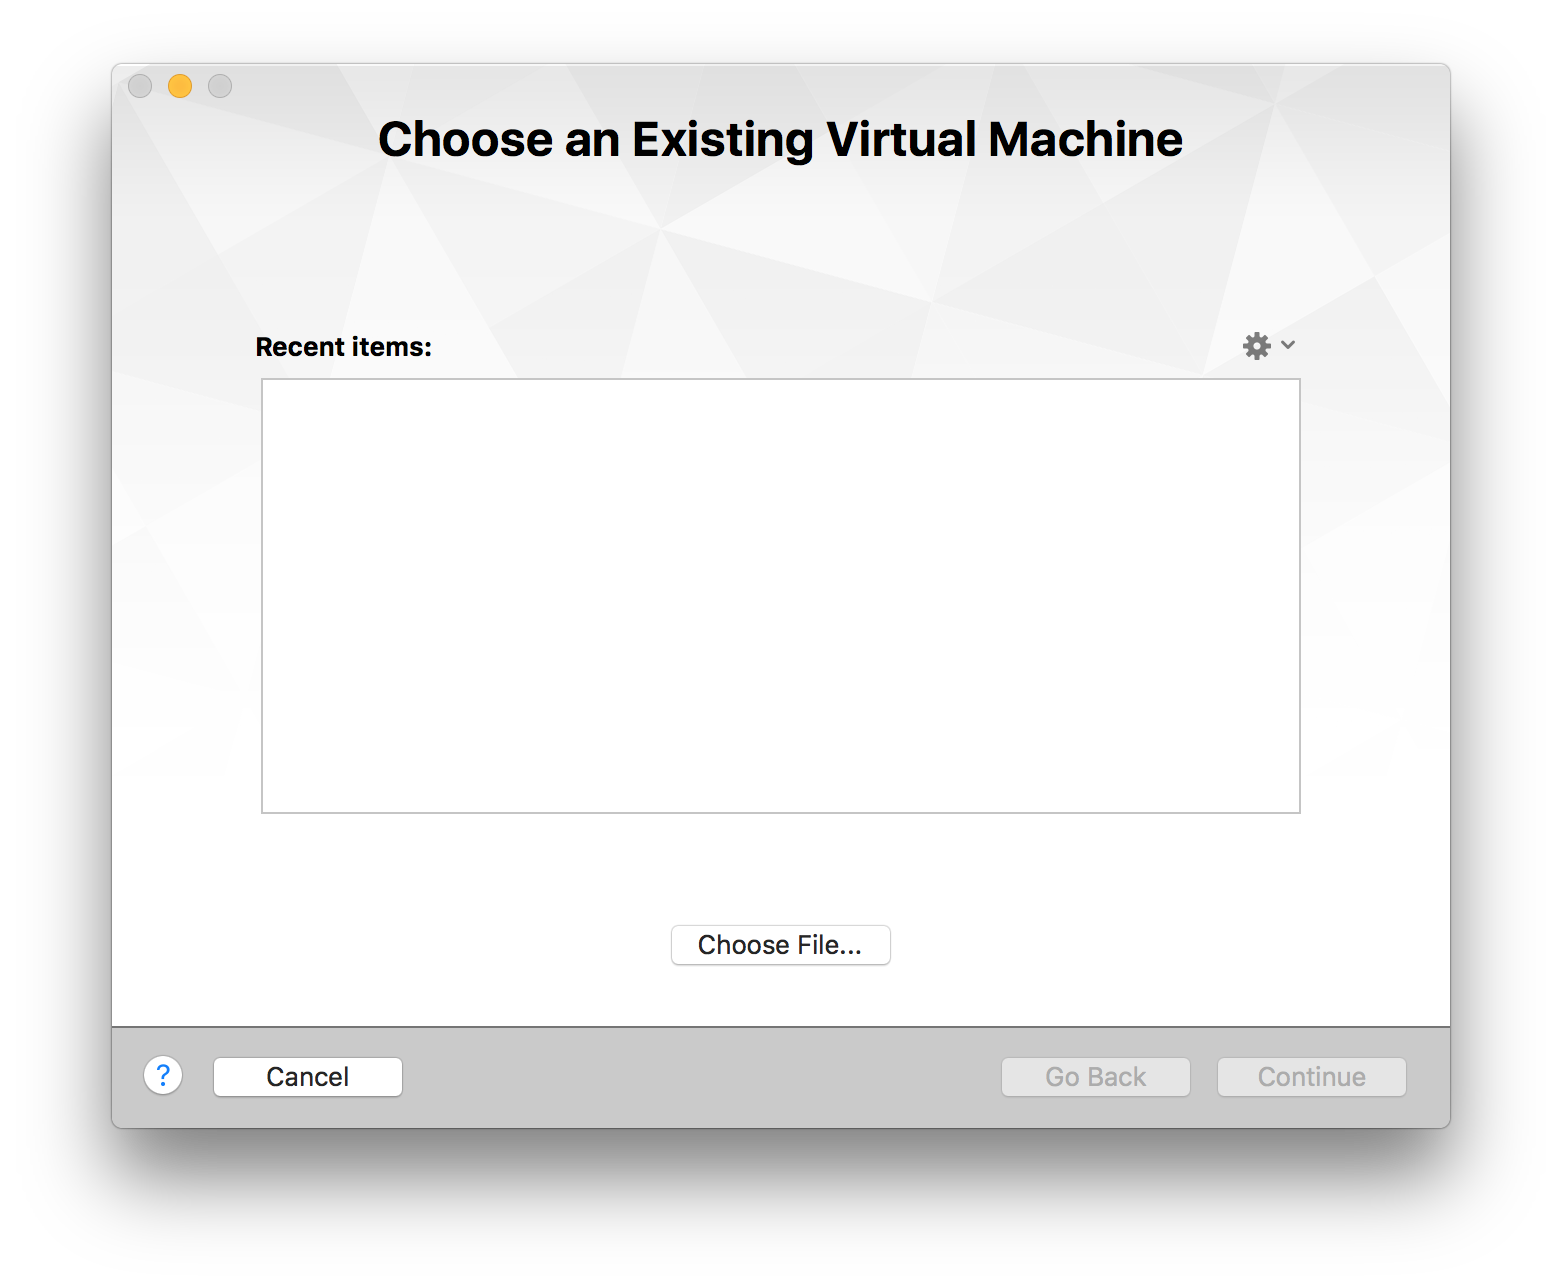
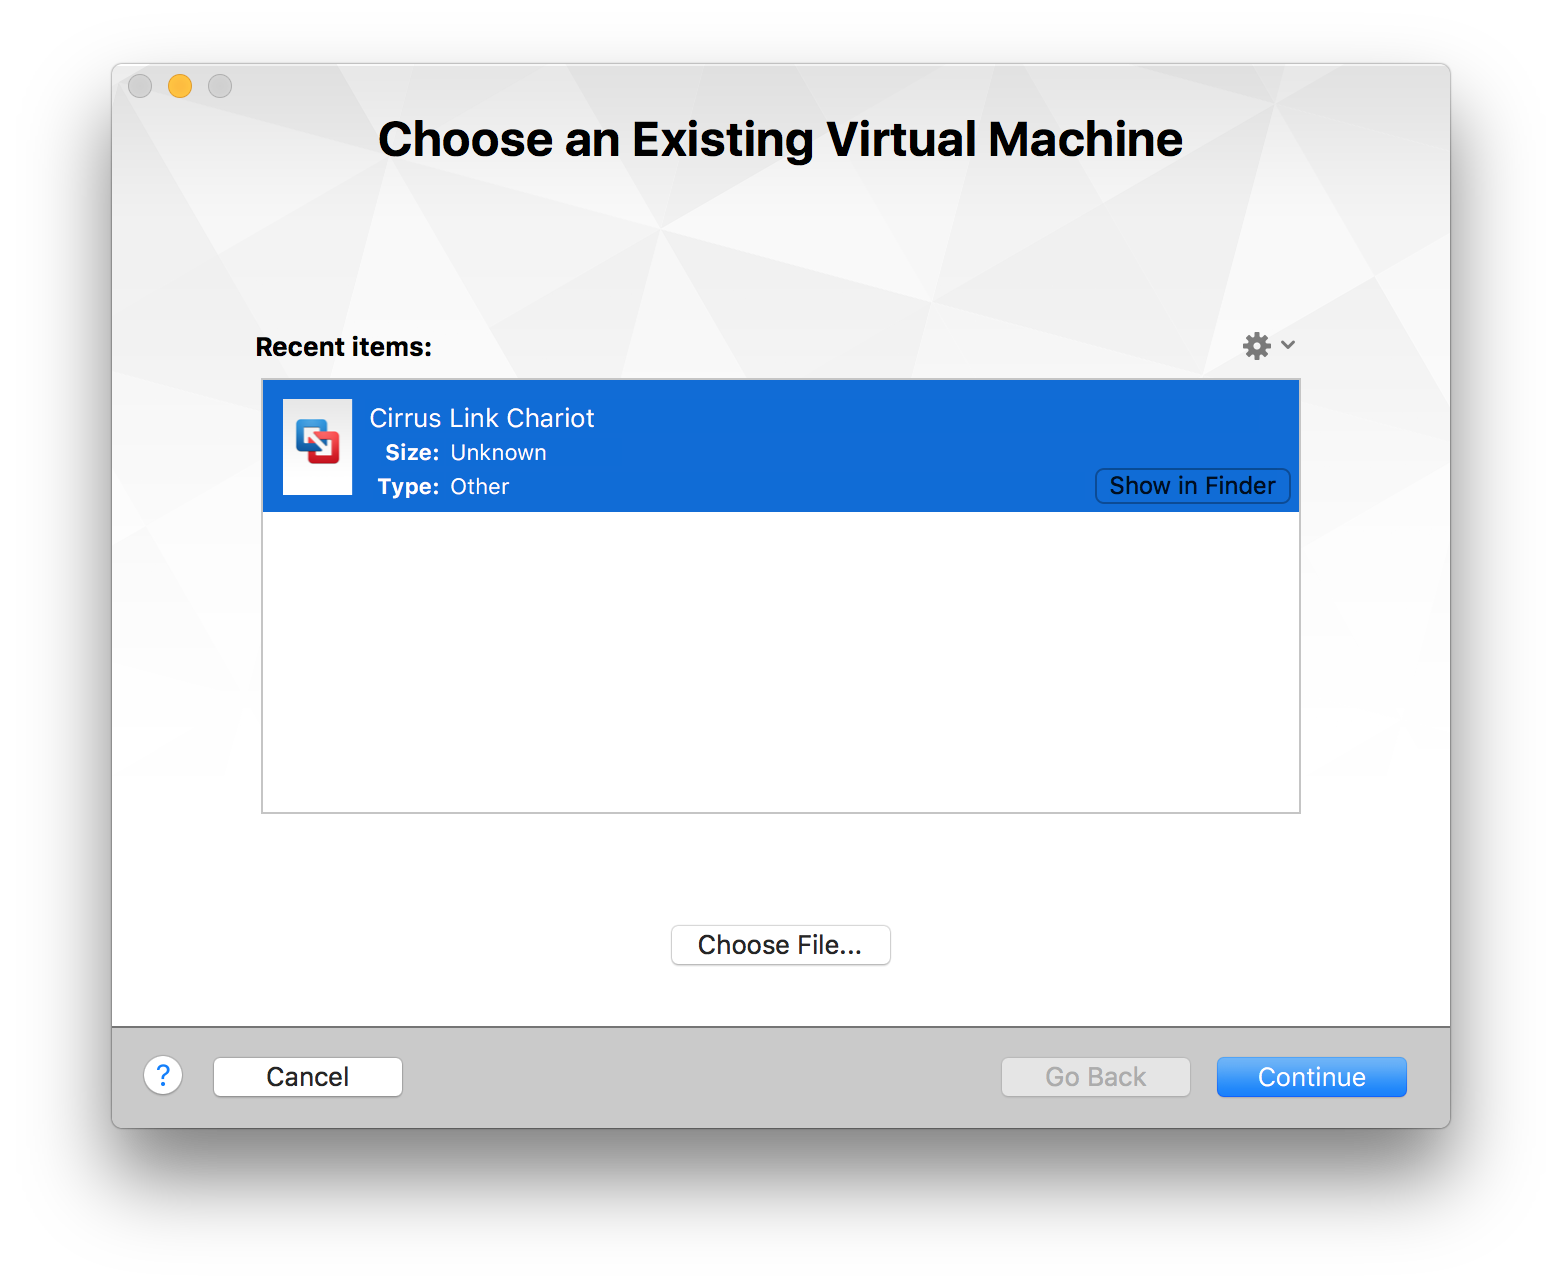
- Select 'Choose File...' and browse to Cirrus Link Chariot_*.ovf (which came from Cirrus_Link_Chariot_1.0.0.zip) and select Open. This will show the following window.
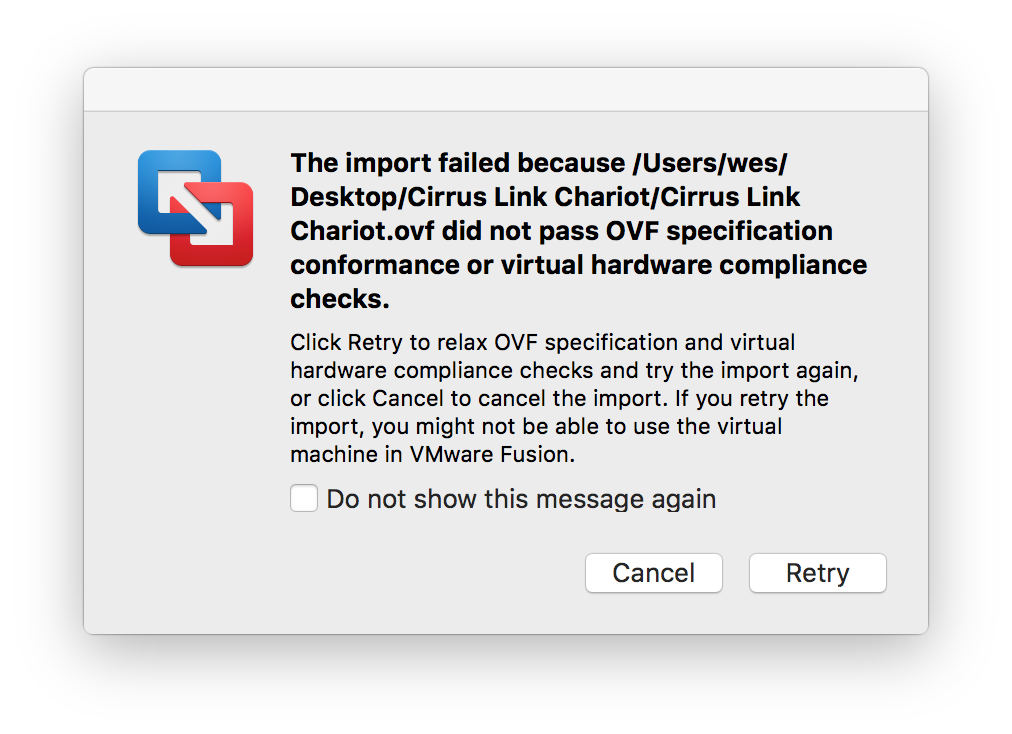
- Click 'Continue' and then click save to save the new Virtual Machine to your disk. At this point, you may get the following error. If so, simply click 'Retry'.
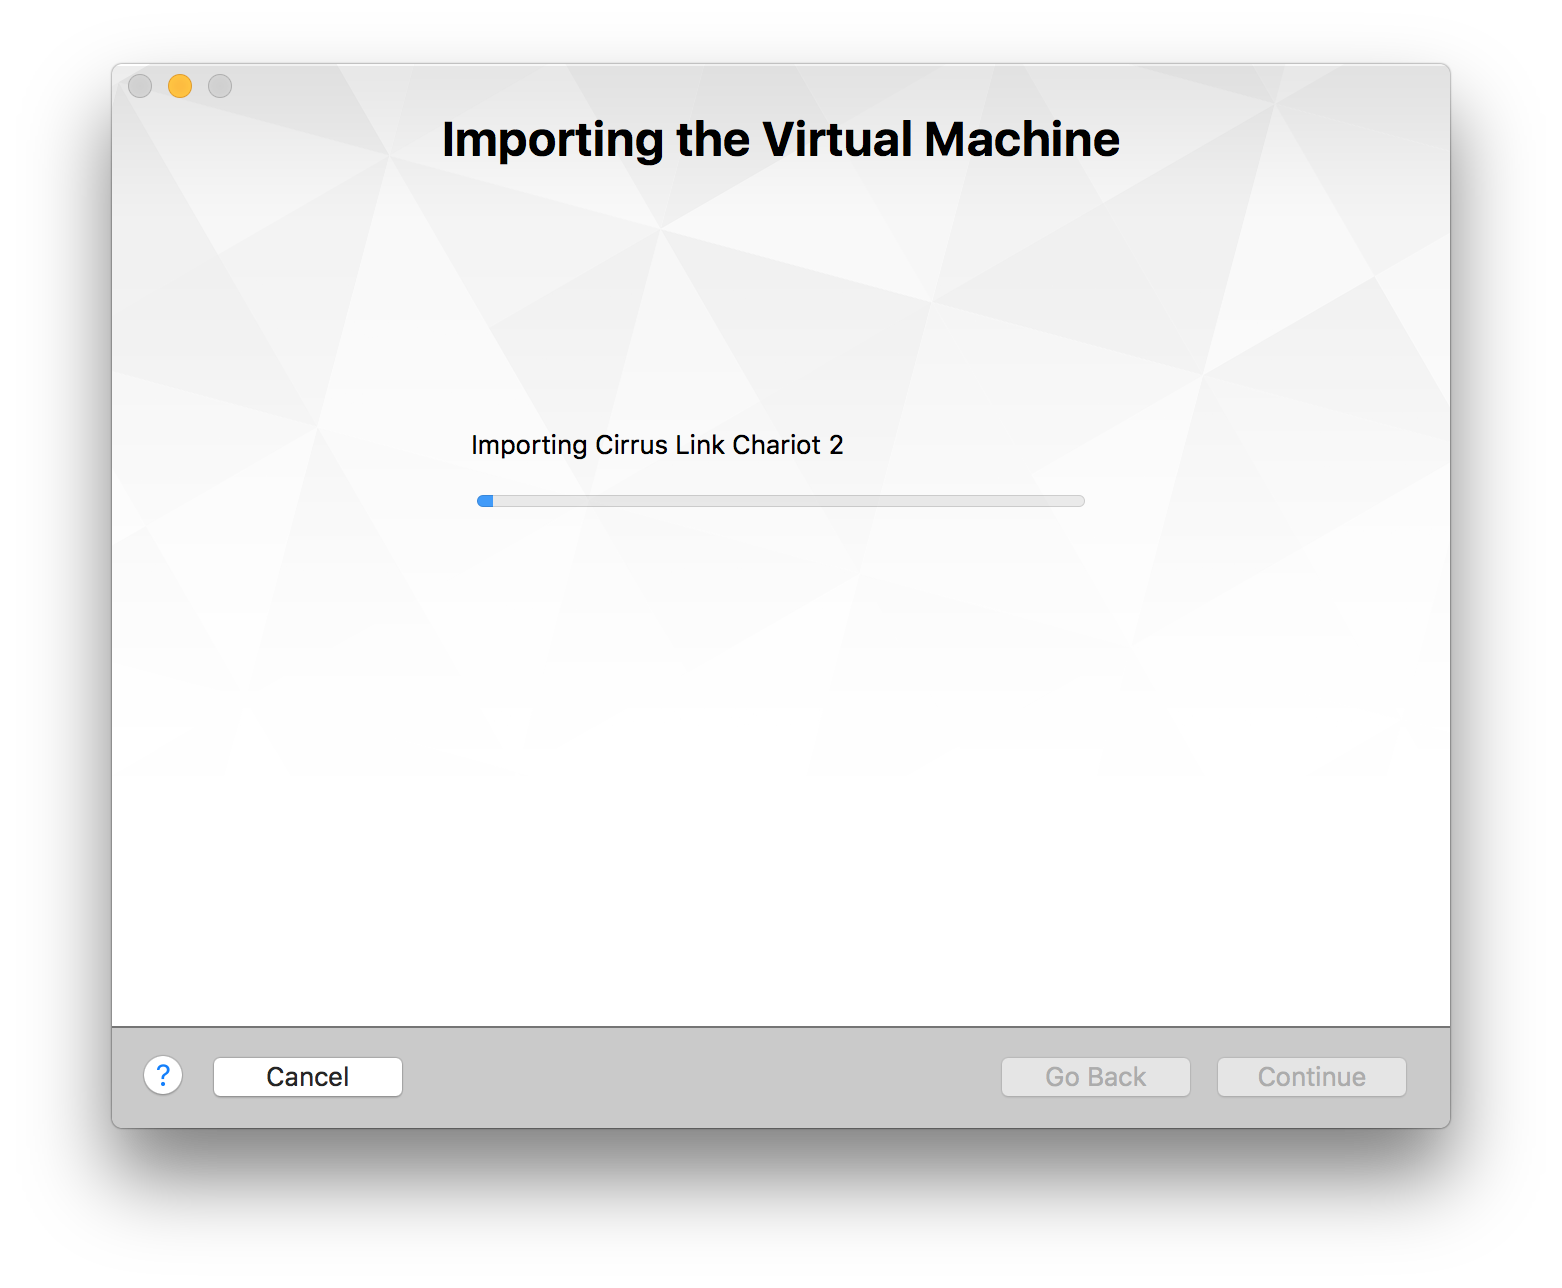
- At this point, the Chariot MQTT Server VM will be imported into your computer. This will take a very minutes.
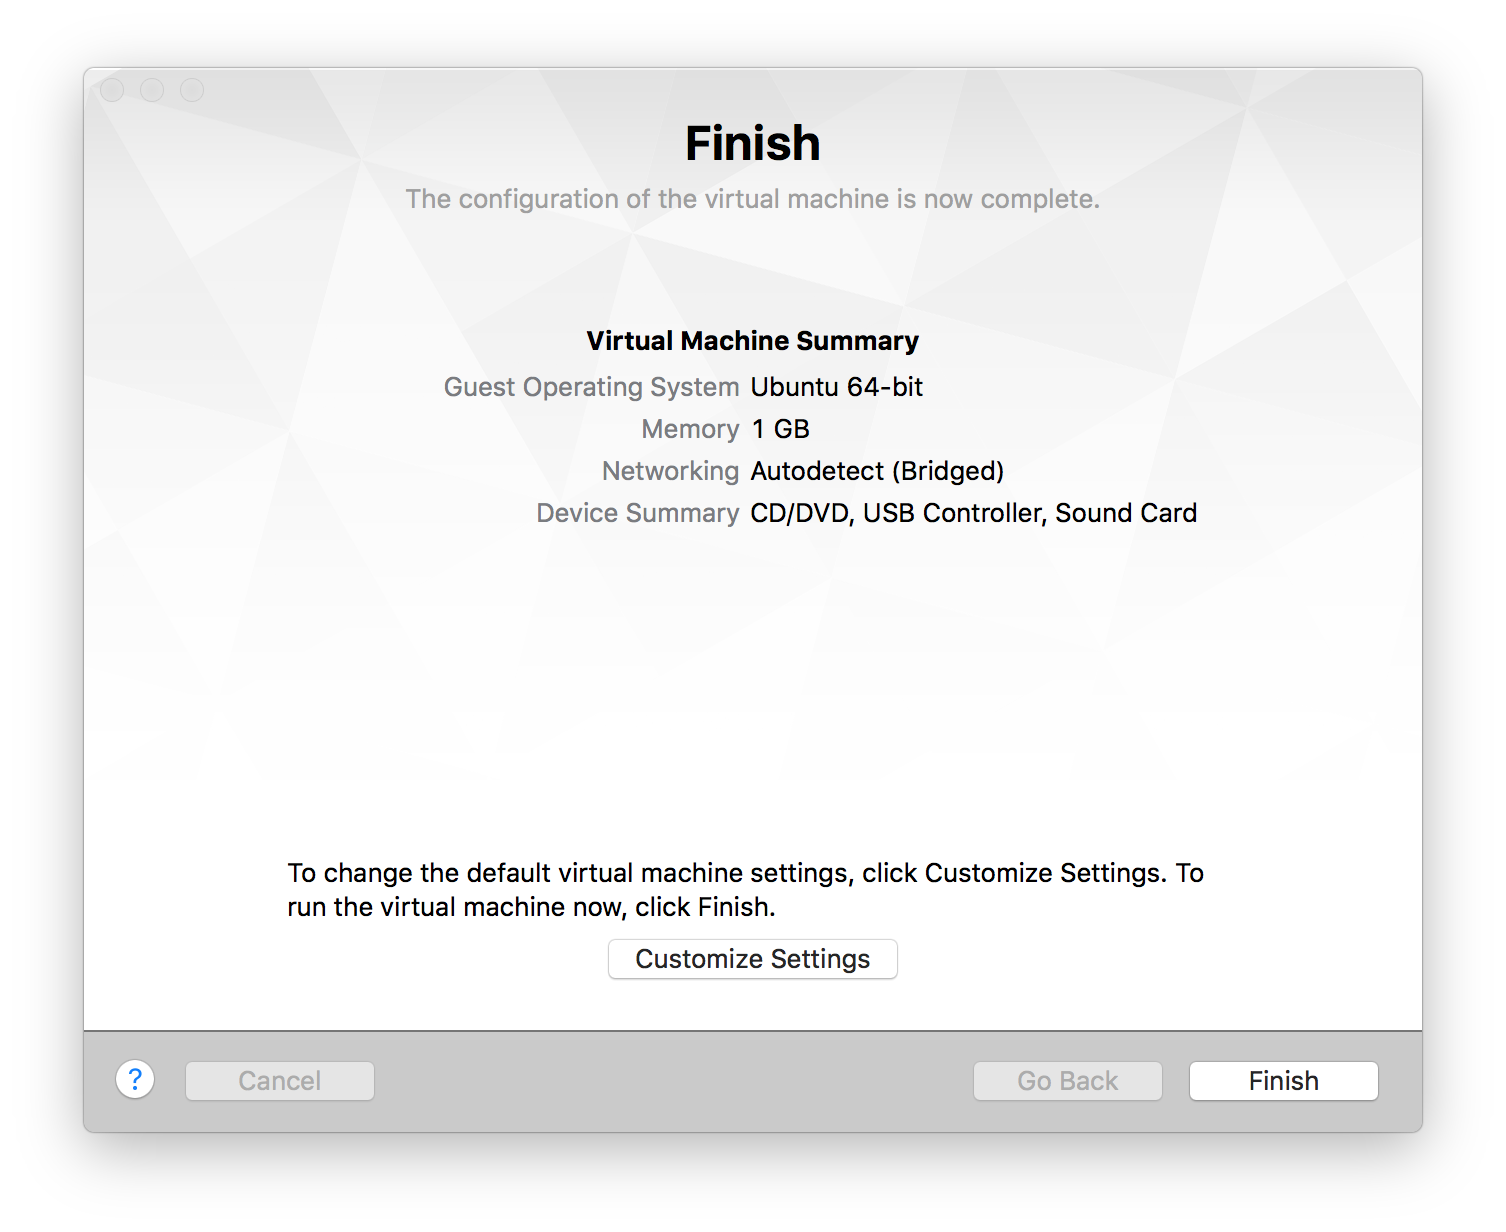
- Once imported, you will something similar to the following. Click Finish to finalize the import.
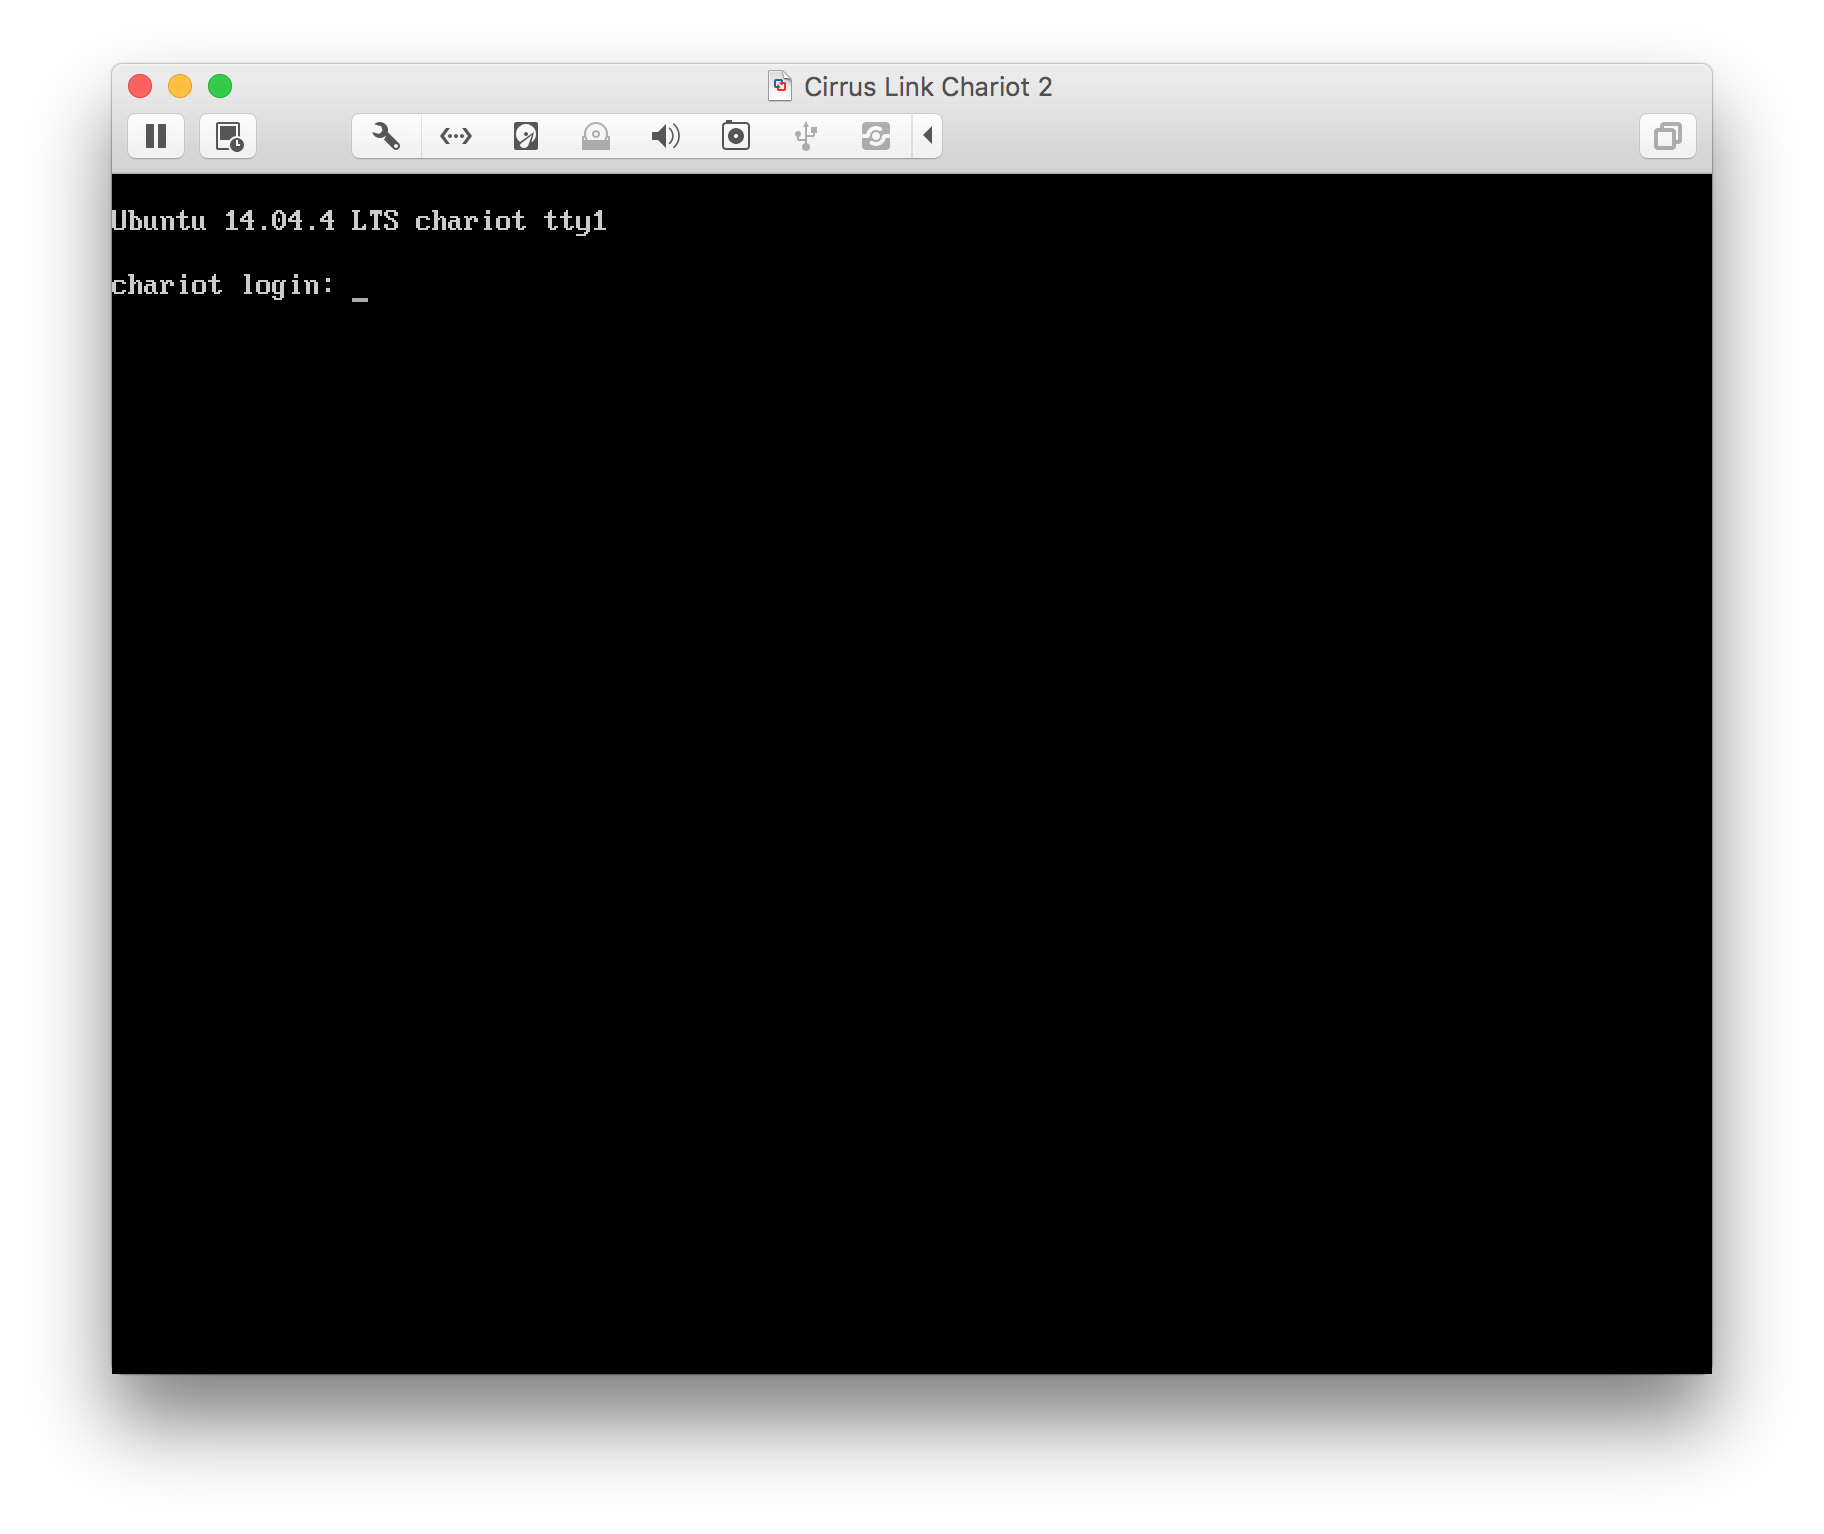
- At this point you can start the VM. Once you see the following, the Chariot MQTT Server is up and running.
...
{"serverDuration": 124, "requestCorrelationId": "28cb93782a5684f5"}