...
- Installing Chariot MQTT Server into VirtualBox:
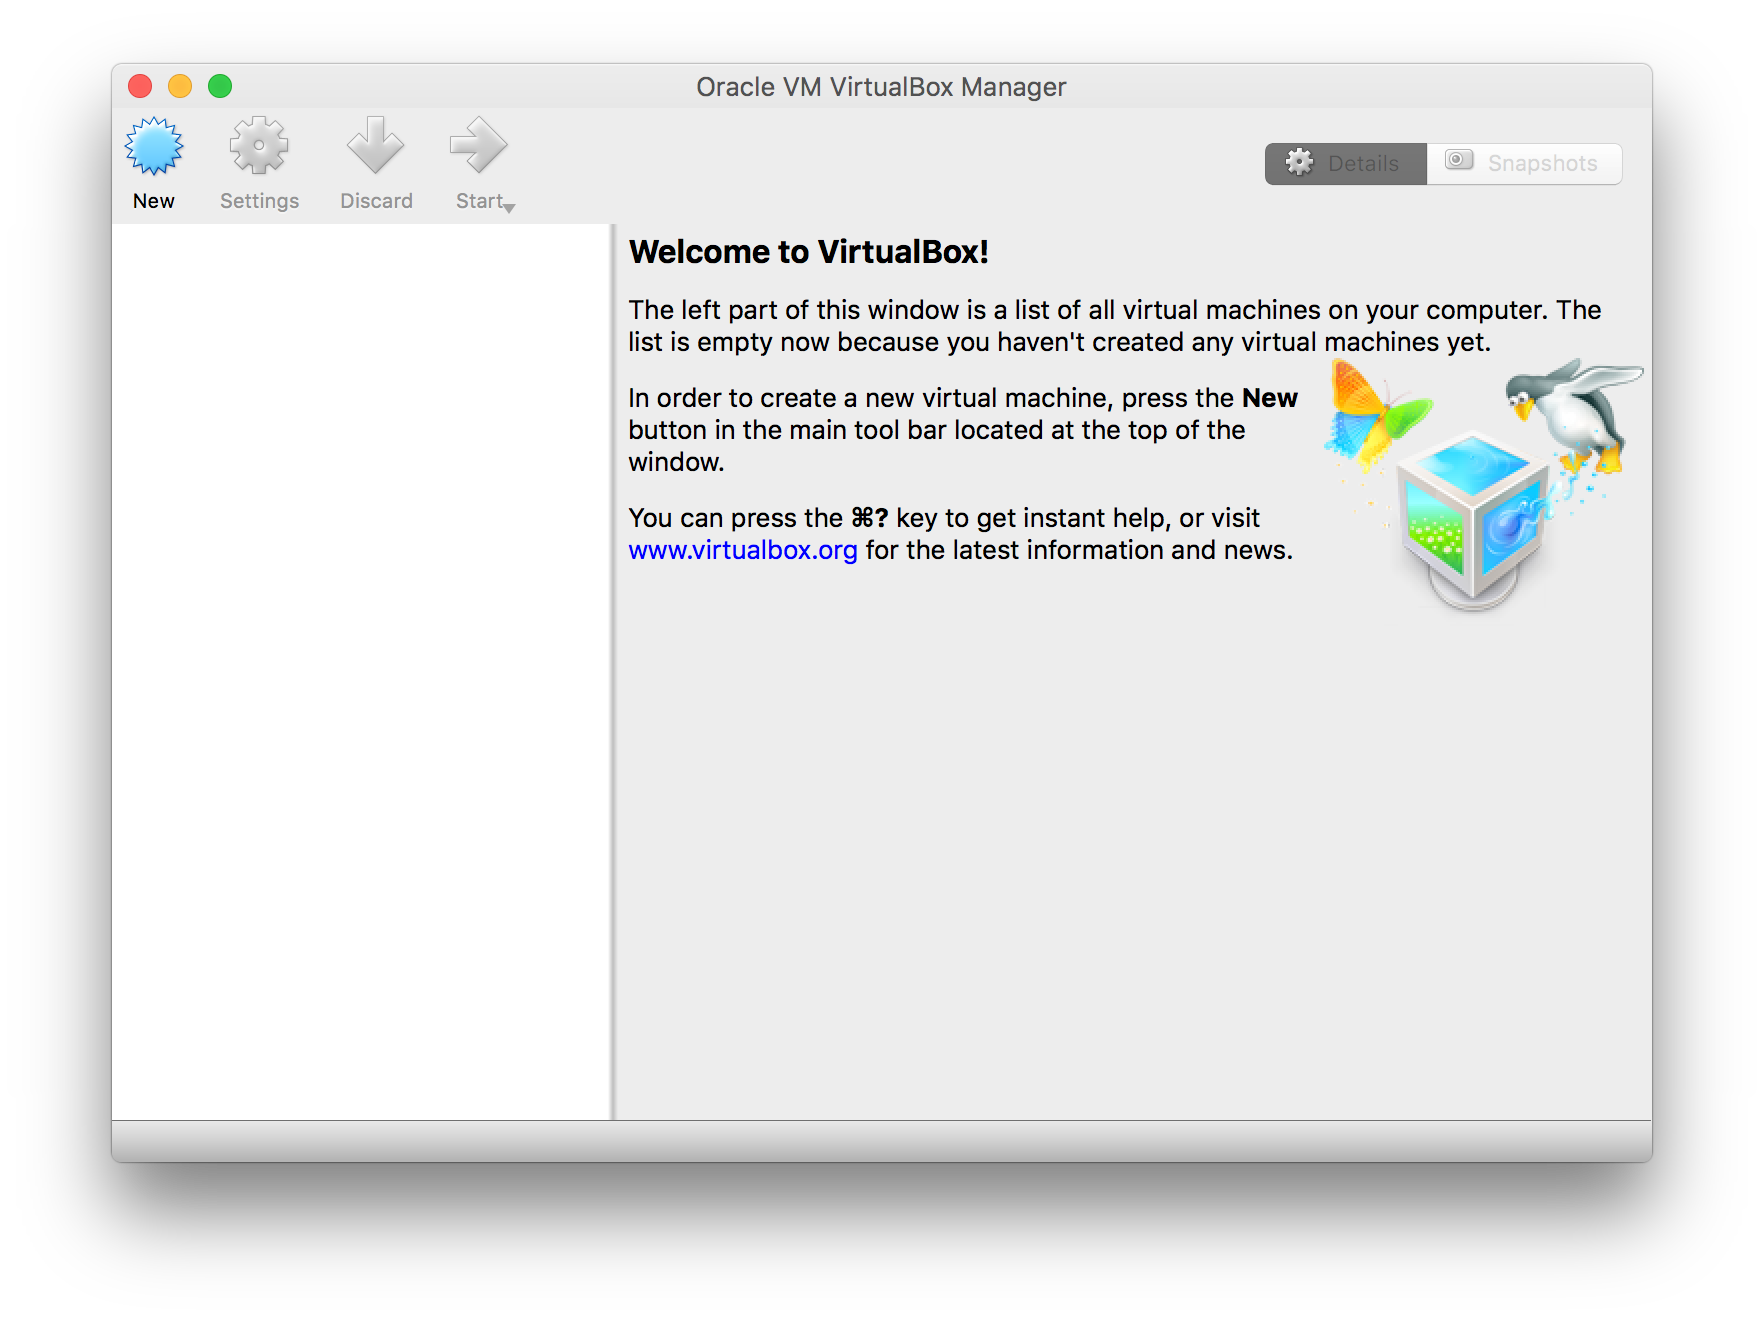
- First, open VirtualBox
- Now, select 'Import Appliance...', browse to Cirrus Link Chariot_*.ovf (which came from Cirrus_Link_Chariot_1.0.0.zip) and select Open. This will show the following Windowwindow:
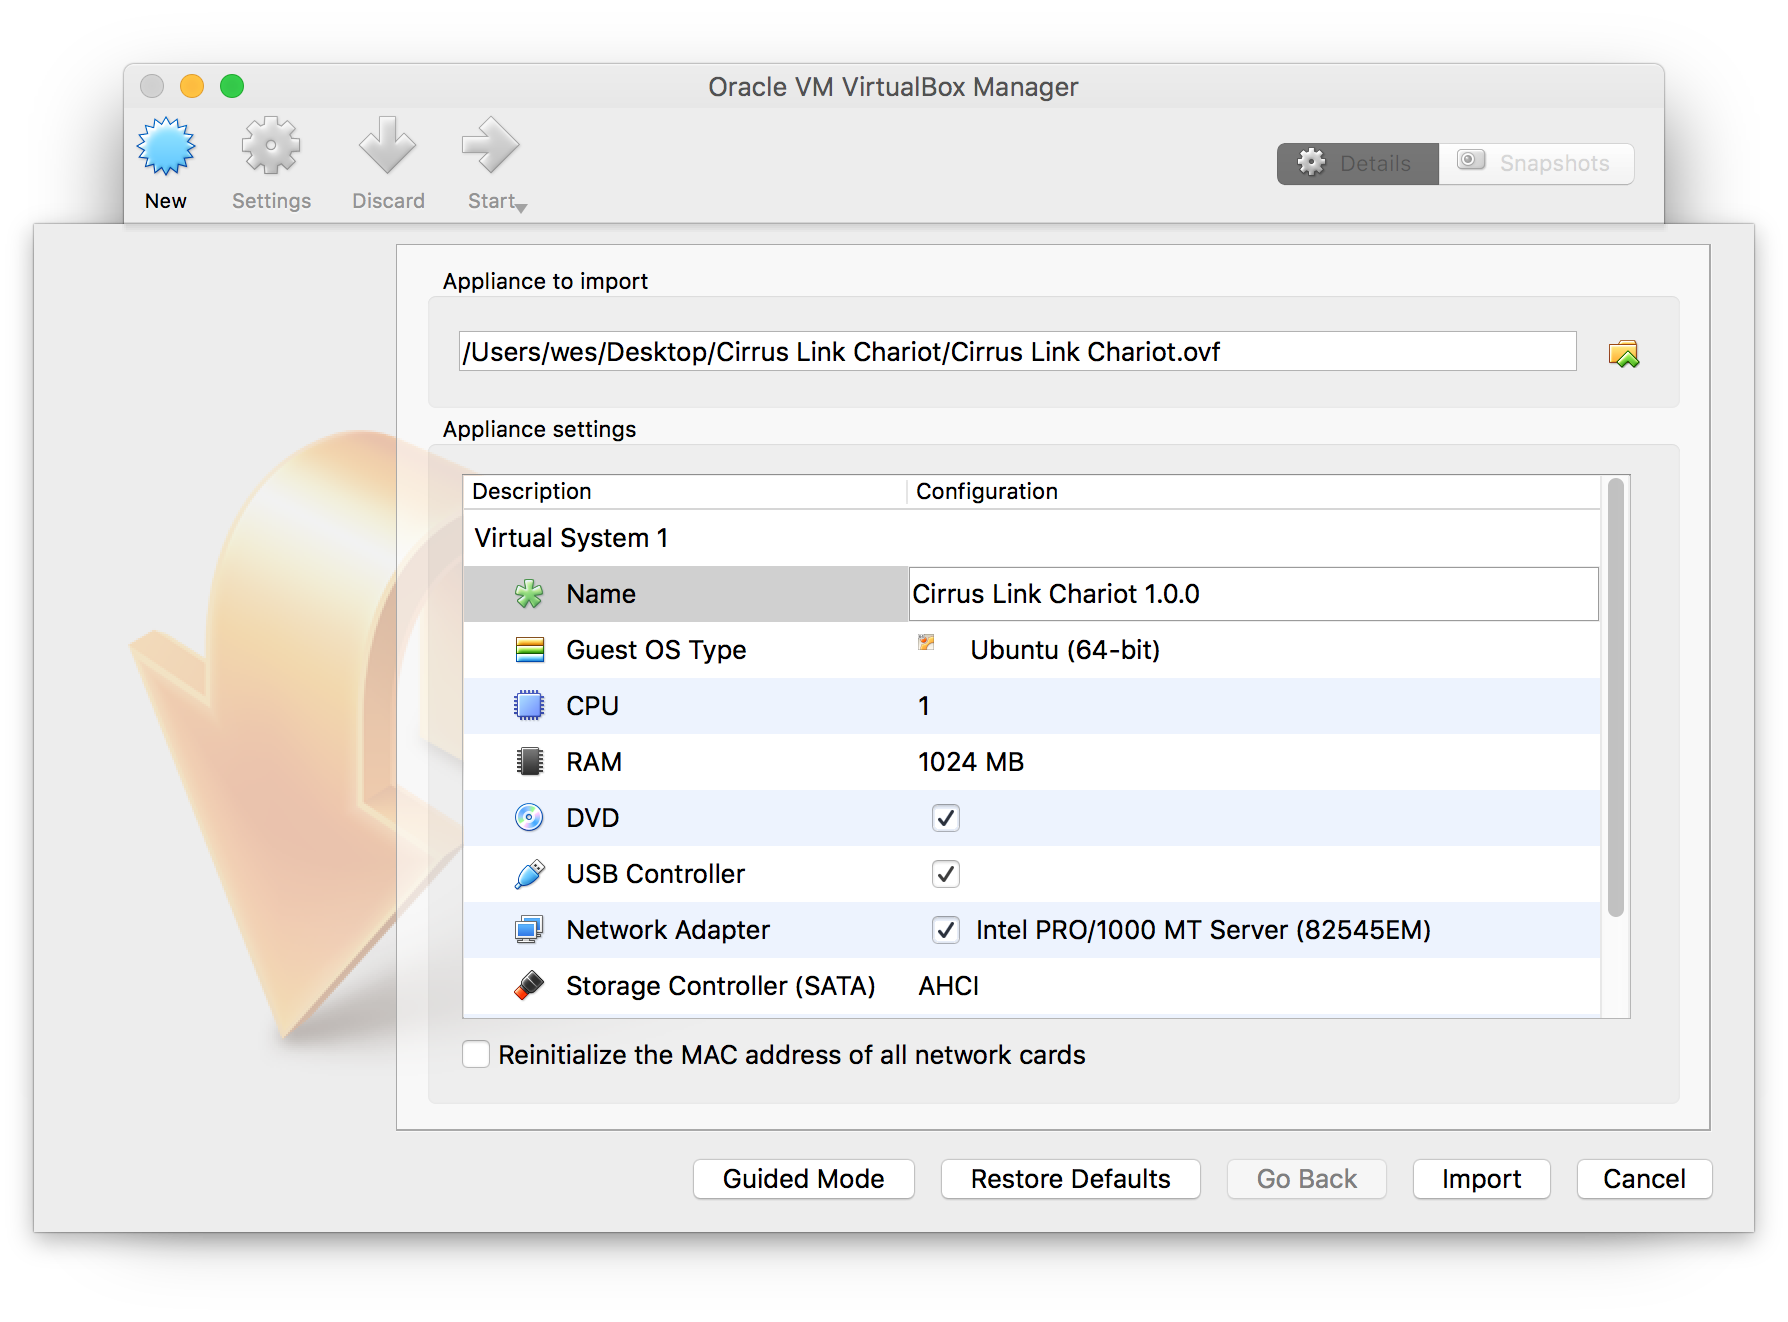
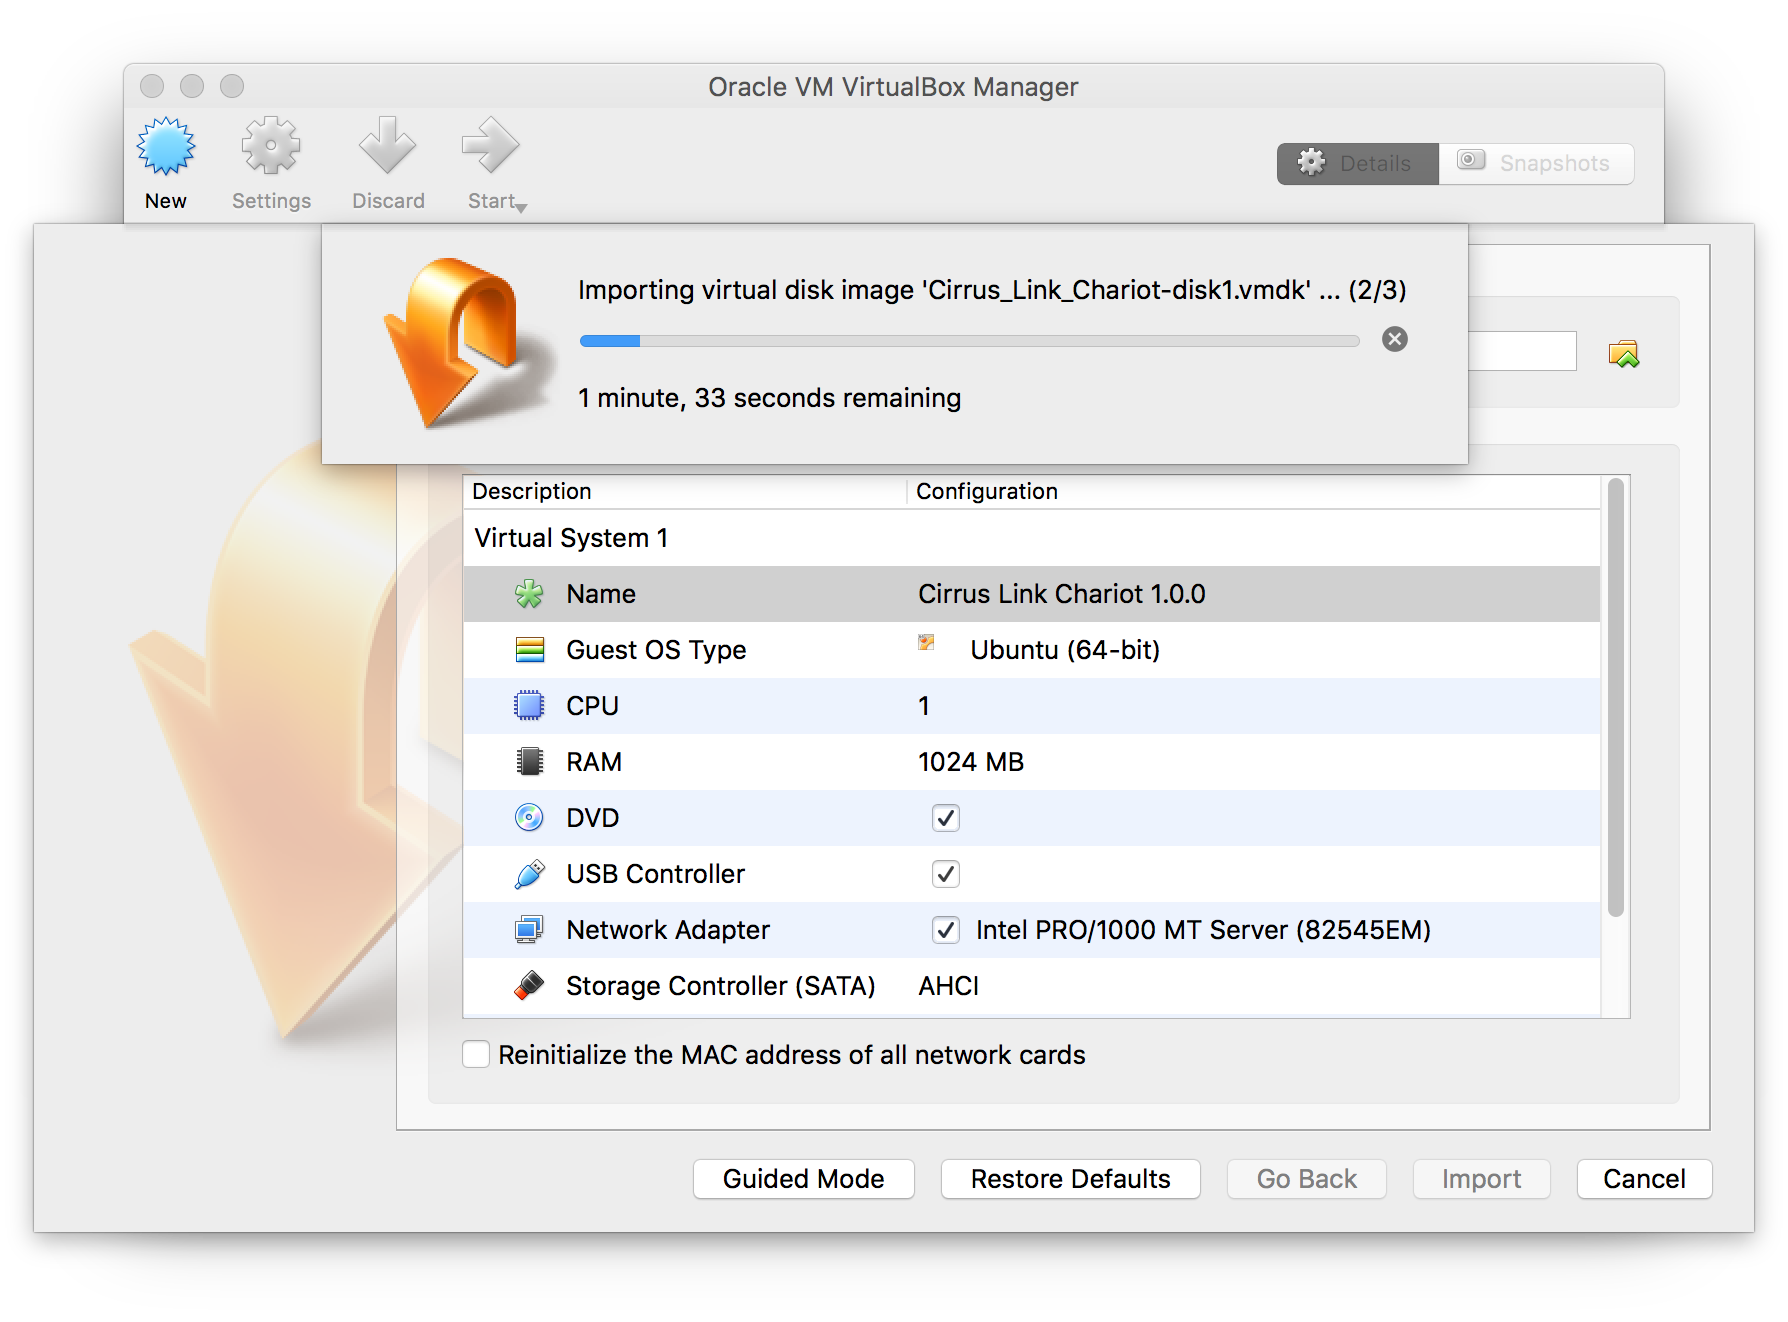
- Change the Name to 'Cirrus Link Chariot' and select 'Import'. The VM will take a few minutes to import depending on your computer.
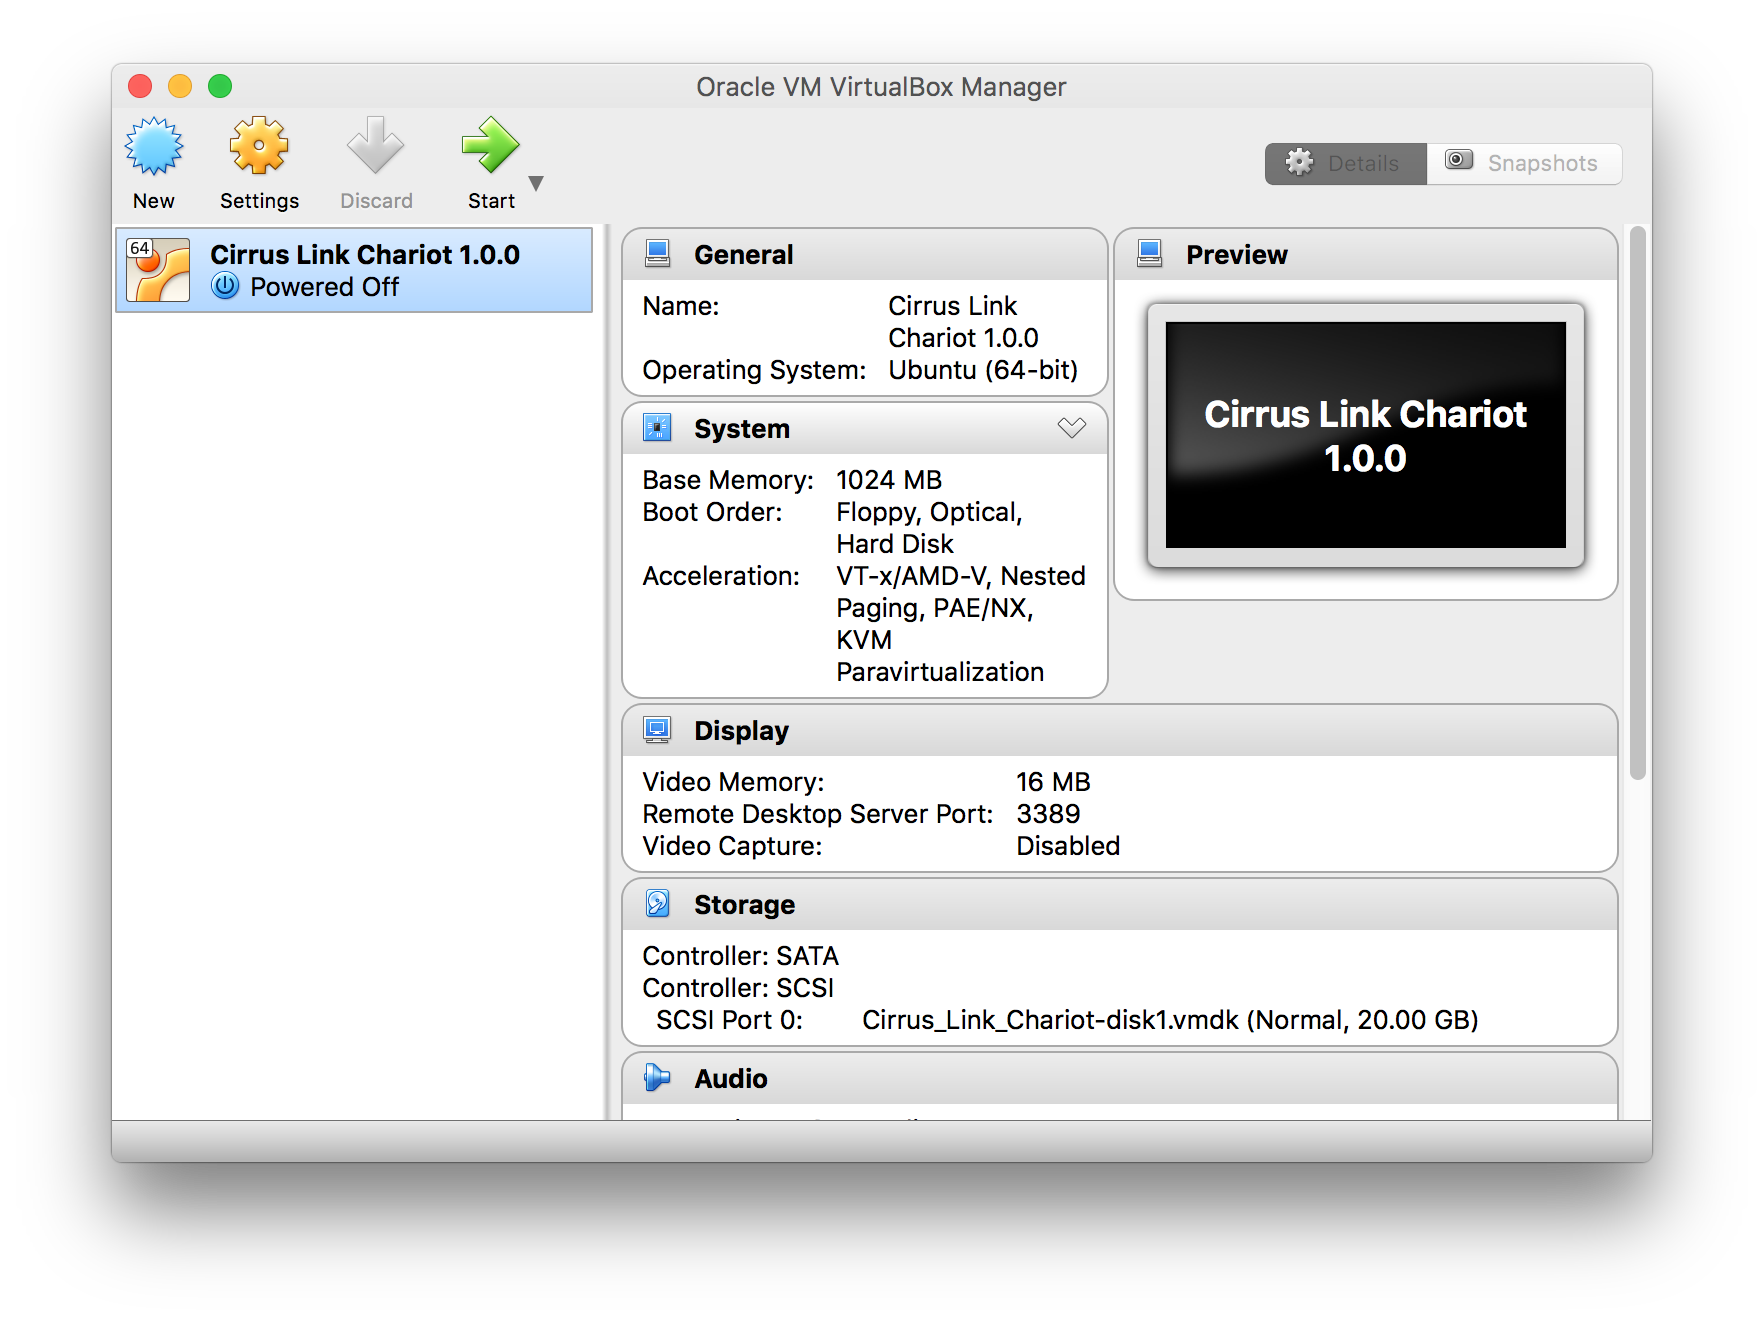
- When this is complete, you will see the new VM in the list as shown below.
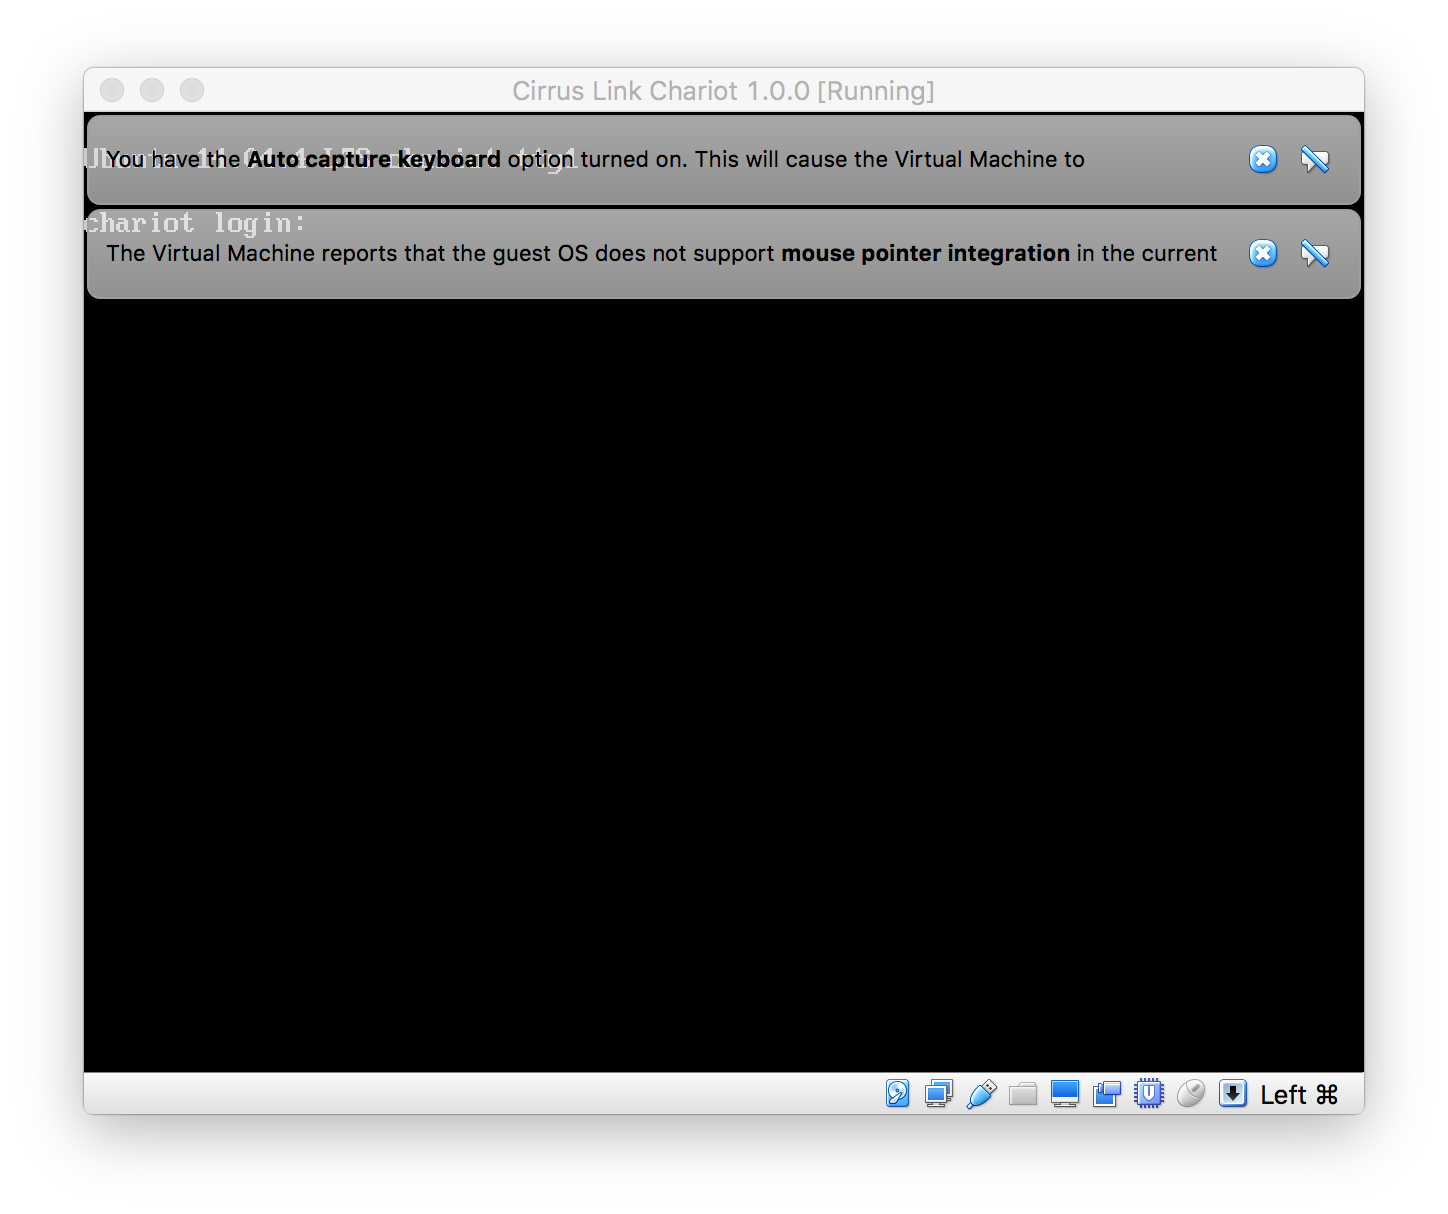
- Simply click the Start button to start the VM. You may get an error mentioning the lack of a configured sound card. You can ignore this. You may also get some messages talking about keyboard capture and mouse pointer integration as shown below. These can also be ignored.
...
- Installing Chariot MQTT Server into VMWare Fusion:
- First, open VMWare Fusion and select 'Import...'
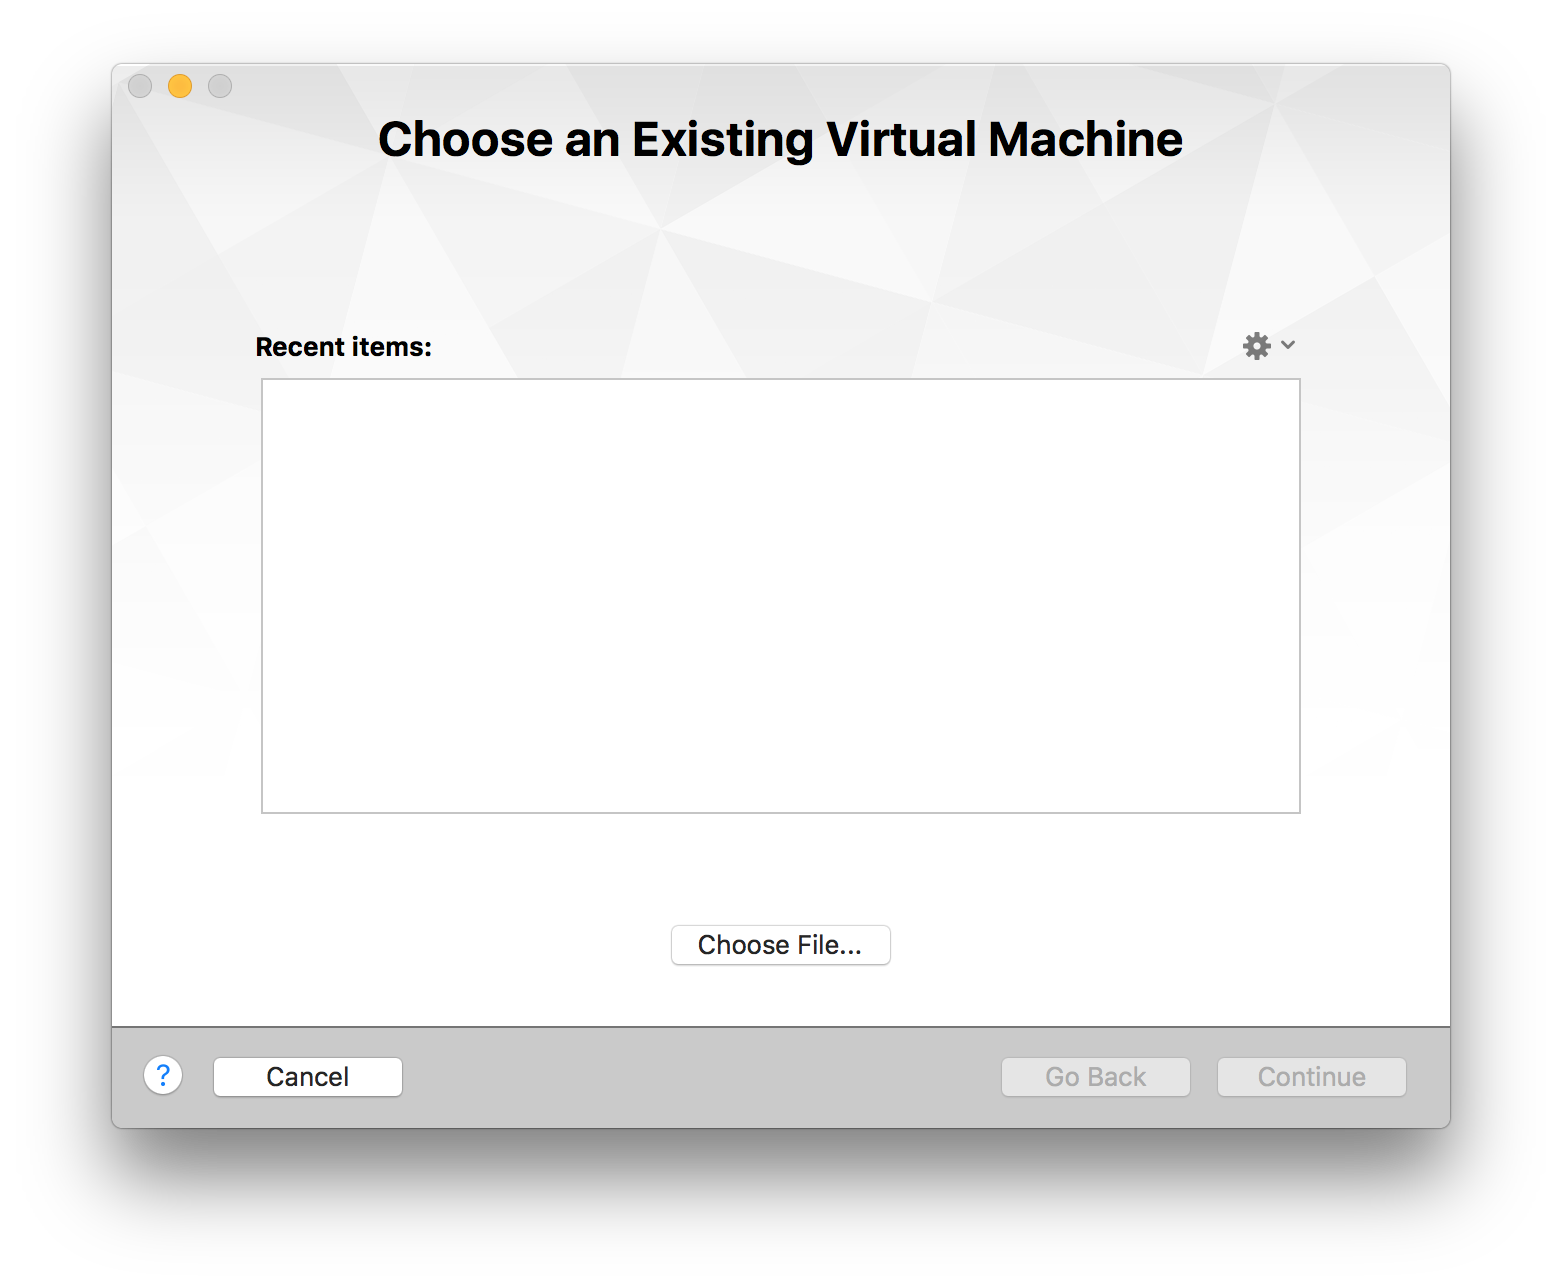 Image Added
 - Select 'Choose File...' and browse to Cirrus Link Chariot_*.ovf (which came from Cirrus_Link_Chariot_1.0.0.zip) and select Open. This will show the following window:Coming soon
Using Chariot MQTT Server:
...