![]()
Contents
Cirrus Link Resources
Cirrus Link Website![]()
Contact Us (Sales/Support)![]()
Inductive Resources
Ignition User Manual![]()
Knowledge Base Articles![]()
Inductive University![]()
Forum![]()
![]()
Cirrus Link Website![]()
Contact Us (Sales/Support)![]()
Ignition User Manual![]()
Knowledge Base Articles![]()
Inductive University![]()
Forum![]()
...
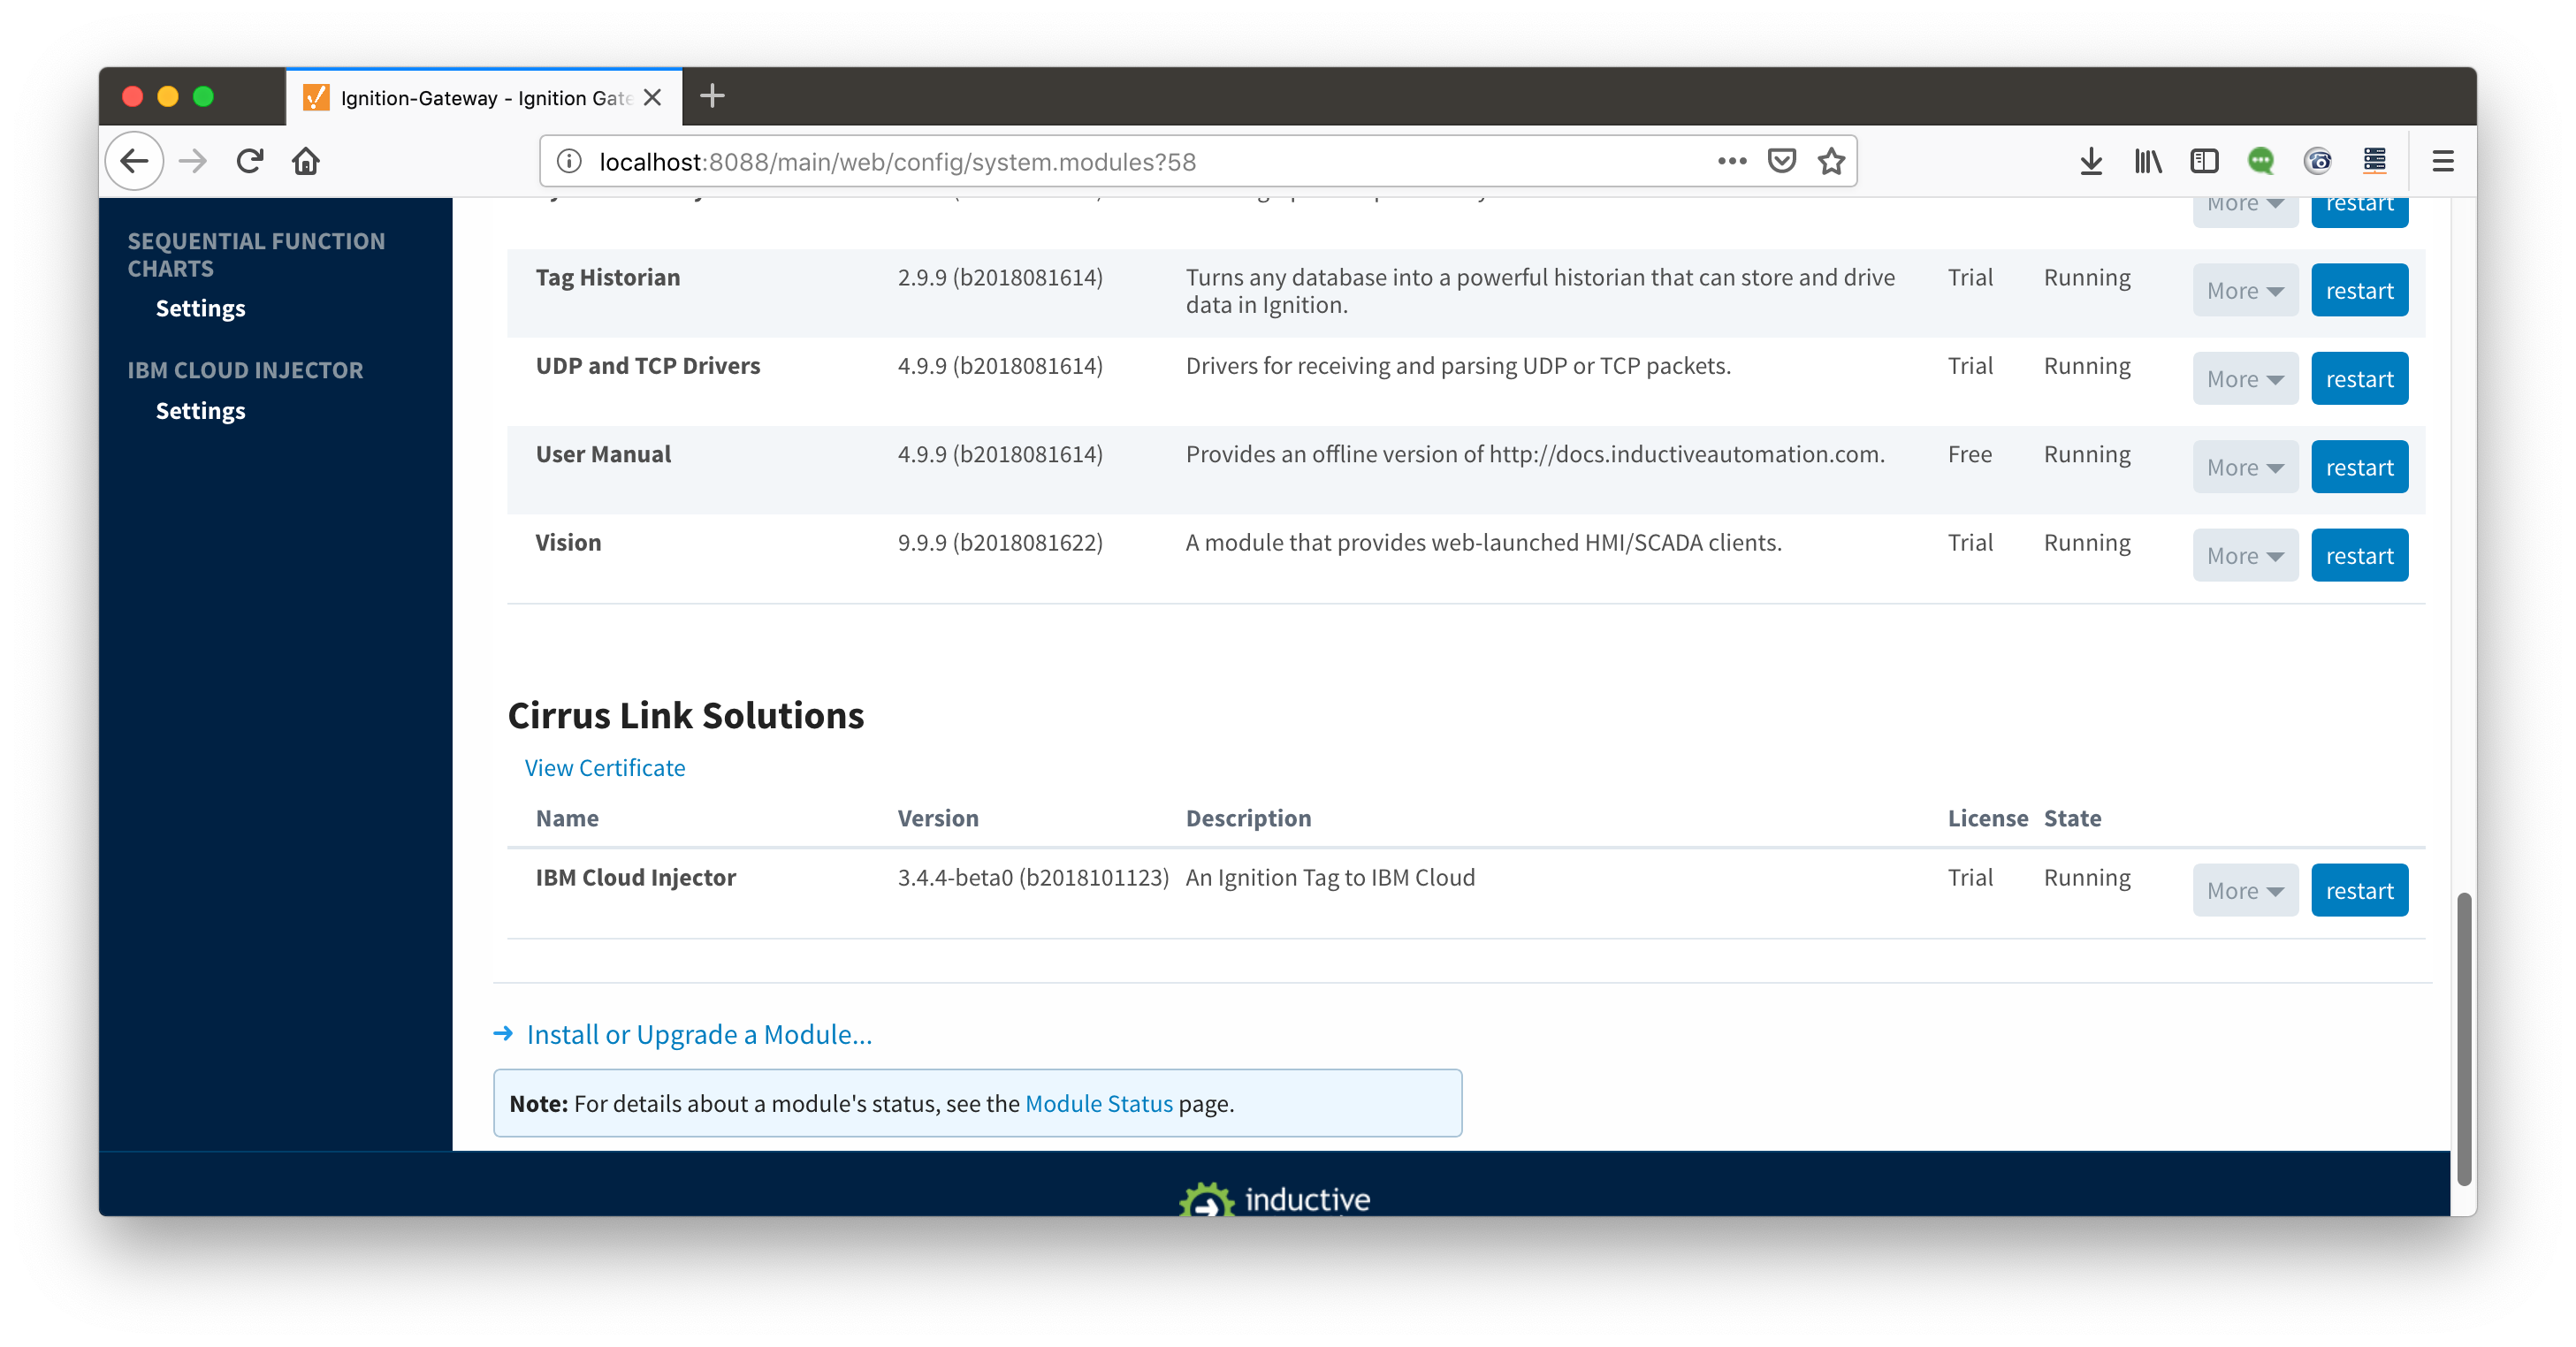
Once you have Ignition installed and running, and the IBM Cloud Injector module downloaded, browse to the Ignition Gateway console (e.g. http://localhost:8088). Login using the default credentials of admin/password. Click on Configuration tab and then click on the Modules tab on the left side of the page. Scroll to the bottom of the Modules section and click on the Download/Upgrade modules button. When prompted, select the IBM Cloud Injector module from the file browser and install it. When complete, the Ignition Gateway Web UI module section should look similar to what is shown below:
Select the "IBM CLOUD INJECTOR" → "Settings" link on the lower left of the page to navigate to the IBM Cloud Injector Module's configuration page. A detailed explanation of each configuration tab can be found here. For this tutorial, we will only be adding a new IBM Cloud MQTT Setting.
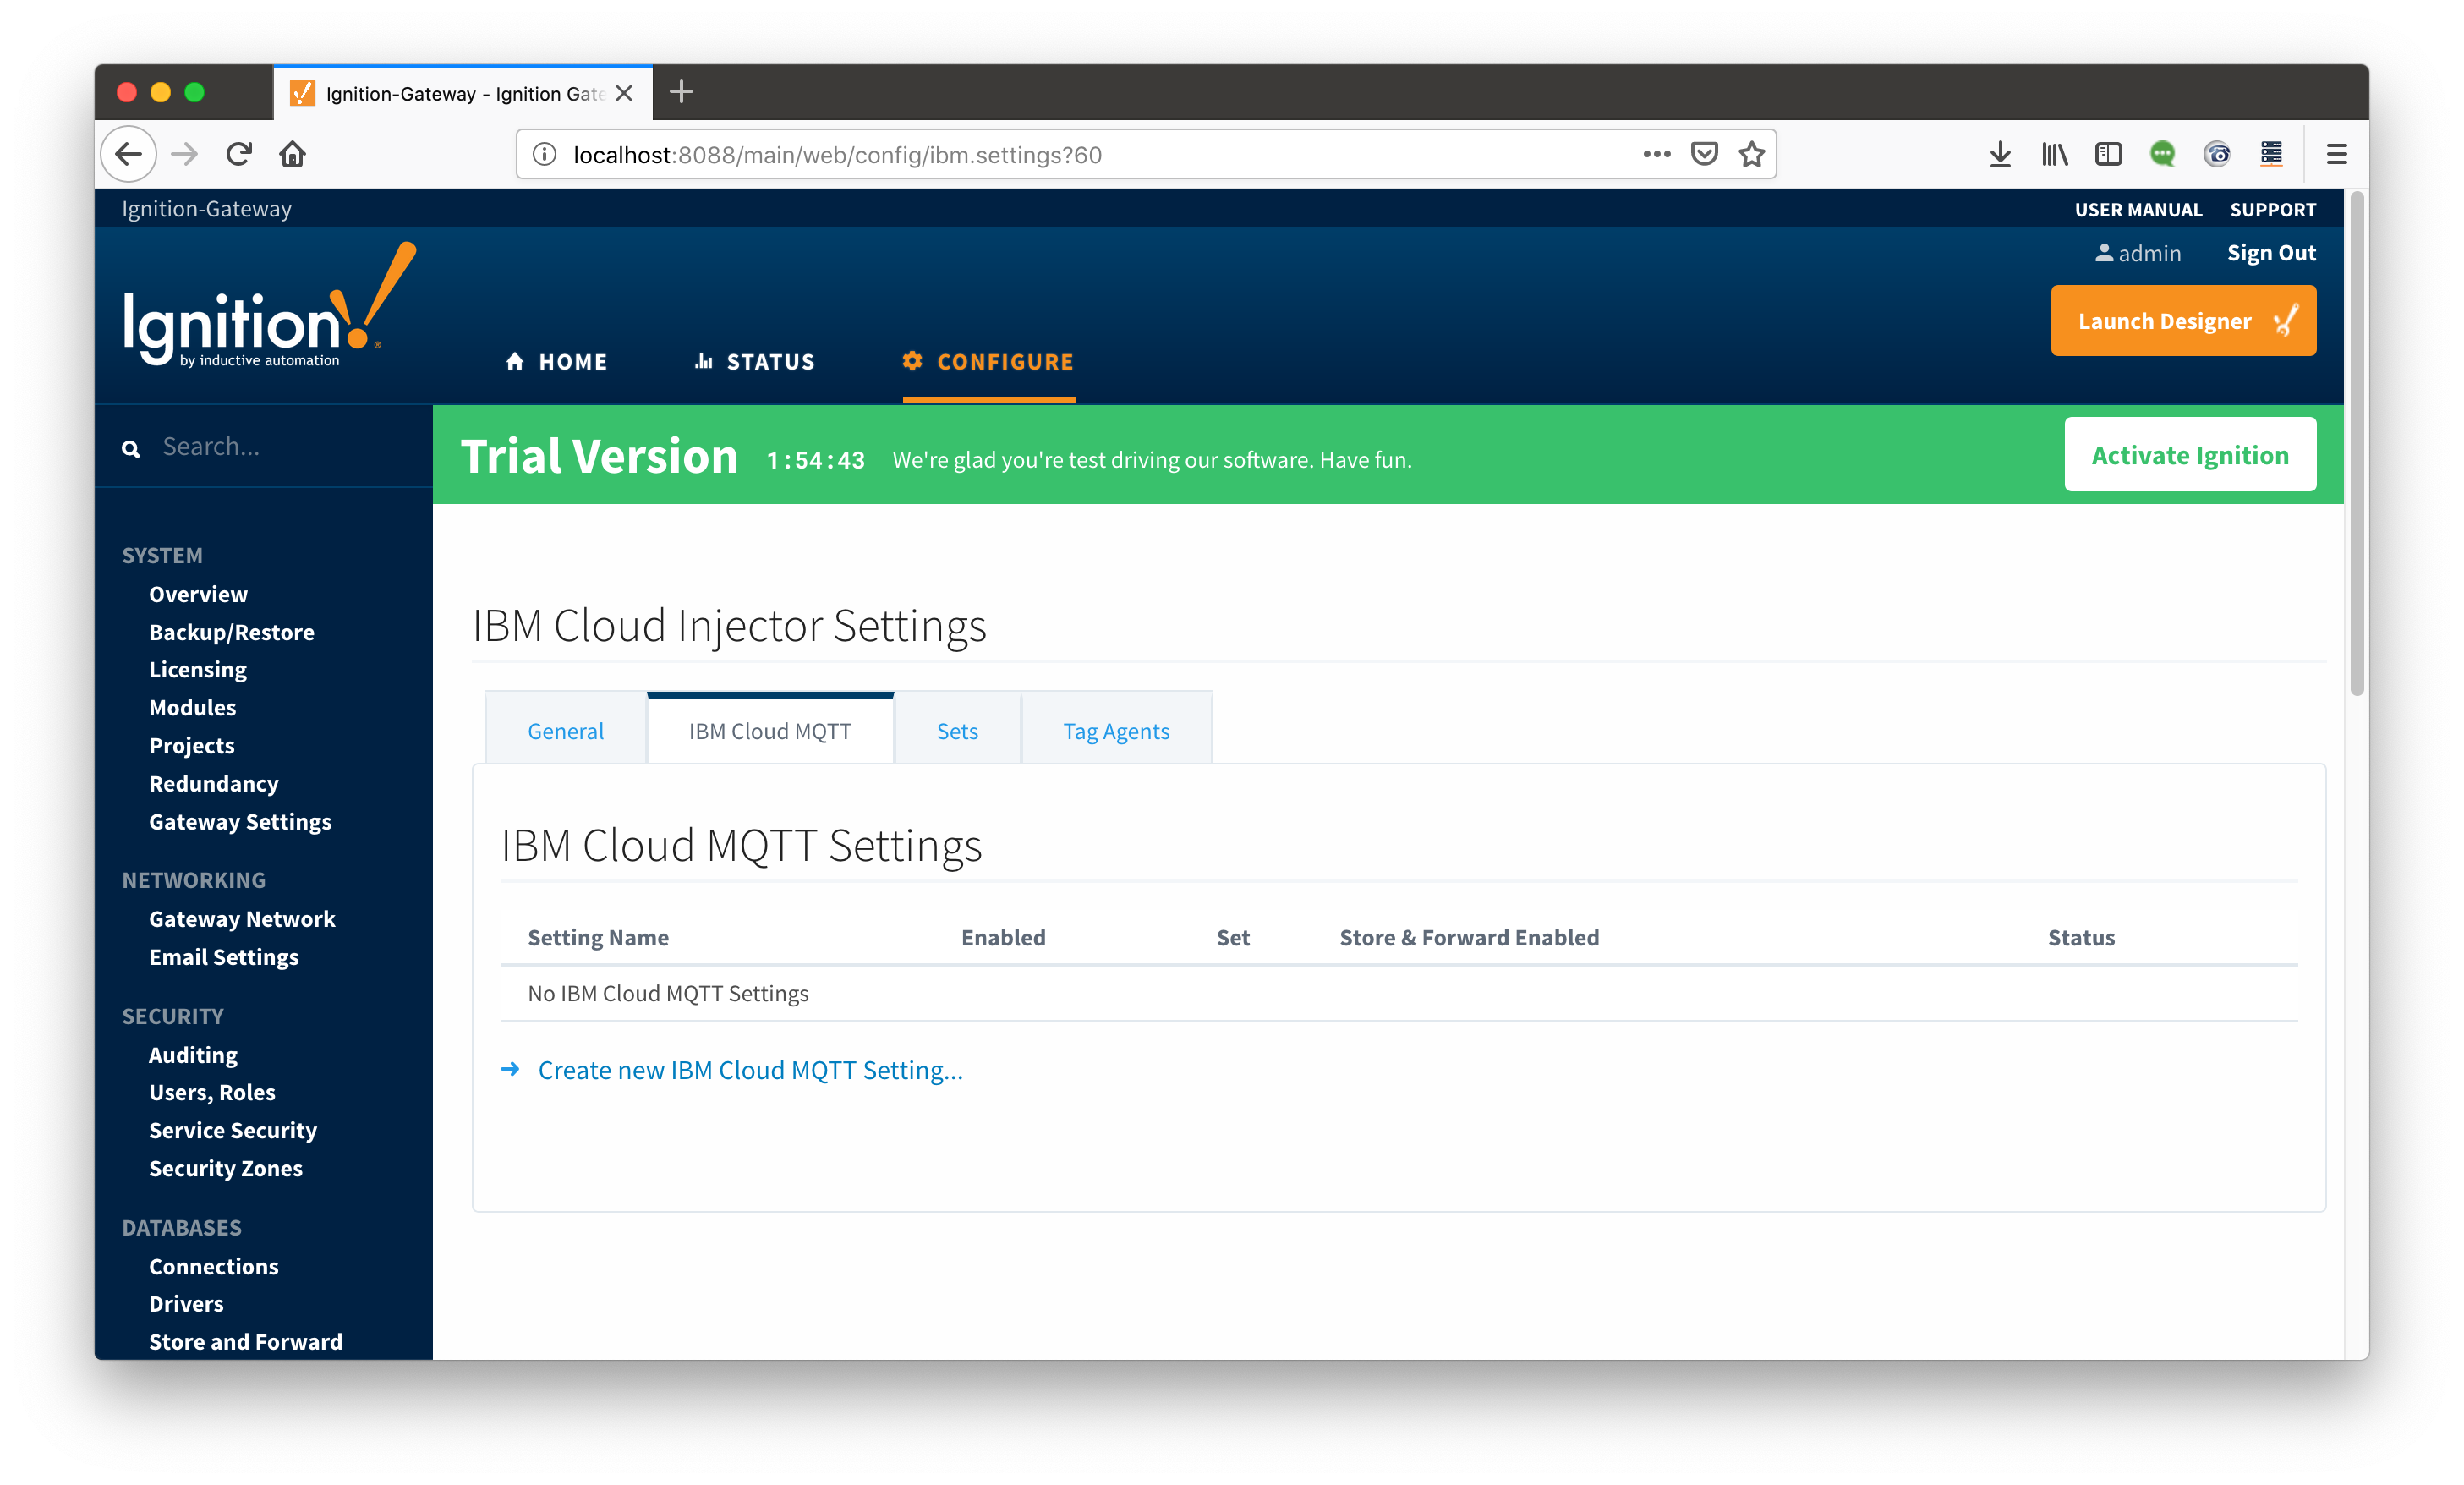
Click on the "Create new IBM Cloud MQTT Setting..." link to bring up the following configuration form:
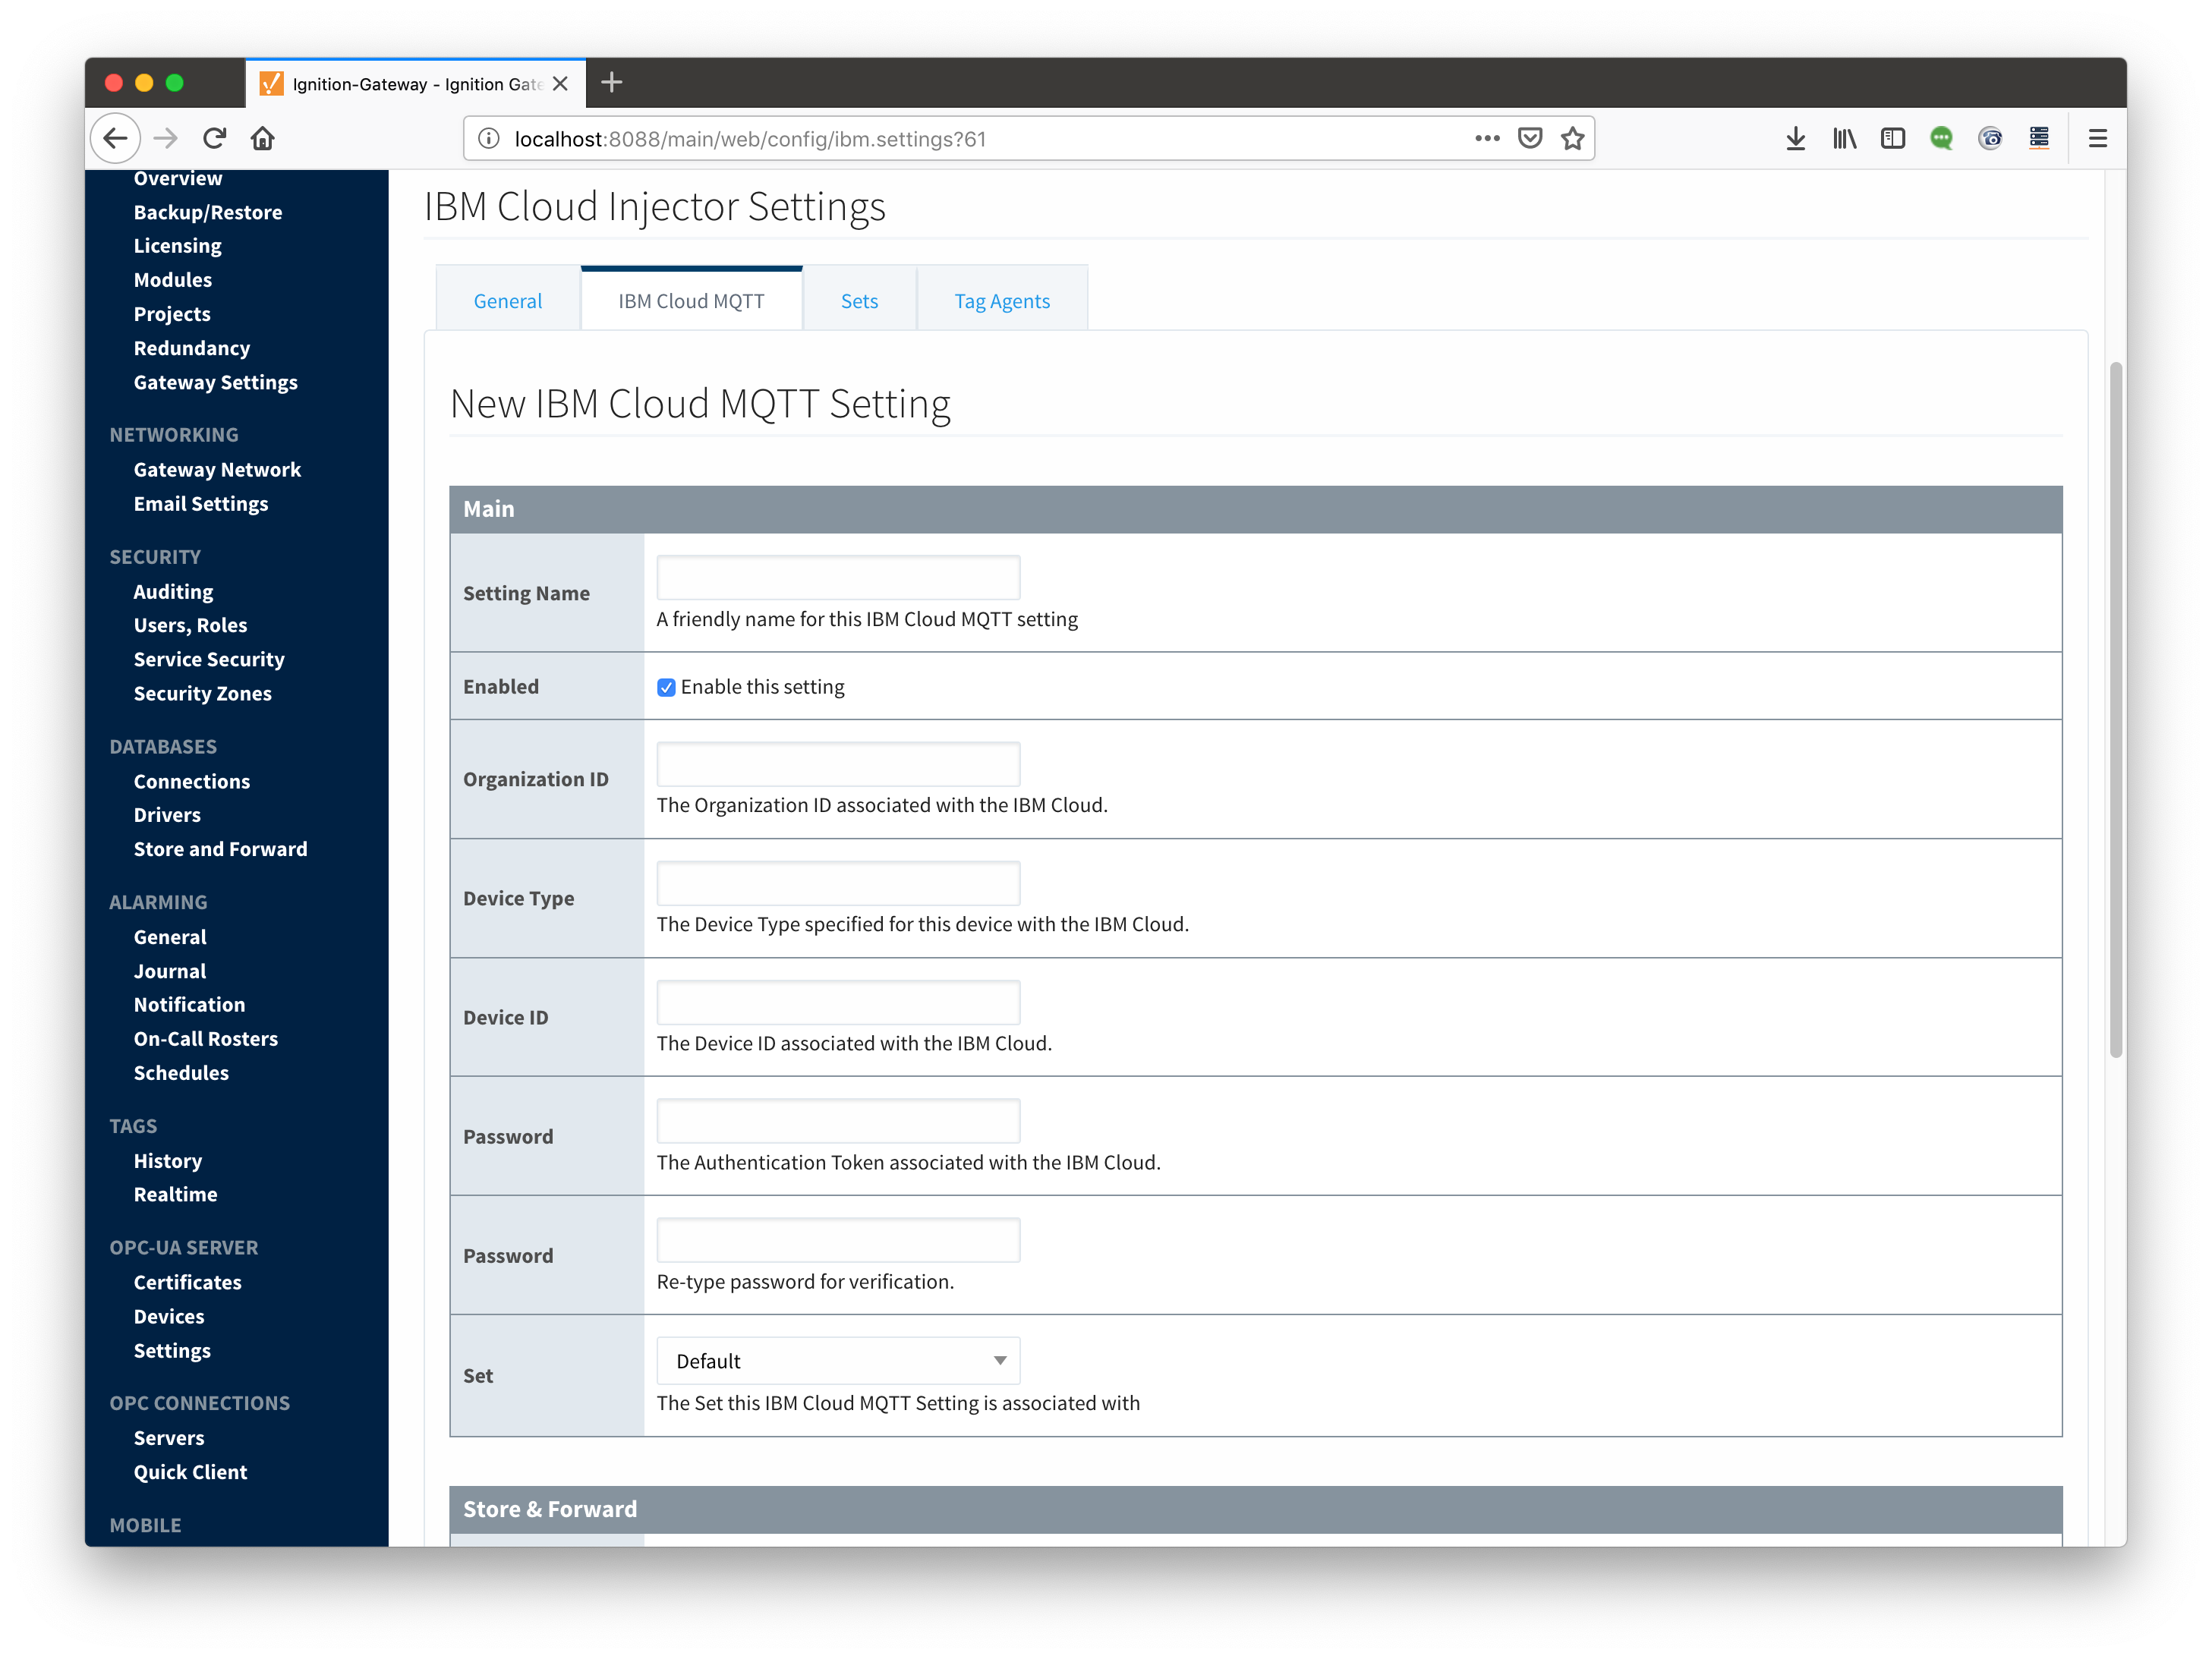
Set the parameters as follows: