![]()
Contents
Cirrus Link Resources
Cirrus Link Website![]()
Contact Us (Sales/Support)![]()
Forum![]()
Cirrus Link Modules Docs for Ignition 7.9.x![]()
Inductive Resources
Ignition User Manual![]()
Knowledge Base Articles![]()
Inductive University![]()
Forum![]()
![]()
Cirrus Link Website![]()
Contact Us (Sales/Support)![]()
Forum![]()
Cirrus Link Modules Docs for Ignition 7.9.x![]()
Ignition User Manual![]()
Knowledge Base Articles![]()
Inductive University![]()
Forum![]()
| Infowarning | ||
|---|---|---|
| ||
The We are in the process of updating this documentation for the upcoming release of the IoT Bridge for Snowflake v2.0.0 does not support v1.0.0 through v1.0. The Azure Quickstart for 3 schema. If you're currently using the IoT Bridge for Snowflake v1.0.0 through v1.0.3 can be found , you will need to continue to refer to v1 documentation here. |
Install an MQTT Server configured with a real signed TLS certificate
| Tip |
|---|
| This quickstart guide uses the Chariot MQTT Server which can be installed as a free trial from the Azure Marketplace. Review the Chariot MQTT Server Configuration for details on how to upload the necessary certificates and keys for enabling SSL/TLS |
| Note | ||||
|---|---|---|---|---|
If you choose not to use Chariot MQTT Server, any Sparkplug compliant MQTT Server will work.
|
...
If you don't have a Snowflake account, open a Web Browser and go to https://www.snowflake.com. Follow the instructions there to start a free trial. After creating an account, log in to Snowflake via the Web Console. You should see something like what is shown below.
Find the IoT Bridge Setup Assistant Snowflake application in the Snowflake Marketplace
...
.

Click into the offering and click the Request button to submit a request for the IoT Bridge Setup Assistant application.

Cirrus Link will typically approved the request within 24 hours. Once the request has been fulfilled, the IoT Bridge Setup Assistant application will be visible in Data Products → Apps. Click the 'Get' button download and install the application.

After completing this step, the IoT Bridge Setup Assistant is installed as shown below.

The IoT Bridge Setup Assistant application will aid in creating and configuring all required Snowflake databases, stored procedures, user defined functions, roles, warehouses, etc.
...
<Screenshot Placeholder: IoT Bridge Setup Assistant Snowflake application in the Marketplace>
Once the IoT Bridge Setup Assistant is installed, launch it by navigating to the application under Data Products → Apps.
...
To run the application, simply click on the installed IoT Bridge Setup Assistant
...
application and follow the steps shown.

Navigate to 'Setup Step 1' to accept default configuration as it defined or customize the configuration as desired. Note the cl_bridge_reader_warehouse must already exist and the cl_bridge_snowflake_user_public_key must contain the public key created following the steps below.
Generate an unencrypted key pair and copy the public key contents into the cl_bridge_snowflake_user_public_key text area. This will be used for authentication by the IoT Bridge for Snowflake application to push data to Snowflake via the Snowflake Streaming API.
| Tip | ||
|---|---|---|
See this document for details on how to generate this unencrypted key pair: https://docs.snowflake.com/en/user-guide/key-pair-auth. The IoT Bridge Setup Assistant will create the required IoT Ingest user and assign the public key provided to this user. Note: The step "Configuring the Snowflake Client to User Key Pair Authentication" in the linked tutorial can be skipped.
|
...

When 'Setup Step 1' configuration is finalized, click the 'Setup Environment' button and wait for the step to complete. Once complete, navigate to 'Setup Step 2'. This step will output a custom Snowflake SQL script with the configuration provided in Step 1 and this script will create all required Snowflake artifacts when executed. To run this script, follow the instructions in
...
'Setup Step 2'
...
.

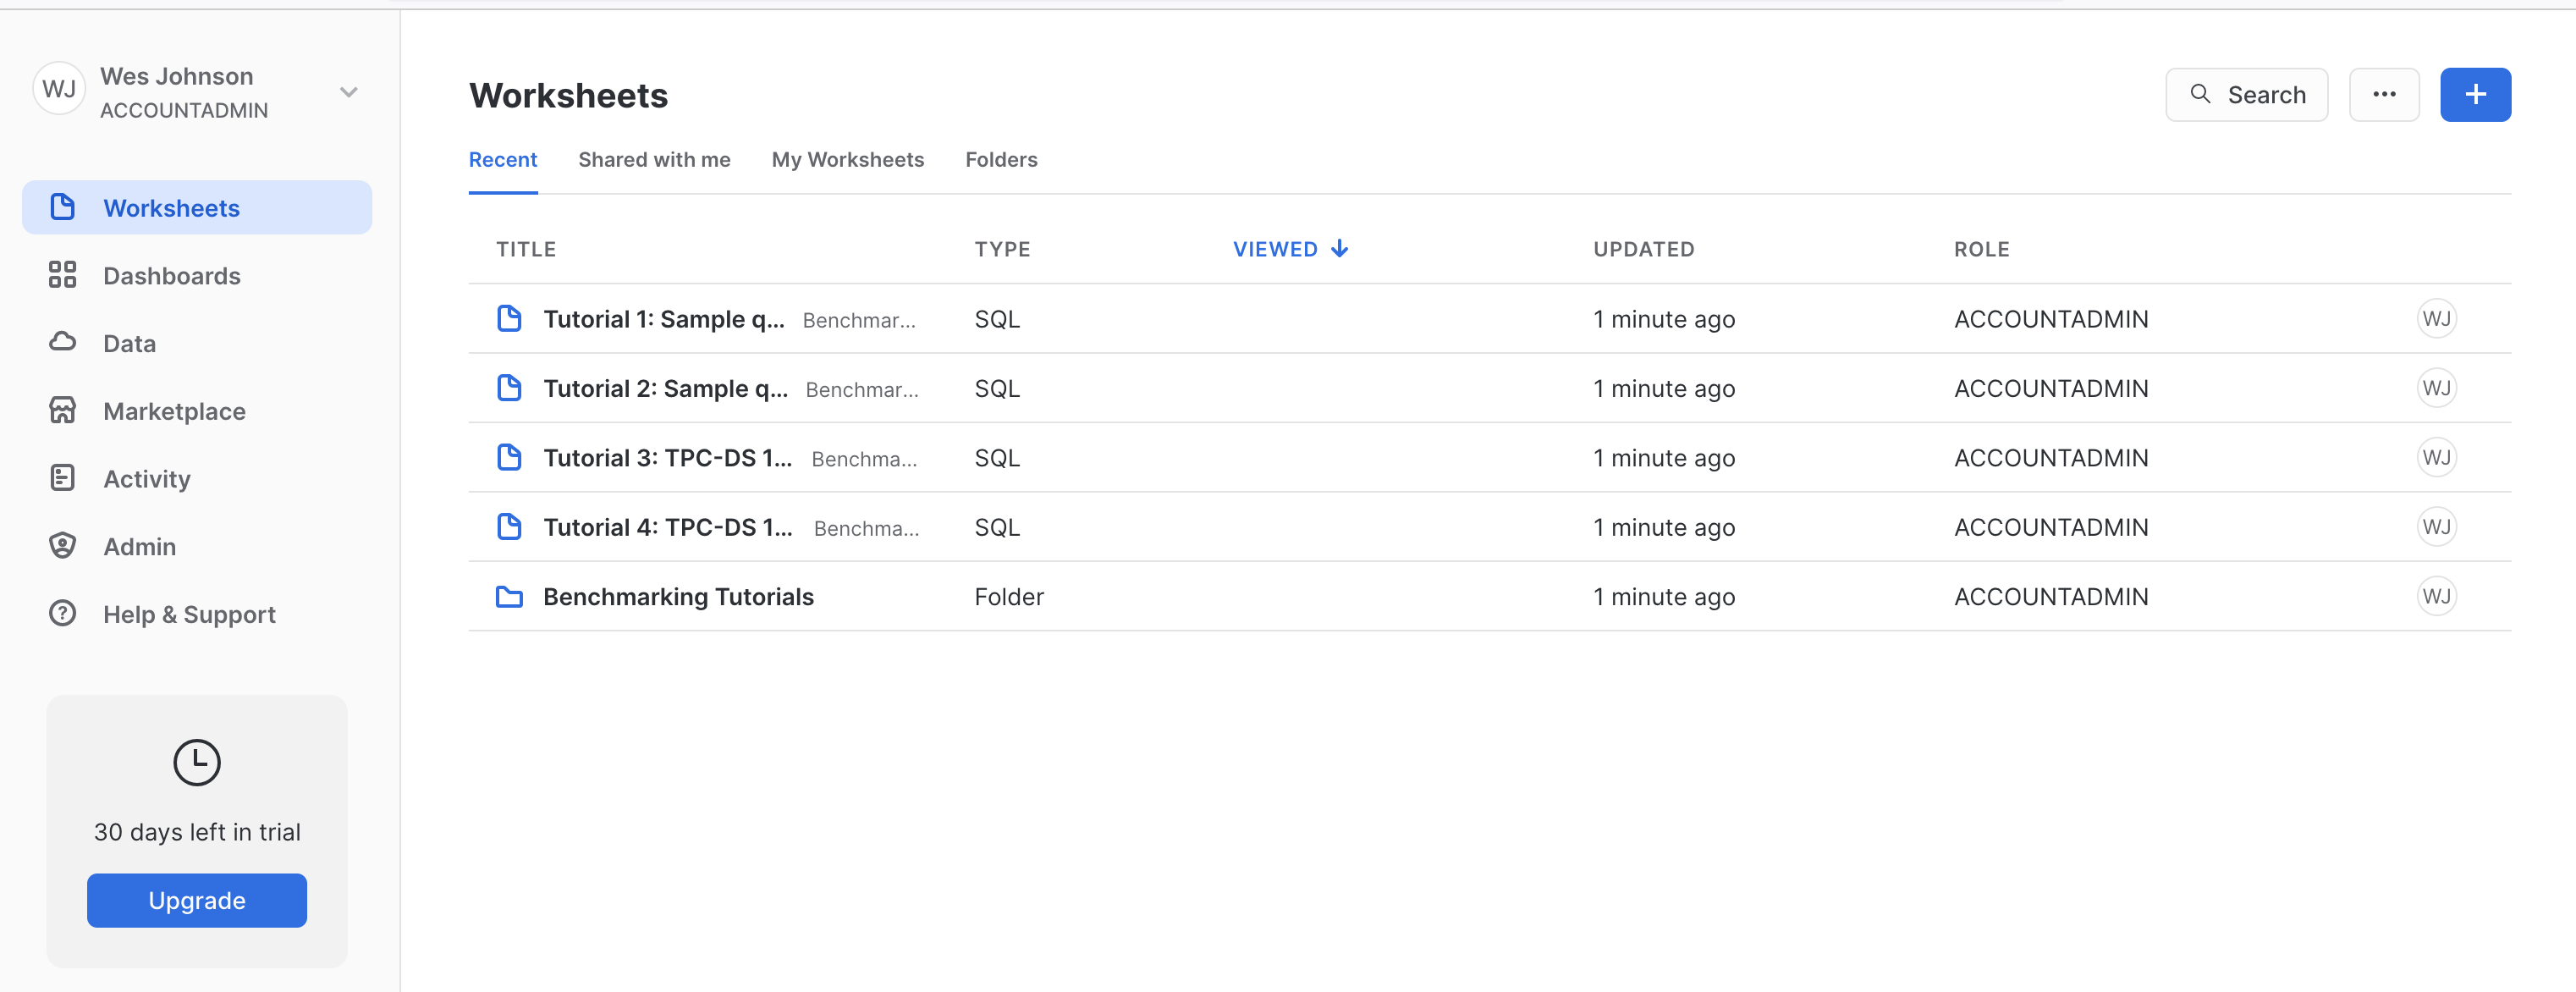
Once Step 2 is complete by running the script generated in this step in a worksheet, the application will display the following message
...
.

Confirm your Snowflake resources (databases, stored procedures, user defined functions, roles, warehouses, etc) have been successfully created by the script execution.

...
...