![]()
Page History
...
- Navigate to the following page:
Main Menu → Administrative → User Sources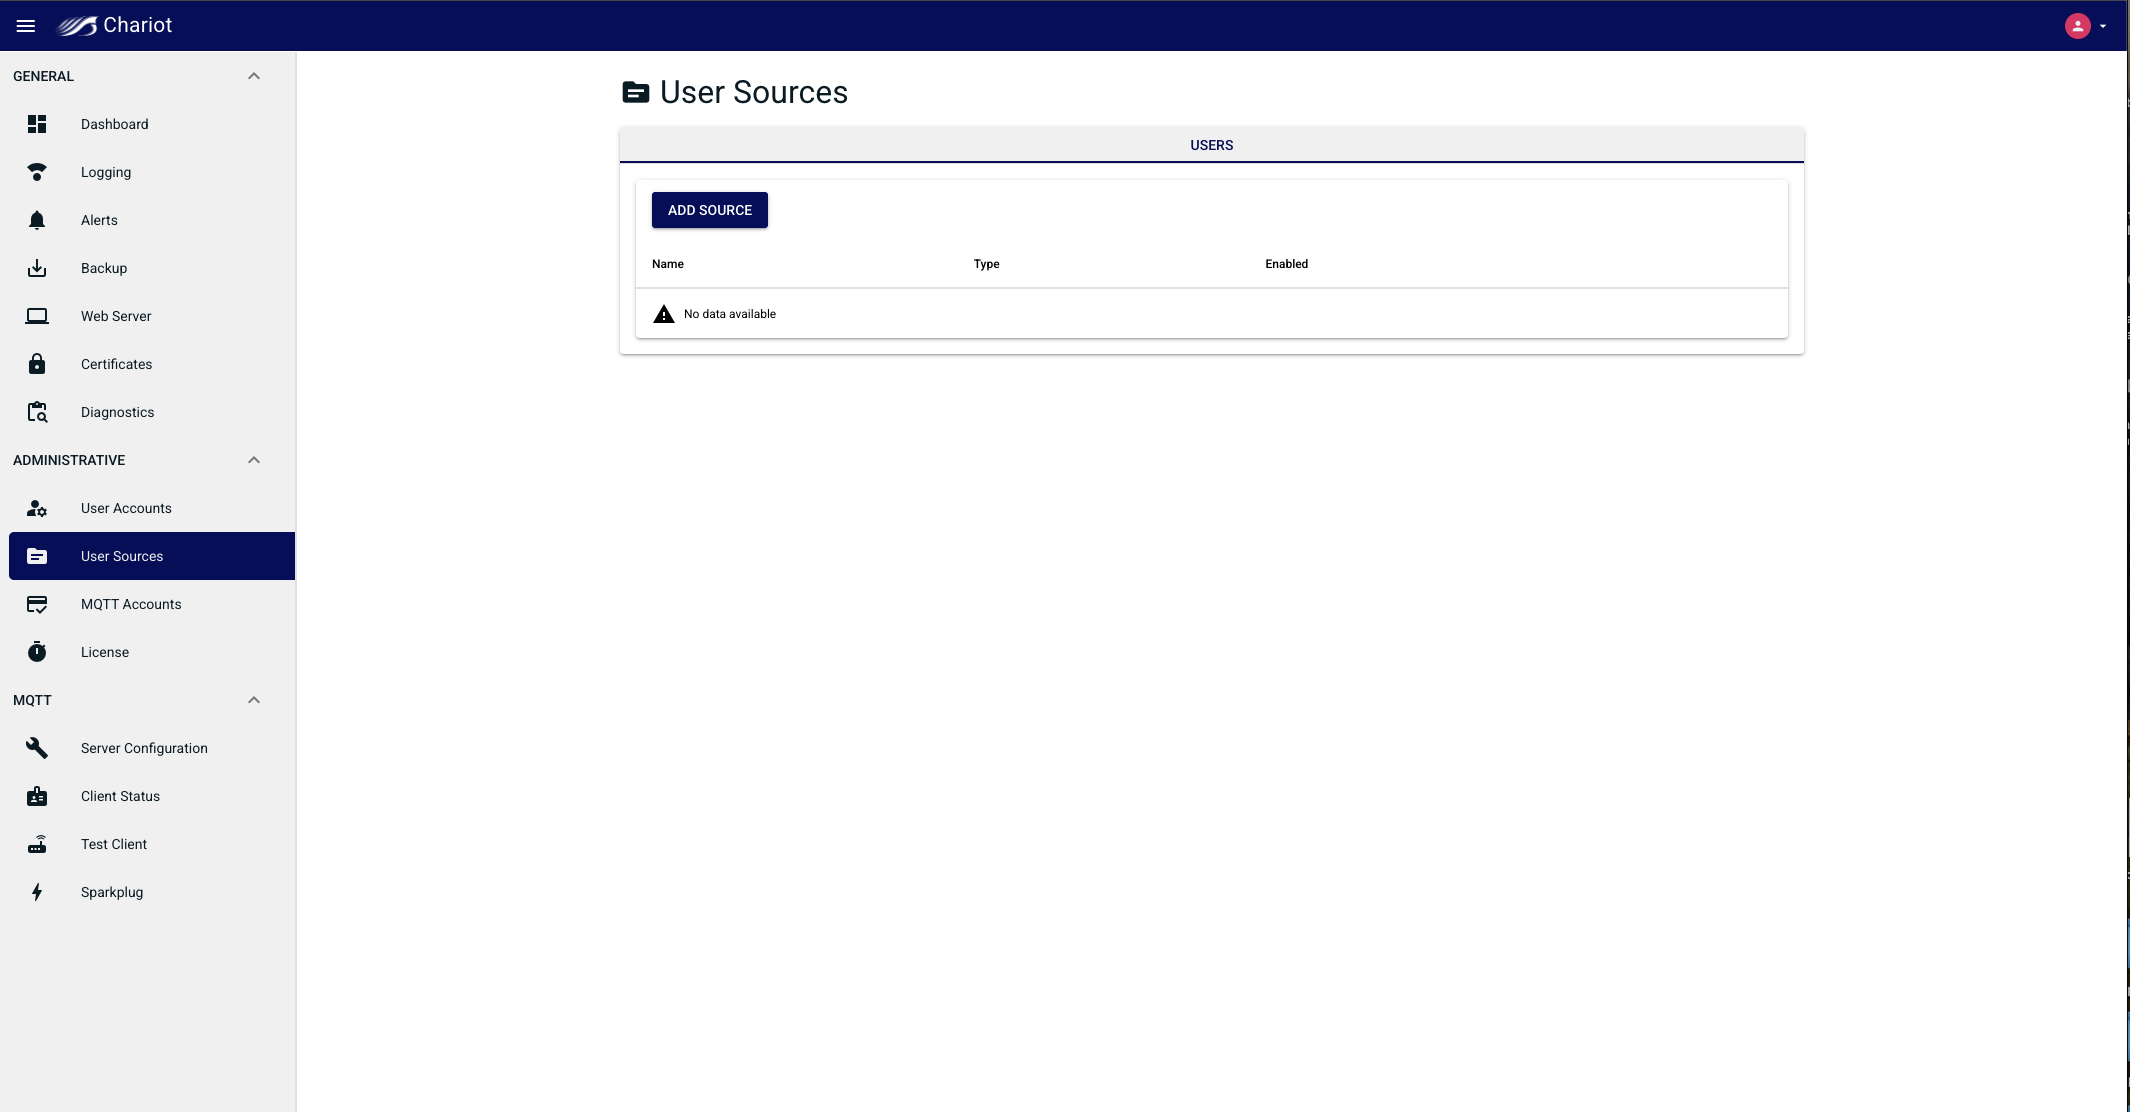

- Click on the Add Source button and select the "Active Directory" Source Type to bring up the Source configuration form.
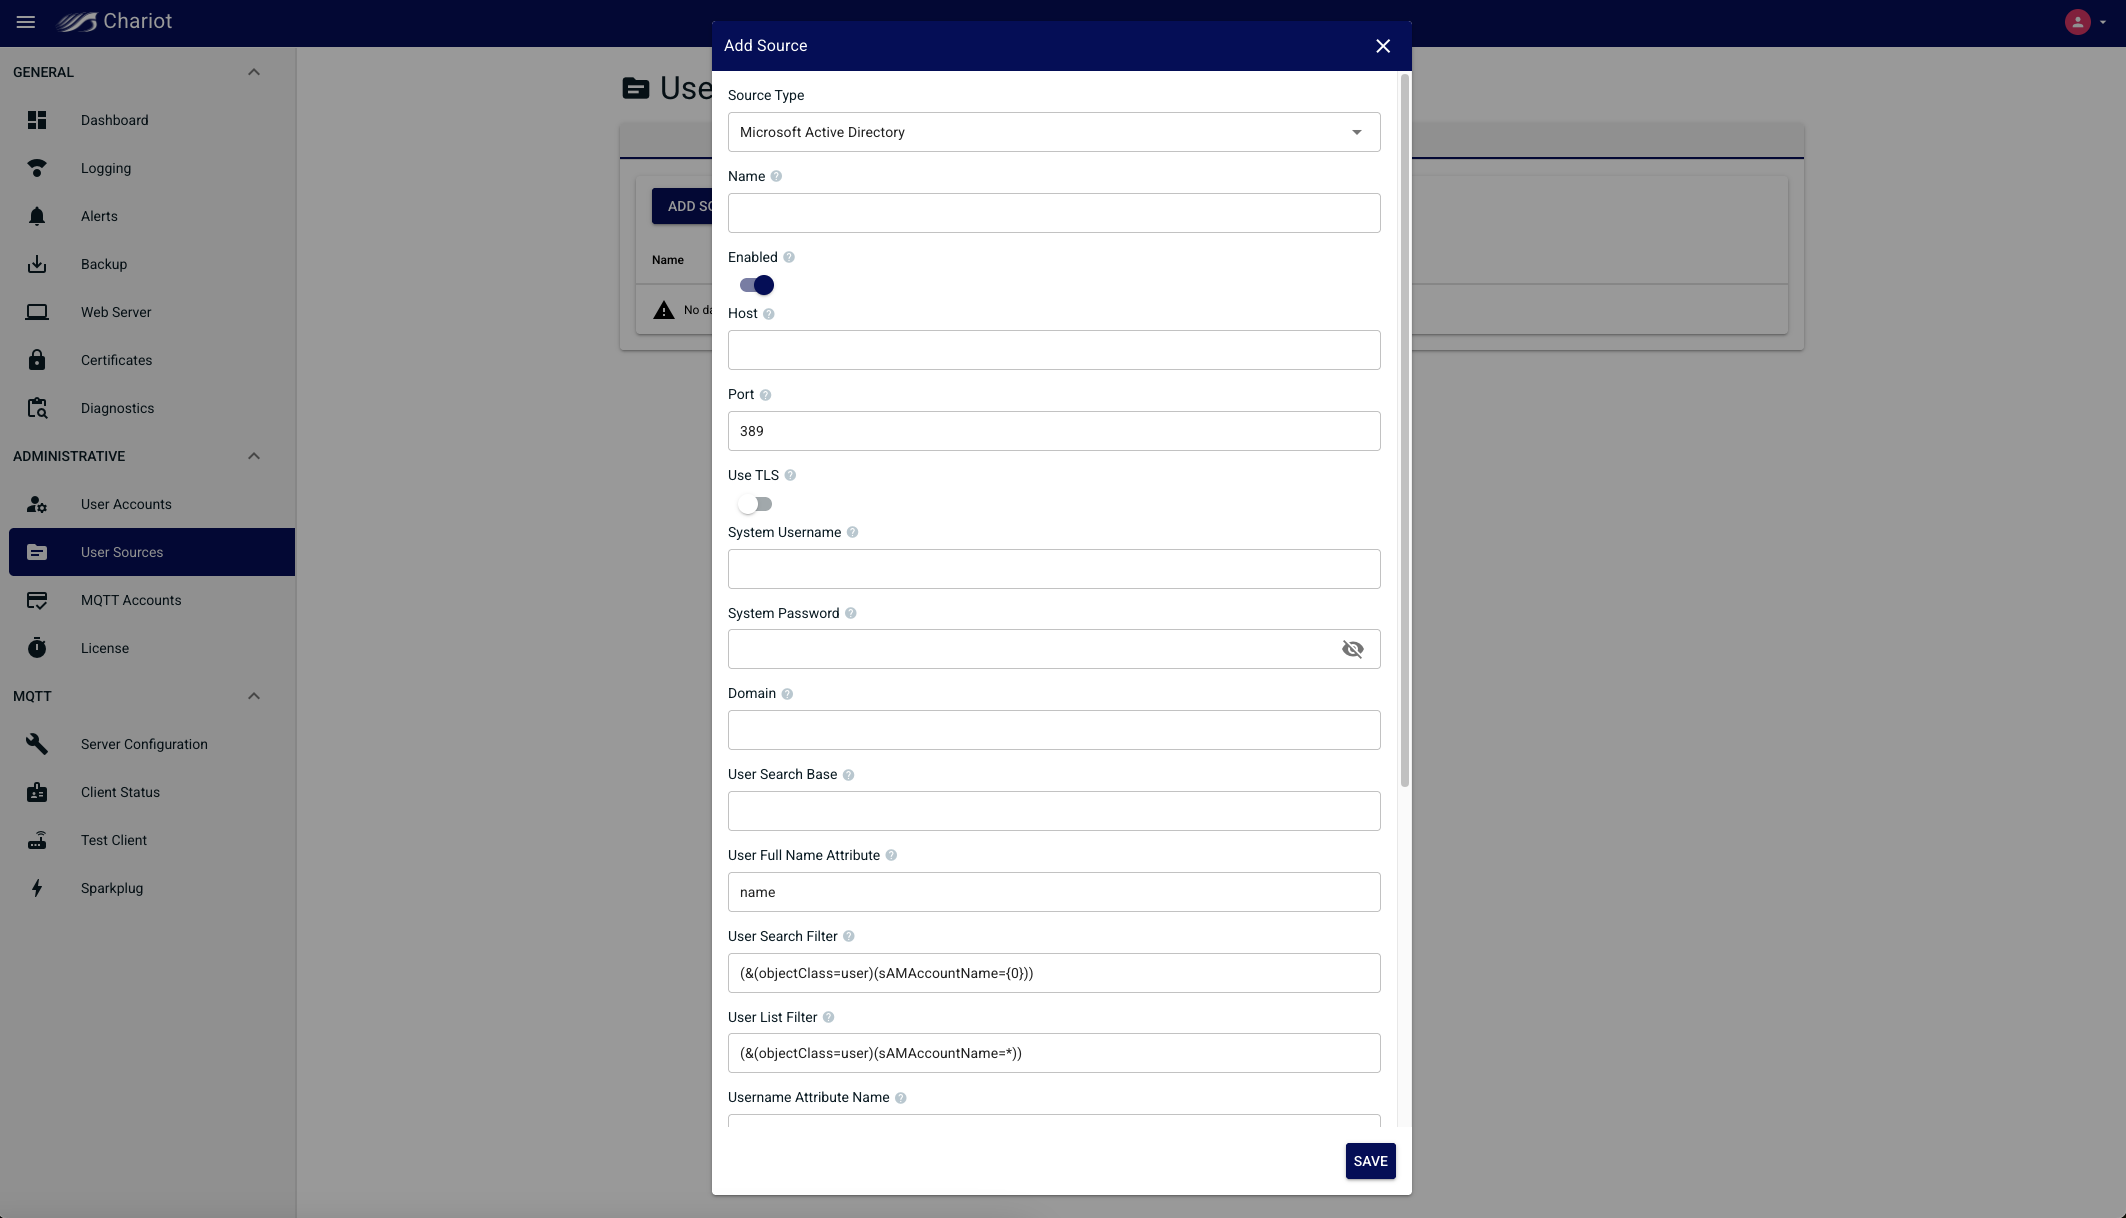

- Enter the Active Directory configuration (see the table below for information on the configuration fields) and click the Add button in the bottom right of the form when finished entering the configuration.

| Anchor | ||||
|---|---|---|---|---|
|
...
- Navigate to the following page:
Main Menu → Administrative → User Sources - Click on the Add Source button and select the "Active Directory" Source Type to bring up the Source configuration form.
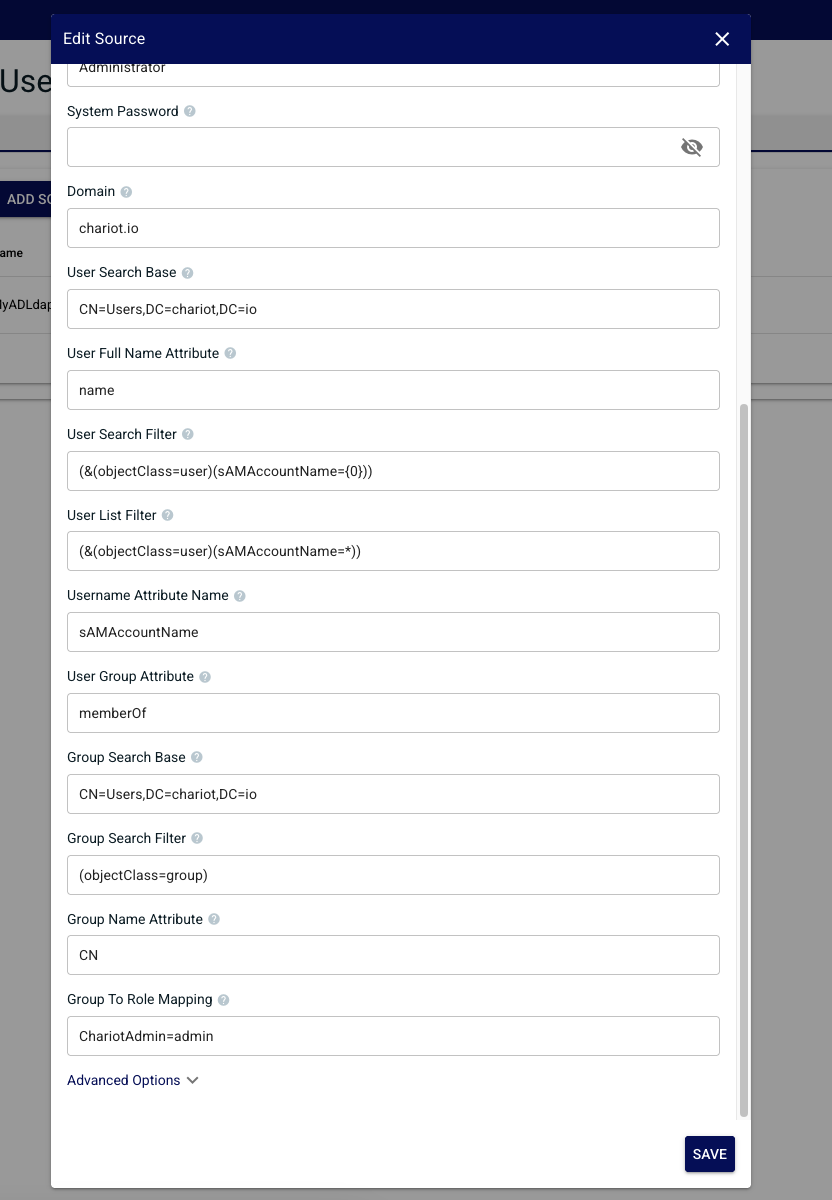

- Expand the advanced options and enter the Active Directory configuration (see the table below for information on the configuration fields) and click the "Save" button in the bottom right of the form when finished entering the configuration.

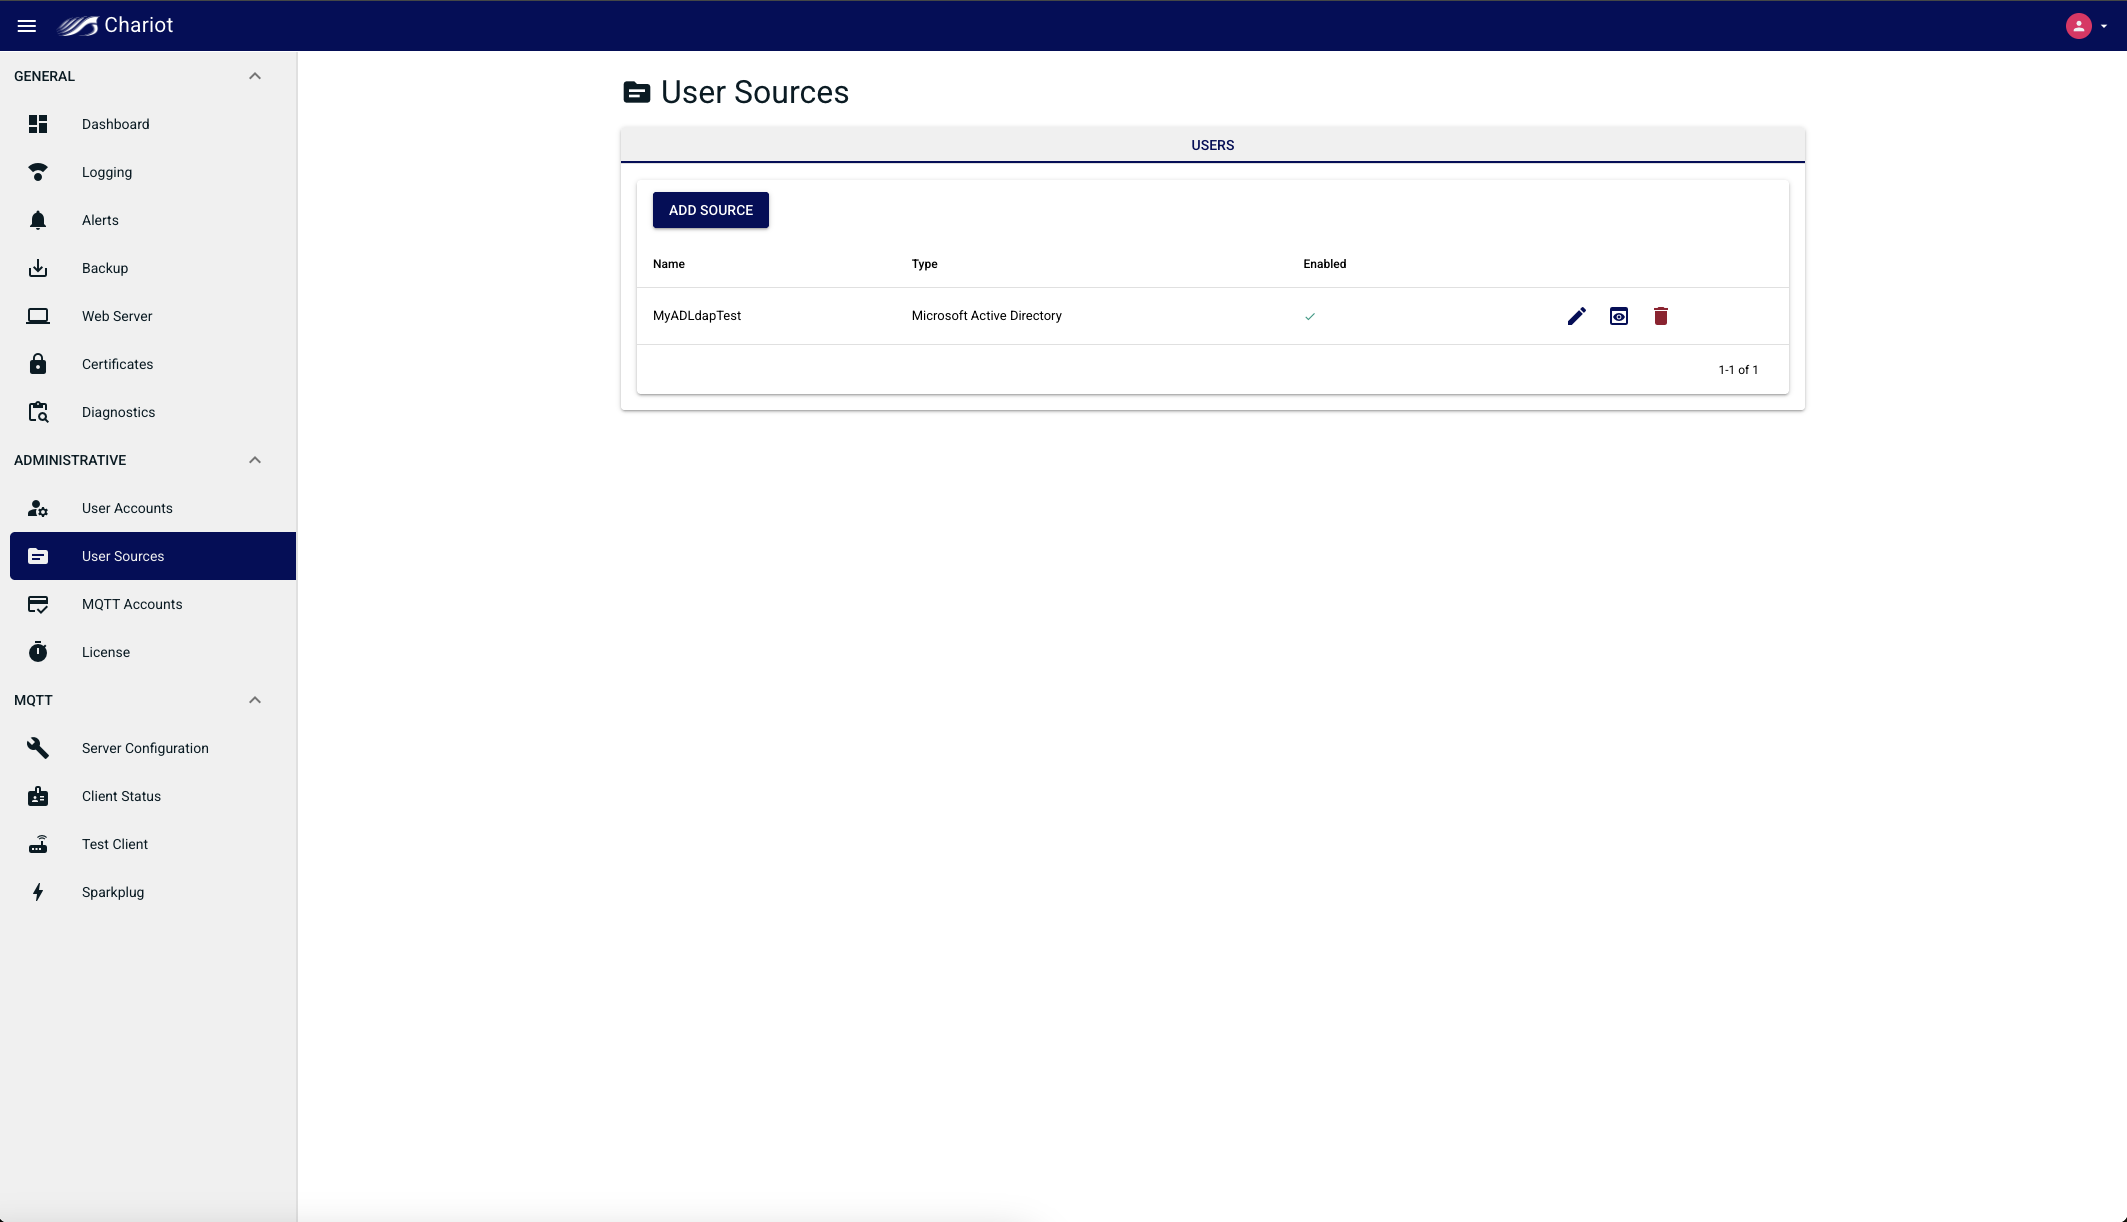
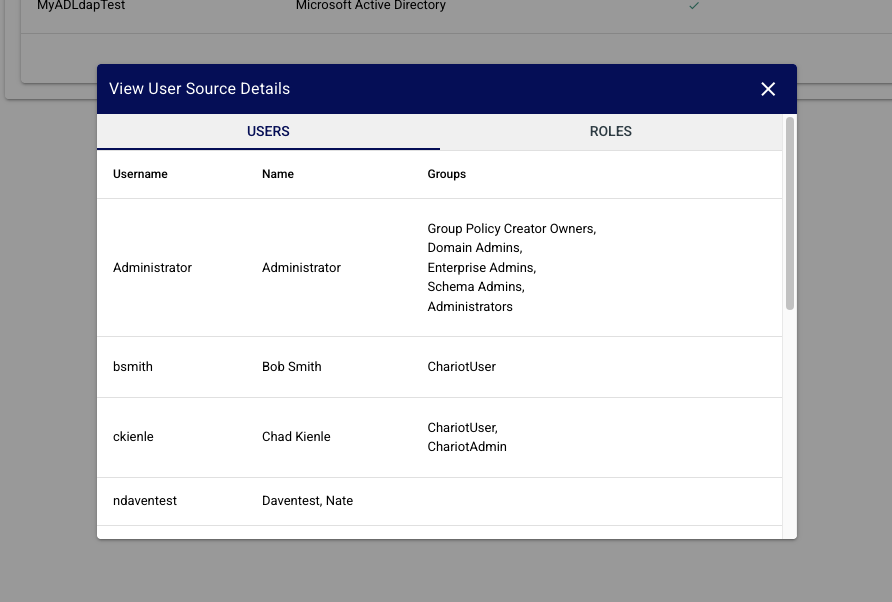
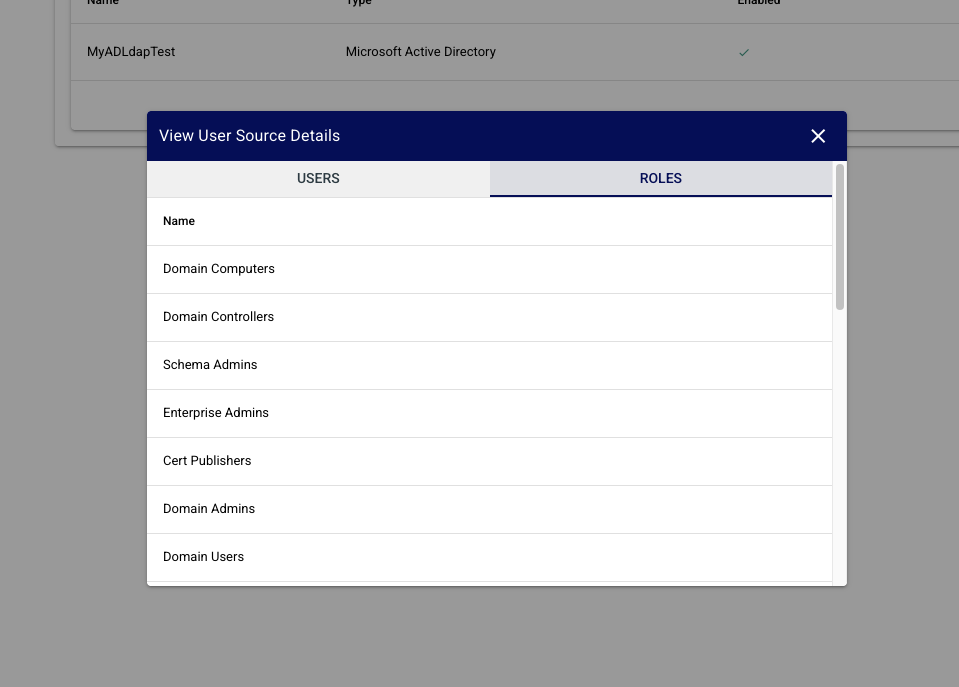
Viewing the Users and Roles
- On the newly created Source entry click the preview button to open a modal showing the sources Users, and Roles


Configuration Fields:
| Tip |
|---|
As of release v2.5.0 Chariot will use the supplied login username as the name for the simple bind request with the Microsoft AD server. Additionally the Domain, Auto Suffix, and/or Username Suffix & Prefix properties can be configured to support bind requests with a user principal name (UPN) of another form. |
...
- Navigate to the following page:
Main Menu → Administrative → User Sources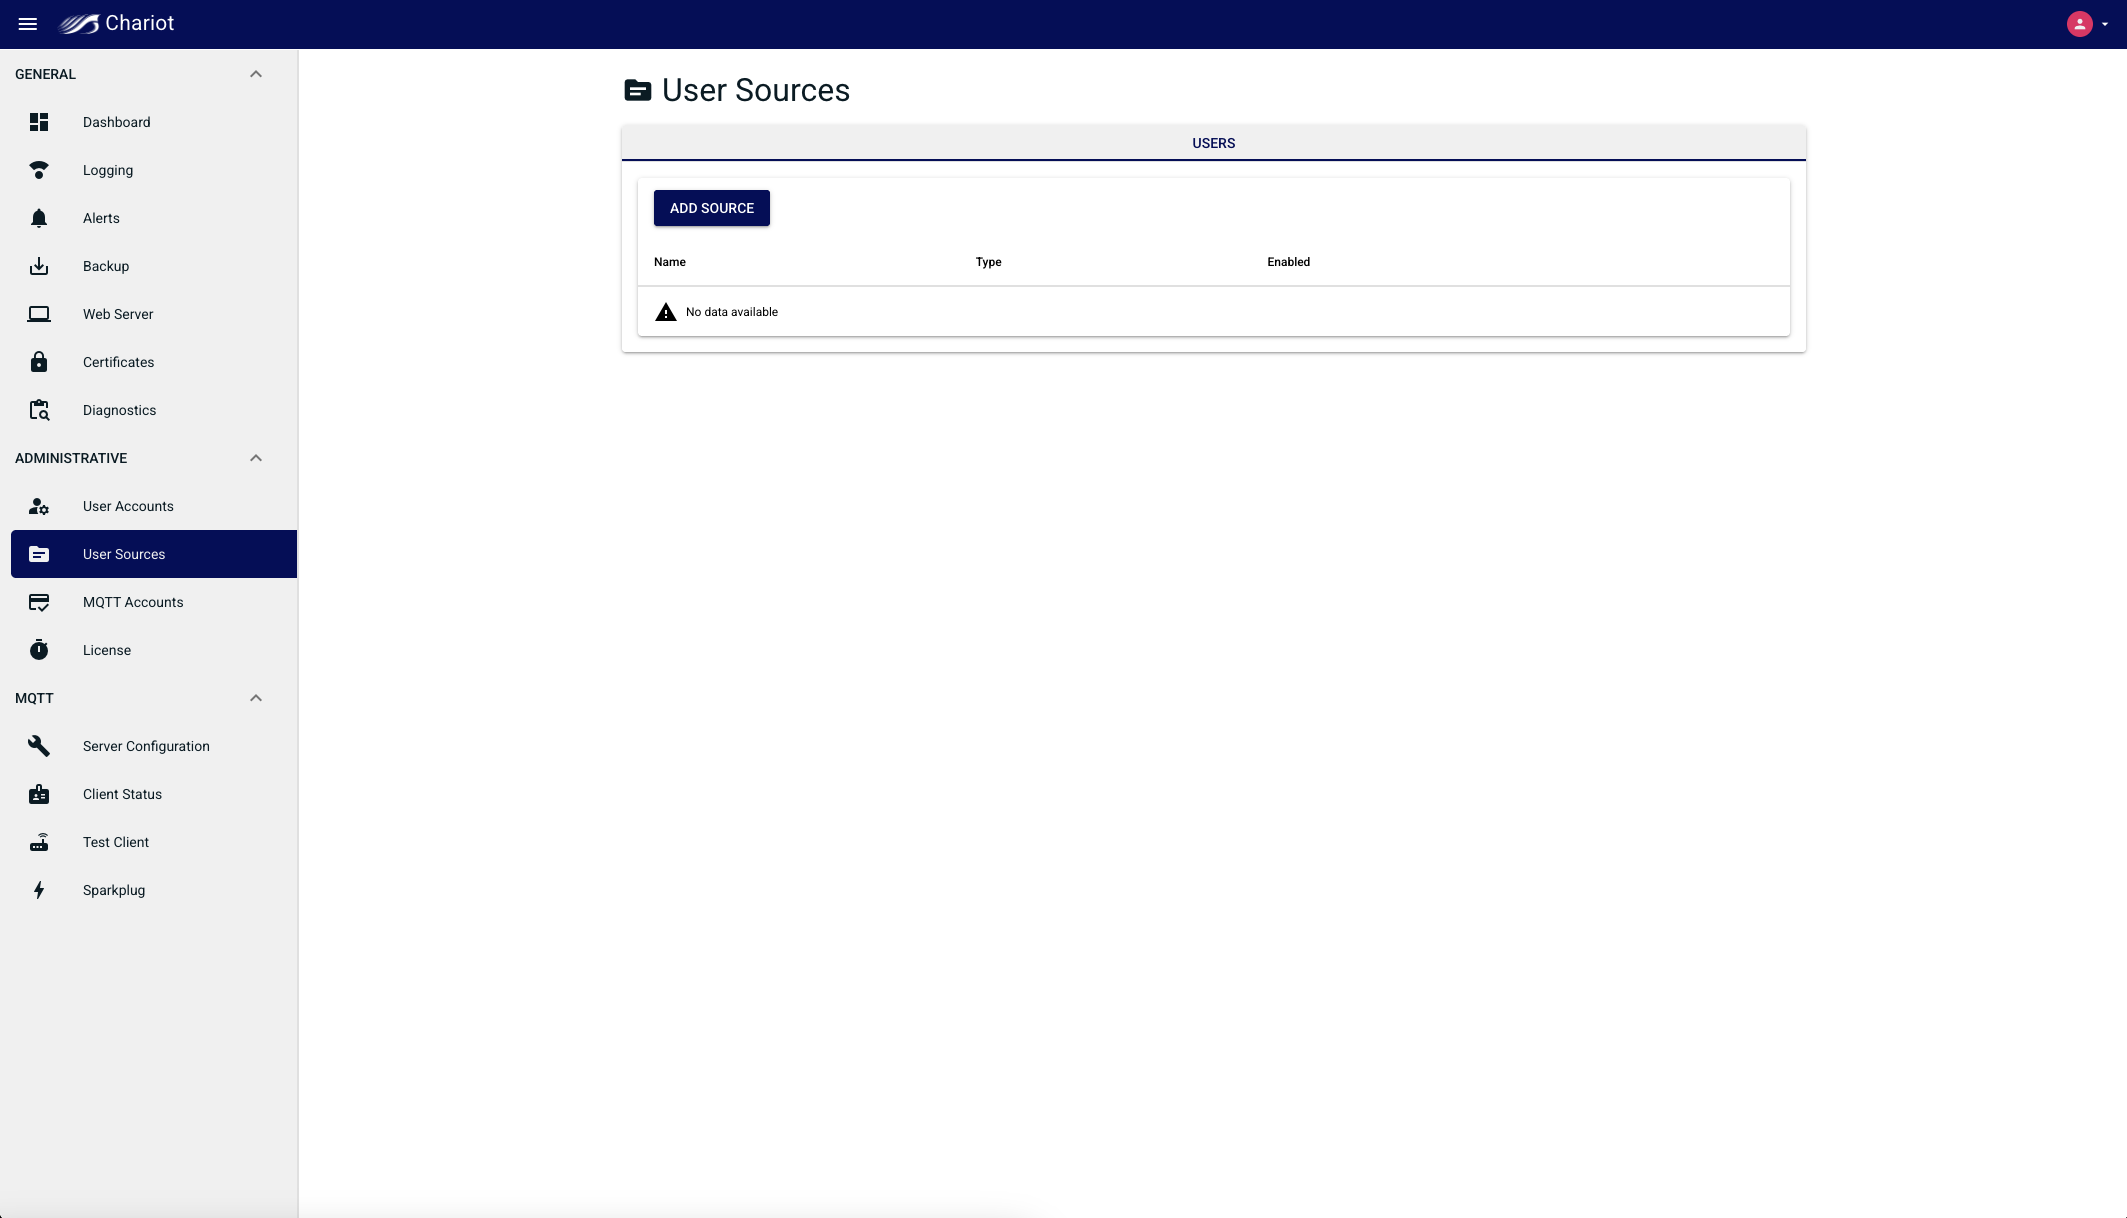

- Click on the Add Source button and select the "LDAP" Source Type to bring up the Source configuration form

- Enter the LDAP directory configuration (see the table below for information on the configuration fields and click the Add button in the bottom right of the form when finished entering the configuration.


- On the newly created Source entry click the preview button to open a modal showing the sources Users, and Roles


...
Overview
Content Tools