![]()
Contents
Cirrus Link Resources
Chariot MQTT Server v1 (previous version)![]()
Cirrus Link Modules for Ignition![]()
Contact Us (Sales/Support)![]()
Forum![]()
![]()
Chariot MQTT Server v1 (previous version)![]()
Cirrus Link Modules for Ignition![]()
Contact Us (Sales/Support)![]()
Forum![]()
...
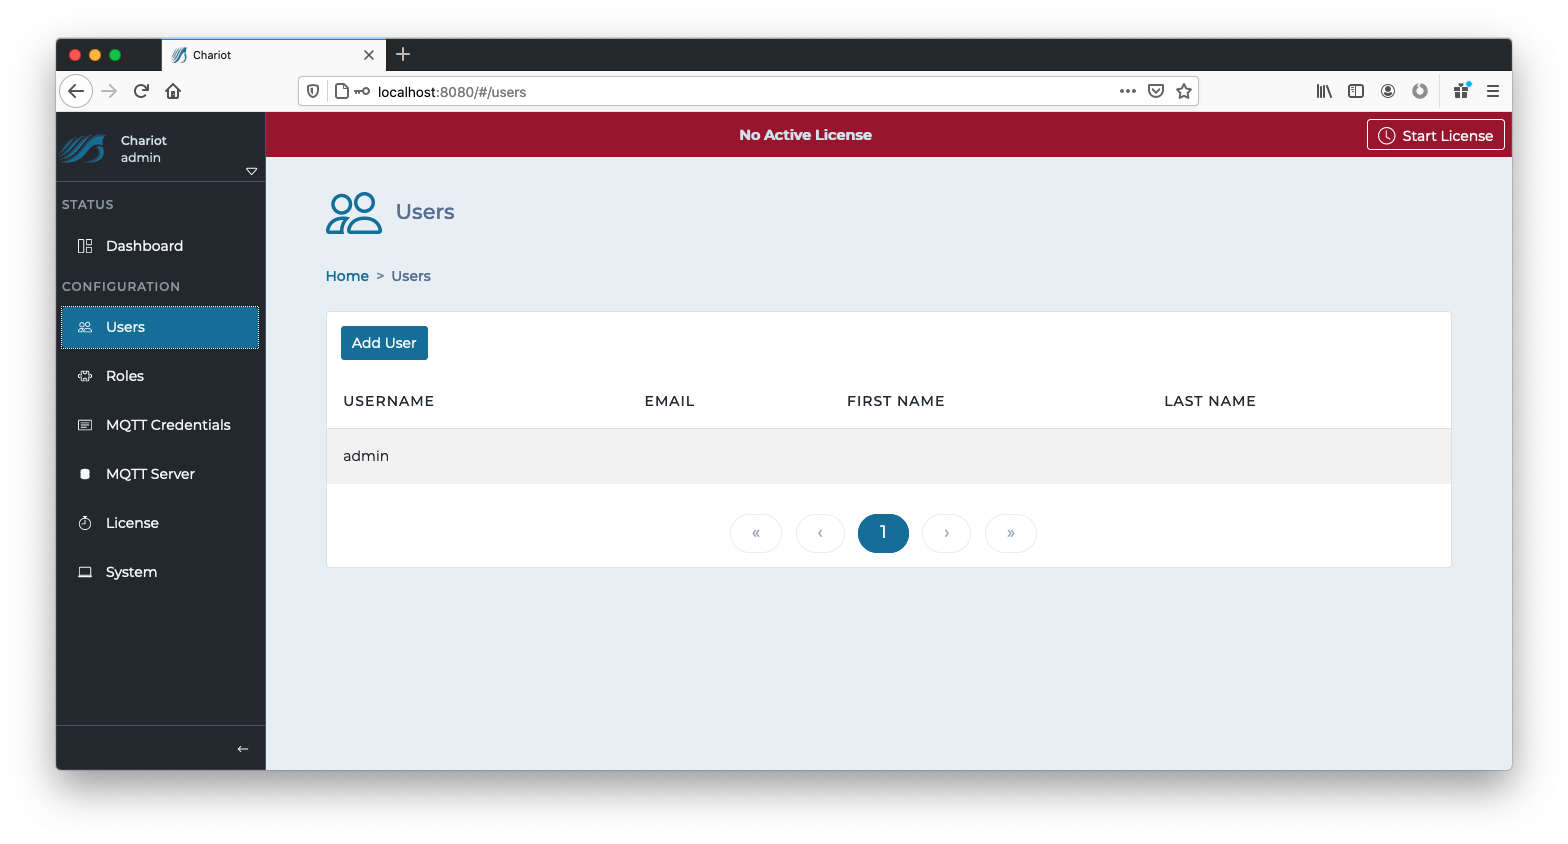
The Users page allows for the creating, updating, and deleting of Chariot Users. A Chariot User may log into the Chariot Web UI and perform different actions based the the Roles assigned to that User. The main Chariot Users page shows a table of existing Chariot Users. Users can be added by clicking the "Add User" button, or they can be edited by clicking on the individual User in the table.

Clicking the "Add User" button will display a form for creating a new Chariot User.
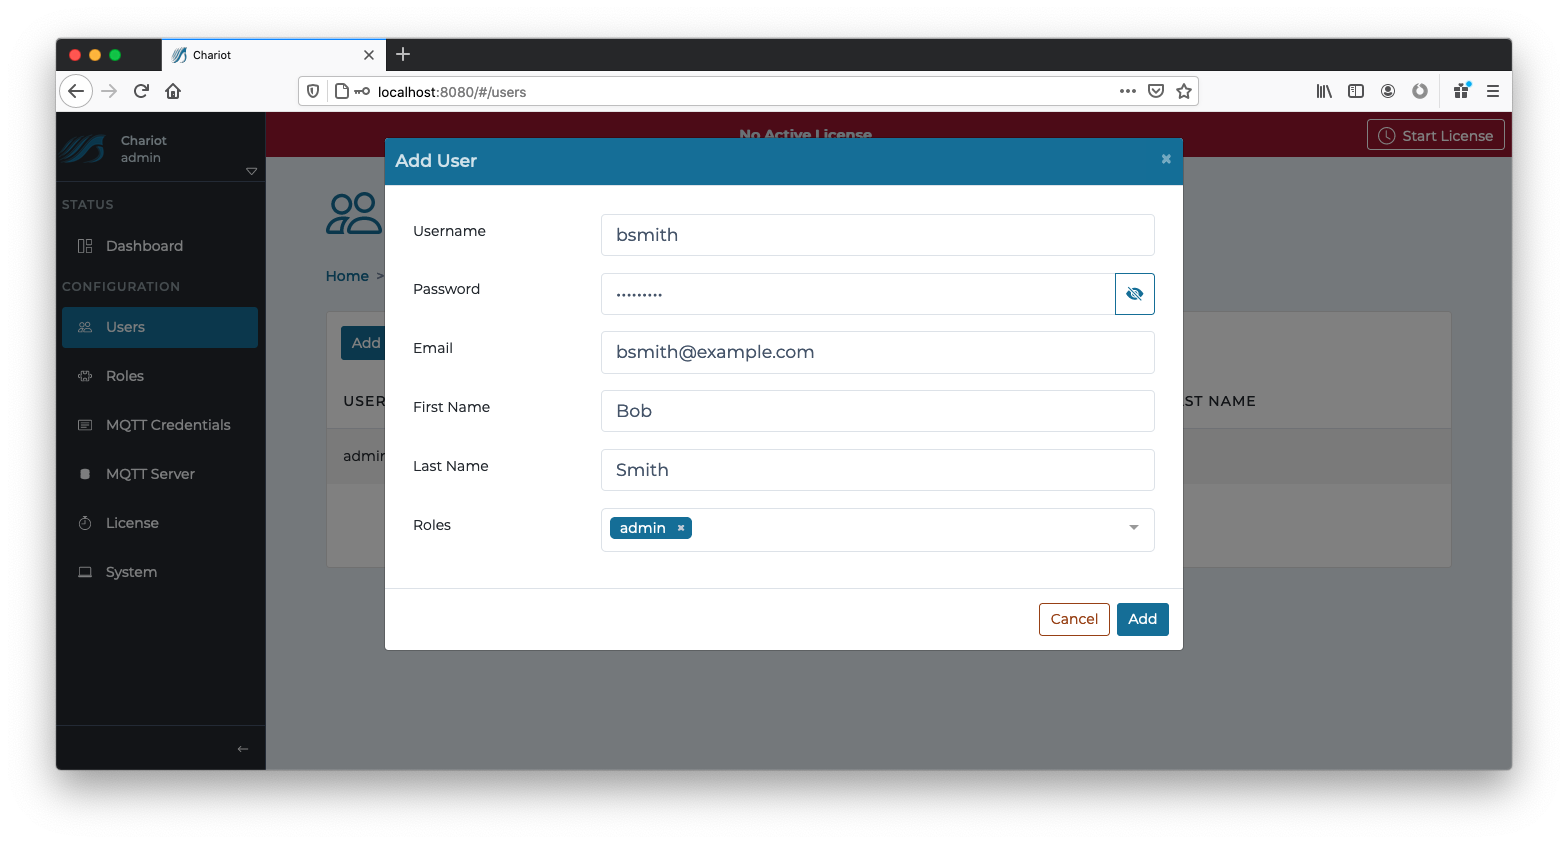
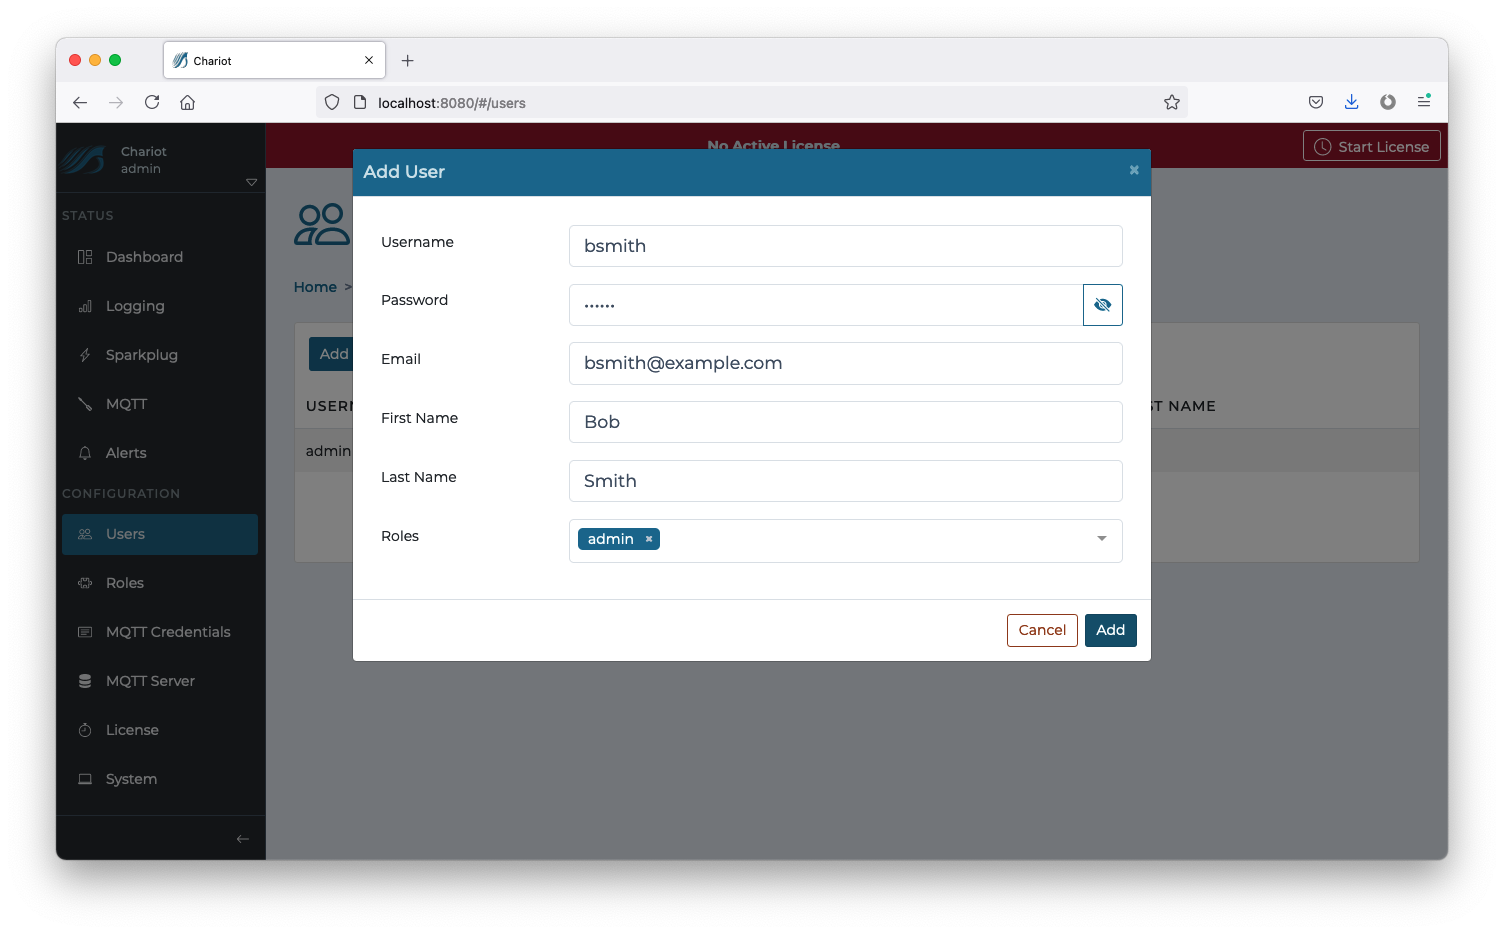 The form contains the following fields:
...
Clicking on an individual Chariot User in the table will display a form for editing the Chariot User.
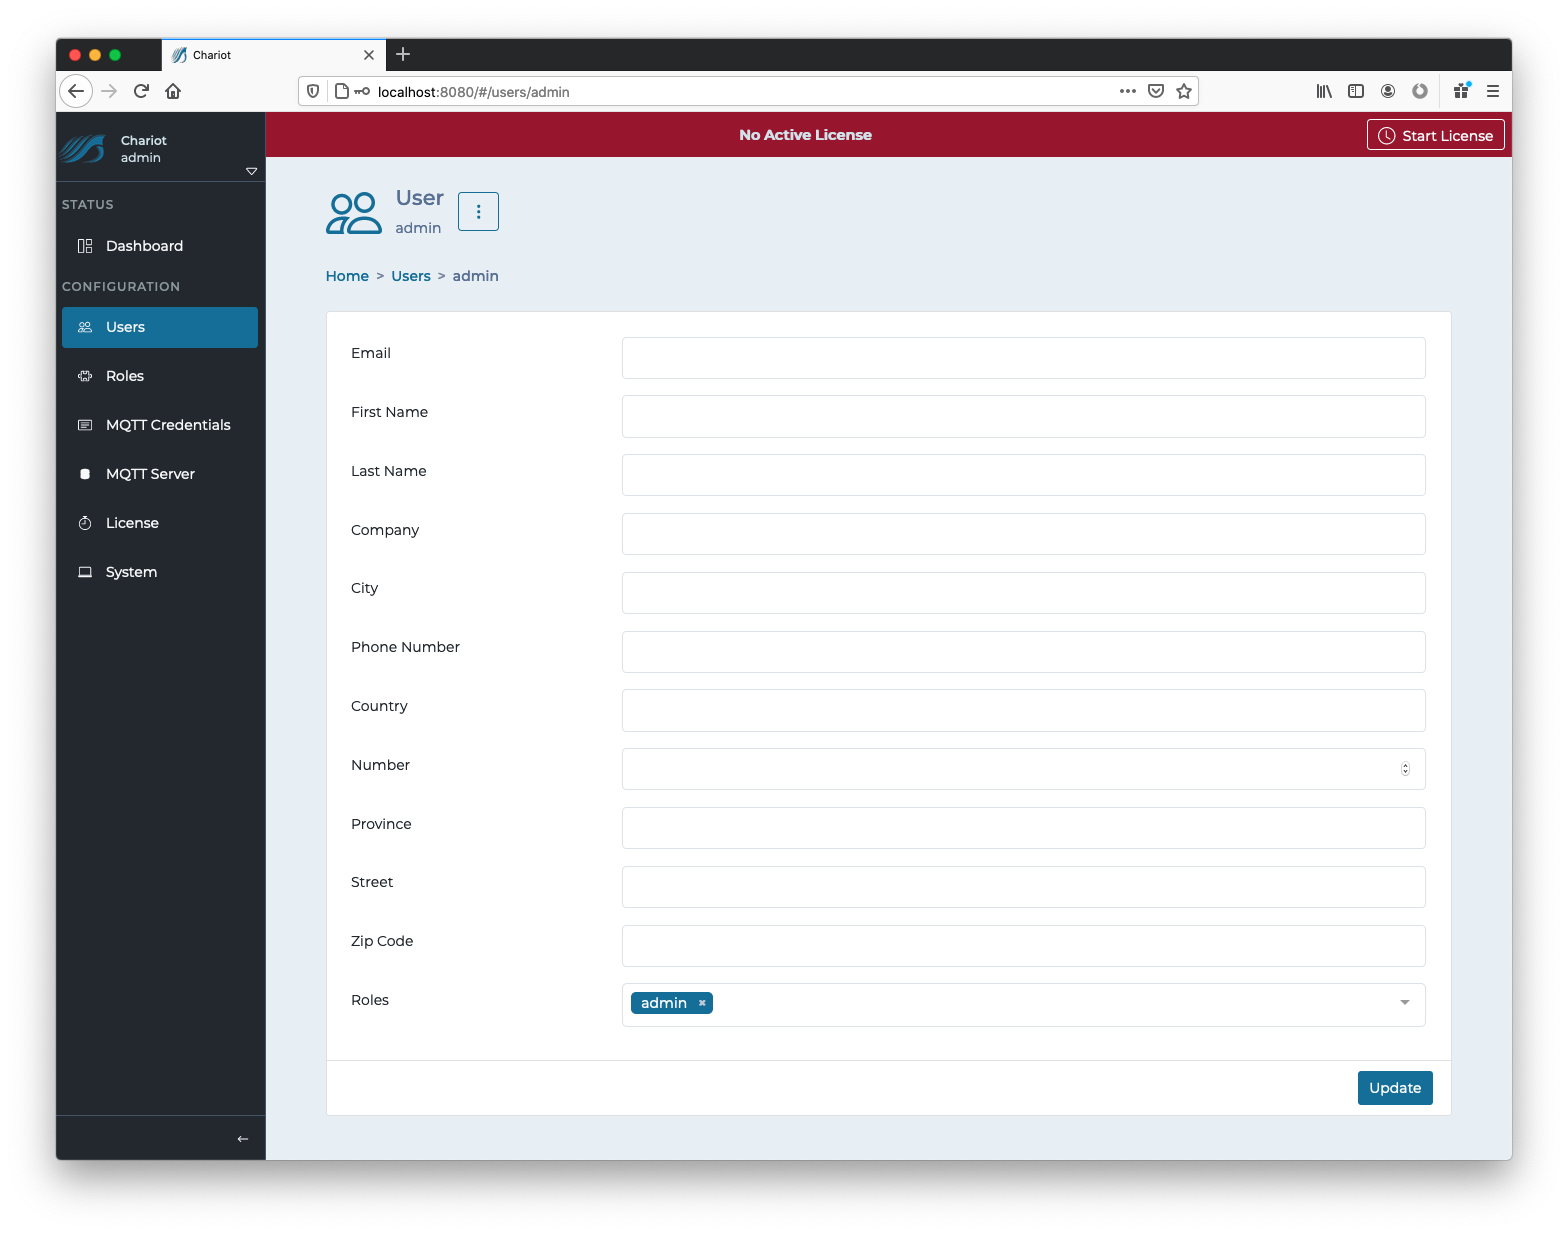
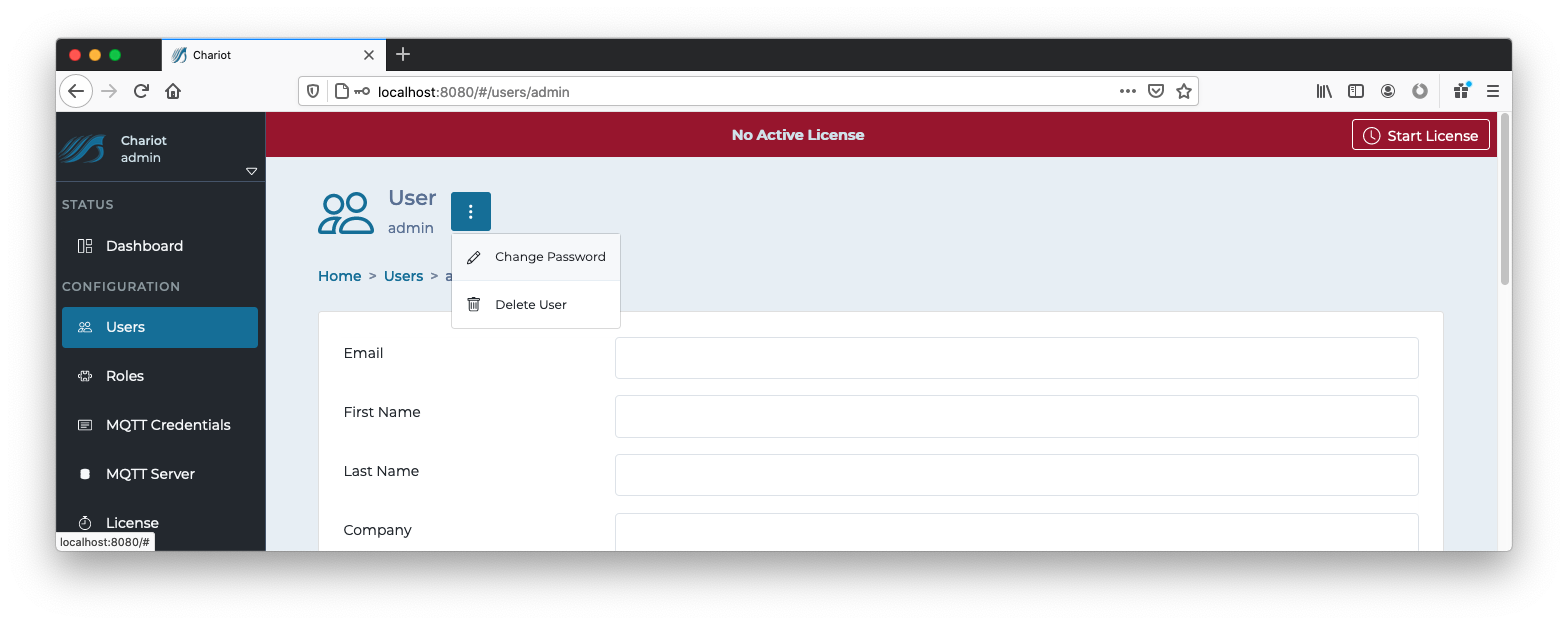
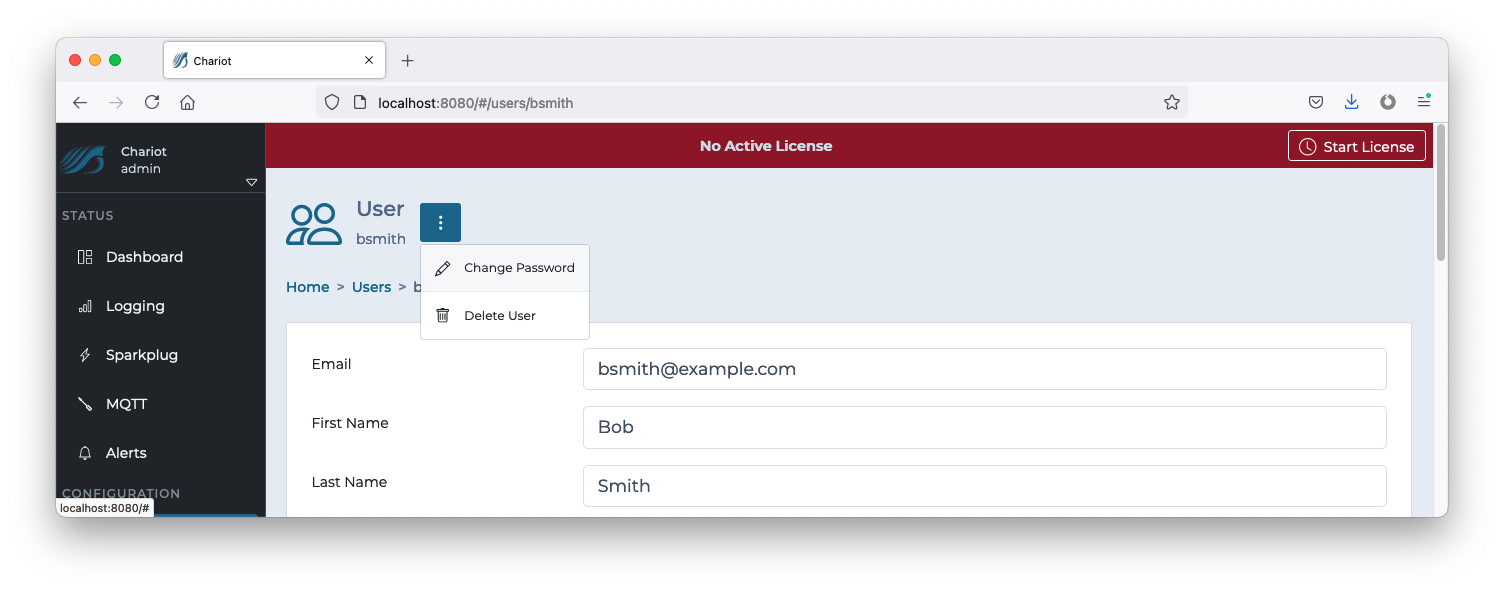
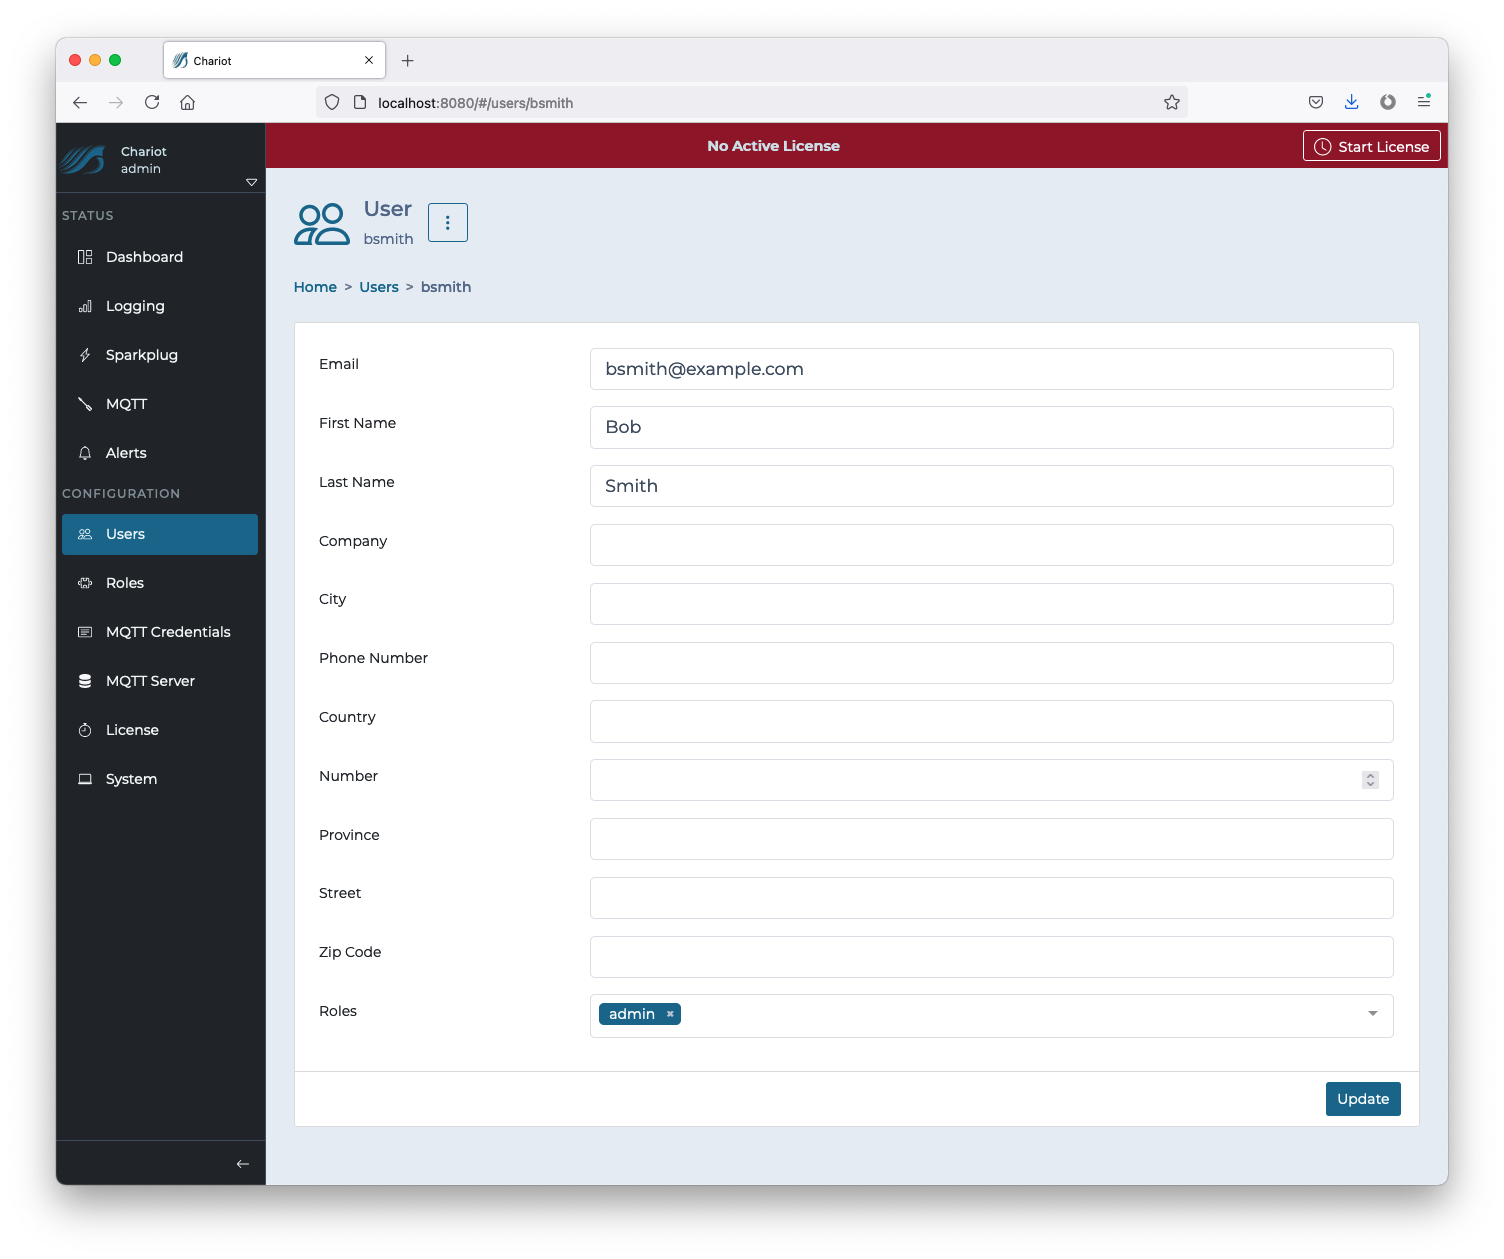 The update form contains additional fields that can be used to provide more information about the Chariot User. Additionally, a dropdown list to the right of the Chariot User's username can be clicked to provide options for deleting the user, or changing the Chariot User's password.
 The "Update" button in the bottom right can be clicked to update the Chariot User once all changes have been made.
...
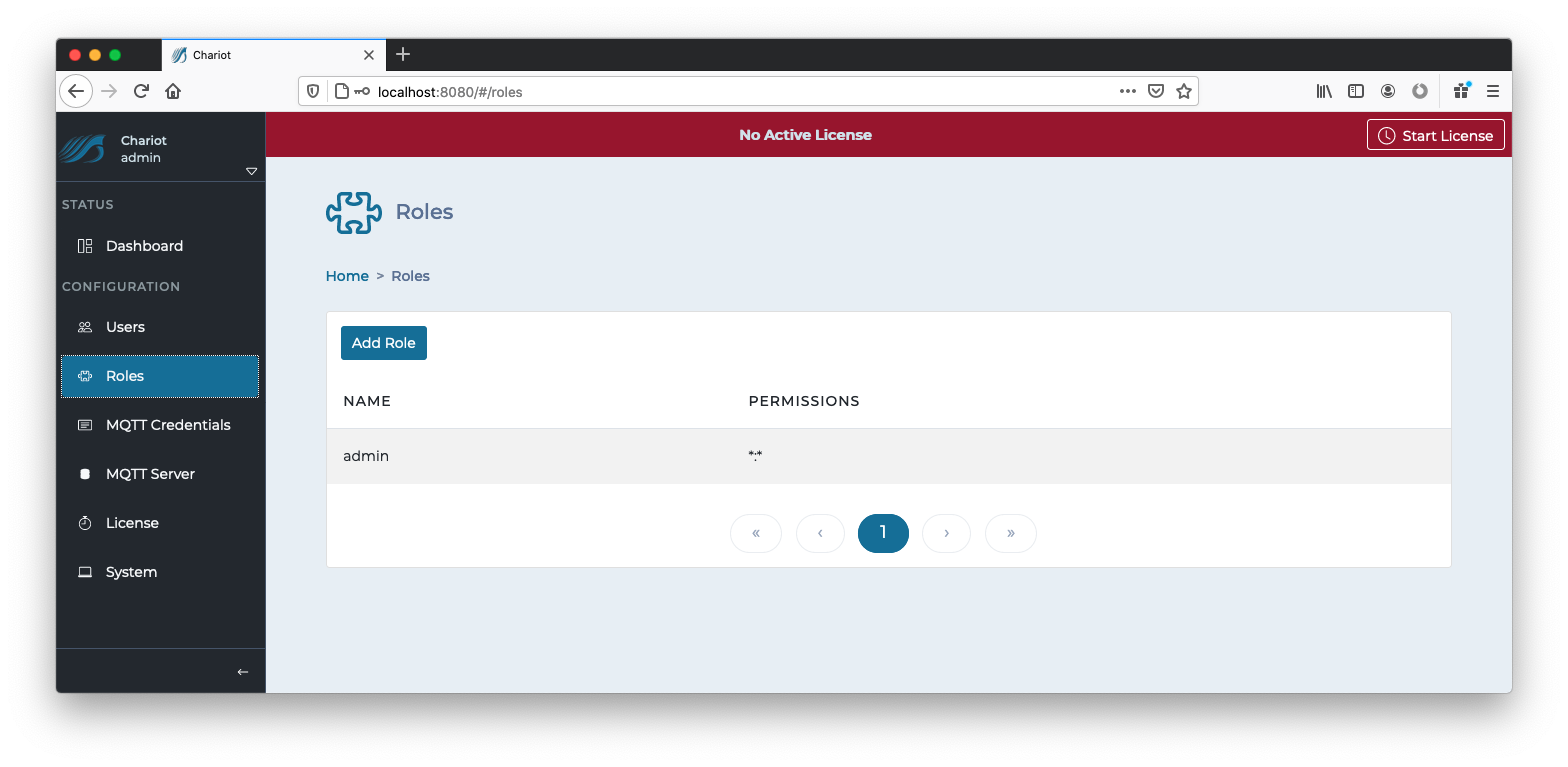
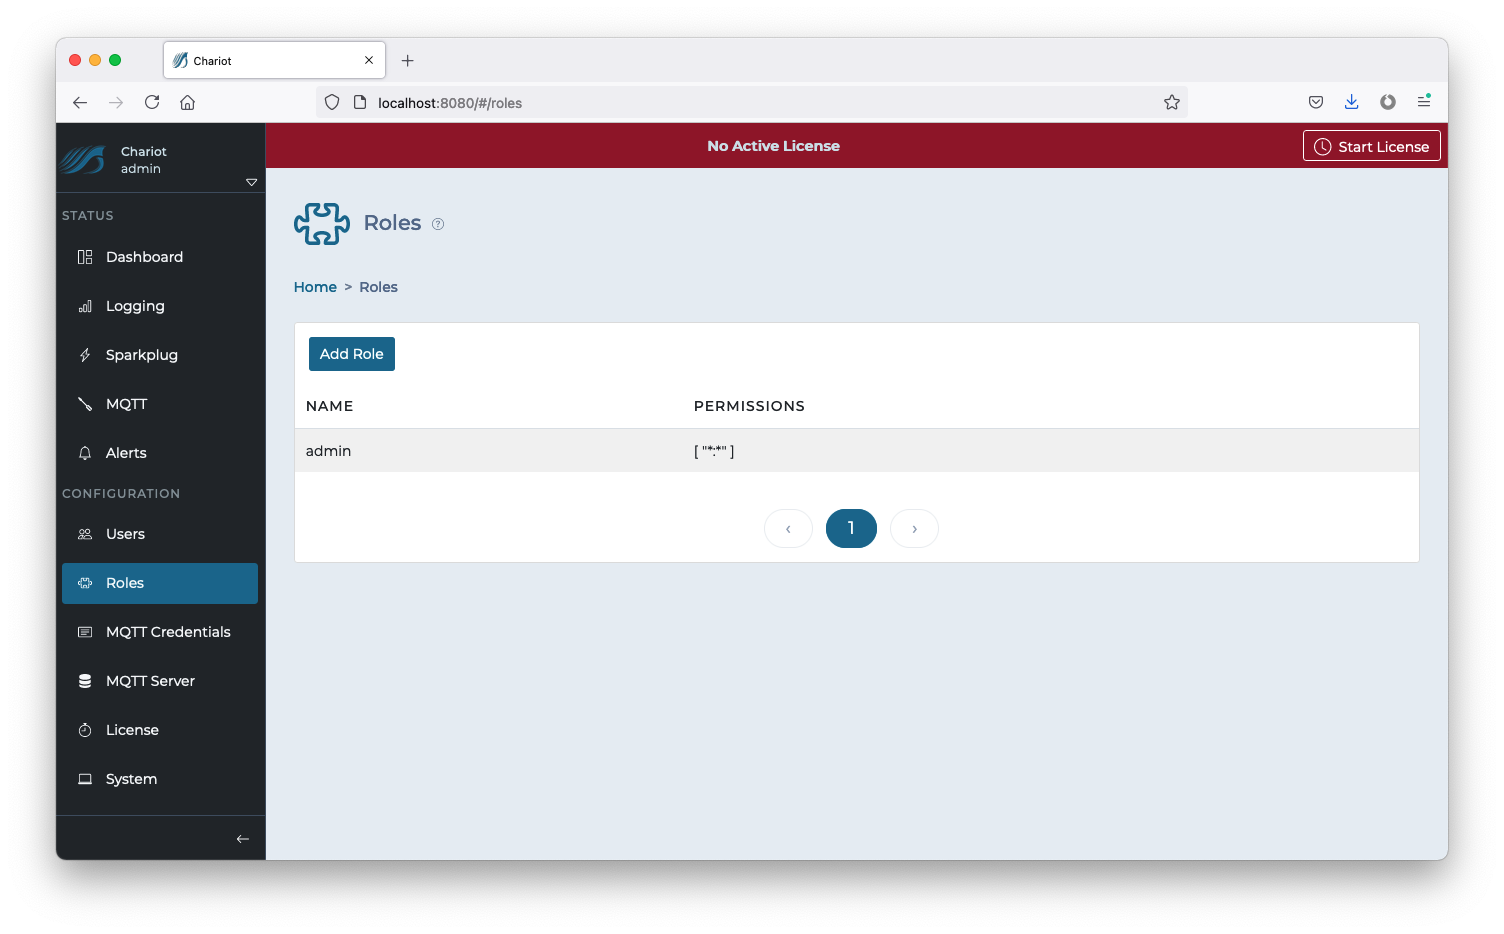
The Roles page allows for the creating, updating, and deleting of Chariot Roles. A Chariot Role is a collection of permissions that authorized viewing, editing, and/or controlling the Chariot MQTT Server. The main Chariot Roles page shows a table of existing Chariot Roles. Roles can be added by clicking the "Add Role" button, or they can be edited by clicking on the individual Role in the table.
Clicking the "Add Role" button will display a form for creating a new Chariot Role.
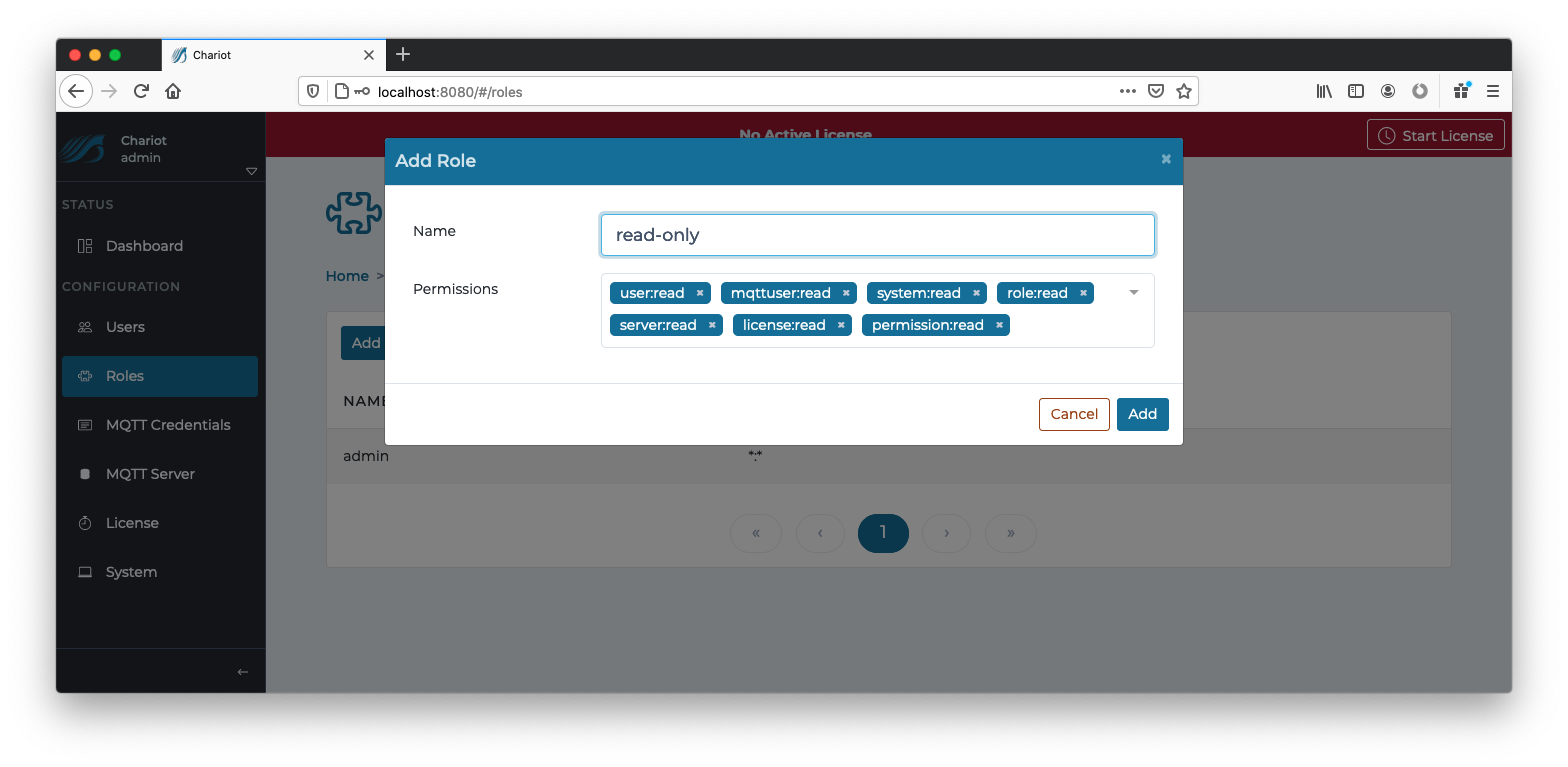
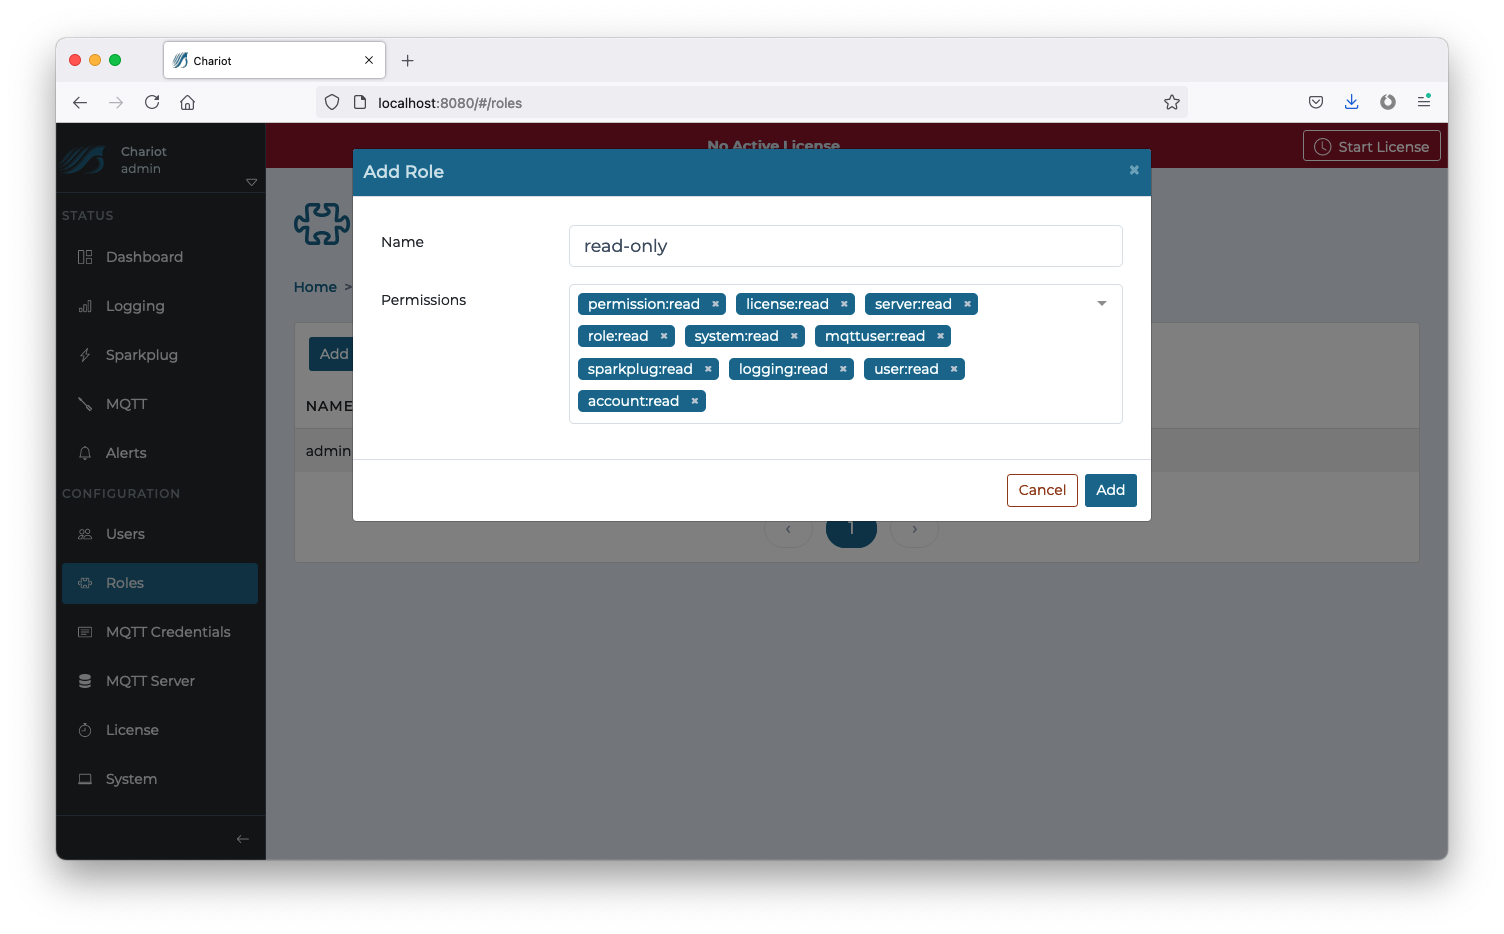
The form contains the following fields:
...
Clicking on an individual Chariot Role in the table will display a form for editing the Chariot Role.
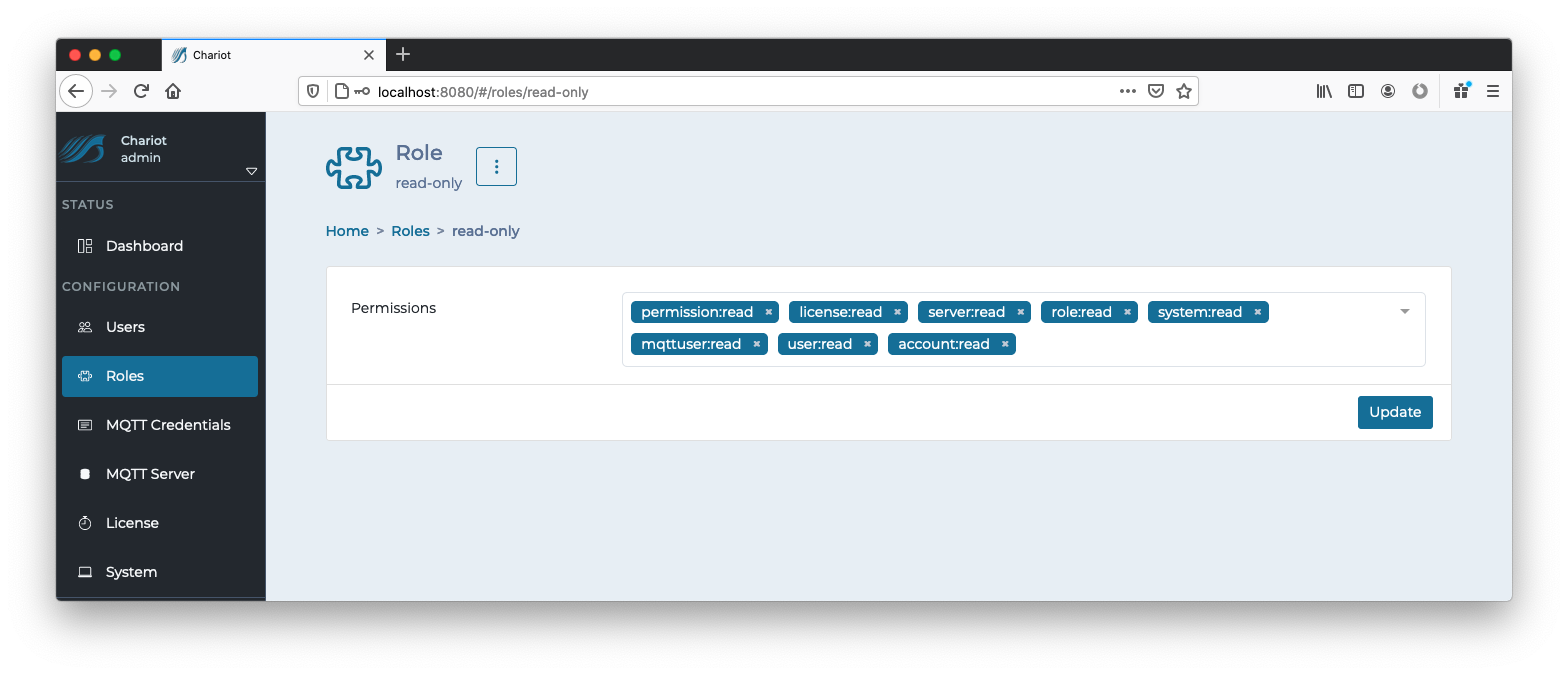
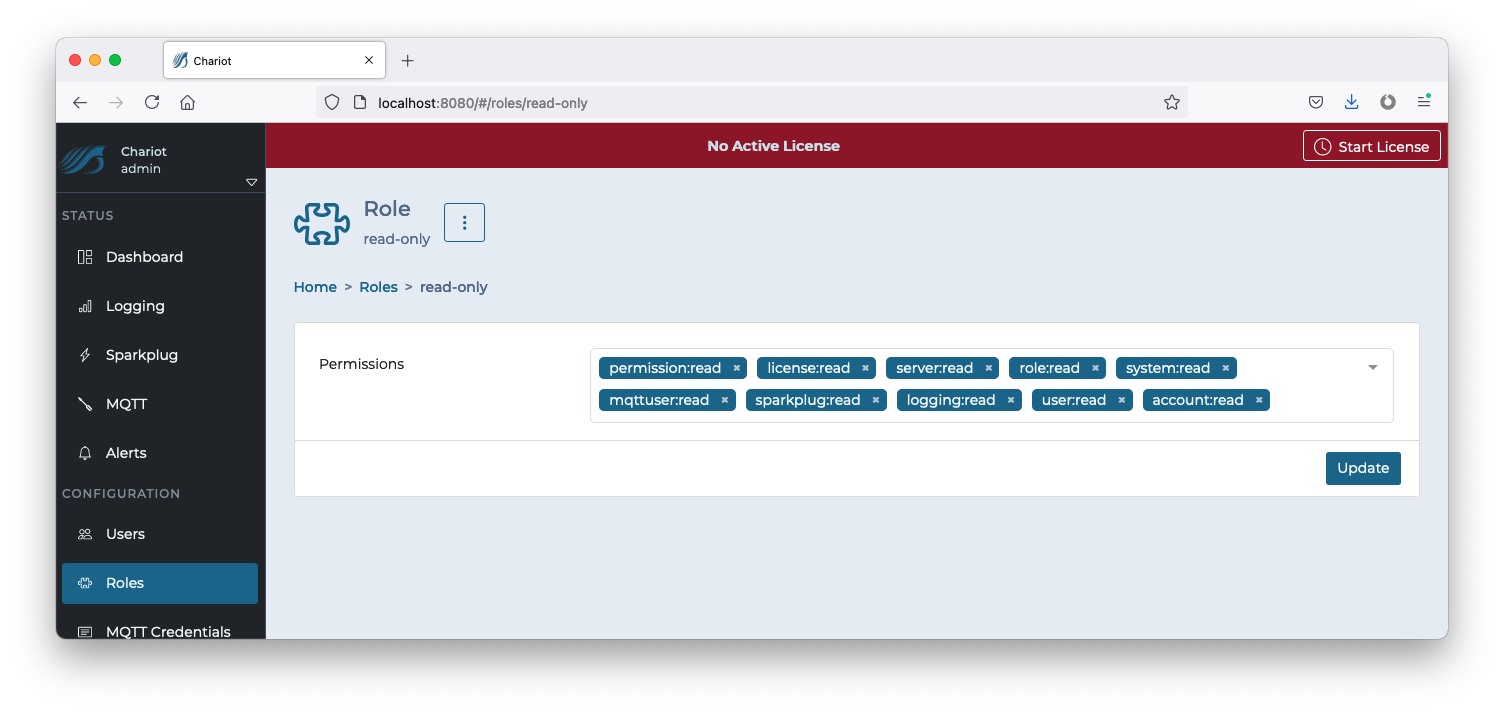
The "Update" button in the bottom right can be clicked to update the Chariot Role once all changes have been made.
...
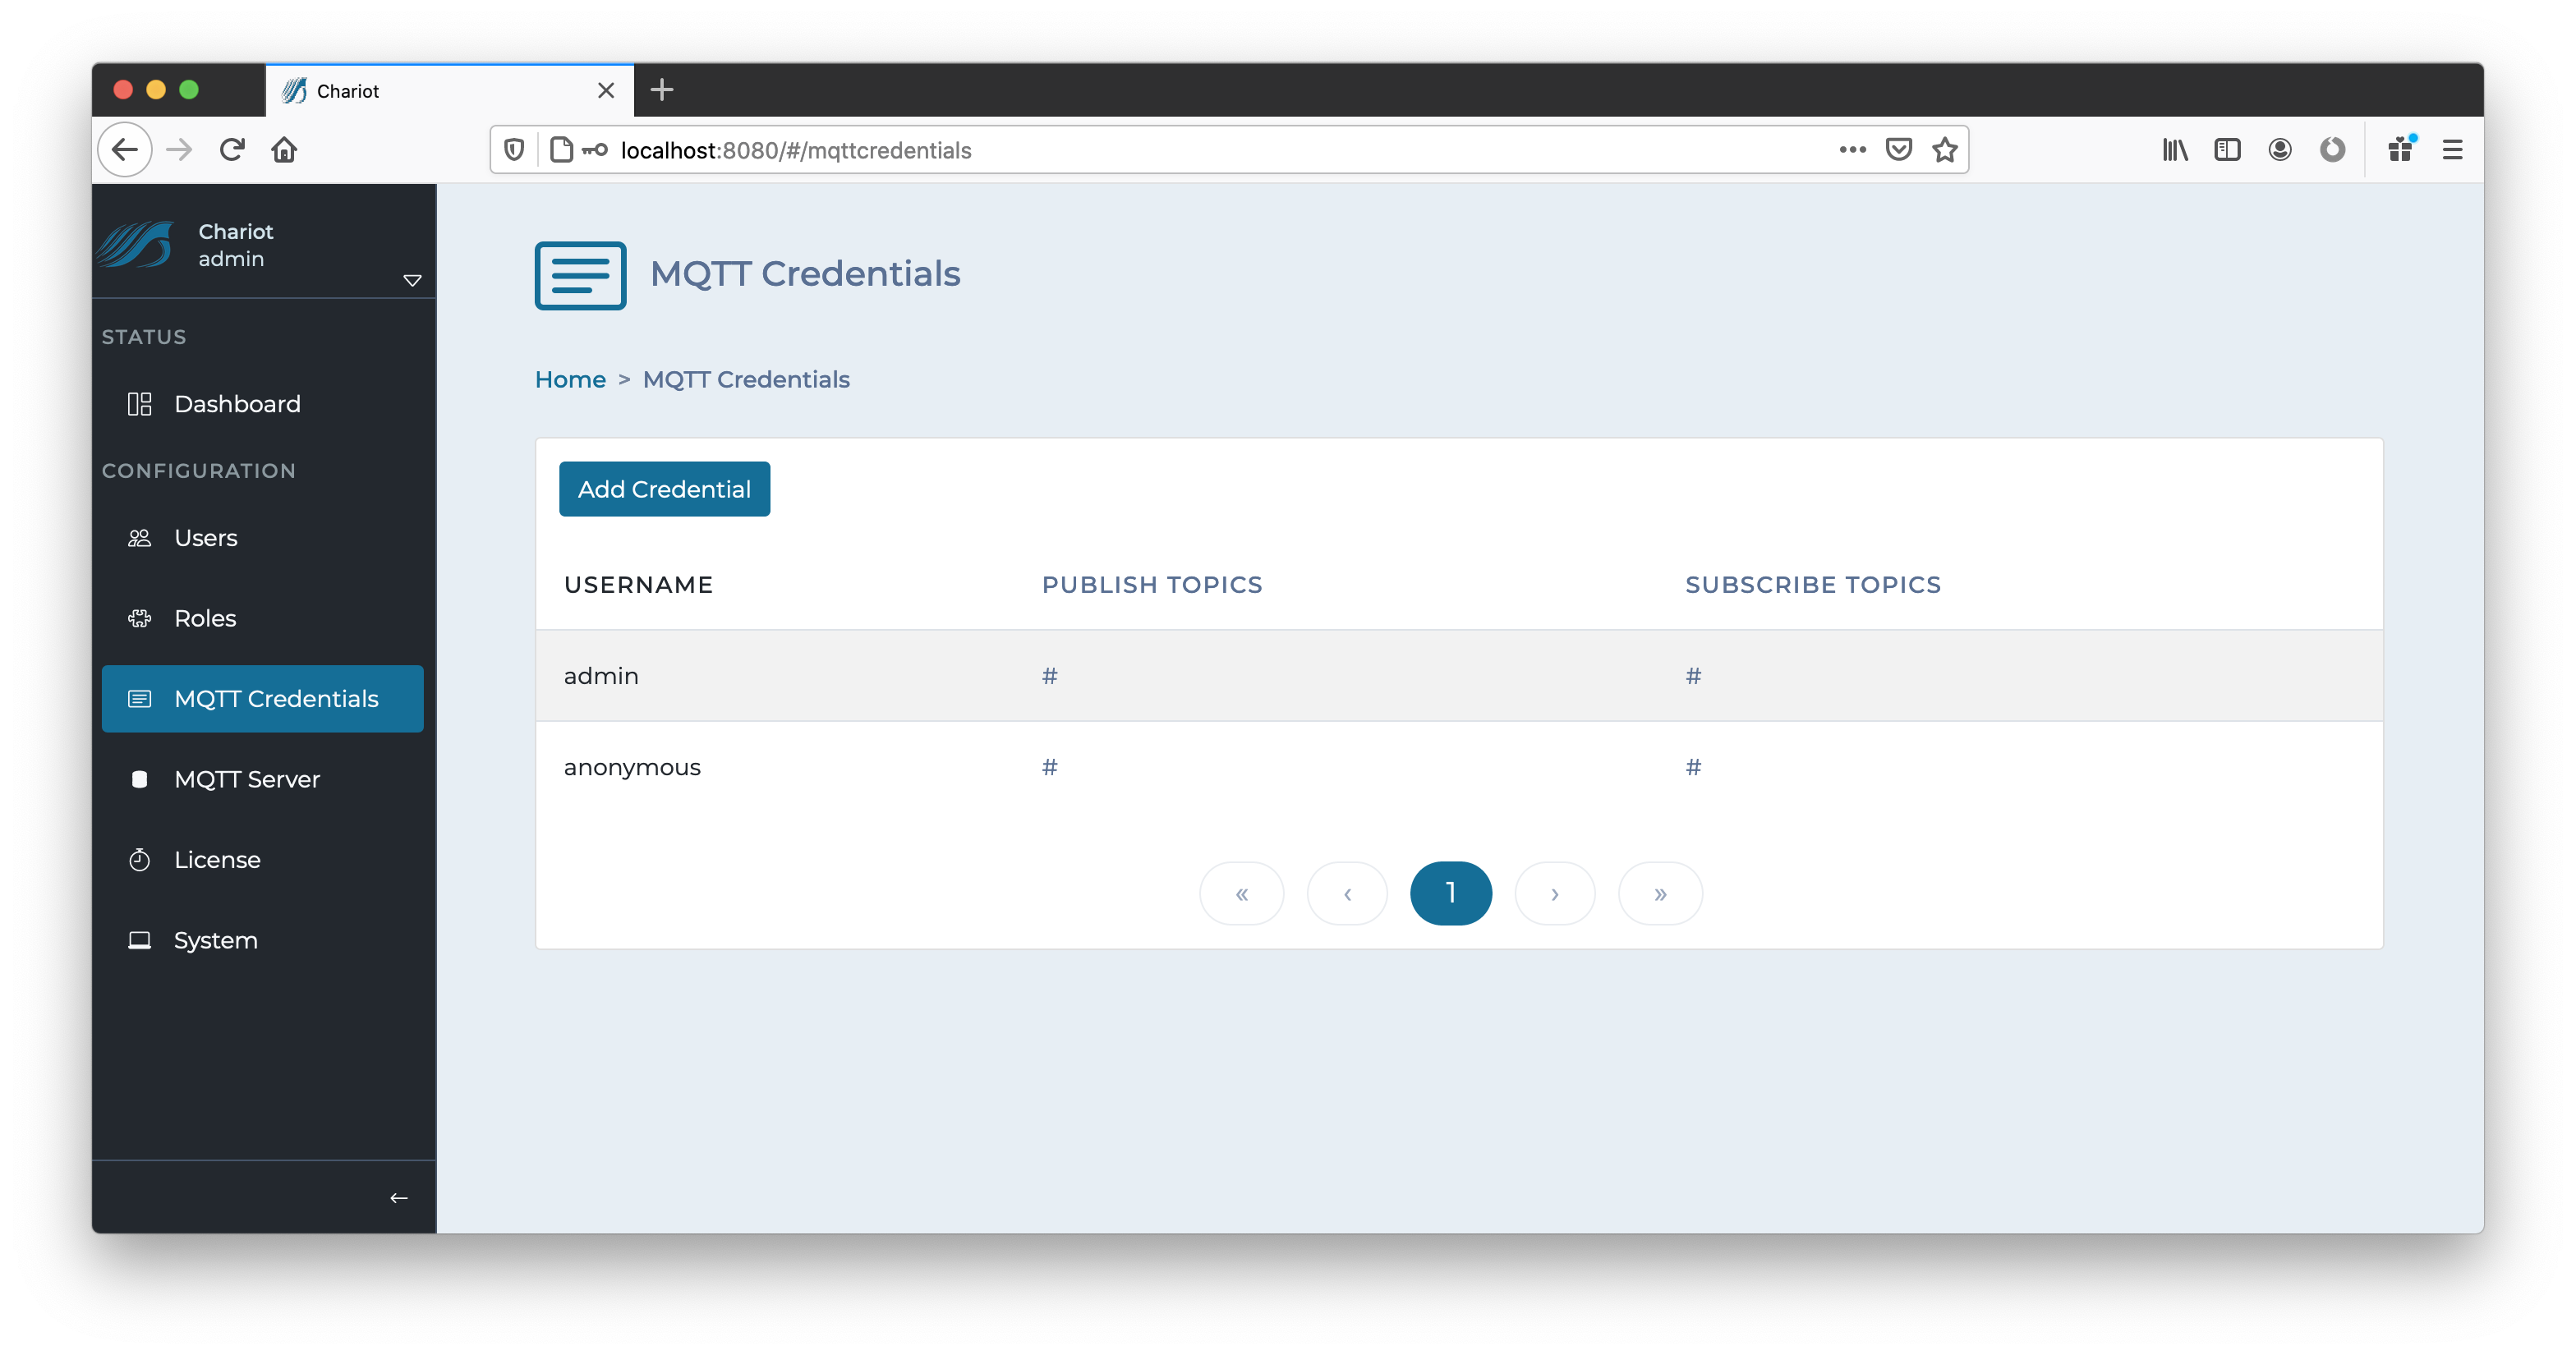
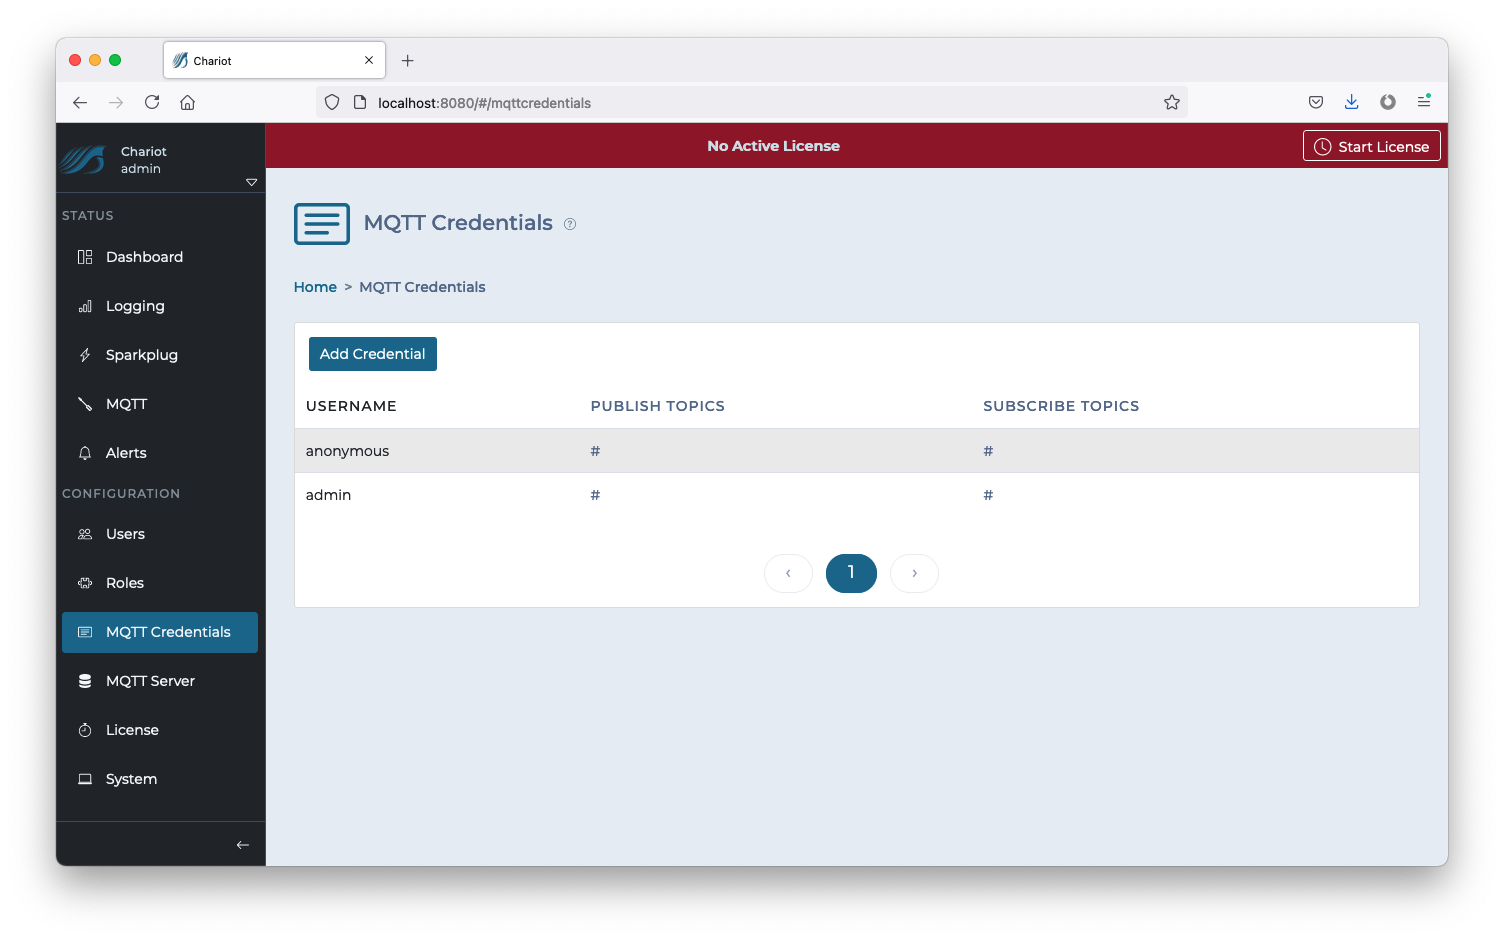
MQTT Credentials are the credentials that clients will use to authenticate when establishing an MQTT connection to the Chariot MQTT Server. MQTT Credentials also contain the access control lists (ACLs) that control which MQTT topics a client can publish and/or subscribe on. Credentials can be added by clicking the "Add Credential" button, or they can be edited by clicking on the individual Credential in the table.
Clicking the "Add Credential" button will display a form for creating a new MQTT Credential.
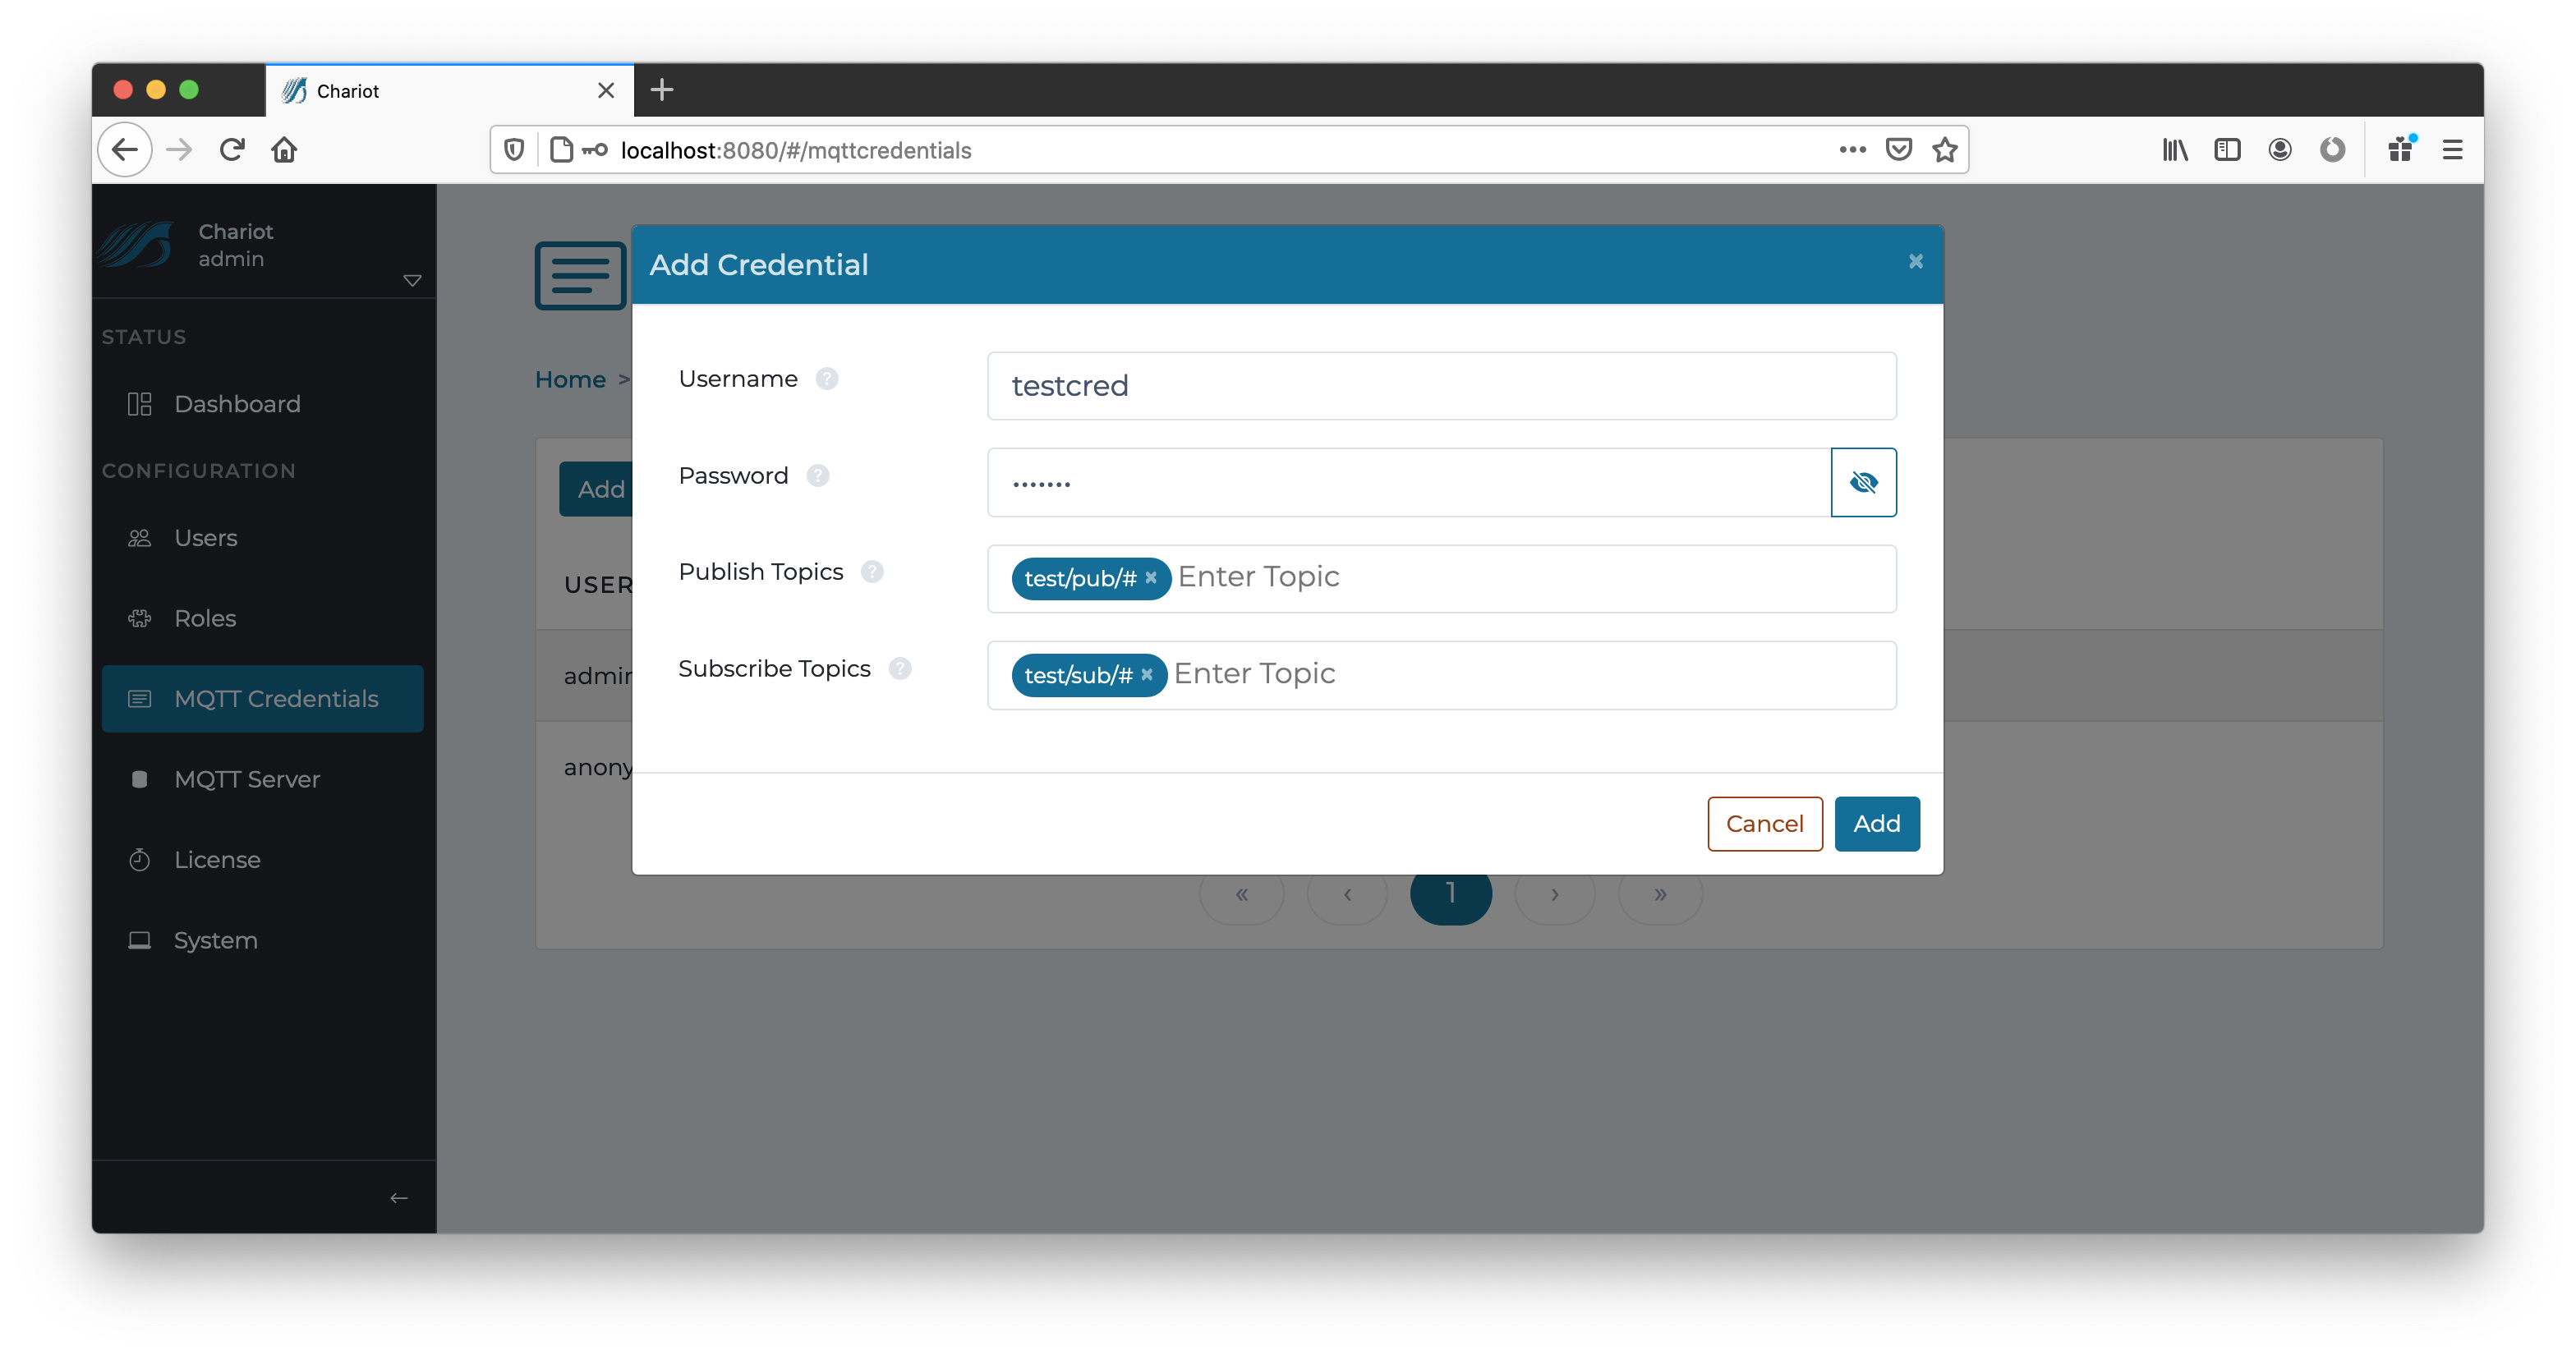
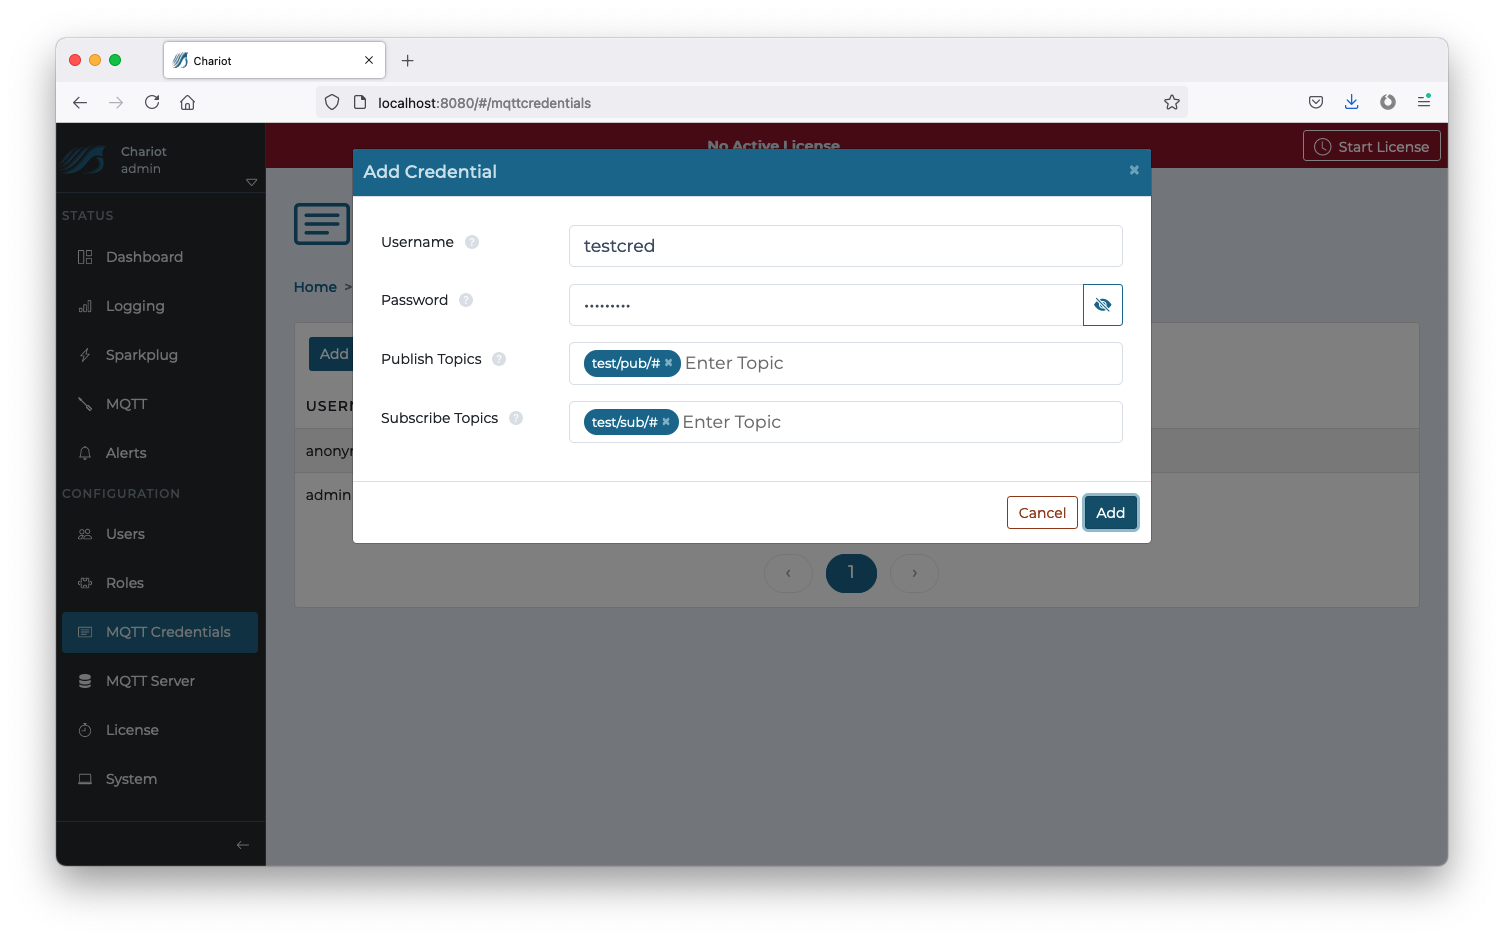 The form contains the following fields:
...
Clicking on an individual MQTT Credential in the table will display a form for editing the Credential.
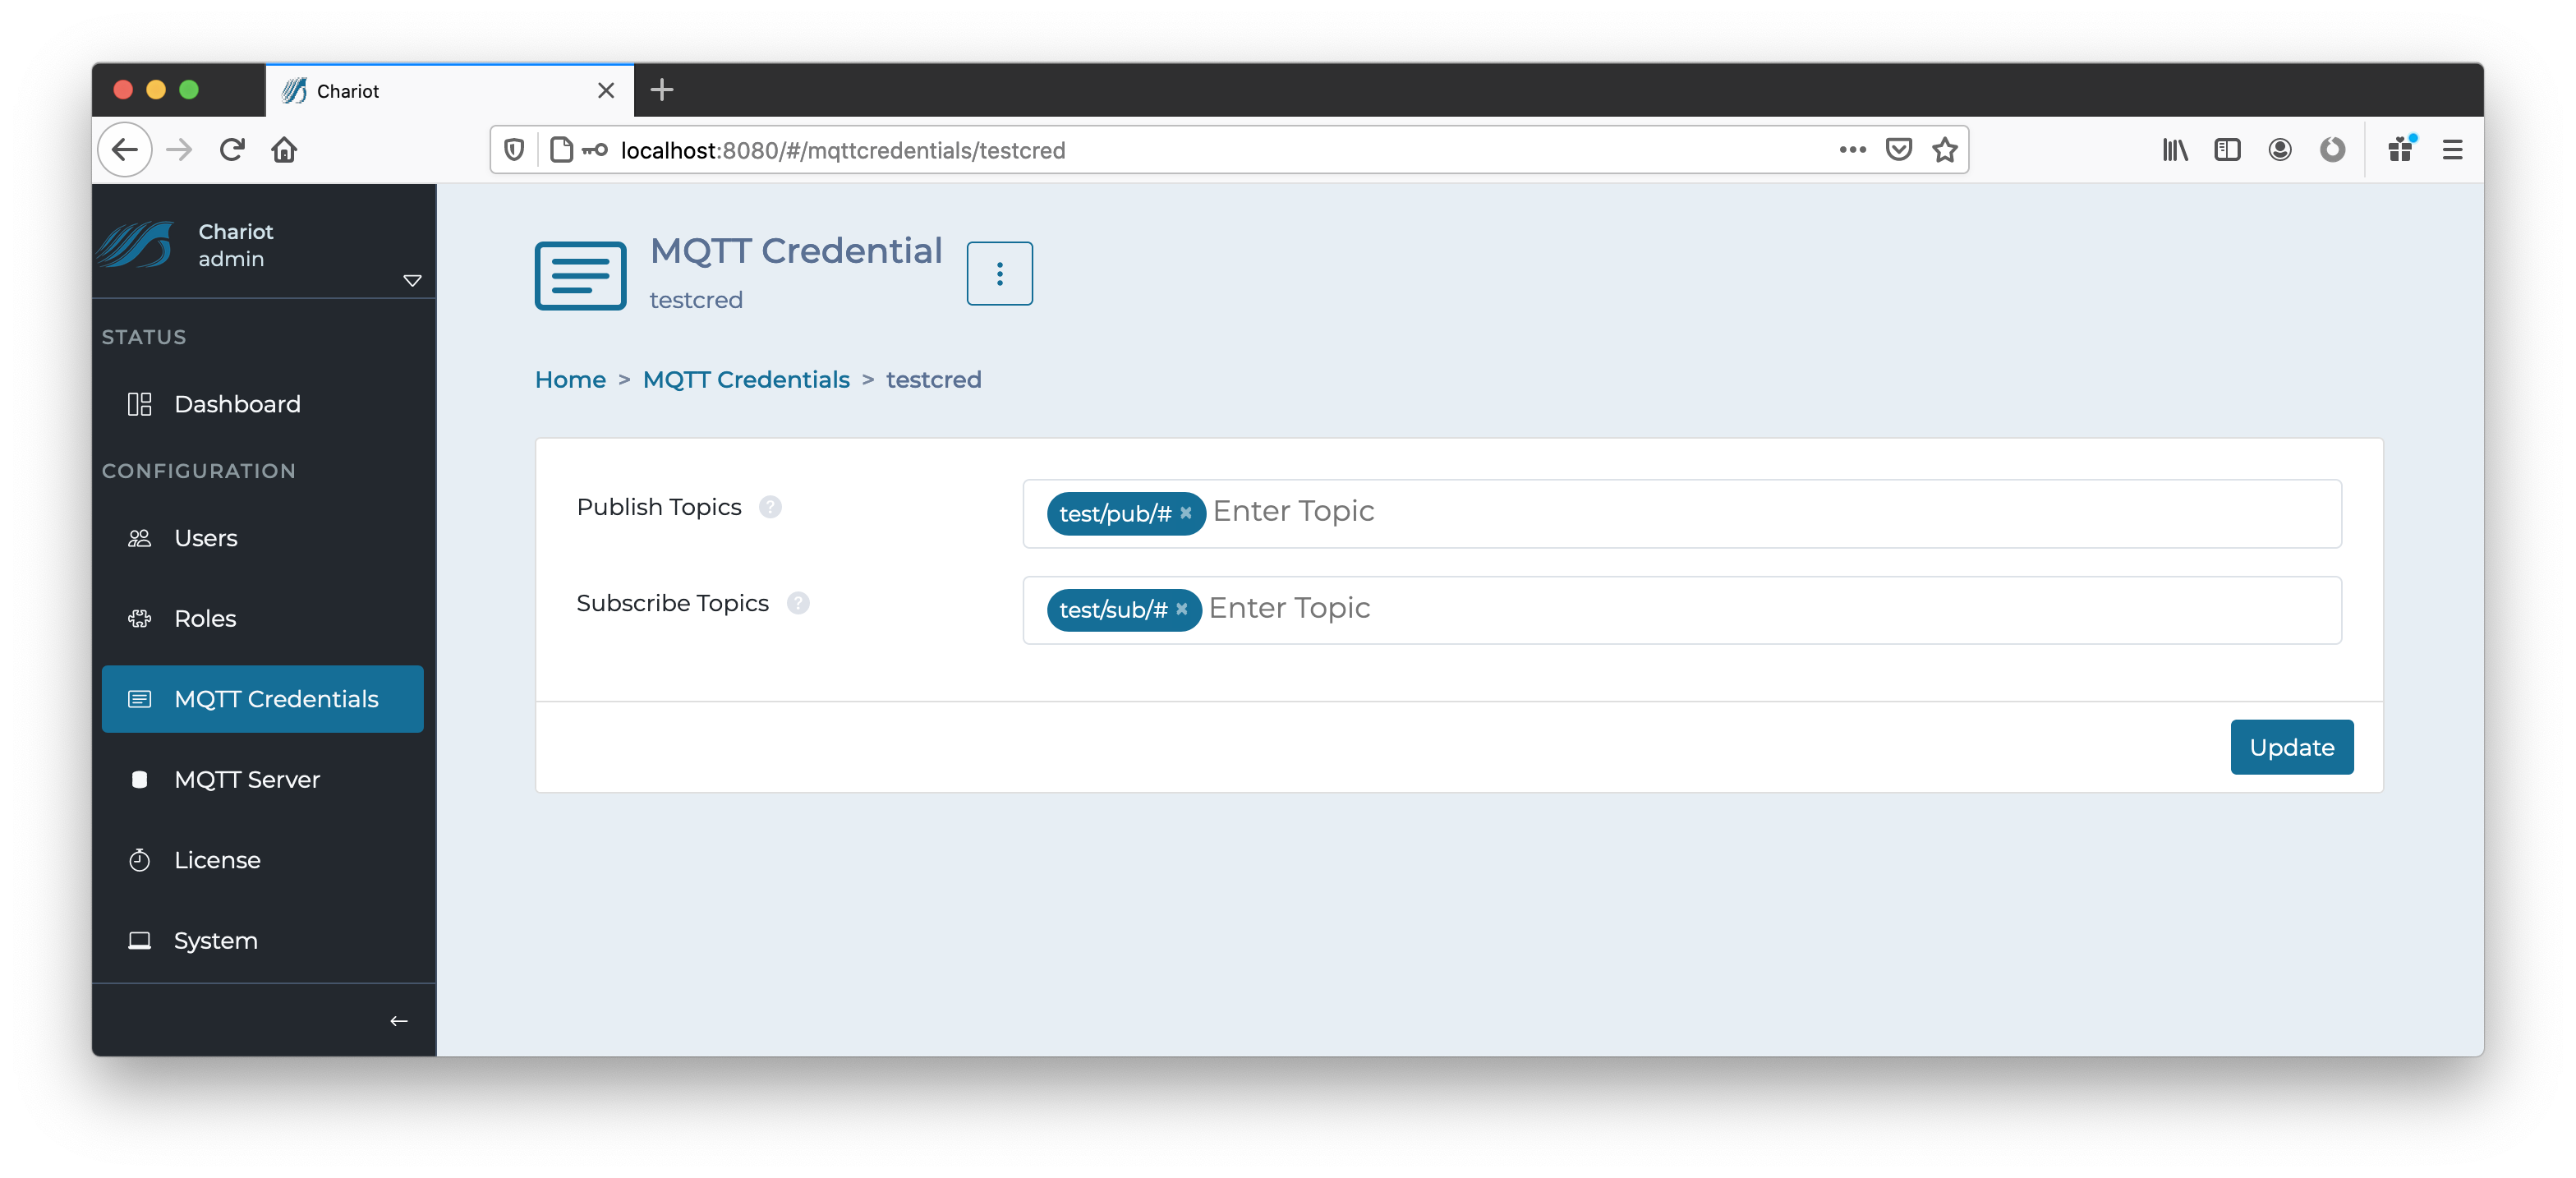
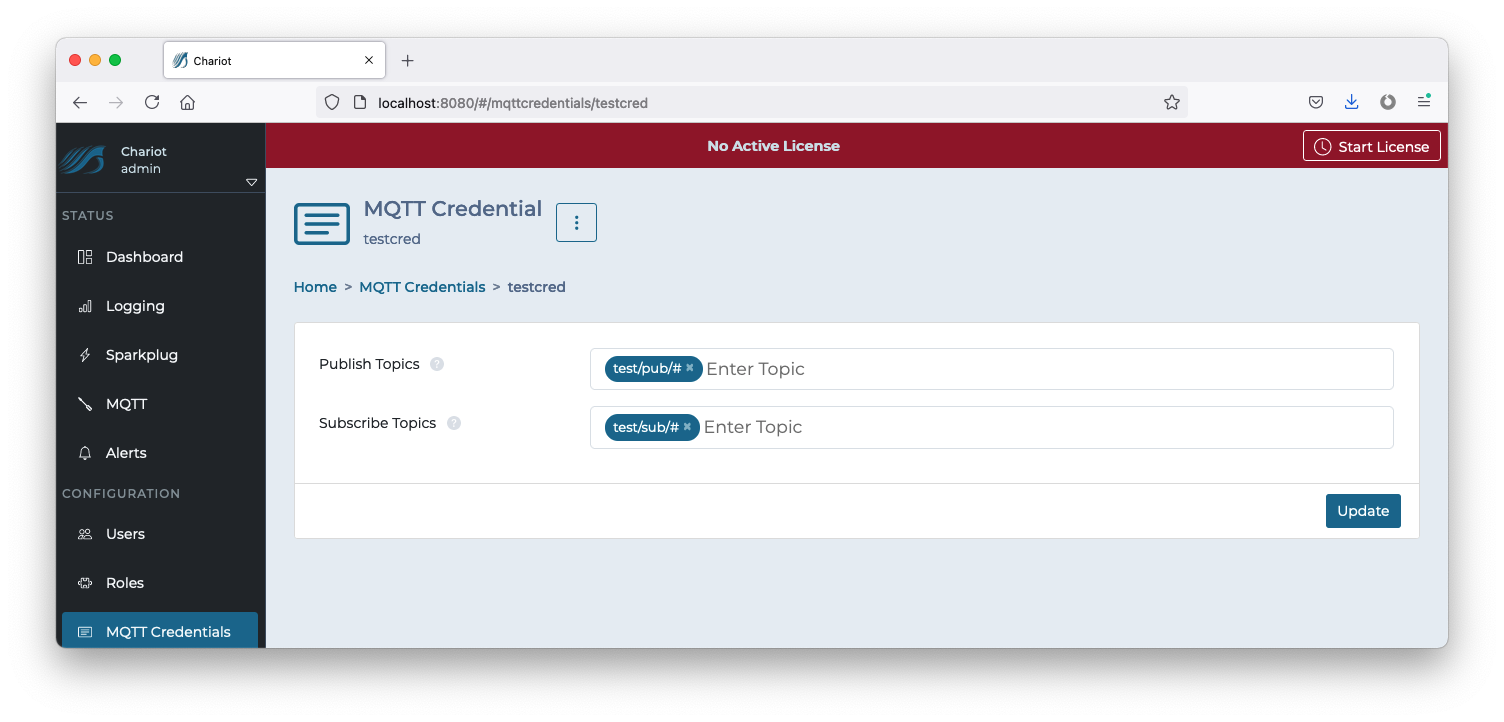 The "Update" button in the bottom right can be clicked to update the Credential once all changes have been made.
...
The MQTT Server page contains a form used to configure the MQTT Server.
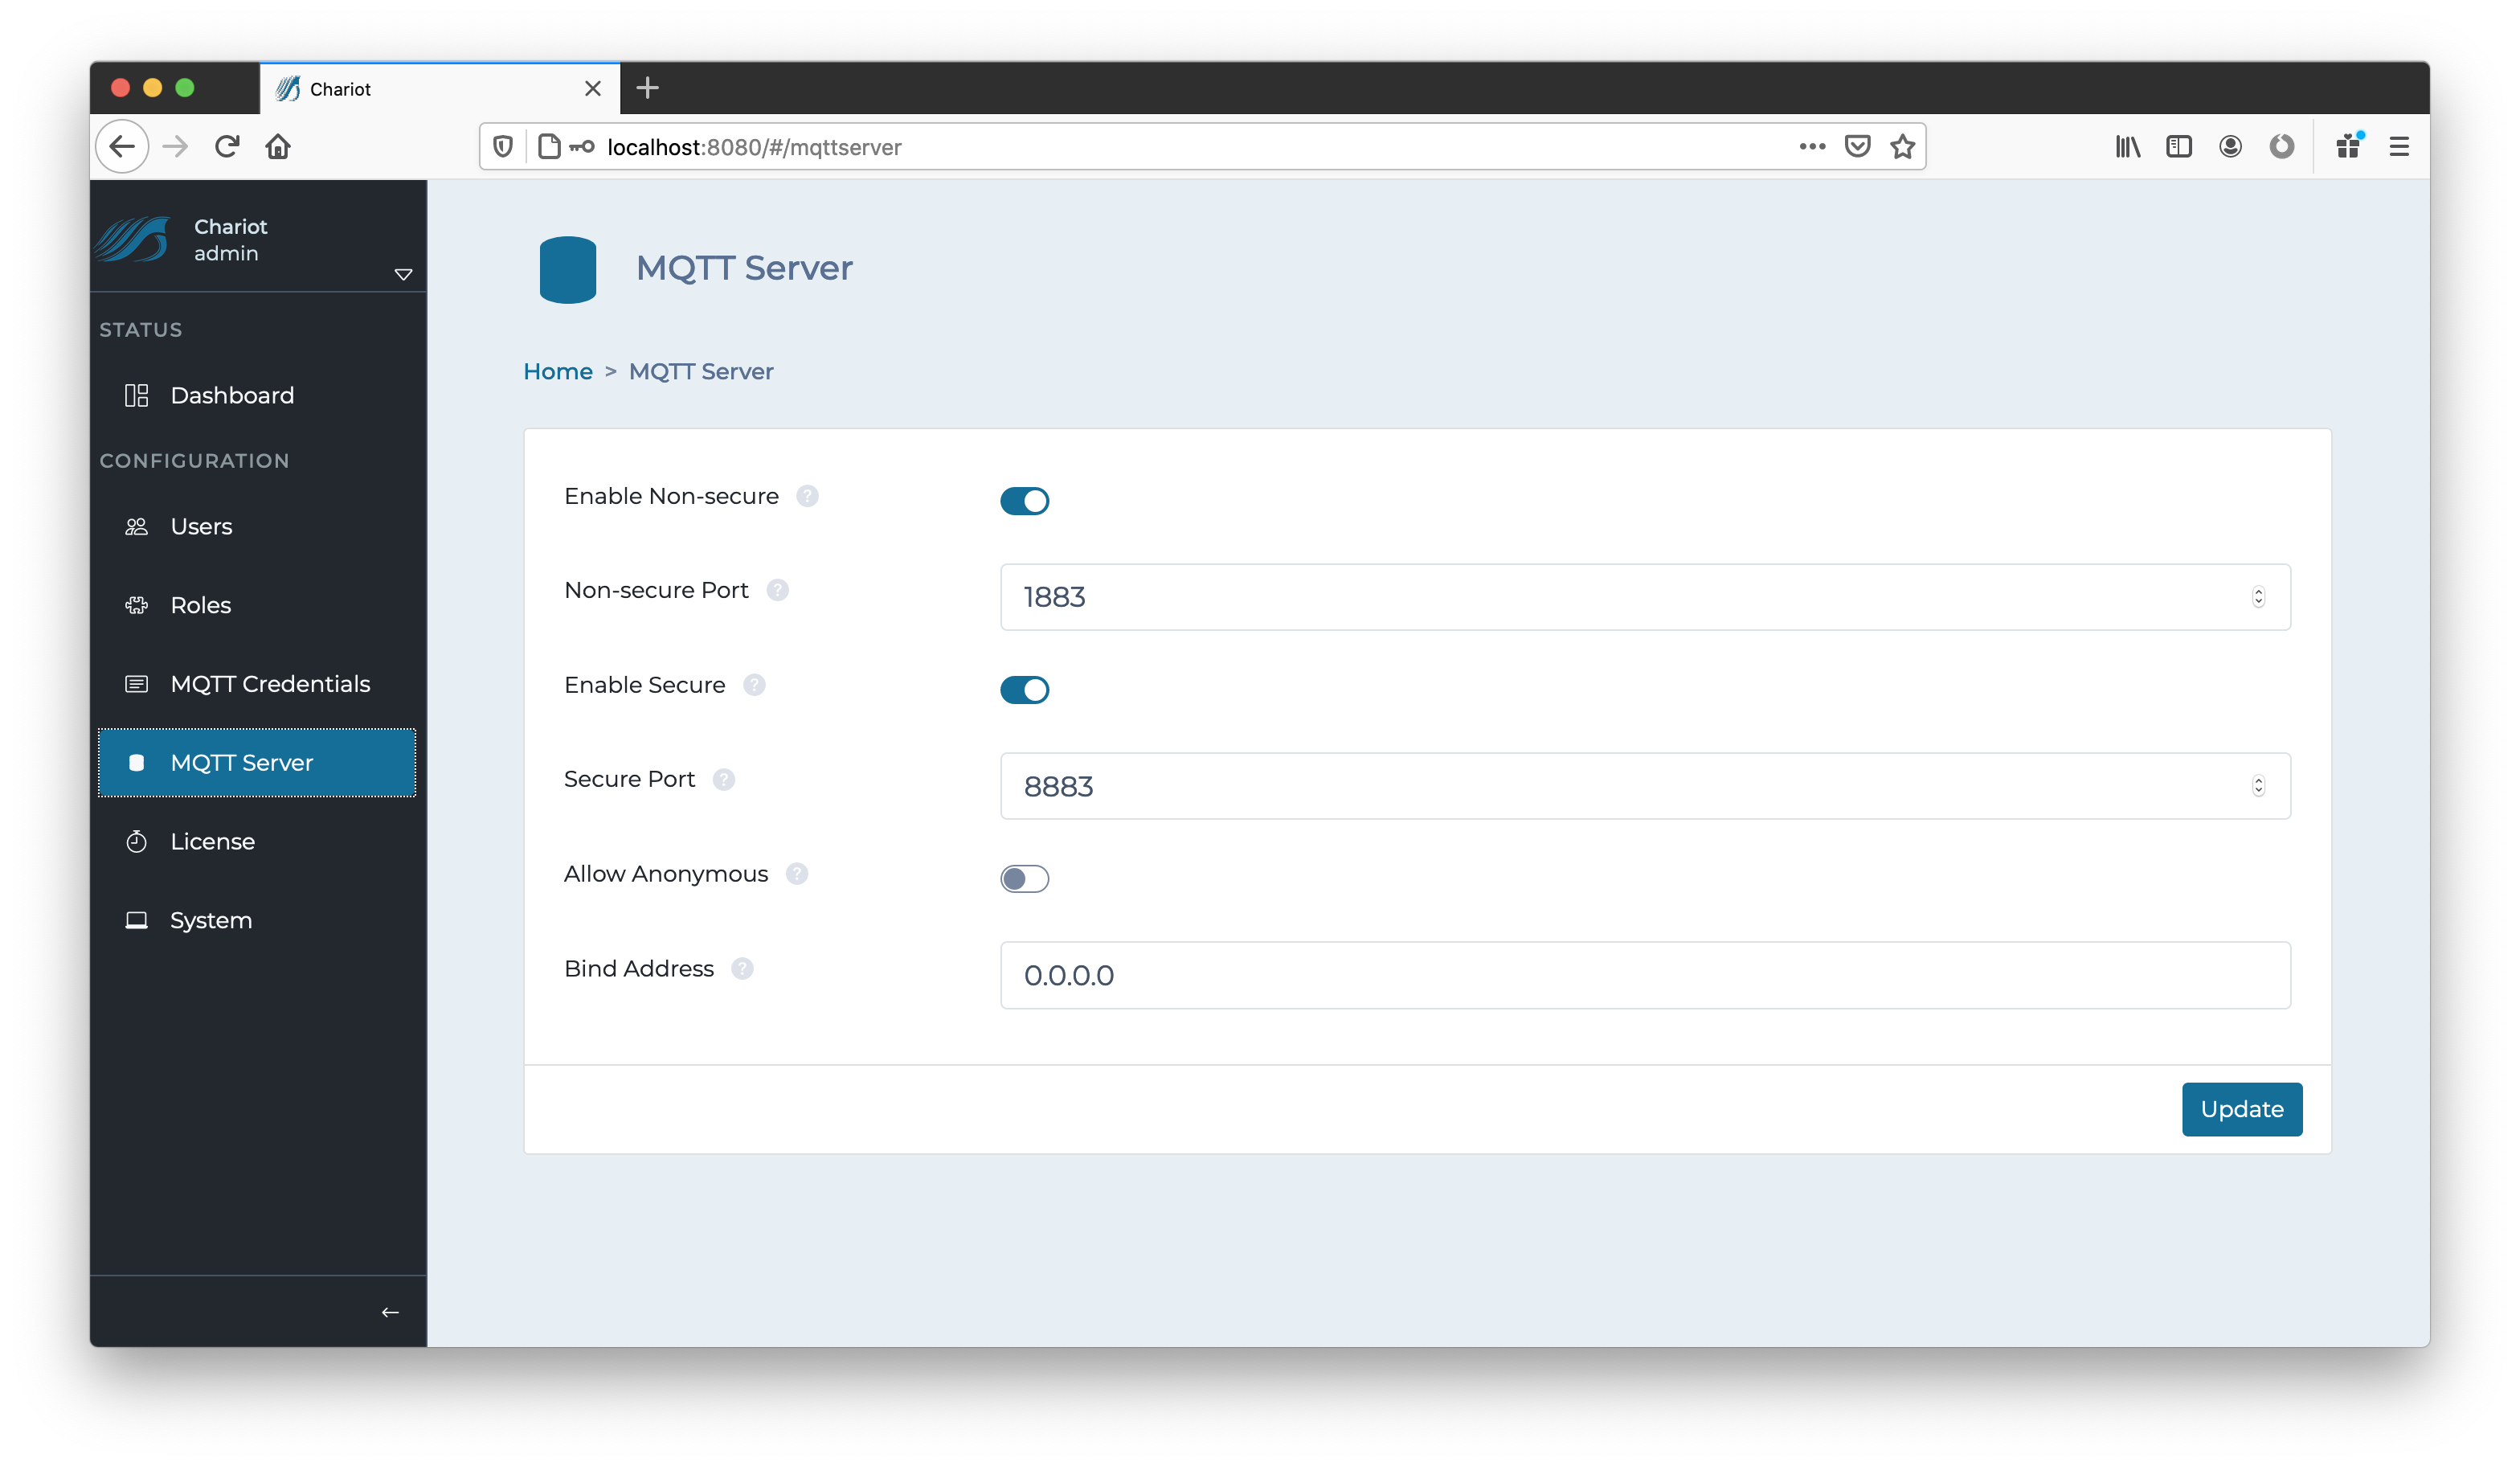
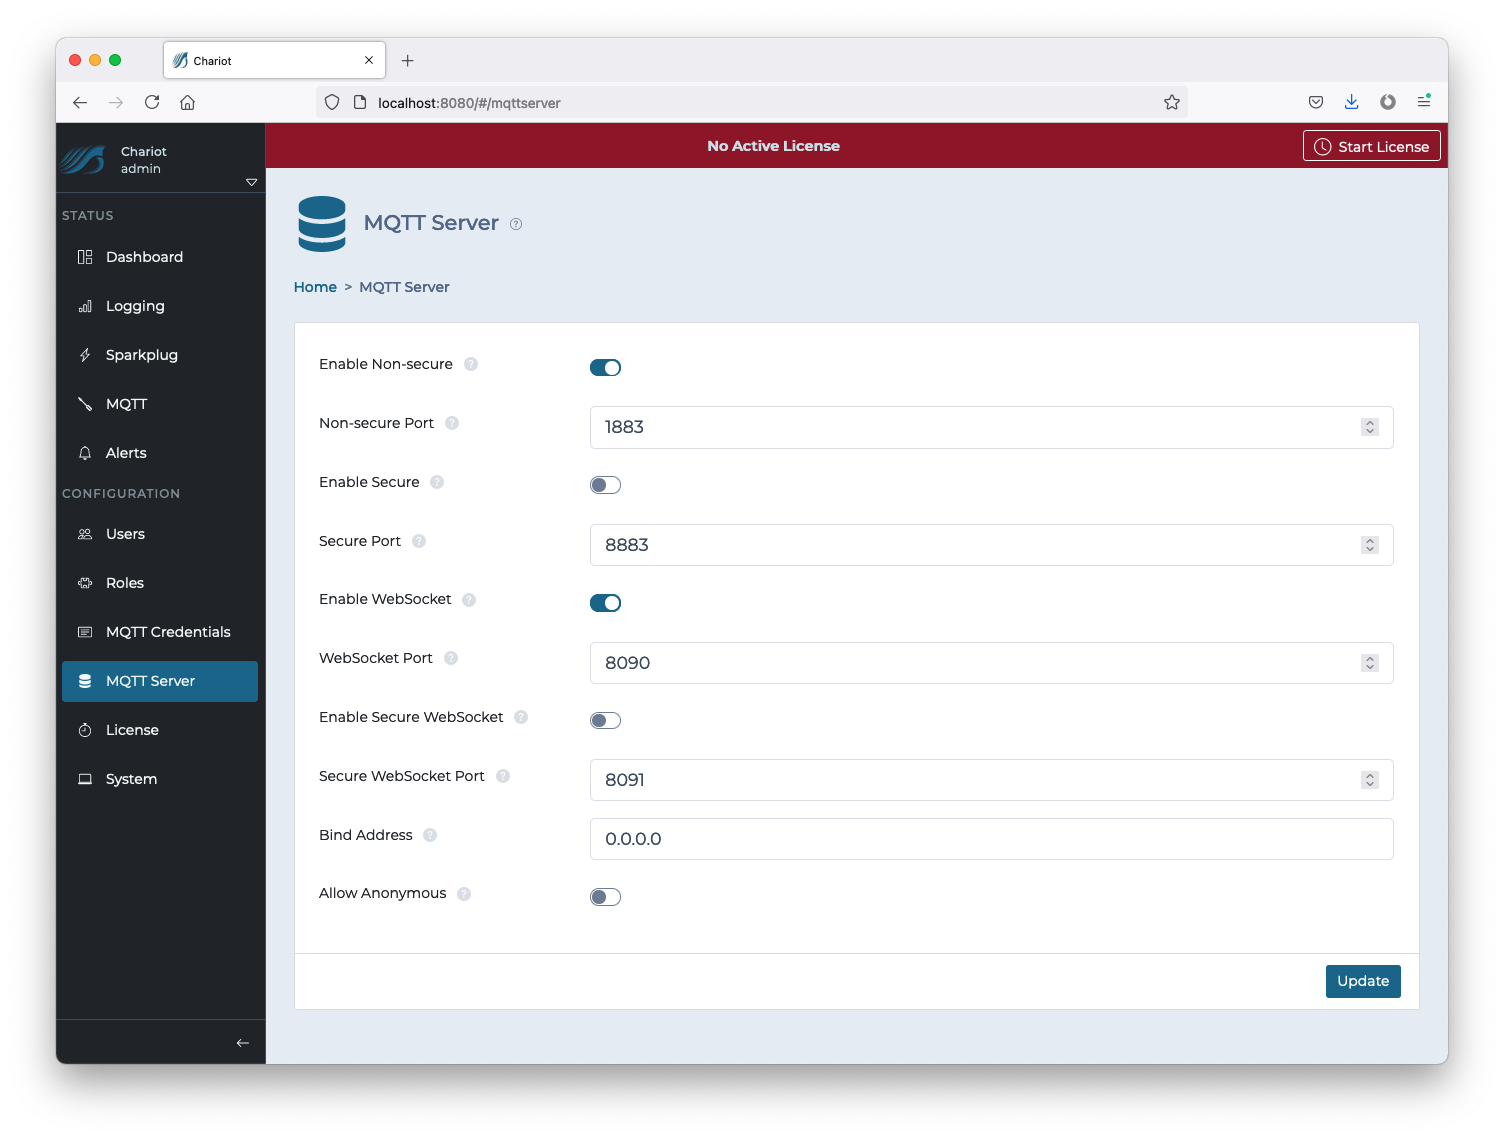
The form contains the following fields:
...
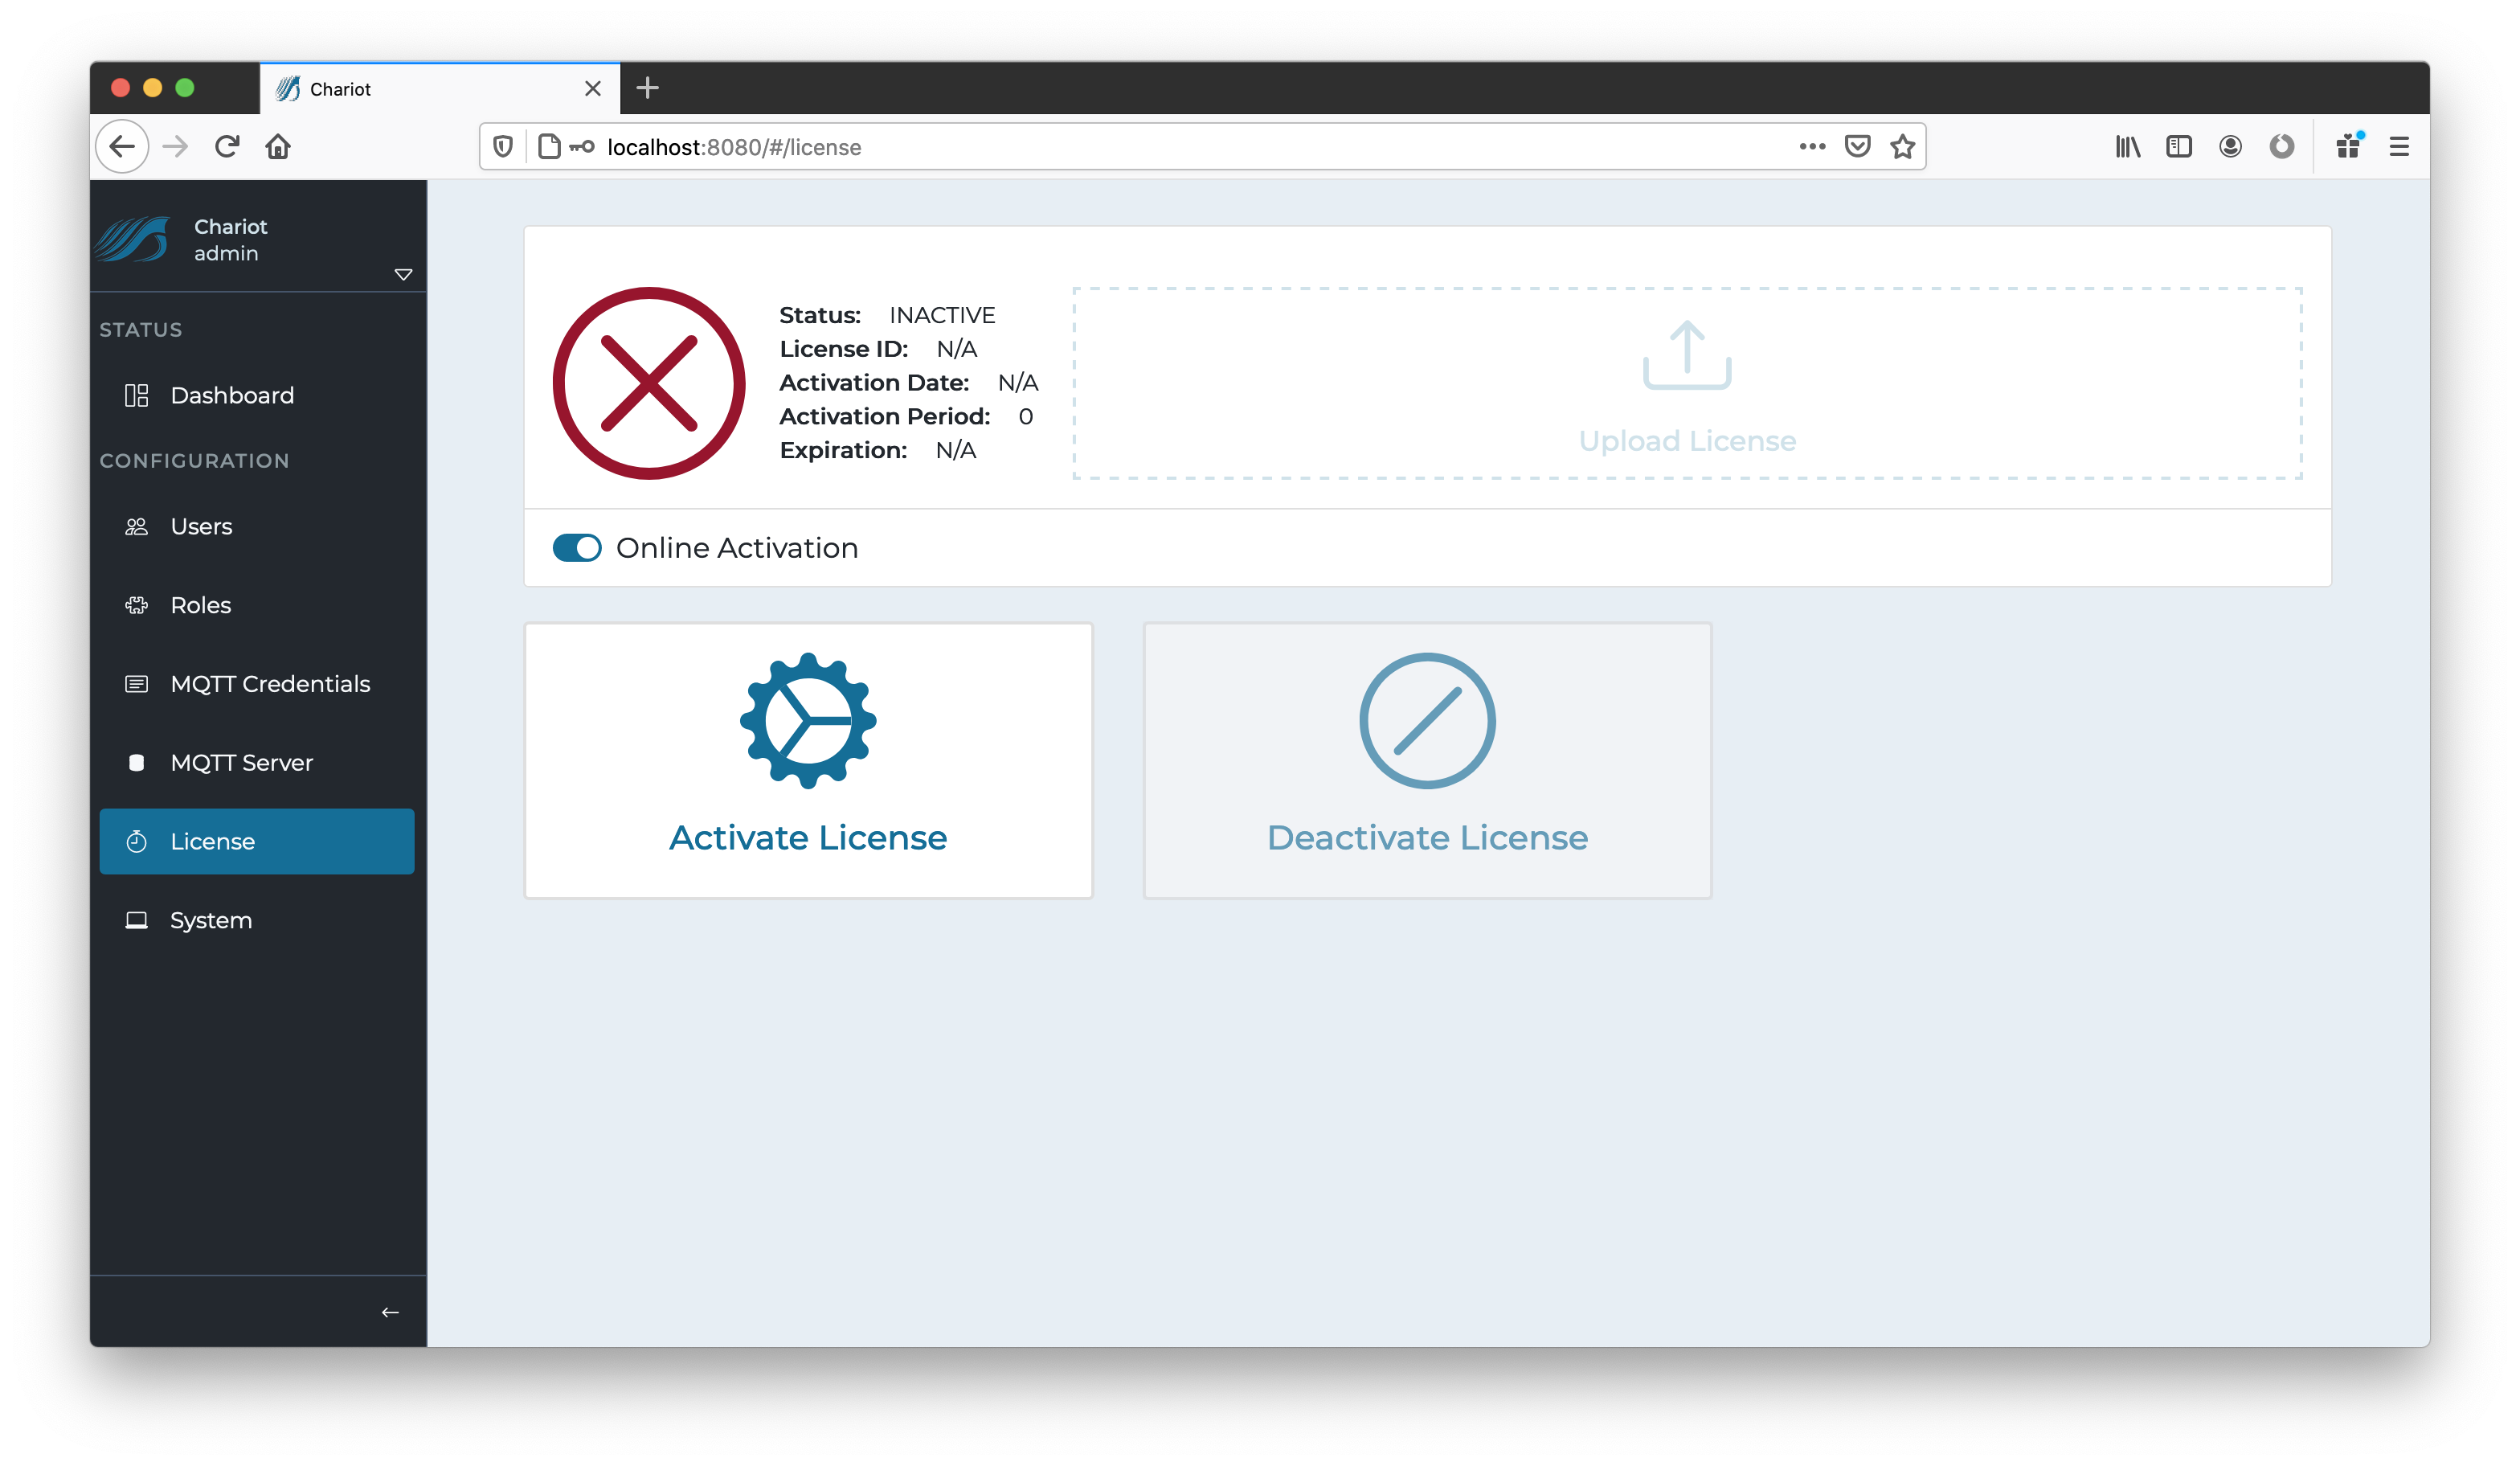
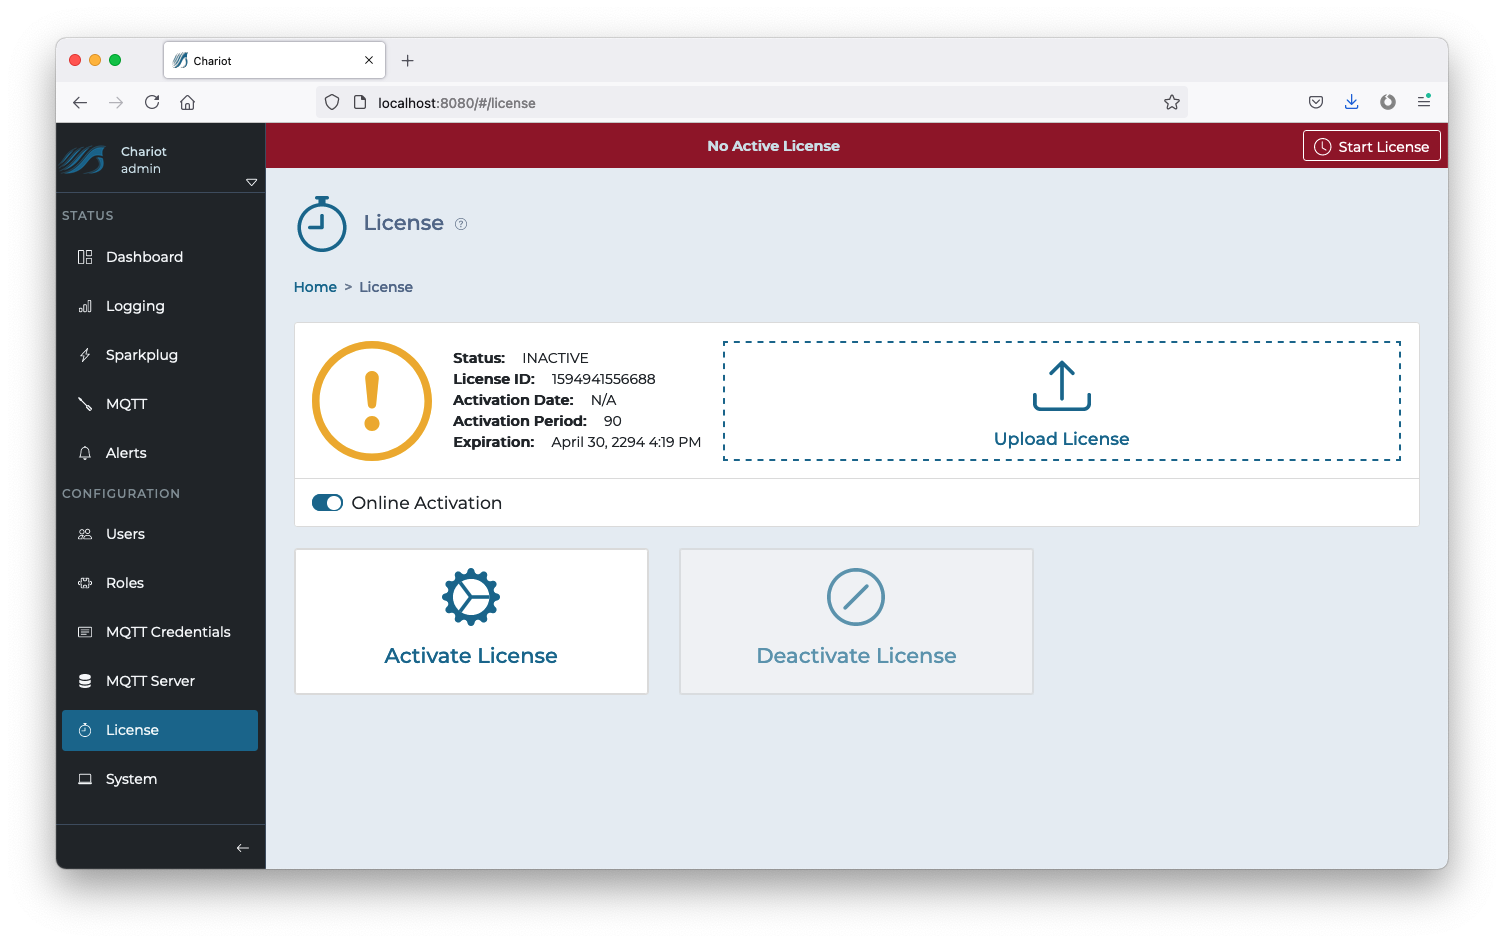
A Chariot License is represented by a text file which contains a license key. The file can either be dragged/dropped into the "Upload License" form, or the license text can be pasted directly into the form.
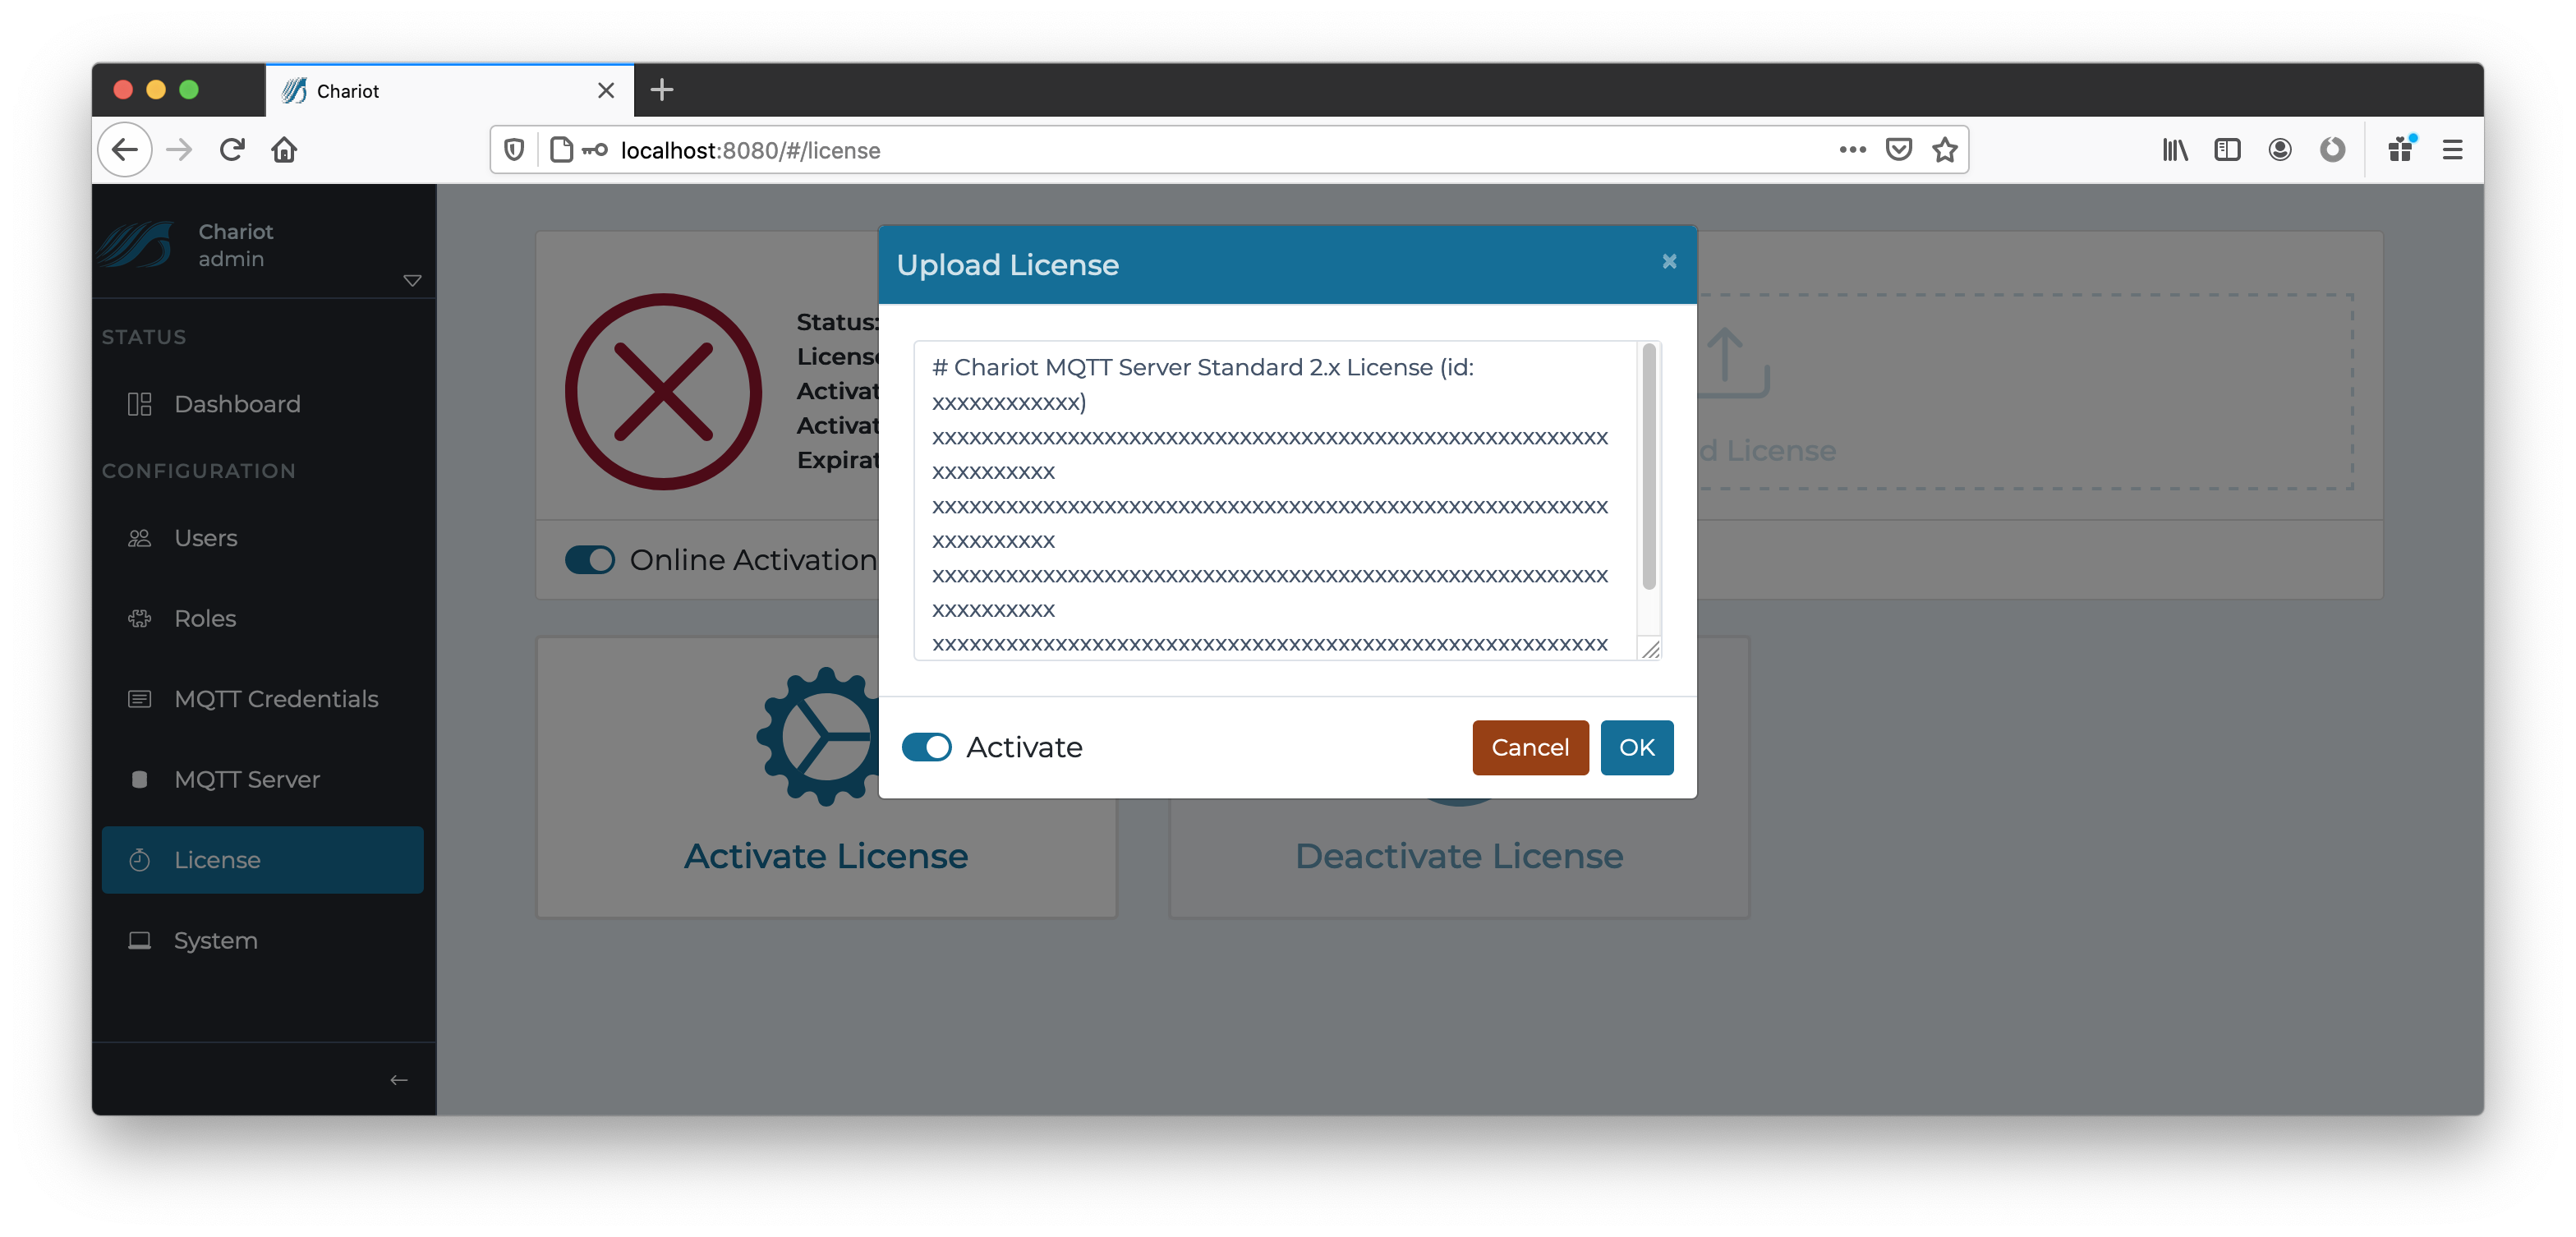
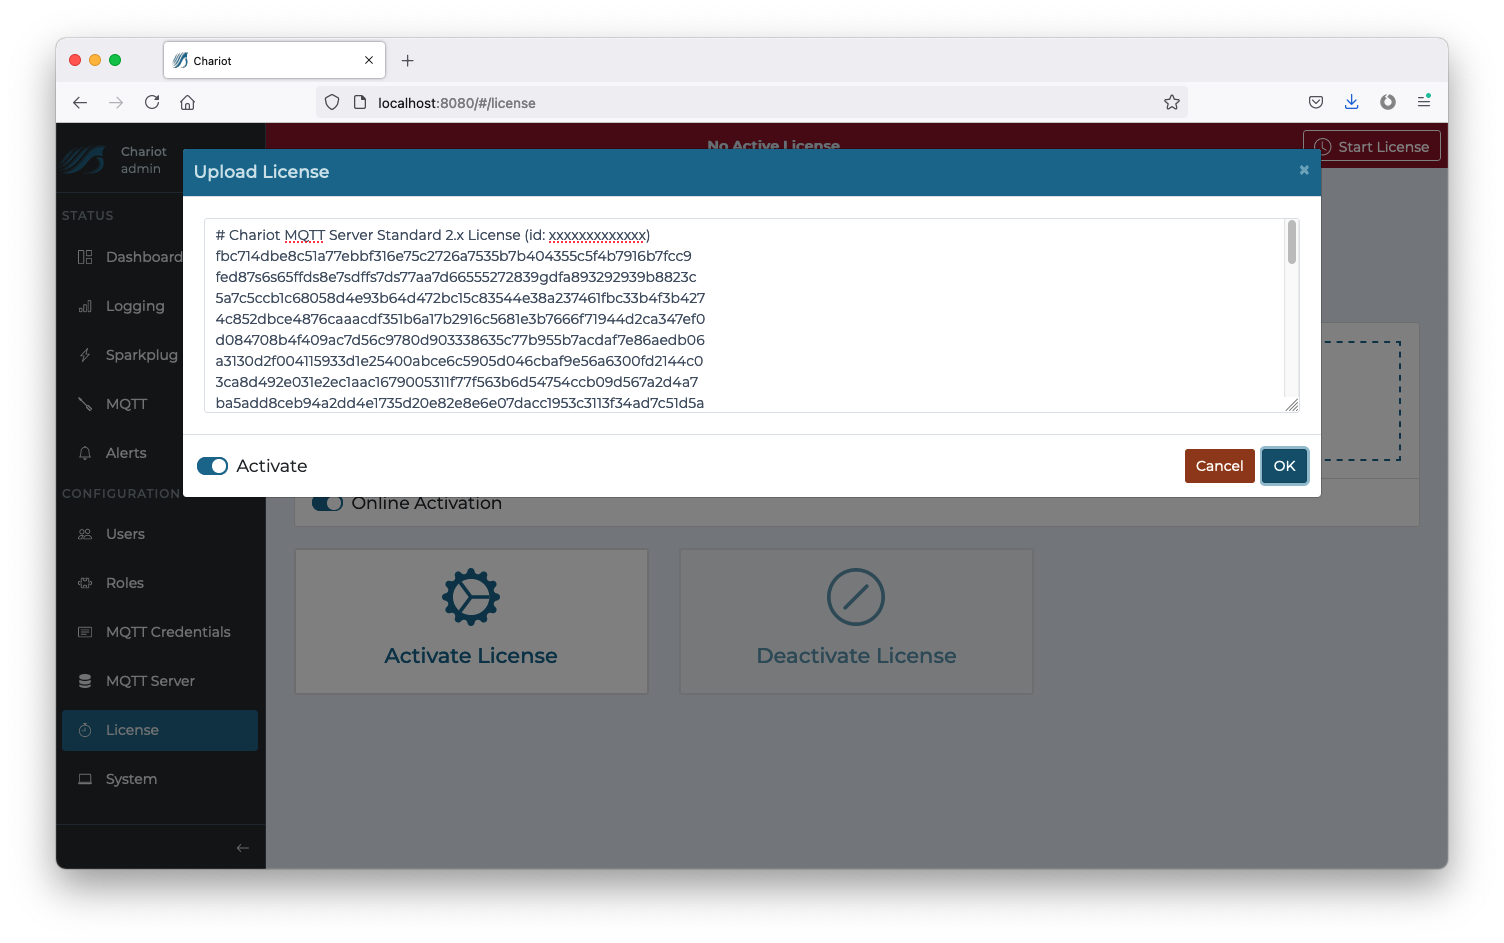 The Activate toggle (in the Upload License form) can be used to auto-activate the license immediately after it is uploaded. This is a convenience to prevent the need to click Activate License after uploading a license.
...
Online Activation allows the Chariot MQTT Server to remotely connect to the Chariot Licensing server for activation and deactivation of Chariot Licenses. When the "Online Activation" is selected, the License page appears with the following options:
...
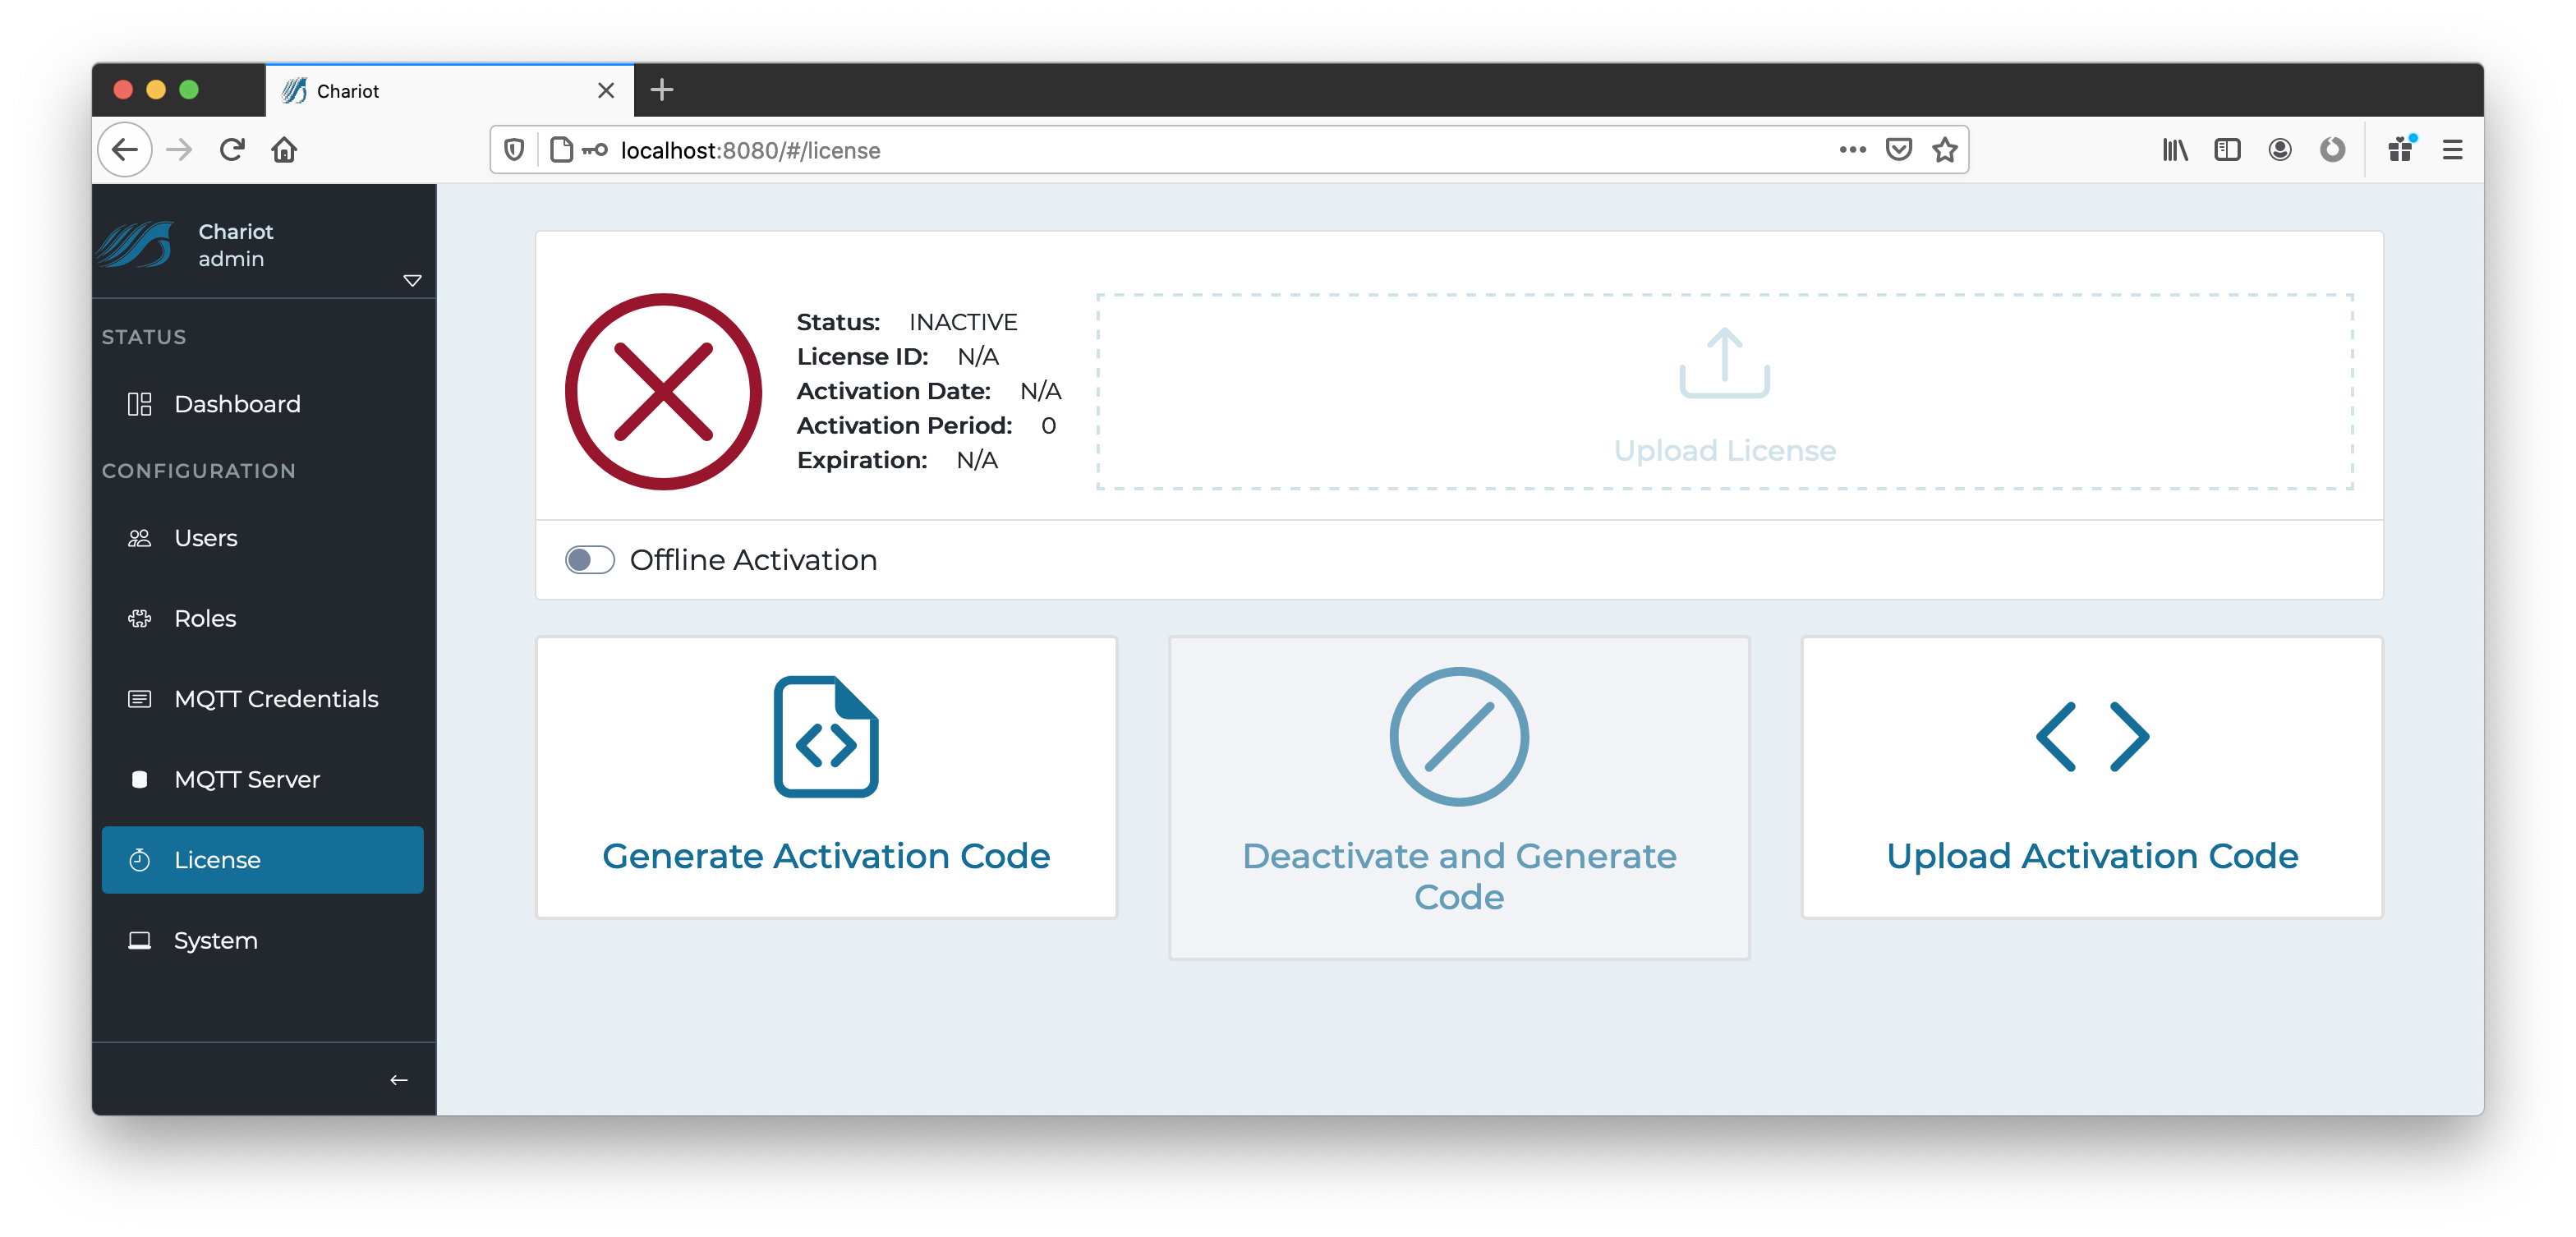
Offline Activation requires the user to generate an activation request and provide it to Cirrus Link Solutions in order to obtain an Activation Code. The Activation Code can then be uploaded into the Chariot MQTT Server to activate the previously uploaded Chariot License. When the "Offline Activation" option is selected, the License page appears with the following options:

...
The System page uses the following form to configure the system settings:
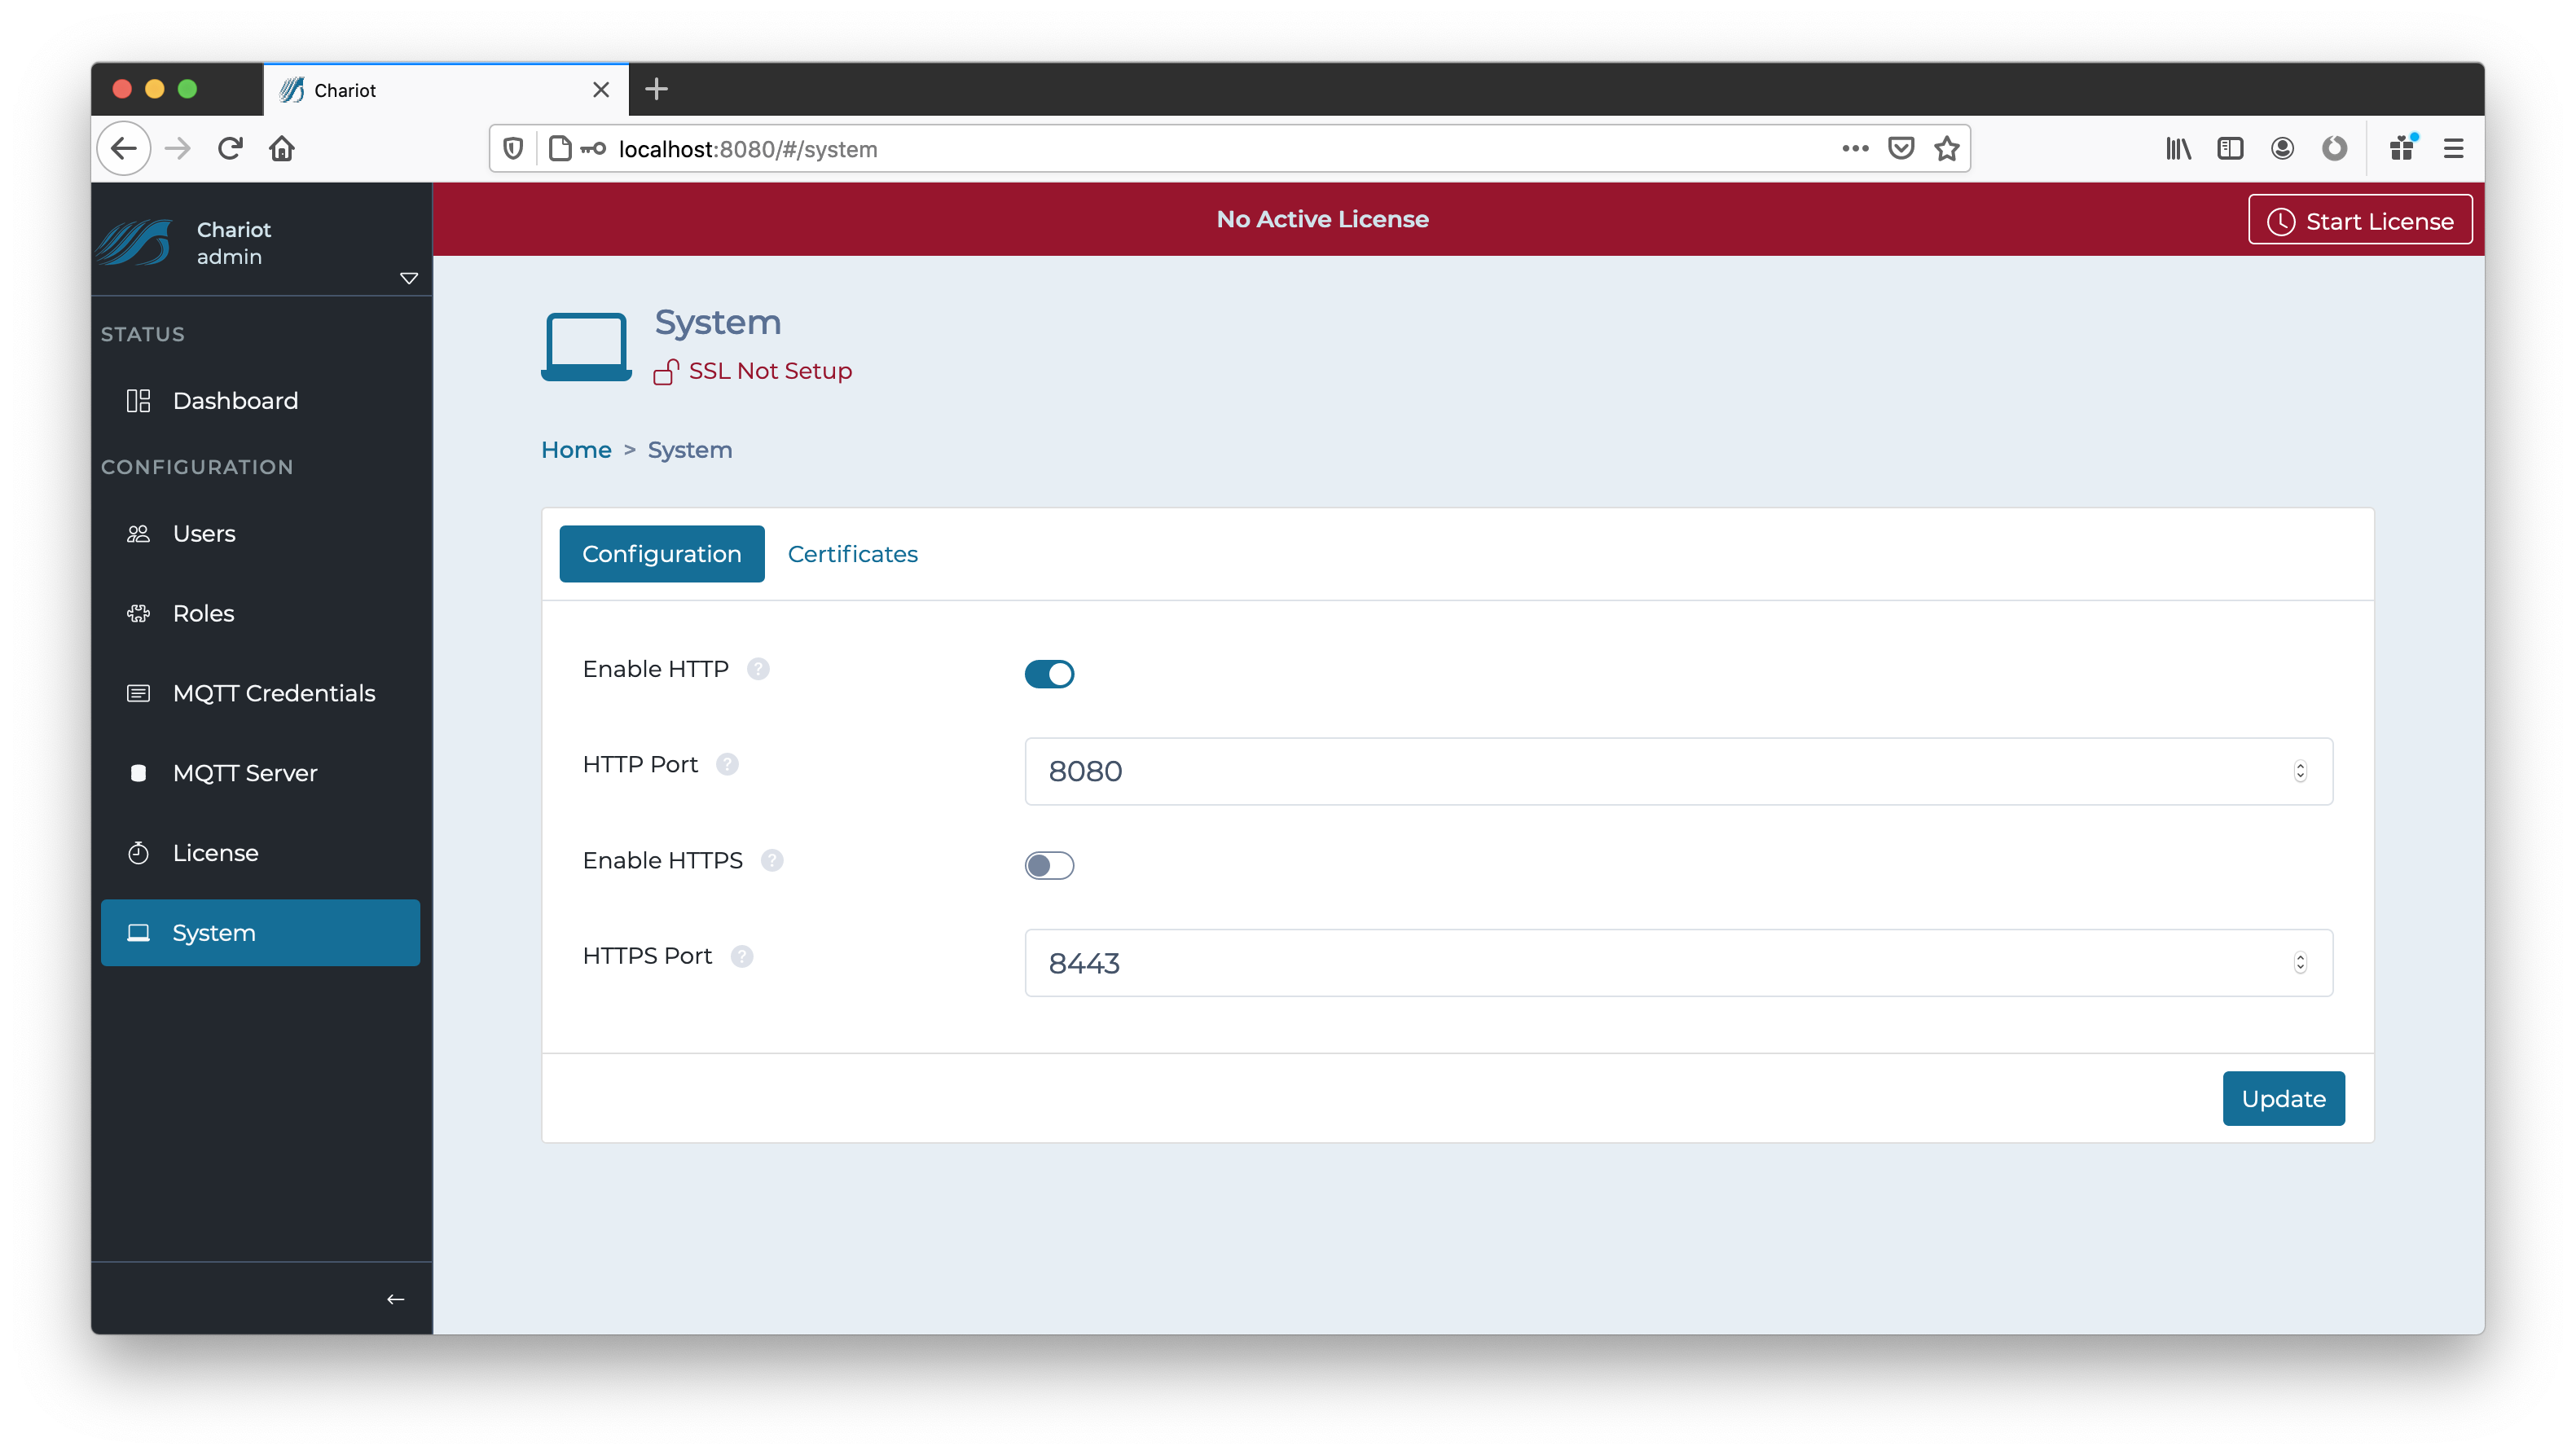
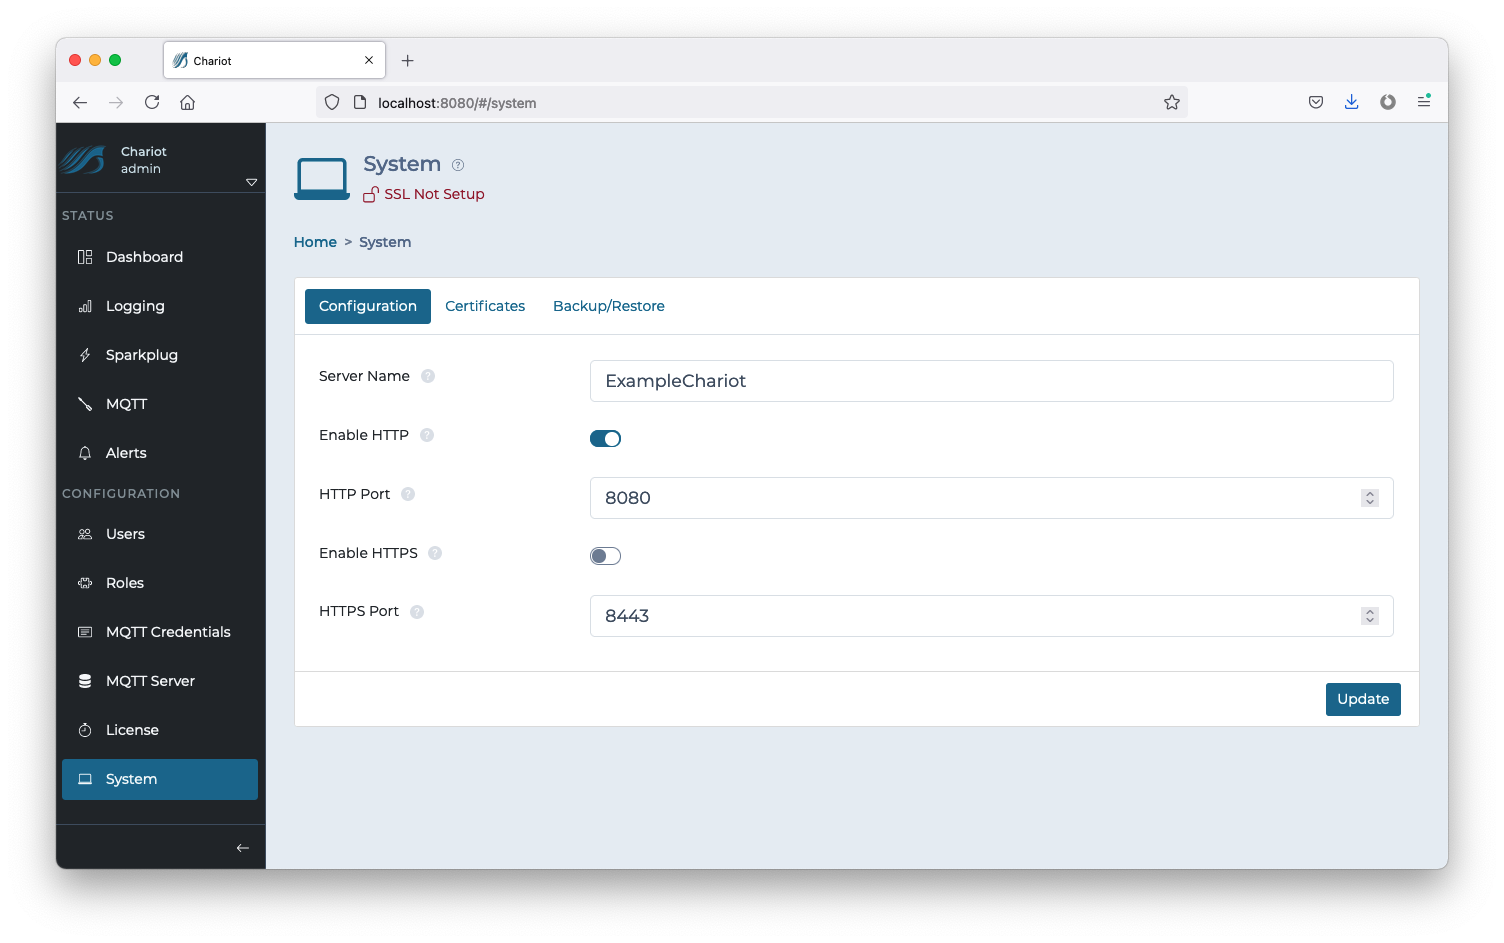
The form contains the following fields:
...
The certificates tab provides the means to upload the necessary certificates and keys for setting up SSL/TLS.
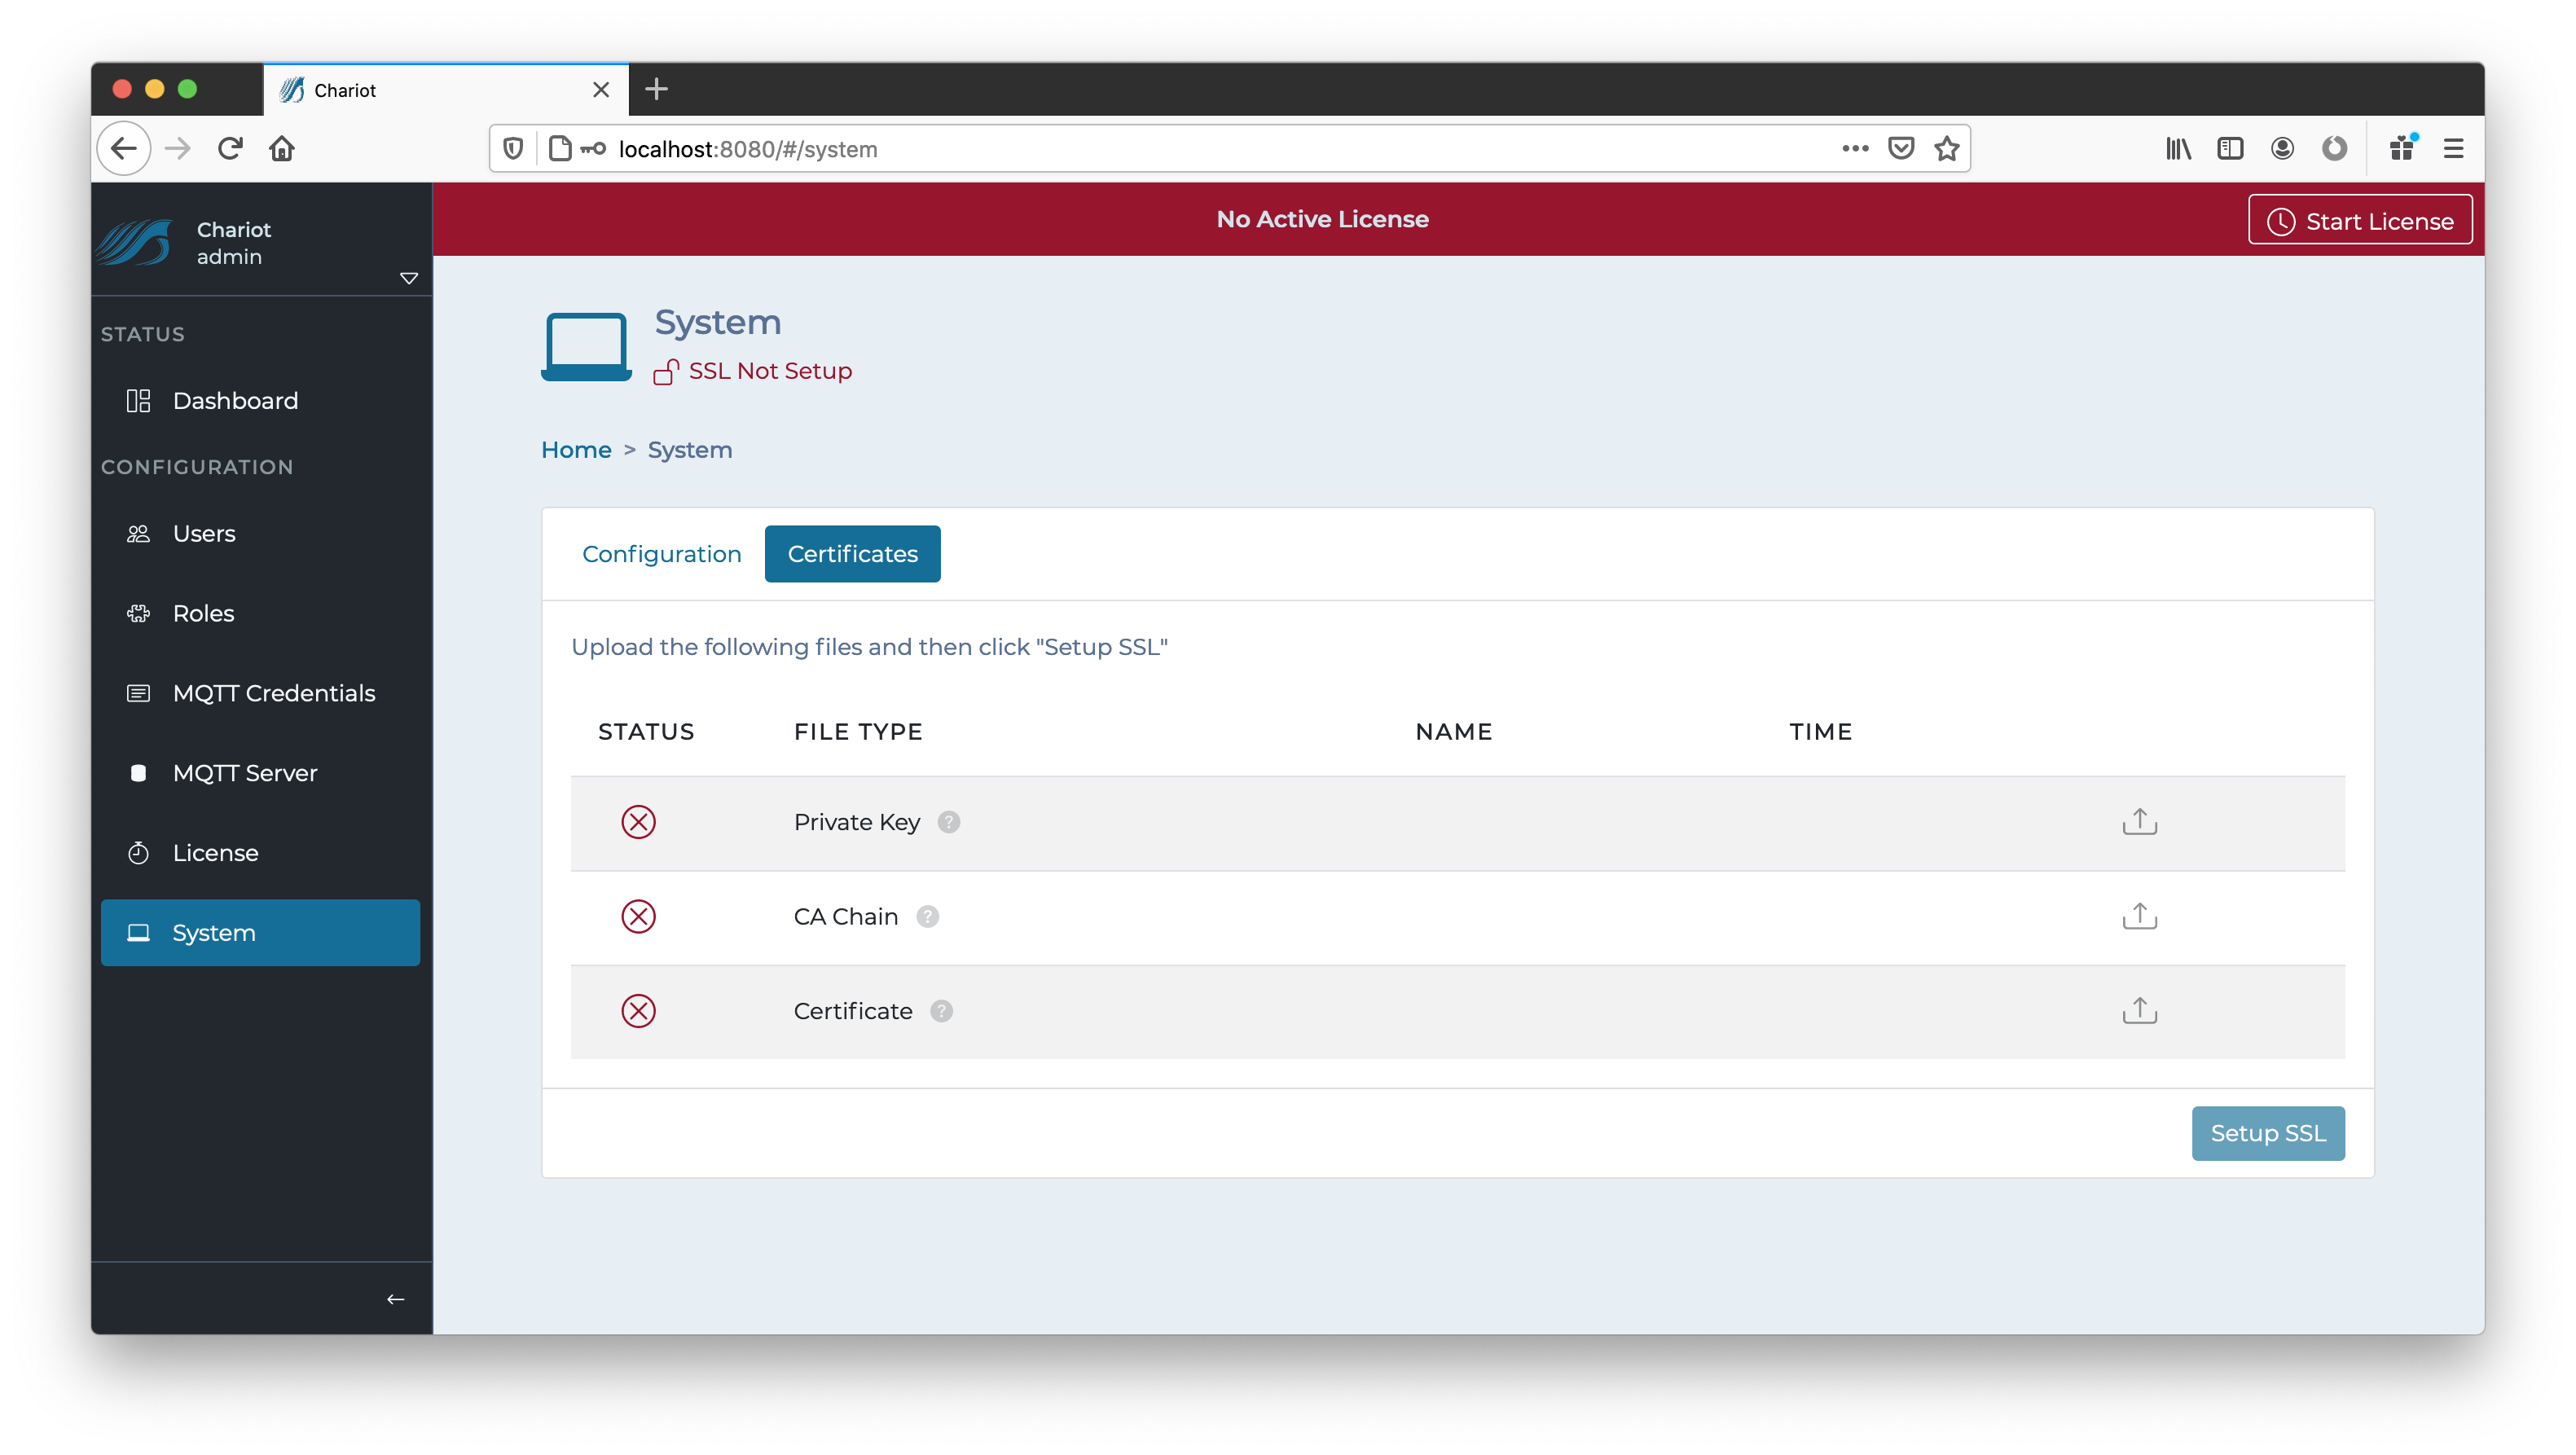
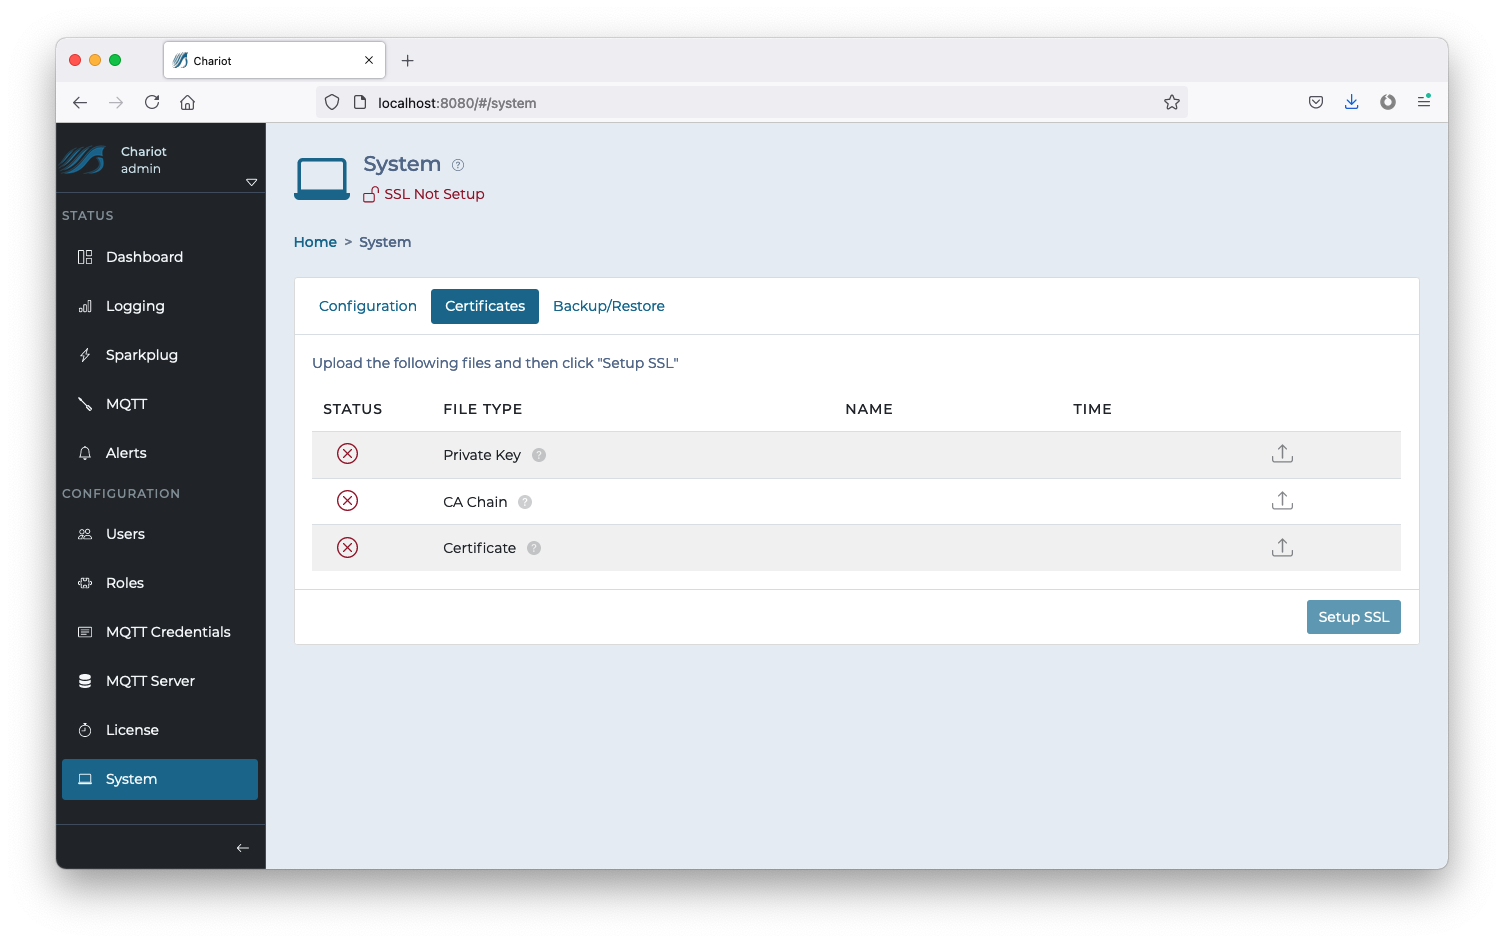
The Certificates tab contains the following fields:
...
If successful, the certificate information will now be displayed on the Certificates tab:
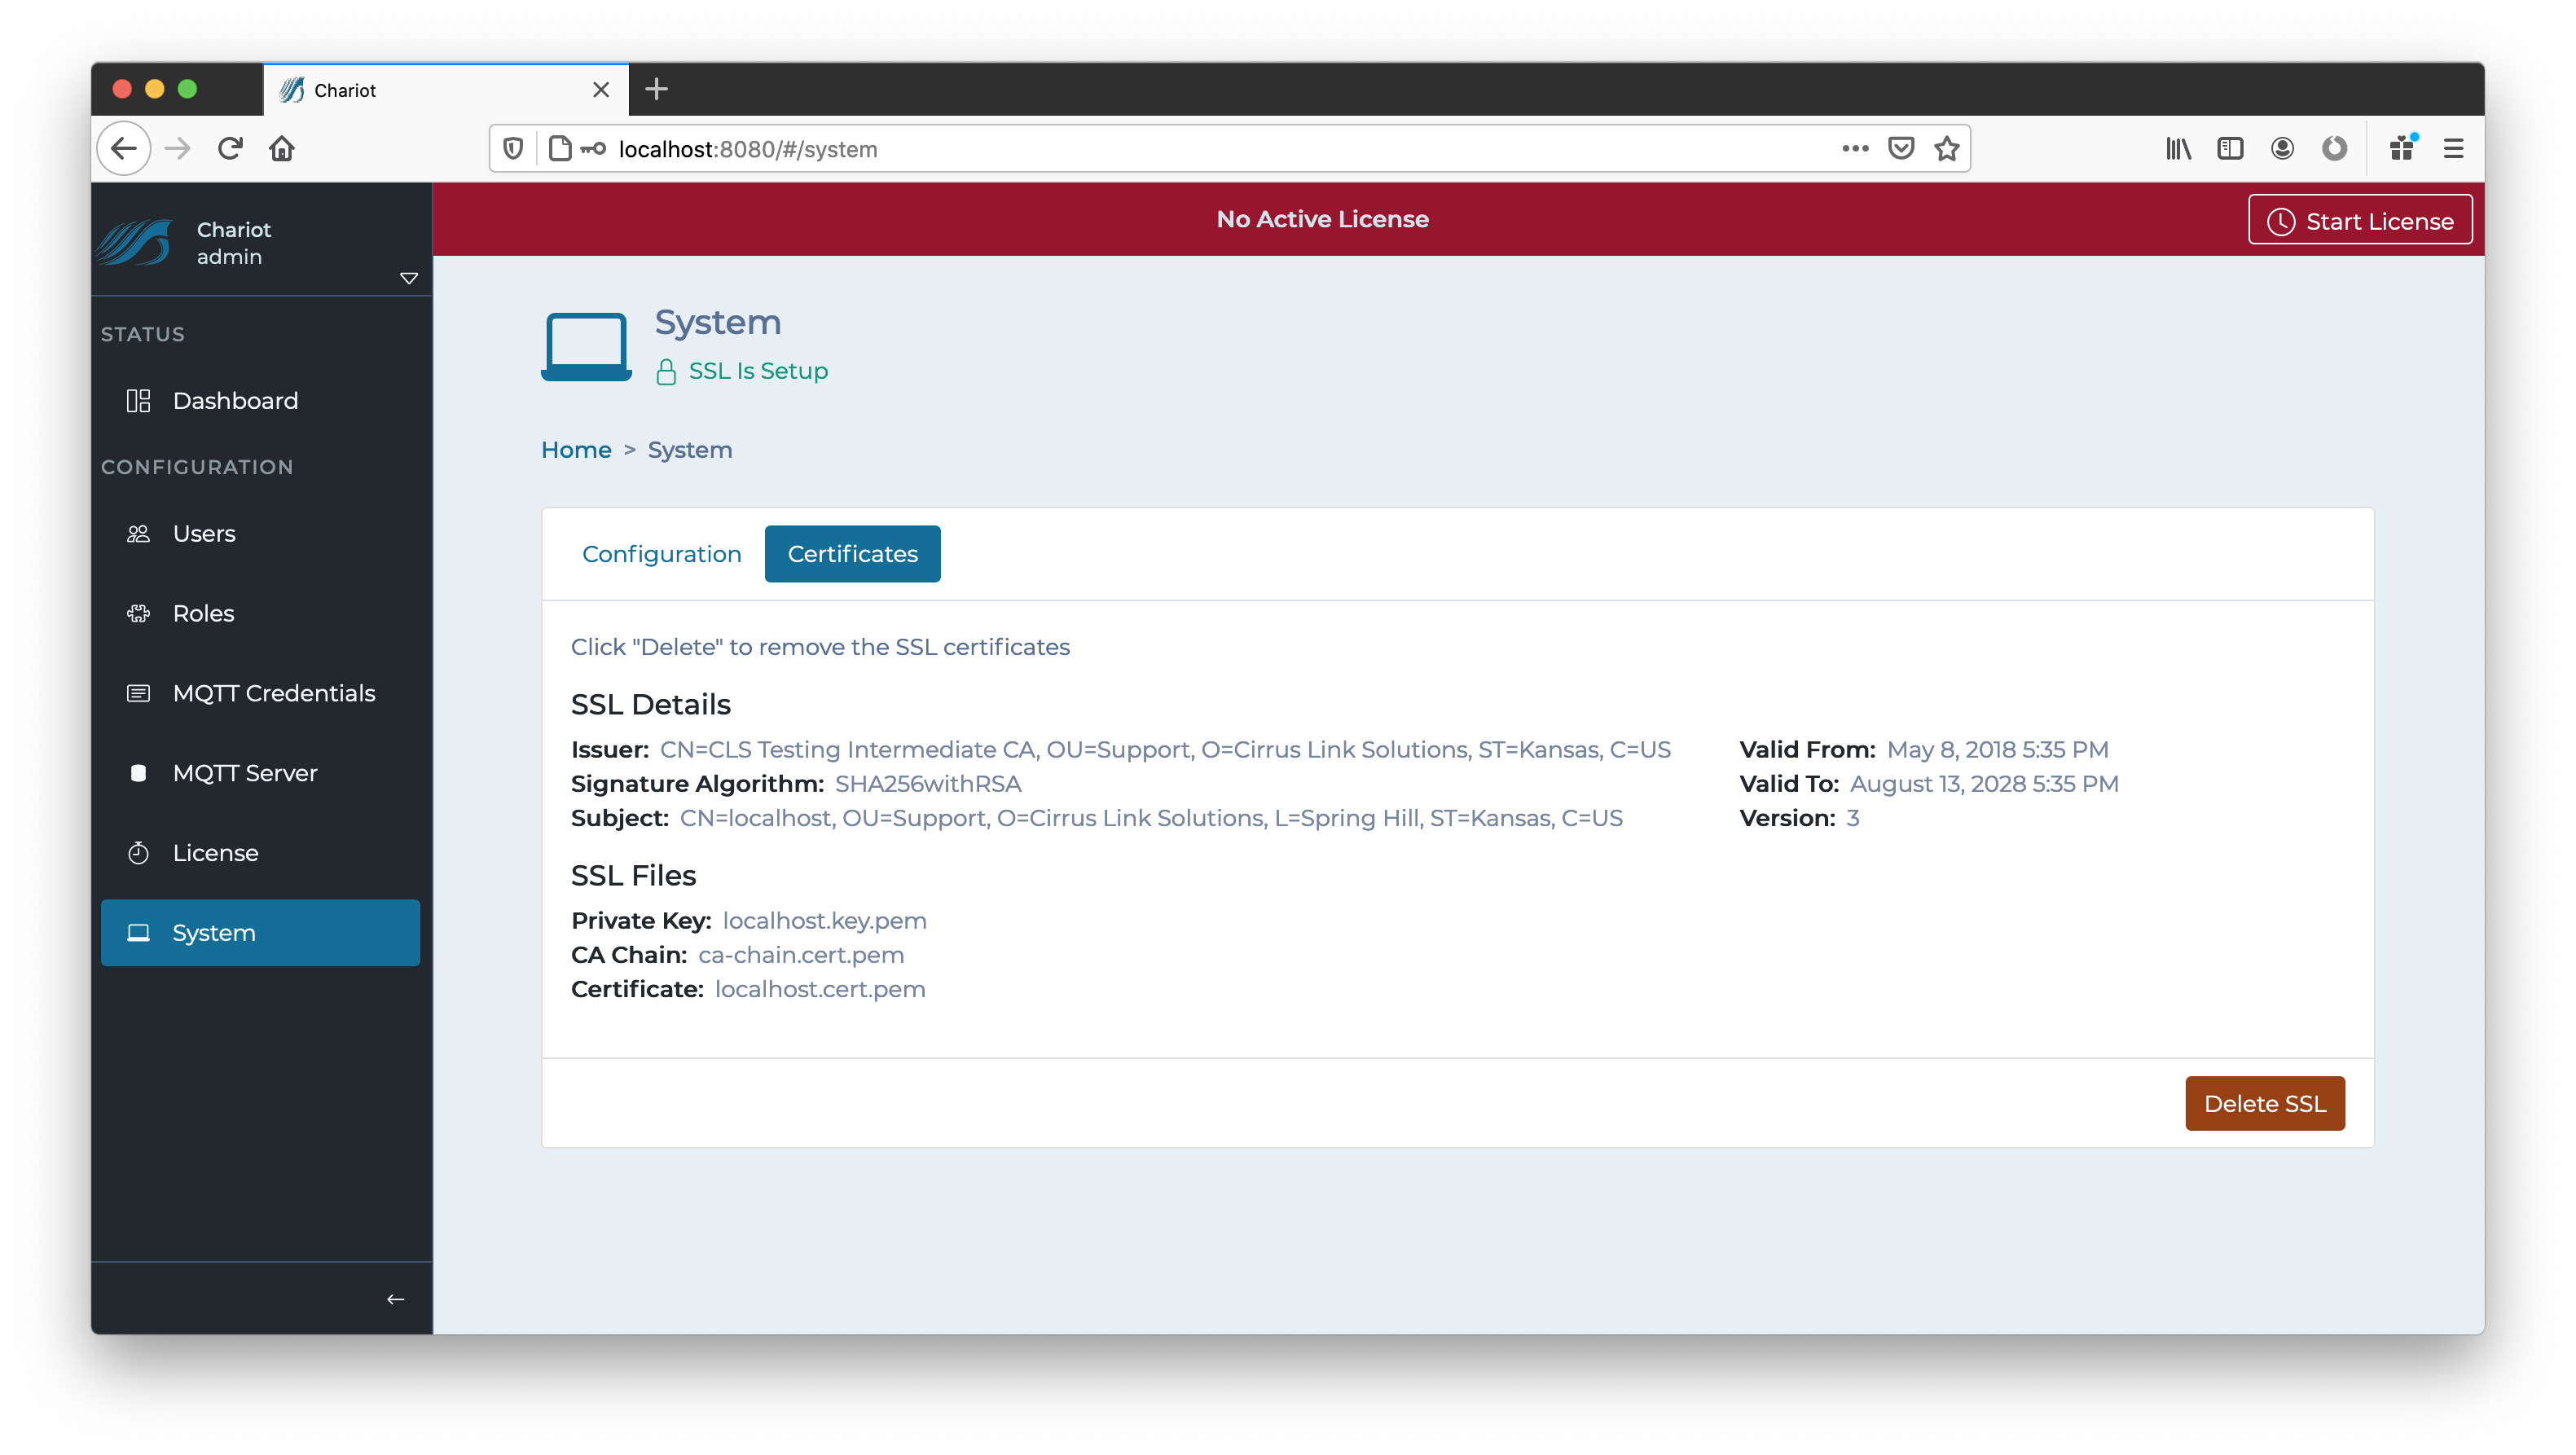
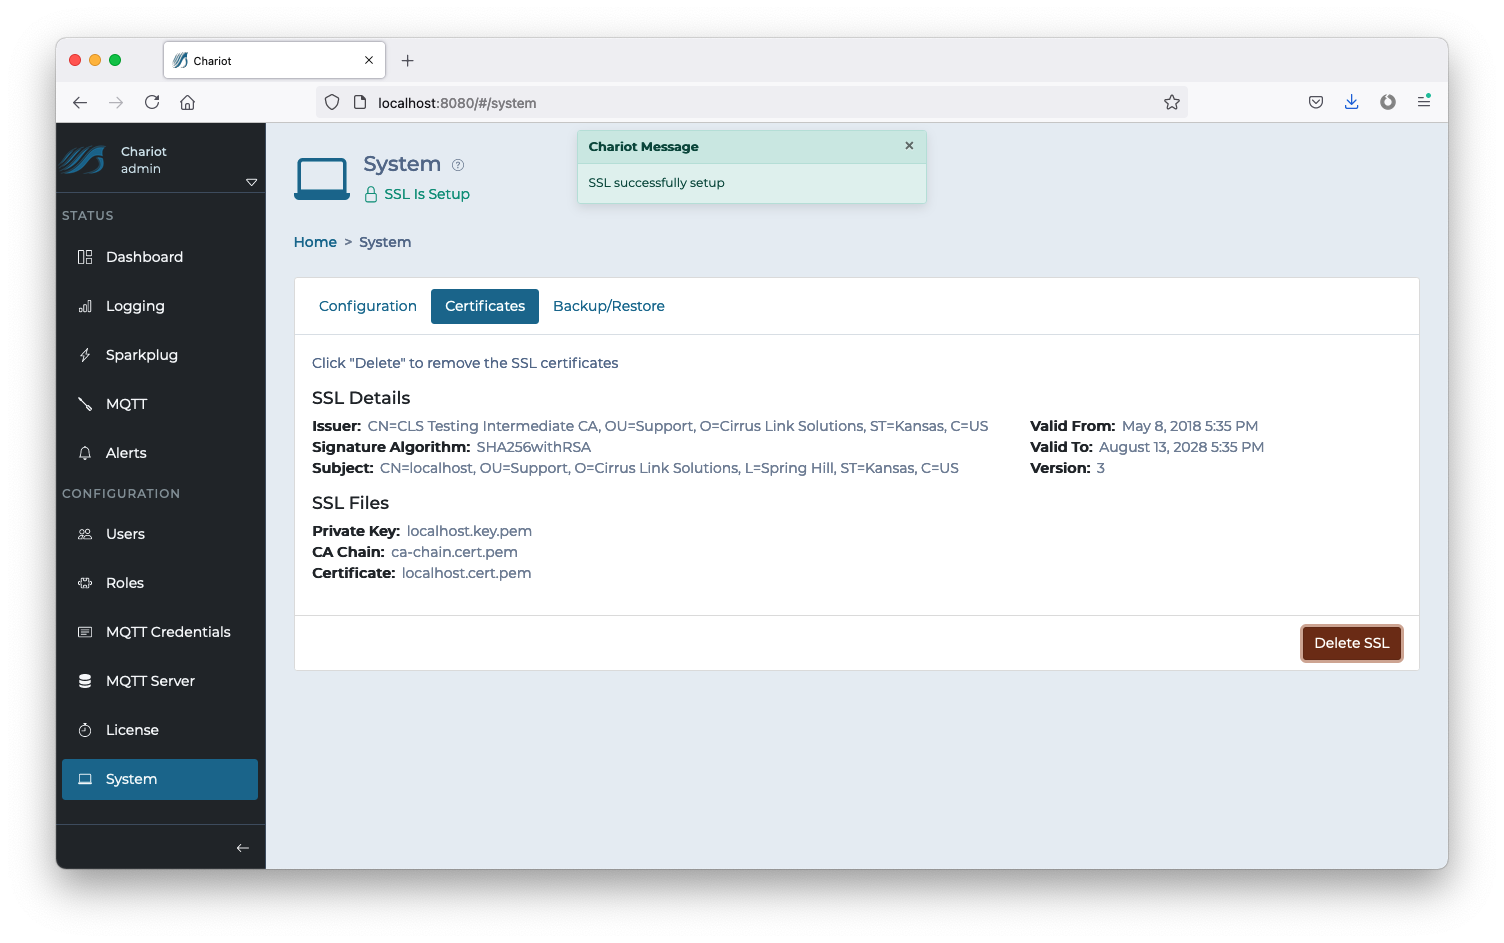 The "Delete SSL" button can be used to remove the certificate and key from the Chariot MQTT Server and revert to a "SSL Not Setup" state.
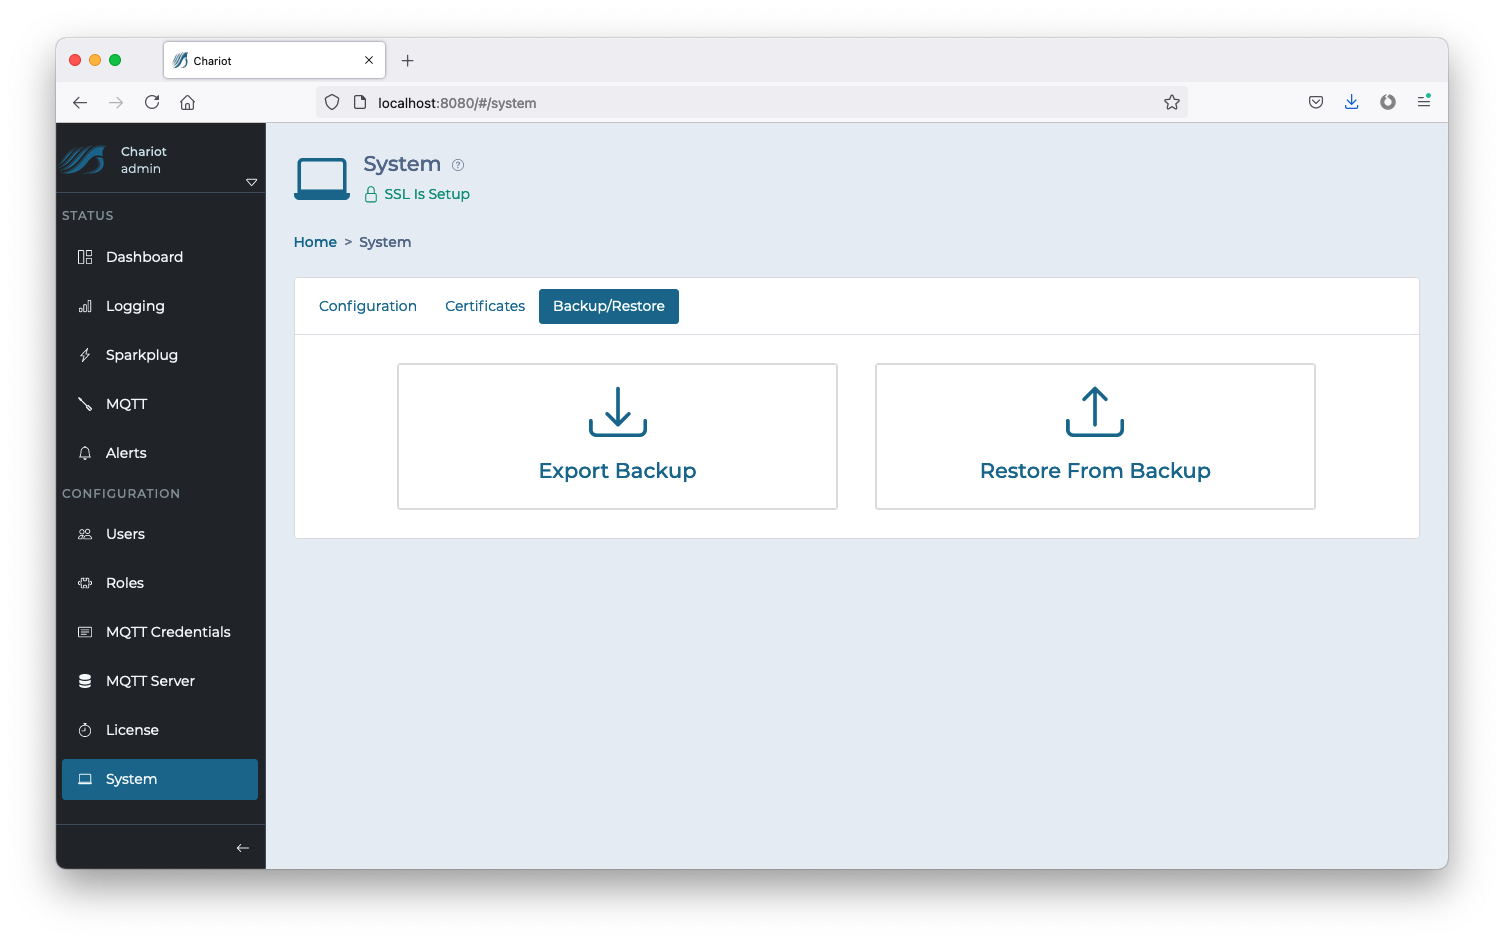
This tab allows for the backup and restore of Chariot configuration data.