...
- Name
- Date Type
- Engineering Units
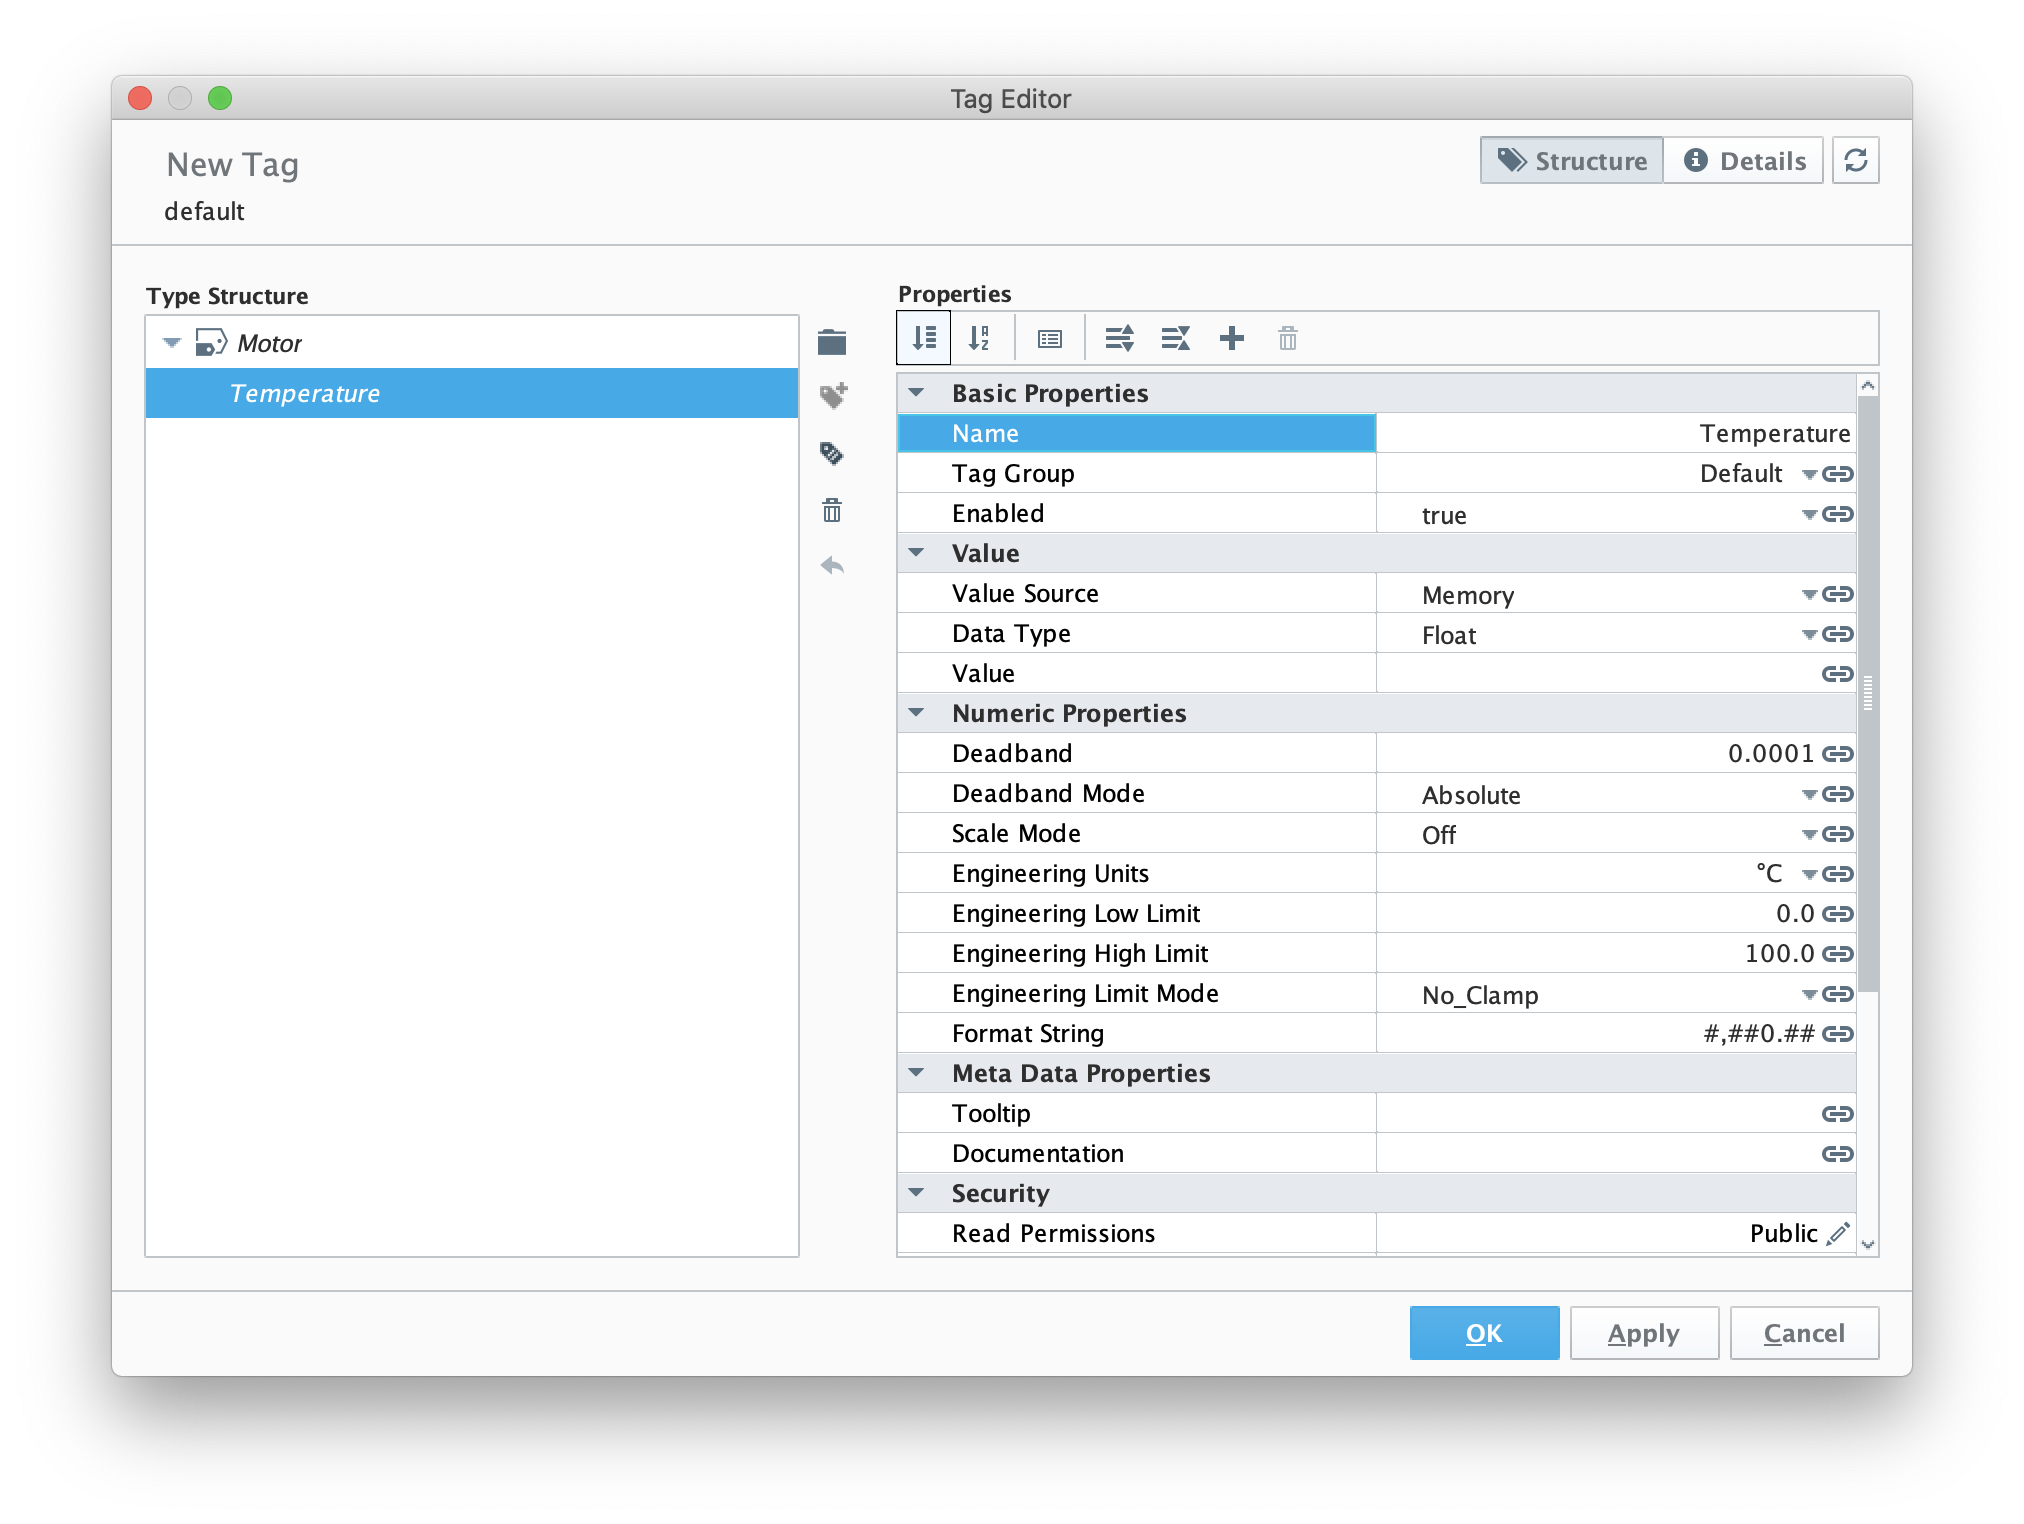
Now create two additional member tags with the following configuration.
- Amps
- Memory tag
- Data Type = Integer
- RPMs
- Memory tag
- Data Type = Integer
When complete, the UDT definition should look as follows.
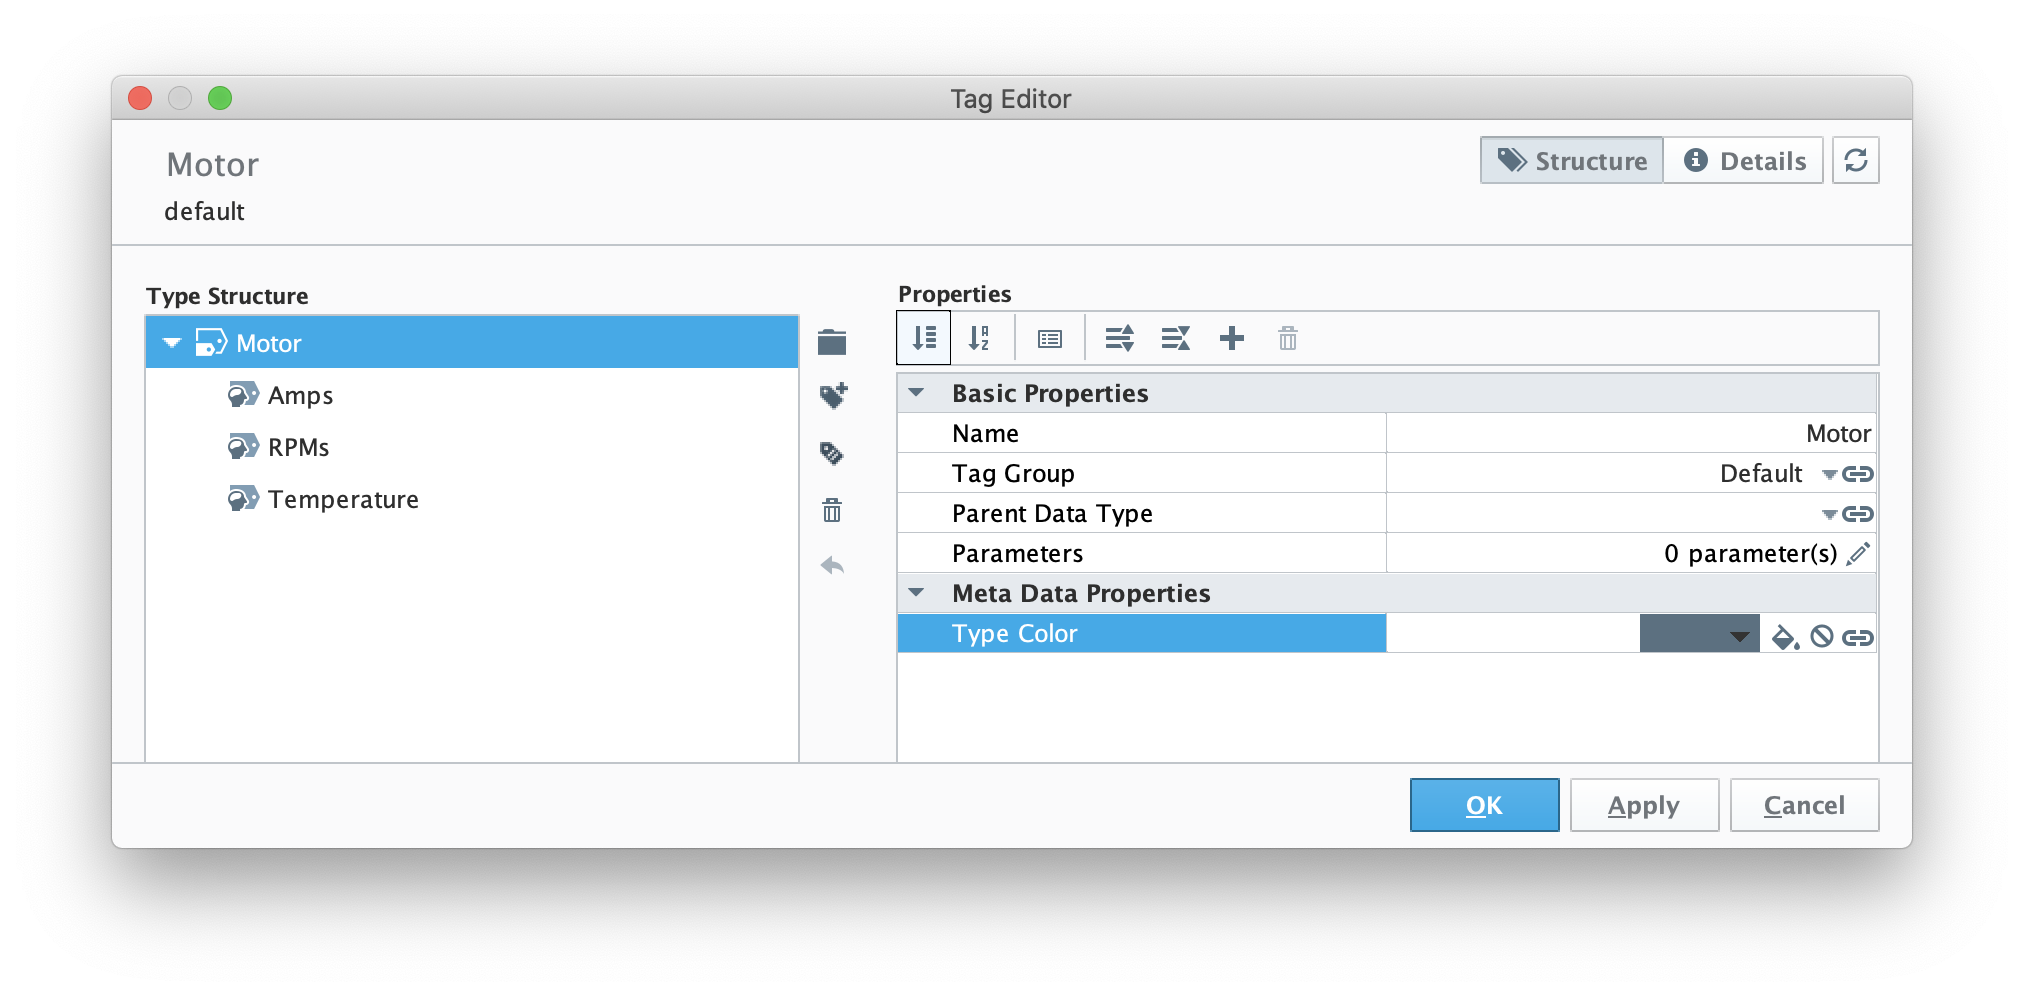 Image Added
Now switch back to the 'Tags' tab of the Tag Browser. Right click on the 'PLC 1' folder and select 'New Tag → Data Type Instance → Motor' as shown below.
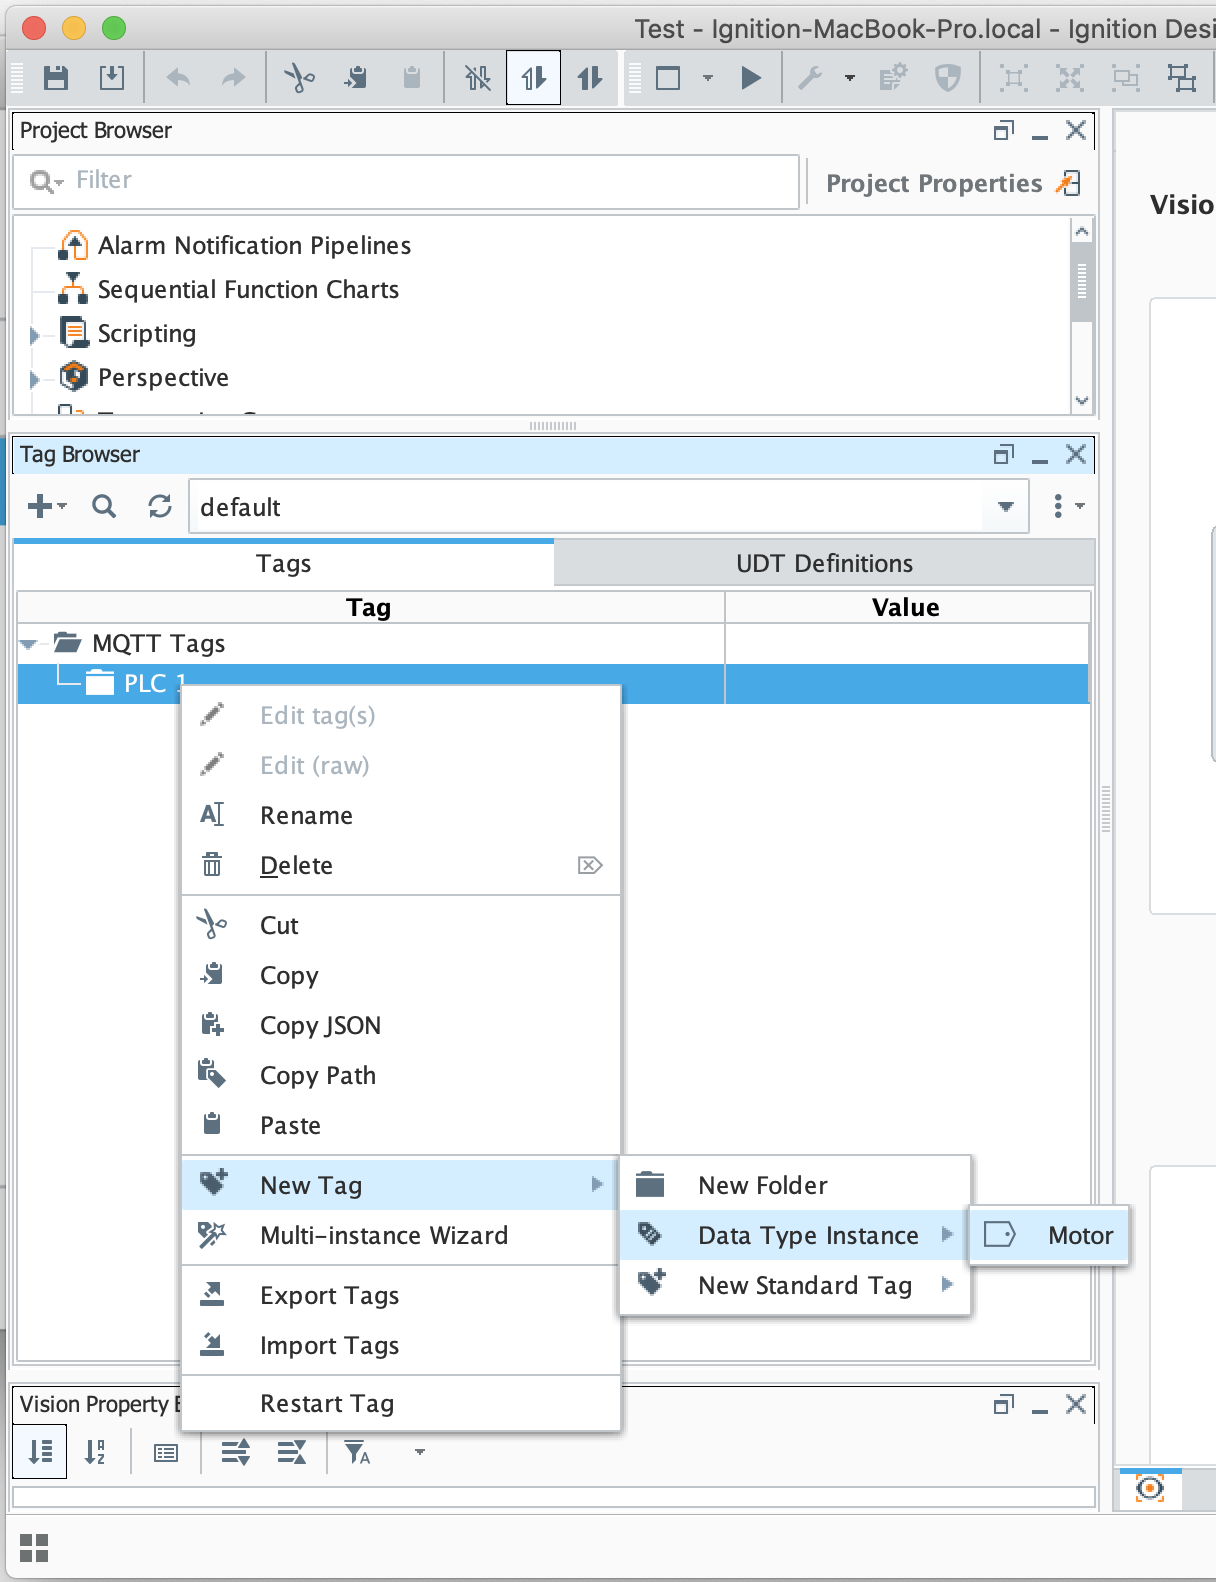 Image Added
Now set the name to 'My Motor' as shown below and click OK.
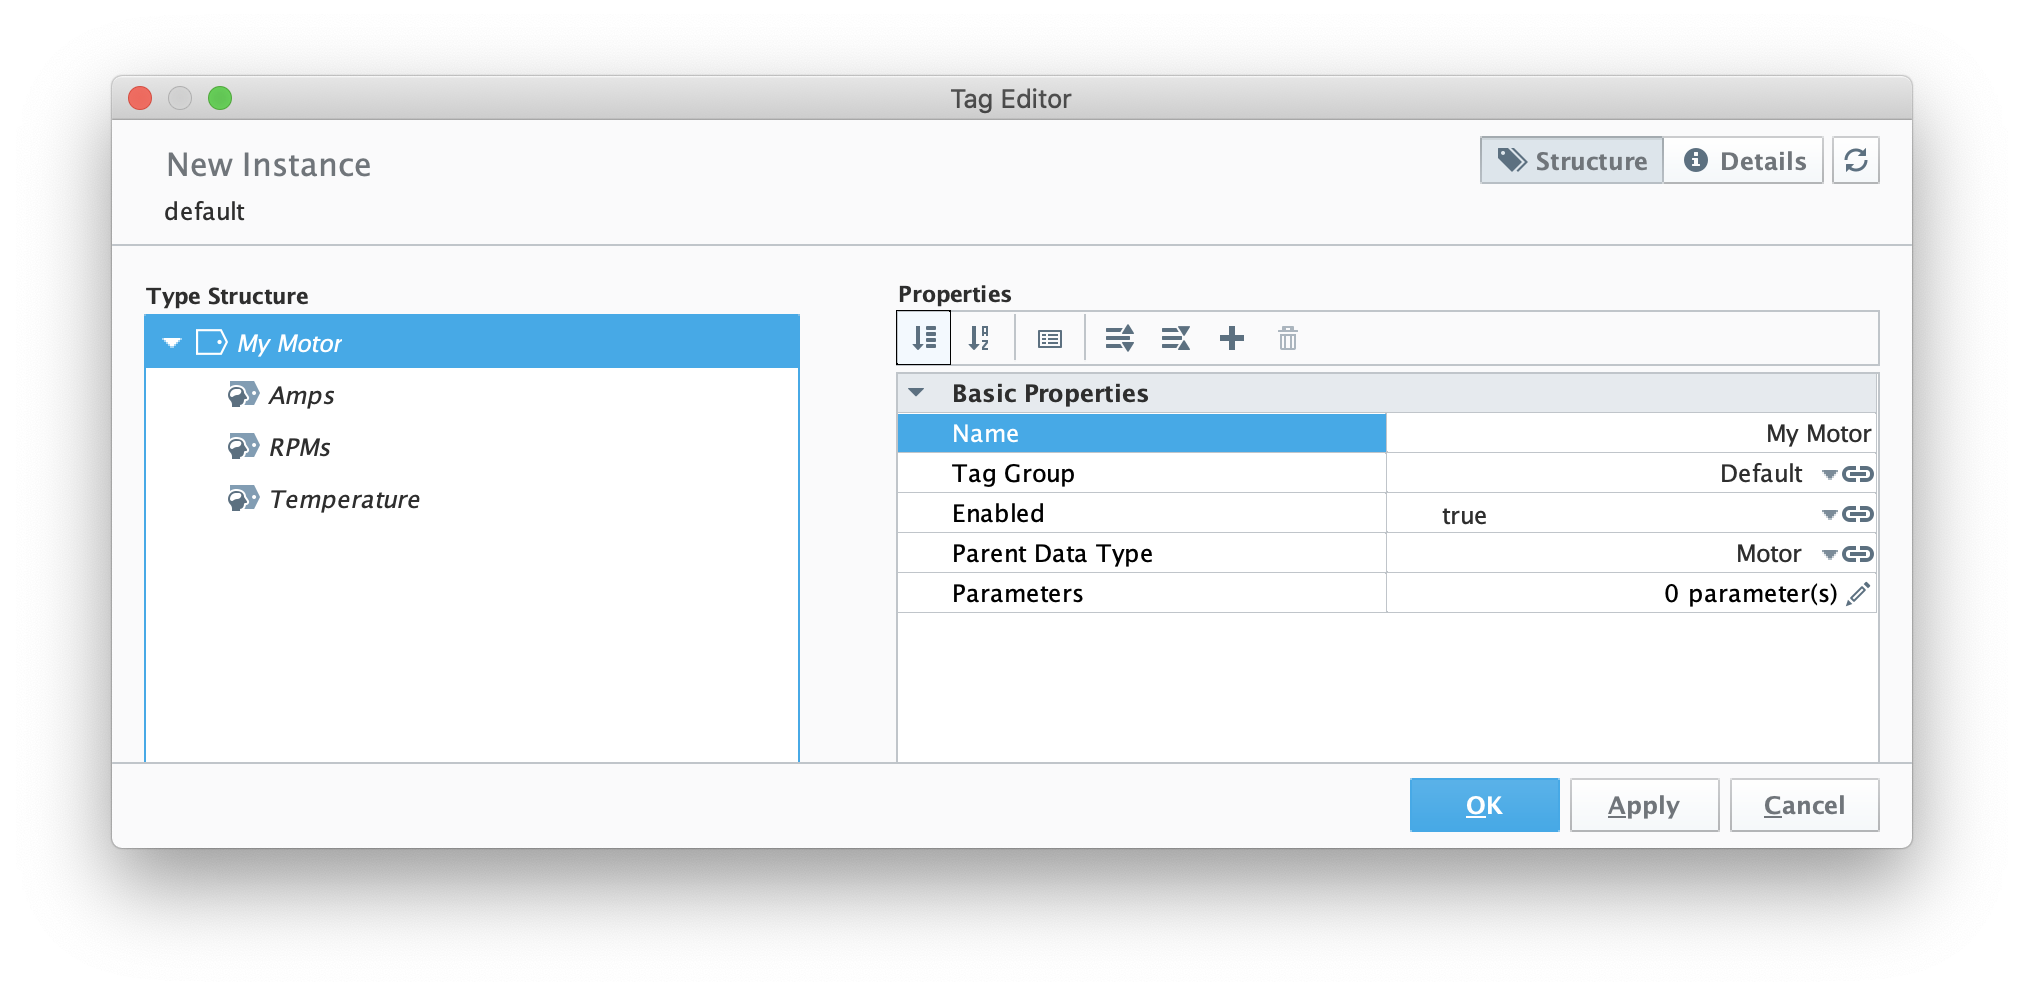 Image Added
Now, set some values under the instance as shown below.
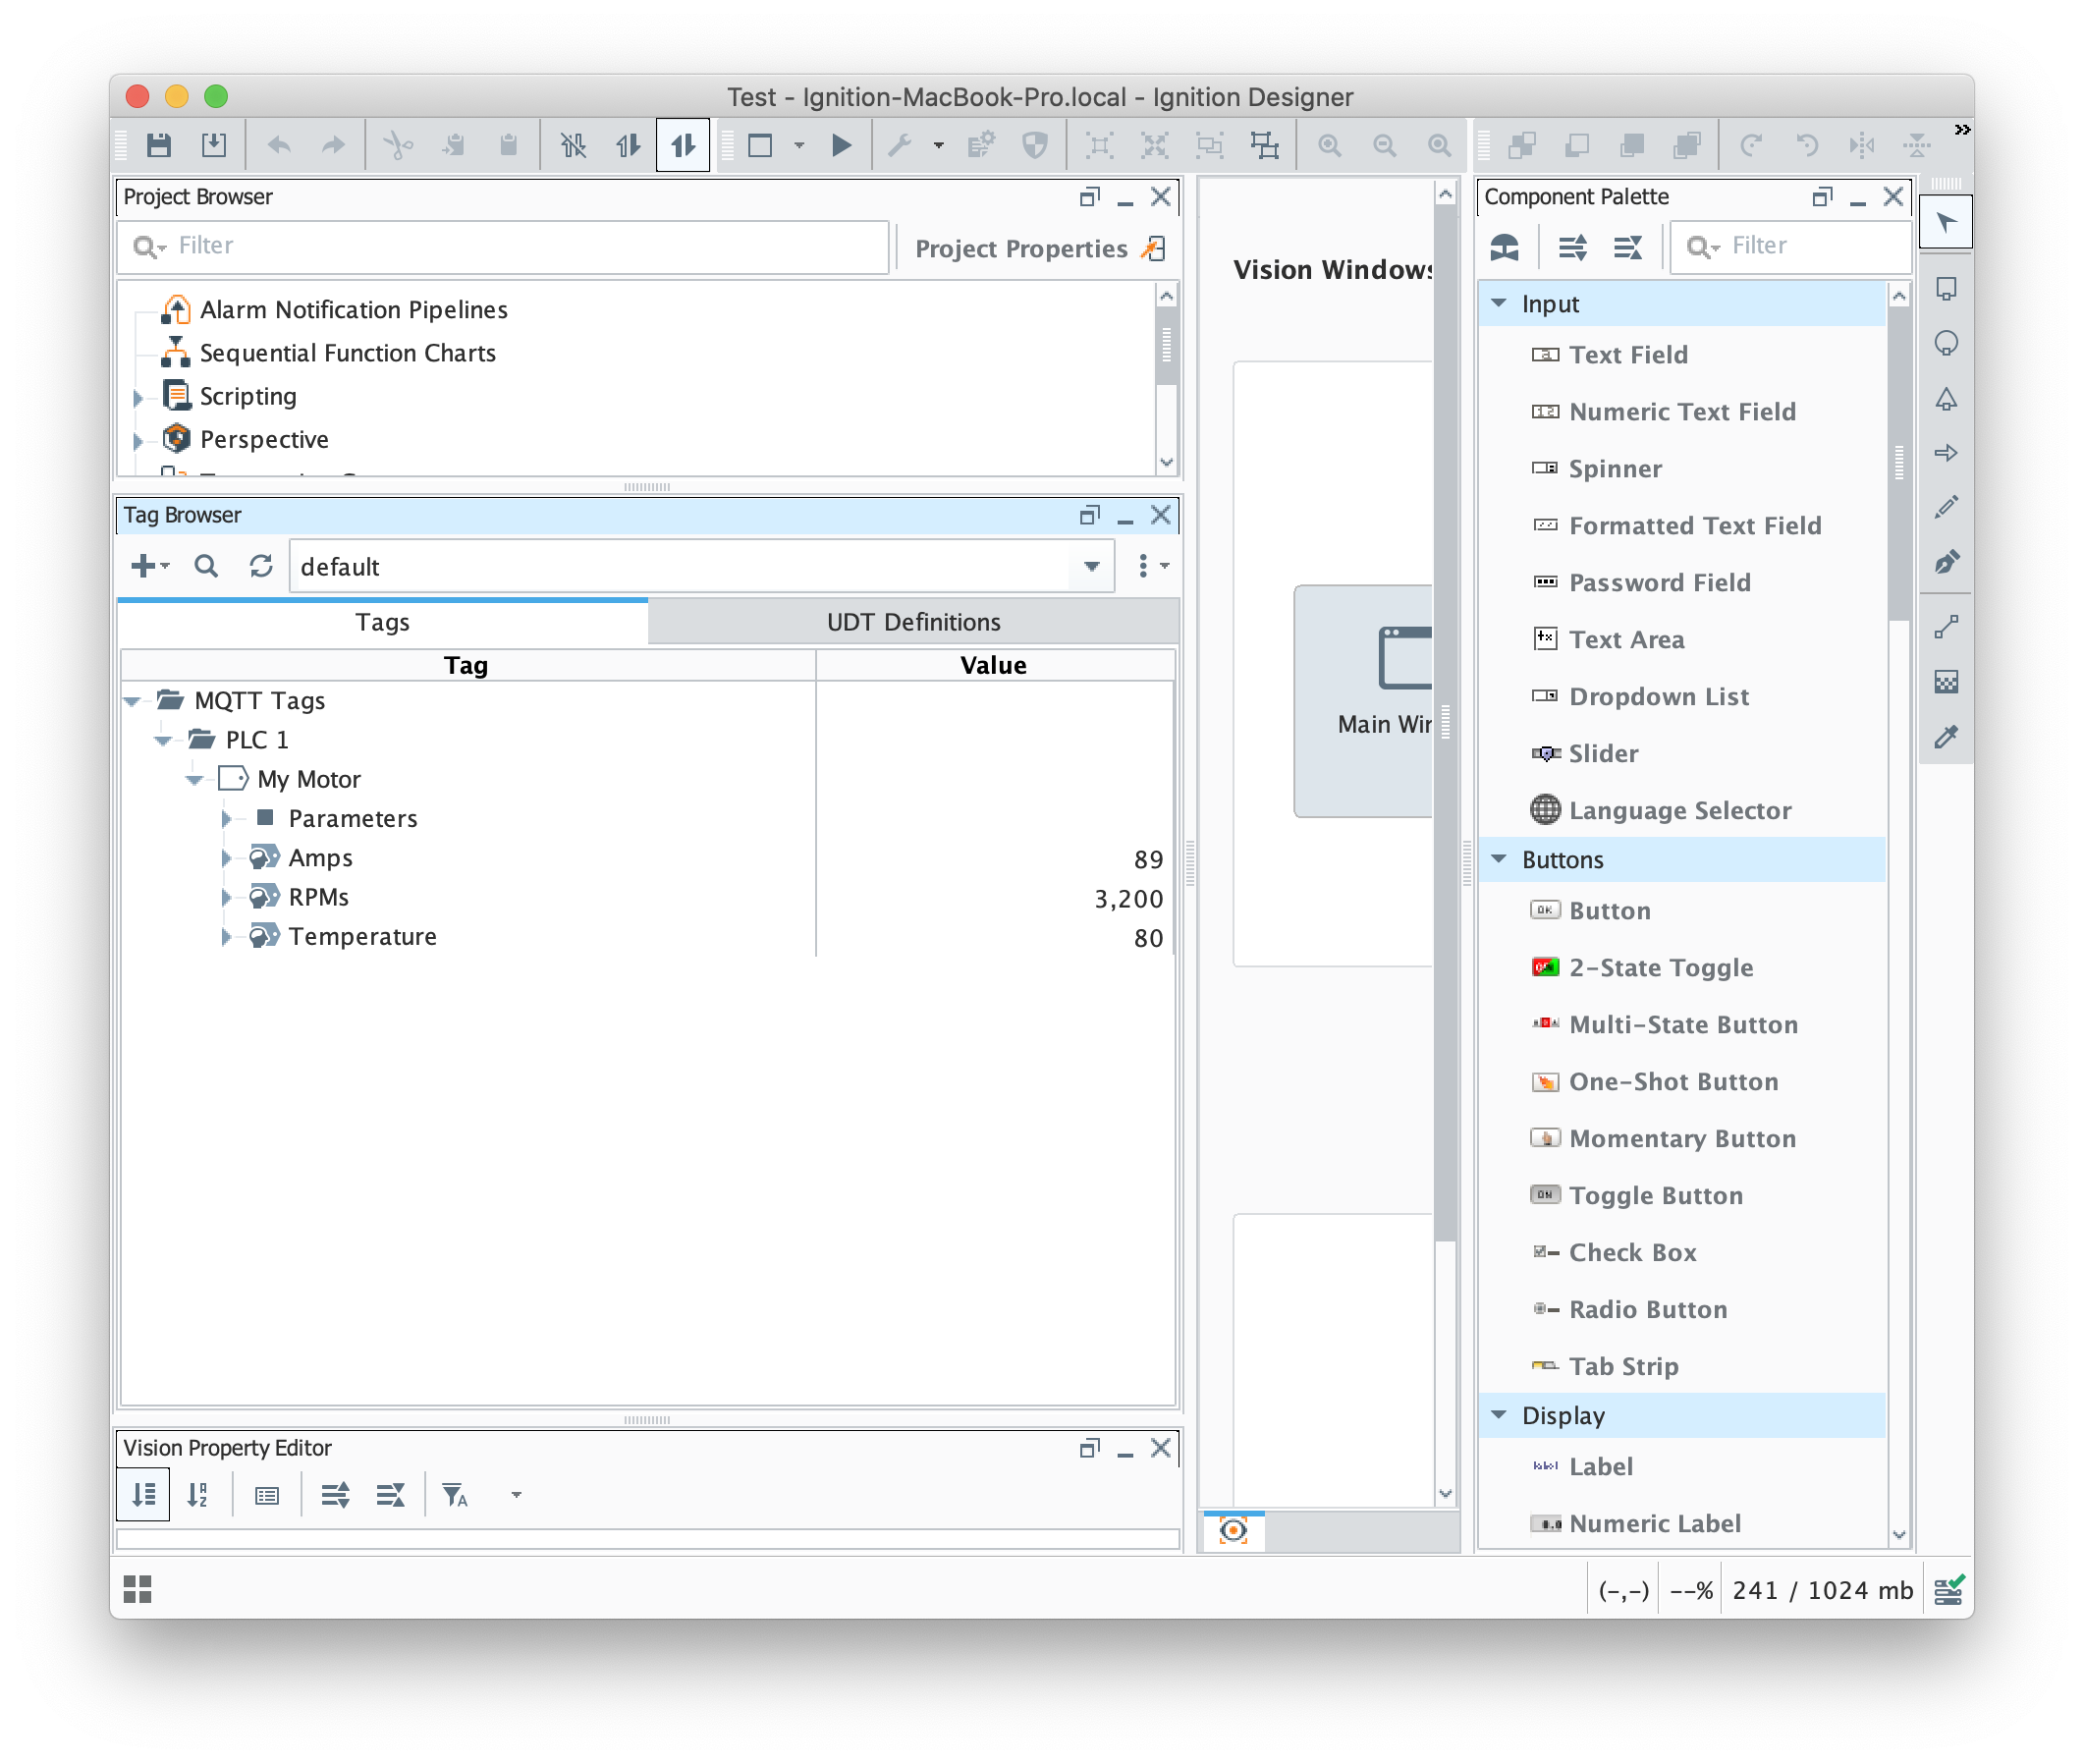 Image Added
At this point, our tags are configured. A UDT definition will map to a SiteWise Asset Model and UDT instances in Ignition will map to SiteWise Assets. But, before this will happen we need to point MQTT Transmission to AWS IoT Core. To do so, browse back to the Ignition Gateway Web UI and select MQTT Transmission → Settings from the left navigation panel as shown below.
 Image Added
Now select the 'Transmitters' tab as shown below.
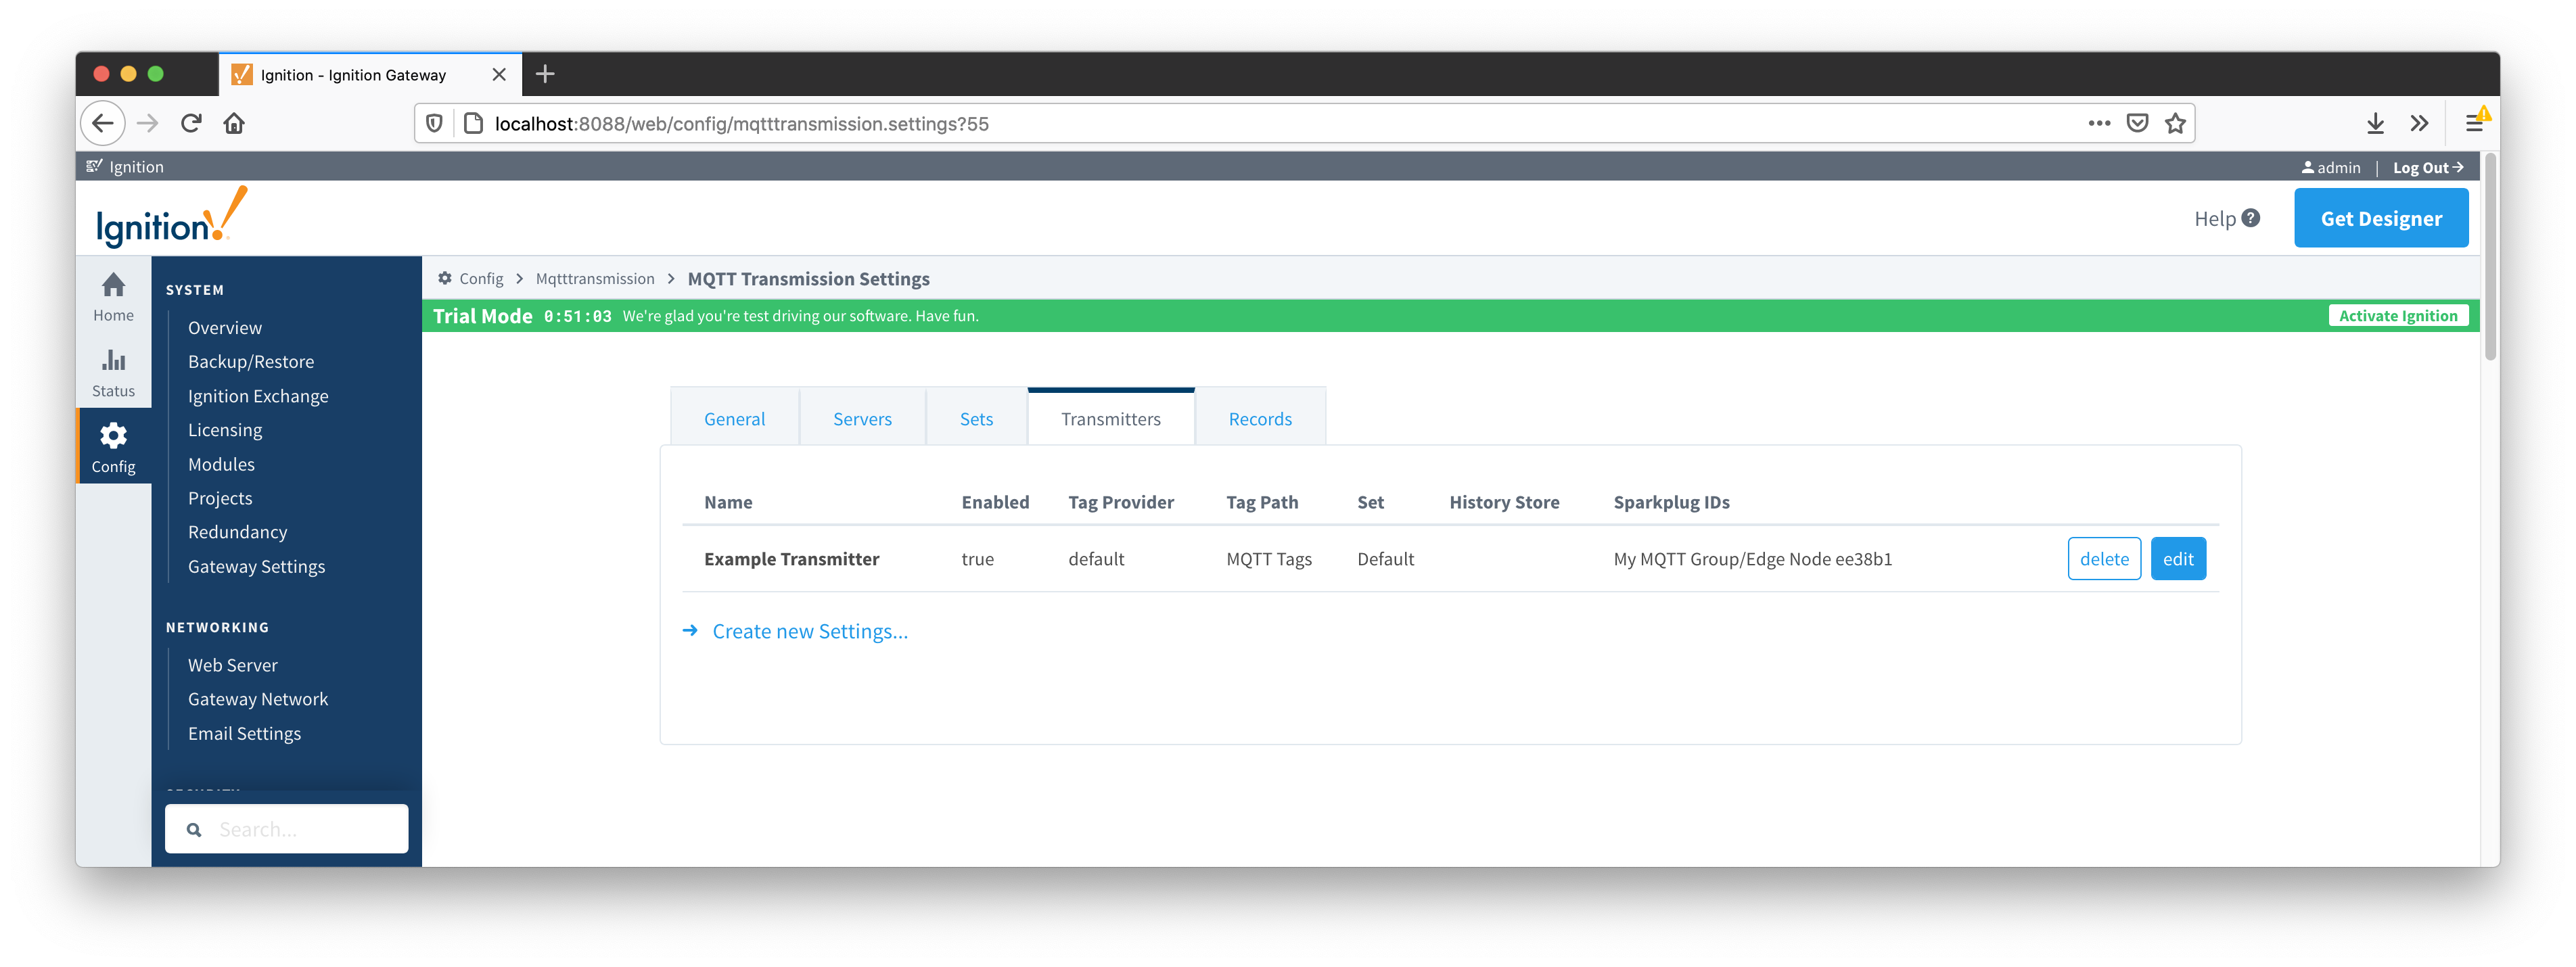 Image Added
Now click the 'edit' button to the right of the 'Example Transmitter'. Scroll down to the 'Convert UDTs' option and uncheck it as shown below. This will also un-grey the 'Publish UDT Defintions' option. Leave it selected as shown below.
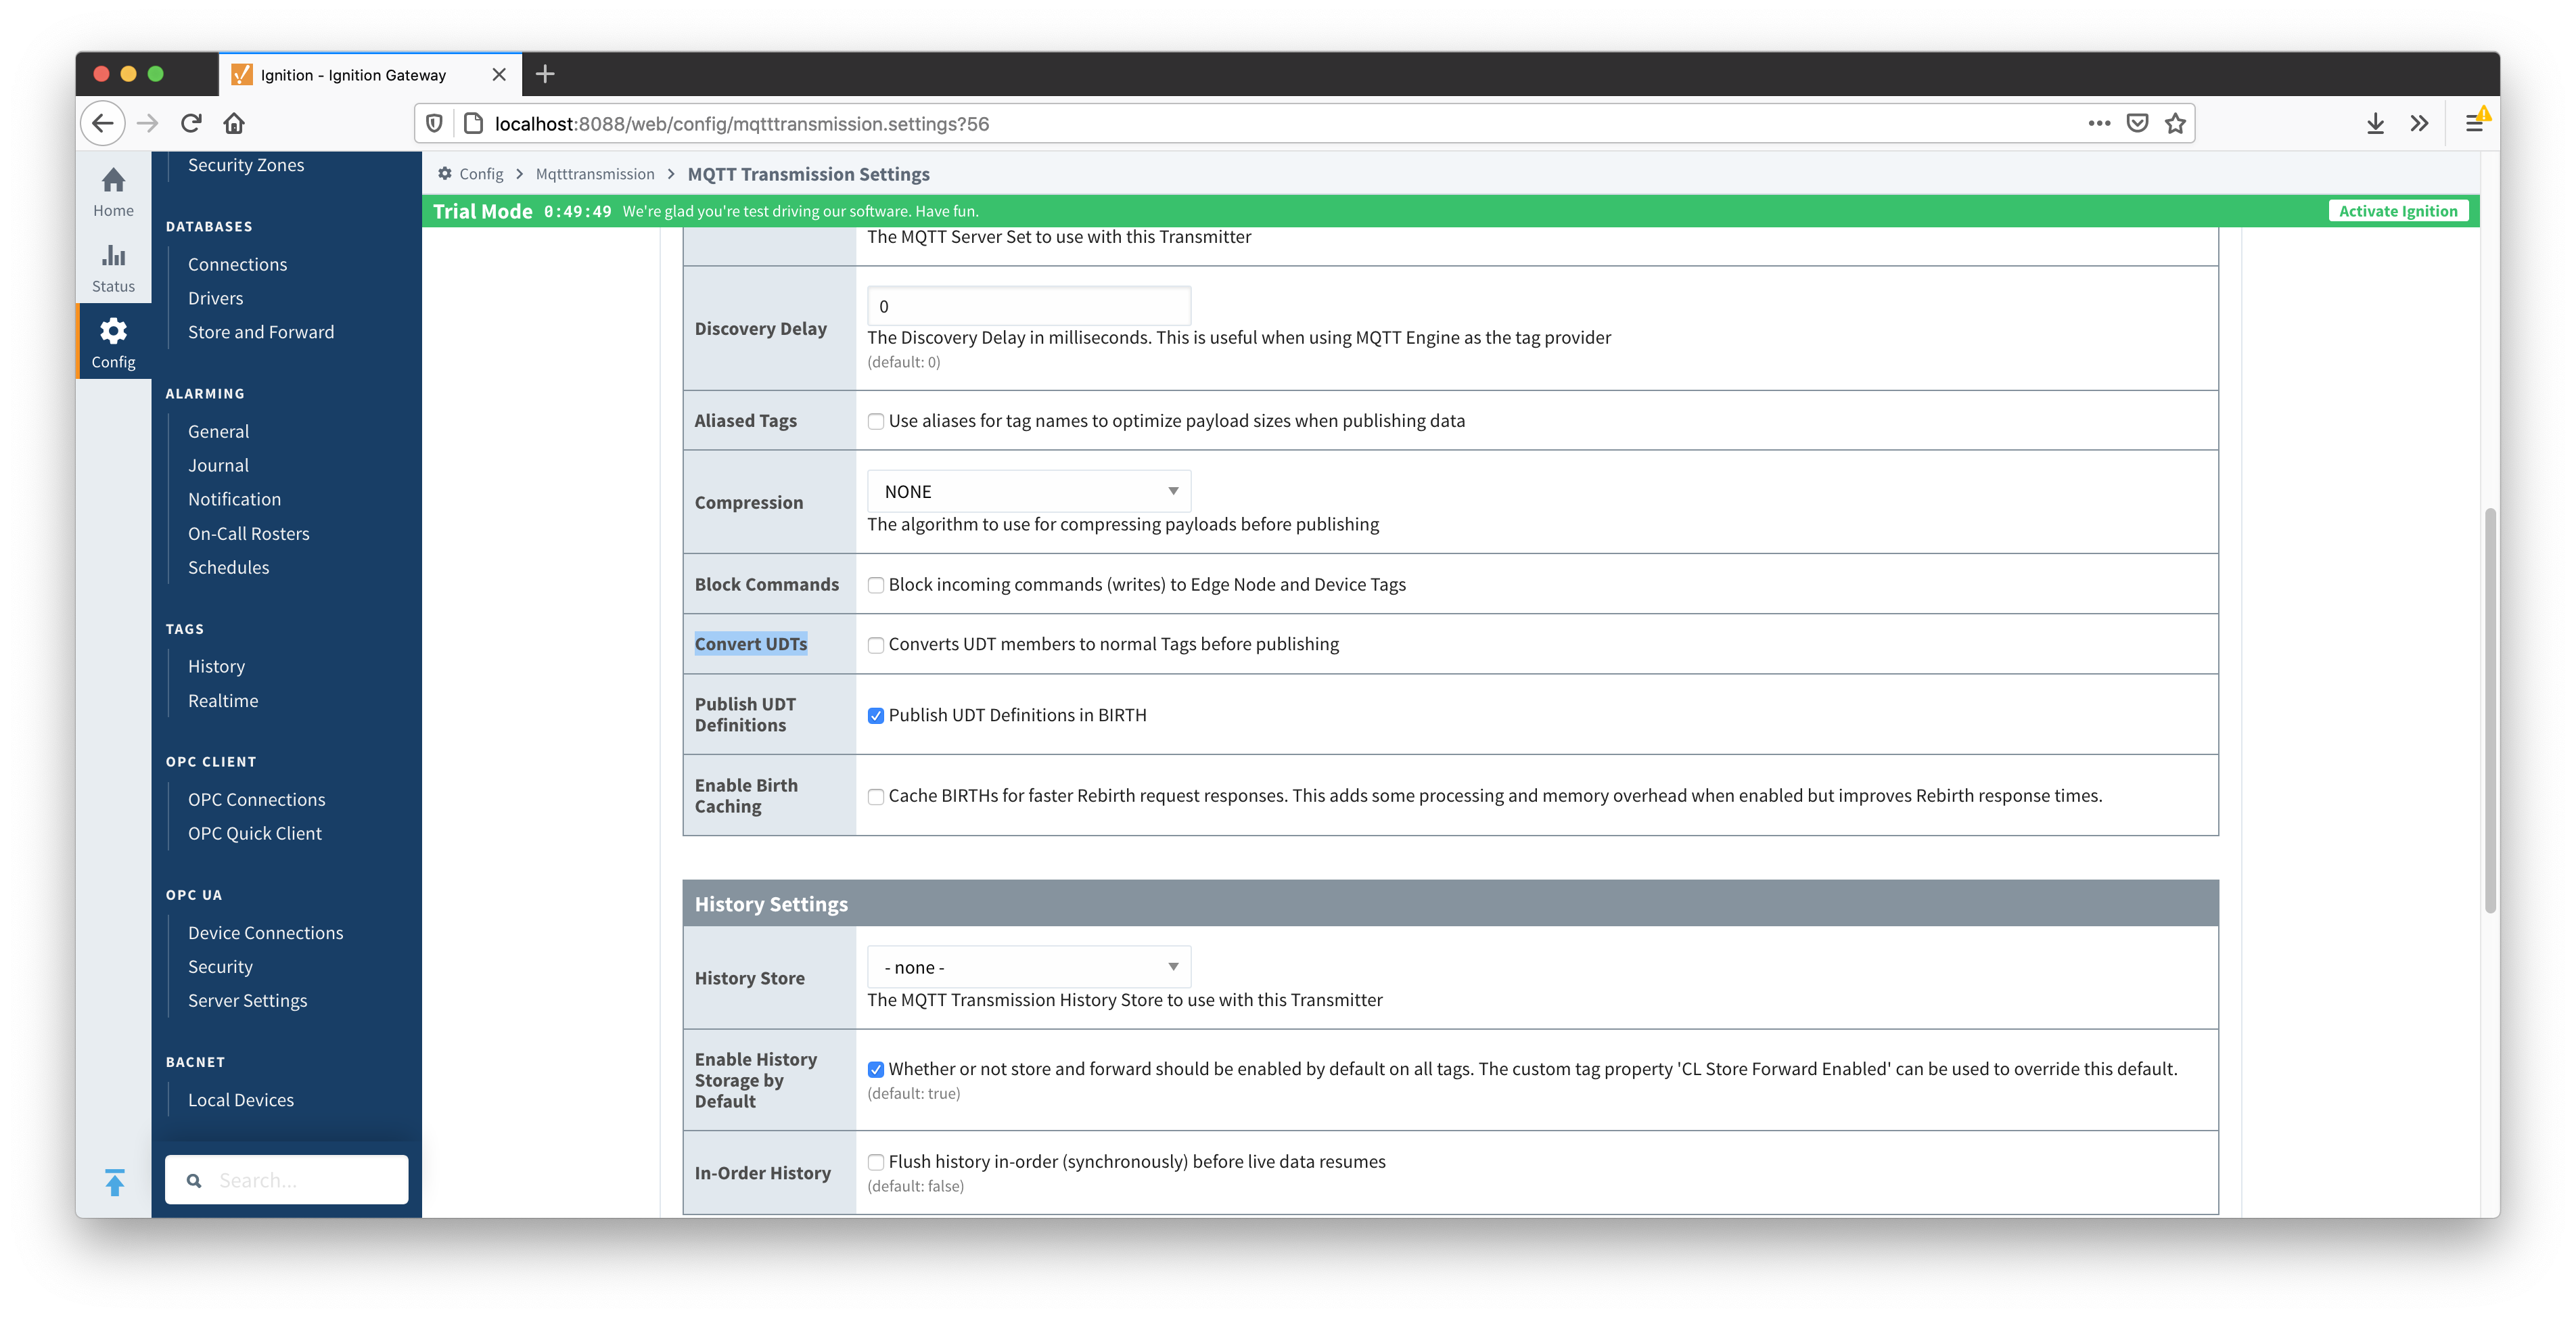 Image Added
Then select the 'Servers' tab and 'Certificates' tab as shown below.
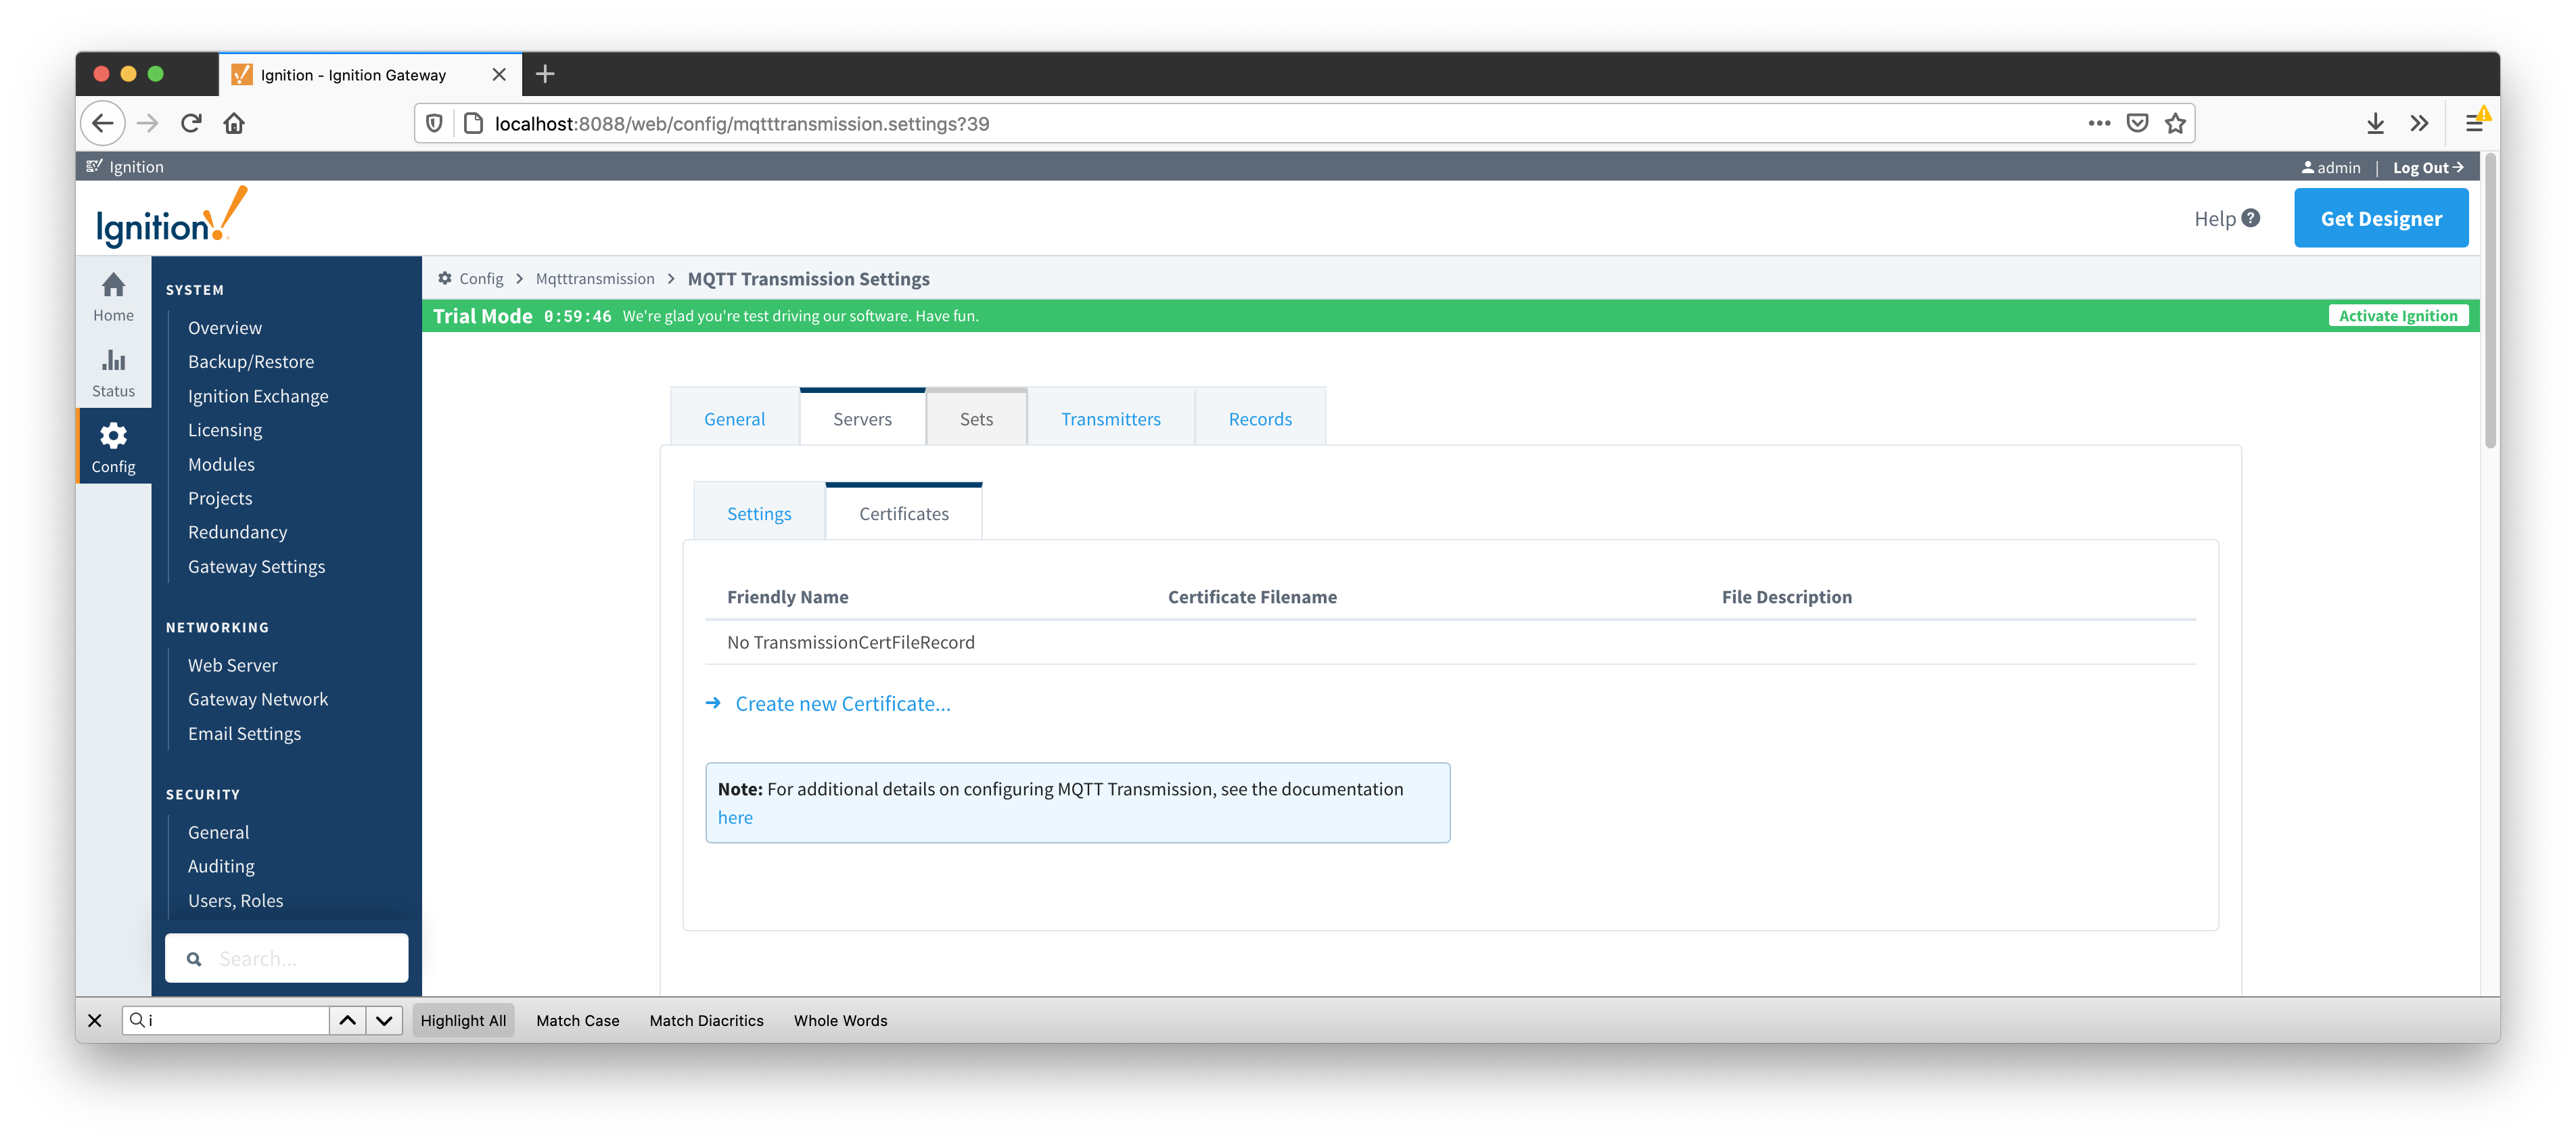 Image Added
Now upload the three certificate files that were acquired during the AWS IoT thing provisioning. Upload all three to the MQTT Transmission configuration. When done, you should see something similar to what is shown below.
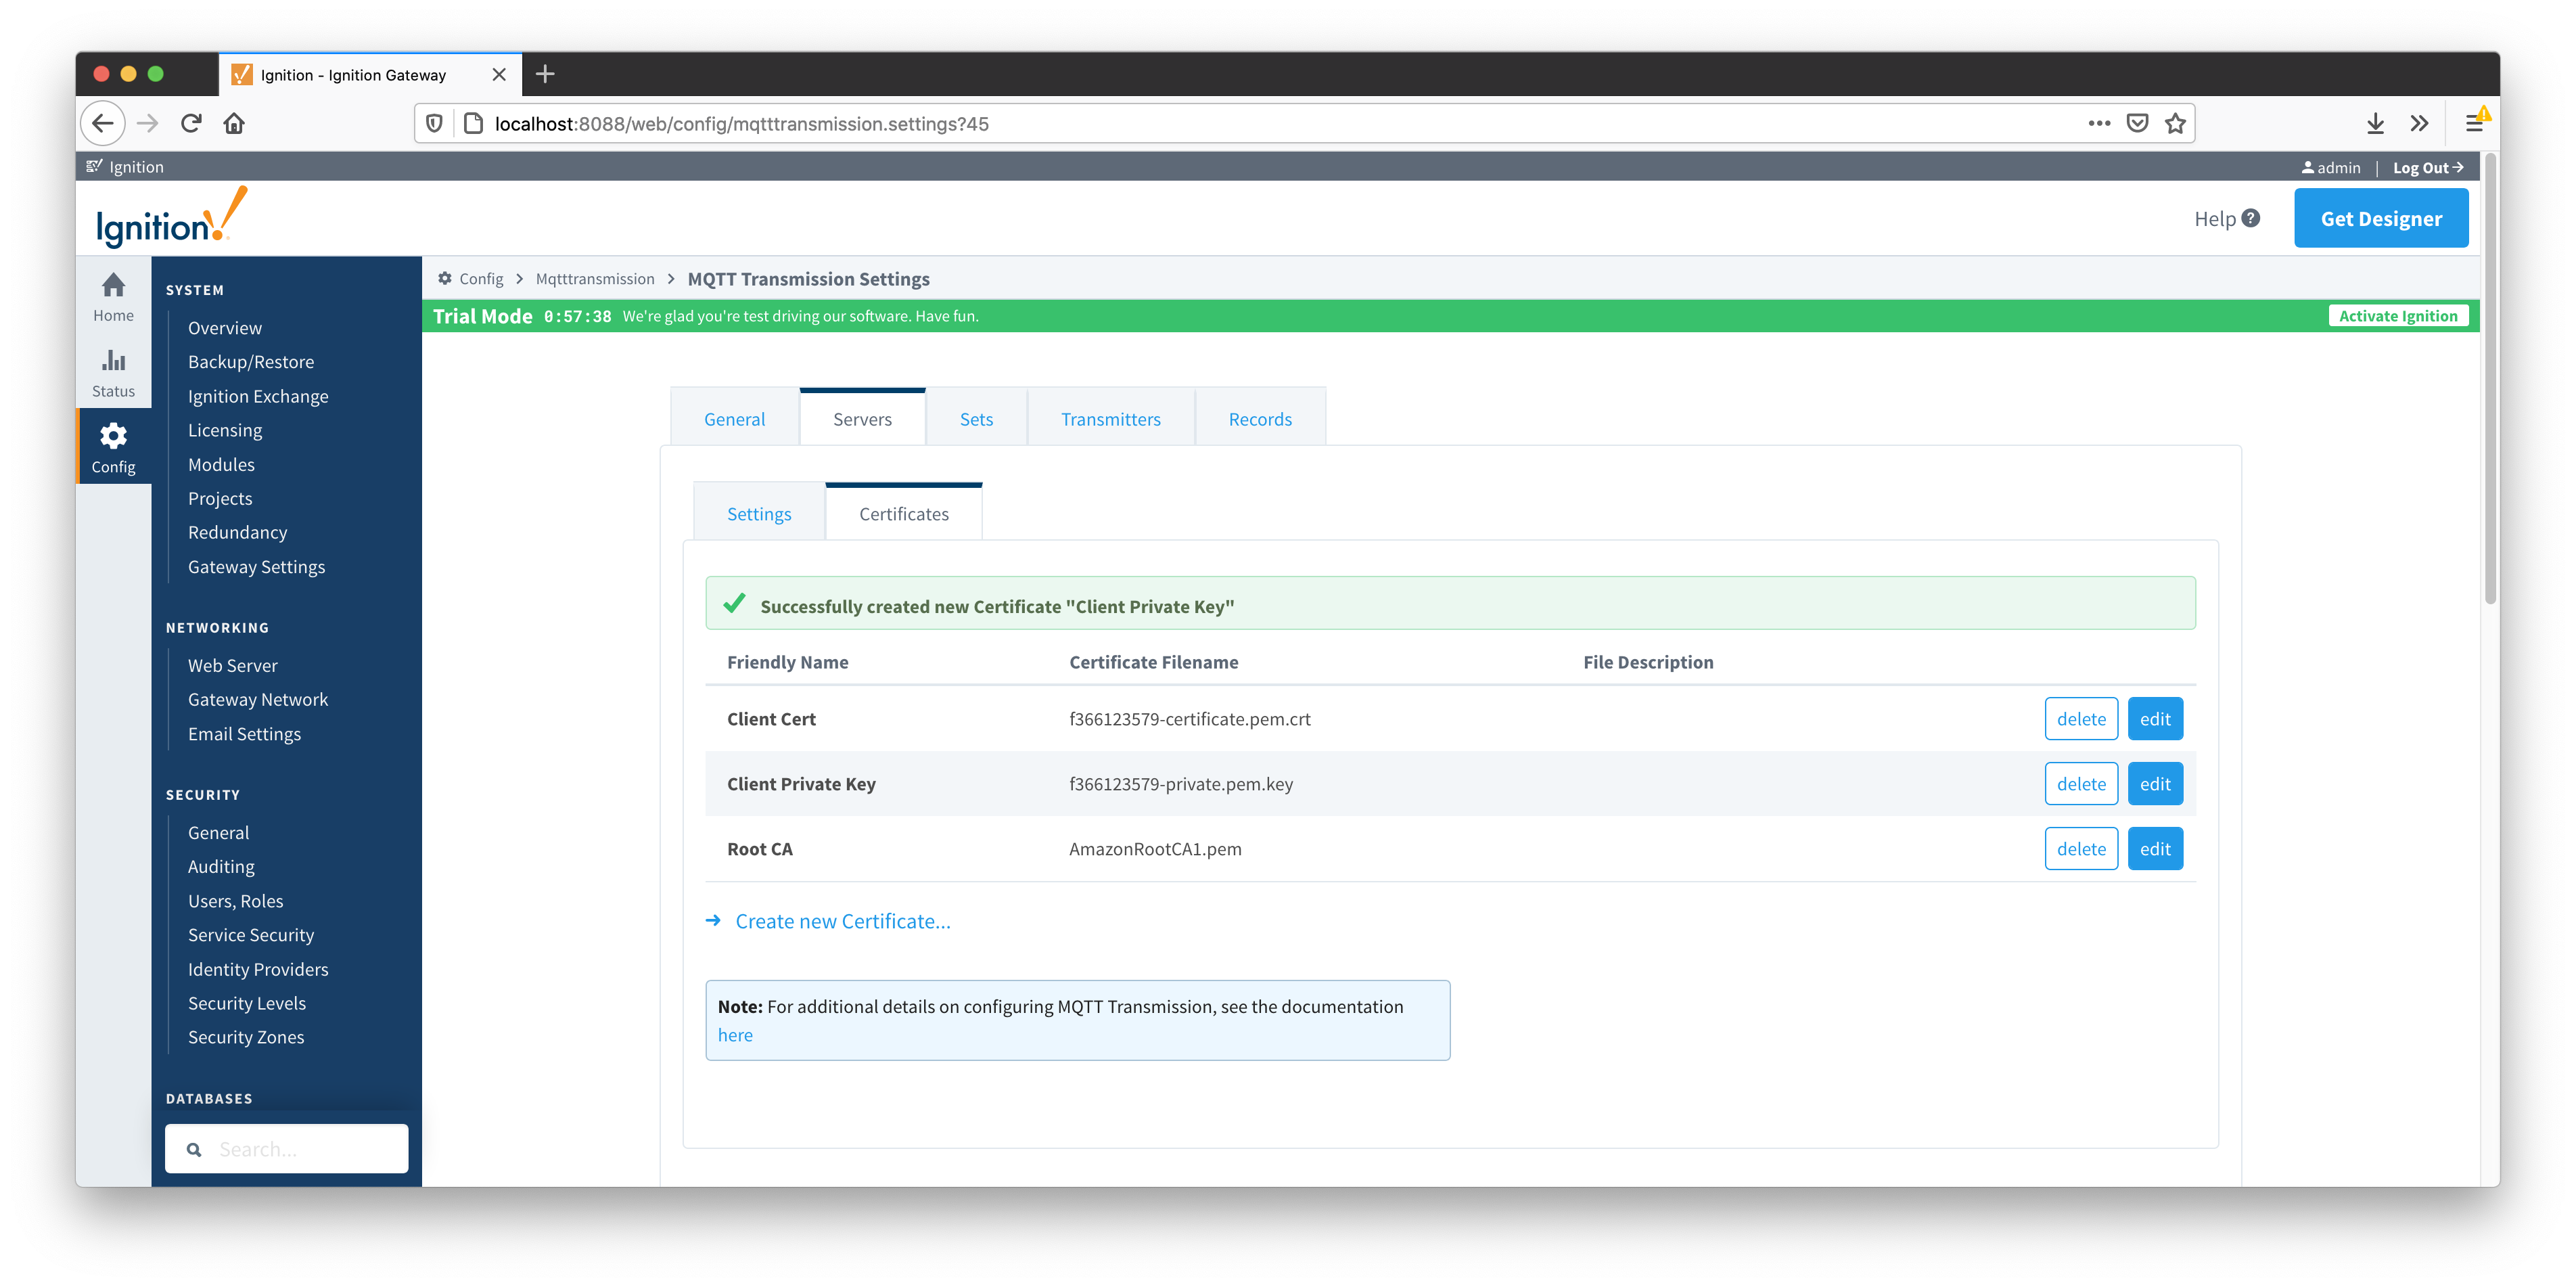 Image Added
Now switch to the 'Servers' and 'Settings' tab. Delete the existing 'Chariot SCADA' pre-seeded MQTT Server Definition. Then create a new one with the following configuration.
- Name
- URL
- Your AWS IoT Endpoint URL of the form ssl://ENDPOINT_URL:8883
- CA Certificate File
- The AWS Root CA certificate
- Client Certificate File
- The AWS client certificate for your provisioned 'thing'
- Client Private Key File
- The AWS client private key for your provisioned 'thing'
When complete, you should see something similar to the following. However, the 'Connected' state should show '1 of 1' if everything was configured properly.
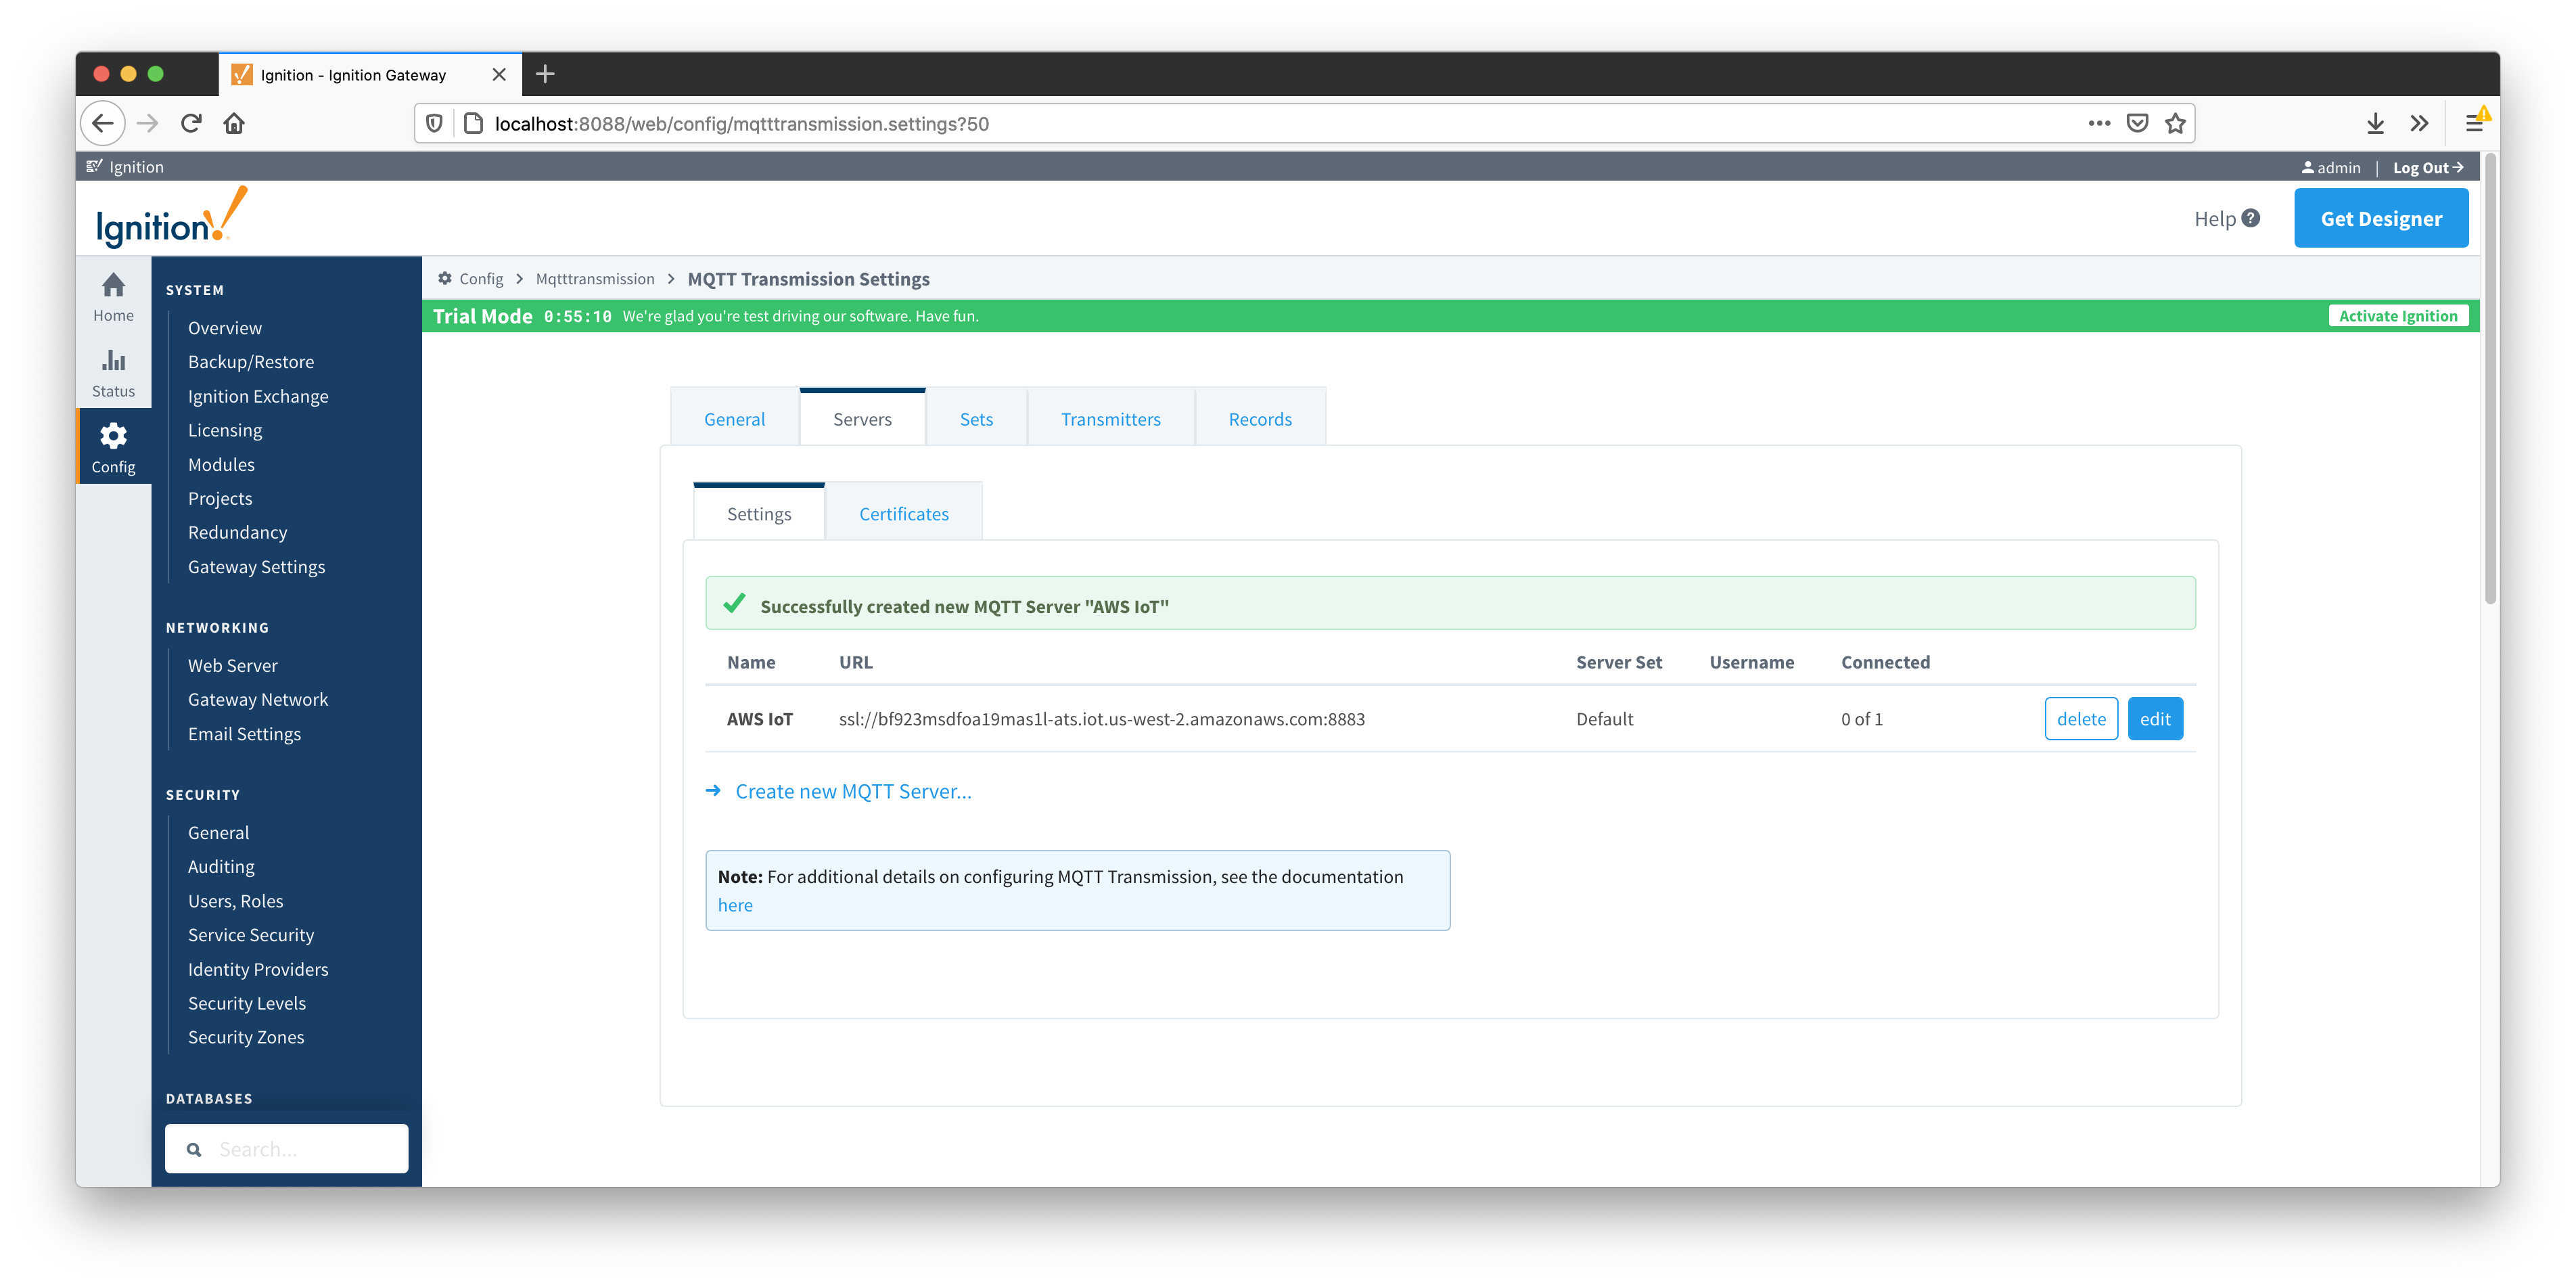 Image Added