![]()
Contents
Cirrus Link Resources
Cirrus Link Website![]()
Contact Us (Sales/Support)![]()
Inductive Resources
Ignition User Manual![]()
Knowledge Base Articles![]()
Inductive University![]()
Forum![]()
![]()
Cirrus Link Website![]()
Contact Us (Sales/Support)![]()
Ignition User Manual![]()
Knowledge Base Articles![]()
Inductive University![]()
Forum![]()
...
Overview:
Chariot MQTT Server is a MQTT 3.1.1 compliant MQTT server. It is capable of providing a functional replacement for MQTT Distributor in larger scale deployments. Like Inductive Automation's Ignition platform, it comes with a two hour re-settable trail period. It can also be set up with a license key from Cirrus Link to enable it permanently. Chariot MQTT Server provides a web based administration page for enabling and limiting user access to the MQTT server via an Access Control List (ACLs). Like MQTT Distributor it also supports TLS security and username/password authentication in addition to ACLs for user authorization.
Installing a Virtual Machine Manager:
...
...
Installing Chariot MQTT Server:
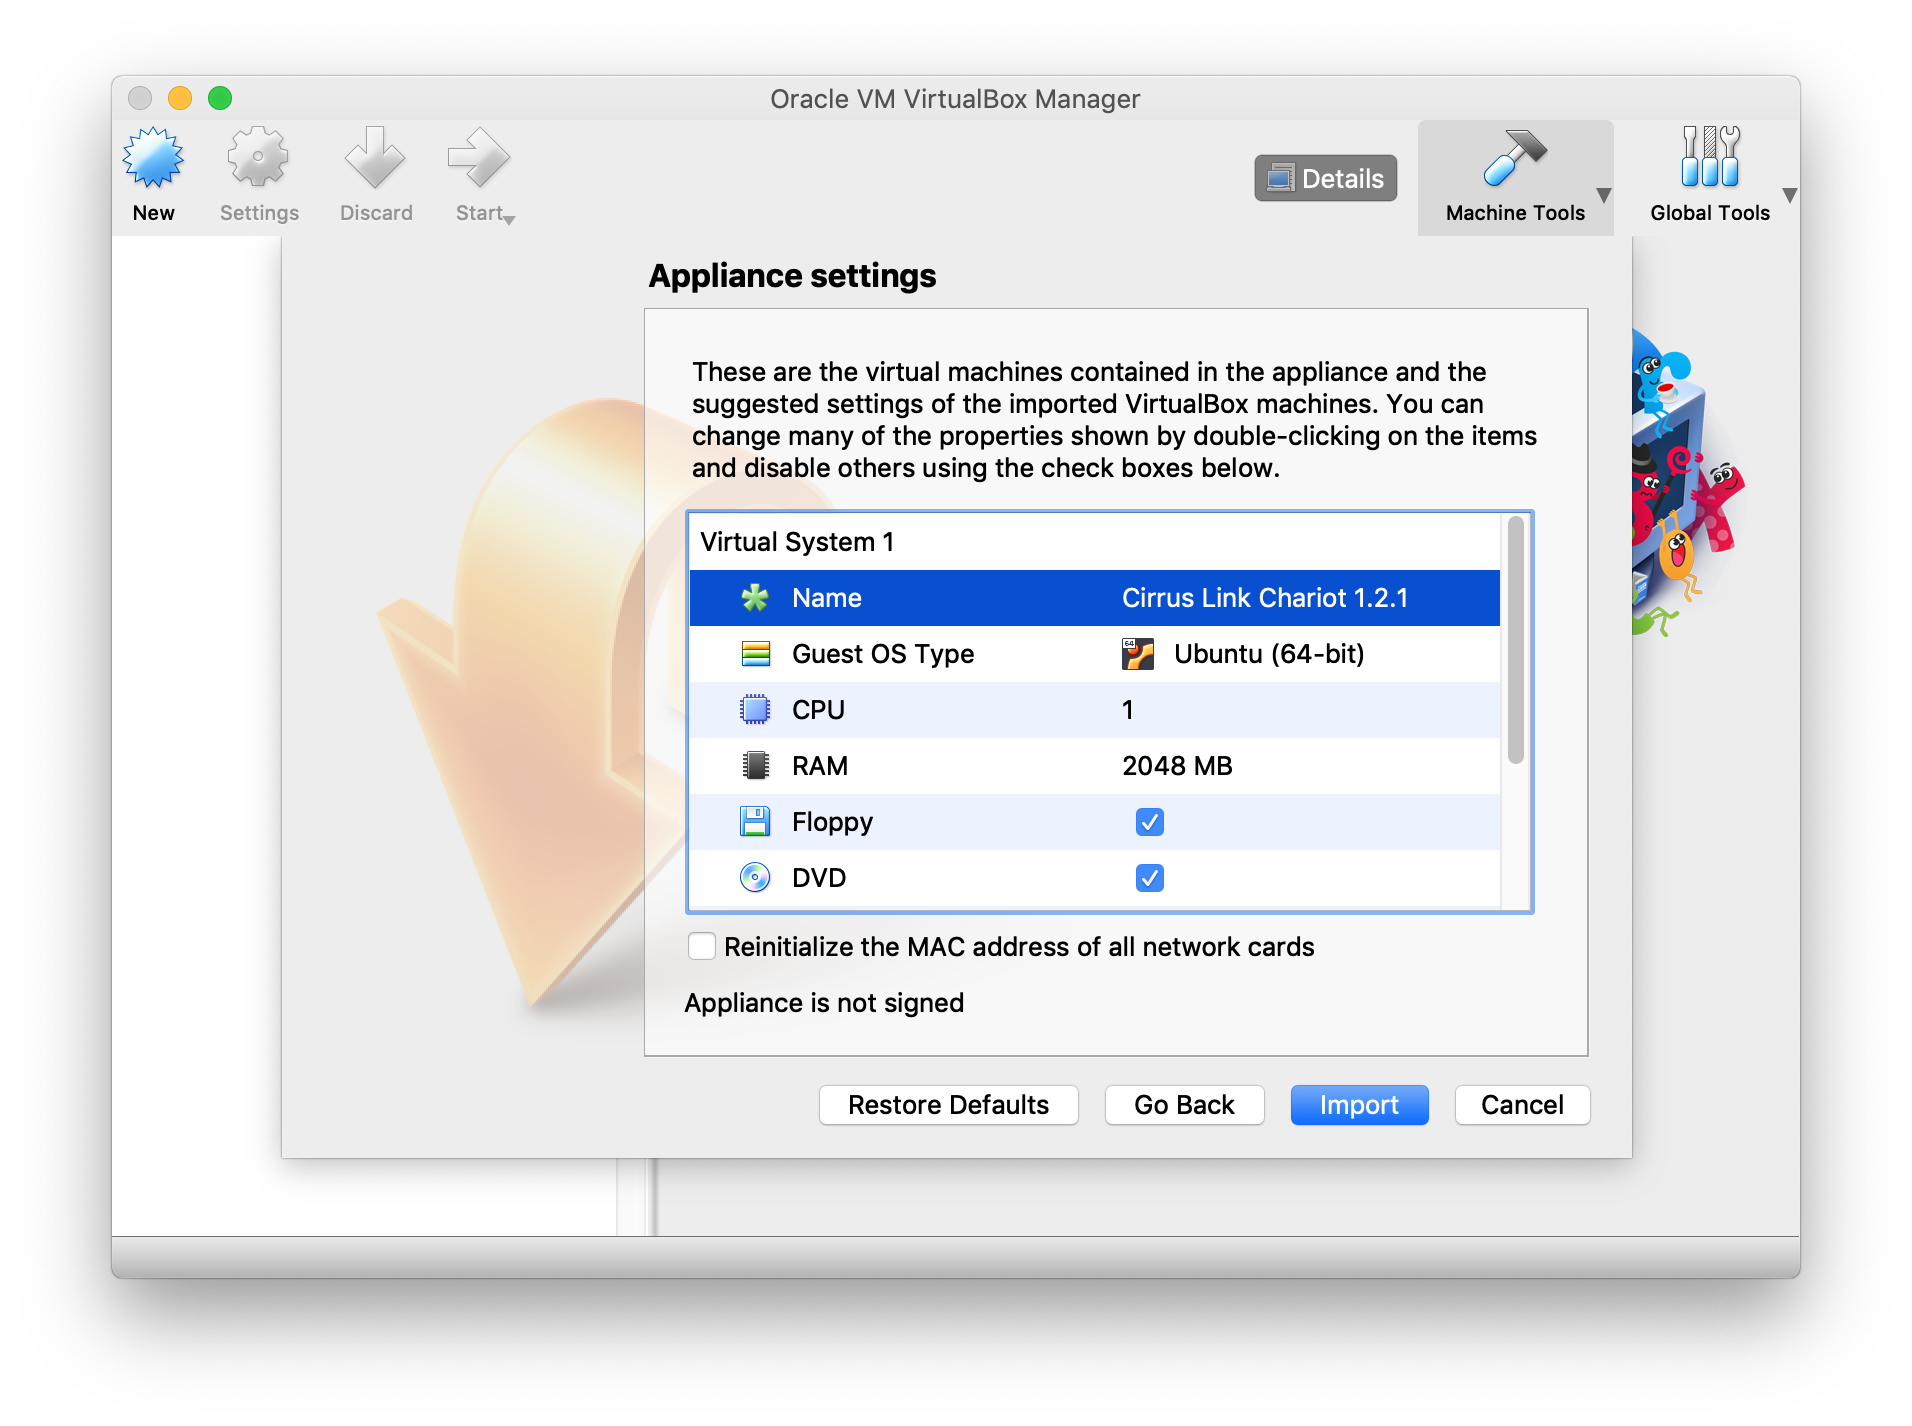
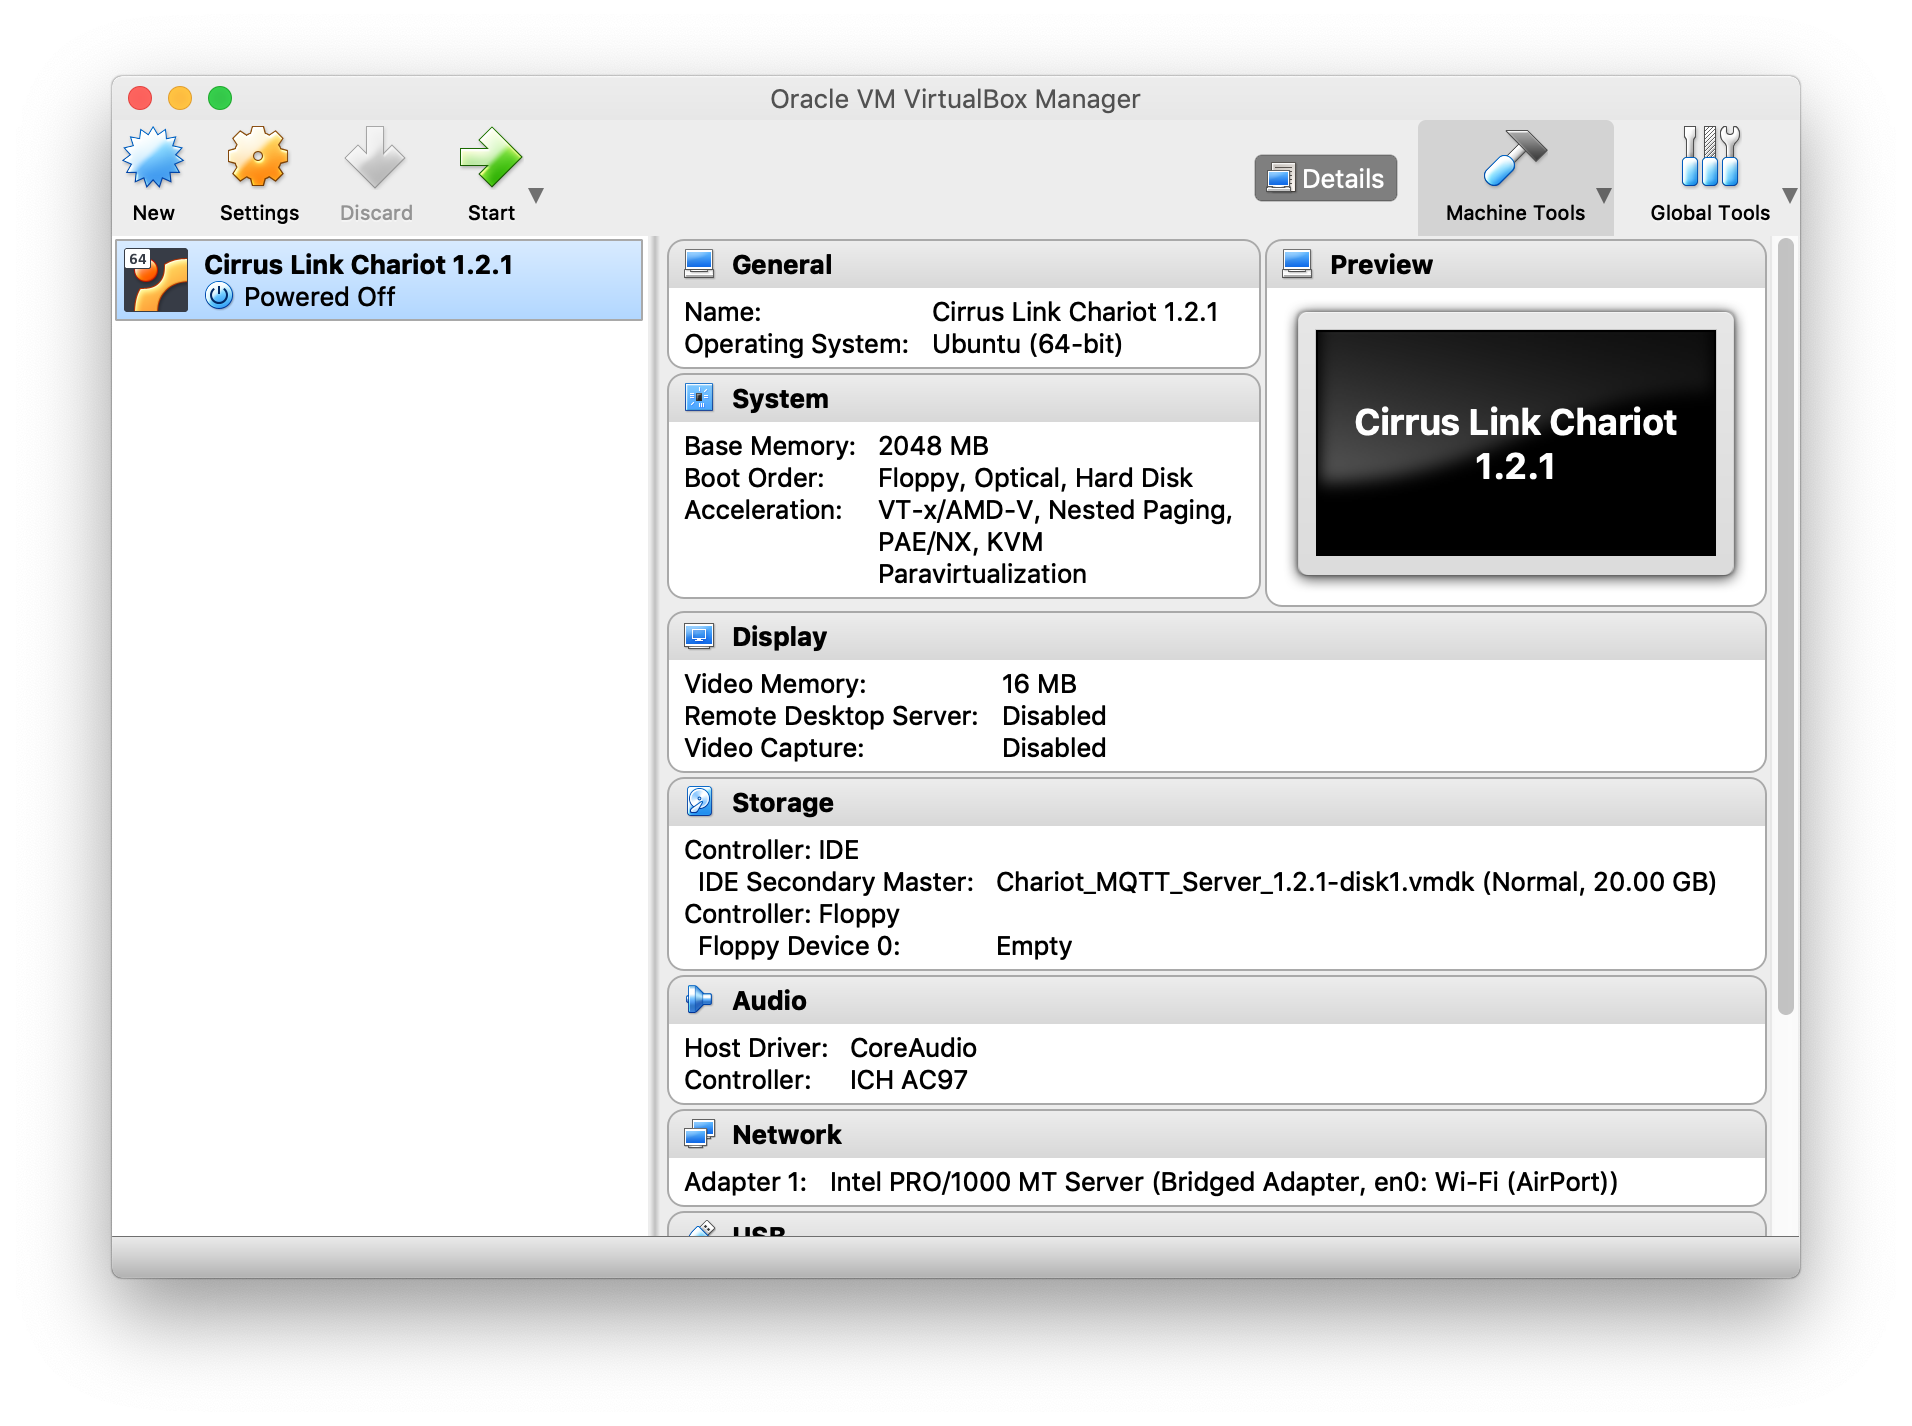
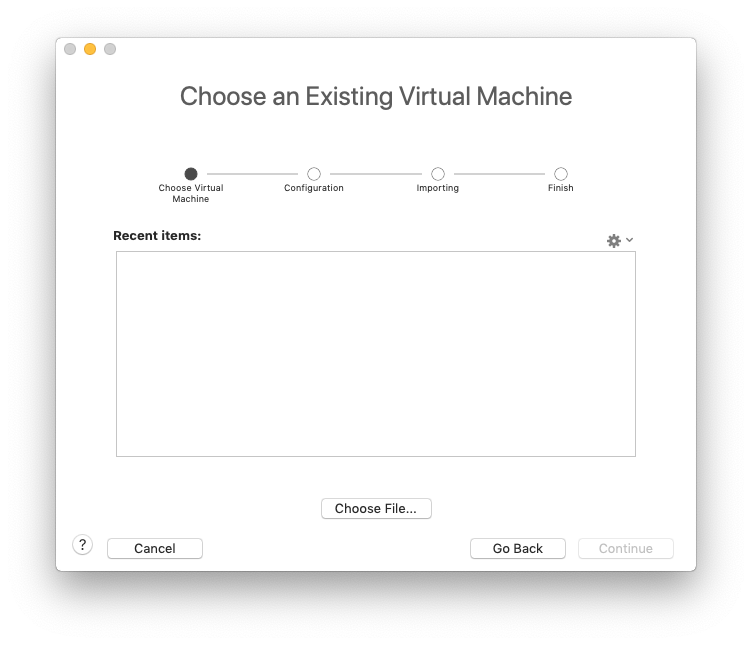
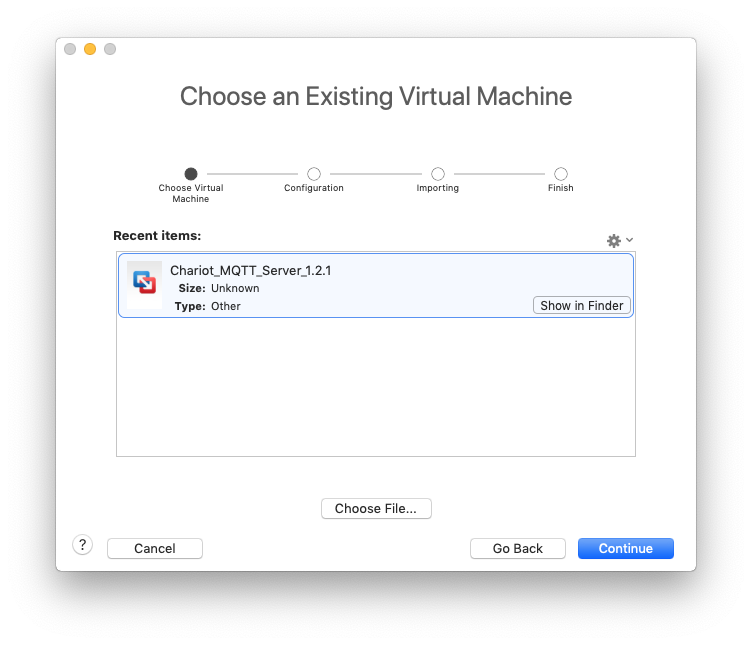
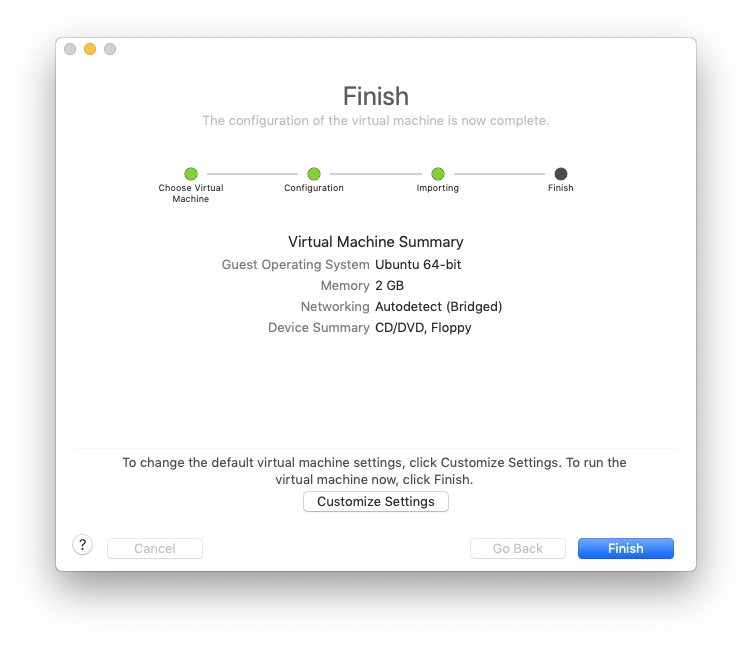
Installation of Chariot MQTT Server is dependent upon the VM Manager being used. Below shows basic instructions for the various tested managers. First you will need to unzip the Chariot_MQTT_Server-latest.zip file to access the Cirrus Link Chariot_*.ovf file.
...


...
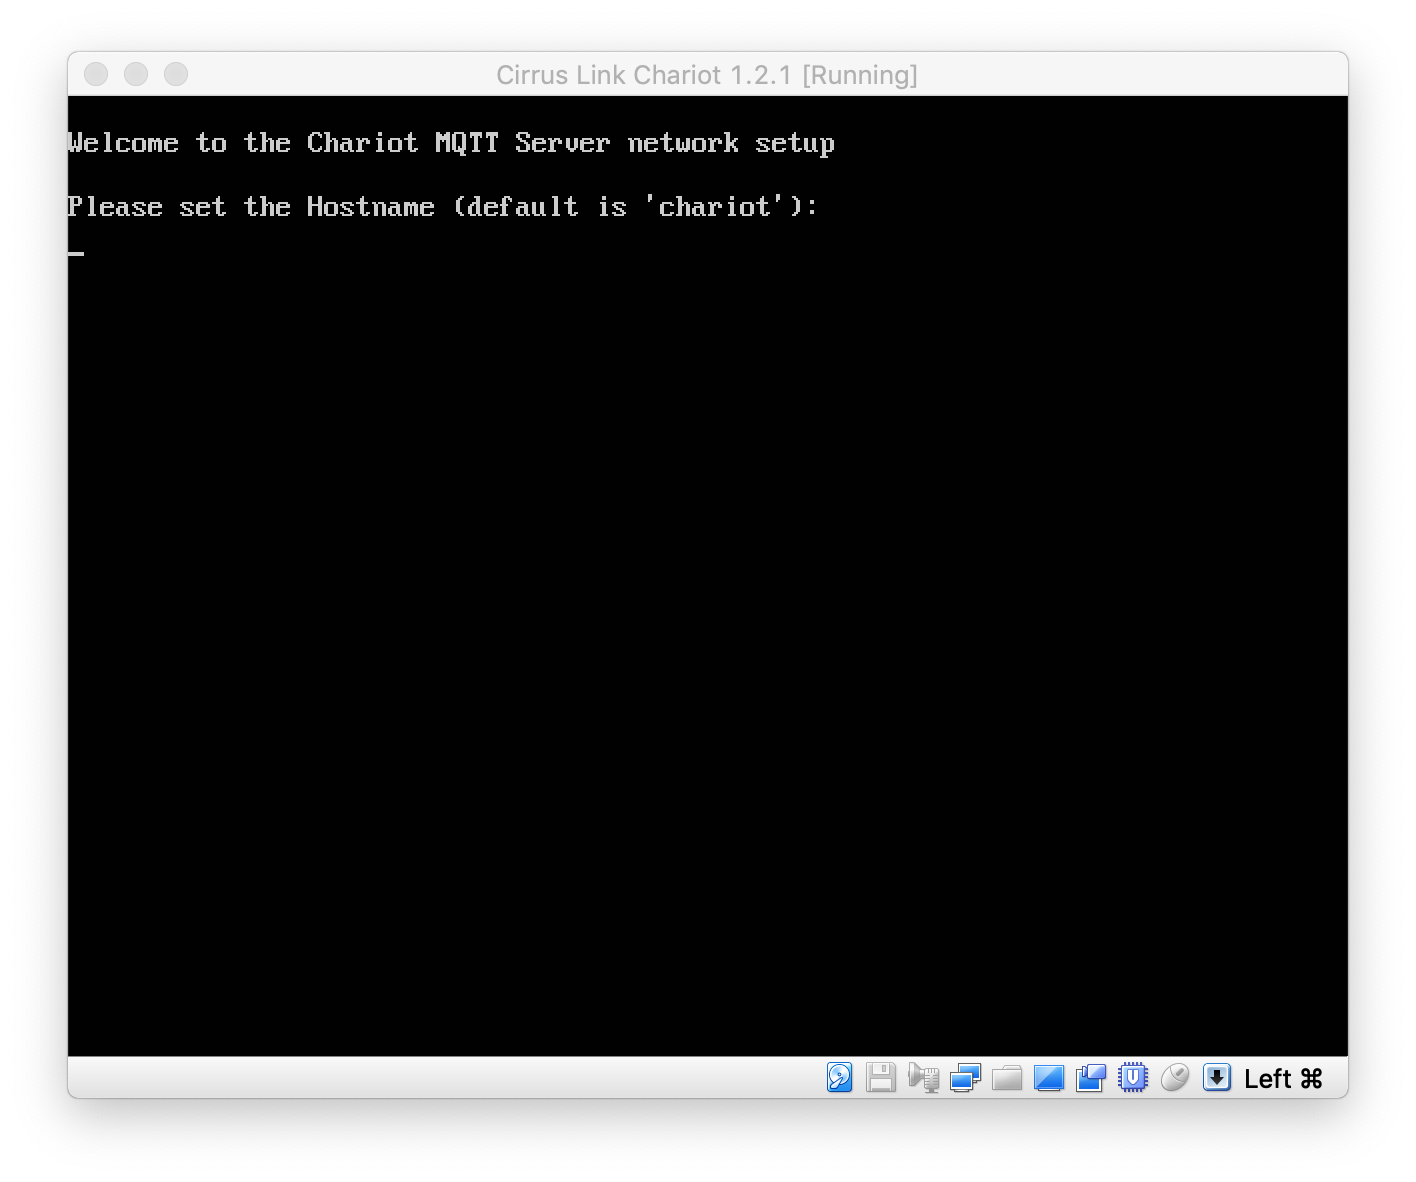
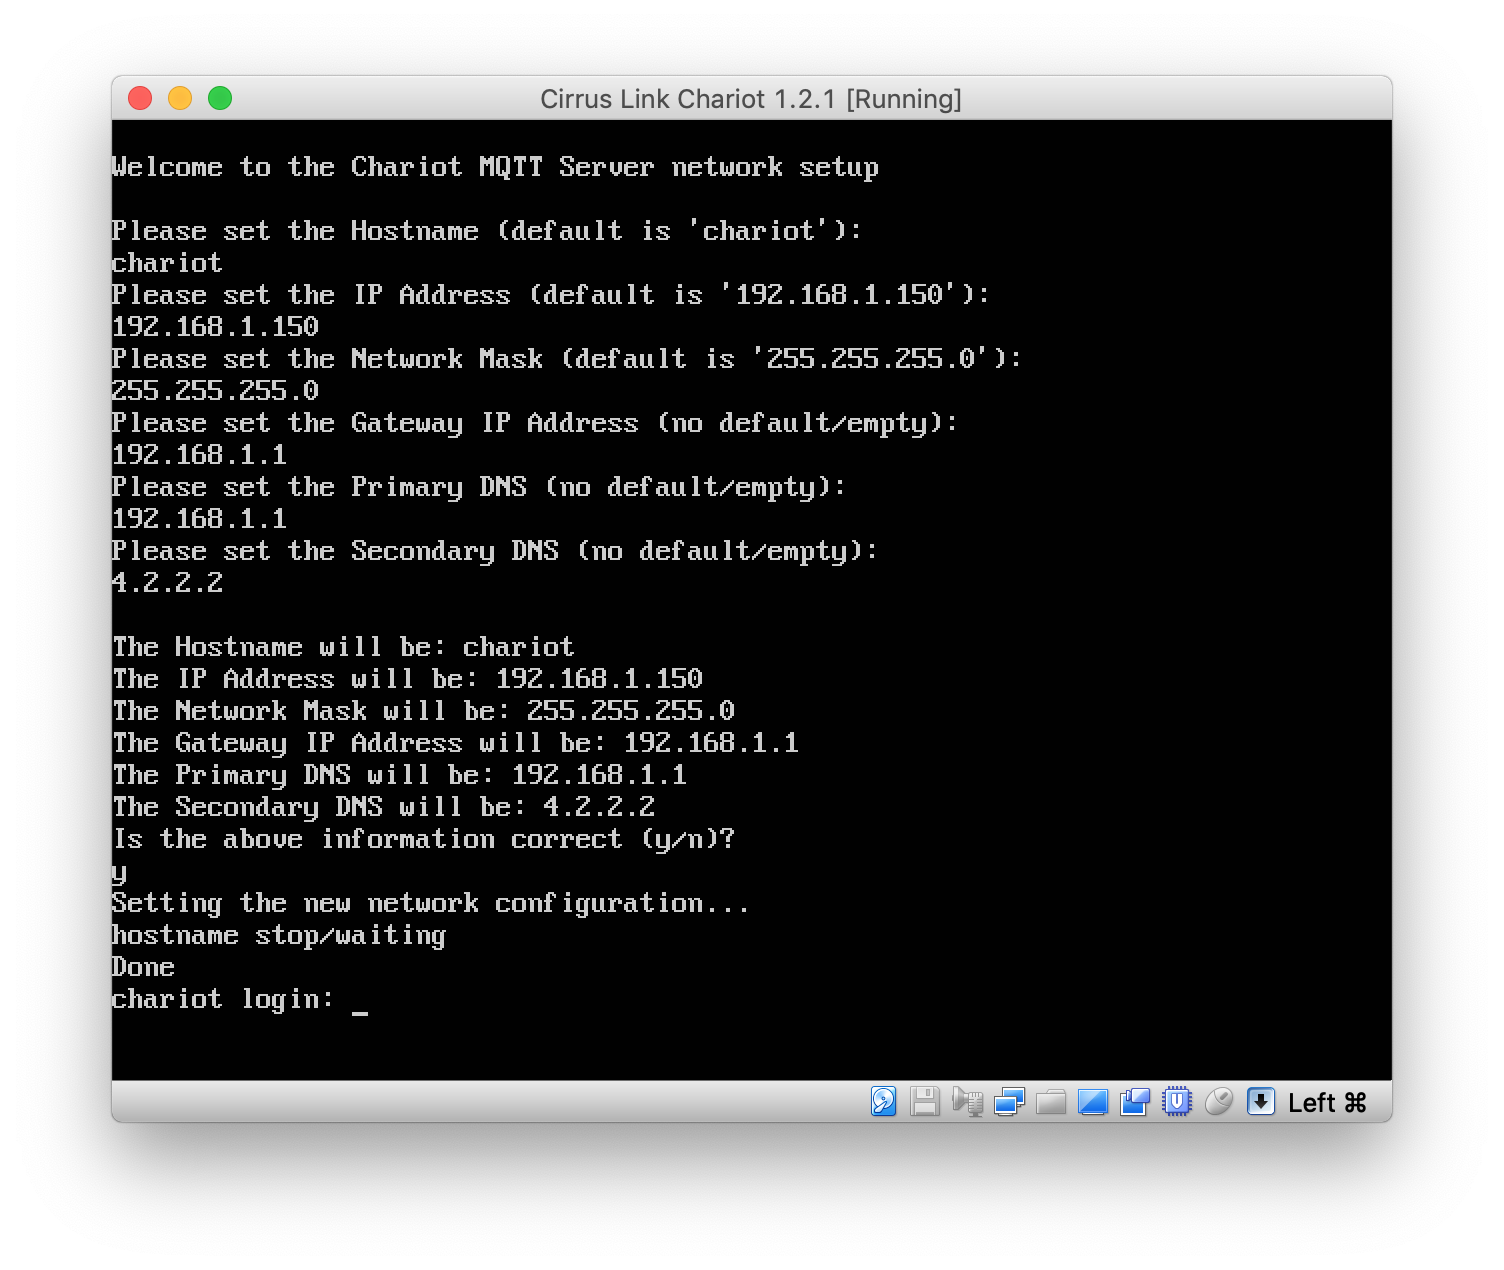
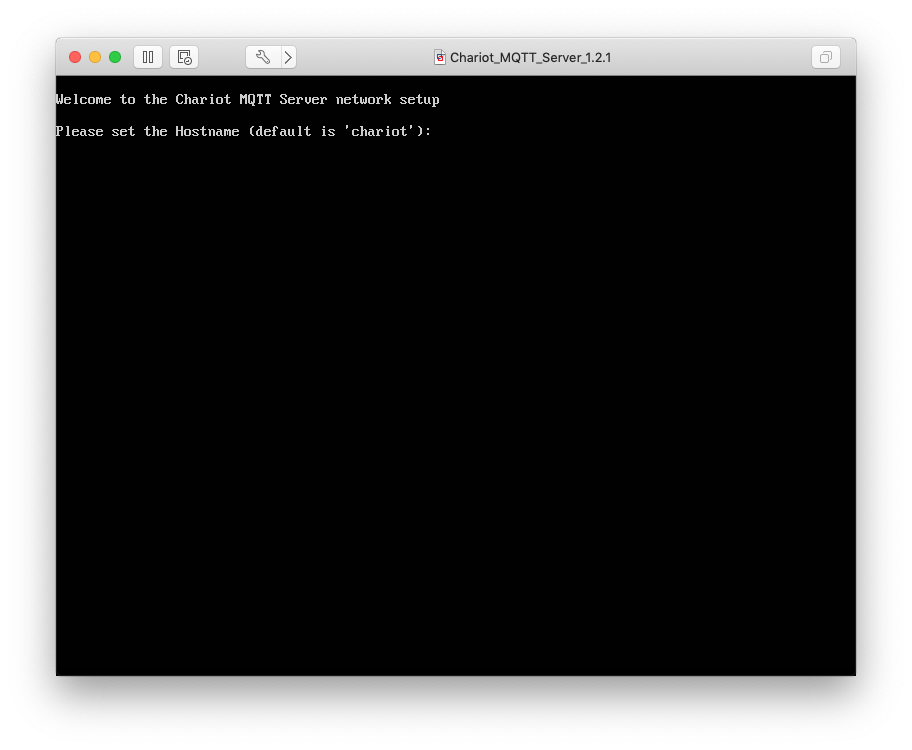
At this point the Chariot MQTT server is up and running with it's initial network settings. In order for you to be able to browse to it, the host computer OS must be on the same network. Once you are on the same network, you can browse (NOTE: Internet Explorer is not supported for connecting to the Chariot MQTT Server web front-end. Please use Chrome or Firefox.) to Chariot MQTT Server by going to the IP Address that you configured via HTTPS (for example: https://192.168.1.150). For configuration and usage instructions, visit this page.