...
It is also important to note that Ignition in conjunction with Cirrus Link's MQTT Transmission module converts Ignition User Defined Types (UDTs) to Sparkplug Templates. This is done automatically by the MQTT Transmission module. So, much of this document will refer to UDTs rather than Sparkplug Templates since that is what they are in Ignition. More information on Inductive Automation's Ignition platform can be found here. Additional information on Cirrus Link's MQTT Transmission module can be found here.
...
AWS Setup
Before configuring IoT Bridge (IBSNOW), you must register a 'thing' connection in AWS IoT Core. Begin by browsing to AWS IoT Core in your AWS account. Make sure you are in the same AWS region that you have already deployed IBSNOW to. Begin by expanding 'Secure' and click 'Policies' as shown below.
...
When selected, your AWS IoT Endpoint will be displayed. Note it for future use when configuring IBSNOW.
Snowflake Setup
If you don't have a Snowflake account, open a Web Browser and go to https://www.snowflake.com. Follow the instructions there to start a free trial. After creating an account, log in to Snowflake via the Web Console. You should see something like what is shown below.
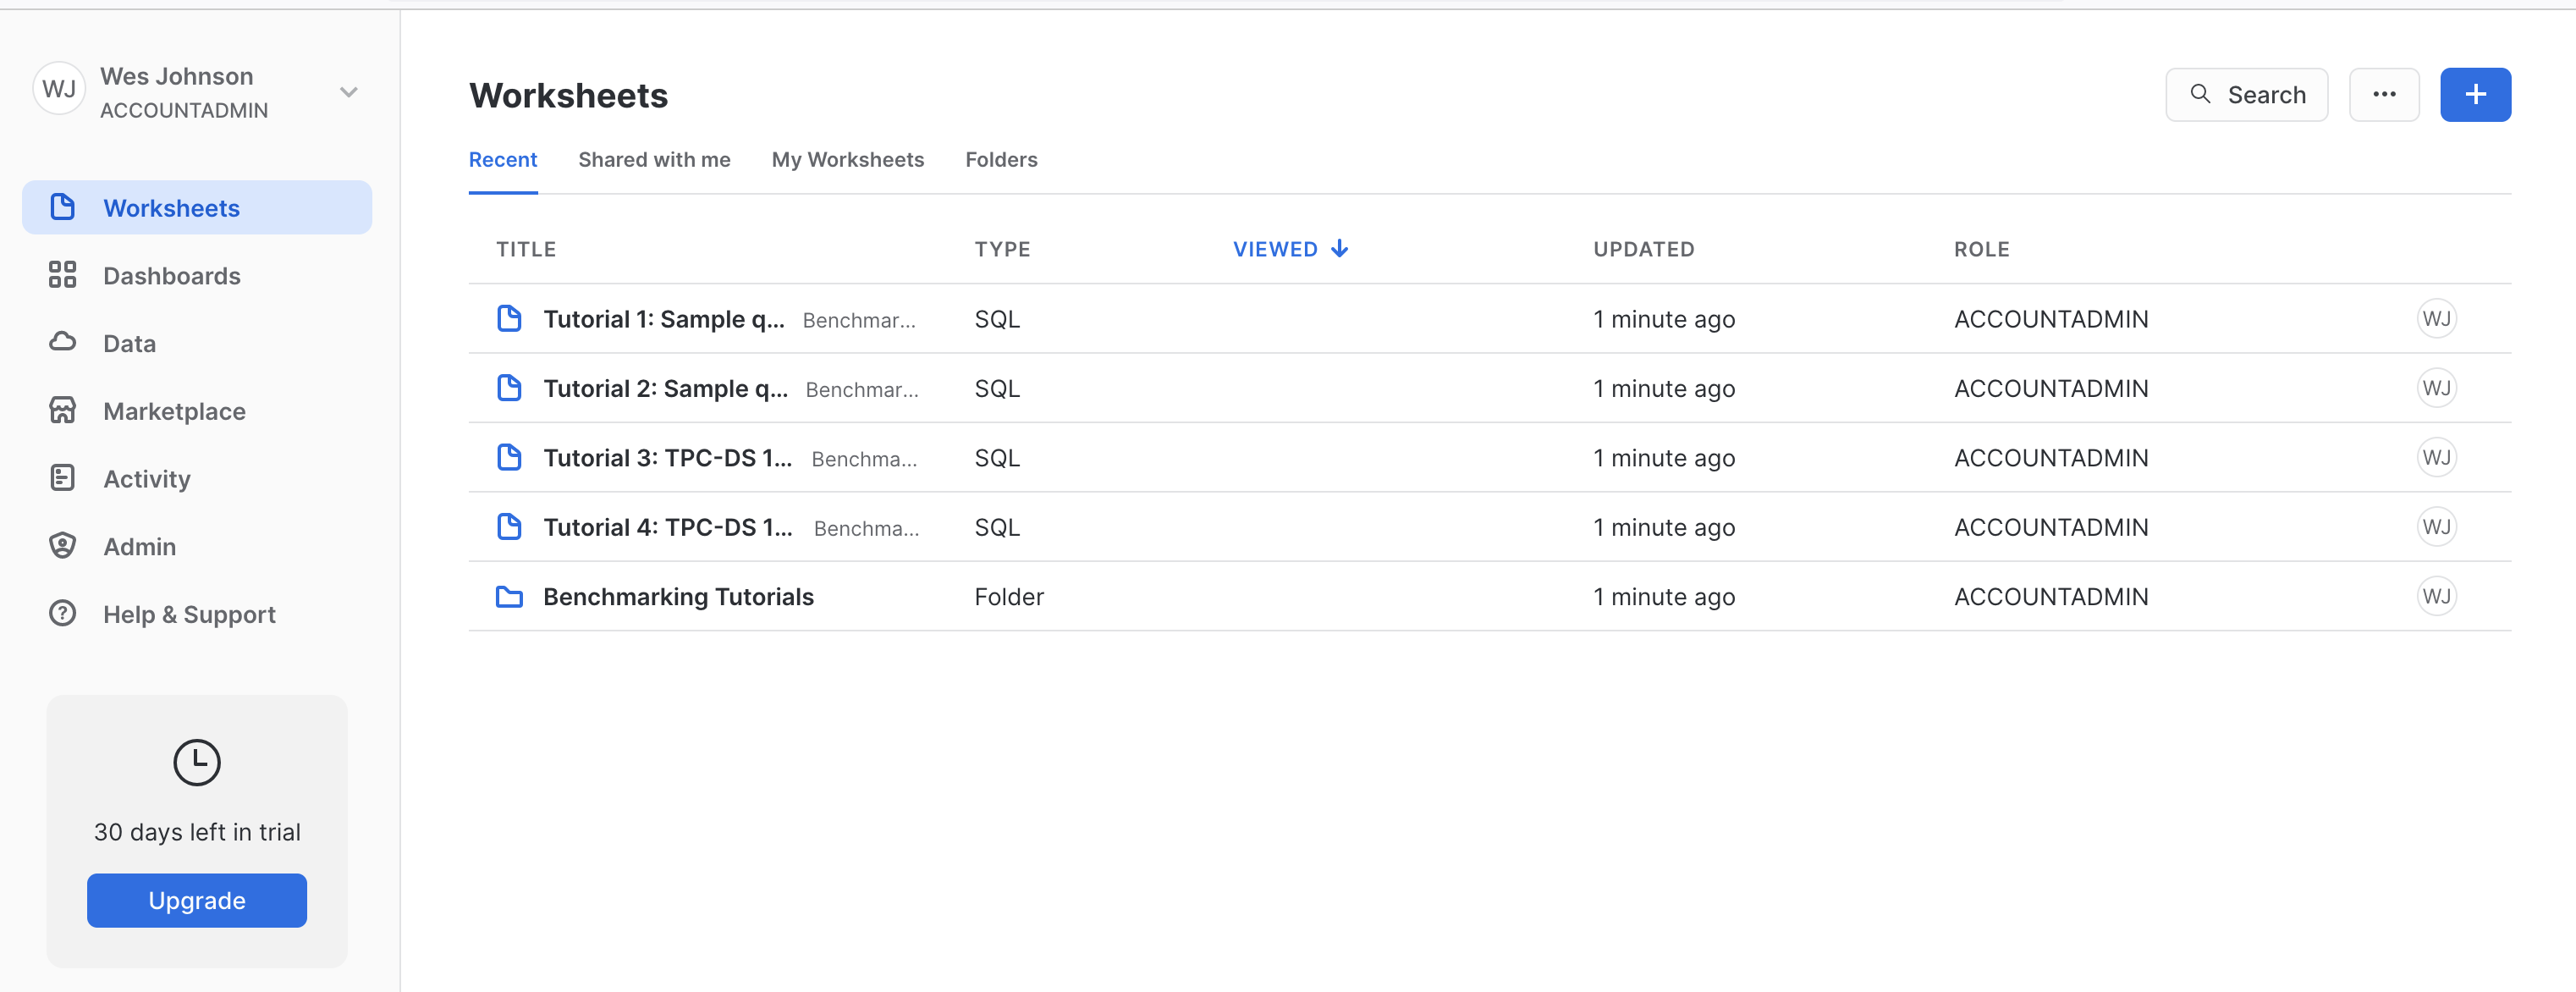 Image Added
Create a new 'SQL Worksheet' by clicking the blue + button in the upper right hand corner of the window as shown below.
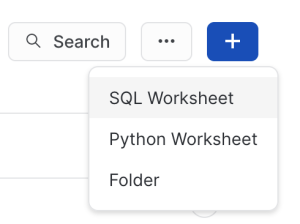 Image Added
Copy and paste the following SQL script into the center pane.
| Code Block |
|---|
|
-- =========================
-- In this script, we are setting up assets related to the staging database
-- and associated assets. These are:
--  - Database
--  - Staging schema

-- The database & schema will be owned by SYSADMIN

-- REPLACE THE SESSION VARIABLE ACCORDING TO YOUR ENVIRONMENT
-- =========================

set cl_bridge_staging_db = 'CL_BRIDGE_STAGE_DB';
set staging_schema = 'stage_db';

-- >>>>>>>>>>>>>>>>>>>>>> DATABASE >>>>>>>>>>>>>>>>>>>>>>>>>

use role sysadmin;

create database if not exists identifier($cl_bridge_staging_db)
   -- DATA_RETENTION_TIME_IN_DAYS = 90
   -- MAX_DATA_EXTENSION_TIME_IN_DAYS = 90
   comment = 'used for storing messages received from CirrusLink Bridge'
;

-- >>>>>>>>>>>>>>>>>>>>>> STAGING SCHEMA >>>>>>>>>>>>>>>>>>>>>>>>>

use database identifier($cl_bridge_staging_db);

create schema if not exists identifier($staging_schema)
  with managed access
  -- data_retention_time_in_days = 90
  -- max_data_extension_time_in_days = 90
  comment = 'Used for staging data direct from CirrusLink Bridge';

-- >>>>>>>>>>>>>>>>>>>>>> STAGING SCHEMA ASSETS >>>>>>>>>>>>>>>>>>>>>>>>>

use schema identifier($staging_schema);

-- =========================
-- Define tables
-- =========================

create or replace table sparkplug_raw (
    uuid varchar
    ,msg_topic varchar
    ,namespace varchar
    ,group_id varchar
    ,msg_type varchar
    ,edge_node_id varchar
    ,device_id varchar
    ,msg variant
    ,inserted_at number
)
change_tracking = true
cluster by (msg_type ,group_id ,edge_node_id ,device_id)
comment = 'Used for storing json messages from sparkplug bridge/gateway'
; |
After pasting the code into the center pane of the SQL Worksheet, click the drop down arrow next to the blue play button in the upper right corner of the window and click 'Run All' as shown below.
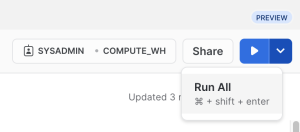 Image Added
After doing so, you should see a message in the 'Results' pane denoting the SPARKPLUG_RAW table was created successfully as shown below.
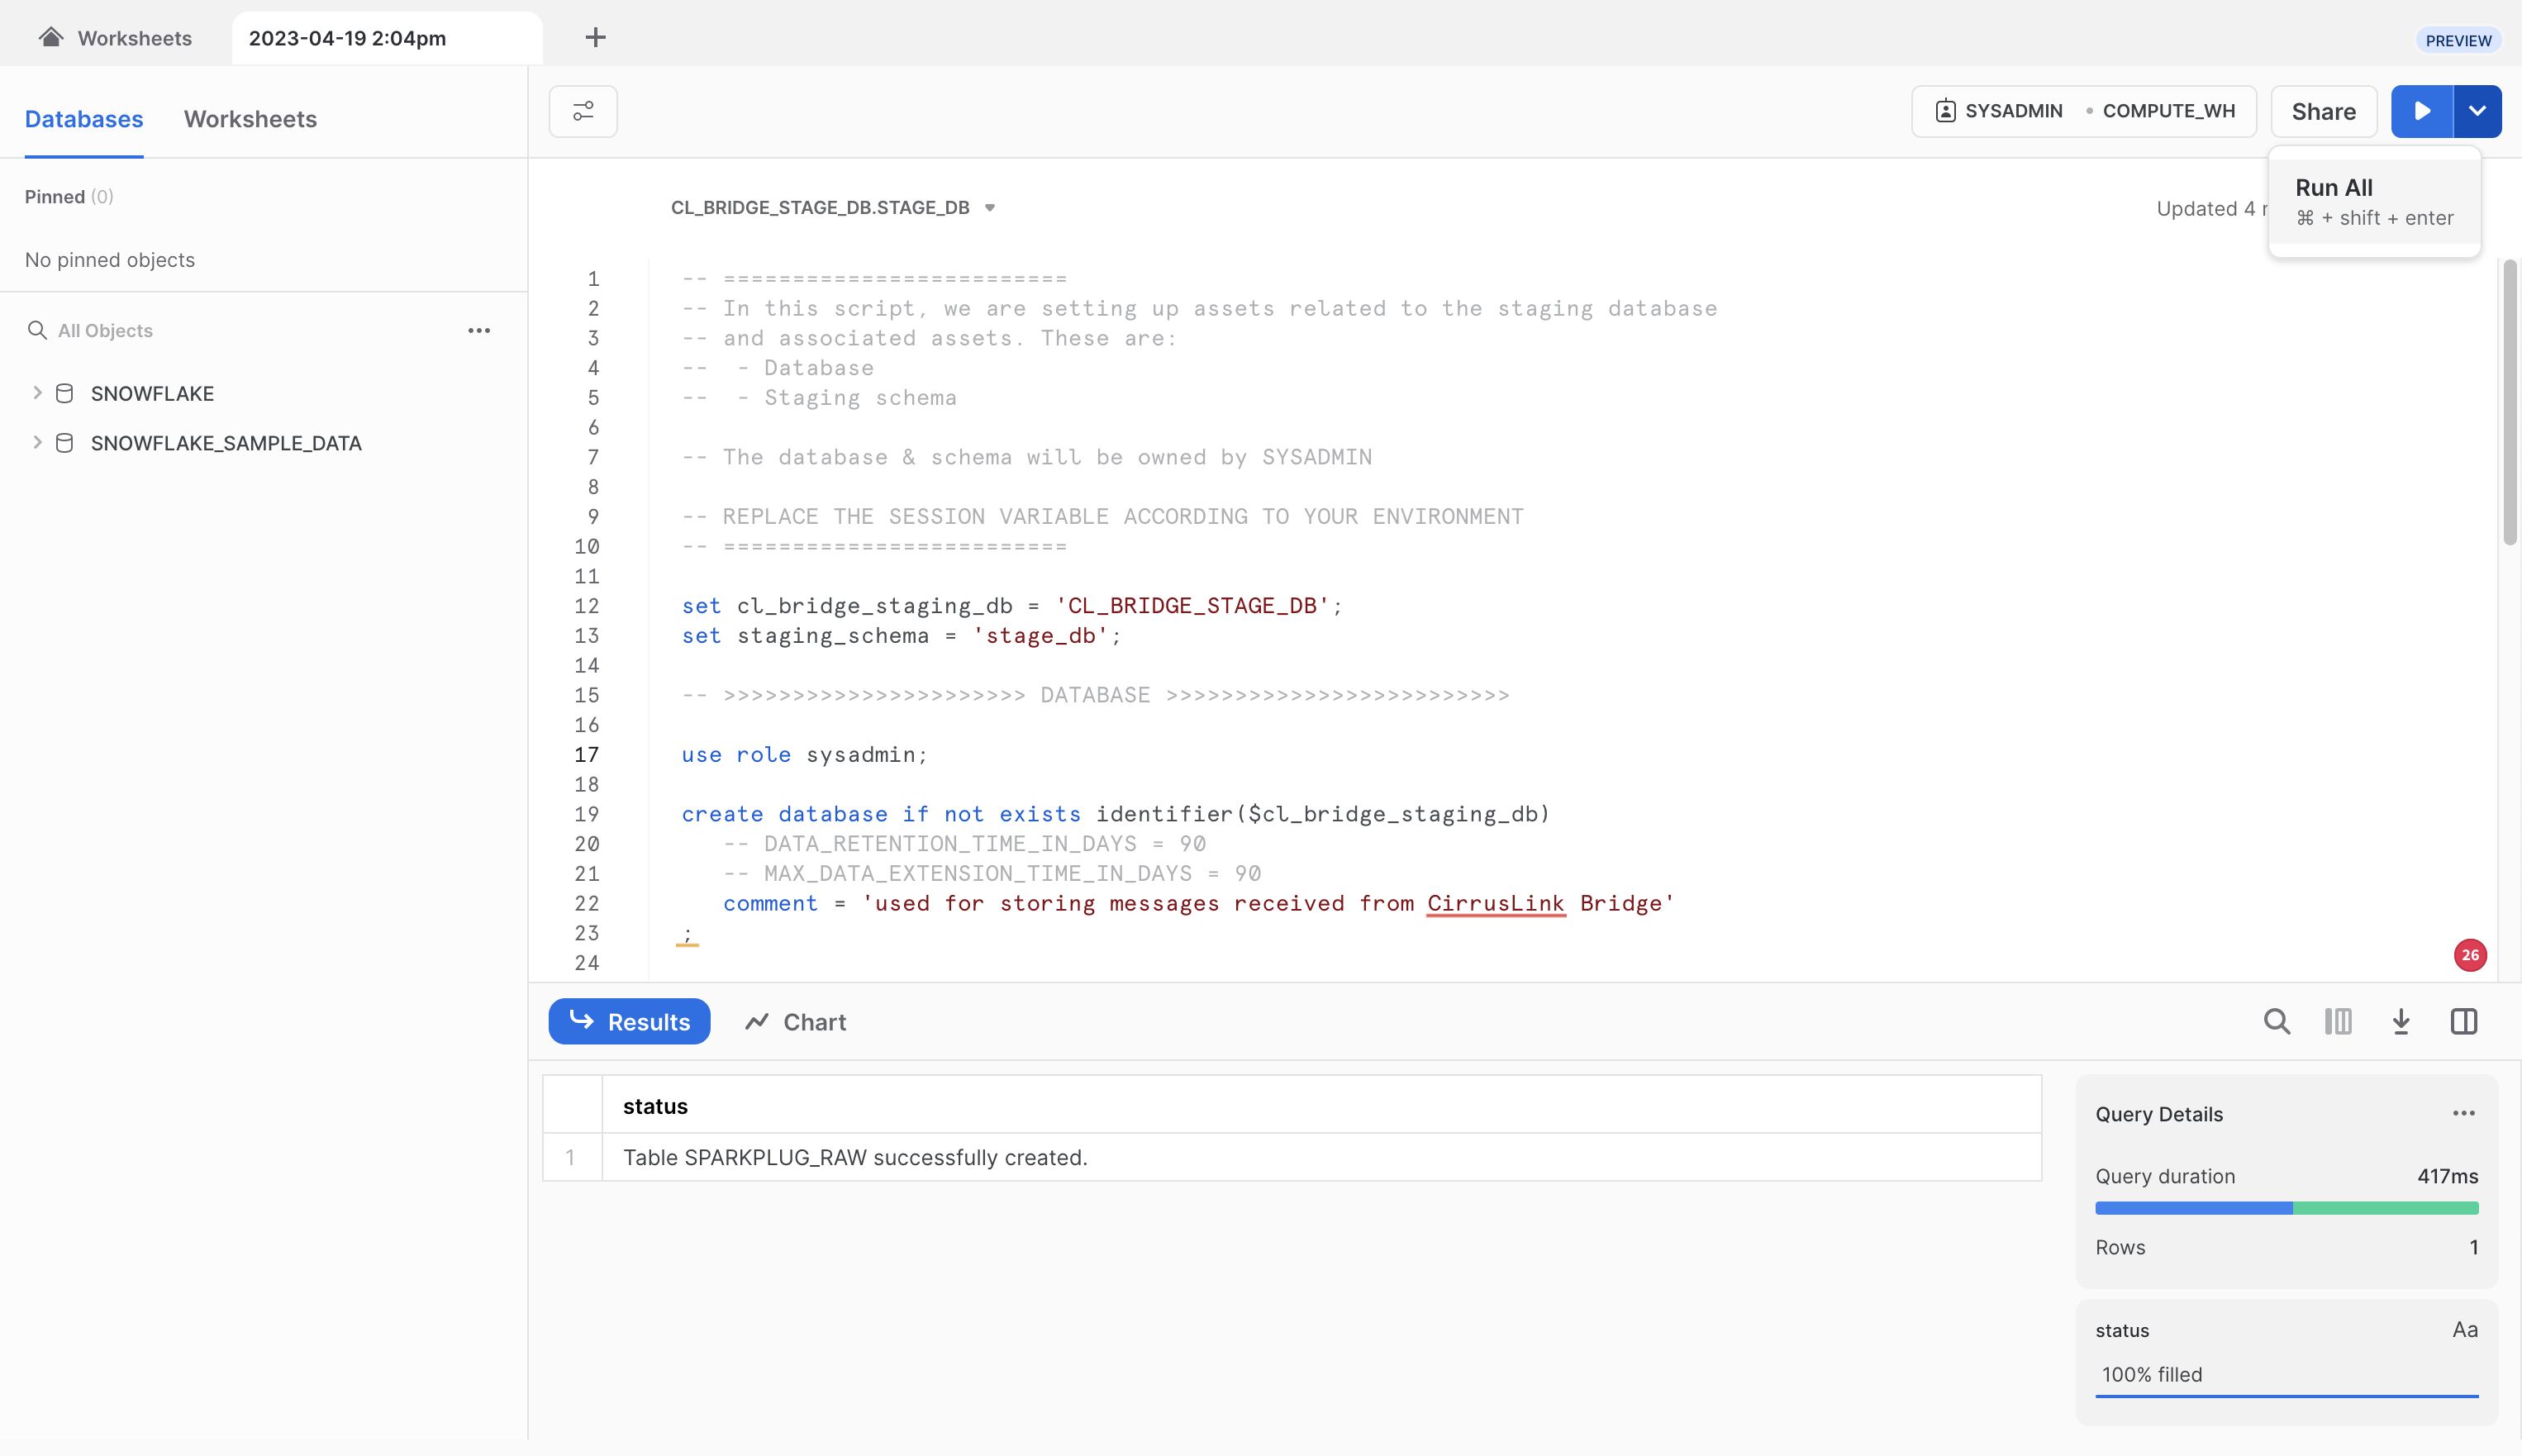 Image Added
Now, repeat the process for each of the following scripts in order. Each time, fully replace the contents of the SQL script with the new script and click the 'Run All' button after pasting each script. Make sure no errors are displayed in the Results window after running each script.
IoT Bridge Setup
With AWS IoT and Snowflake With AWS IoT now properly provisioned and IBSNOW installed, IBSNOW must be configured. To configure it, you must be able to access it via SSH. Ensure you can access it via the Access Instructions here. Once you can access it, you must copy the three certificate files you captured when provisioning the AWS IoT Core thing. Again, these files are:
...