Prerequisites:
Overview:
Sparkplug is an open source project developed by Cirrus Link Solutions which shows how devices or projects can be enabled to communicate with MQTT Engine and Ignition. This example will show how data can be published via MQTT from an emulated device running on a development machine. In addition, it will show how devices or projects can be controlled by writing to tags in Ignition. It will also show the caveats associated with establishing/ending an MQTT session and ensuring that the tag values in Ignition are valid.
Example C Client:
This tutorial assumes:
- Ignition is running and in active trial mode or using a purchased license.
- MQTT Distributor is installed and running, using the default configuration, and in active trial mode or using a purchased license.
- MQTT Engine is installed and running, using the default configuration, and in active trial mode or using a purchased license.
With the standalone Sparkplug example downloaded onto your development machine, change into the directory and build the application. In order for this to work you must have a C compiler installed for your development system. Also, this example assumes the MQTT Server running is MQTT Distributor running with it's default configuration. If you are using a different MQTT Server, edit the following file to reflect your MQTT Server configuration:
- sparkplug_b/stand_alone_examples/c/example.c
The most likely candidates for change are the host, username, and password. For simplicity this example does not use or support TLS over MQTT without modifications.
Mosquitto is the only dependency of the sample application. It must be installed on your development machine before building the sample application.
- Mosqutto
- Can be downloaded here. Included in the link are instructions for various platforms. Make sure in the end of installation the development libraries are available on your build path.
- This is how one would do it in Ubuntu Linux 16.04
- Enter the following commands:
sudo apt-get update
sudo apt-get install build-essential libssl-dev libc-ares-dev uuid-dev
mkdir ~/dev
cd ~/dev
wget http://mosquitto.org/files/source/mosquitto-1.4.10.tar.gz
tar zxvf mosquitto-1.4.10.tar.gz
cd mosquitto-1.4.10
make
sudo make install
sudo ldconfig
With the above steps completed, run the following commands to get the sparkplug library and sample application:
cd ~/dev
git clone https://github.com/Cirrus-Link/Sparkplug.git
cd Sparkplug/client_libraries/c/
make
cd ~/dev/Sparkplug/sparkplug_b/stand_alone_examples/c/udt_example/
At this point the example.c file should be edited to properly reflect your MQTT server URL, port, credentials, etc. Finally, build the application:
make
Now simply start the application with the following command:
./example
At this point, the application will start, connect to the MQTT server, publish a Edge Node Birth Certificate, publish a Device Birth Certificate, and begin periodically reporting random data values to Ignition via MQTT Engine. This can be verified via Ignition Designer. Using a Web Browser, browse to the Ignition Gateway on your Ignition Gateway. If it is running on your development machine, that is: http://localhost:8088. You should see this:
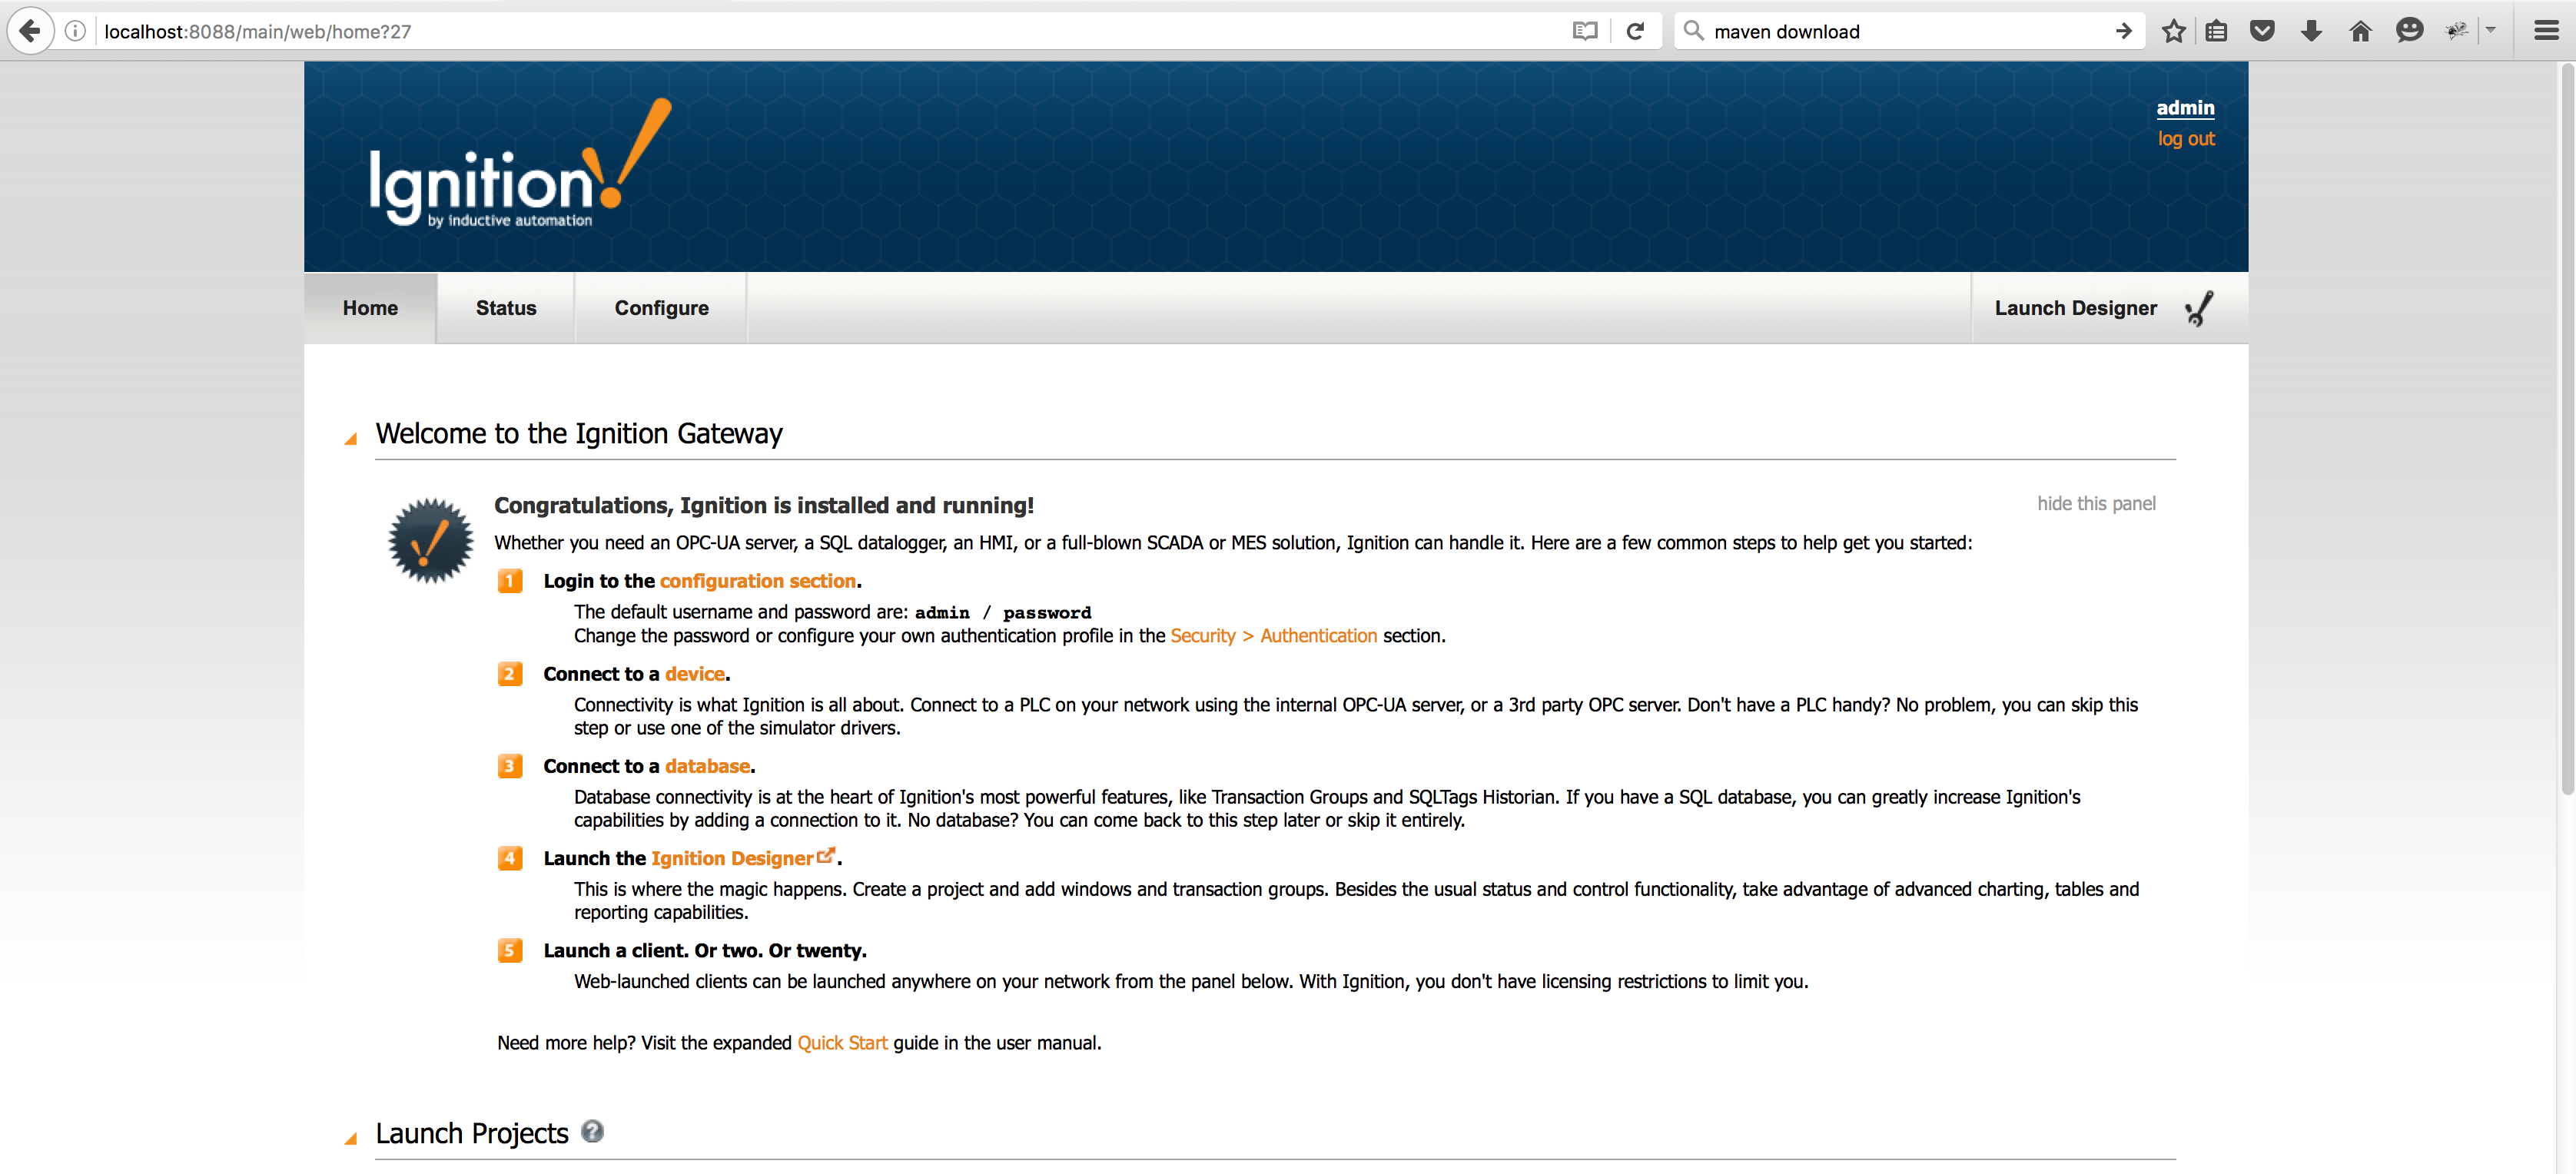
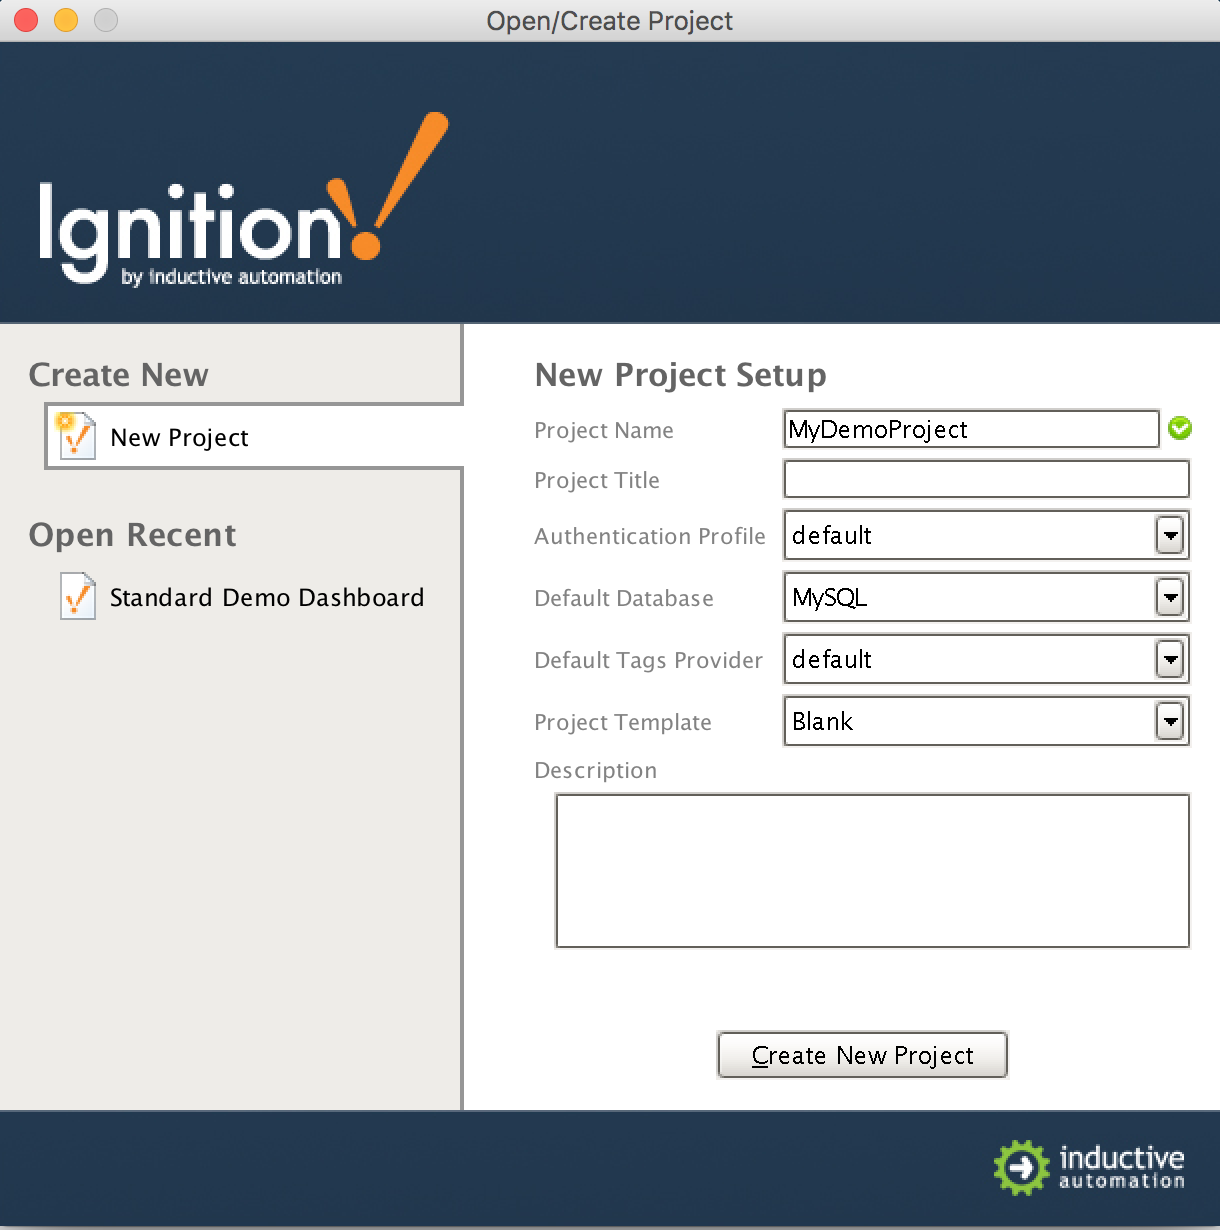
Near the upper right corner, click 'Launch Designer'. This will open the following window after downloading the .jnlp file and executing it. Note the default username/password is admin/password. Type those into the appropriate fields and click 'Login'.

This will bring you to a new Window where you can select an Ignition Project or create a new one. Create a new project by giving it a name and clicking 'Create New Project'.
Now you should be in designer. In the left hand side of the main window is a 'Tag Browser' window. In it, expand 'All Providers -> MQTT Engine -> Edge Nodes -> Sparkplug B Devices -> C Edge Node 1 -> Emulated Device'. You should see the following:
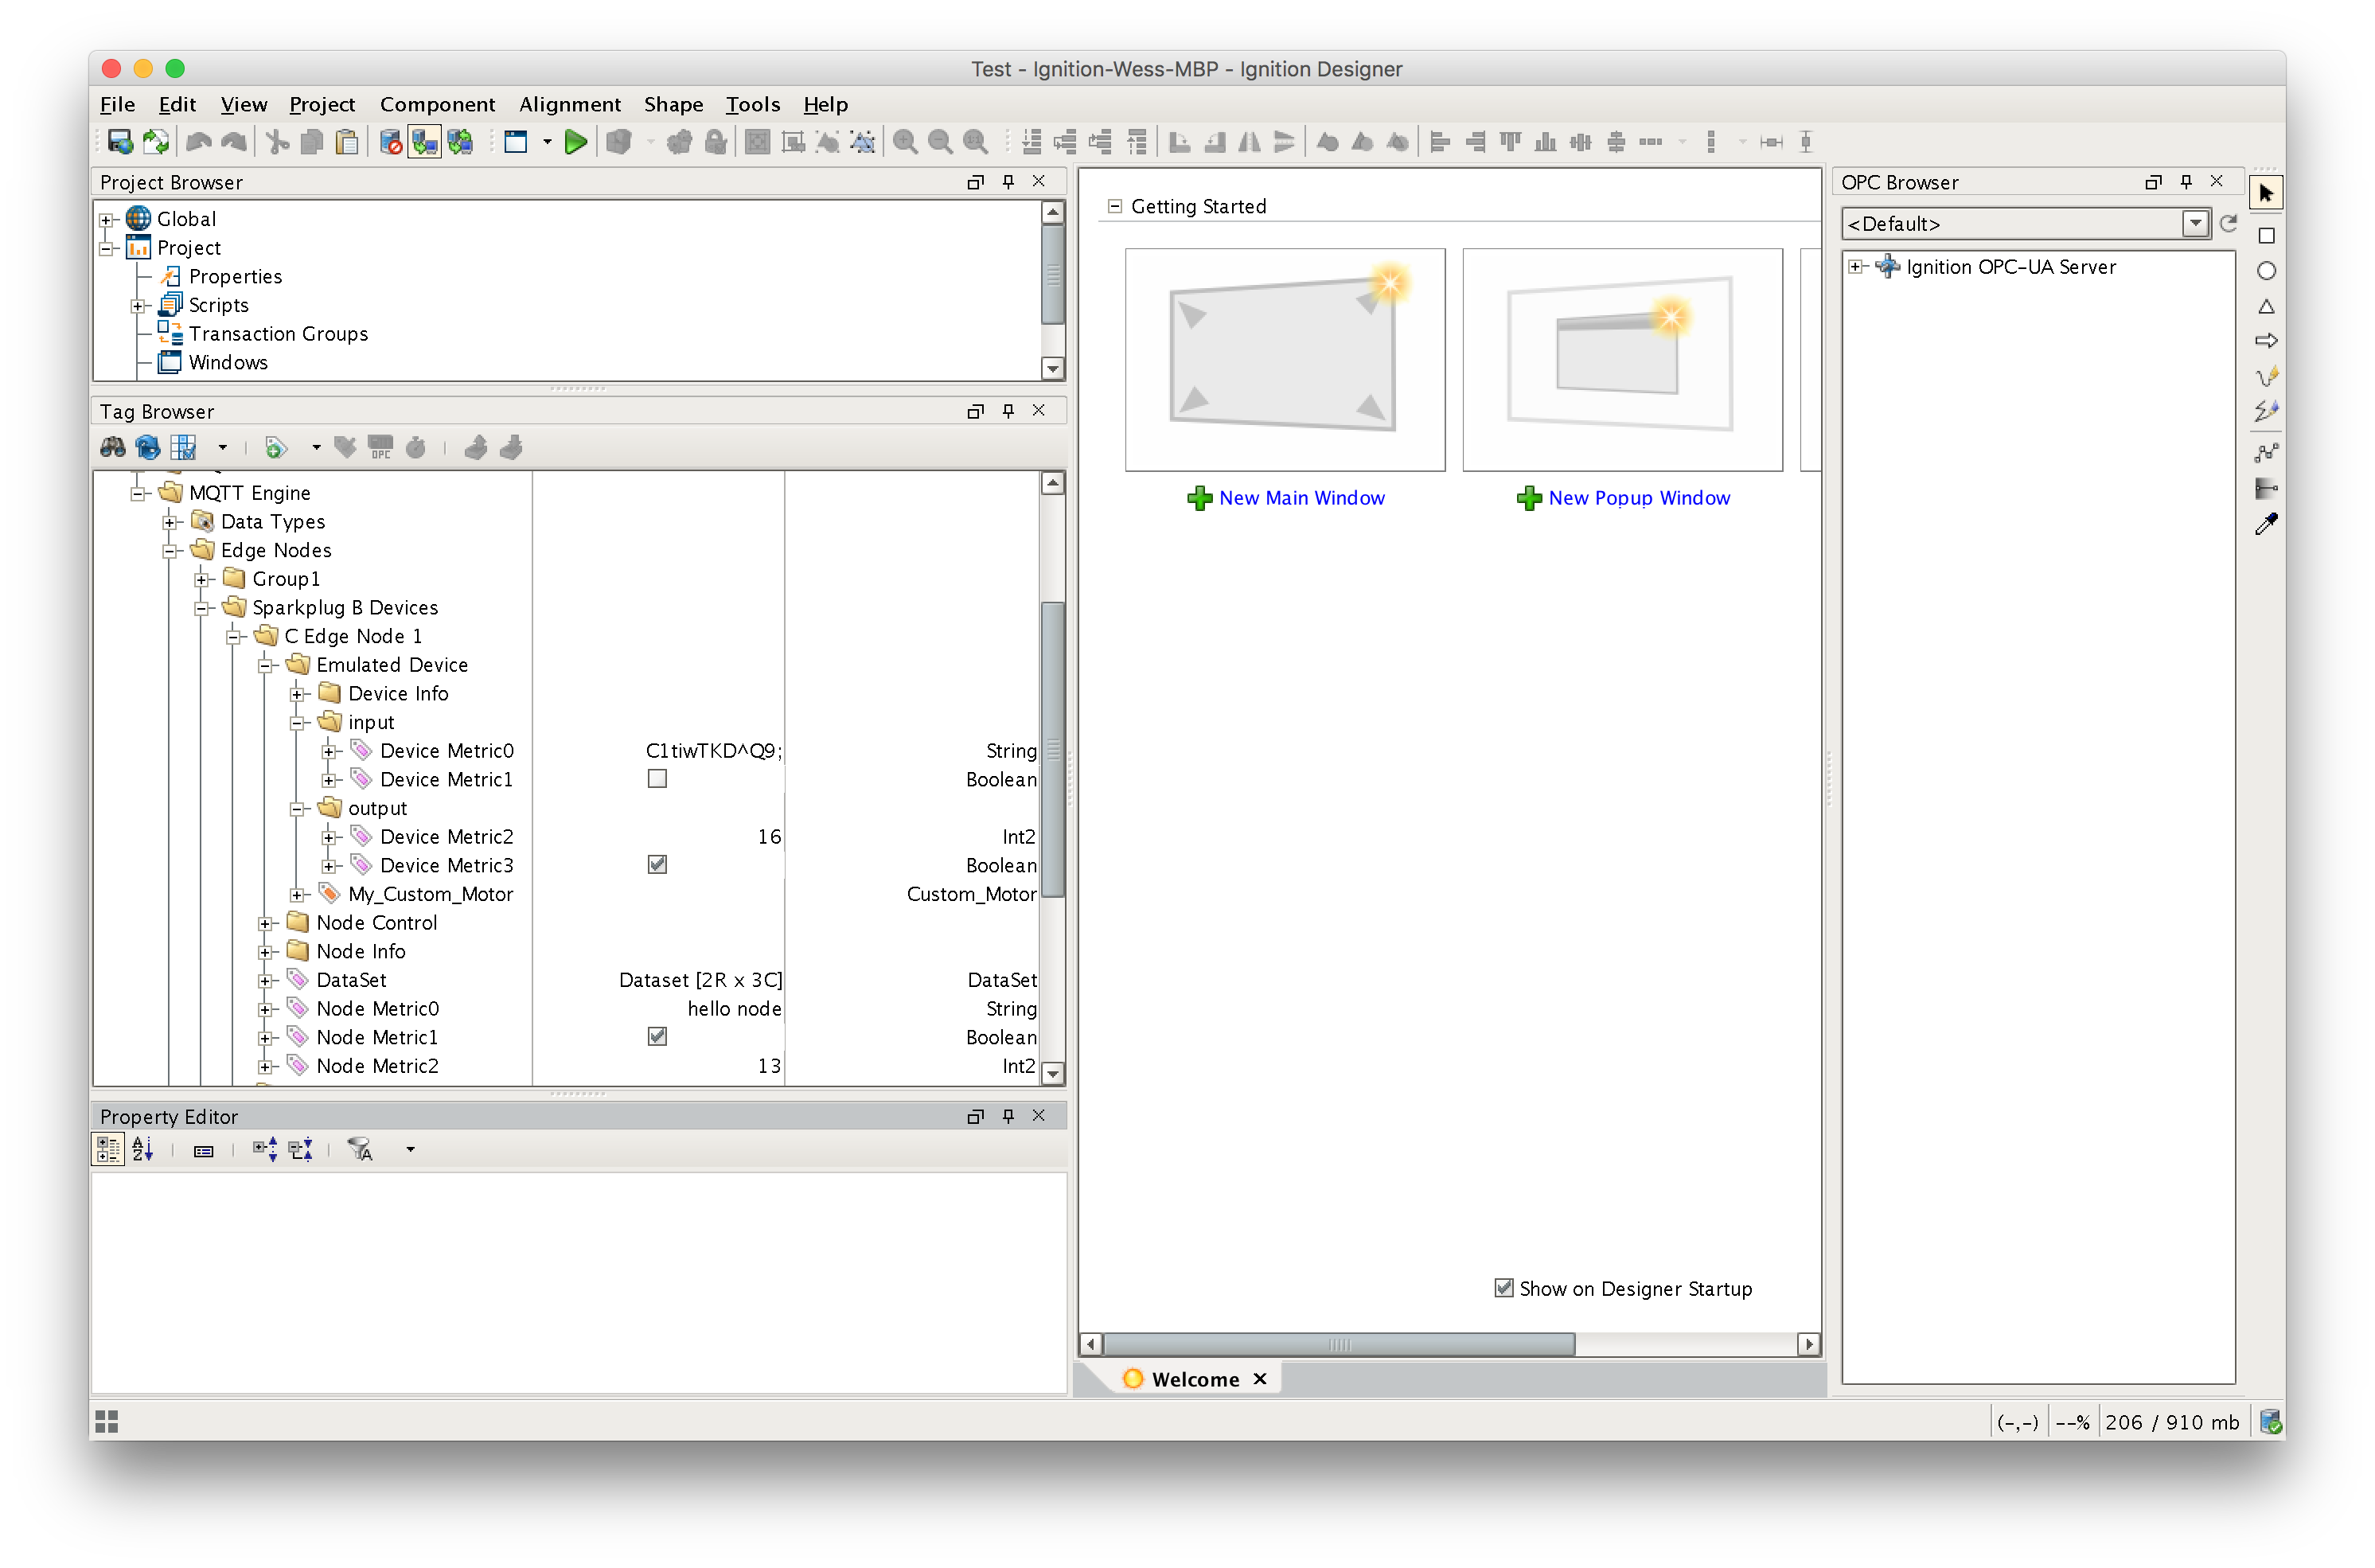
You will see the result of MQTT Engine seeing a new edge node and device connect to the MQTT Server and publish an NBIRTH and DBIRTH message. As a result, MQTT Engine created the Ignition Tags shown above. These are also dynamically updated as the values change. You can also write to the outputs after you Enable Device Writes from Ignition. This can be done by putting designer into read/write mode. Do so by clicking this button in the menu to enable read/write mode:

Then you can change any of the values on the outputs here:

You should see the output value change. By changing an output what happens is a DCMD MQTT message is constructed in MQTT Engine and published to the MQTT Server. This message is then sent to the sample client where it is received. In a real scenario the device side code should write the the actual output at this point and read back the value. In that case and in this emulated case, a DDATA message is constructed and published to the MQTT server. It is then received by MQTT Engine and where the state of the tag is updated.
This sample code also includes code that constructs the following message types:
- Sparkplug Templates which are converted to Ignition UDTs by MQTT Engine
- Datasets
- Sparkplug Properties which are converted to Ignition Tag Properties
- In order for these to show up in Ignition they must be known Ignition properties such as engUnit, engLow, engHigh, and Quality,
This example also utilizes aliases to prevent the need to send metric names on any message other than the initial NBIRTH and DBIRTH messages.